
There are many simple ways to create a beautiful calendar. If you need a calendar for work, you'll likely use a dedicated program or website. If you want to make a lovely calendar for your home, you can use an online template and then order prints of your calendar. However, if you want to unleash your creativity, you can manually create your own calendar using paper or cardboard. This activity can be a great pastime for people of all ages.
How to Make a Paper Calendar by Hand
Step 1. Bind 13 sheets of A4 paper or cardboard together.

Bind 13 sheets of A4 paper or cardboard together. Stack the sheets and use a hole punch to make 3-4 holes along one of the longer sides of the stack. Thread a string or twine through the holes, ensuring it remains loose enough to flip the pages easily. Make an additional hole exactly in the center of the opposite side of the stack so that you can hang the calendar later.
- It's probably best to choose white cardboard or paper, as a white background will provide the clearest visibility of the calendar's data, but you can also use yellow, blue, or other light colors.
- Alternatively, you can use several colors of paper so that the pages for each month in the calendar differ from one another.
Step 2. Draw a grid of 6x7 cells on each page of the calendar.
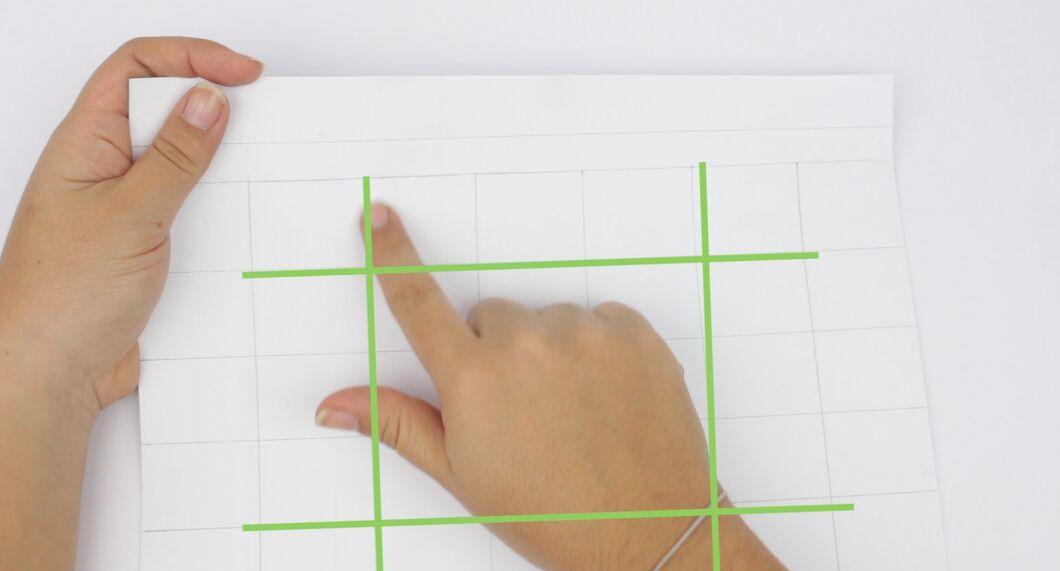
Draw a grid of 6x7 cells on each page of the calendar. Position the paper in front of you so that the binding is at the top, then flip up the cover sheet. On the page under the binding, draw a table with square cells in seven columns and six rows. The sides of the squares should be approximately 3 cm. Draw the table in such a way that there are margins at the top and bottom, and the margins on the sides are roughly equal.
- Use a ruler when drawing the table to ensure all lines are straight.
Step 3. Fill in the names of the months, days of the week, and dates.

Fill in the names of the months, days of the week, and dates. Open the first table and write “January” above it, then flip the page and write “February” above the second table. Continue this way until you have written the names of all 12 months. In the top row of cells, write the names of the days of the week, starting with Monday and ending with Sunday. Finally, copy the dates from another calendar for the same year to fill in the table.
Step 4. Decorate all the top pages of the calendar spreads.
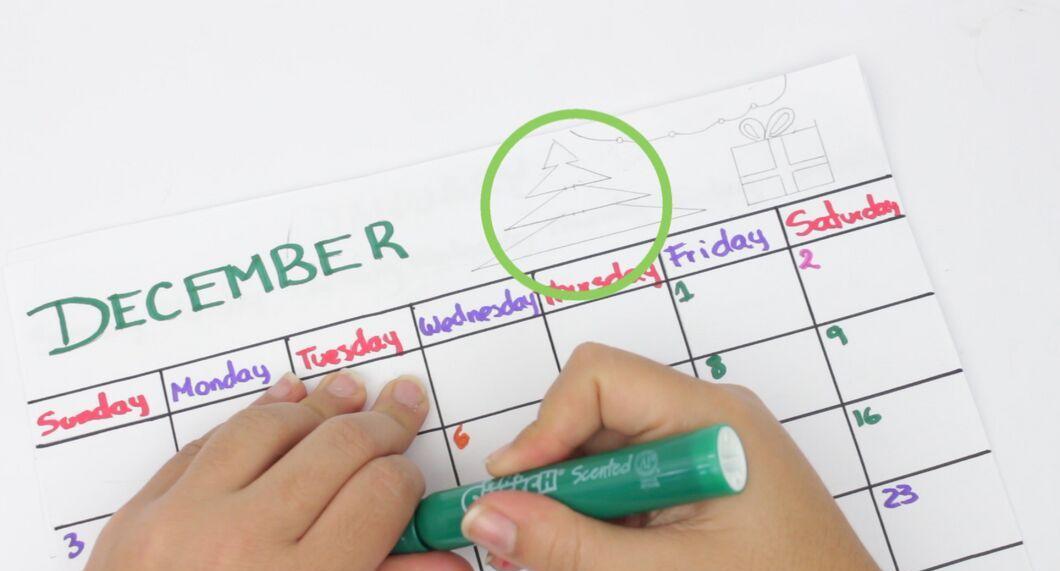
Decorate all the top pages of the calendar spreads. Use regular or wax colored pencils or markers to draw illustrations on your calendar. If you want to give the calendar a truly decorative look, you can use glue to embellish it with sequins, feathers, and glitter. The illustrations in the calendar can relate to the seasons (for example, you can draw pumpkins for October and a New Year’s night scene for December) or be completely abstract.
Step 5. Mark important dates in the calendar, including birthdays, holidays, and the start of school.
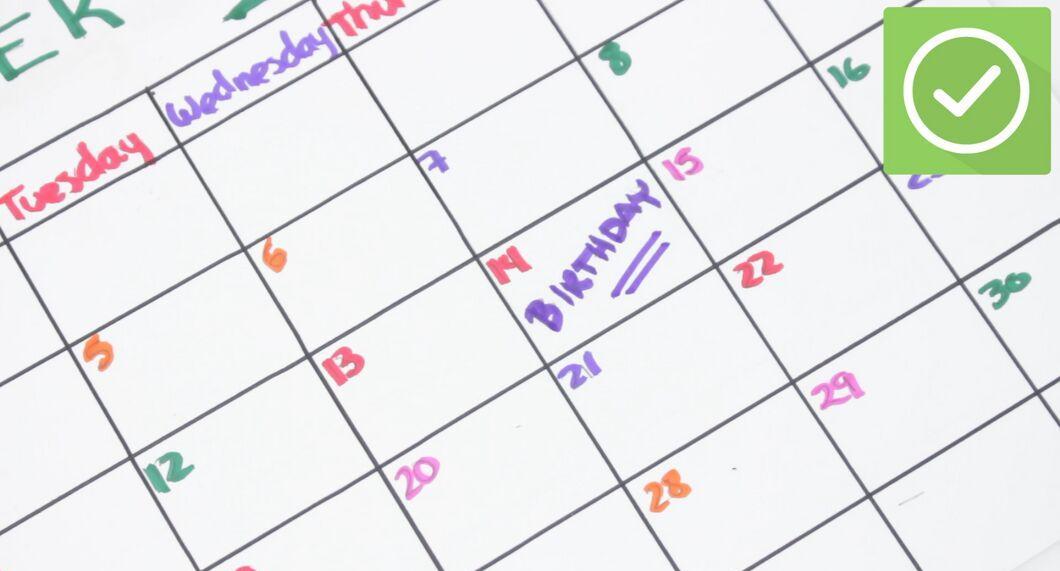
Mark important dates in the calendar, including birthdays, holidays, and the start of school. It will be original if you cut out and paste special images related to specific dates onto all the special cells.
- For instance, if your sister's birthday is on May 6, cut out her photo and paste it on the corresponding cell of the calendar.
- Use an image of a Christmas tree to mark December 31, a St. George's ribbon for May 9, an image of painted eggs for Easter, and so on.
- You can also include the birthdays of celebrities in the calendar.
How to Create a Customized Calendar
Step 1. Find a website that offers custom calendar creation services.
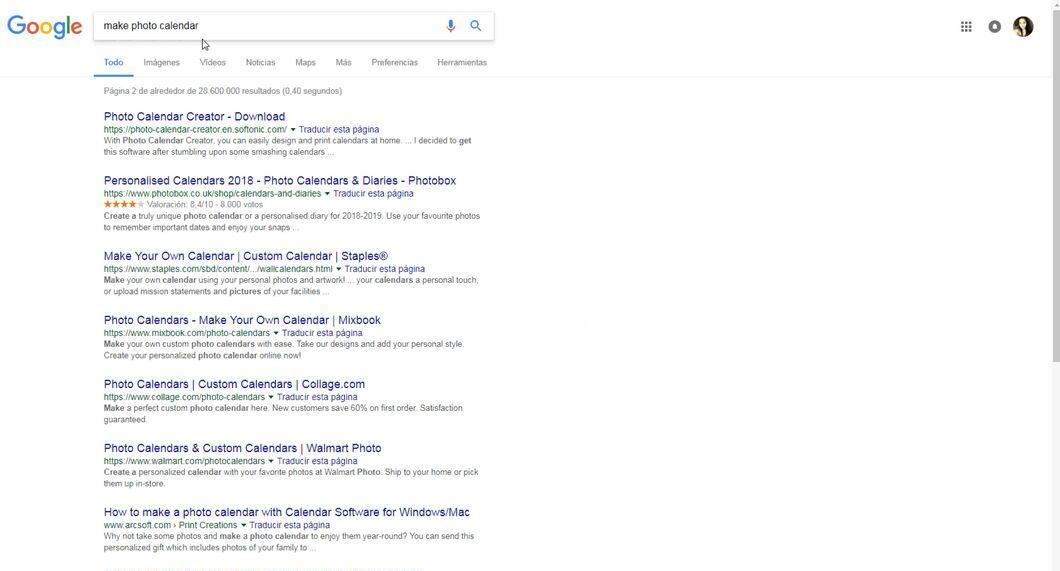
Find a website that provides custom calendar creation services. There are quite a few sites where you can create a beautiful calendar according to your taste. If you already know which site you want to use, just visit it in your browser. If you don’t know such sites yet, search for “create photo calendar” in your preferred search engine. For example, on the “Kalendarium” website, you can create your own calendar for free, while sites like netPrint.ru or “Albumix” offer services for creating and printing custom calendars.
- Once you open the suitable website, go to the section for creating custom calendars.
Step 2. Import the necessary images from your hard drive or scanner.
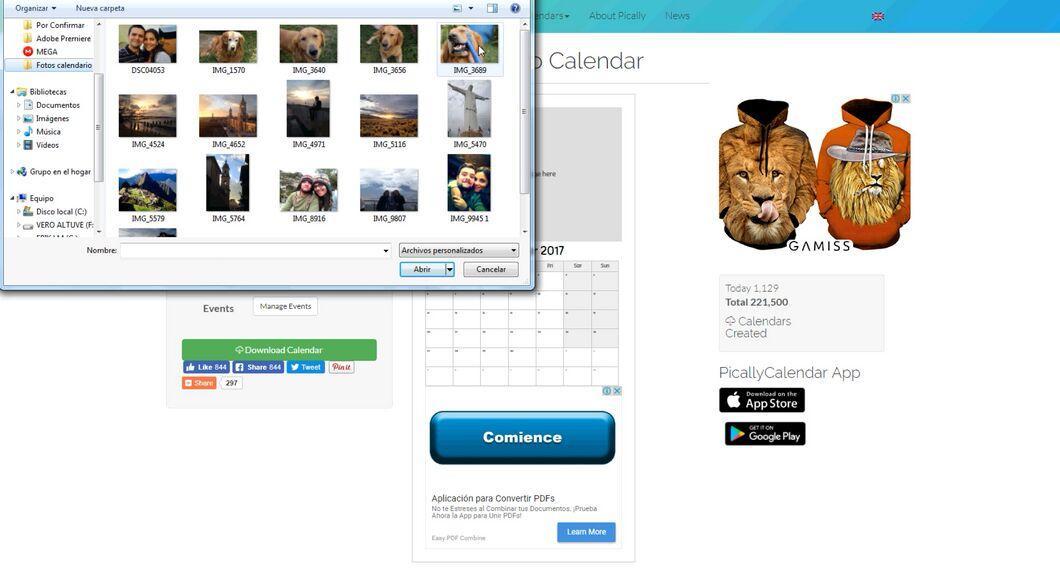
Import the necessary images from your hard drive or scanner. If you have images on your computer that you want to use, upload them to the site using its built-in uploader. If you don’t have the needed pictures on your hard drive, you can scan them. You can also simply download images from the internet. Many people enjoy including their own photos, as well as pictures of their relatives and friends in their calendars, but you can also use funny pictures, images of famous artists' works, or any other images you like.
Step 3. Decide where to place your images.

Decide where to place your images. When creating your own calendar, you have the option to choose how to arrange the images in the calendar. Some sites allow you to place multiple photos in one month. Take advantage of the customizable template options to beautifully arrange the images you have selected for your calendar.
Step 4. Choose the calendar style.
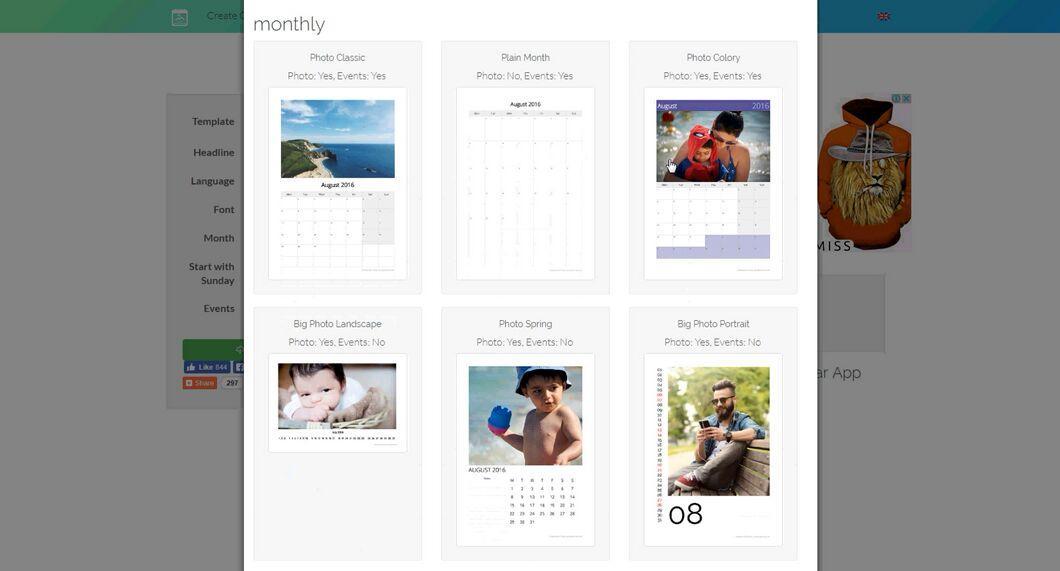
Choose the calendar style. Most calendar creation sites allow you to choose different color schemes and layouts. Browse through all available options and select the one you like best.
- There is no “right” style of calendar that you must choose. Pick a calendar layout according to your personal preferences.
Step 5. Determine the size of your calendar.
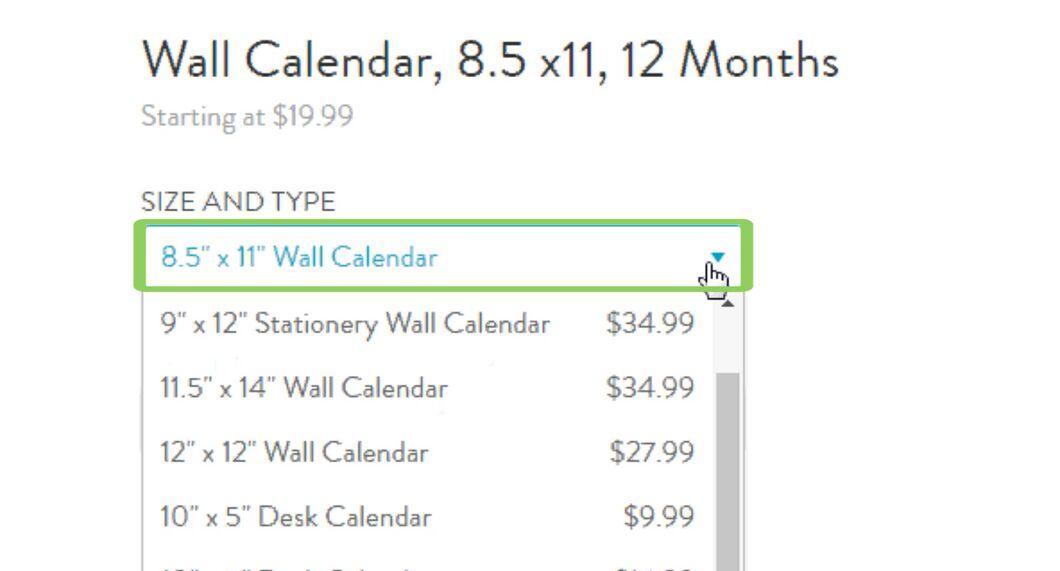
Determine the size of your calendar. Custom calendars can typically be ordered in various sizes. This can range from a standard A4 size for wall calendars to smaller sizes for desk calendars. Many sites even offer large-format calendars. Just choose the size that fits best with your décor.
- Not all sites allow you to order the calendar in the format you need. If the desired format is unavailable on one site, check another.
- Remember, the larger the format of the calendar, the more expensive it will be to print.
Step 6. Choose the time period that the calendar should cover.
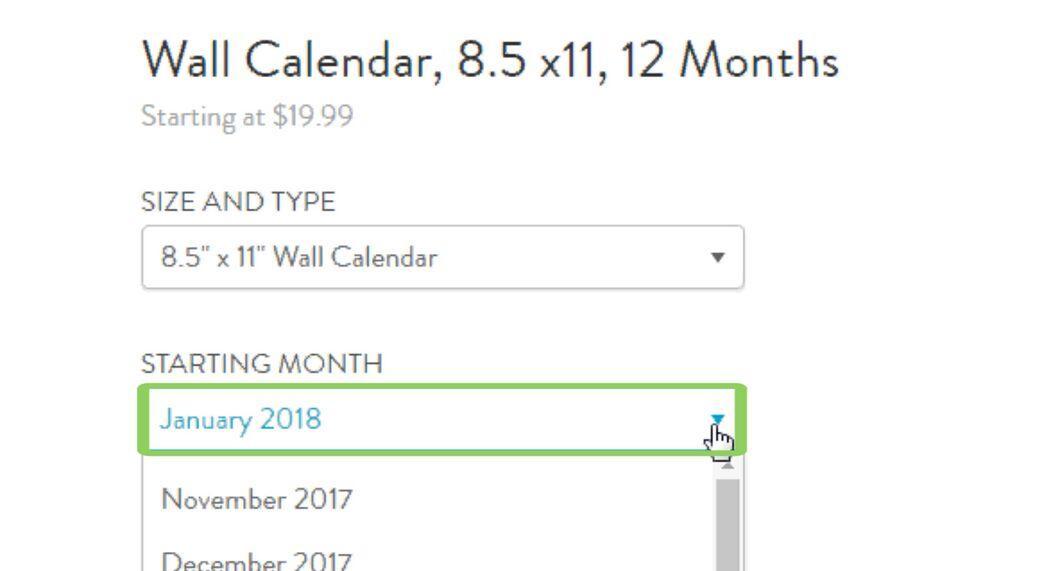
Choose the time period that the calendar should cover. Try to ensure that you can use the calendar for as long as possible. The advantage of custom calendars is that you can order one for a specific time frame. For example, if it is already mid-year, it would be wise to order a calendar starting from July or August of the current year.
Step 7. If possible, add additional graphics and details.
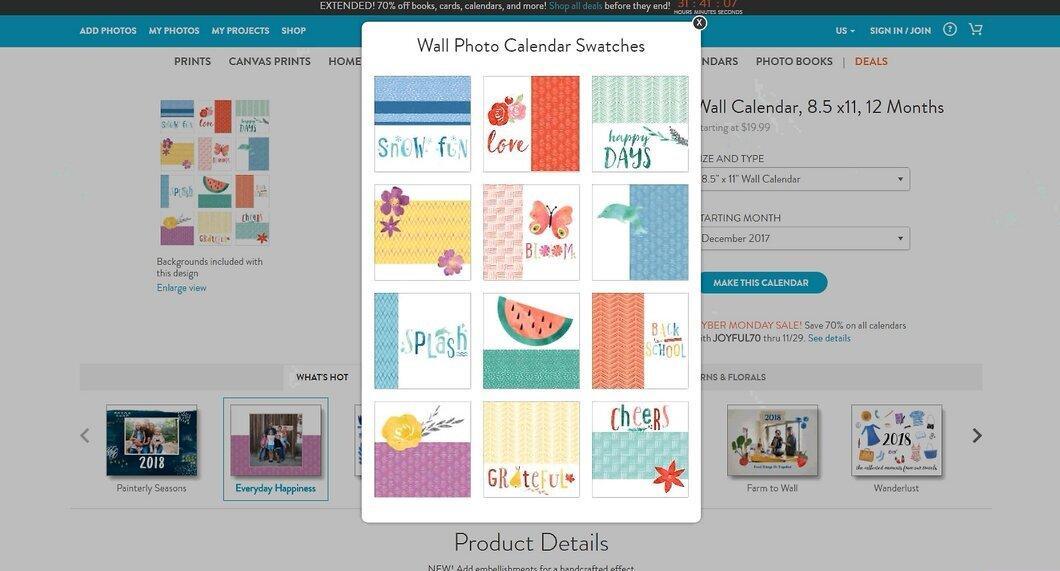
If possible, add additional graphics and details. In many cases, there will be additional options available that you might enjoy. For instance, some layouts may include graphics of birds, smiling faces, or stars. In some cases, you can order a leather binding for desk calendars.
Step 8. Print the calendar yourself or order its printing.

Print the calendar yourself or order its printing. After customizing all the options for your calendar, pay for it (if required) and decide whether you will print it yourself or order professional printing and delivery of the finished product. If you have a high-quality printer, you can print the calendar at home. However, most people prefer to order printing with delivery, even if it makes the calendar more expensive.
- Professional printing is likely the best option, as it avoids worries about incorrect paper sizes, running out of printer ink, or smudged prints.
Using Online Applications
Step 1. Choose an online format.
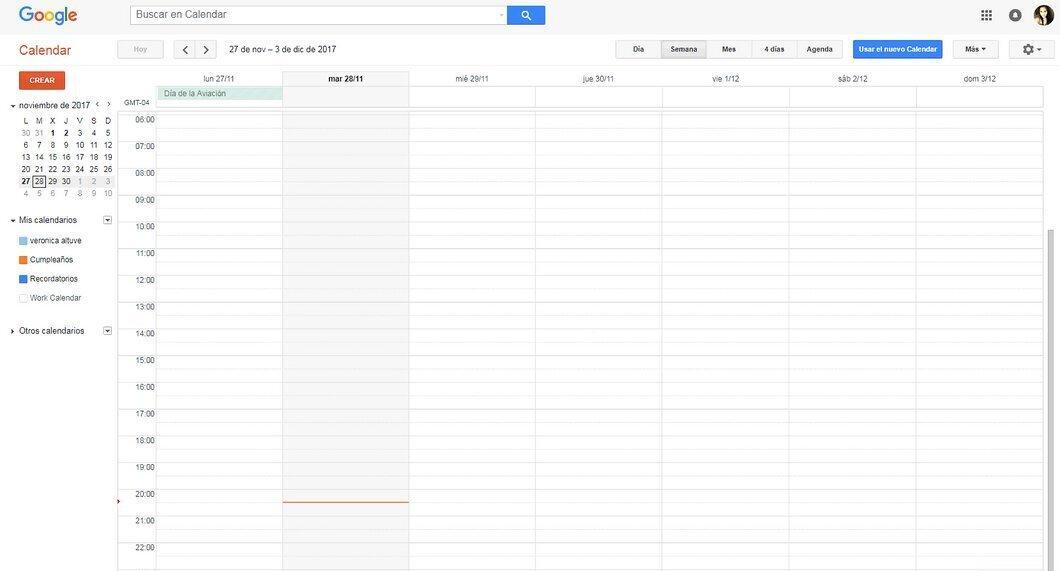
Choose an online format. Which online format or application to choose depends on your goals. If you are trying to prepare a calendar for work, you may have no choice but to use employer-approved software, such as MS Outlook or similar applications. Other common formats include MS Excel, iCloud Calendar, or Google Calendar.
- The best online formats provide access to the calendar from both desktop and mobile devices. They are stored online and are generally not printable.
Step 2. Create a new calendar.
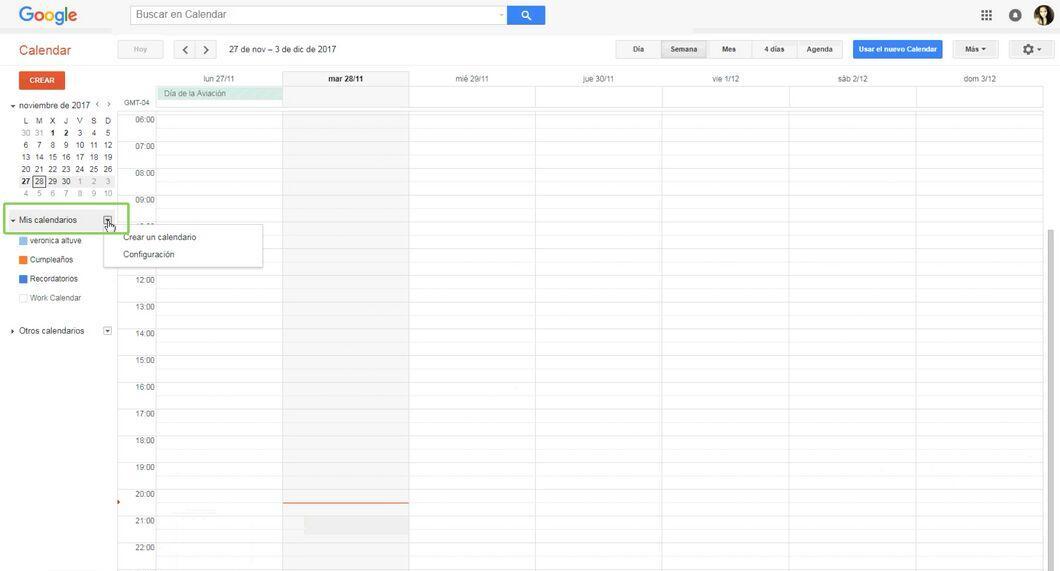
Create a new calendar. The specific process for creating a calendar will depend on the format you have chosen. For example, if you decided to use Google Calendar, go to the “My Calendars” section, click on “Add other calendars,” and select “New calendar.” If you are using MS Office, click “File,” then “New,” then “Calendars,” and select the template you like best.
Step 3. Enter data into your calendar.
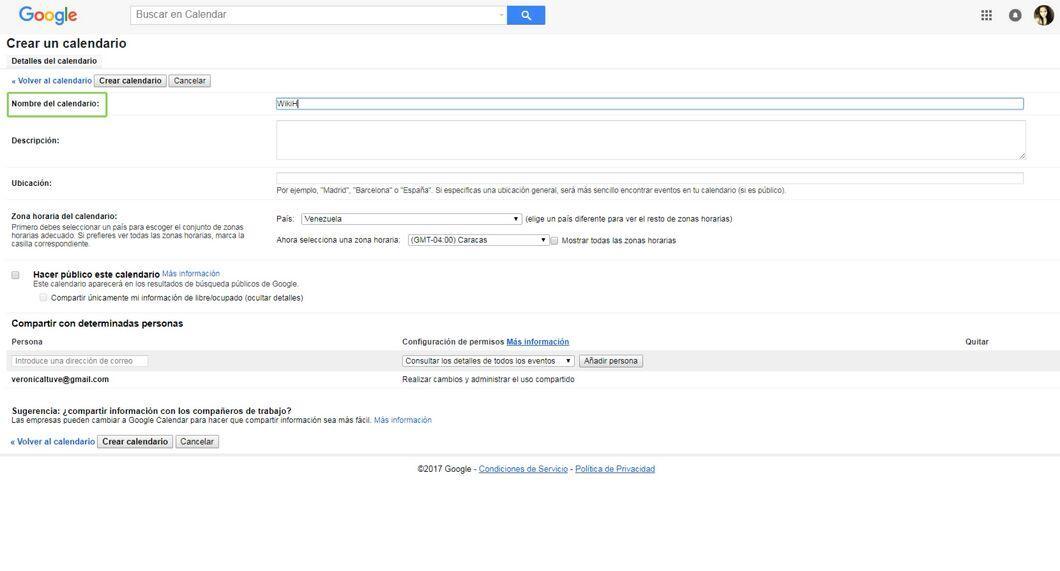
Enter data into your calendar. Online calendars are great because they allow you to easily plan your time. Although the specific way of entering events and other data into the calendar depends on the program or format used, you can usually just click on the desired date and enter the corresponding event.
Step 4. Save the calendar.
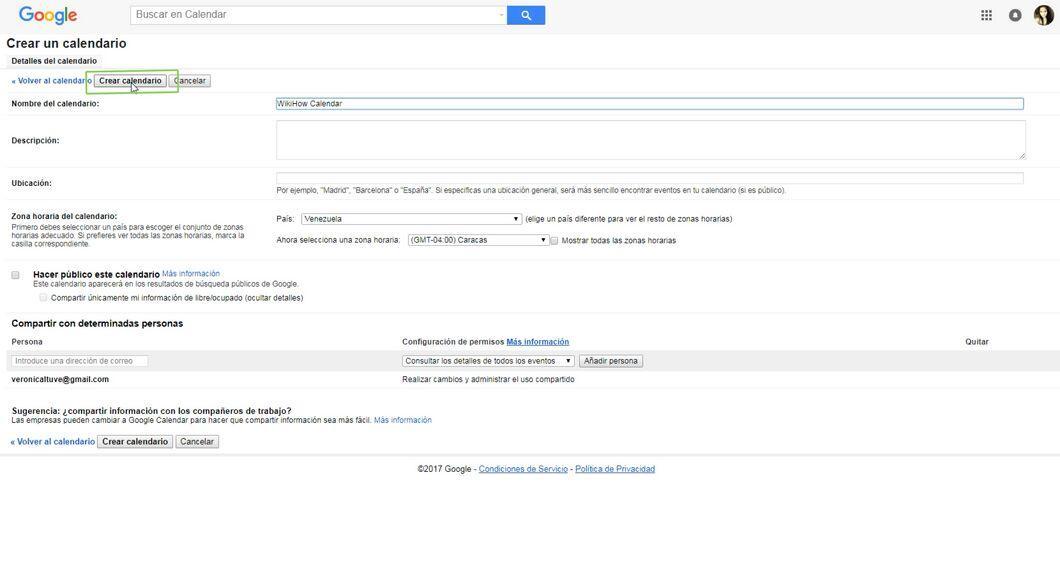
Save the calendar. Once you create the calendar and input important information, make sure all your data is saved. In most cases, you can simply exit the calendar, and you will be prompted to save changes. Click “Yes” to save the information. You will likely also be prompted to enter a name for your calendar.
- The manual saving procedure (without exiting the application) varies from app to app. For example, in Google Calendar, you can click “My Calendar,” then “Calendar Settings,” and the “Save” button located behind the “Add a title” bar.
- To find out the exact information on how to save your calendar, check the help section in the program or website you are using.
Step 5. Share your calendar.
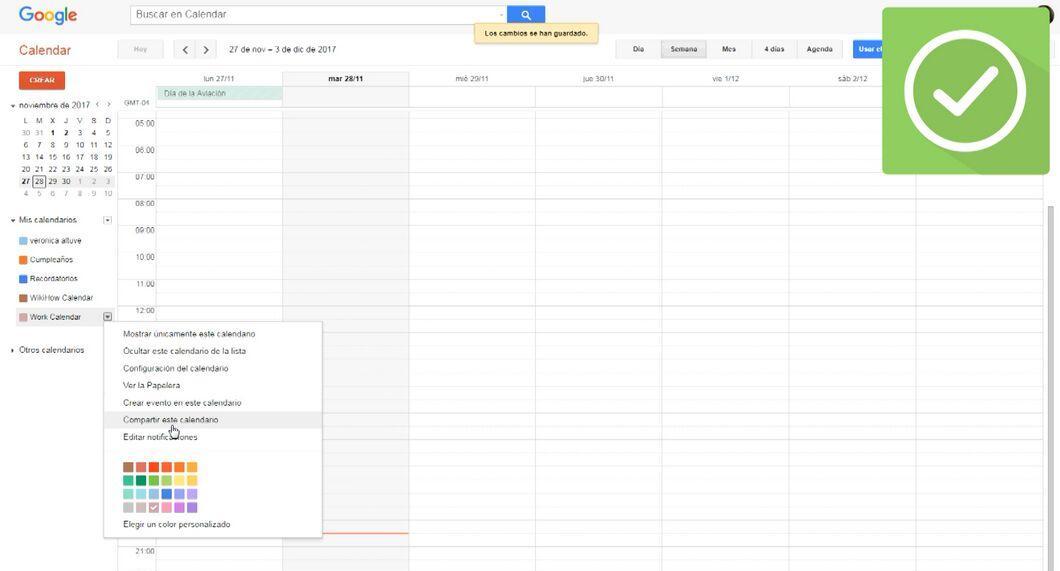
Share your calendar. Online calendars are perfect for coordinating work among departments or groups with many people. Everyone can check the calendar to schedule their events and add new information. However, you first need to make the calendar accessible to those individuals. The process of granting access to the calendar also depends on the format you are using.
- If you are using the same program installed for all employees in your organization or department, access to the calendar is often granted automatically.
- In other cases, you may need to enter the email addresses of all the people who should have access to the calendar.
- Remind those you have granted access to the calendar that they will likely be able to access it from their smartphones as well.
- For additional information on how to open access to your online calendar to others, check the help section.


