
Relaxation areas are designed for unwinding both mind and body. Kids love to build such spaces as makeshift forts using chairs and blankets at home, or outdoor shelters made of branches. If you have an extra room or just some free space at home, you can set up comfortable furniture and create a relaxation area for the whole family, where people of all ages can enjoy some downtime.
Children's Relaxation Zone Indoors
Step 1. Clear a Comfortable Spot for the Children's Relaxation Area.
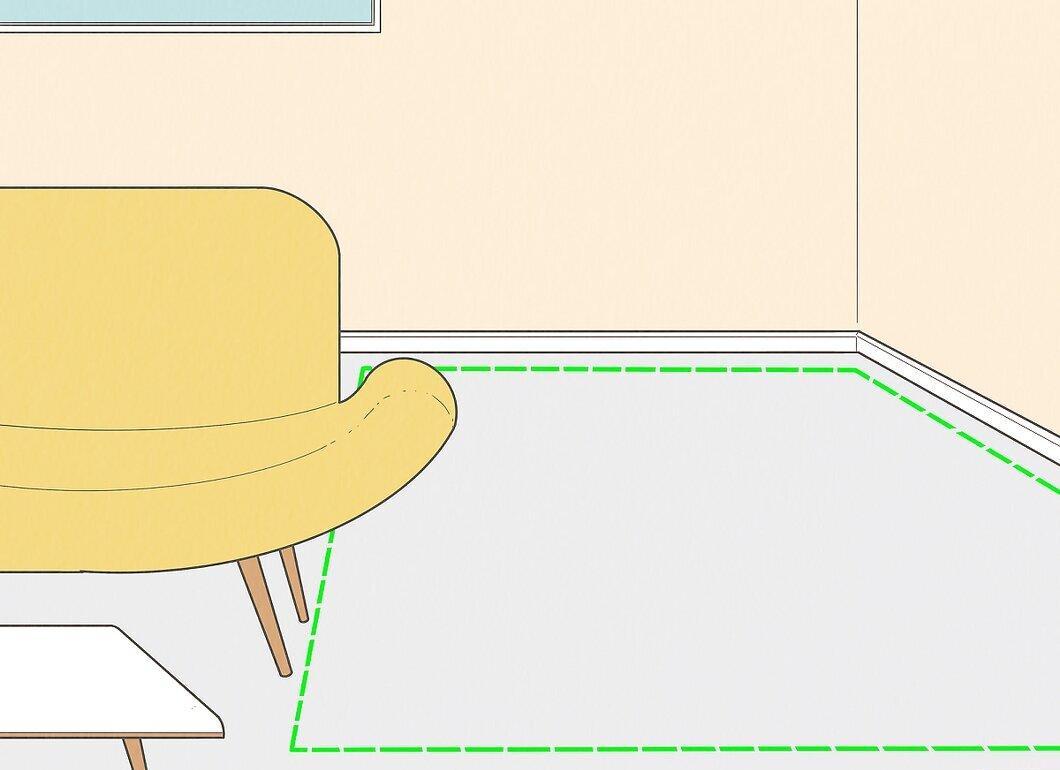
Clear a comfortable spot for the children's relaxation area. Once established, this area can become the most beloved spot for kids for many days and weeks ahead. It's best to set up such a zone right in the children's bedroom or playroom, but a corner of the living room or another free room will also work. Remove all valuable and fragile items to protect them from playful little hands.
- In some private homes, there may be inconspicuous nooks of suitable size for kids; for example, the space under the stairs can serve as an excellent children's zone.
Step 2. Construct the Children's Fort.
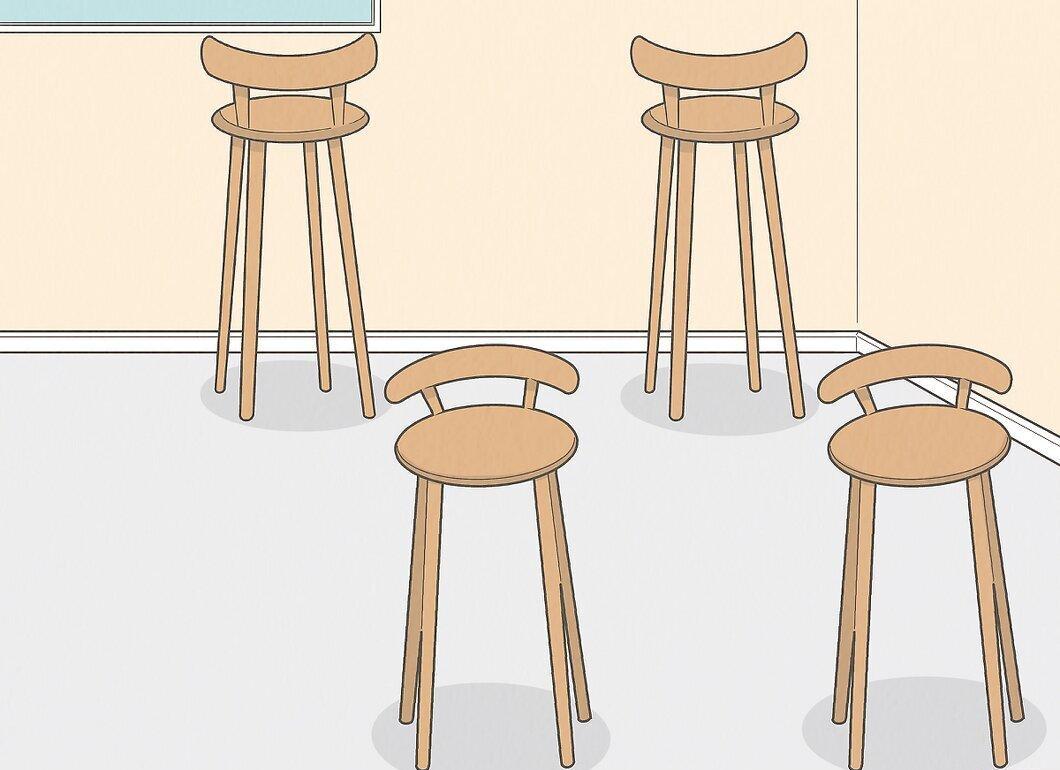
Construct the children's fort. You can create a fort using a bunk bed, a table, the back of a sofa, or several chairs. It's ideal to use two or three pieces of heavy furniture as a base, as this creates the necessary space between them.
- Lightweight items, such as floor lamps or plastic chairs, will simply collapse under the weight of blankets, so avoid them.
- To make the fort accessible for adults or taller children, tie a long stick (like a broom handle) vertically to the back of one piece of furniture.
- For a more spacious design, turn the chairs so that the seats face outward.
Step 3. Drape a Sheet or Blanket Over the Structure.
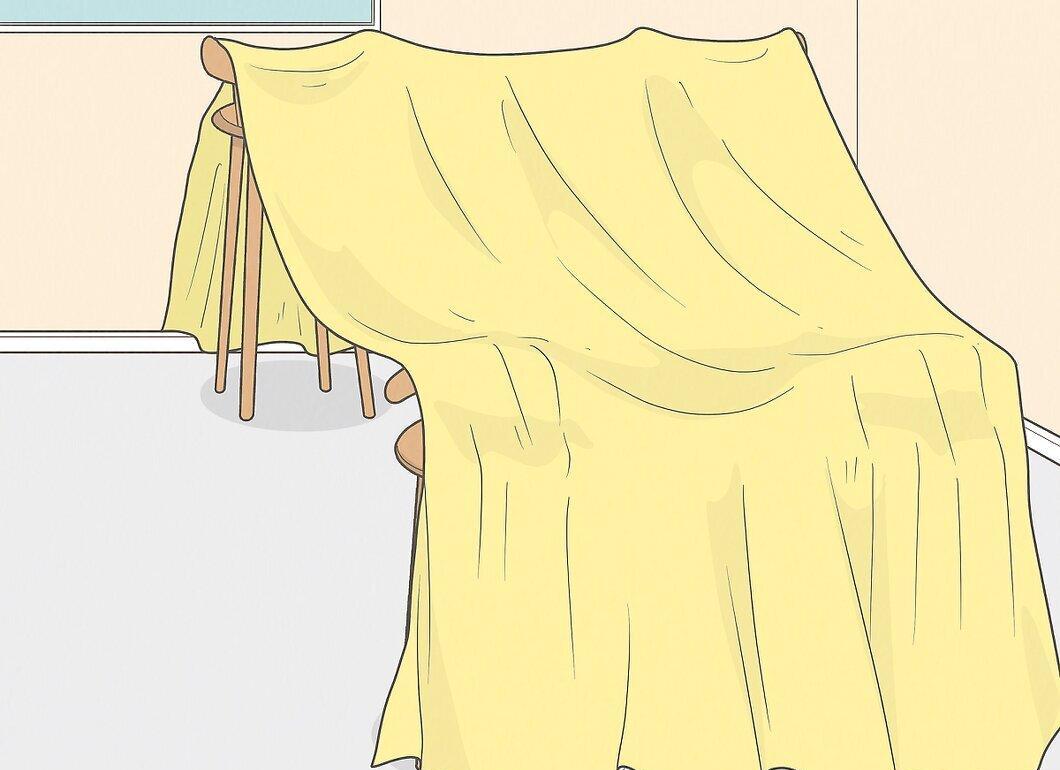
Drape a sheet or blanket over the structure. Slightly separate the pieces of furniture so that the sheet is taut. This will make the structure sturdier and provide more room inside. Some sheets may hold up on their own, while others will need to be secured at the corners and in the middle of the long sides with pins or tape. During vigorous play, sheets will often come loose, but this fort can be easily restored, so it’s not a significant concern.
- Sometimes sheets need to be secured with stacks of heavy books or several pins, but avoid this if the fort is meant for young children. After all, everything might topple or fall off, and you don’t want anyone getting hurt.
- For a more secure and durable fort, ask a handy adult to install ceiling hooks in the chosen area and hang sheets from them.
Step 4. Expand the Fort (Optional).
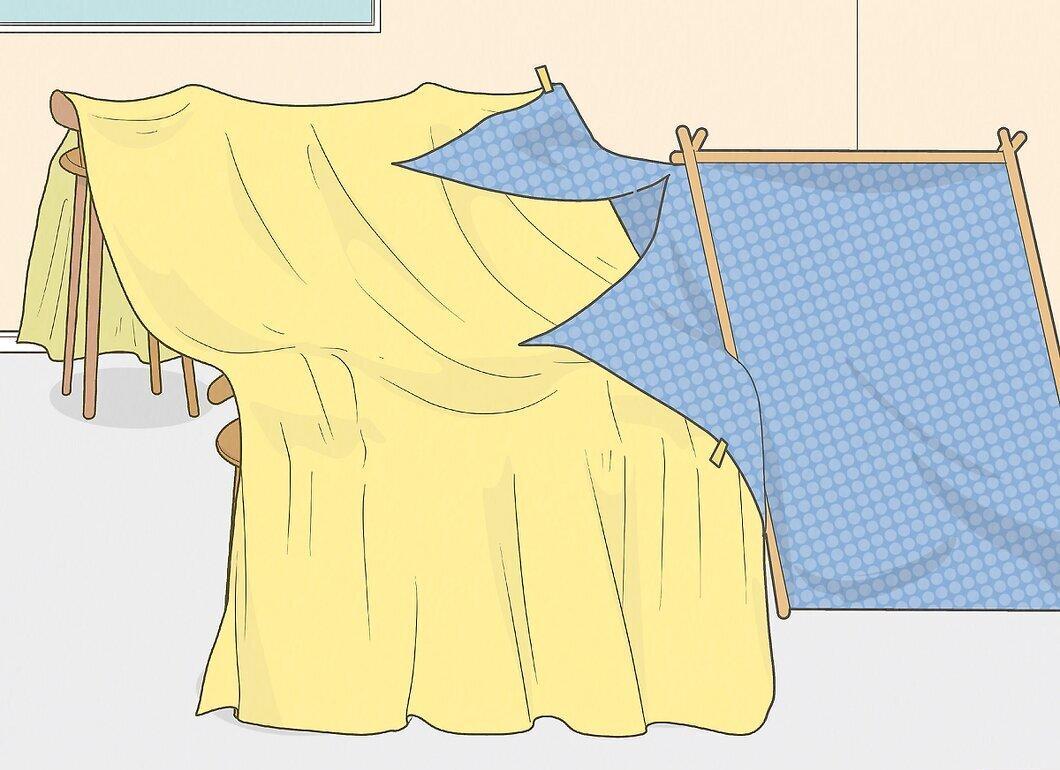
Expand the fort (optional). If the built fort seems too small, add extra chairs and sheets or simply set up a tent nearby for convenience. Overlapping sheets can provide added strength to the fort's ceiling, but you might need clamps or something similar to secure them properly.
Step 5. Create an Entrance to the Fort.
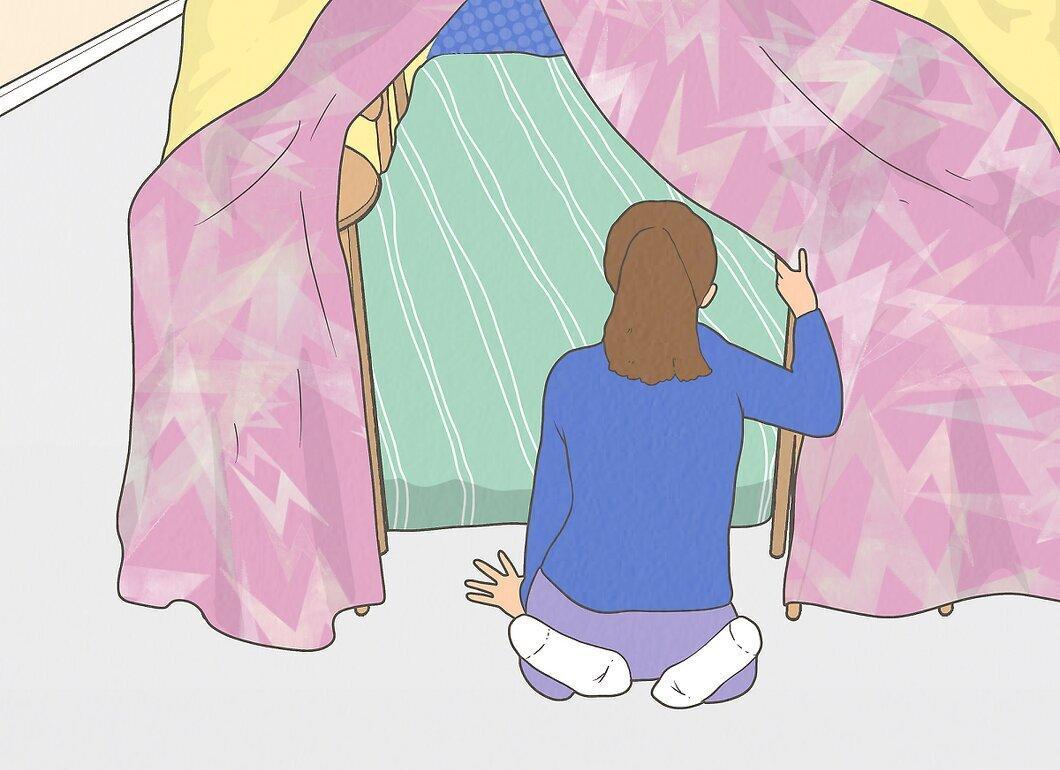
Create an entrance to the fort. Lift the sheet on one side so that people can crawl inside. Drape two small blankets over the entrance to act as curtains that can be pulled aside to enter.
Step 6. Furnish the Inside of the Fort.
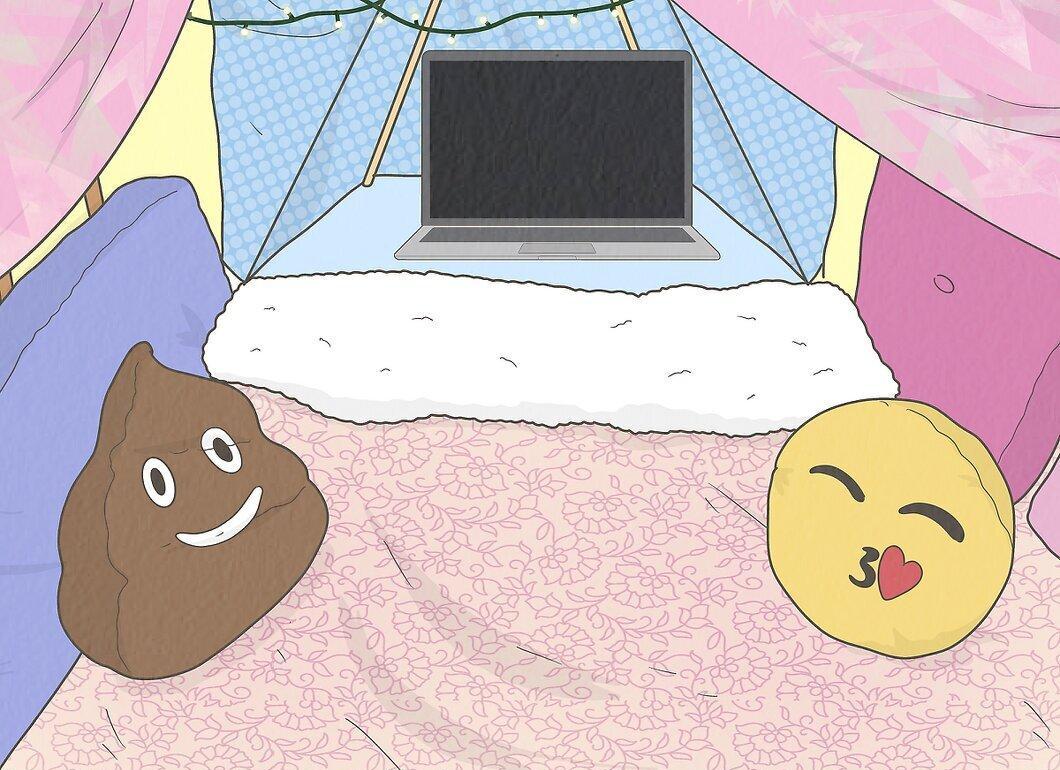
Furnish the inside of the fort. Throw in some cushions, blankets, and soft toys! To create a real palace, add a toy chest, some snacks, a small TV, or a mini-fridge inside. Climb in and relax for about thirty seconds before starting the first pillow fight.
Outdoor Relaxation Zone for Kids
Step 1. Head to the Garden or Nearby Forest with a Flat Ground Surface.
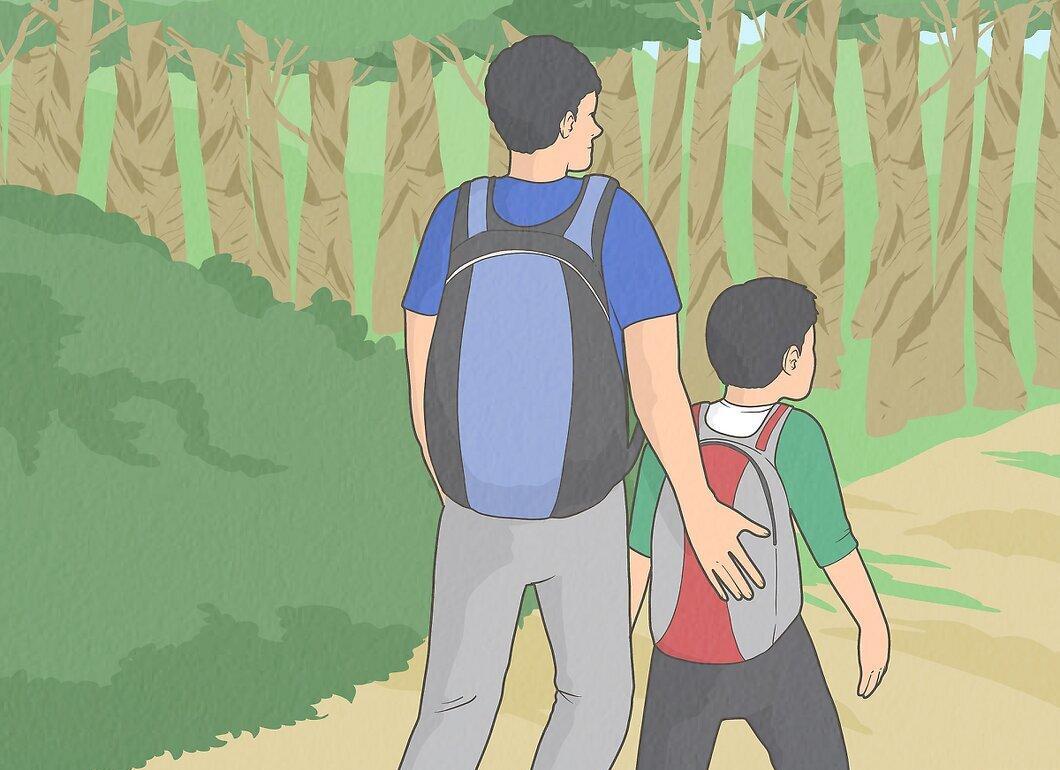
Head to the garden or a nearby forest with a flat ground surface. If there’s neither a forest nor a garden nearby, ask your parents to take you out into nature for the day. If the forest is close to a highway, shoreline, or any other potential danger, make sure everyone knows how to stay safe.
- If it has recently rained or there is fog, bring along a couple of tarps to create dry floors and a waterproof roof for your outdoor fort.[3] X Source
Step 2. Find a Suitable Structure to Serve as the Fort's Base.
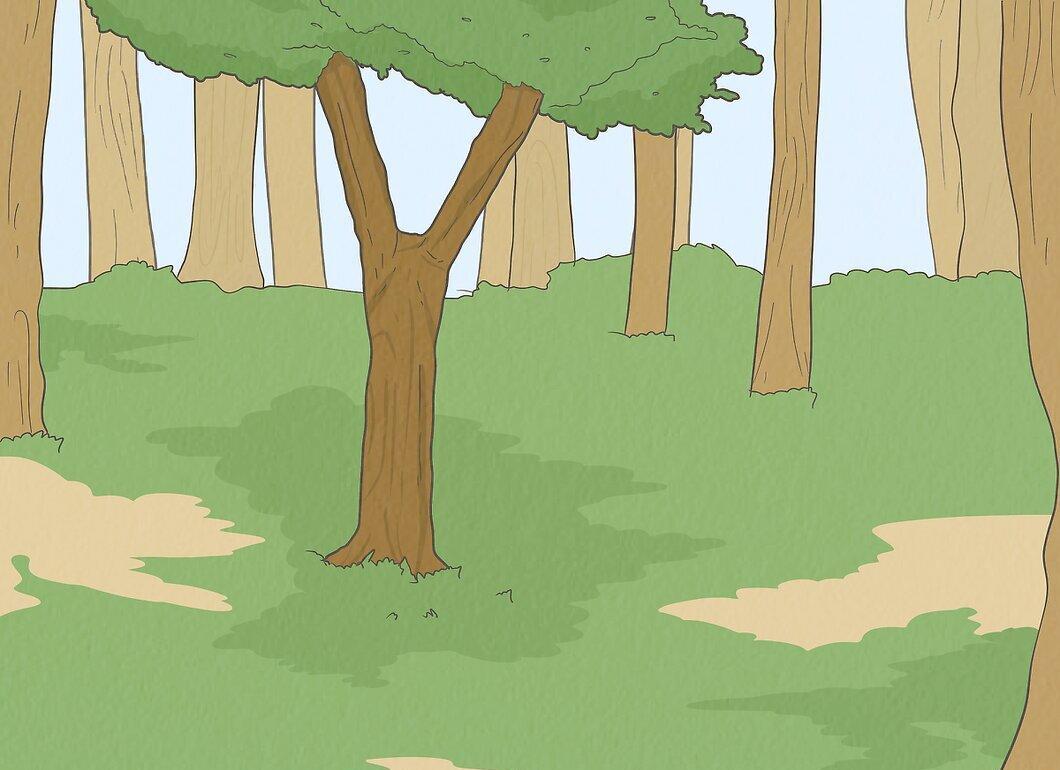
Find a suitable structure to serve as the base of your fort. A live tree with a fork near the ground is perfect for building a fort, as the fork can be used to form a roof. Boulders and other natural formations will also work, but avoid caves or niches that may appear to house animals.
- Do not use dead trees as a base, as their branches can break and cause your fort to collapse.
- Bushes and dense thickets can harbor ticks that carry dangerous diseases. Check local emergency management information on the safety of visiting specific areas in your region.
Step 3. Gather Necessary Materials to Build the Fort.
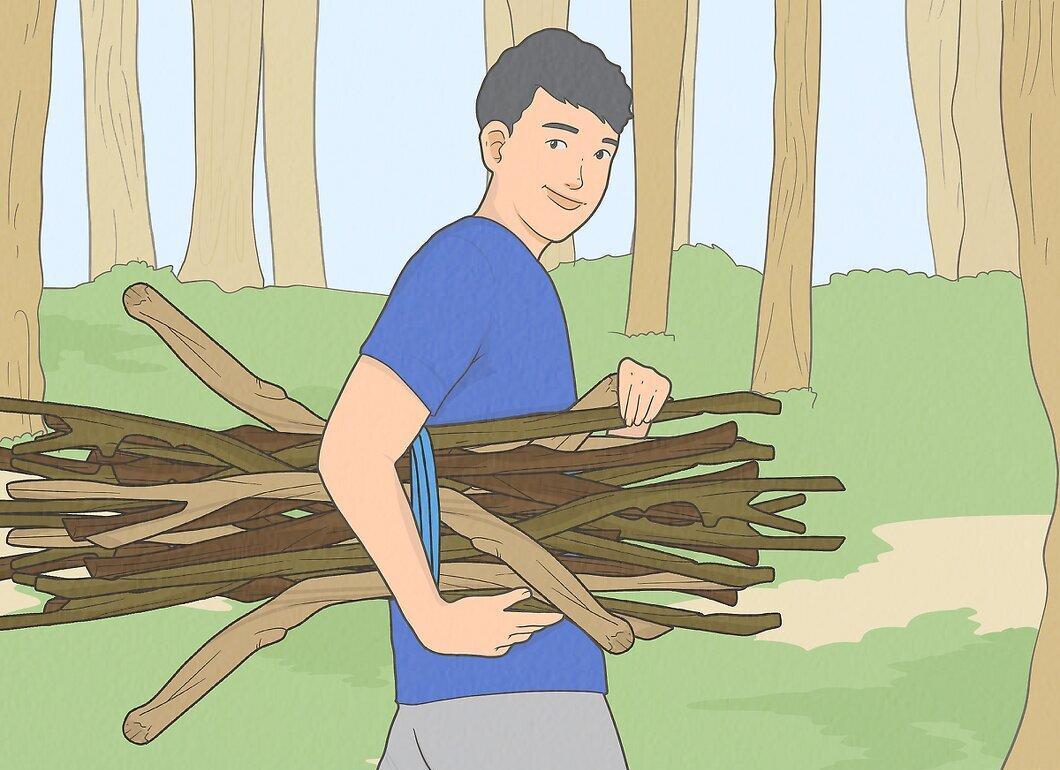
Gather necessary materials to build the fort. Look for fallen strong branches that look sturdy but not so heavy that they could injure someone if they fell. If there aren’t many large branches around, try tying smaller branches together or simply bring bamboo stakes, broom handles, chairs, or other makeshift materials from home.
- Never break live branches. Treat the forest with respect and do not harm the environment.
Step 4. Build the Frame of the Fort.
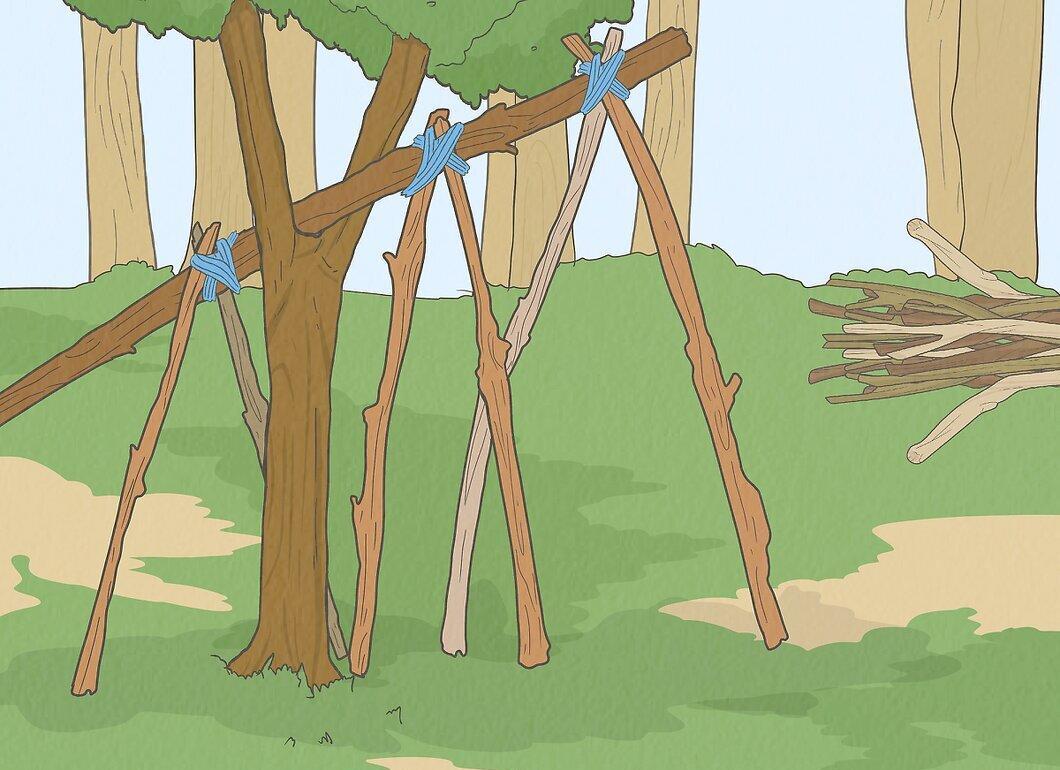
Build the frame of the fort. A strong branch or the overhanging canopy of a live tree can serve as a good base for the fort, but there are several additional methods to create its frame.
- A sturdy branch can be leaned against a pile of rocks and secured in that position before continuing construction.
- Gathered branches can be leaned against each other in a trial-and-error method to create a conical structure. Gradually add branches to this structure, forming a round base for the fort.
- If you have rope or twine, you can construct a tent-like structure by laying one branch horizontally to form a roof and then tying the branches together. This may require several people to accomplish.
- If you have a tarp, stretch it between trees, tying it at the corners to create a waterproof roof. To keep the roof from sagging under rain, place a small stone under the center of the tarp. Tie it with a long rope at the top and secure this rope to a high branch.[5] X Source
Step 5. Finish Building the Fort.
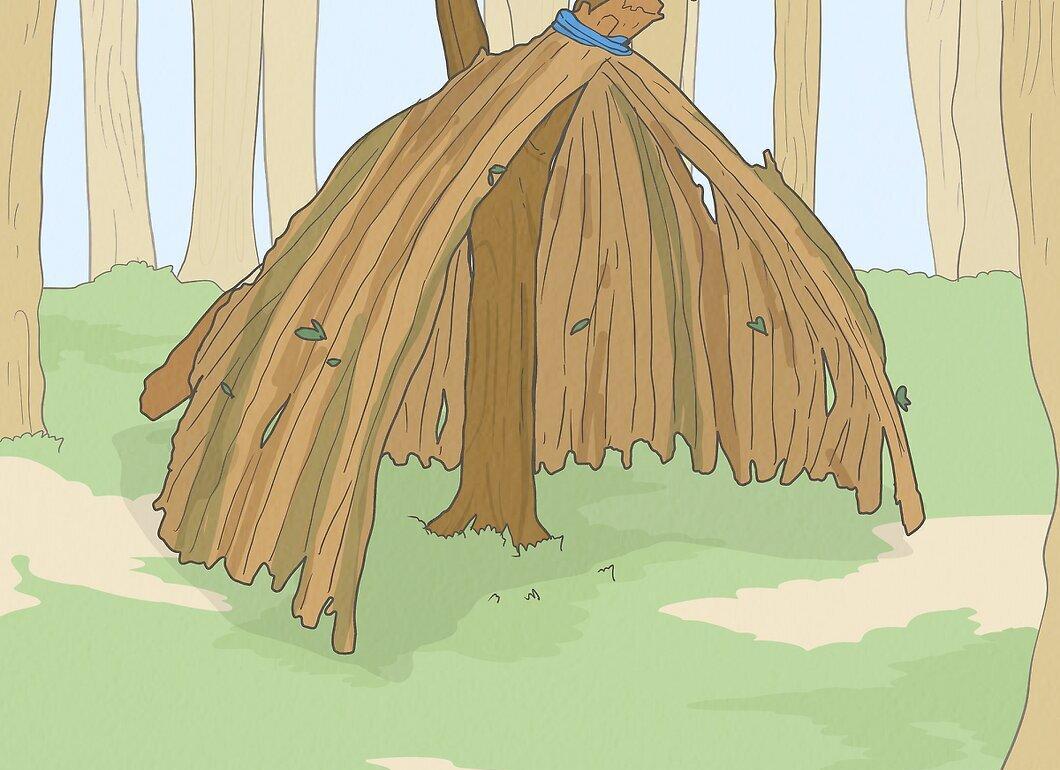
Finish building the fort. Constructing a fort is an excellent outdoor activity for kids. Some may prefer to just lean a few branches together and hide inside, while others may creatively weave additional branches around the entire frame. Having rope on hand can be useful if the structure needs extra reinforcement. However, experienced builders can construct a fort using only natural materials they find nearby.
Step 6. Decorate the Fort.
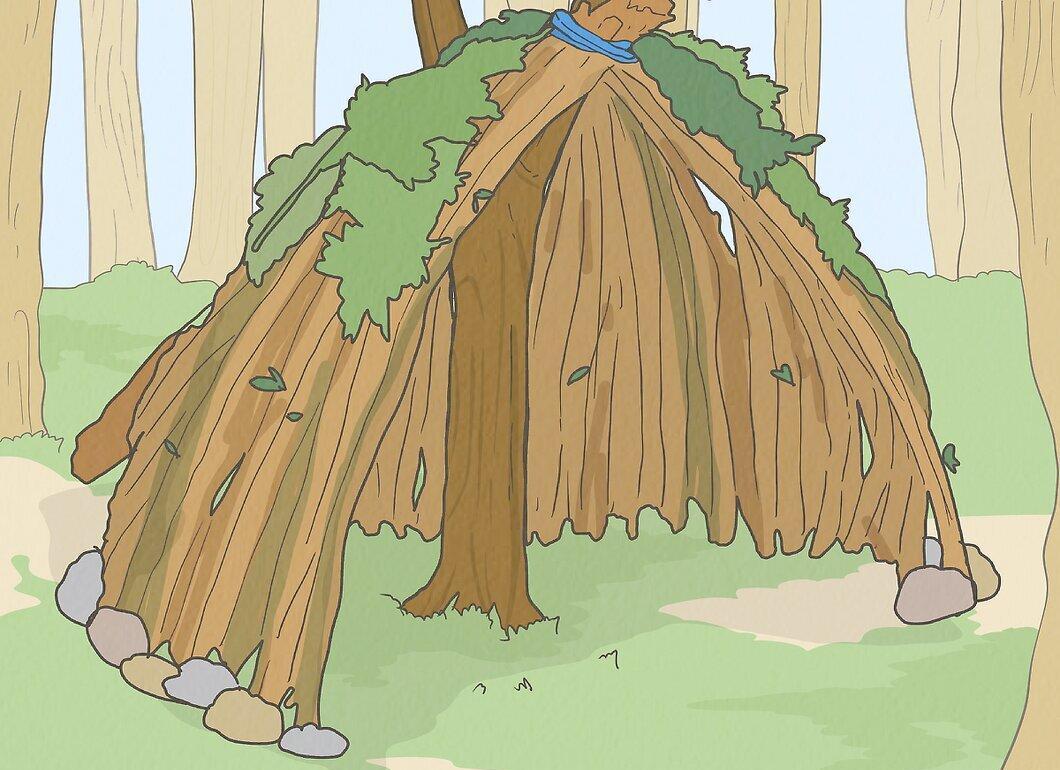
Decorate the fort. To camouflage the fort or protect it from the weather, cover its walls with leaves and brush. Sweep the floor to make the interior more comfortable. You can even create an improvised garden nearby, "planting" pine cones or colorful leaves and building a fence from sticks or stones.
Family Relaxation Zone
Step 1. Find a Suitable Location.
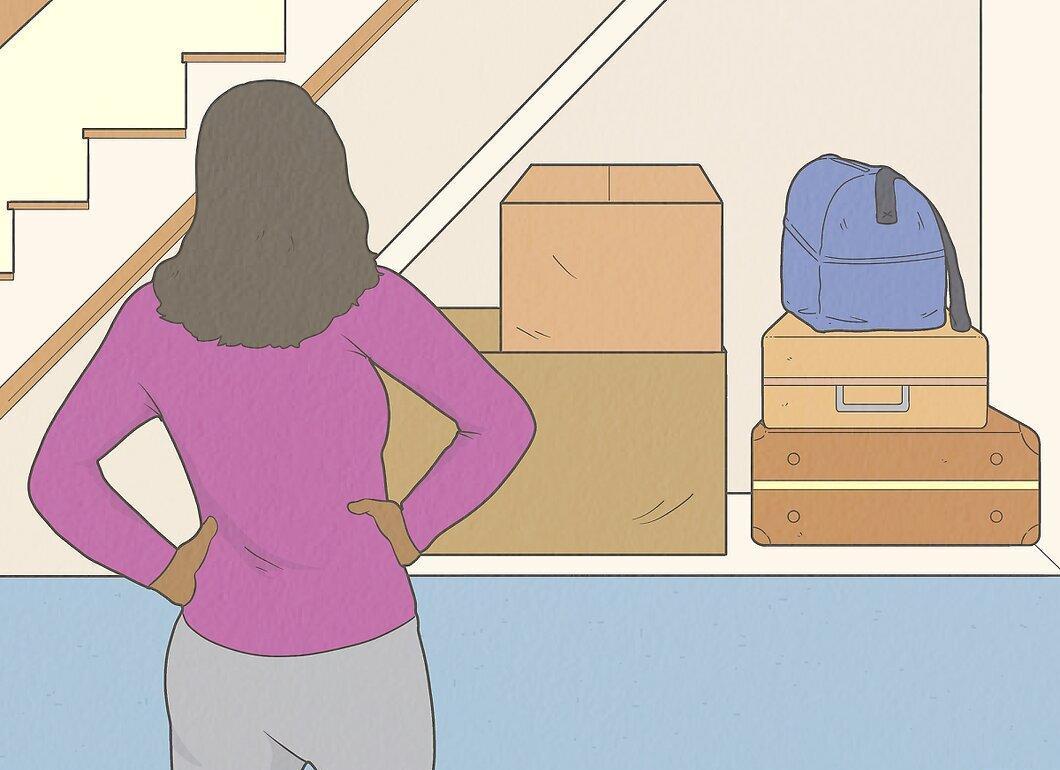
Find a suitable location. If you don’t have an extra room, consider rearranging your living room or dining room a bit to divide the space into two areas. A tall bookshelf or a high-backed sofa can serve as a divider to create a designated relaxation area.
Step 2. Renovate if Necessary.
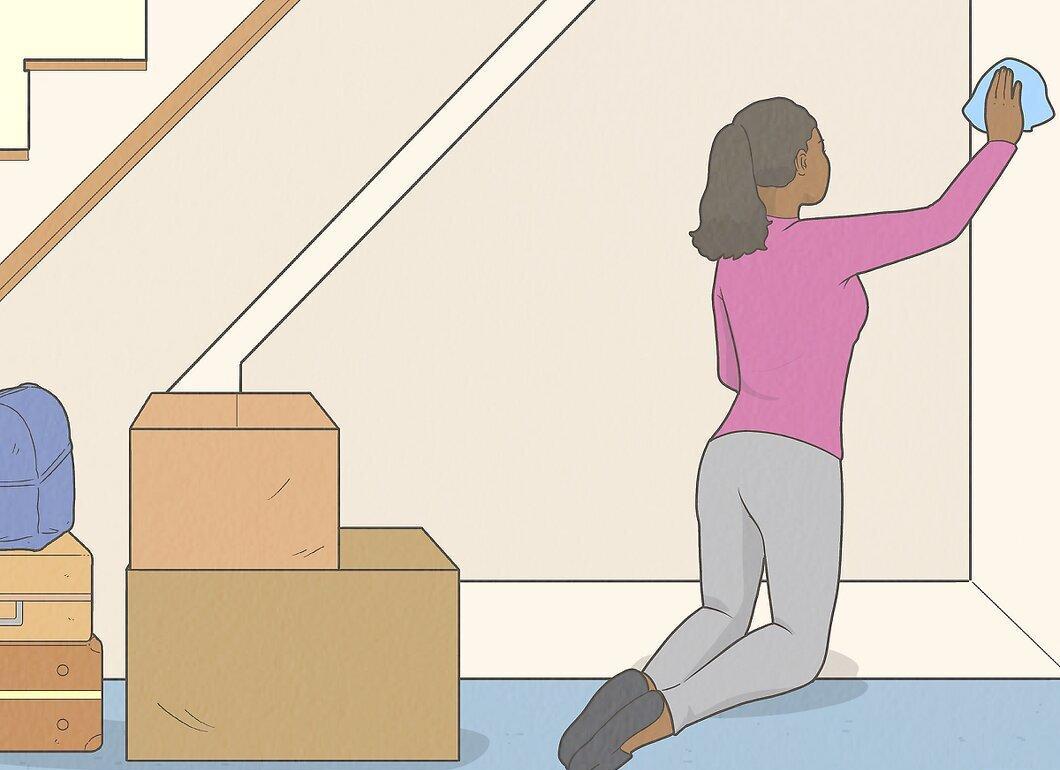
Renovate if necessary. While the designated space is still empty, consider whether it needs a major or cosmetic renovation, or at least a good cleaning. Would the area be more inviting and comfortable if new floors were laid or the walls painted? Do everything required now.
Step 3. Determine the Main Purpose of the Relaxation Area.
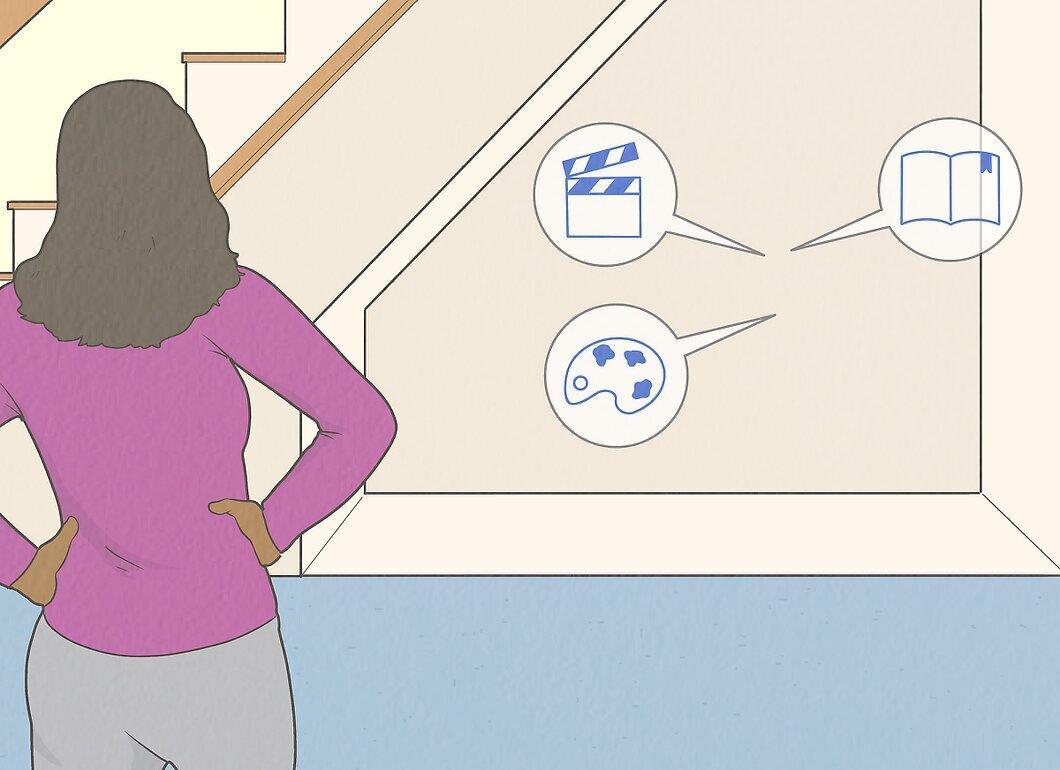
Determine the main purpose of the relaxation area. Think about what activities your family members and you will engage in here, so that the space is as convenient as possible for those purposes. Below is a list of various types of activities that your relaxation area could be based on:
- Quiet, relaxing activities like reading, sewing, and other hobbies;
- Group activities, including games, movie watching, or sports broadcasts;
- Desk activities, including computer work, creative projects, or crafting.
Step 4. Choose a Focal Point for Your Relaxation Area's Design.
Choose a focal point for your relaxation area’s design. This could be anything from a pool table to a writing desk (depending on the main purpose of the area). Arrange the rest of the furniture around the focal point so that your relaxation area looks cozier and more aesthetically pleasing.
- A small relaxation area without space for large furniture can be set up near a big window, by a fireplace, or next to a beautiful tapestry or painting.
Step 5. Arrange Comfortable Seating.
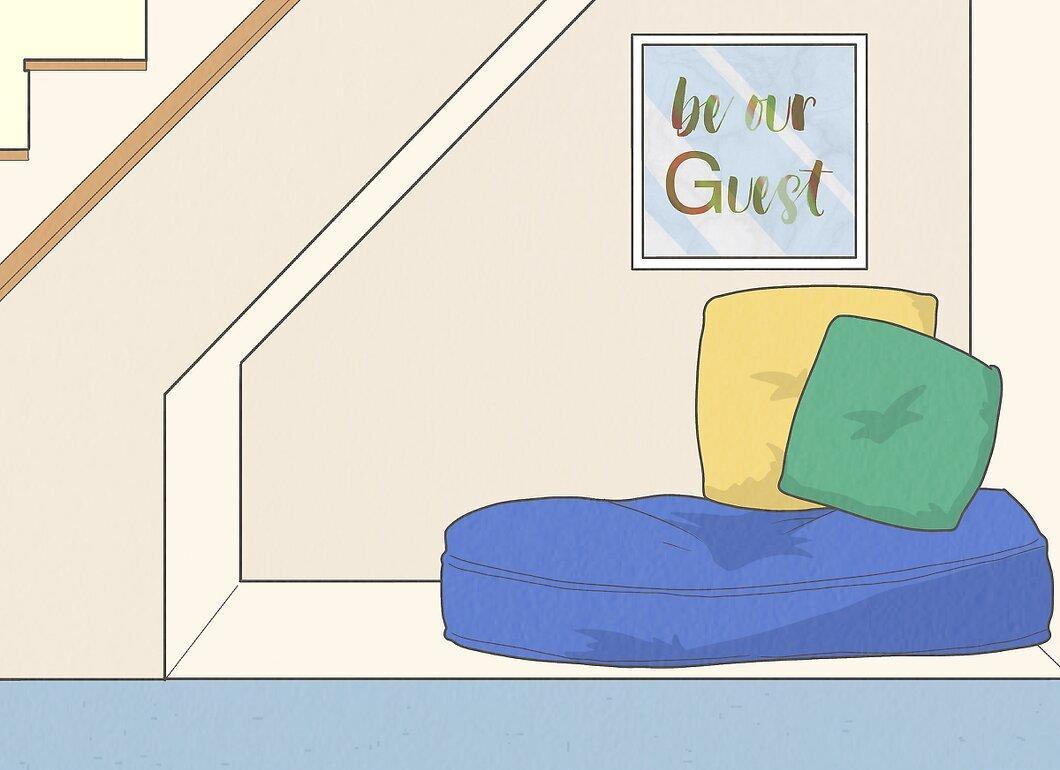
Arrange comfortable seating. Soft chairs and sofas are ideal, but you’re not limited to them; bean bags, floor pillows, hanging hammocks, or papasan chairs can also work. Ensure you have comfortable seating for people of all heights.
- If you decide to set up a relaxation area in a basement, shed, or anywhere else where you can’t effectively control air temperature and humidity, opt for outdoor wooden furniture to minimize potential mold and damage issues.
Step 6. Add Lighting.
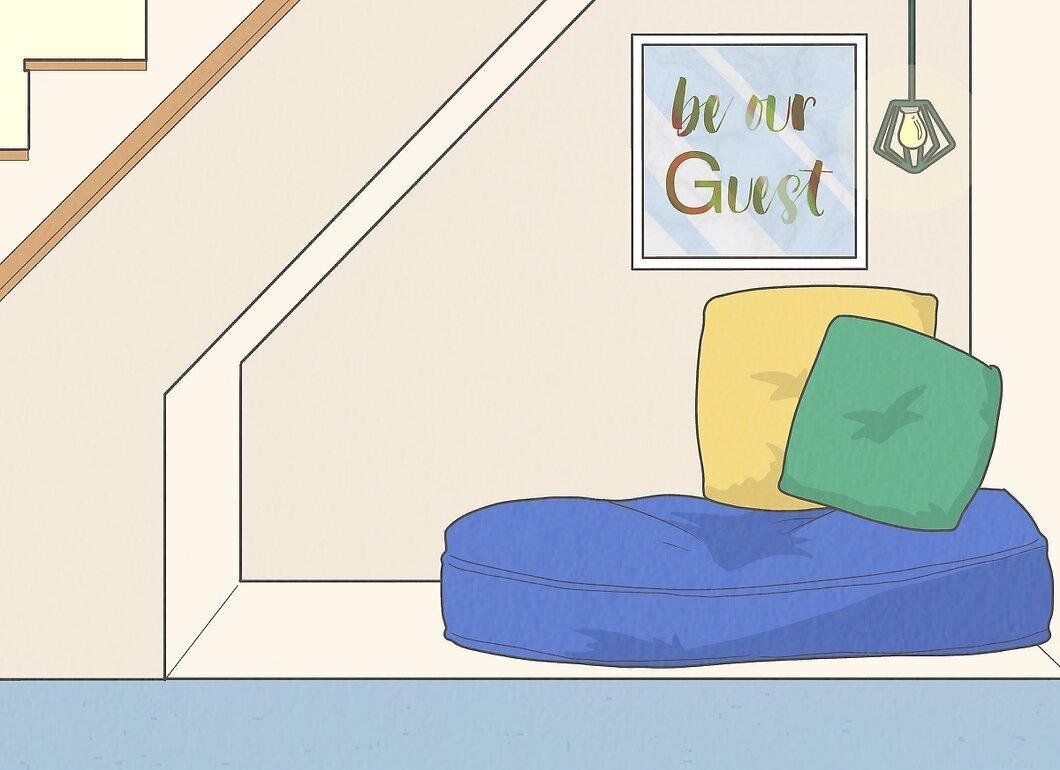
Add lighting. You may want to create a cozy, dim lighting atmosphere to make the space feel more like a living room. On the other hand, if you plan to read or craft there, you’ll need lighting suited to your activities.
Step 7. Supplement the Space with Necessary Items.
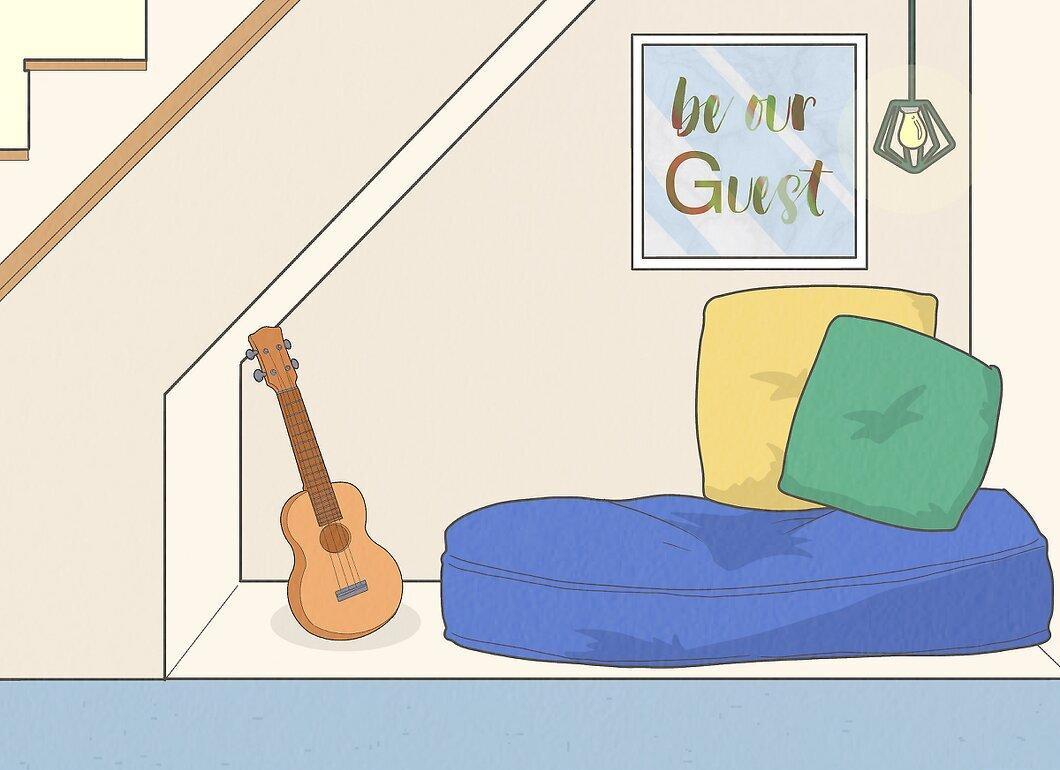
Supplement the space with necessary items. If you wish, place a small fridge, TV, computer, or foosball table in this area. If you have enough space, consider installing a sound system, exercise equipment, or designating space for musical instruments, weaving, or other hobbies that take up a lot of room.
Step 8. Provide More Storage Space.
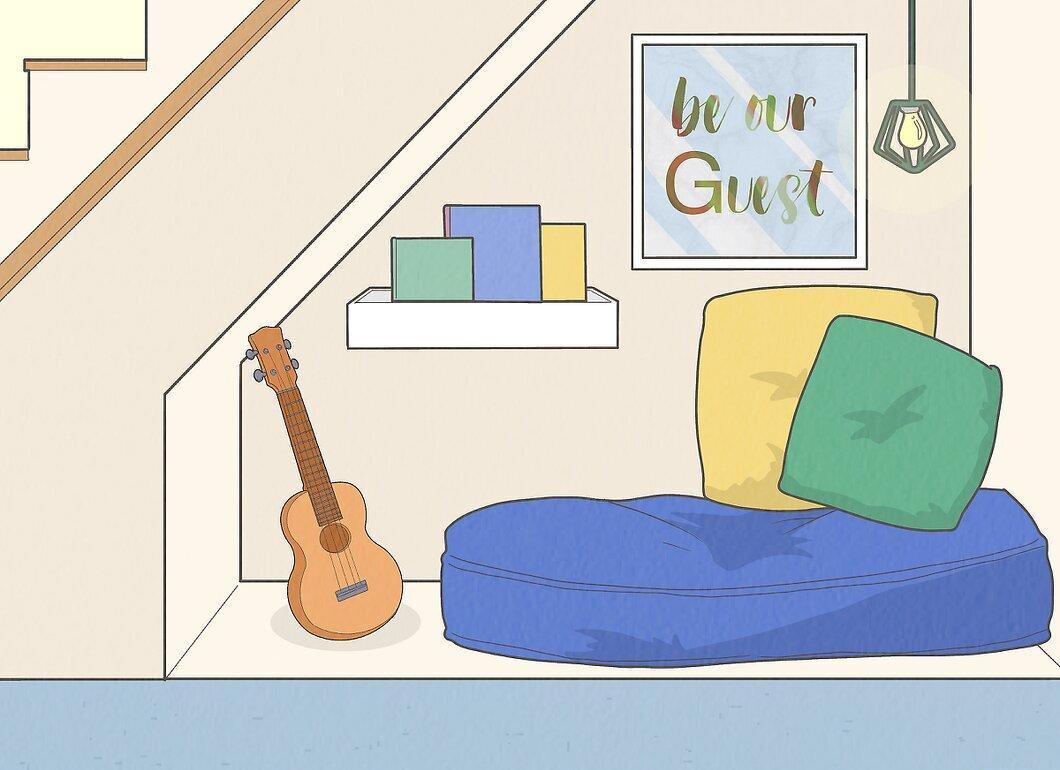
Provide more storage space. If family members will be listening to music, watching DVDs, playing games, crafting, or reading books, everything will need somewhere to be stored. You can use existing cabinets for this purpose or add new bookshelves, CD racks, cabinets, and similar items.
Step 9. Decorate the Space.
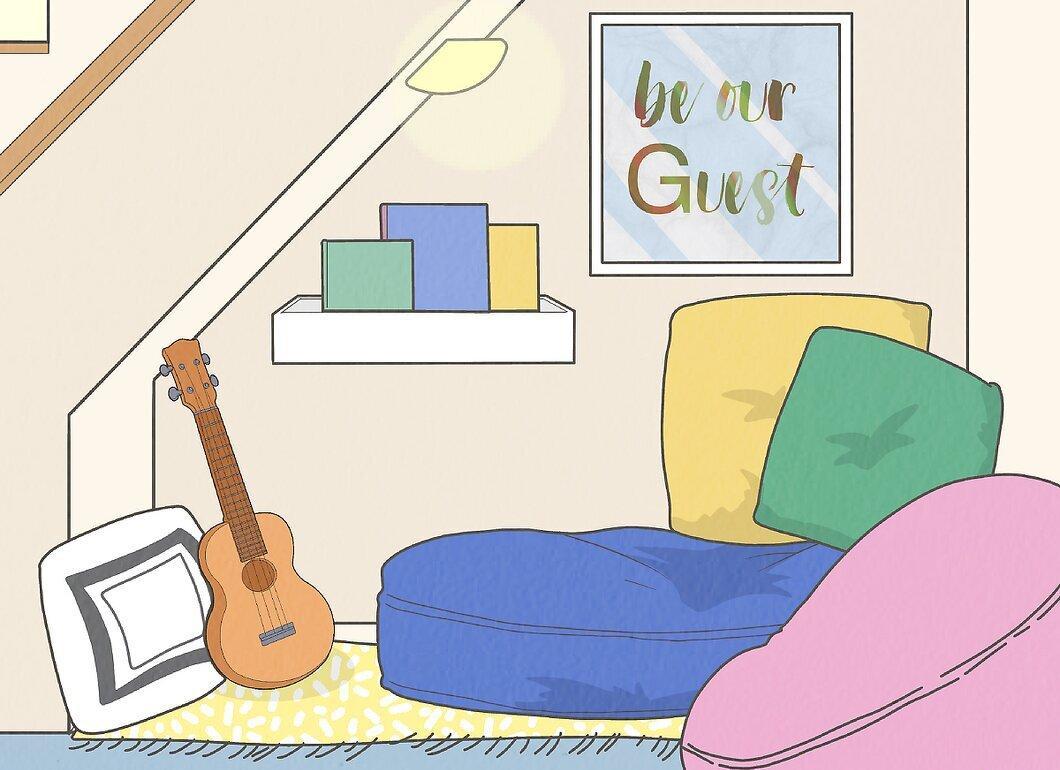
Decorate the space. Now that your relaxation area is fully furnished, decorate the remaining space as you wish. Place a rug underfoot, toss a few pillows on the sofa, hang posters on the walls, or arrange decorative items on the shelves.


