A timeline serves as a visual display of various events. This tool allows for a better grasp of the sequence of events, whether in history, storytelling, or any other process. By using a timeline, you can cover a wide range of topics, making it a popular choice for research projects. Creating a timeline is straightforward—just study the topic, outline your plan, and organize events chronologically.
Study Your Chosen Topic
Step 1. Gather Information on the Topic.

Start by collecting information on your topic or assigned theme. As you read, take note of events that should be included in the timeline. You will need to create a complete picture of your topic, so use multiple sources of information.
- Conduct research online, check out books in the library, or visit a museum or historical site related to your topic.
- Aim to use a variety of sources: websites, books, articles, and even documentaries. Try to gather at least three different sources.
Step 2. Create a List of Events for the Timeline.
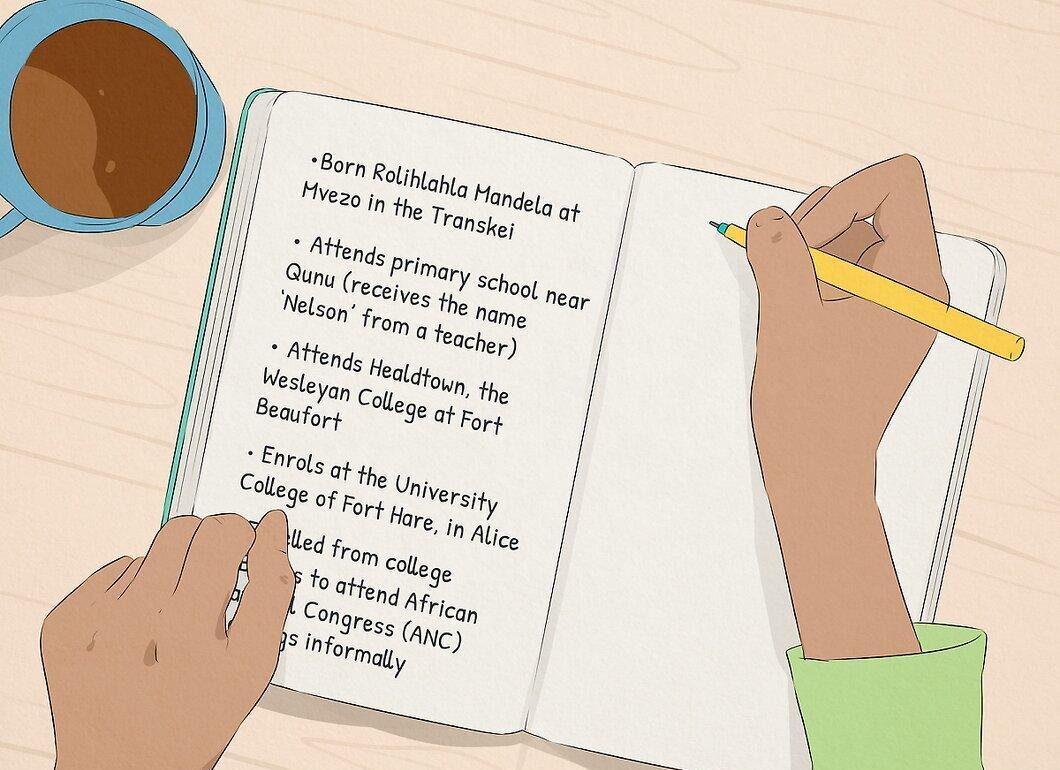
Make a list of the events you want to include in your timeline. Include not only key moments but also other significant events that may interest your audience. It is important that the information is engaging and reflects your understanding of the topic. Try to limit yourself to twenty events and include at least five of them. Here’s what you can add:
- key dates (such as birthdays and deaths, as well as other significant dates);
- historical events that impacted your topic;
- important episodes that shaped your topic.
Step 3. Use the Timeline for Storytelling.

A timeline can serve as an excellent tool for storytelling. Despite the differences in format, the timeline should be engaging and easily digestible. The reader should eagerly anticipate the next event, just like reading a gripping novel.
Structuring the Timeline
Step 1. Review Examples of Timelines.
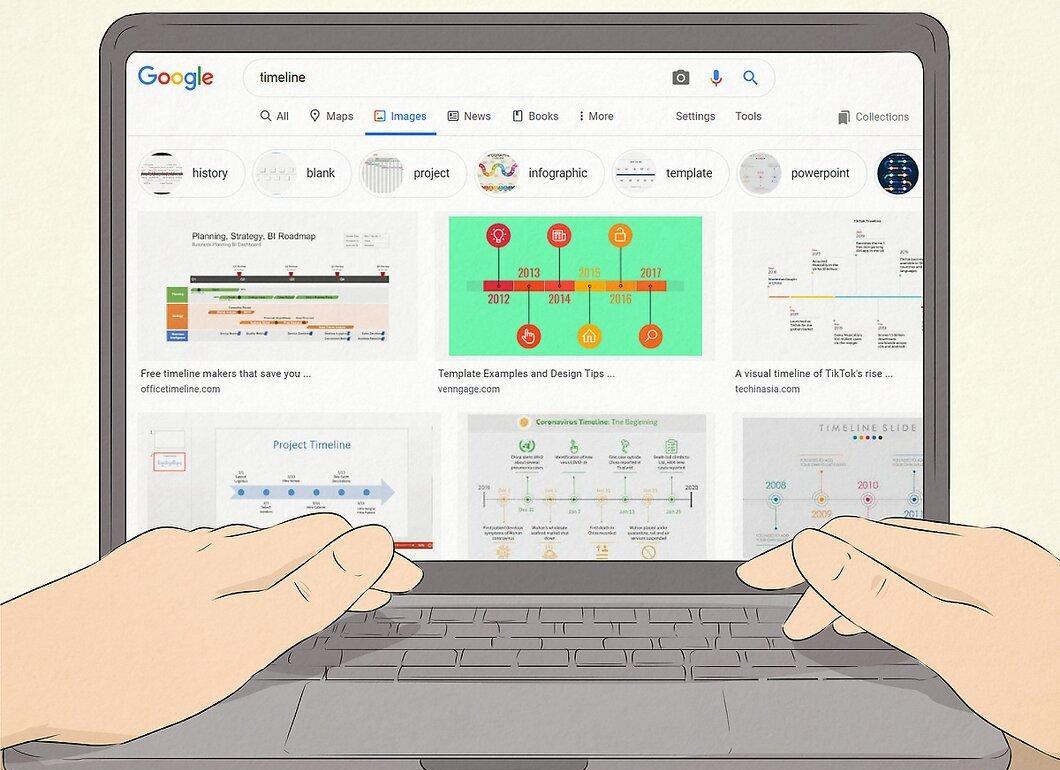
Look at examples of timelines. To understand what a timeline looks like, search online. Browse through several examples to get an idea of how to proceed with your project.
Step 2. Sketch the Timeline.

Create a rough sketch of your timeline. Do this with a pencil, then outline it with a black pen or marker. Be sure to include the project title and set a timeframe.
- If you are drawing by hand, use a ruler for neatness.
- When creating a digital version, choose an appropriate template.
Step 3. Determine the Start and End Points.
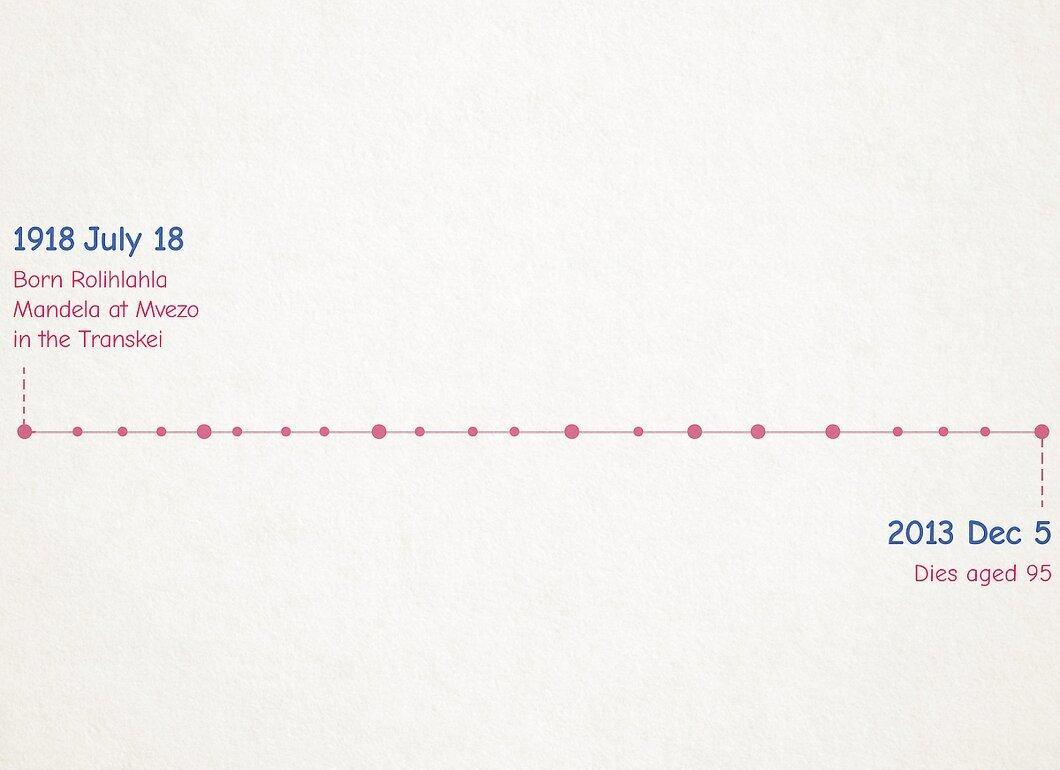
Establish the starting and ending points of your timeline. This is crucial for a clear structure of the topic, so make sure you have enough space for all events.
- You don’t have to start with a birth date or end with a death date. A timeline is simply a series of related events and does not have to be biographical.
- Study the topic and narrow it down to select appropriate boundaries.
Step 4. Decide How to Display Events.
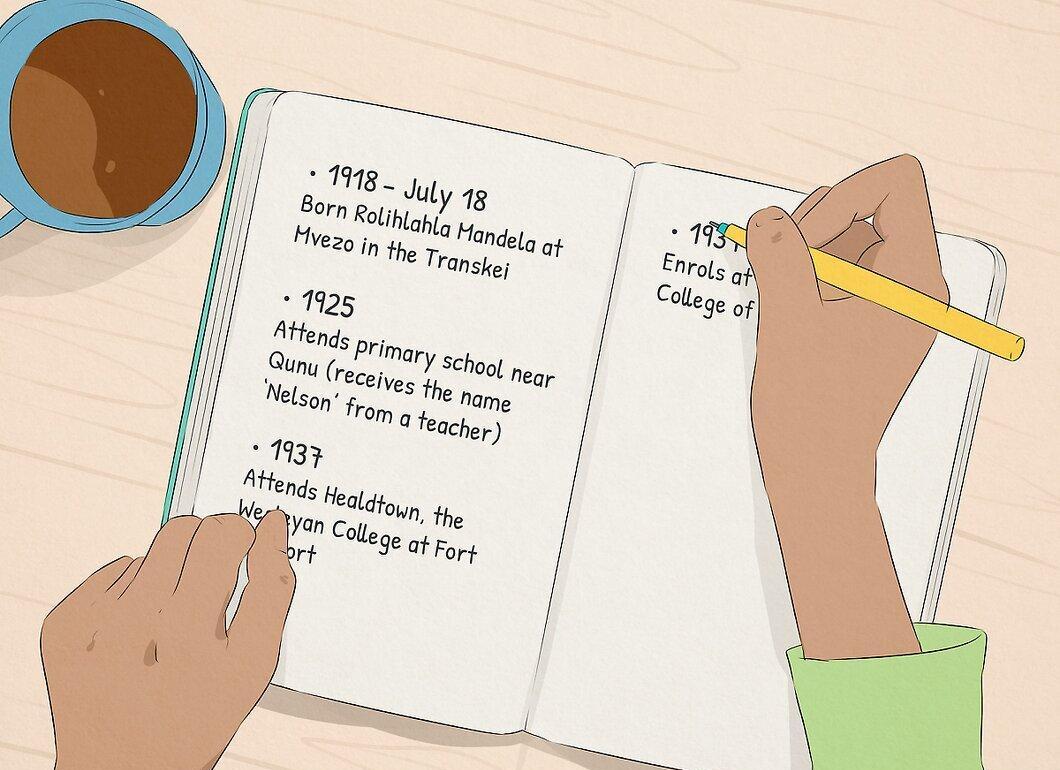
Determine how you will represent the events. There are many ways to visualize, and the choice depends on your preferences. Each event should be described and fit on the timeline.
- If you are doing it manually, write out the events on a separate sheet of paper first to gauge how much space each description will take.
- Alternatively, you can create electronic descriptions, print them, and attach them to the timeline.
- If everything is created digitally, make slides for each event.
- Add drawings or images for visual appeal to your timeline.
Step 5. Determine Time Intervals.
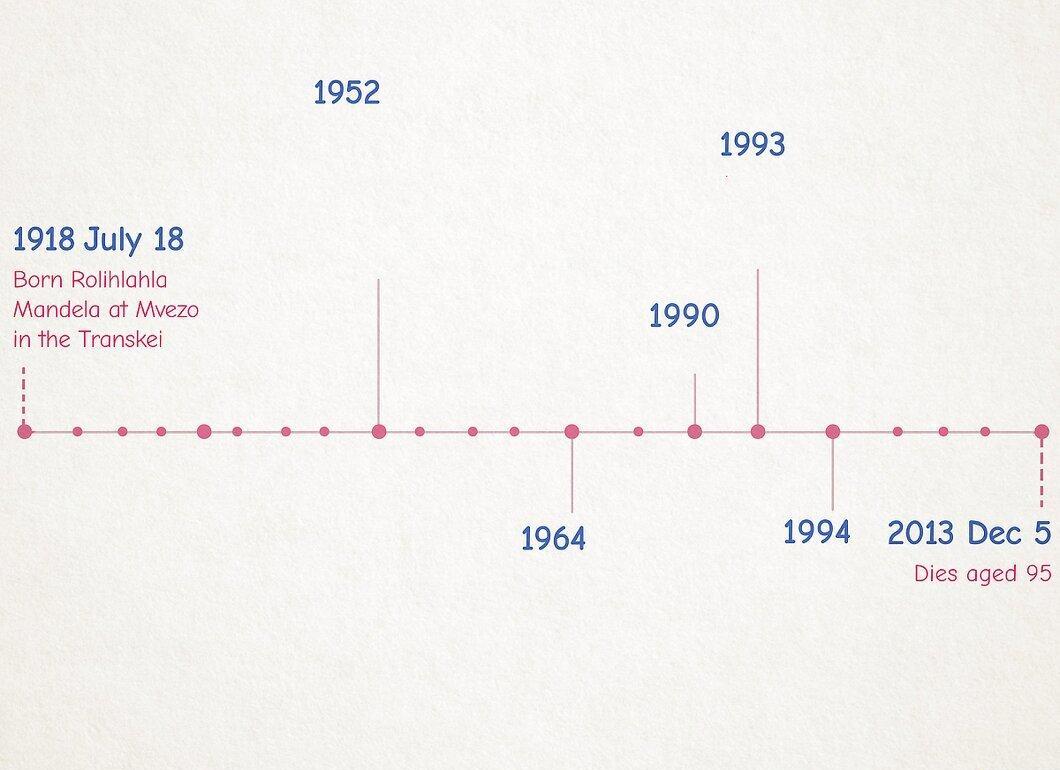
Choose time intervals. Depending on the period covered, you can use decades, years, months, or even days. Identify what best suits your topic and the number of events. Create evenly spaced lines between the start and end dates.
- These intervals are not the years of events but represent even gaps such as 5, 10, or 20 years apart. For example, you can mark the years 1920, 1930, 1940, and 1950, even if events occurred in 1923, 1928, 1938, and 1943.
Step 6. Place Key Dates on the Timeline.
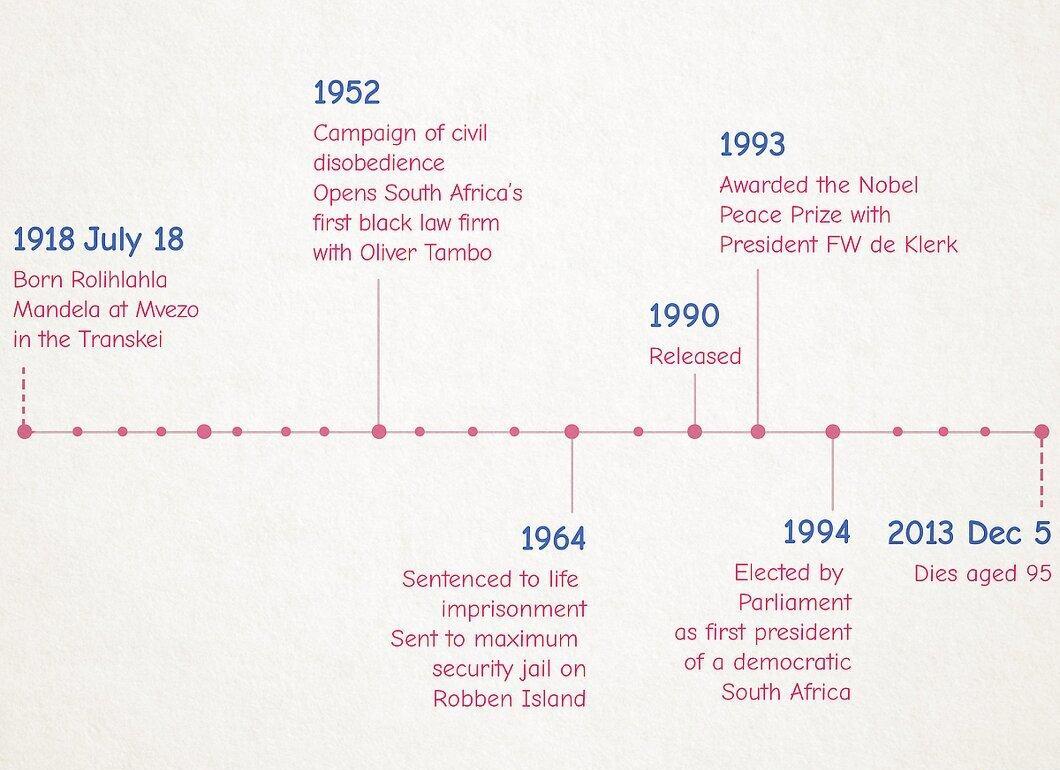
Mark important dates on the timeline. Move along the line and indicate spots for events. Draw perpendicular lines to denote the years when events occurred, and add brief descriptions.
- Ensure the events are in chronological order, not by significance. Events in the same year should run from January to December.
Finalize Your Timeline
Step 1. Come Up with a Project Title.
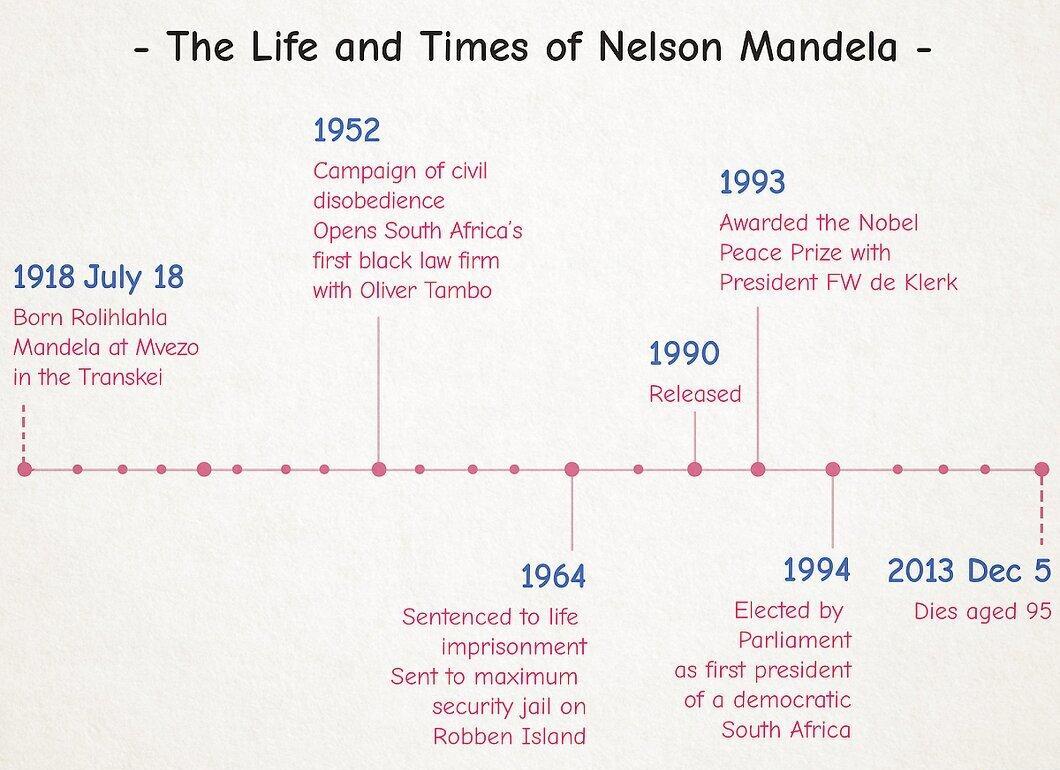
Choose an appealing title for your project that immediately conveys what the timeline is about. Make sure the title reflects the content of your project, not just the theme. For instance, instead of simply "NASA," use "NASA: The Search for the Moon." Here are some title ideas:
- The Life and Legacy of Nelson Mandela
- Beverly Hills 90210: A Modern History
- The Legendary Career of Jerome David Salinger
- Ancient Sequoias of California
- A Day in the Life of a Praying Mantis
Step 2. Add Details and Important Information About Events.
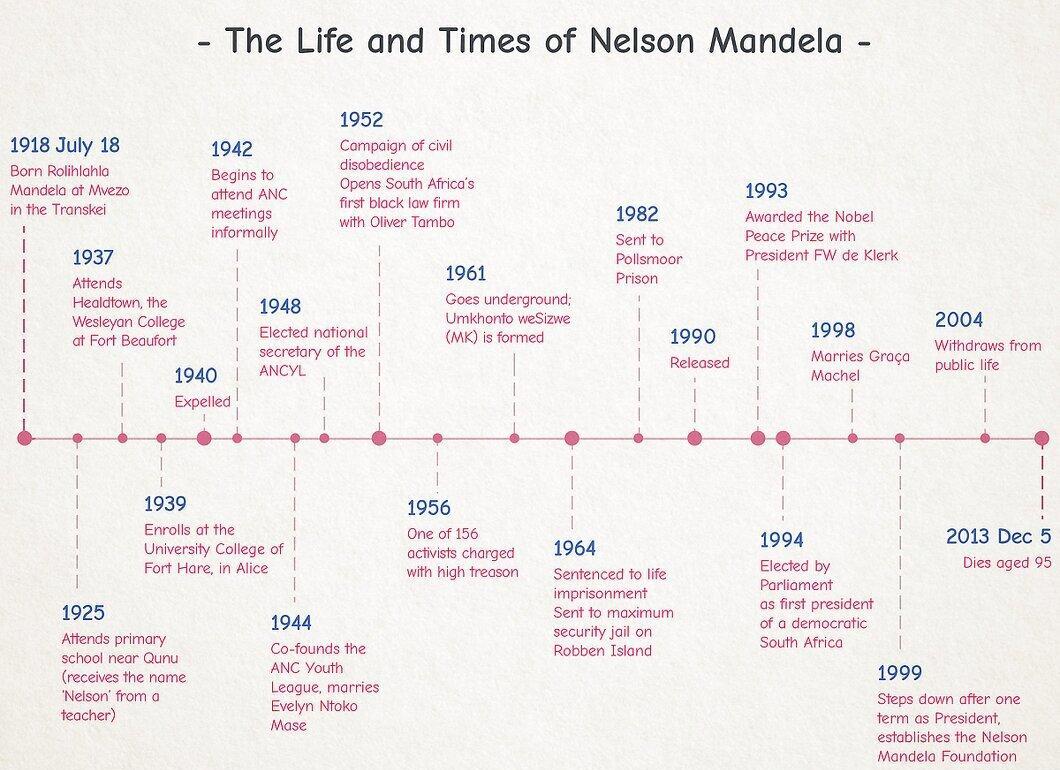
Provide details for each event. For each entry, add a brief explanation, including facts about the participants, the consequences of the event, and any significant numbers, such as casualties in a war. Include all details that help create a complete picture of the timeline.
Step 3. Write Clearly and Concisely.
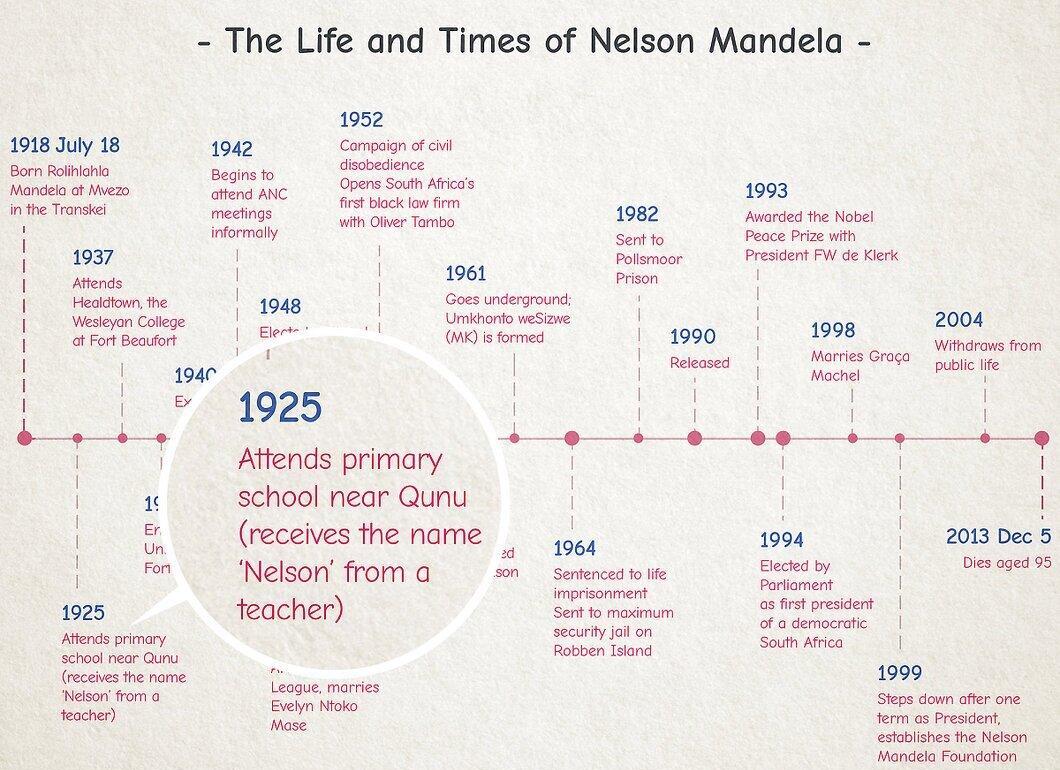
Your texts should be easy to understand, so write clearly and concisely. You can type captions, cut them out, and attach them to the timeline. Use minimal words to describe events and not take up too much space.
- If you are creating a digital version, also type the captions.
Step 4. Include Images.
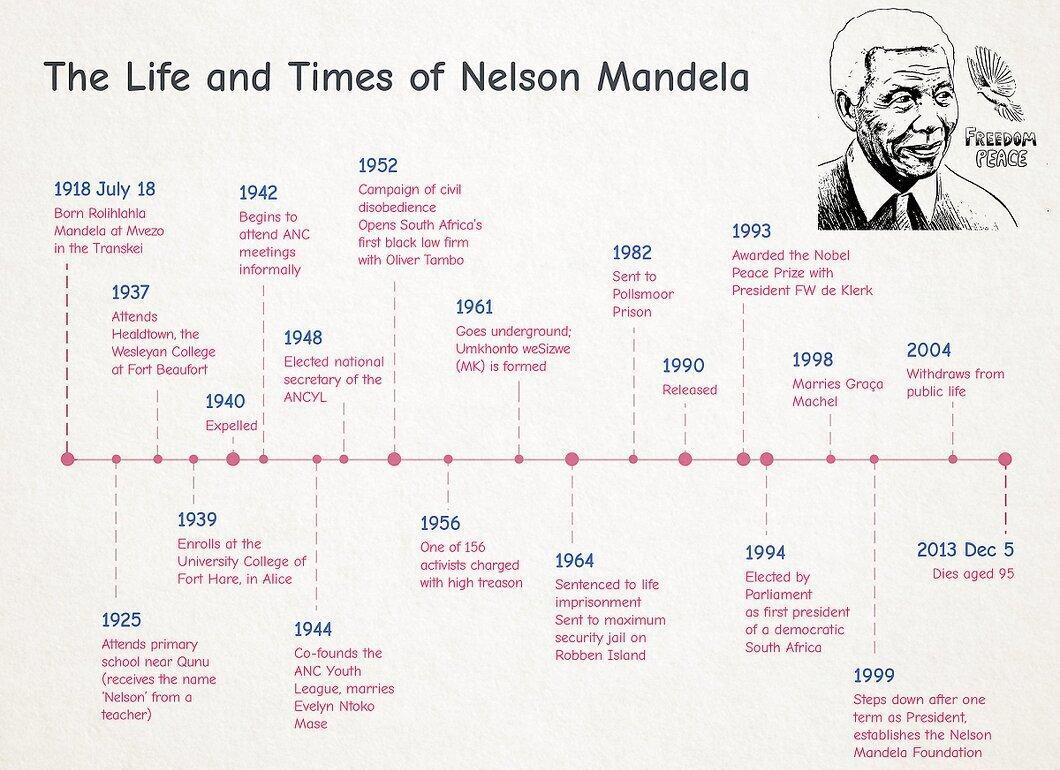
Add visual interest to your timeline with several images related to the events. Find pictures online, use those from books, or, if you prefer, draw them yourself.