
How to Create Fake Fingerprints: A Step-by-Step Guide
To make fake fingerprints, you'll need real ones. Usually, you can obtain them by pressing your finger on a piece of putty.
Invisible fingerprints can also assist in creating fake samples, but this requires more effort and special equipment.
Using Putty and Gelatin
Step 1. Make an Impression in Clean Putty.
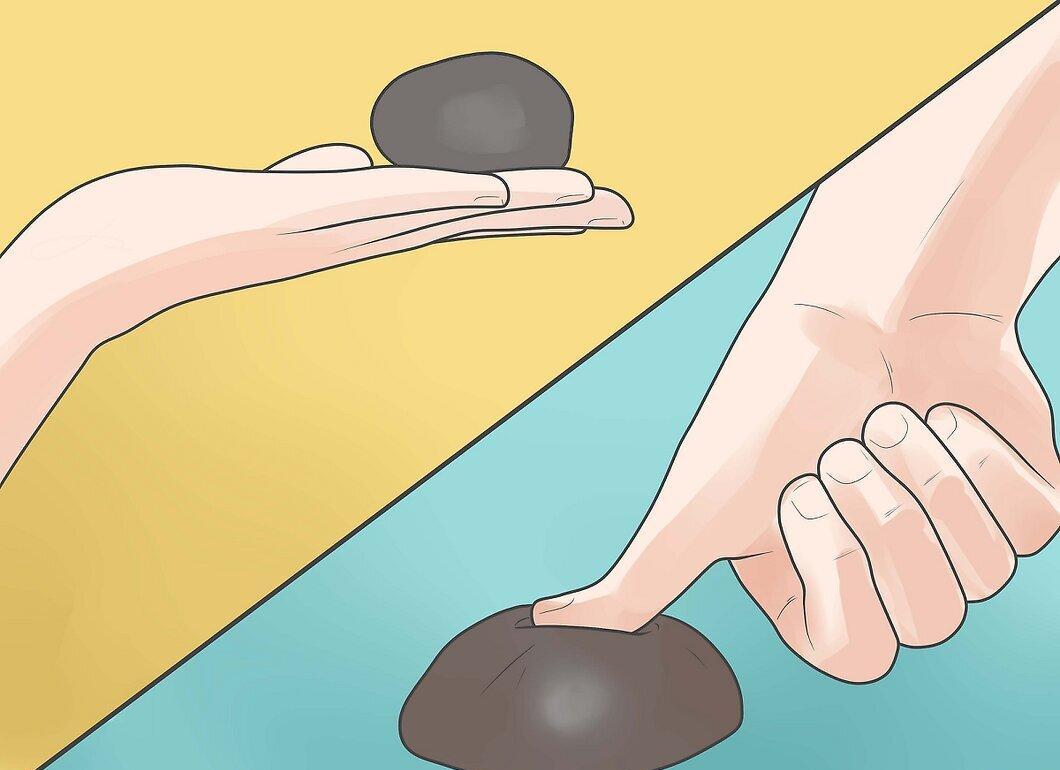
Take a new putty (spackle, clay, or a similar material) and leave an impression of your finger. Form a ball from the putty and press your finger into it to create the fingerprint you want to replicate.
- On a hot and smooth piece of paraffin, the impressions will be clearer, but you'll need to keep your finger on the surface for 5 to 10 minutes.
Step 2. Freeze the Putty.
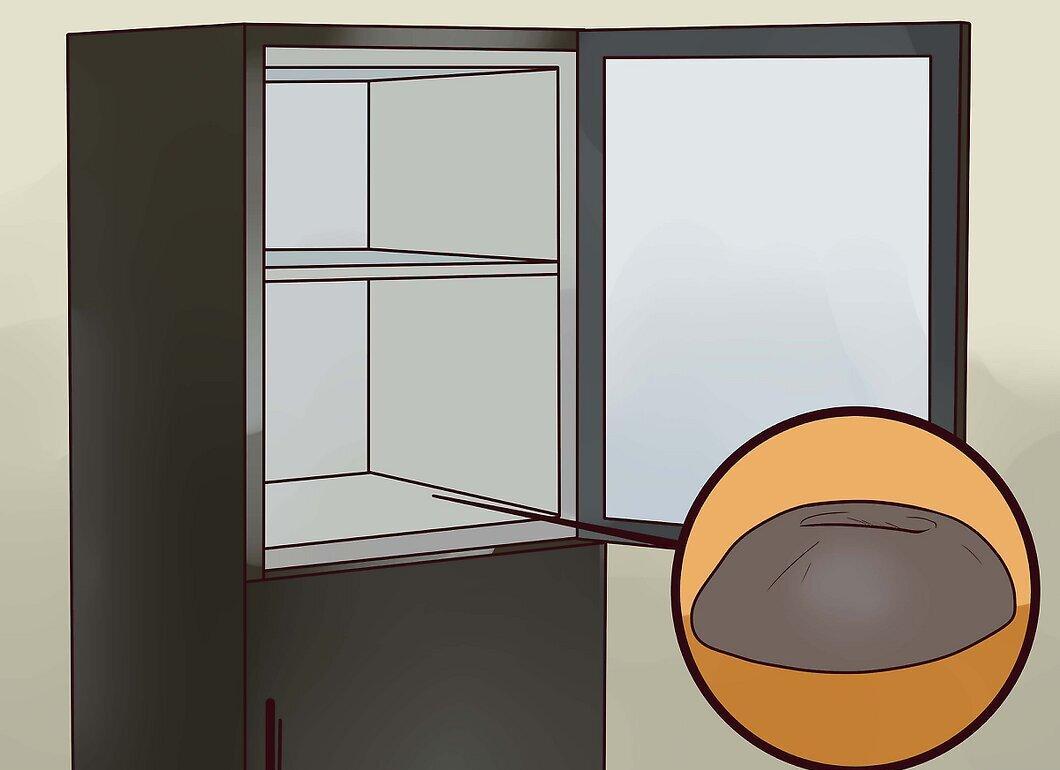
Place the putty in the freezer to set the impression. Keep in mind that after freezing, the material may become unusable for further use.
Step 3. Prepare the Gelatin.
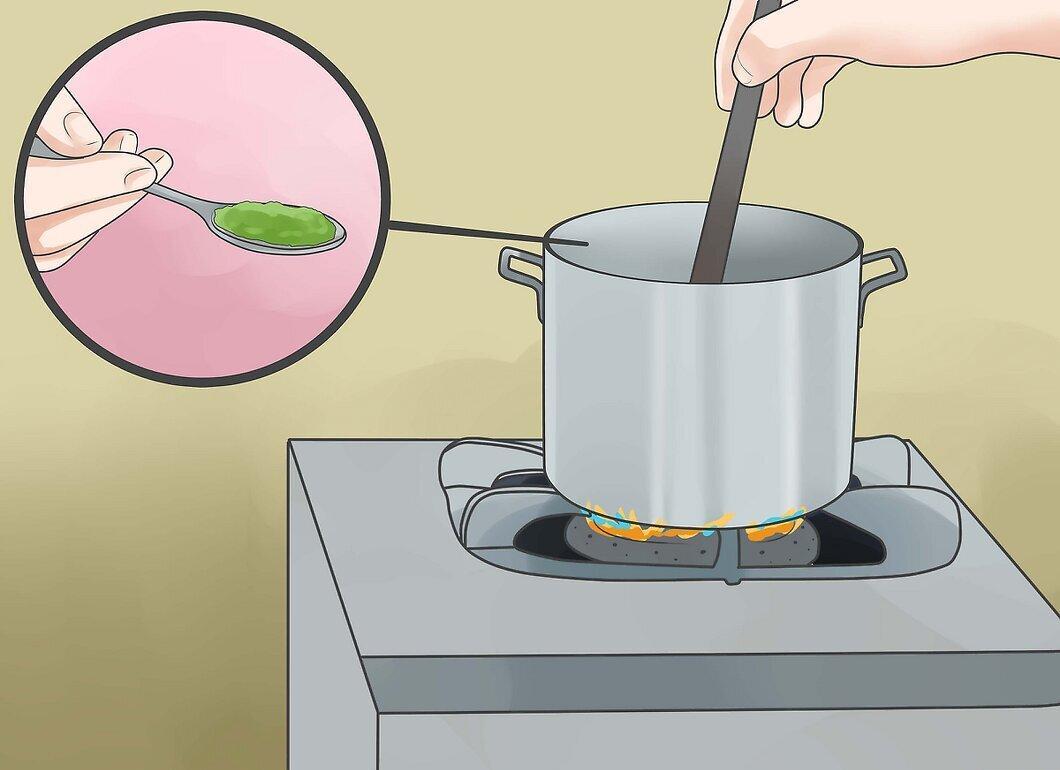
Make thick gelatin by adding gelatin powder to boiling water. Stir well until the powder is completely dissolved, then let the mixture cool.
Step 4. Prepare the Gelatin for Molding.
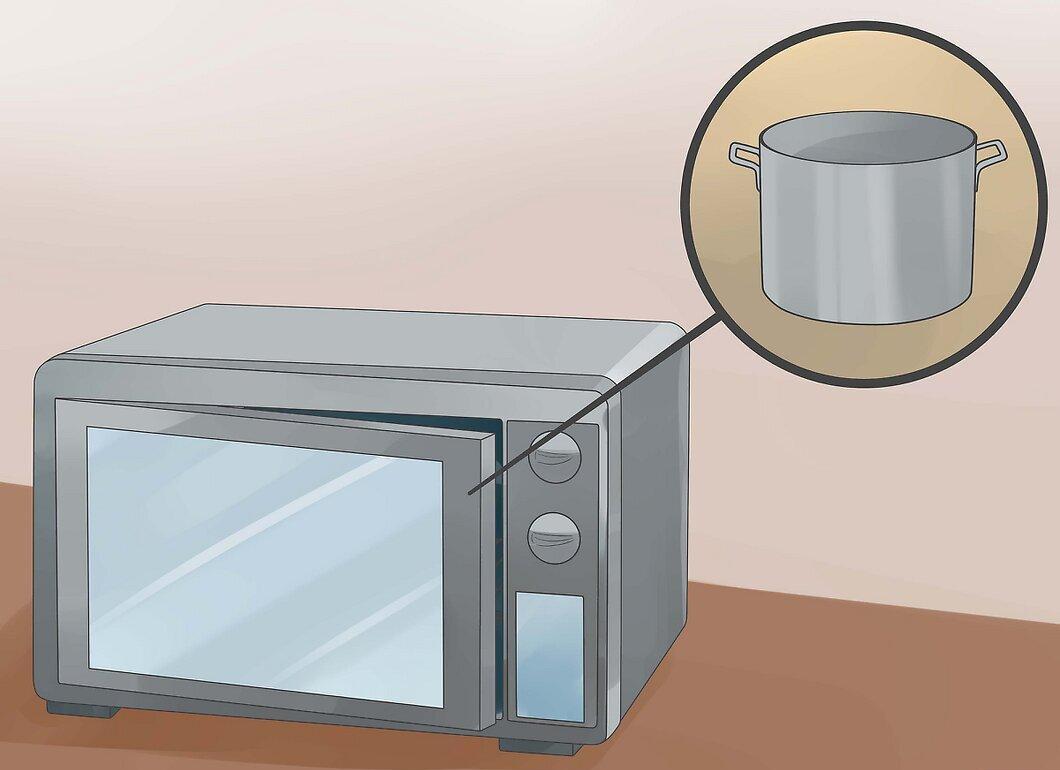
Once the gelatin cools to a thick gel state, melt it in the microwave and allow it to cool again. Repeat this until there are no bubbles left in the mixture.
Step 5. Pour the Gelatin into the Impression.

Melt the gelatin again and pour it into the impression left in the putty.
Step 6. Freeze the Gelatin with the Impression.
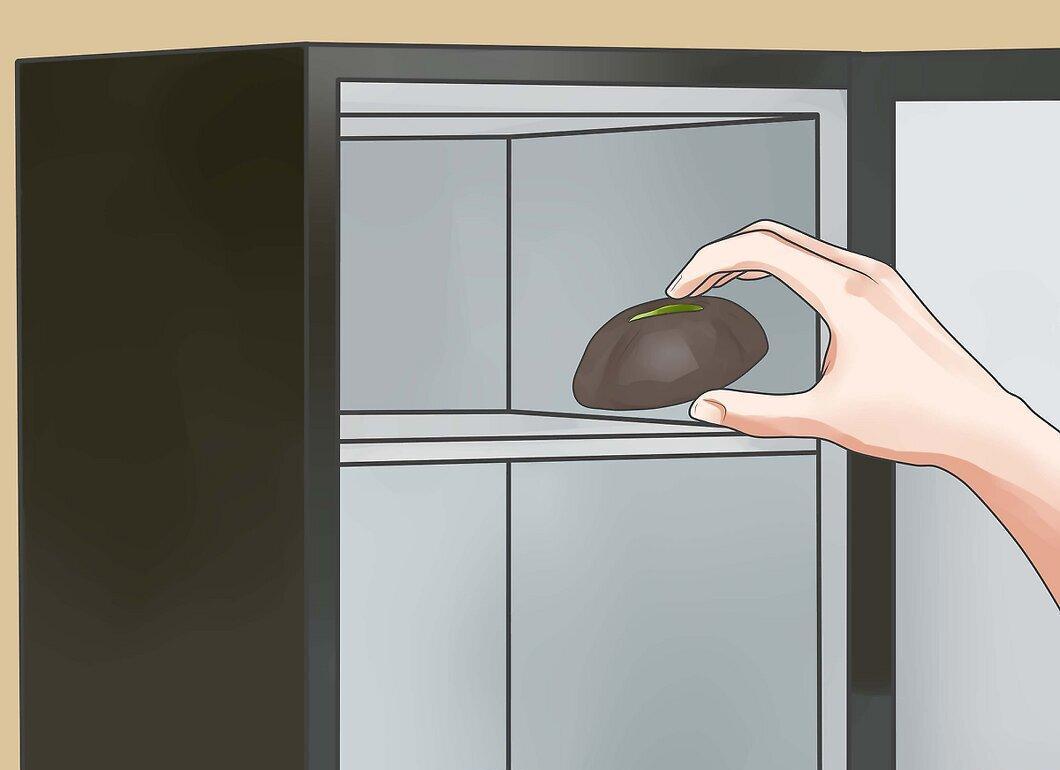
Place the putty with the gelatin back in the freezer. After a few minutes, the gelatin will harden like rubber. Carefully remove the gelatin — you now have a fake fingerprint!
Advanced Method
Step 1. Use Special Equipment.

This method allows you to create more accurate fingerprints without putty, but it requires special equipment, such as a scanner or camera and a printed circuit board.
Step 2. Find Fingerprints on Surfaces.
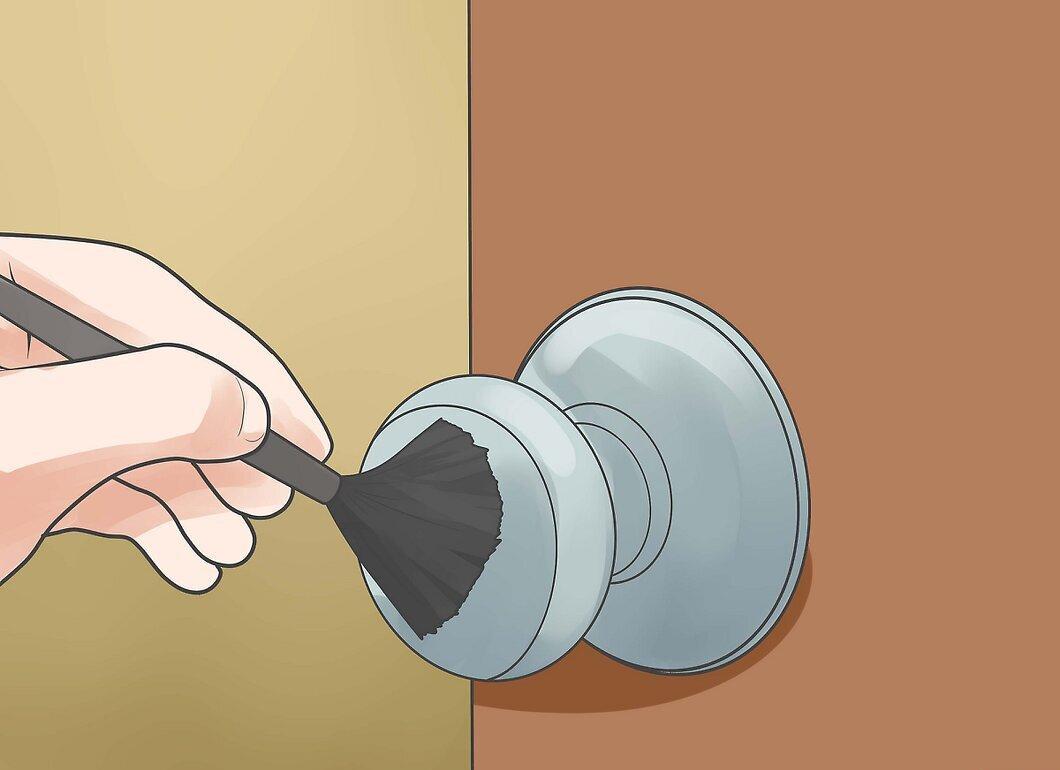
Inspect surfaces such as touchscreens or doorknobs for fingerprints. Use graphite powder or a special solution for this purpose.
- It’s easier to find fingerprints on light surfaces.
Step 3. Scan the Fingerprints.
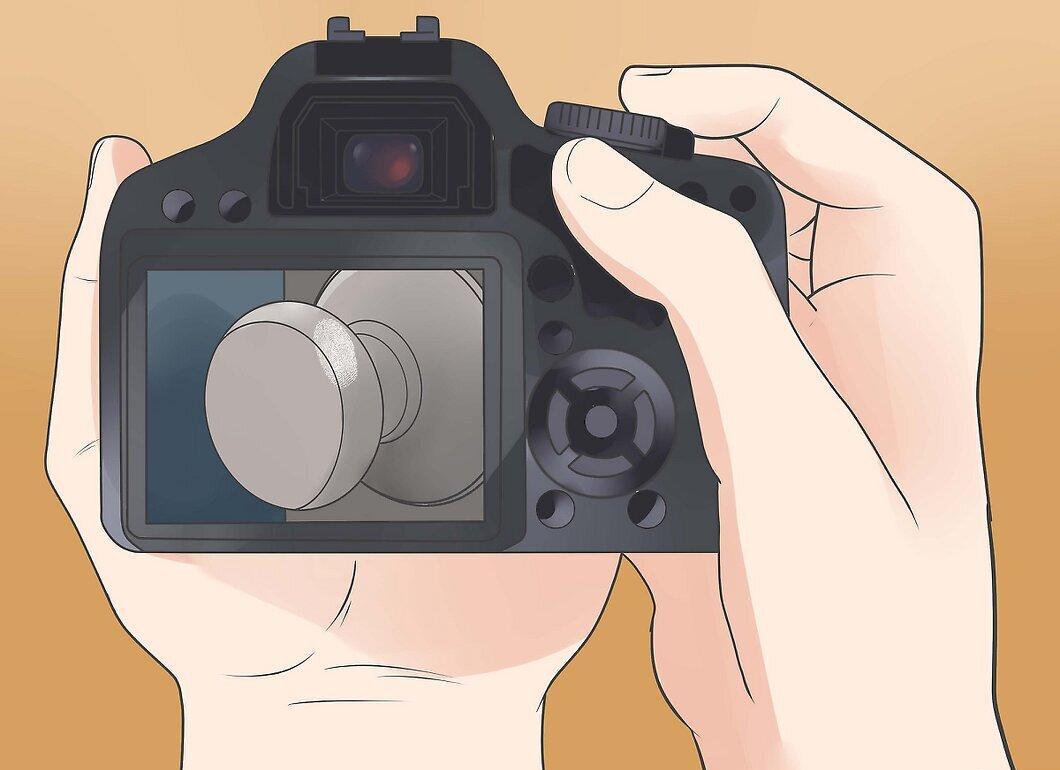
Scan the fingerprints at a resolution of at least 2400 dots per inch and upload the image to a computer with graphic editing software.
Step 4. Edit the Image.
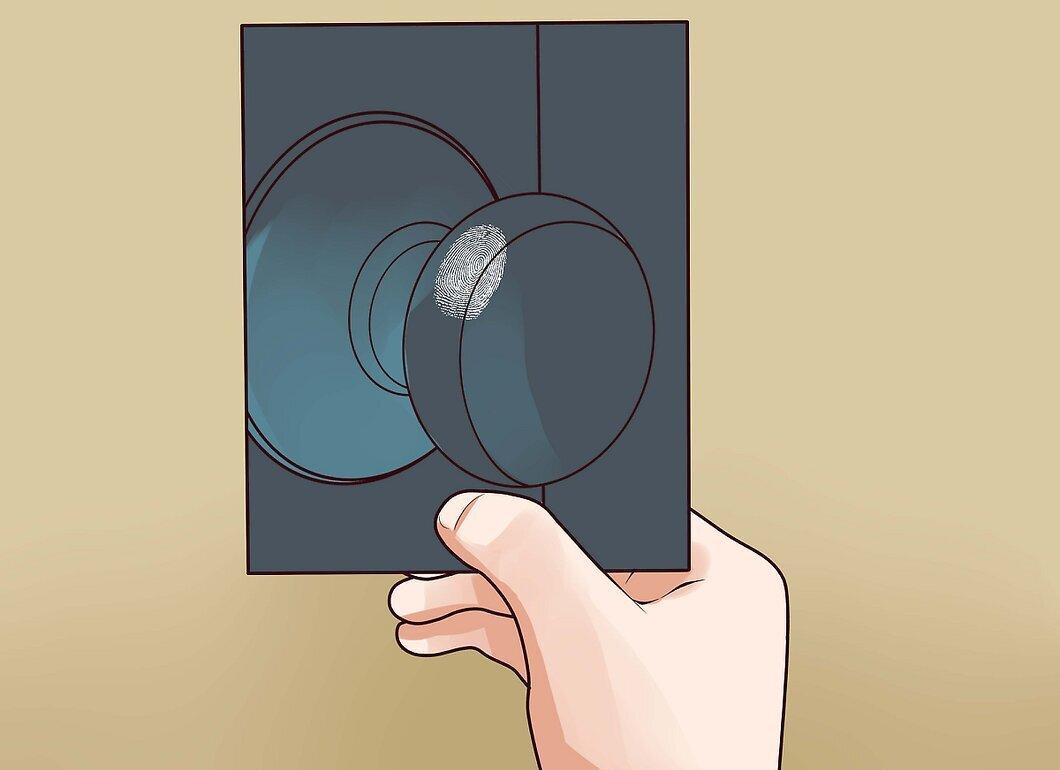
Use graphic editing software to flip the image and invert the colors (the fingerprints should be white, and the background black).
Step 5. Transfer the Fingerprint to the PCB.
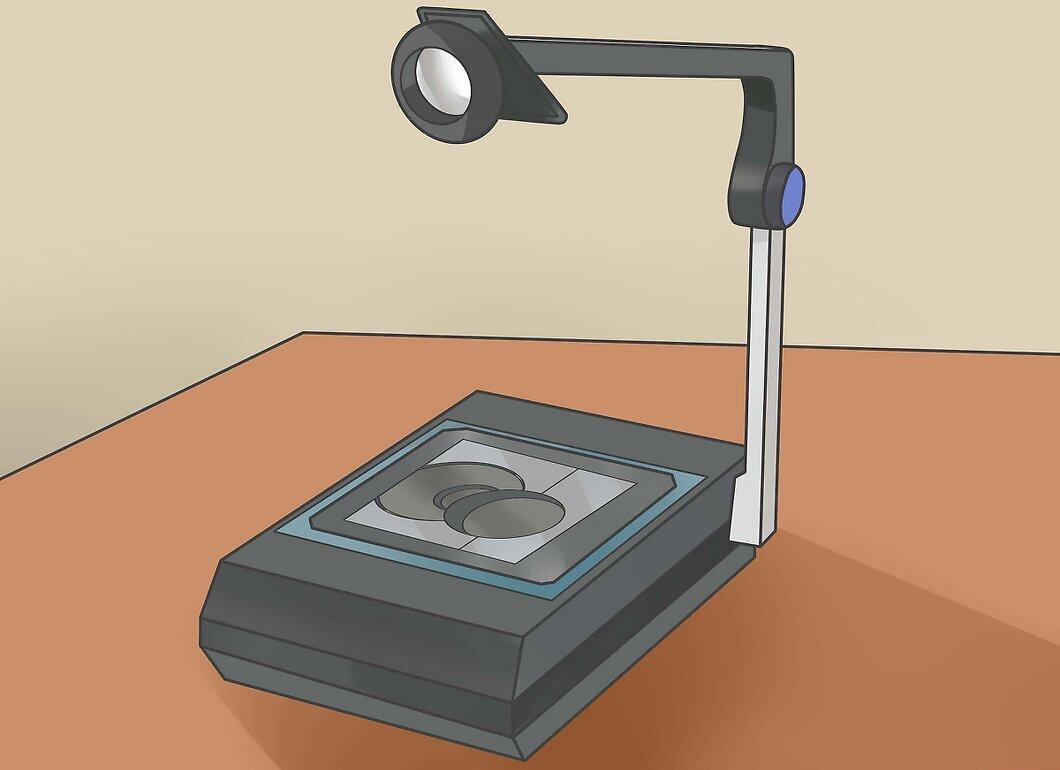
Print the fingerprint on tracing paper and use an etching machine to transfer it to the printed circuit board. If you lack the necessary materials, you can use transparent film, though this is less effective.
Step 6. Create a “Fake Finger.”
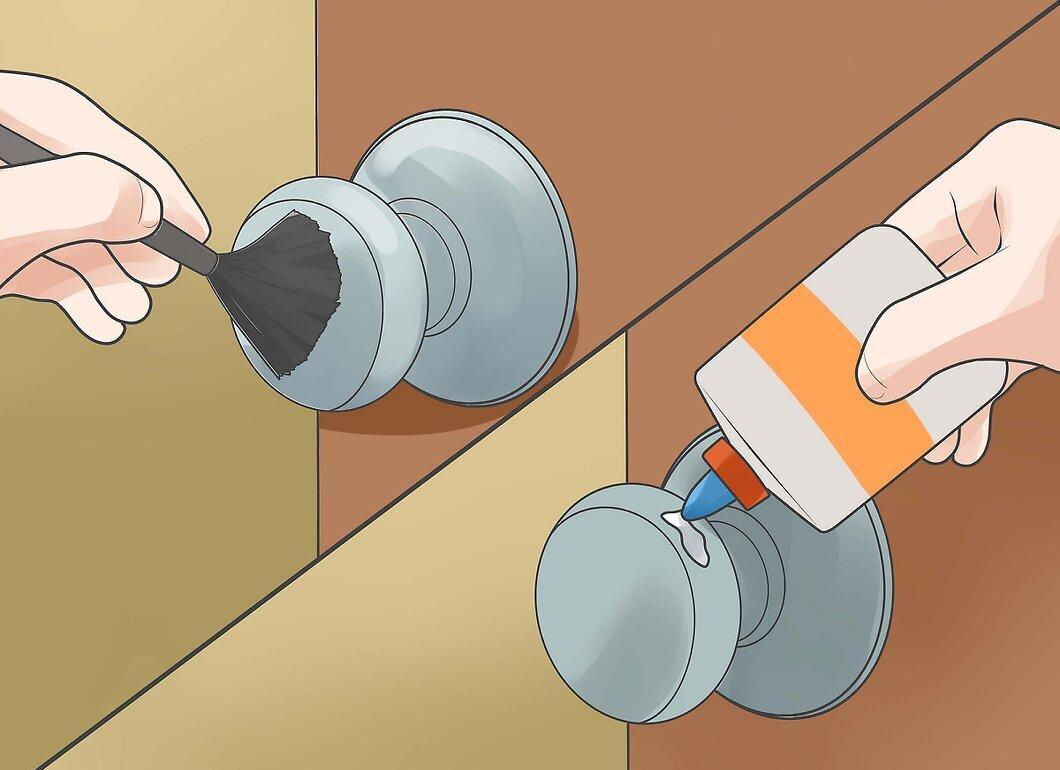
The embossed image of the fingerprint on the PCB or film can be used to create a “fake finger.” Apply graphite powder to the image, then cover it with a thin layer of white carpenter's glue or latex.
- Adding a drop of glycerin to the carpenter's glue will enhance its properties.
Step 7. Complete the Process.
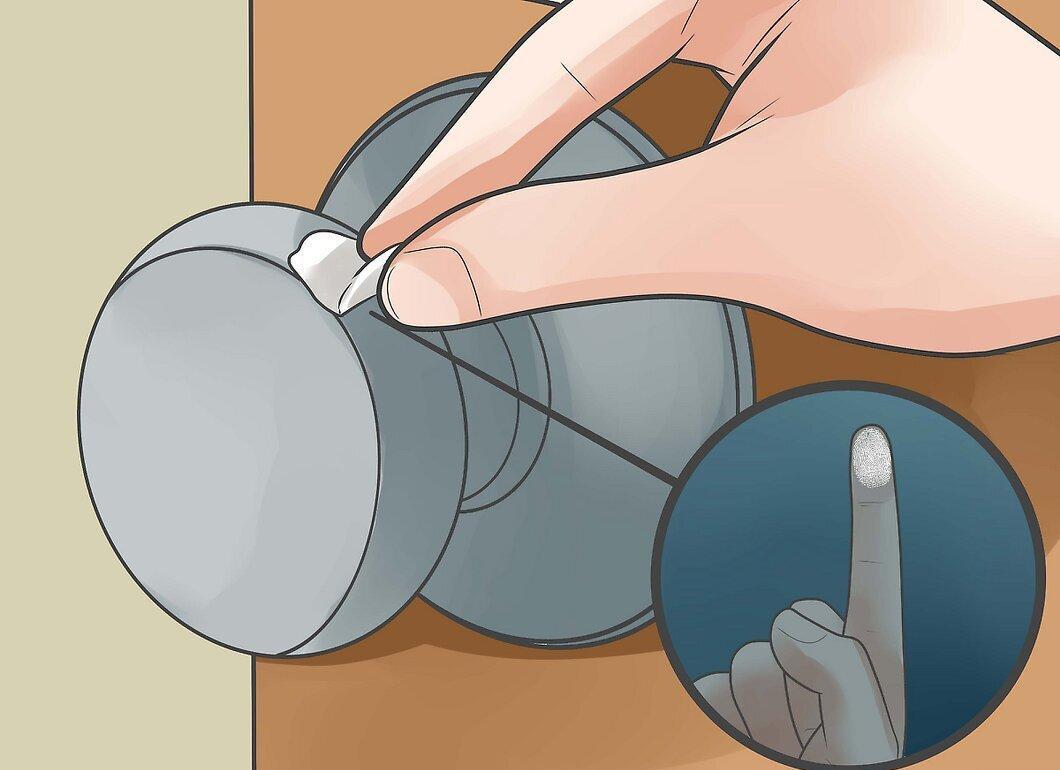
Once the glue dries, carefully remove it. Now you have a fingerprint that can be trimmed to the shape of a fingertip and attached to your finger using theatrical glue.


