
Non-working incandescent light bulbs can be excellent materials for various crafts, decorations, and science projects. Although disassembling may seem like a daunting task, with our tips, you'll find it easy to accomplish.
How to Disassemble a Light Bulb
Step 1. Grip the base joint with pliers.
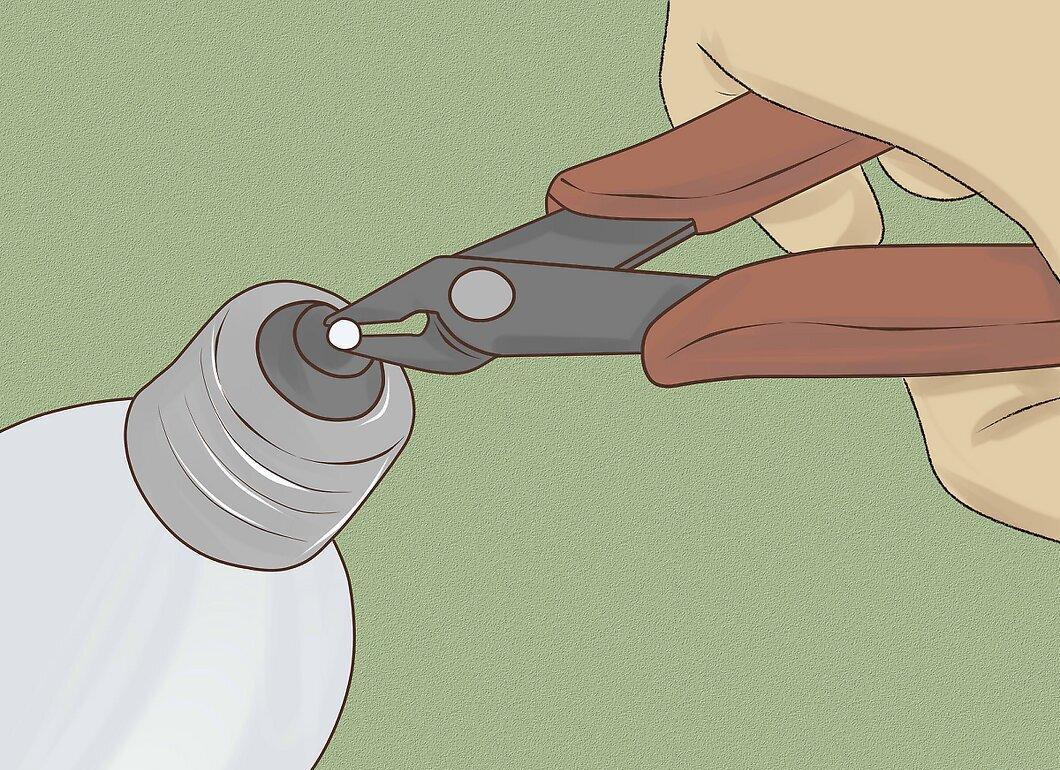
Take your pliers and grab the joint at the bottom of the bulb where you'll find a small metal connection. Make sure to grip it firmly.
- Keep in mind that during disassembly, the glass may shatter, so it's best to do this inside a box or on several sheets of paper. Don’t forget to wear protective gloves and goggles.
Step 2. Twist and pull out the metal base.
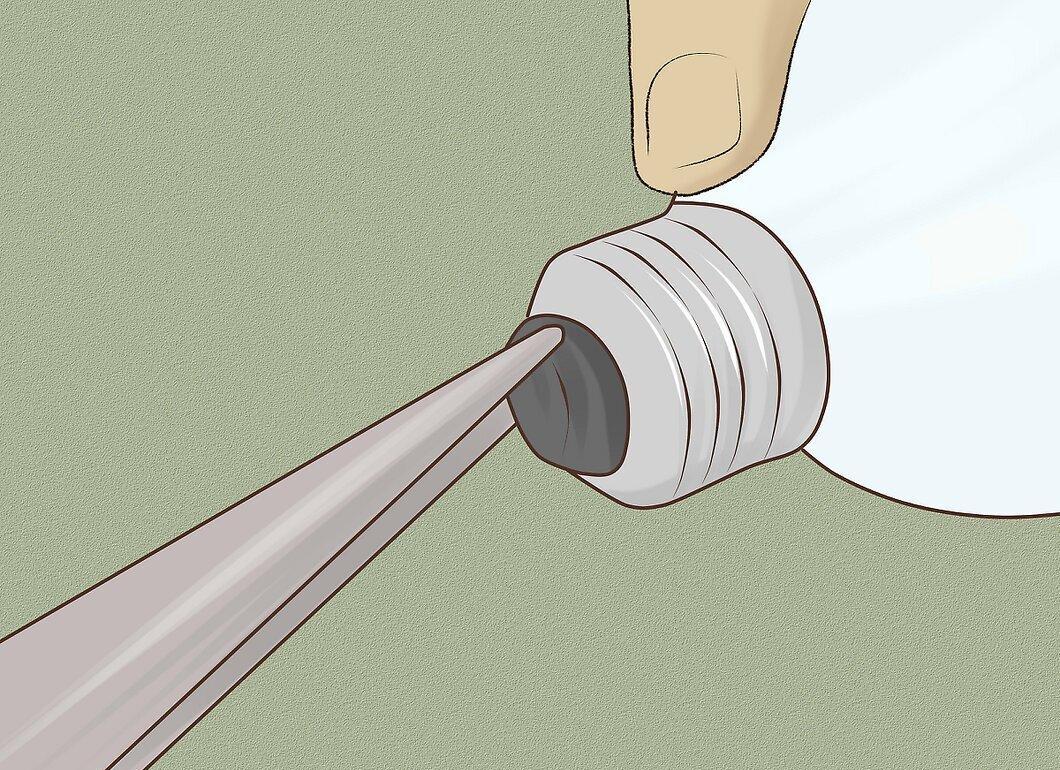
Twist the pliers until you hear a crack from the wires inside that connect the copper element to the filament. After that, carefully remove the metal base.
- Hold the bulb with your other hand for more stability while working.
- If the joint doesn't come out easily, you can gently wiggle it side to side to ease the extraction process.
Step 3. Break the glass insulator.
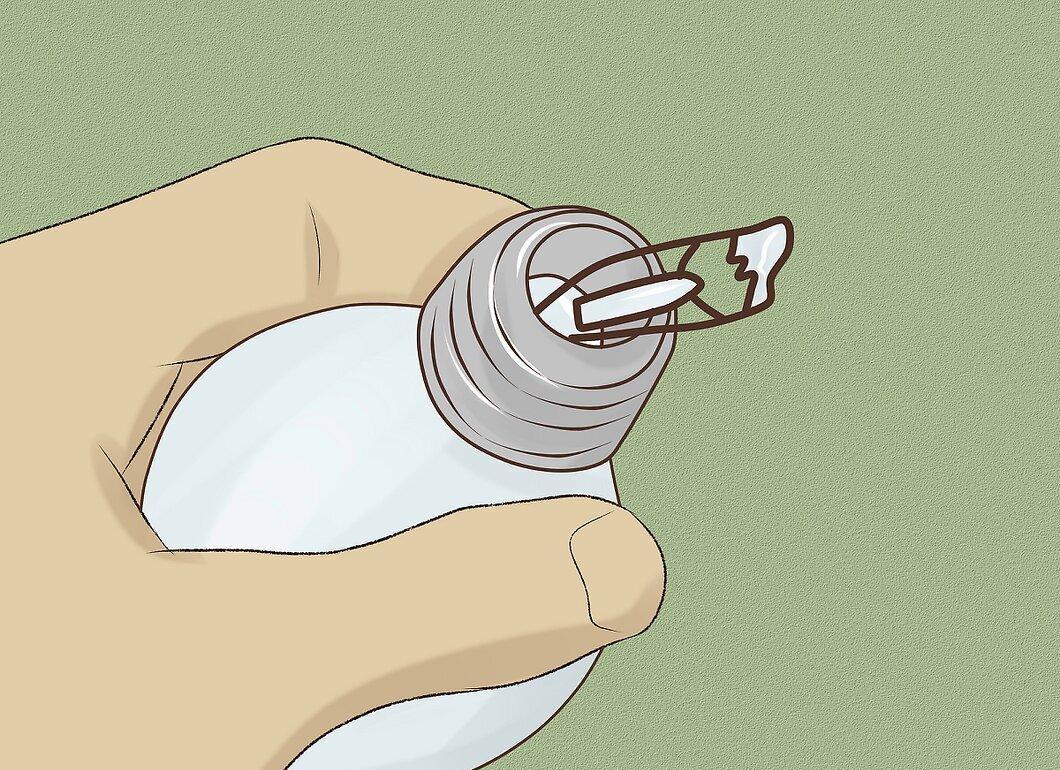
Attach the pliers to the black glass insulator and carefully twist it to break it apart.
- Remember that the glass here is thick and will require some effort. Hold the bulb tightly with your other hand.
- If the insulator doesn’t break on the first try, try working at different angles.
Step 4. Remove the shattered insulator pieces.
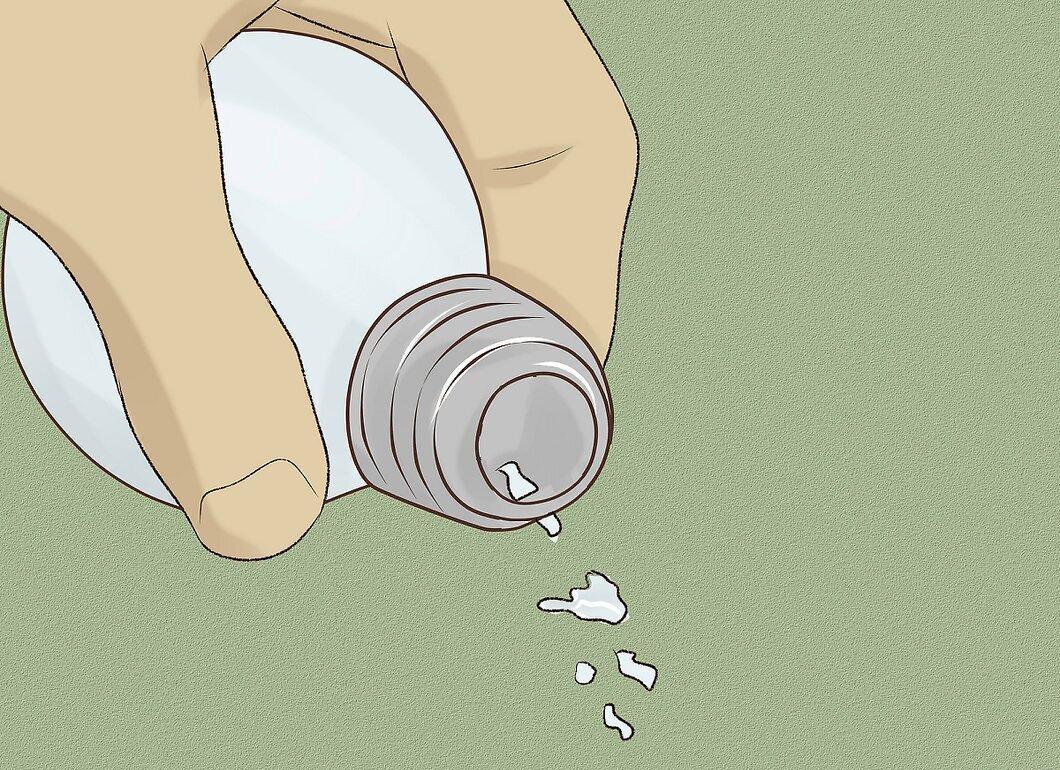
Using tweezers, carefully remove the shards of black glass from the base.
- Be cautious, as the shards can be very sharp, so don’t handle them with bare hands.
- After cleaning up, you will see the internal components of the bulb.
Step 5. Remove the internal fill tube.
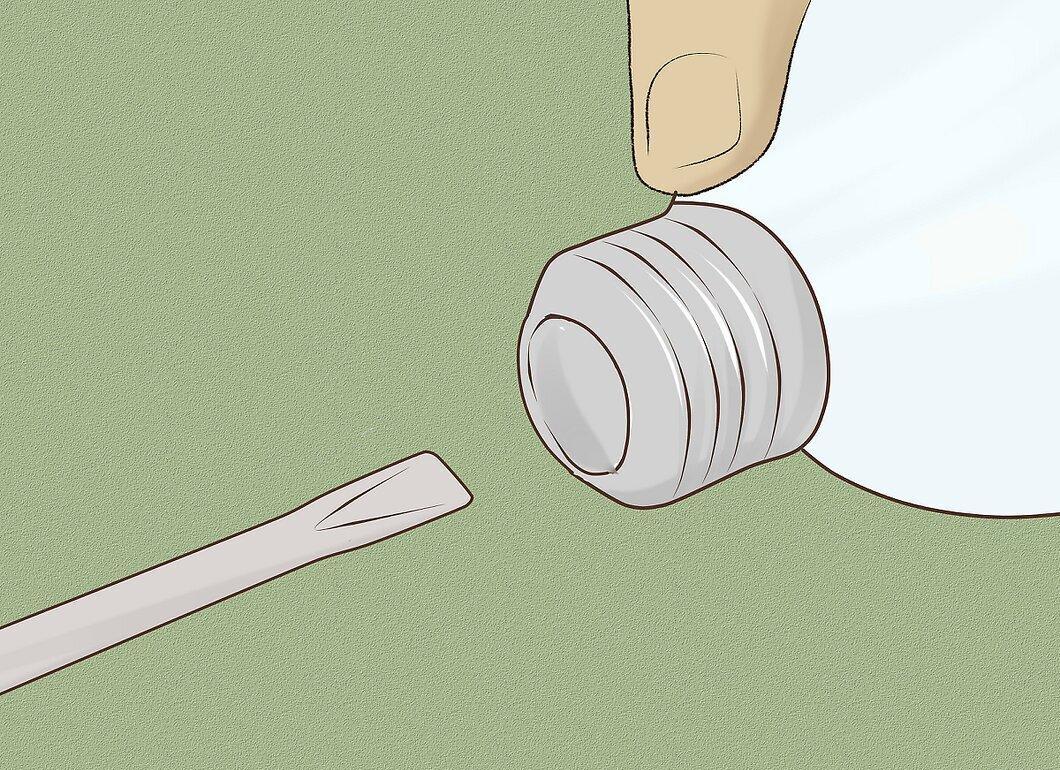
Using a flathead screwdriver, pry up the bottom of the bulb to extract the fill tube.
- The bulb is filled with a safe inert gas, such as argon. You will hear a sound as the gas begins to escape.
Step 6. Pull out the tube.
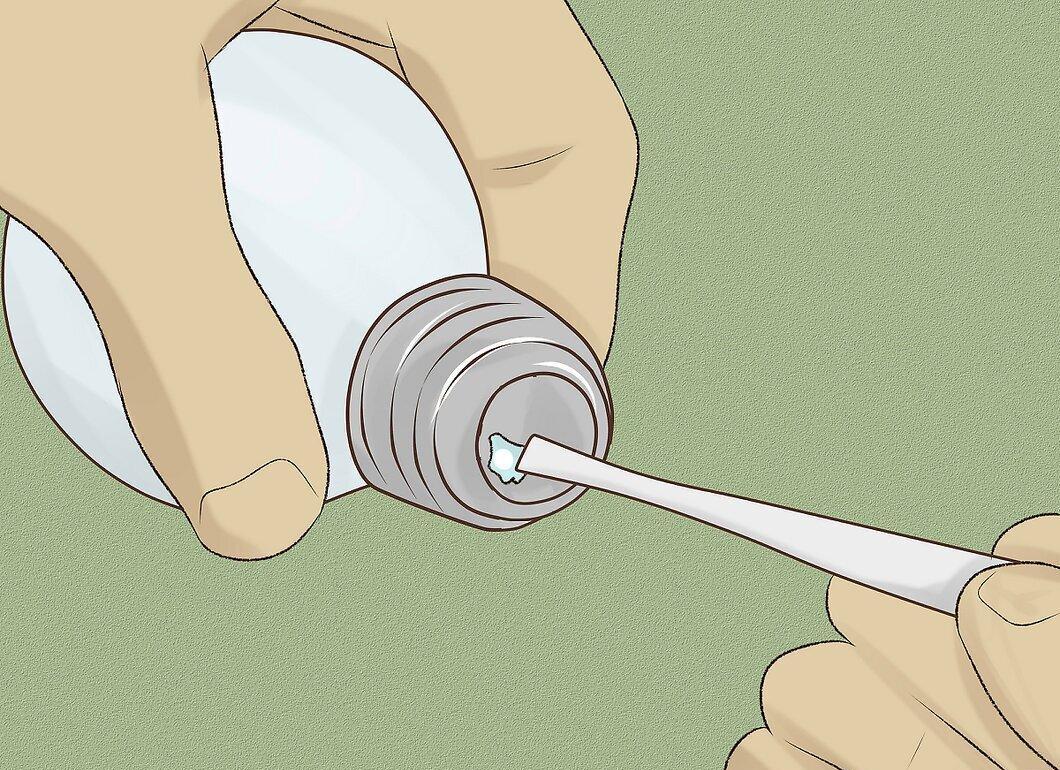
Use the screwdriver to finally free the tube, then carefully pull it out with the pliers.
- If you can extract the tube intact, it will be a great bonus for your future projects.
- If not, you may need to break the tube, remembering to clean up the shards.
Step 7. Extract the tungsten filament.
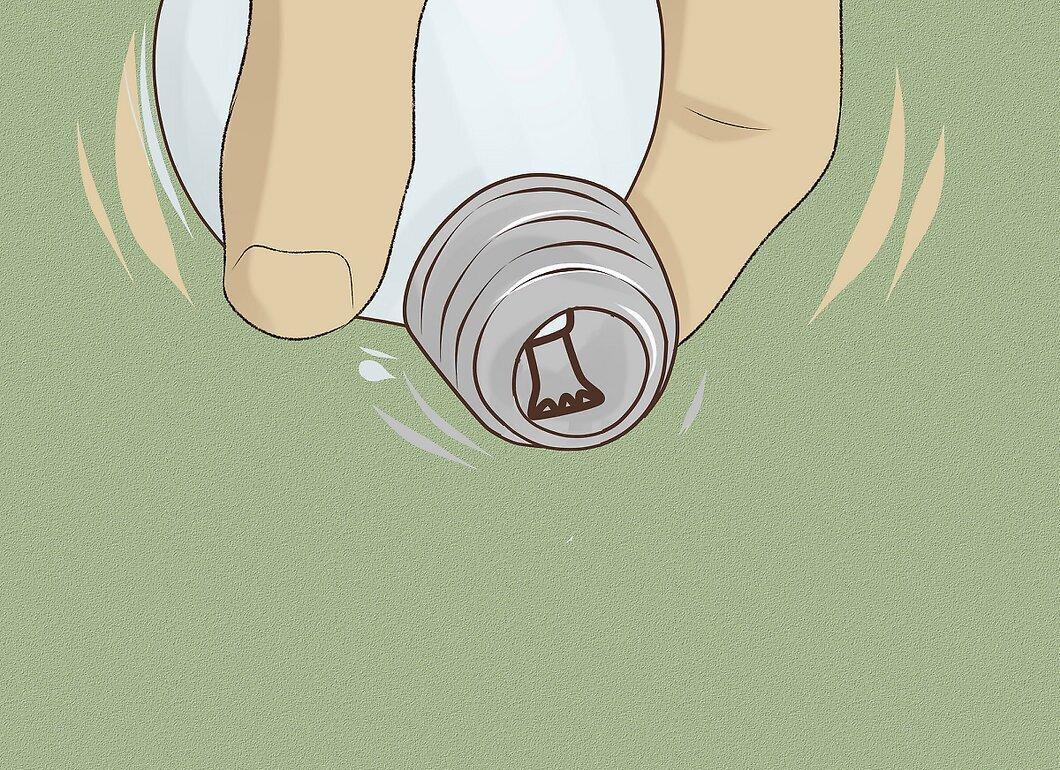
Gently shake out the remaining parts from the bulb onto your work surface.
- If the filament is undamaged, you can reuse it.
Step 8. Break and clean up remaining shards.
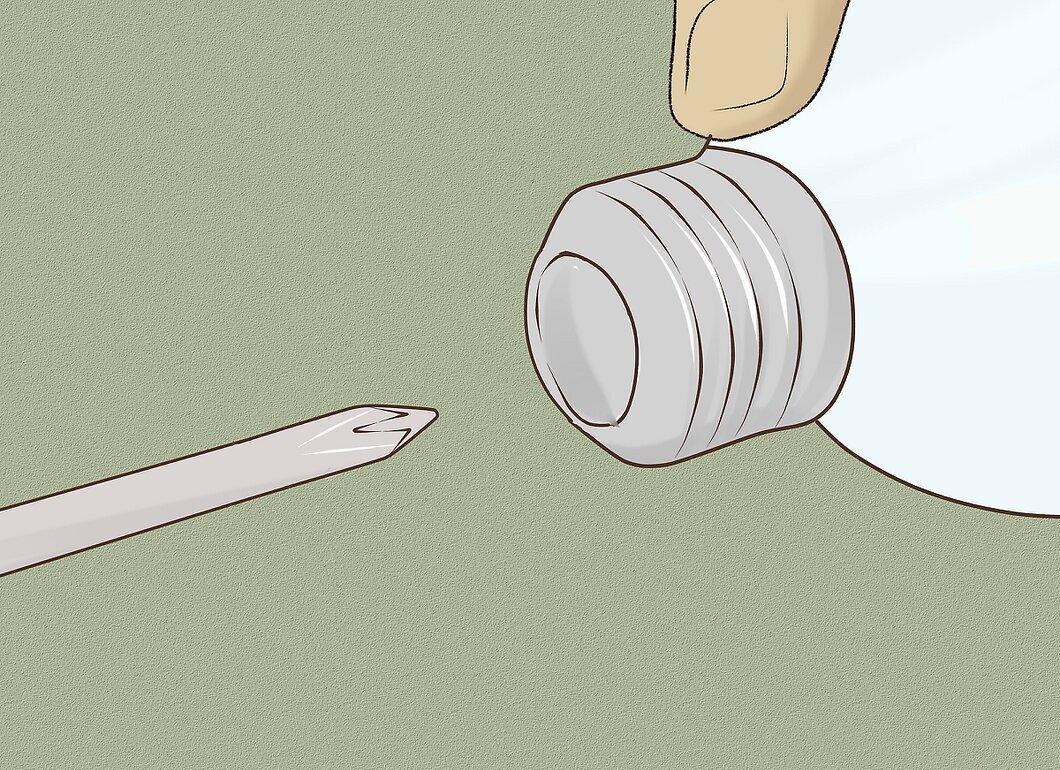
If there are any small glass shards left, carefully break them up using a screwdriver.
- Remove the shards using tweezers.
- At this point, the bulb will be open and empty. You can stop here or continue if you need more space.
Removing the Metal Socket
Step 1. Determine if removal is necessary.
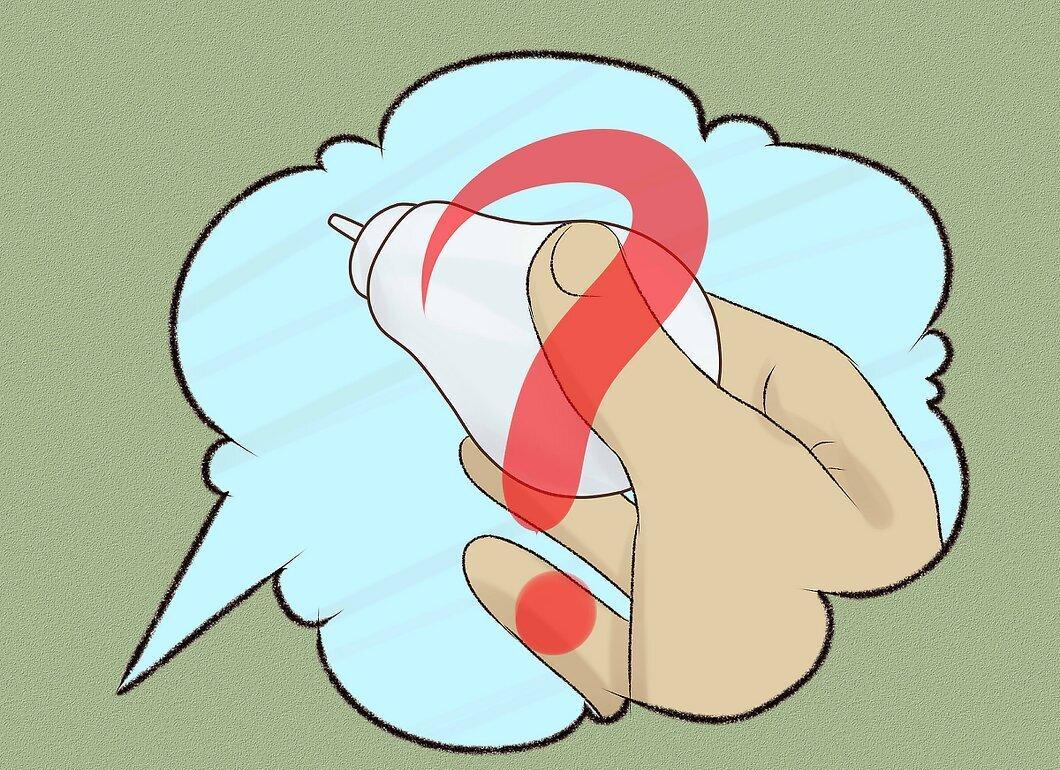
Decide whether the metal socket needs to be removed. For most crafts, it can remain in place. However, if you need more space or better aesthetics, proceed.
Step 2. Soak the socket in hydrochloric acid.
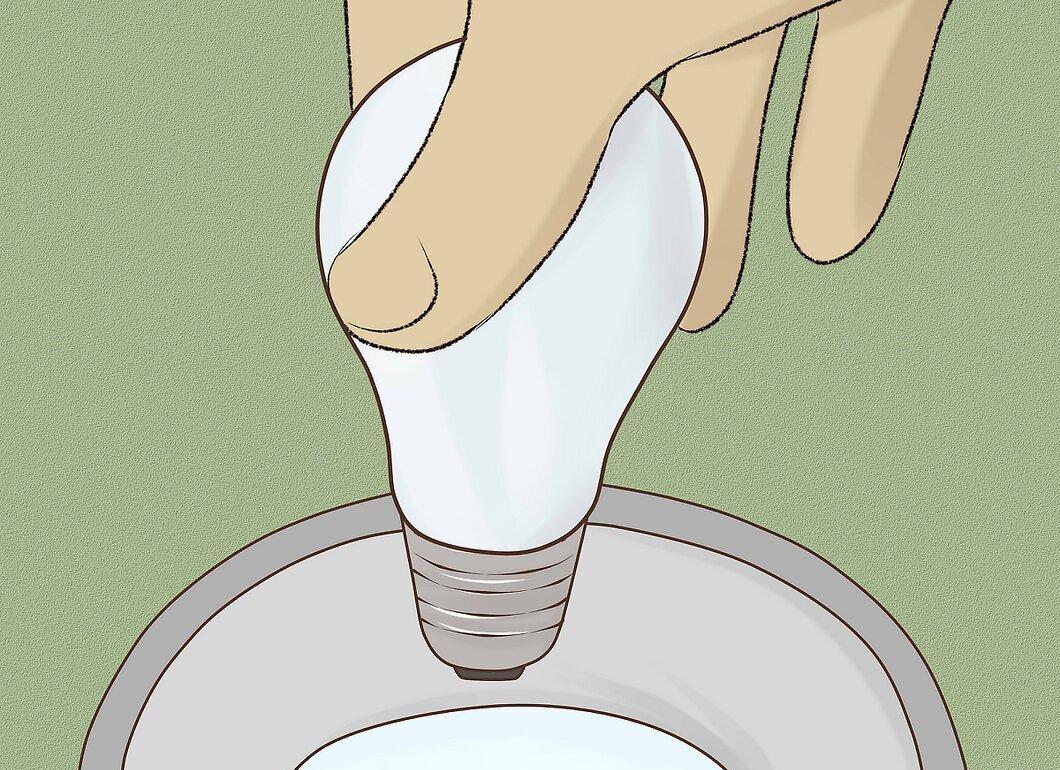
Pour a bit of hydrochloric acid into a glass bowl and submerge the socket for 24 hours.
Step 3. Rinse the socket.
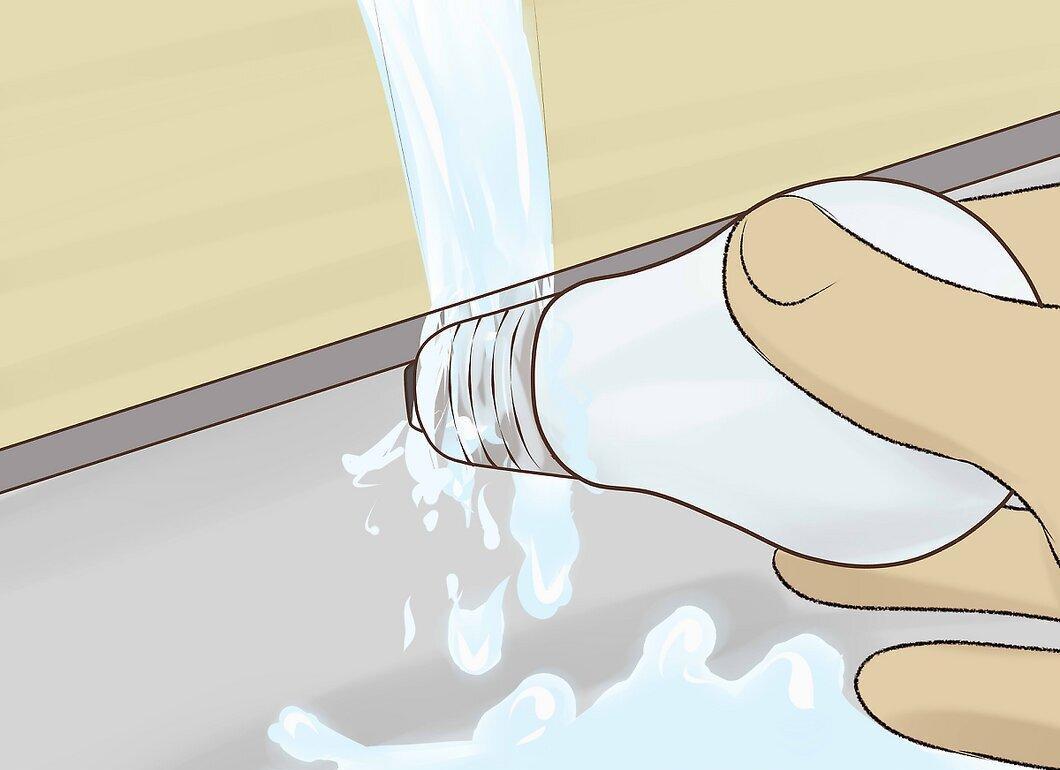
After soaking, rinse the socket under running water. Be sure to use a soapy solution to neutralize the acid.
Step 4. Carefully twist the socket.
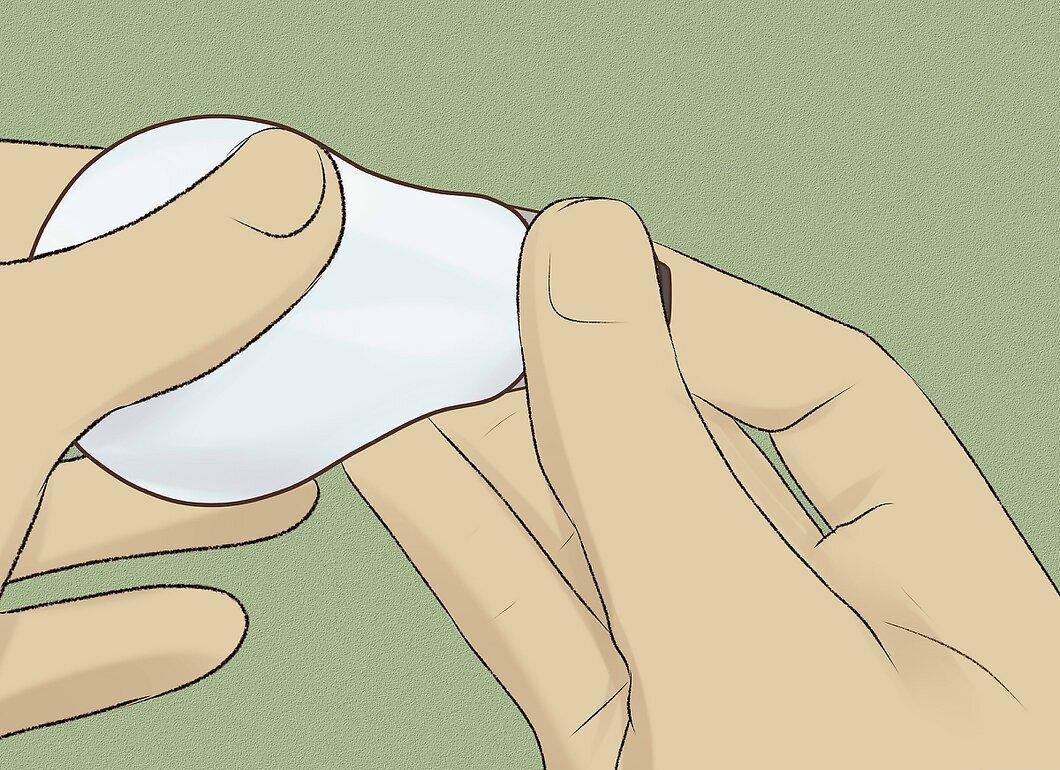
Hold the bulb with one hand while gently twisting the socket with the other, which should now be more pliable.
Cleaning the Open Bulb
Step 1. Determine the need for cleaning.
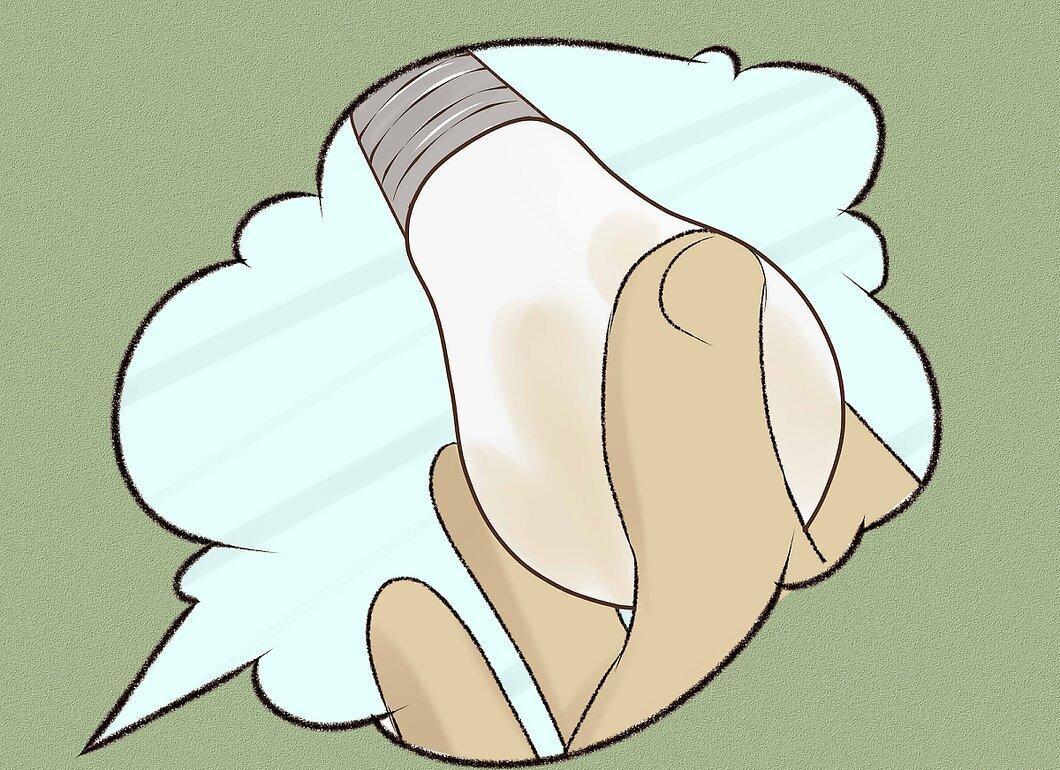
If your bulb is clear, you don’t need to clean it. But if it’s coated with white kaolin, it’s worth removing it.
Step 2. Insert paper towels into the bulb.
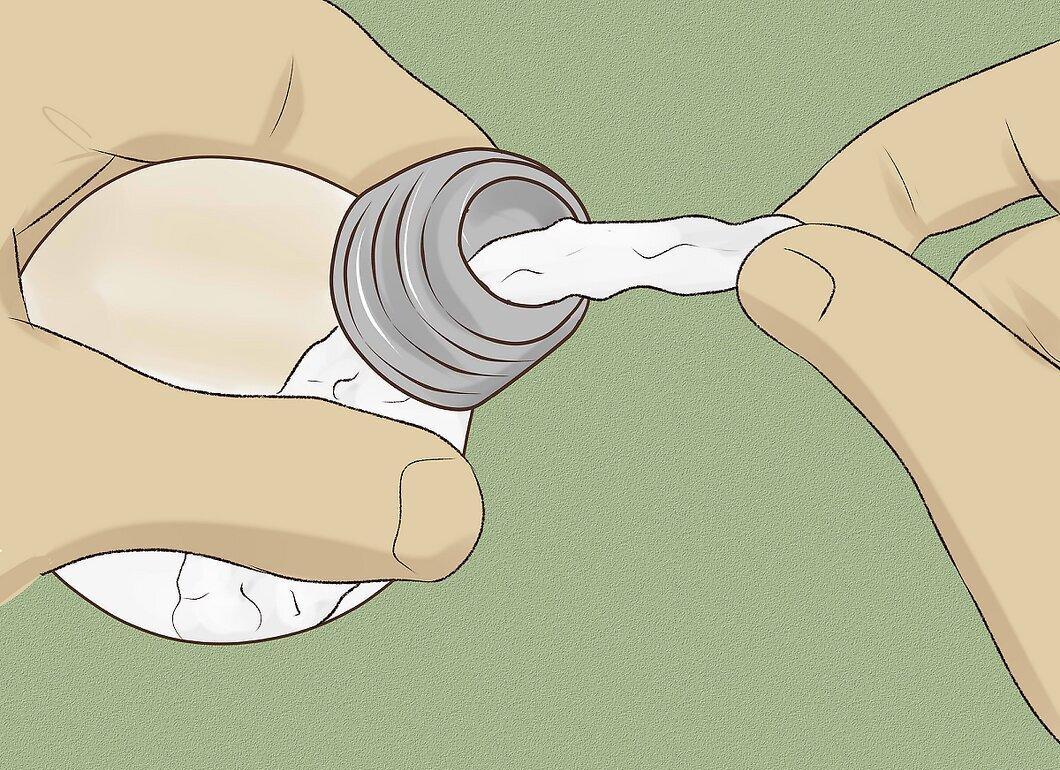
Carefully fill the bulb with paper towels, leaving one end free for easy removal.
Step 3. Remove the coating.
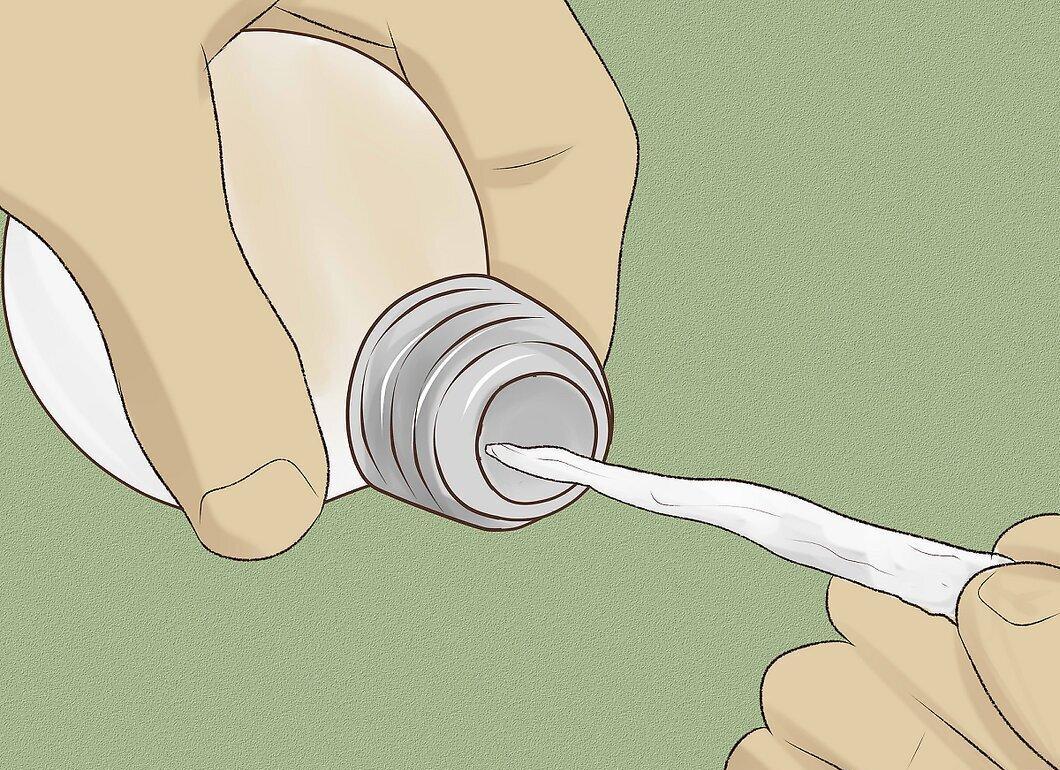
Use the paper towels to gently wipe away the coating inside the bulb.
Step 4. Fill the bulb with salt.
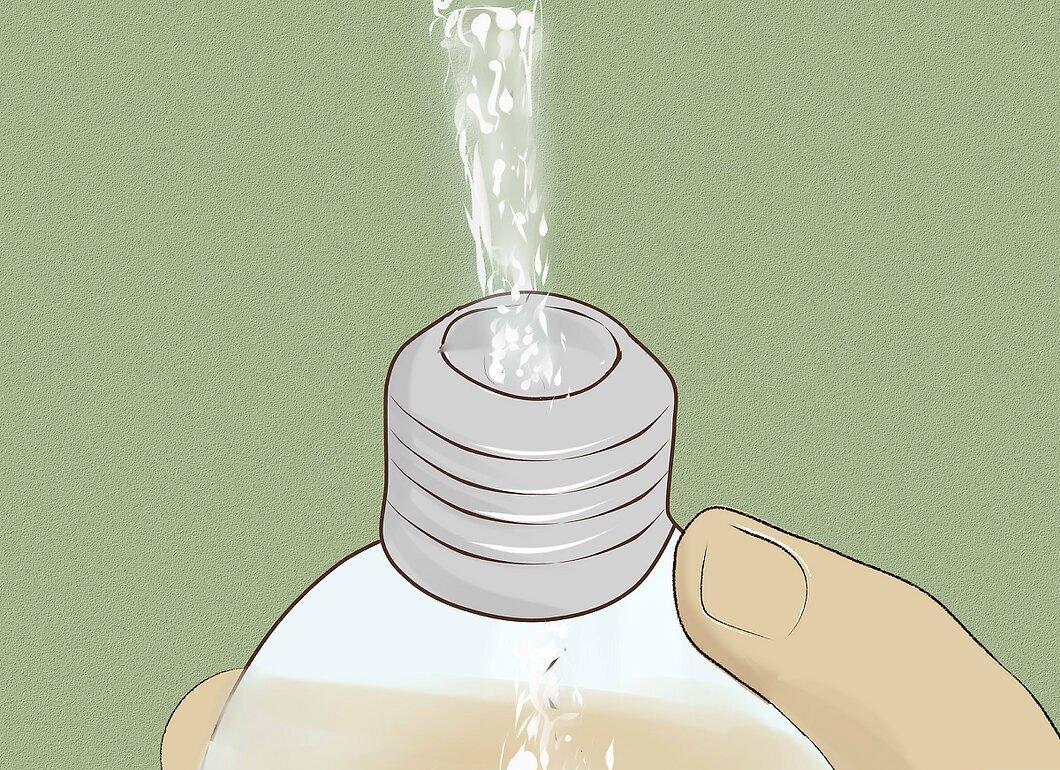
If the kaolin doesn’t come off, add some salt to the bulb.
Step 5. Shake the bulb.
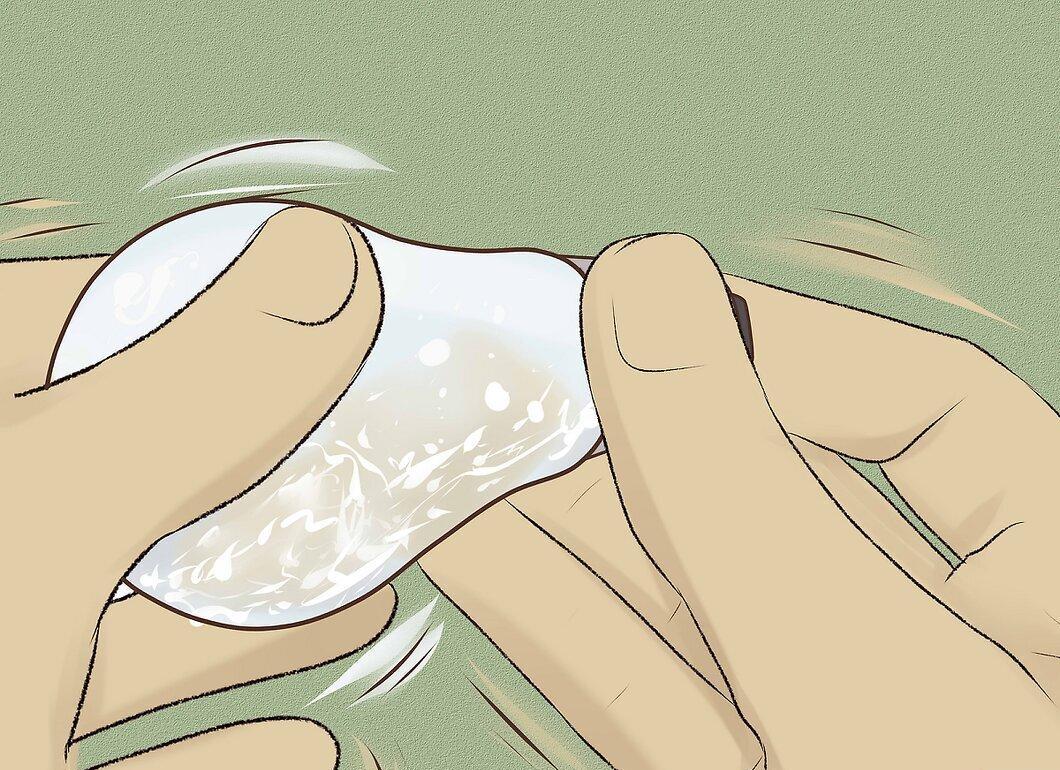
Seal the bottom of the bulb and shake it well so the salt cleans the corners of any remaining kaolin.
Step 6. Finish cleaning with paper towels.
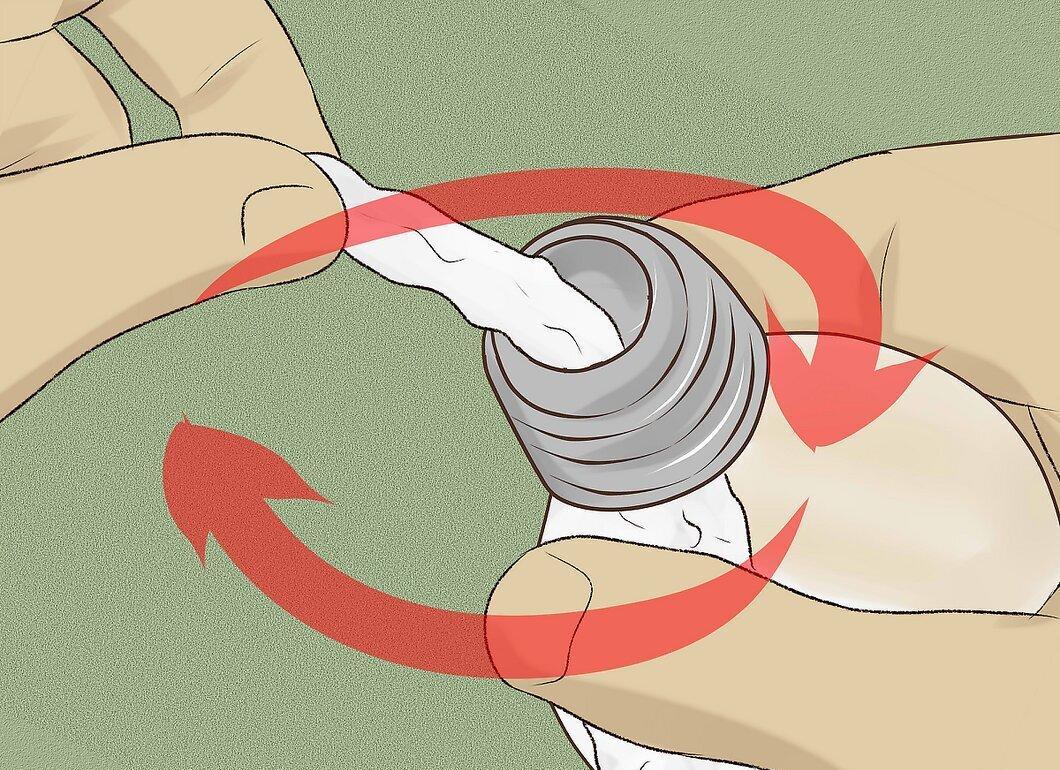
If there is still salt or kaolin left inside the bulb, wipe it out with paper towels.
- The inside of the bulb should now be clean and ready for your creative projects.


