
Have you ever wanted to create a map for your fantasy story or as a personal reminder of a place you've visited? Just follow this guide, and you'll be on your way to becoming a true cartographer!
Preparation
Step 1. Determine the Purpose of Your Map.
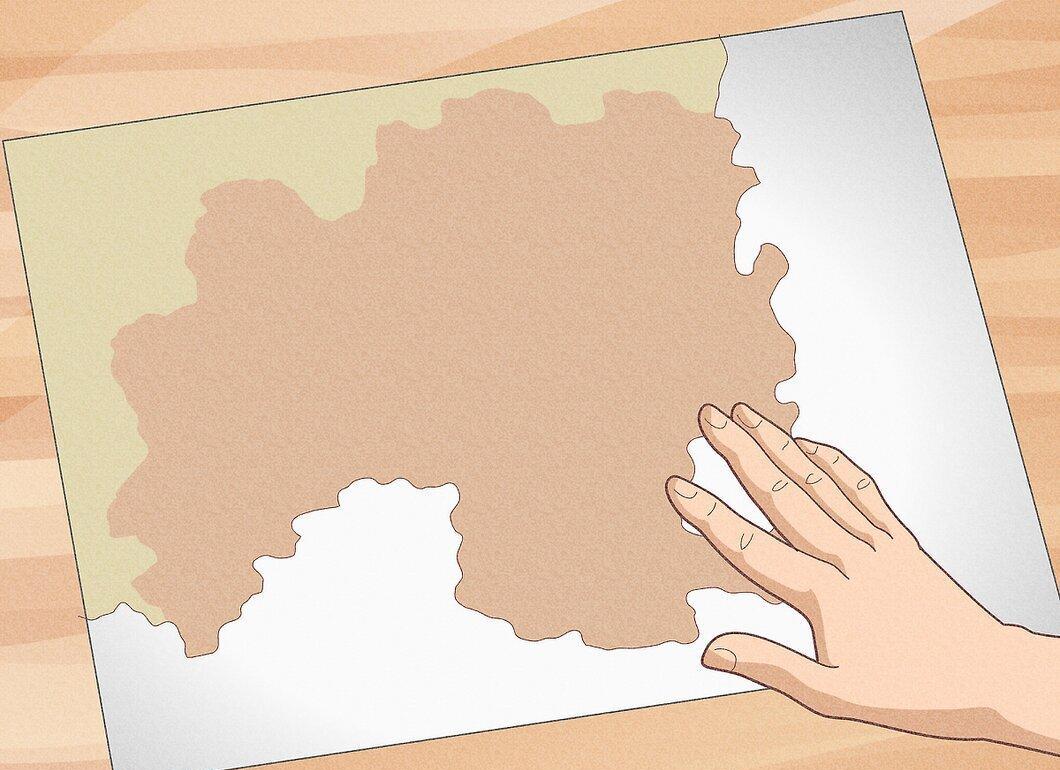
Before you pick up a pencil, think about what kind of map you need. Are you planning to draw a map of the entire planet? A hemisphere? A continent? A country? A city? This consideration is relevant for both real maps and maps that stem from your imagination.
Step 2. Decide on the Water-to-Land Ratio in Your Map.
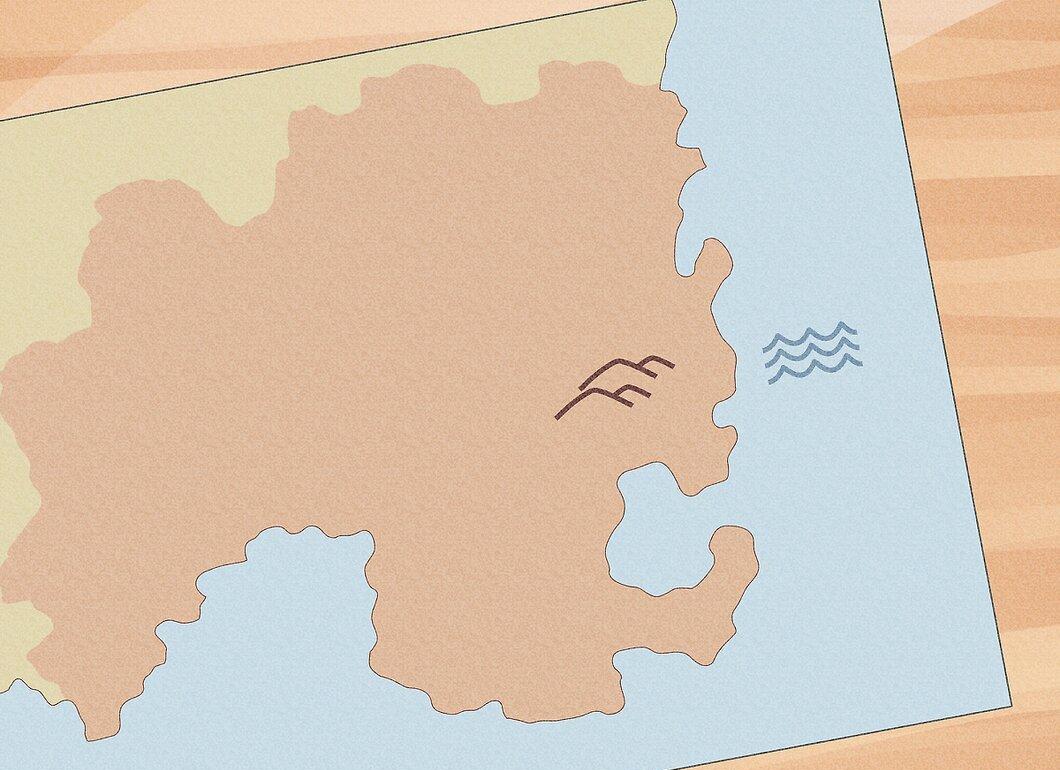
You will likely need to draw a map that includes both water and land. However, it's up to you to decide how much of each there will be. The larger the scale of the map, the more it will require not just rivers and lakes but also seas and oceans. If the scale is small, you might get away with just a couple of rivers or ponds along a coastline, say of an ocean. If your map depicts the islands of an archipelago, then naturally, there will be much more water than land.
Step 3. Think About What Will Be on Your Map.
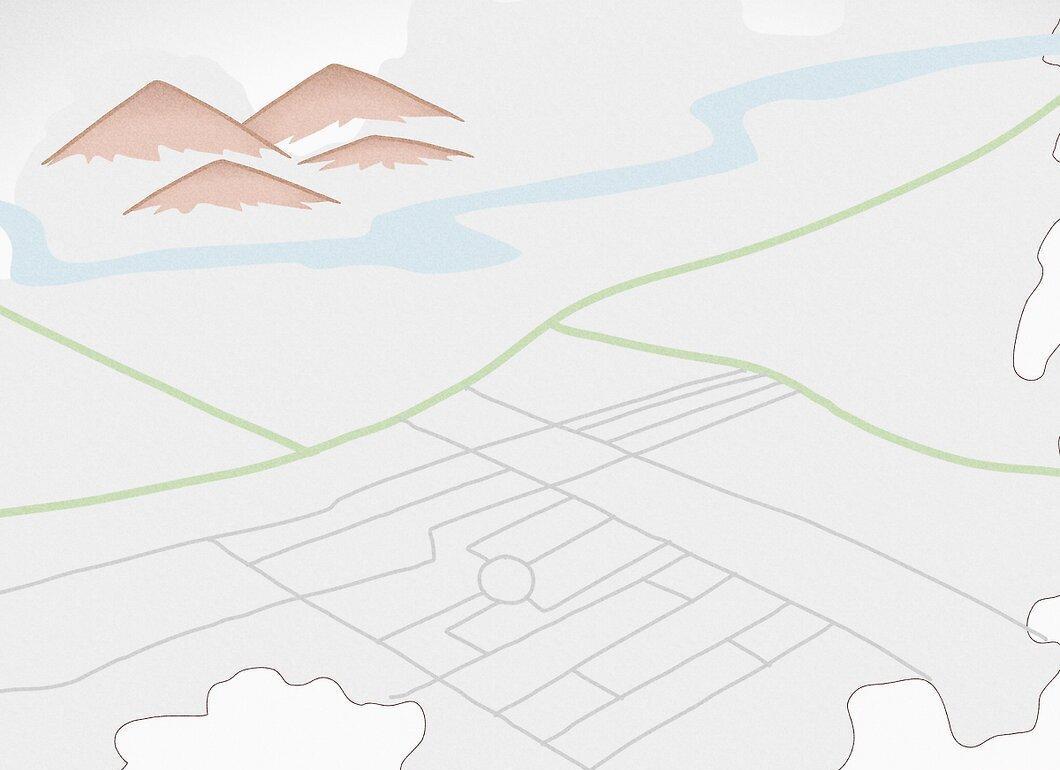
Consider what kind of map you are creating: a geographical, physical, political, road map, or something else? The type of map significantly influences how you will draw it, so it’s better to decide this before you start. Of course, you can create a map that combines all types, but to avoid overwhelming the reader with information, you will need to reduce the amount of detail.
- In principle, any characteristics can form the basis of the map: trade routes, population density, languages spoken by the locals, etc.
Step 4. Determine How Detailed Your Map Will Be.
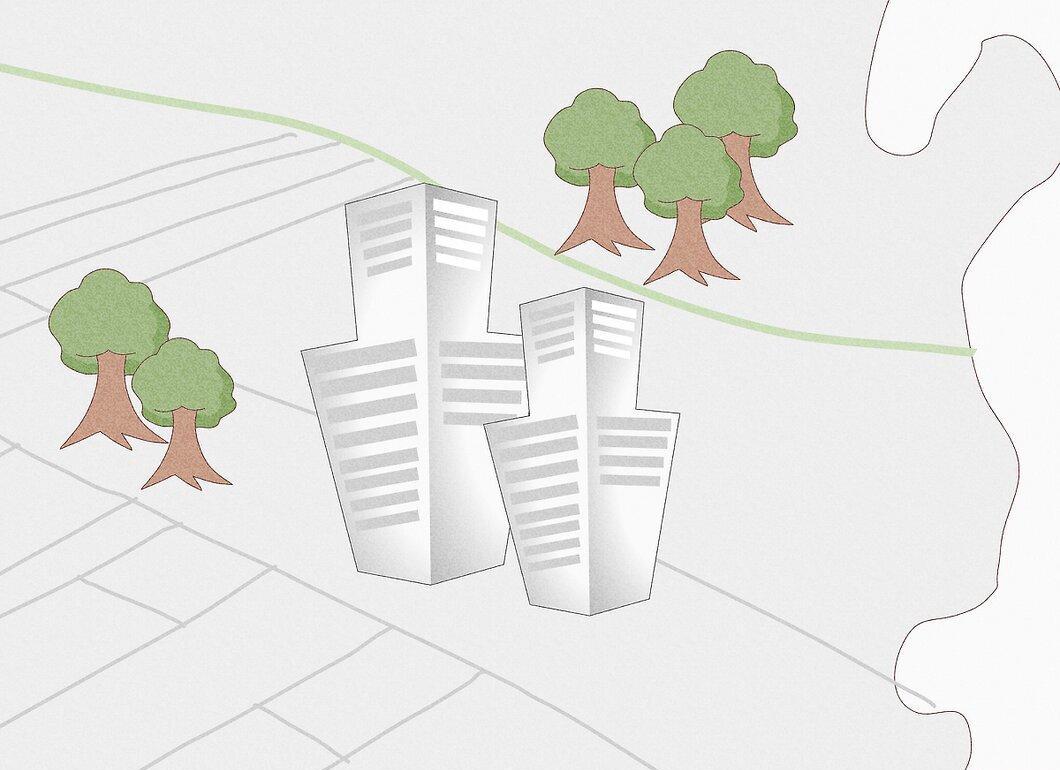
Think about how detailed your map will be. This decision should be made around the same time as you consider the scale and content of the map. The key is to think it through. Are you planning to mark only the most important features? Do you want to include everything down to the smallest details? The level of detail will significantly affect the physical size of the map and how much paper you will need to create it.
Step 5. Consider the Weather.
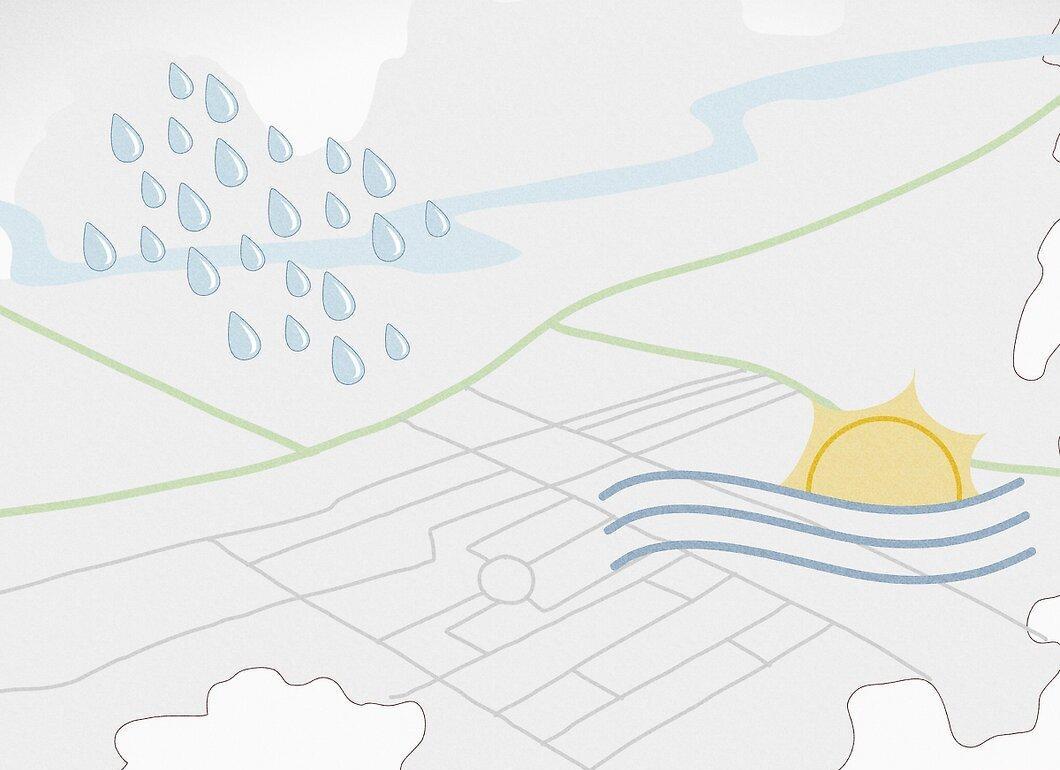
Thinking about the weather is particularly relevant for those drawing fantasy maps, but it’s always useful to consider, especially when planning the physical aspects of the map. Will you have many arid or rainy regions? How will these regions relate to the positions of seas and oceans, mountains, and the planet itself (as they do in reality)? You may even need to think seriously about the climate and weather of certain regions before you start drawing the map to make it more detailed and realistic.
Step 6. Choose Your Method for Drawing the Map.
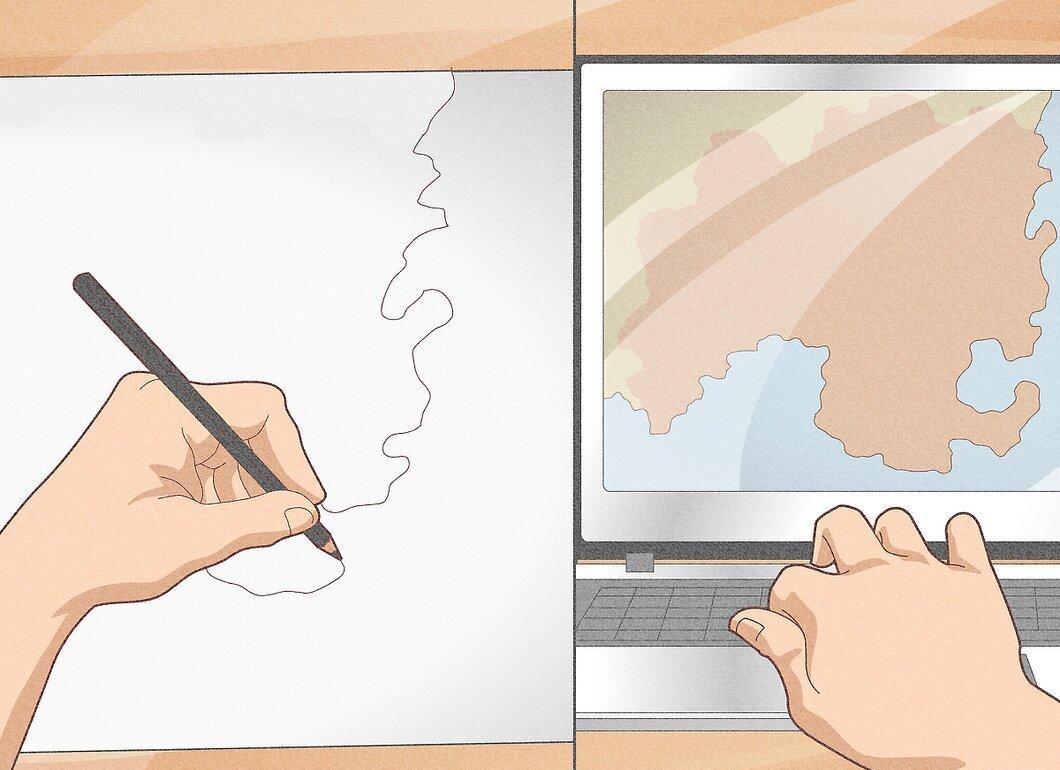
Decide how you will draw your map. Will it be on paper? A computer program? An online map-making tool? Each of these methods requires a different approach, especially the first one – the manual drawing method. As for online tools, you can find dozens of map generators, but this is more of an option for those who are lazy or unsure of their artistic skills.
Drawing the Map
Step 1. Draw the Continents.
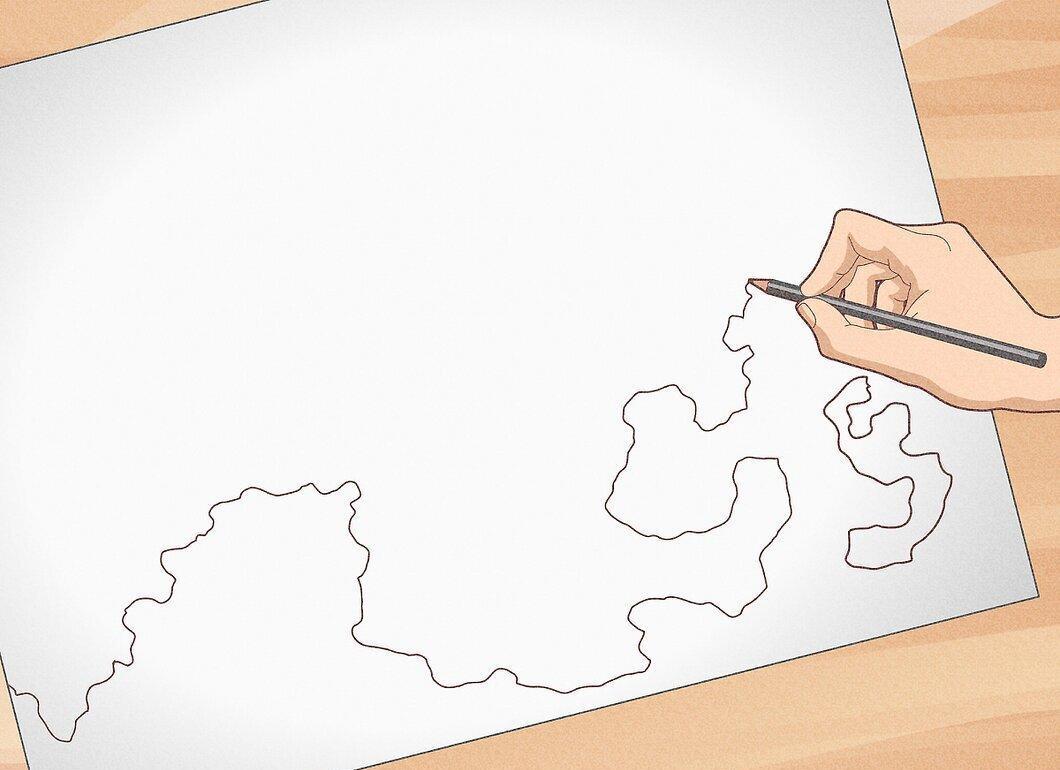
Start by sketching the continents. If you’ve already decided on the level of detail for the map, you should have a clear idea of what your continents (or land in general) will look like, how many there will be, and their sizes. Begin with a rough outline using straight lines, and then refine the contours to be more detailed and curved, depicting coastlines and borders.
- While sketching the continents, consider where the tectonic plates (real or imagined) are located beneath them – this will help you create a map that looks more realistic, especially if you are drawing an imaginary world.
- Don’t forget about peninsulas, islands, archipelagos, river deltas, bays, and so on.
Step 2. Add the Water Components of the Map.
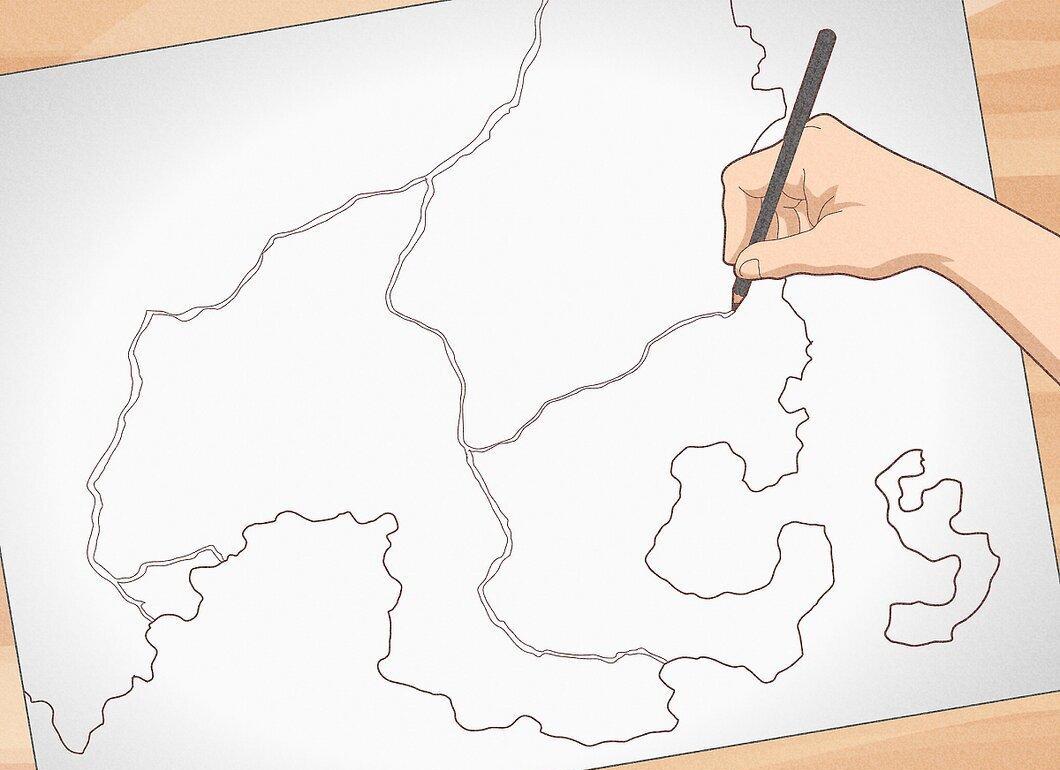
Now focus on the water elements of the map. Everything around the continents constitutes oceans and seas. However, there should be water within the continents as well. What about rivers, lakes, seas, bays, and canals? If the scale allows, why not include ponds, streams, springs, and other small bodies of water?
- If a body of water is very small but important, you can mark it with a dot on the map and provide a note stating that the scale does not allow for a fuller representation of that location.
Step 3. Add Details to the Continents.
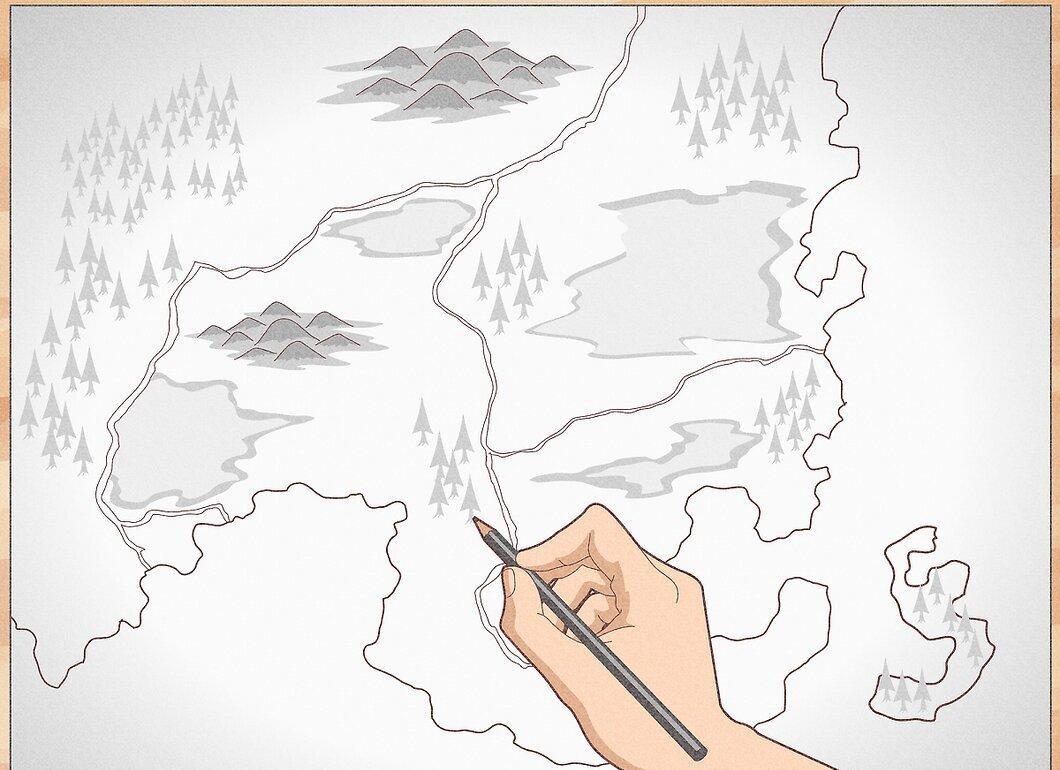
Add details to the continents. Depending on your map's style, you can make the continents rich in detail or more modest in this regard. However, completely devoid of details is not an option. For example, add mountains and mountain ranges, valleys, deserts, forests, plateaus. Considering the weather and climate, draw jungles, rainforests, swamps, tundra, meadows, and coral reefs.
Step 4. Mark Countries and Cities on the Map.
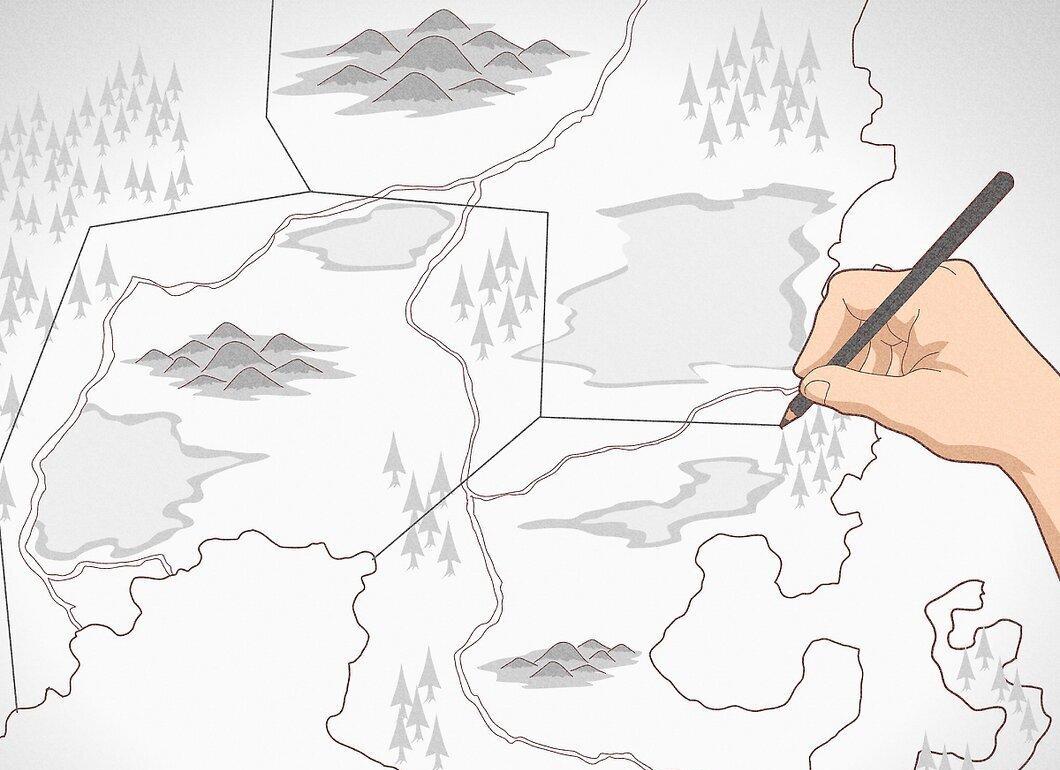
Mark countries and cities on the map. Again, this depends on the style of the map. You cannot completely omit cities and countries – at least a few major cities and the borders of countries should be drawn. Borders can be represented with simple lines, which can either follow the contours of natural borders (mountains, rivers, seas, and oceans) or be entirely fictional. You can denote cities with any symbol you like (dots and stars are most commonly used).
Step 5. Color the Map.
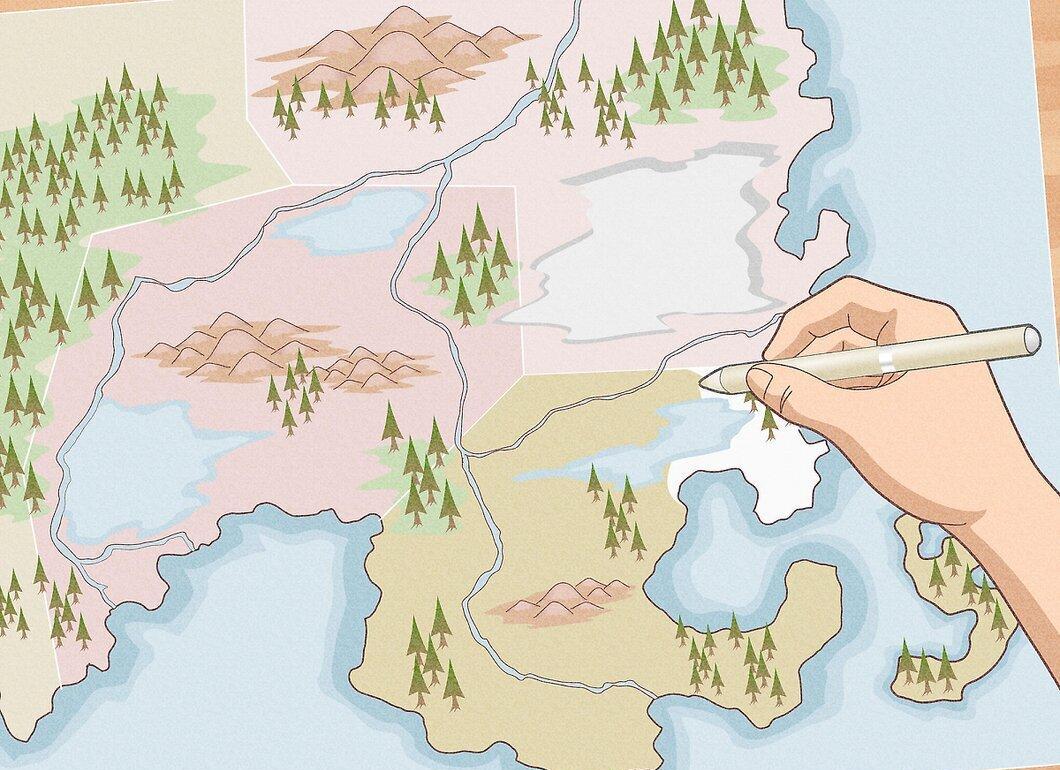
Color the map. This step will transform your map for the better! Colors on a physical map can mean one thing, while on a political map, they can mean another, although color can always be used for decorative purposes. If you choose to go without colors, at least use shades of gray. You can use multiple colors at once (to denote all the features of the map) or just 2-3 colors for basic representations.
Step 6. Label the Map.
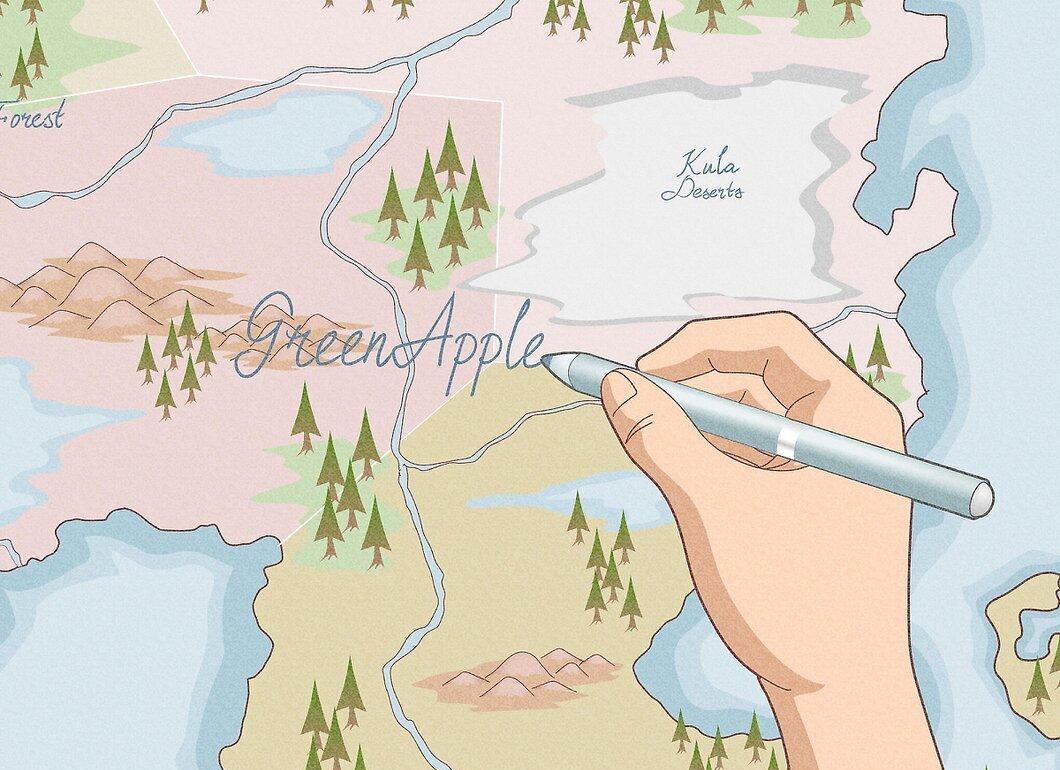
Label the map. Technically, this step is not mandatory, but having labels is certainly better than not having them. Start with the names of the largest and most important regions (and you can highlight them with bolder or larger text). If you want to make the map more detailed, use more labels. You can use different fonts and styles.
Additional Information
Step 1. Prepare a Legend.
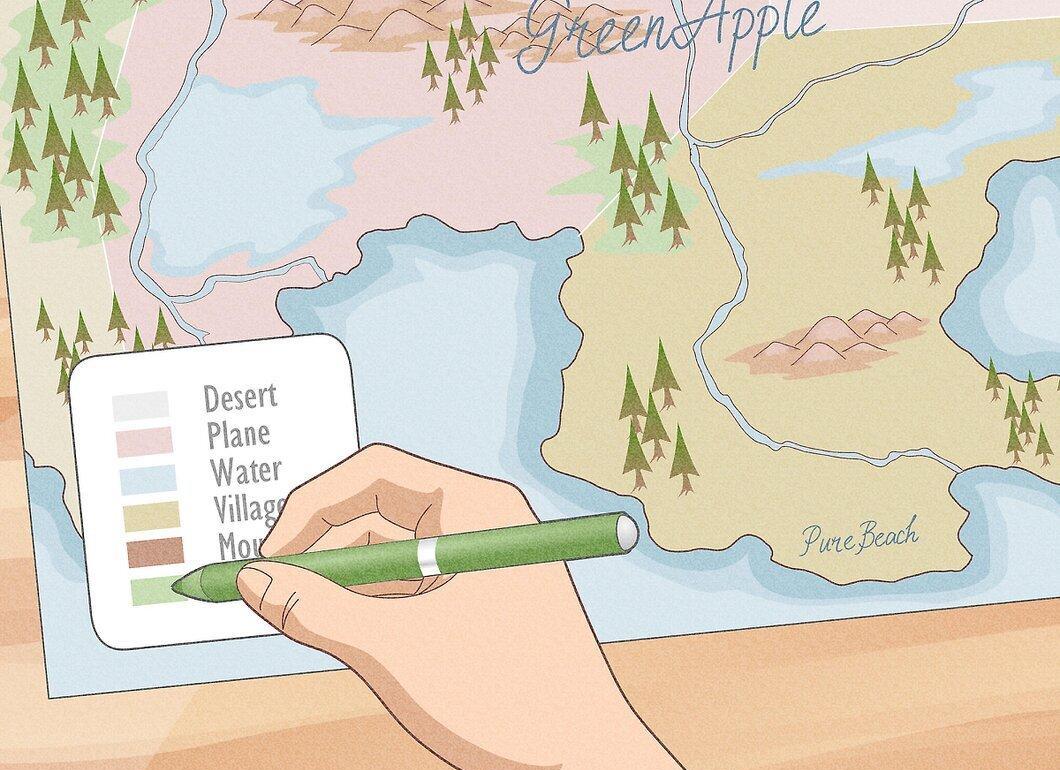
Prepare a legend. The legend of the map is essentially a dictionary explaining what each color or symbol means. This will help the reader (or viewer) understand what is represented by each symbol, why you chose that color over another, and so forth. Be sure to include all the symbols you used in the legend, so readers won’t get confused!
- The legend is sometimes referred to as the key to the map.
Step 2. Add a Scale Bar.
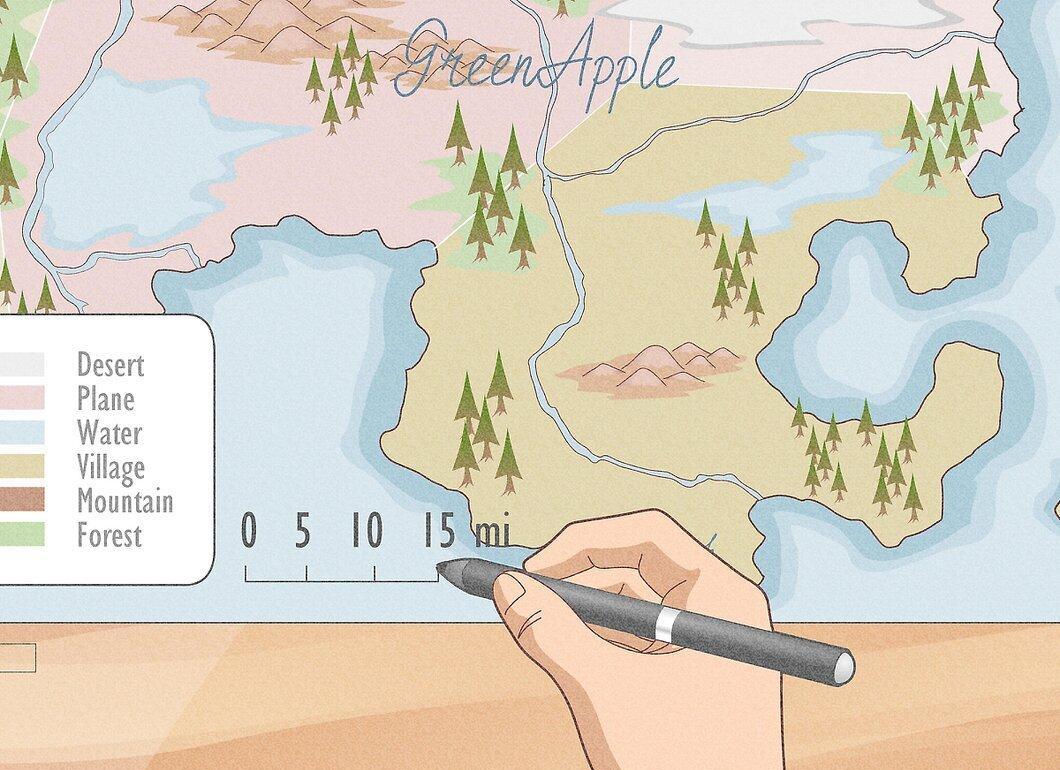
Add a scale bar. This will help the reader understand how many kilometers are hidden in one centimeter of the map. The scale bar can be a small marked line at the bottom of the map (but it must include a scale description). To convey the scale more accurately, you can draw an additional map at an enlarged or reduced scale. However, you can also forgo the scale bar and simply write the scale of the map (e.g., 1 cm = 100 km).
Step 3. Indicate Directions.
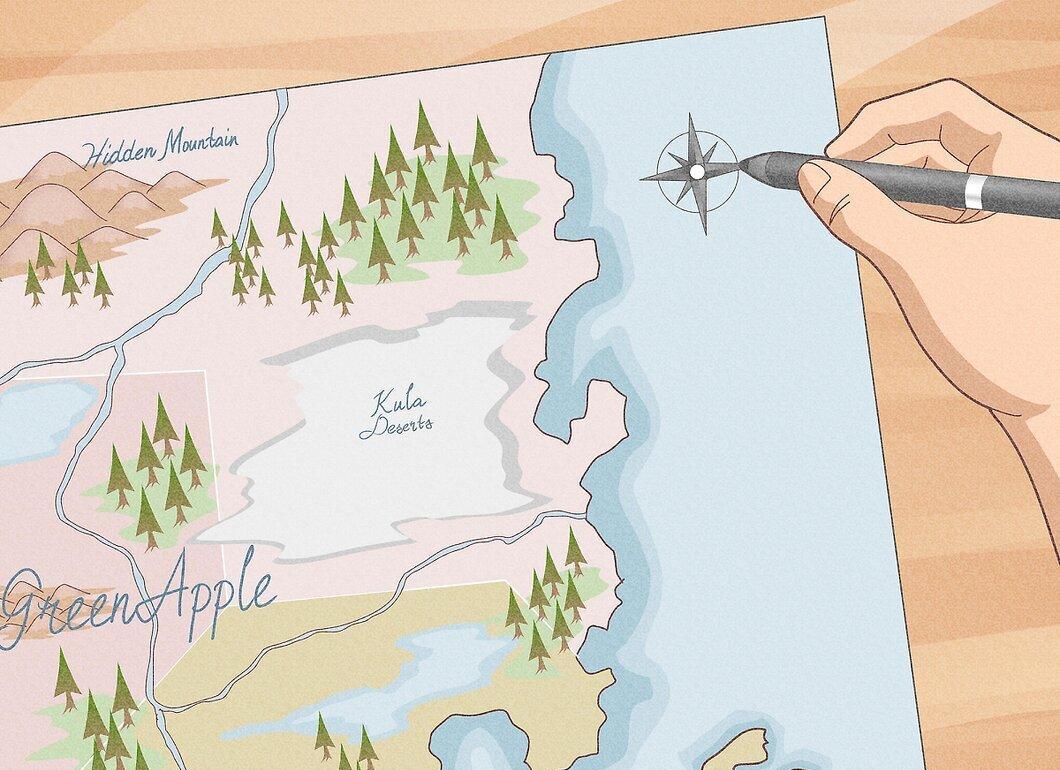
Indicate directions. To do this, draw a compass somewhere in an empty space with labeled cardinal directions – north, south, east, and west. This is especially useful if your map is oriented... unusually, say if north is at the bottom.
Step 4. Draw Lines of Latitude and Longitude.
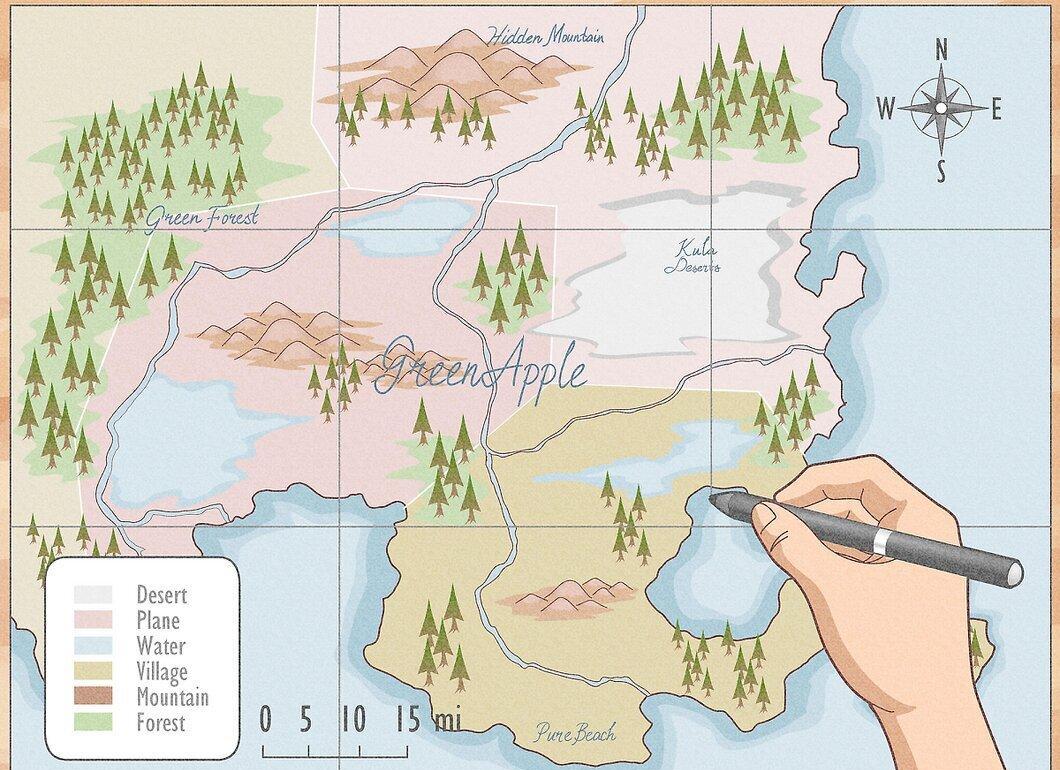
Draw lines of latitude and longitude. On fantasy maps, these are not mandatory, but they are necessary on all maps that claim to be realistic. These lines divide the map vertically and horizontally, creating a coordinate grid that allows users to find specific locations on the map using their coordinates. These lines should be straight and evenly spaced.
Step 5. Indicate Time and Date.
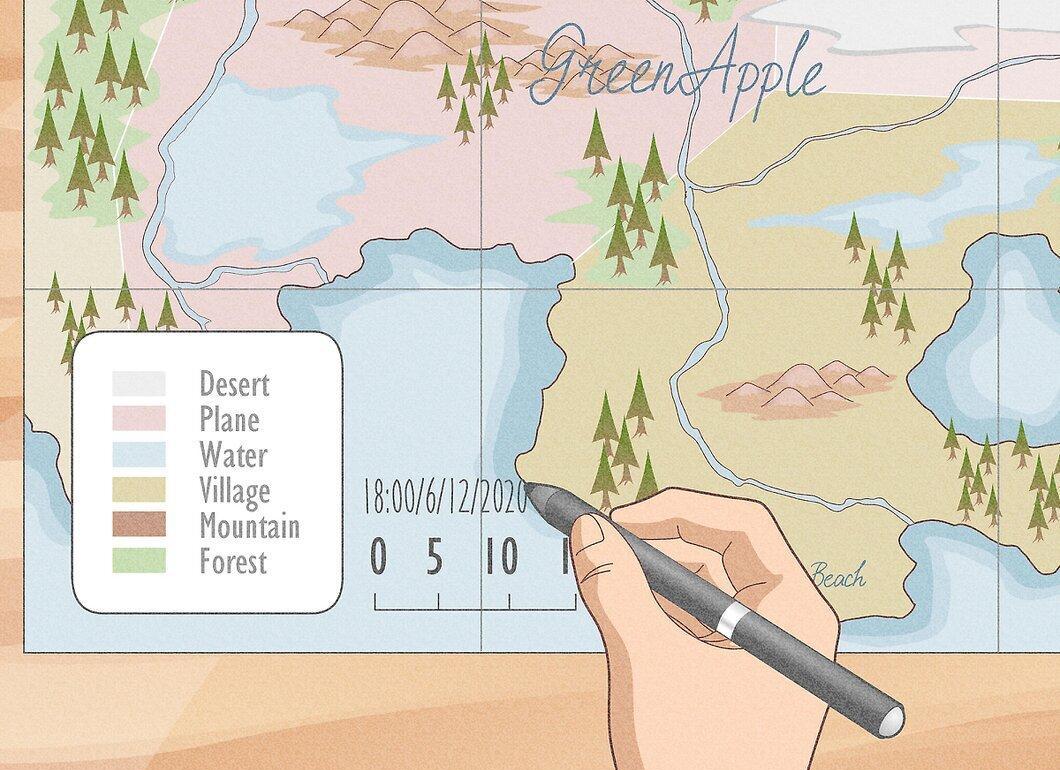
Indicate time and date. What is depicted on the map (both physical and political) tends to change over time, even in fictional worlds. Therefore, you need to specify the time period to which the map refers. You can also indicate the date when the map was drawn, although it’s more important to state the date or time frame that the map represents.
Step 6. Add Other Necessary Comments and Explanations to the Map.
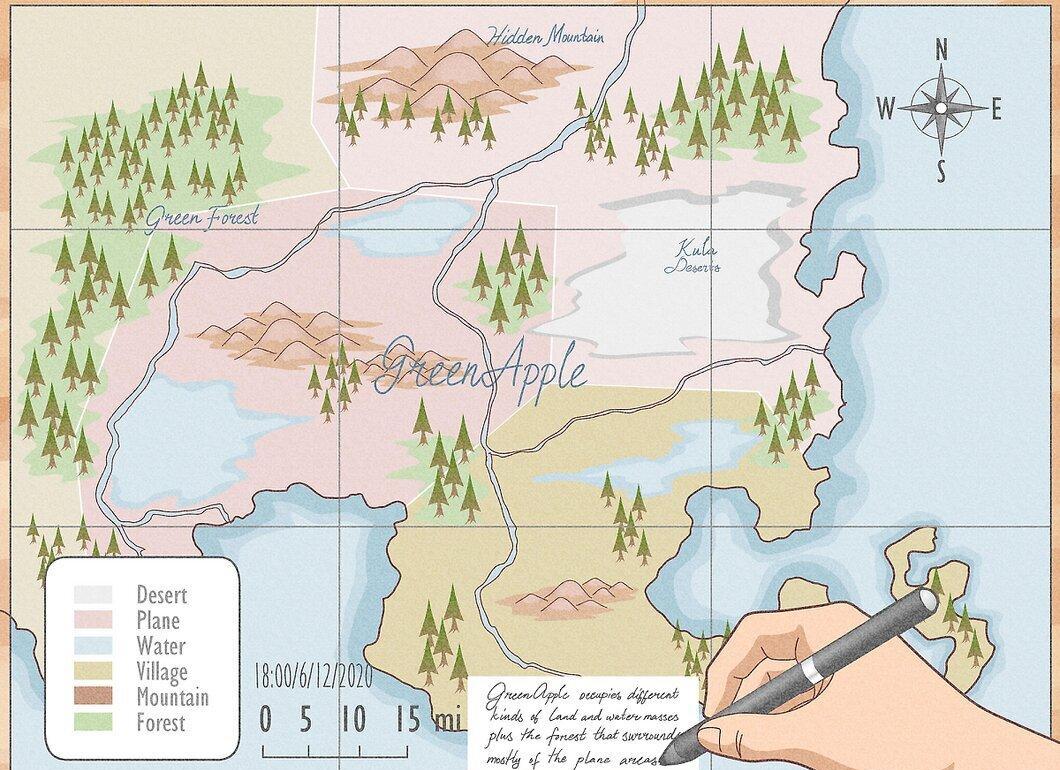
Add other necessary comments and explanations to the map. There’s nothing wrong with writing such comments! This is not mandatory, but it is useful, especially if you’ve drawn a map of an imaginary world. Typically, explanations are placed at the bottom of the map.


