
Bone is an organic material with fibers that can be dyed, but most universal paints are not suitable. The best choice is to use natural dyes, acid dyes, and fiber-reactive dyes.
Black Natural Dye
Step 1: Grind Acorns into Powder.
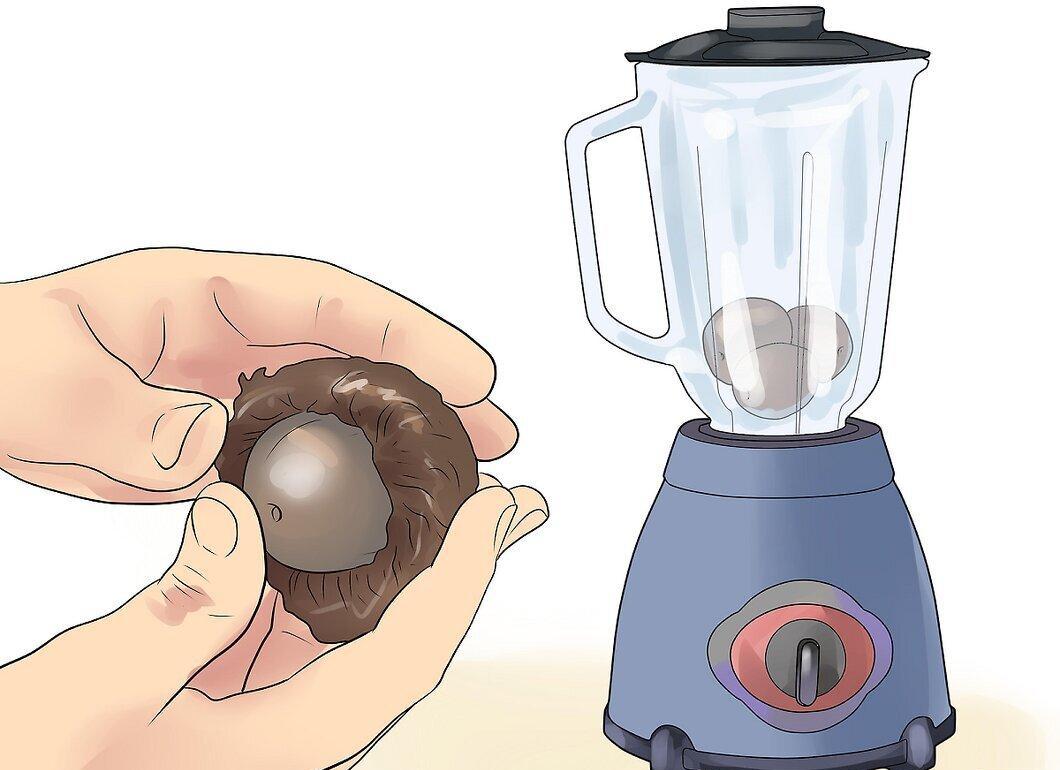
Start by grinding acorns into powder. Remove the caps from 15 acorns and place them in a powerful blender. Turn the blender to maximum speed to achieve a fine powder.
- Alternatively, you can use two large oak galls.
- If you don’t have a blender, use a mortar and pestle to grind them.
Step 2: Add Water to the Acorn Powder.
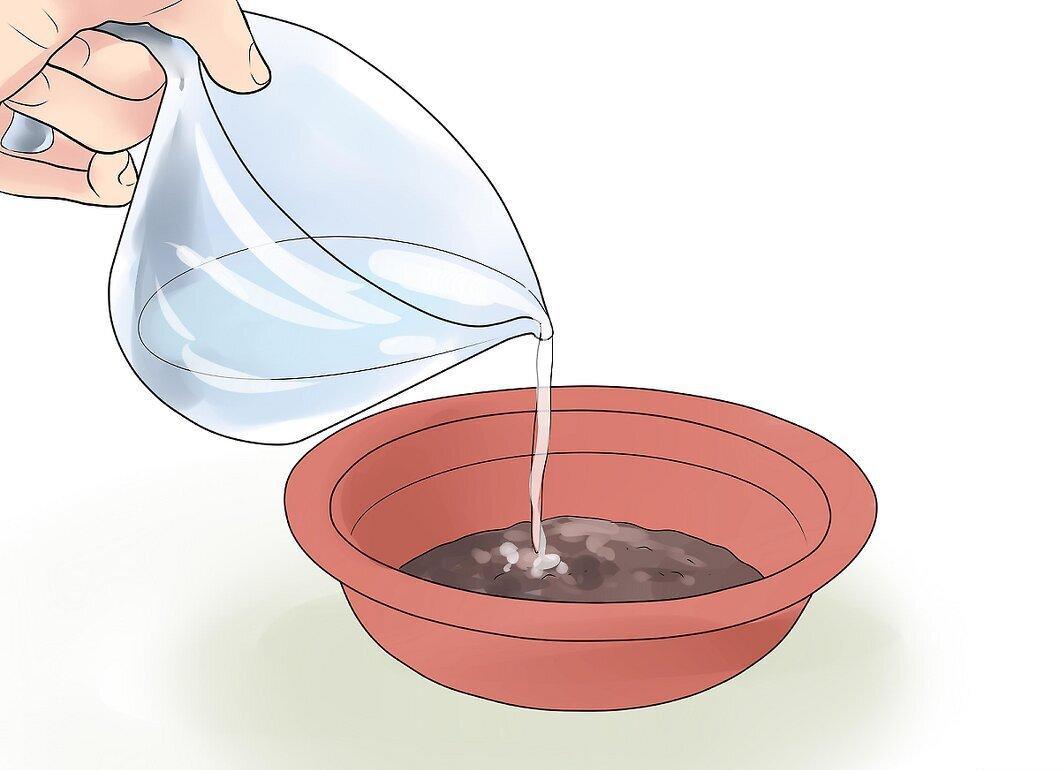
Now add water to the acorn powder. Transfer the ground acorns to an inert container of medium size and pour in 1 cup (250 ml) of room temperature water. Mix the powder thoroughly with a plastic spoon.
- Ensure that the water level is high enough to cover the bone you intend to dye. If there isn’t enough water, add six more ground acorns or one ground oak gall for every half cup (125 ml) of water.
Step 3: Prepare the Iron Salt Solution.
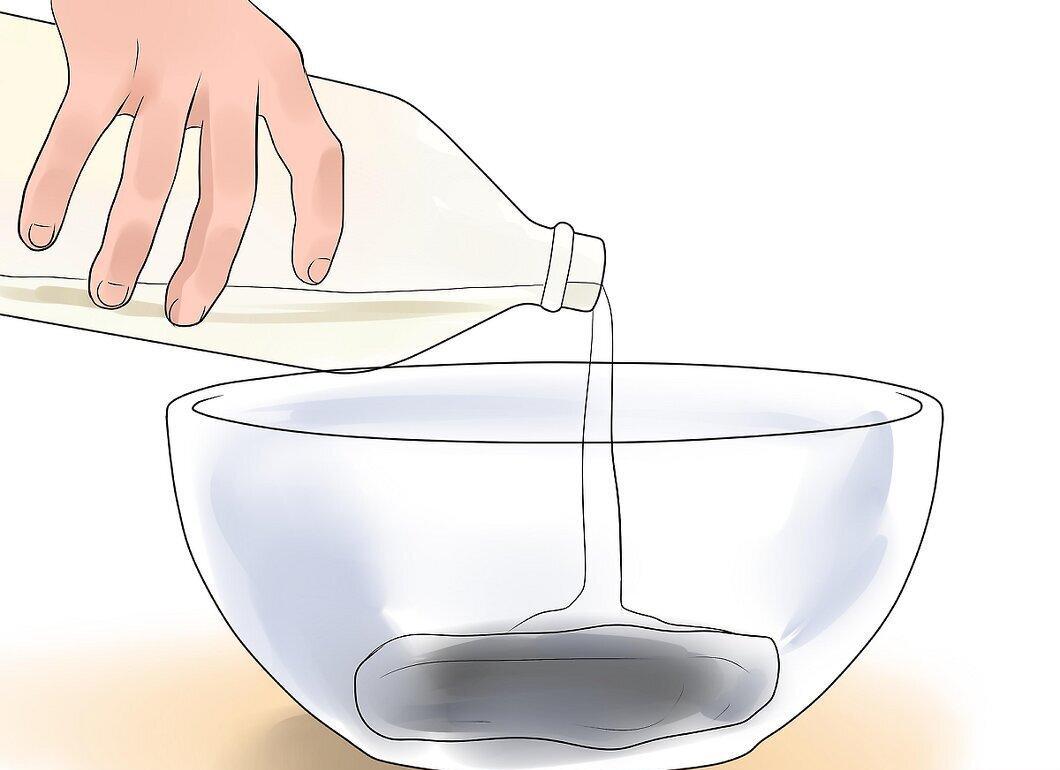
Create an iron salt solution. In a separate inert container, place one steel wool pad and pour in 1 cup (250 ml) of lemon juice or vinegar.
- Instead of a pad, you can use 2 tablespoons (30 ml) of ground rust.
- It’s best to use a container with a lid since the solution needs to steep overnight. It’s advisable to prepare this in advance rather than at the last minute.
Step 4: Soak the Bone in Acorn Dye Overnight.
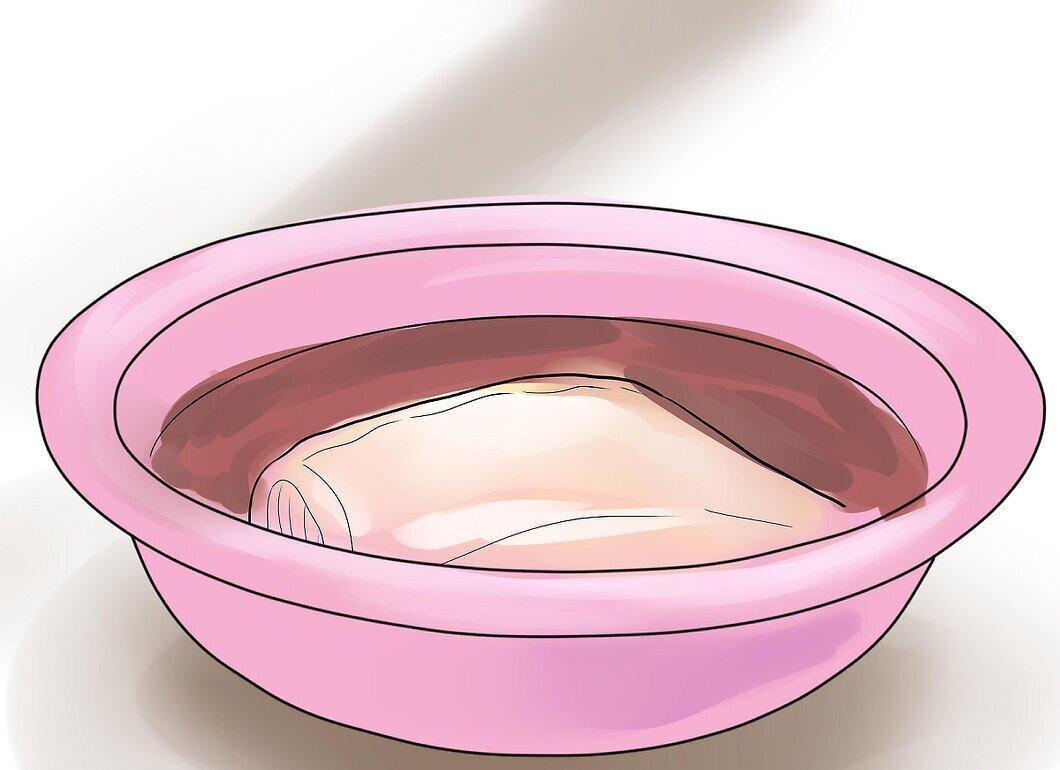
Soak the bone in the acorn dye and leave it overnight. Make sure the bone is fully submerged in the solution. Leave it in the solution for 8-12 hours.
- The soaking duration affects the color intensity. If you want a lighter brownish-gray shade, cut the time in half.
Step 5: Remove the Bone.
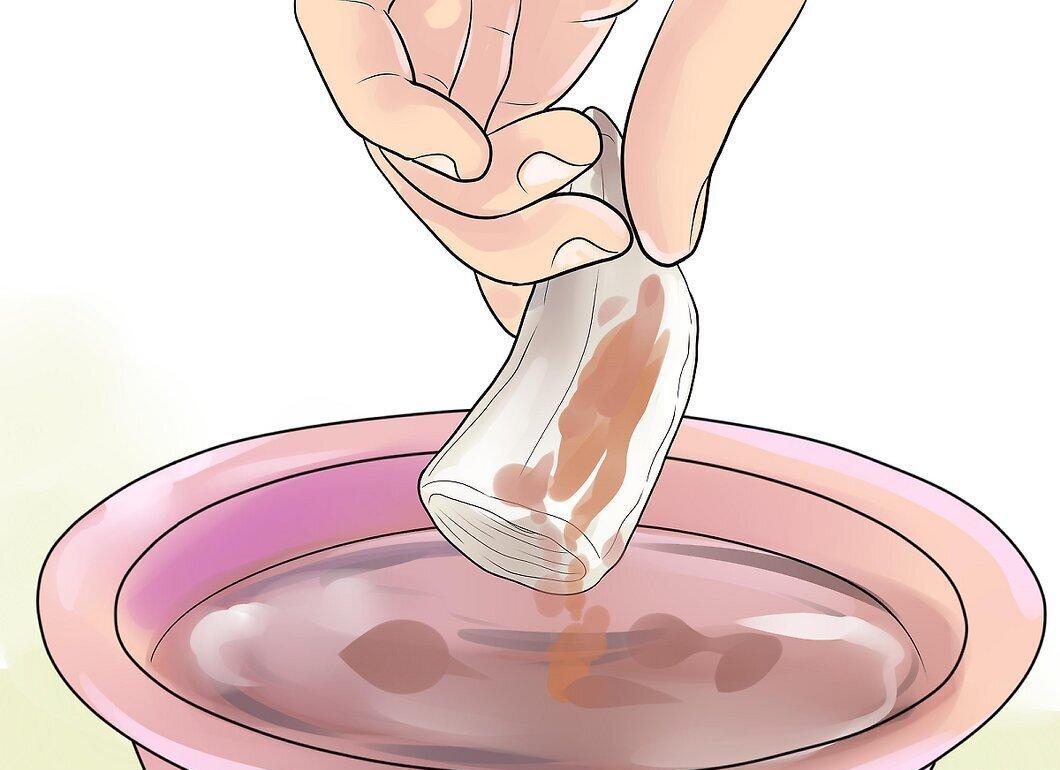
Take the bone out of the solution. Once it has soaked long enough, gently remove it and hold it above the container to let excess solution drain off.
- Don’t panic if the color of the bone doesn’t match your expectations at this stage. The chemical reaction with the iron salt solution will alter the color and set the dye.
- Use rubber or polyethylene gloves to avoid staining your fingers.
Step 6: Soak the Bone in the Iron Salt Solution.
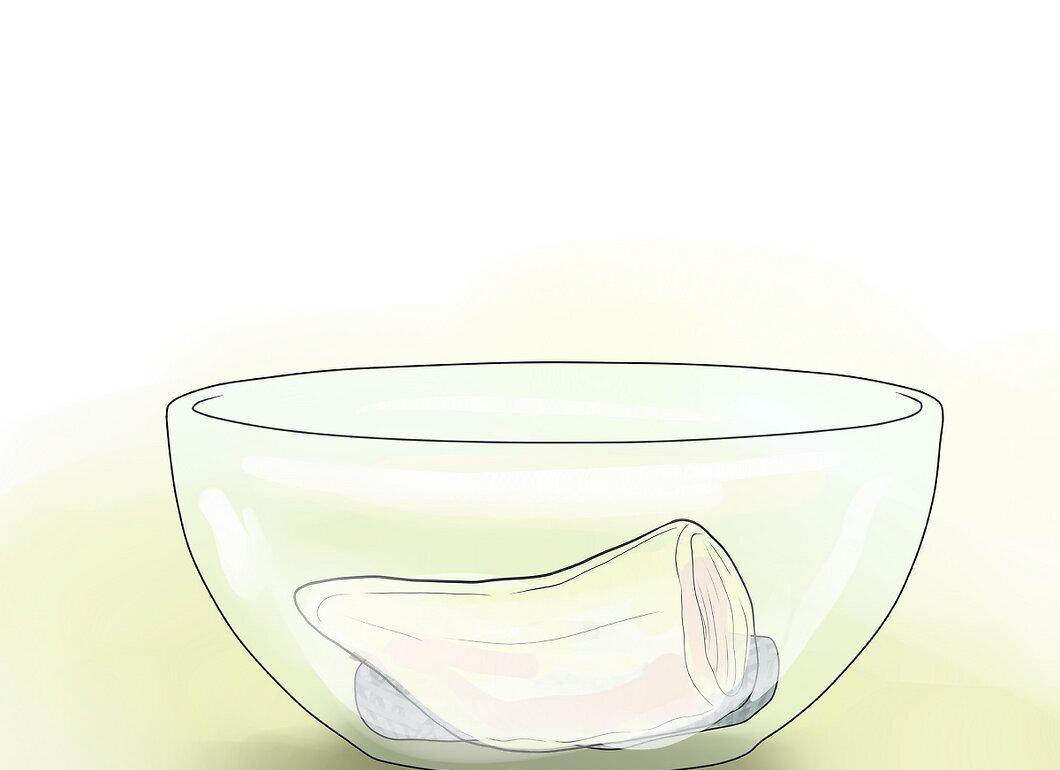
Place the bone in the iron salt solution and leave it overnight or for 8-12 hours.
- The bone should be completely submerged in the solution.
- As before, the longer you keep the bone in the solution, the darker the color will be.
Step 7: Dry the Bone.
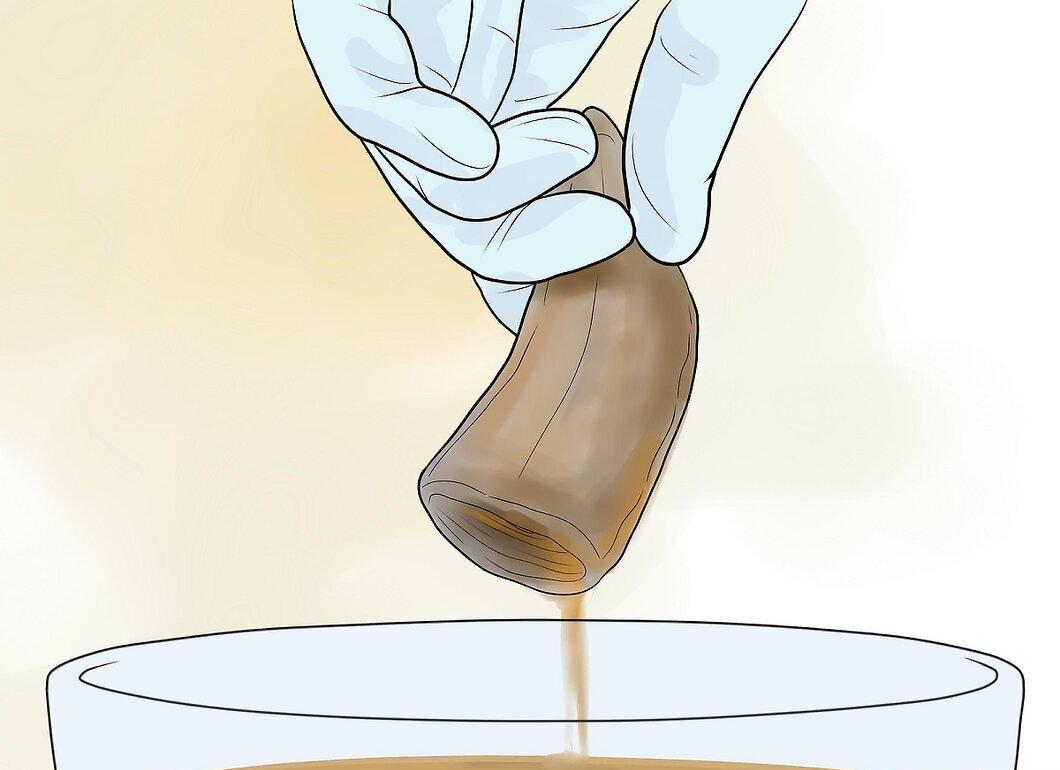
After sufficient time in the iron salt solution, remove the bone. Let it drain, then place it in a safe location for several hours to dry completely.
- When extracting, use gloves to avoid staining your hands.
- Expect the final color to be slightly lighter than it appears immediately after extraction.
- Wax paper is best for drying. Remove excess liquid with paper towels.
Step 8: Rinse the Bone.
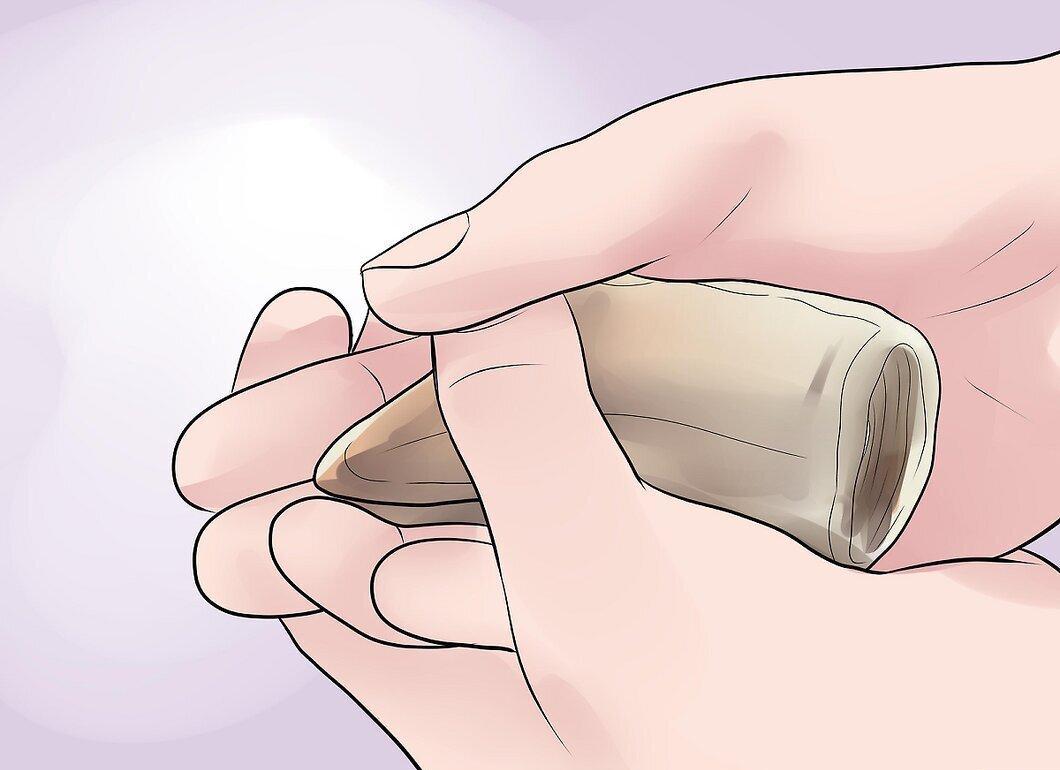
Rinse the bone. After it has dried, wash it in cool water with mild soap.
- This will help eliminate the strong smell of vinegar or lemon juice.
- Rinse until the dye stops washing out and the water runs clear.[2] X Source
Step 9: Allow the Bone to Dry.
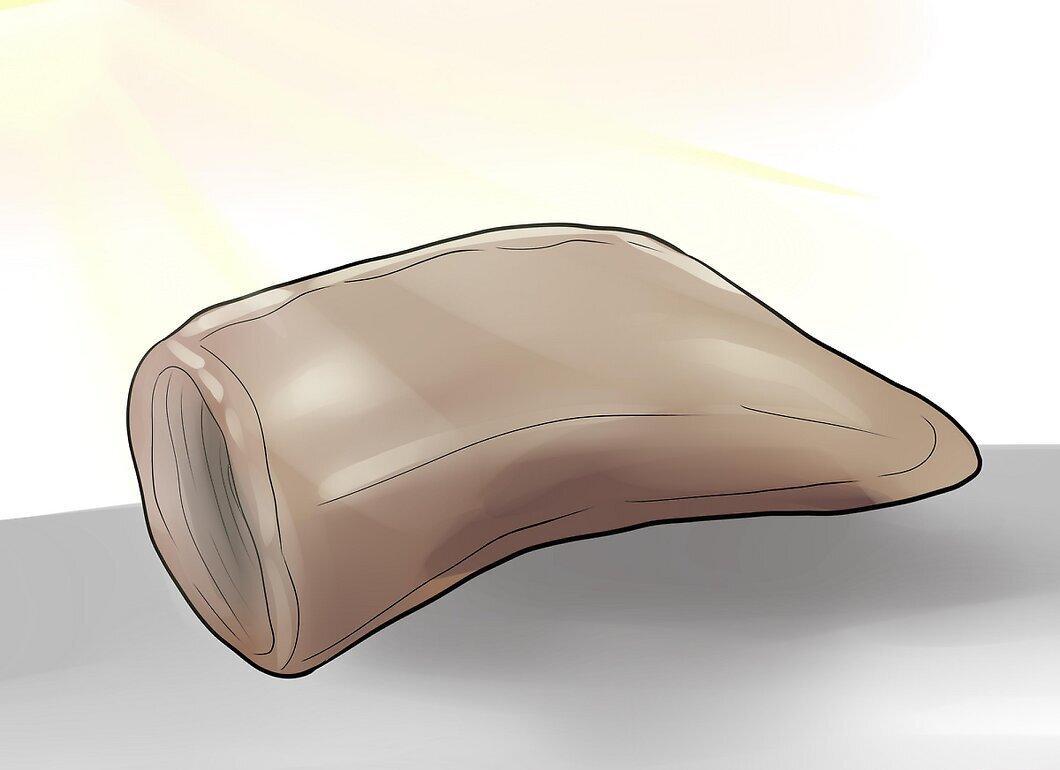
Dry the bone. Place it in a sunny spot and let it dry completely before further use.
- This completes the dyeing process.
Acid Dye
Step 1: Moisten the Bone.
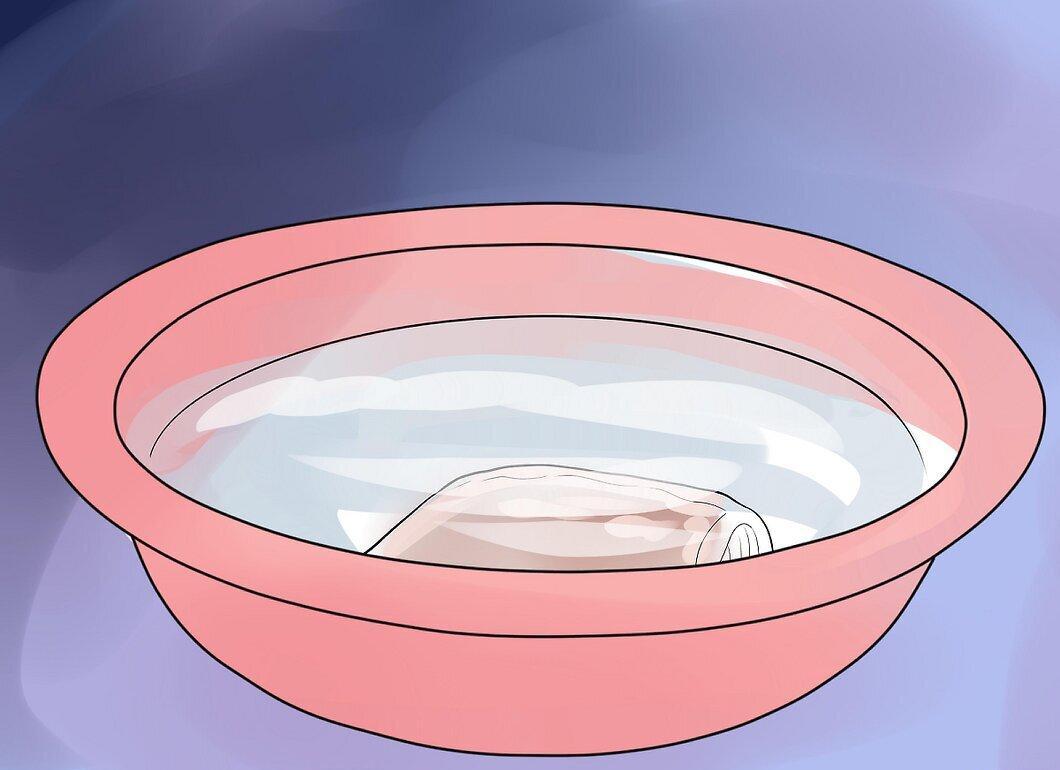
Moisten the bone with water. Place the bone in a small container and cover it with room-temperature water. Leave it for one to two hours.
- A damp bone absorbs dye better, just like fabric fibers.
- Ensure there is enough water to cover the entire bone.
Step 2: Prepare a Pot of Water.
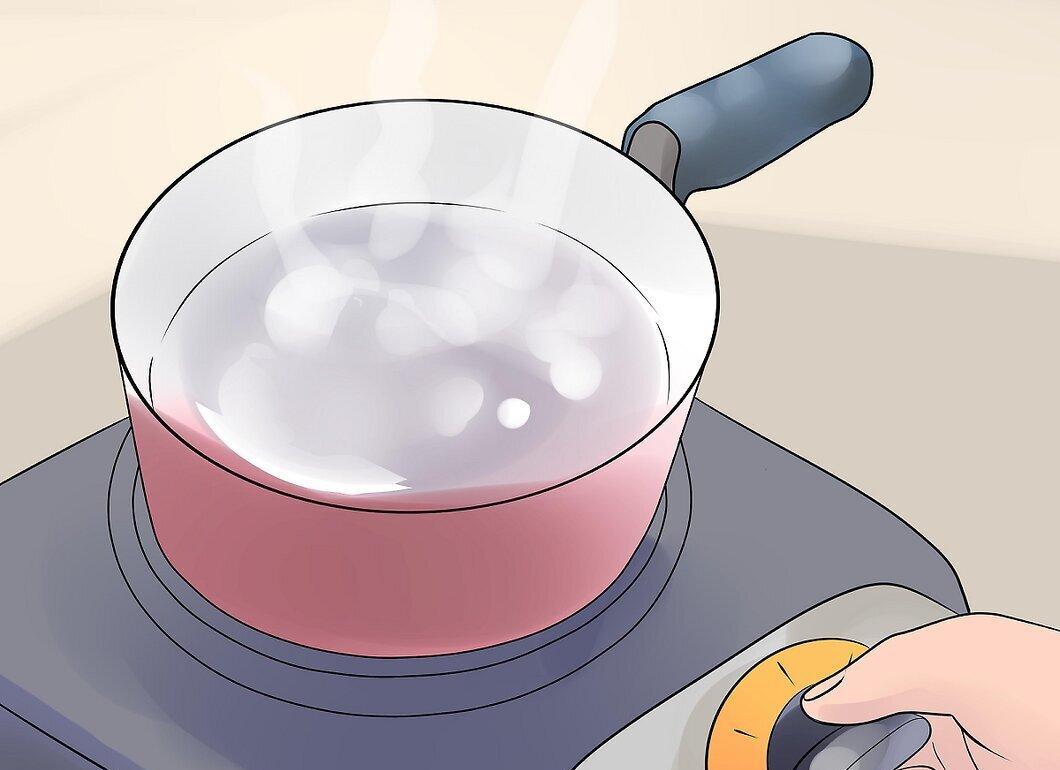
Pour 1-2 cups (250-500 ml) of warm or hot water into a small pot. Put the pot on the stove over medium heat.
- There should be enough water to completely cover the bone.
- Use a dye-resistant pot, preferably enamel or stainless steel.
Step 3: Mix the Dye Powder.
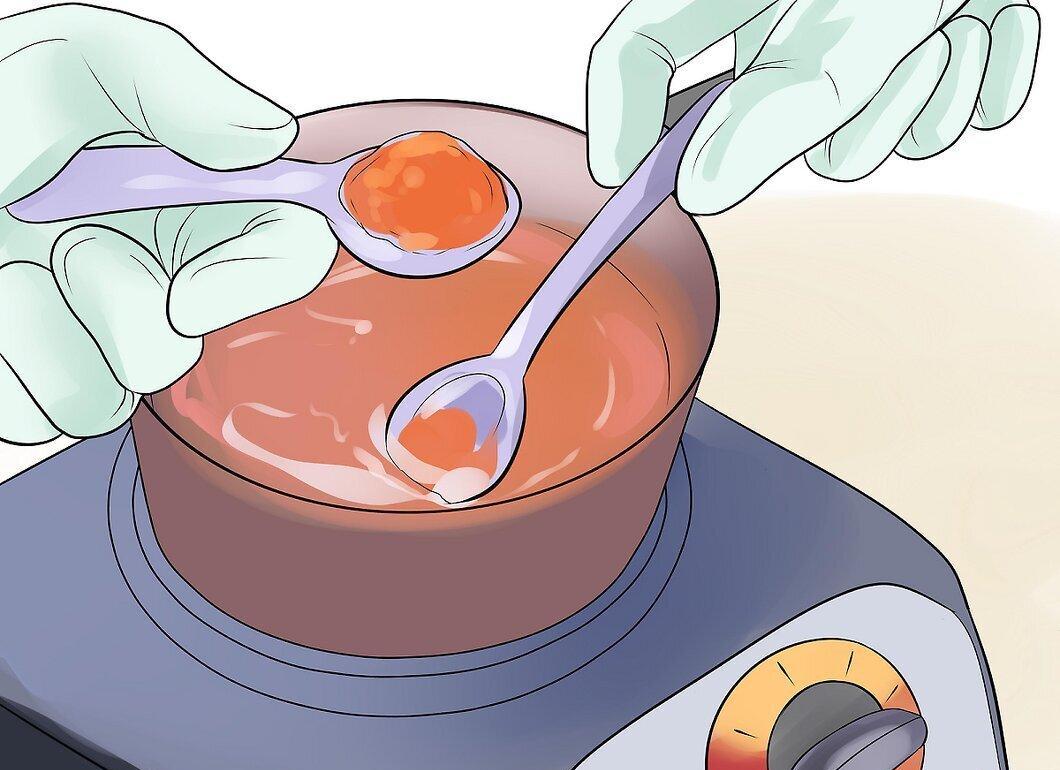
Mix the dye powder. Add 14 g of acid dye in any color and stir thoroughly with an inert spoon until fully dissolved.
- You need 10-19 g of powder for every 450 g of bone.
- For a small bone, 14 g of dye is sufficient. The more powder you use, the darker the color will be.
- Wear gloves to avoid staining your fingers.
Step 4: Submerge the Bone.
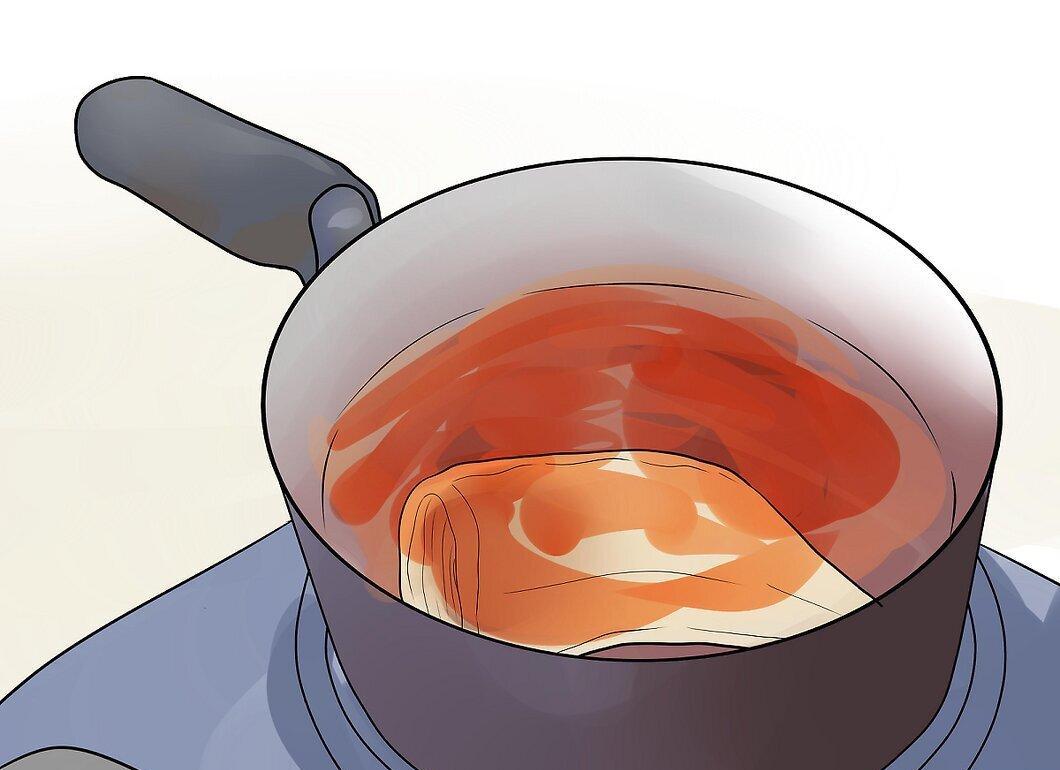
Move the bone from the water container to the dye bath.
- Do not dry the bone before placing it in the dye bath.
Step 5: Increase the Temperature of the Dye Bath.
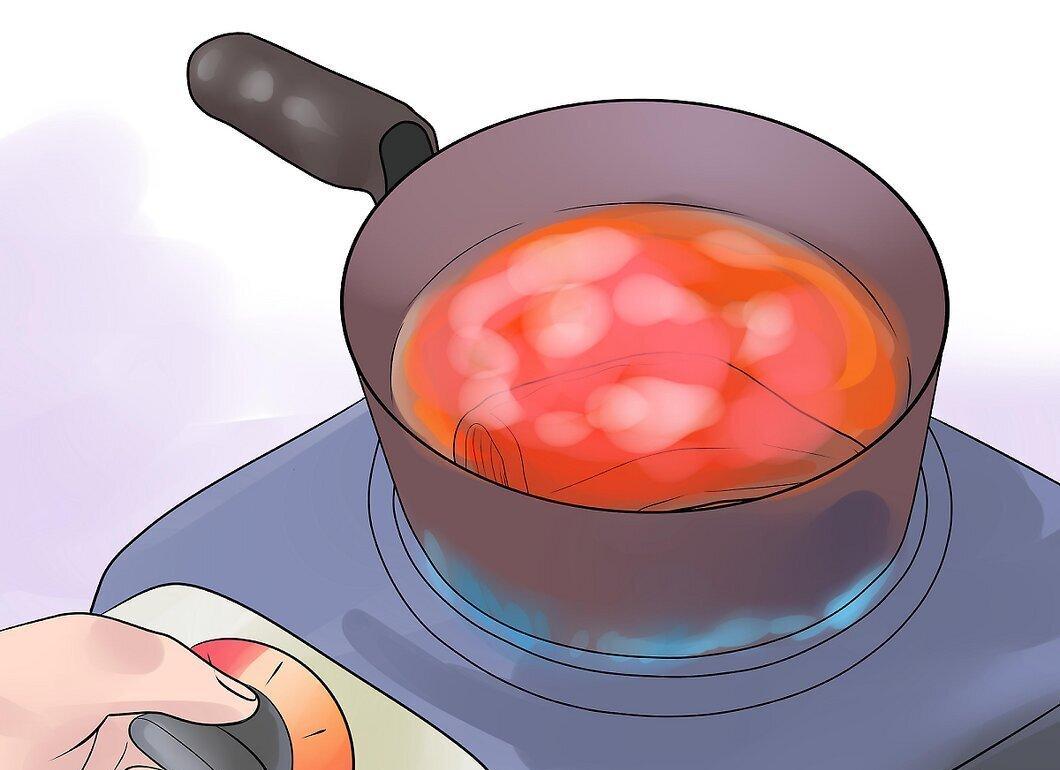
Gradually increase the heat on the stove to high. Heat the dye bath to 85-93 degrees Celsius.
- Stir the dyeing liquid regularly while heating.
- Use a kitchen thermometer to monitor the temperature.
Step 6: Add Vinegar.
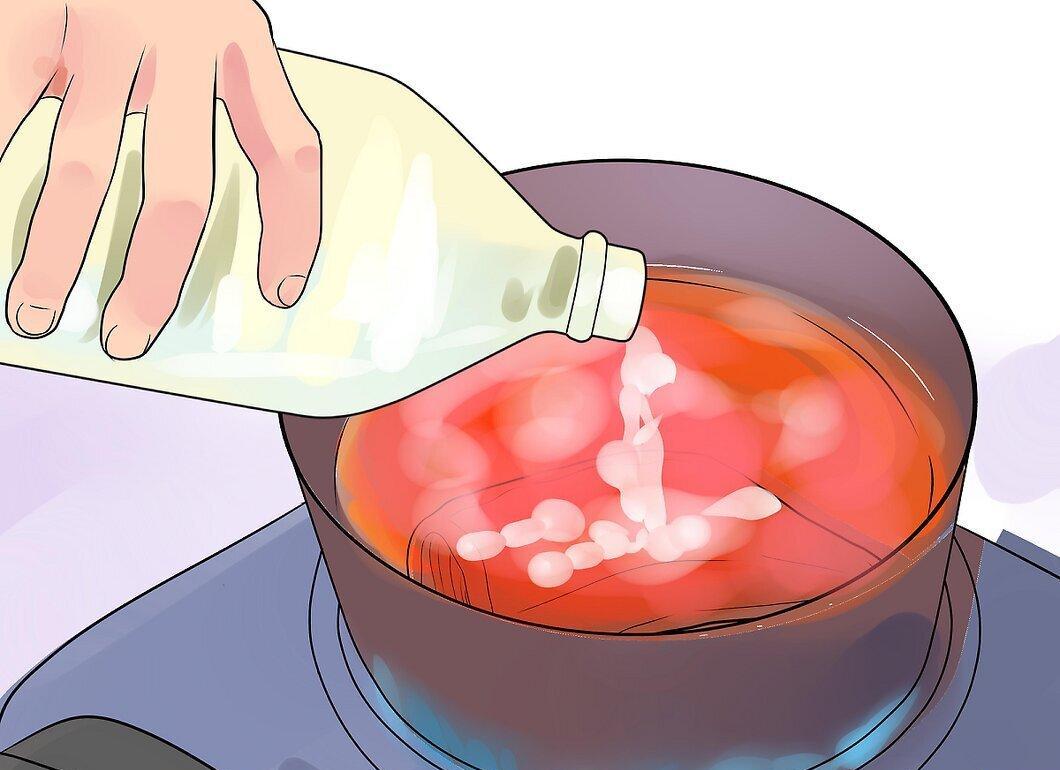
Add a quarter cup (60 ml) of vinegar to the dye bath and stir.
- Acid dyes work better in combination with an acid like vinegar.
- You will need about 60 ml of vinegar for every 450 g of bone.
- You can substitute vinegar with 1 tablespoon (15 ml) of citric acid for 450 g of bone.
- Try not to pour the vinegar directly onto the bone.
Step 7: Leave the Bone in the Dye Bath for 30 Minutes.
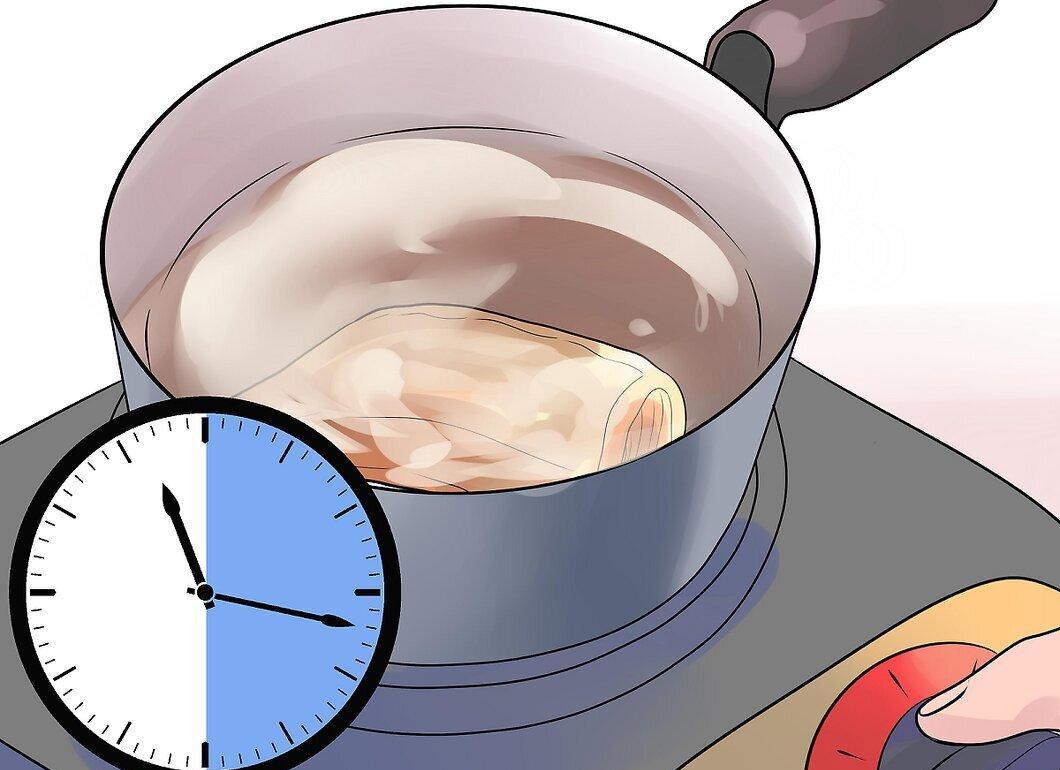
Submerge the bone in the dye bath for about 30 minutes, maintaining the specified temperature.
- Adjust the stove to keep the temperature steady.
- Stir the liquid in the dye bath frequently.
- For a brighter color, you can leave the bone longer than half an hour.
Step 8: Rinse in Warm Water.
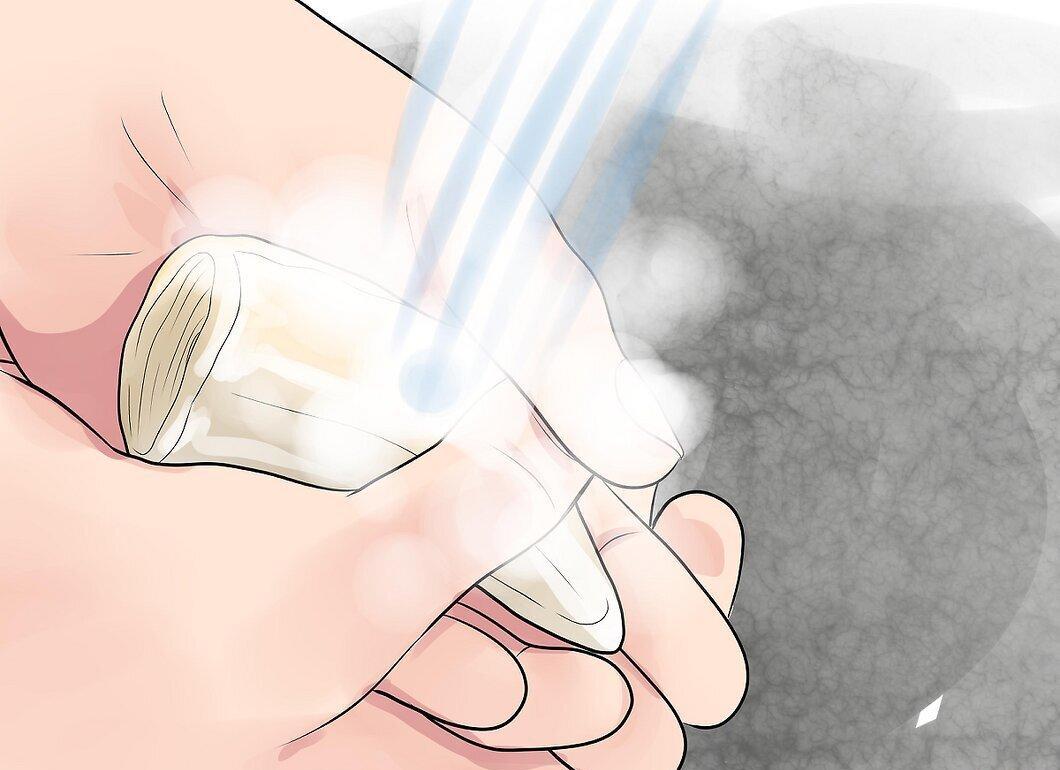
Remove the bone from the dye bath and rinse it under warm water with mild soap.
- Continue rinsing under running water until it runs clear and all excess dye is washed away.
Step 9: Allow the Bone to Dry.
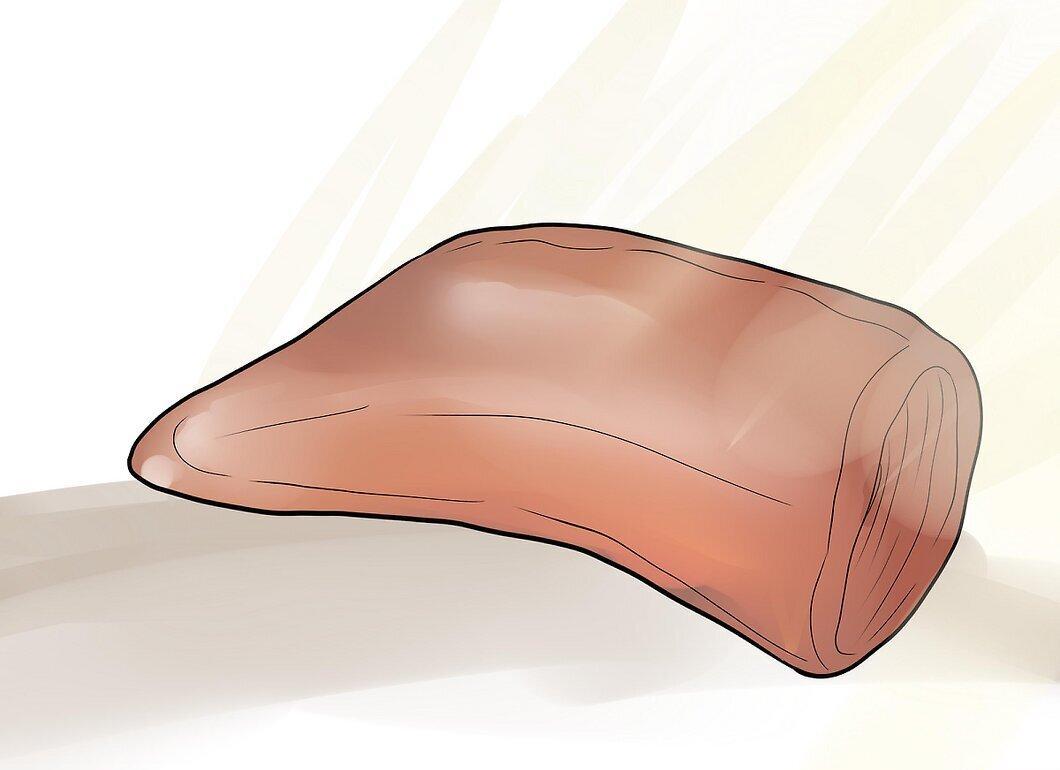
Place the bone in a sunny spot and let it dry completely.
- After drying, the dyeing process is complete.
Fiber-Reactive Dye
Step 1: Prepare the Dye.
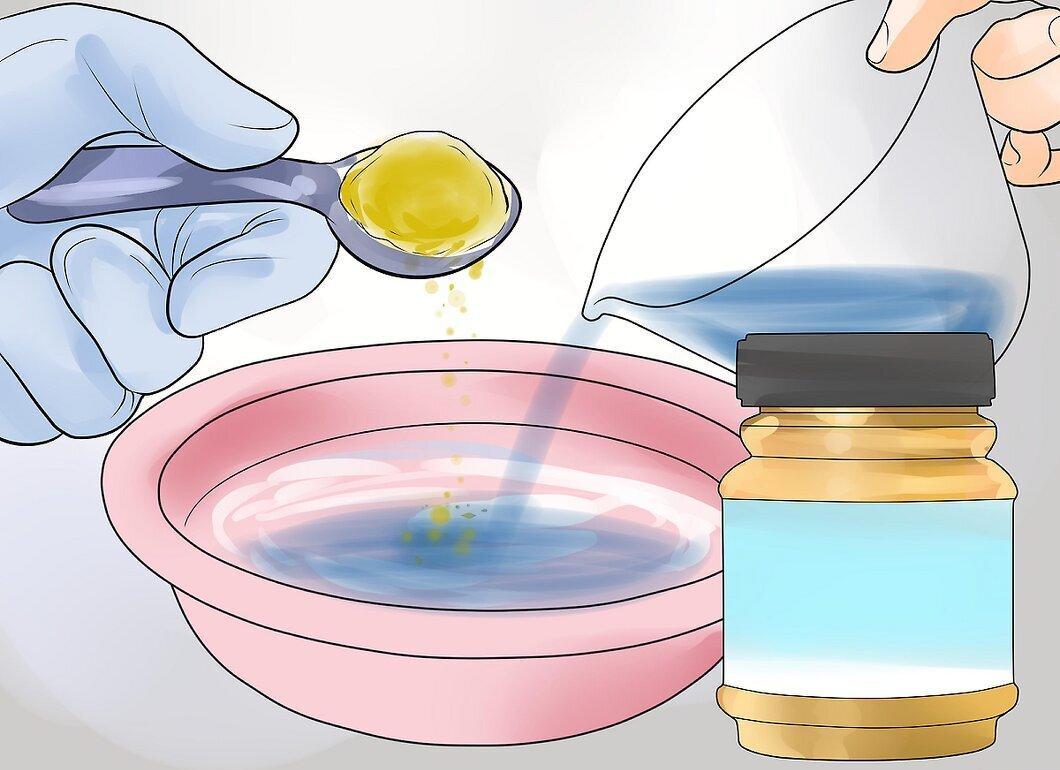
Mix the dye. Dissolve 4 tablespoons (60 ml) of fiber-reactive dye in 1 cup (250 ml) of warm or cool water, stirring thoroughly with a plastic spoon.
- Use an inert container, such as glass, plastic, or stainless steel.
- The bone should be fully submerged in the dye solution. If you need to add more water, add 1 tablespoon (15 ml) of dye for every ¼ cup (60 ml) of water.
- When using black or turquoise dye containing MX-G, you will need 2-4 times more powder for vibrant color.
Step 2: Prepare the Soda Ash Solution.
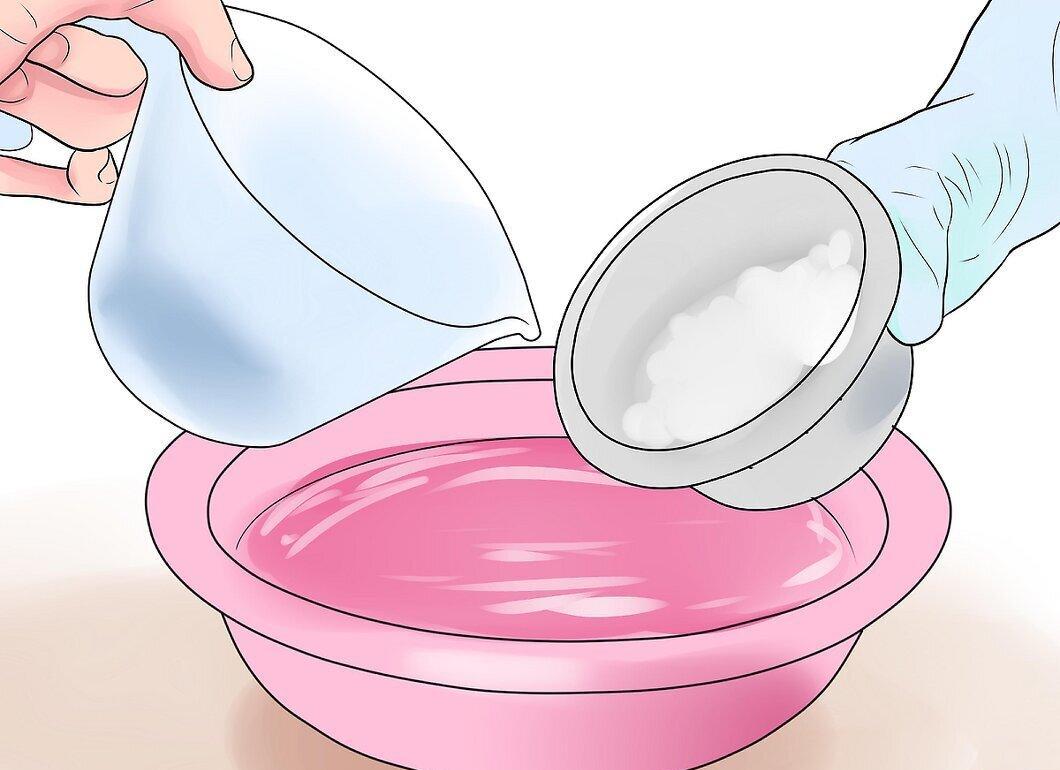
Mix ¼ cup (60 ml) of soda ash with 1 liter of room temperature water. Stir until fully dissolved.
- Before preparing the solution, check the dye — some may already contain soda ash.
- Wear gloves when working with soda ash as it can cause irritation.
Step 3: Submerge the Bone in the Soda Ash Solution.
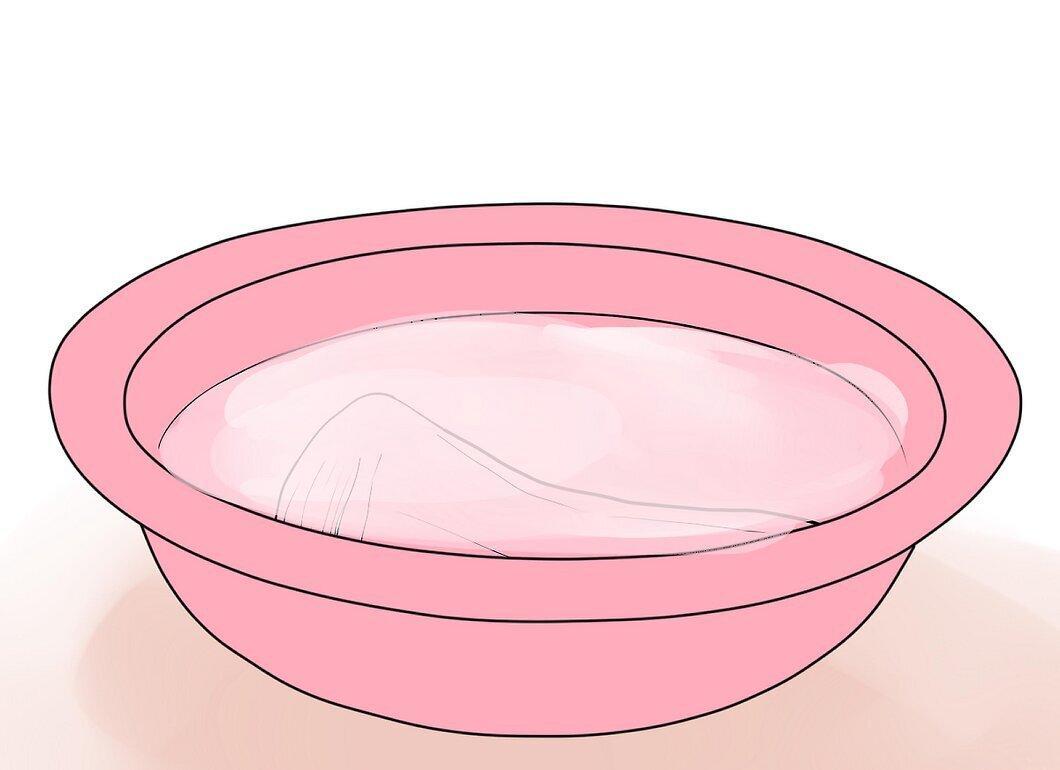
Soak the bone in the solution for 15-60 minutes.
- This process prepares the bone fibers to absorb the dye. The longer you keep the bone in the solution, the brighter the color will be, but do not exceed 1 hour.
Step 4: Move the Bone to the Dye Bath.
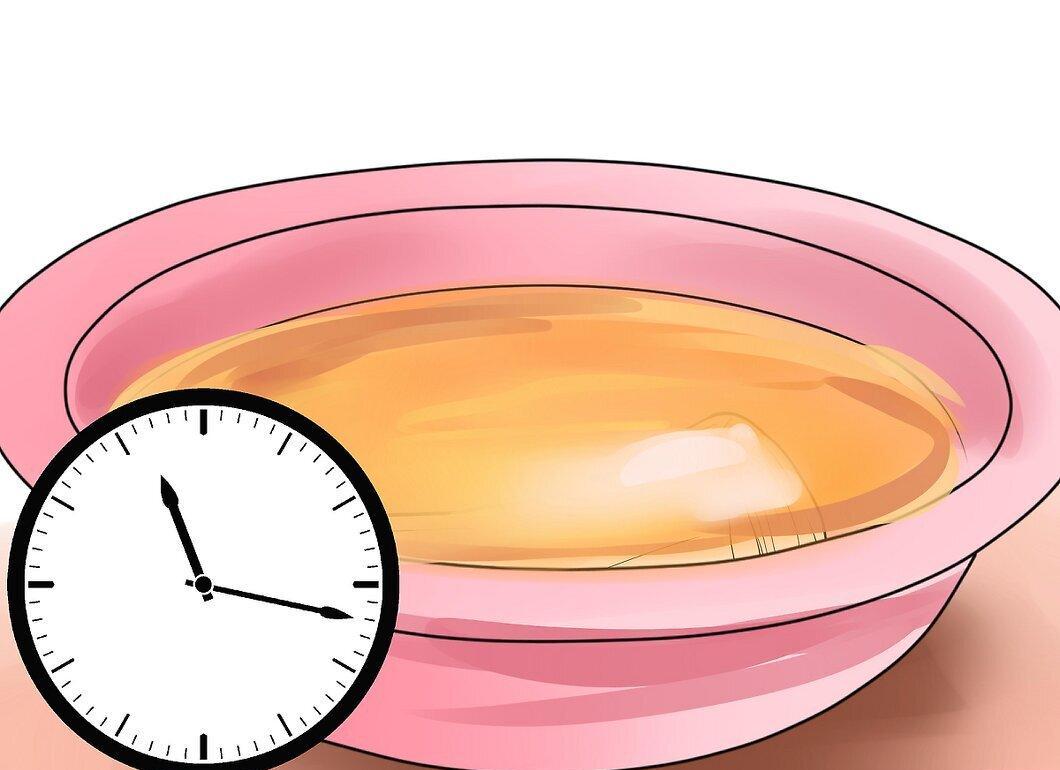
Remove the bone from the soda ash solution and place it in the dye bath. Ensure that the bone is fully covered with water and leave it overnight.
- For best results, keep the bone in the dye bath for 8 to 24 hours to achieve a deep and lasting color.
- Place the dye bath in a warm area, maintaining the water temperature no lower than 21 degrees Celsius. If necessary, cover the container with plastic wrap.
Step 5: Rinse the Bone.
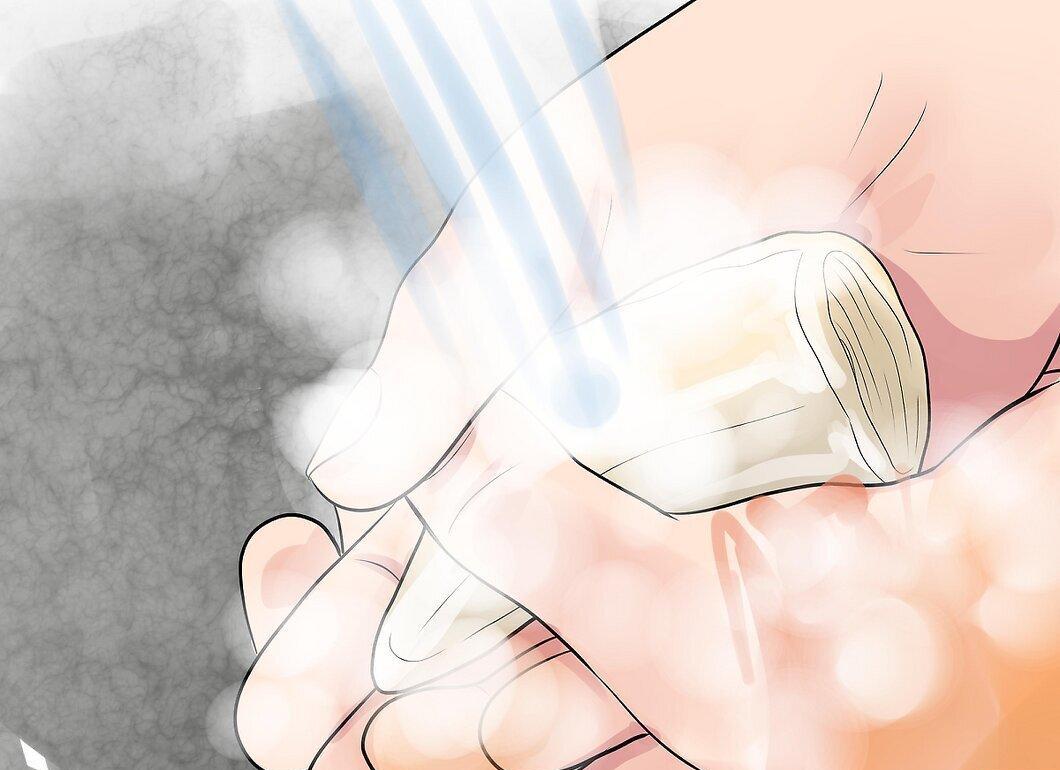
Extract the bone and rinse it under warm or cool water with mild liquid soap.
- Continue rinsing until the water runs clear and all excess dye is removed.
Step 6: Dry the Dyed Bone.
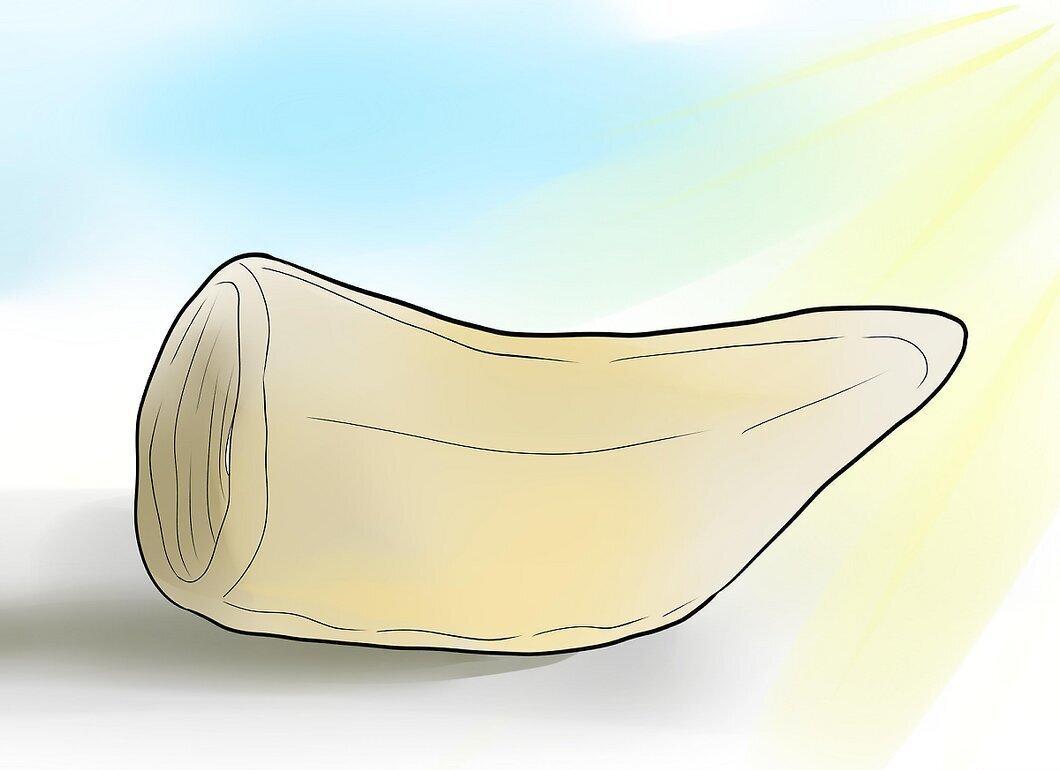
Place the bone in a sunny spot to dry completely before use.
- After it dries, the dyeing process is finally complete.


