In this article, you will learn how to conveniently add funds to your PayPal account. You can do this via a bank account (on the website or in the mobile app), cash at a store, or by check.
Adding Funds from a Bank Account (via Computer)
Step 1. Log in to your PayPal account at https://www.paypal.com
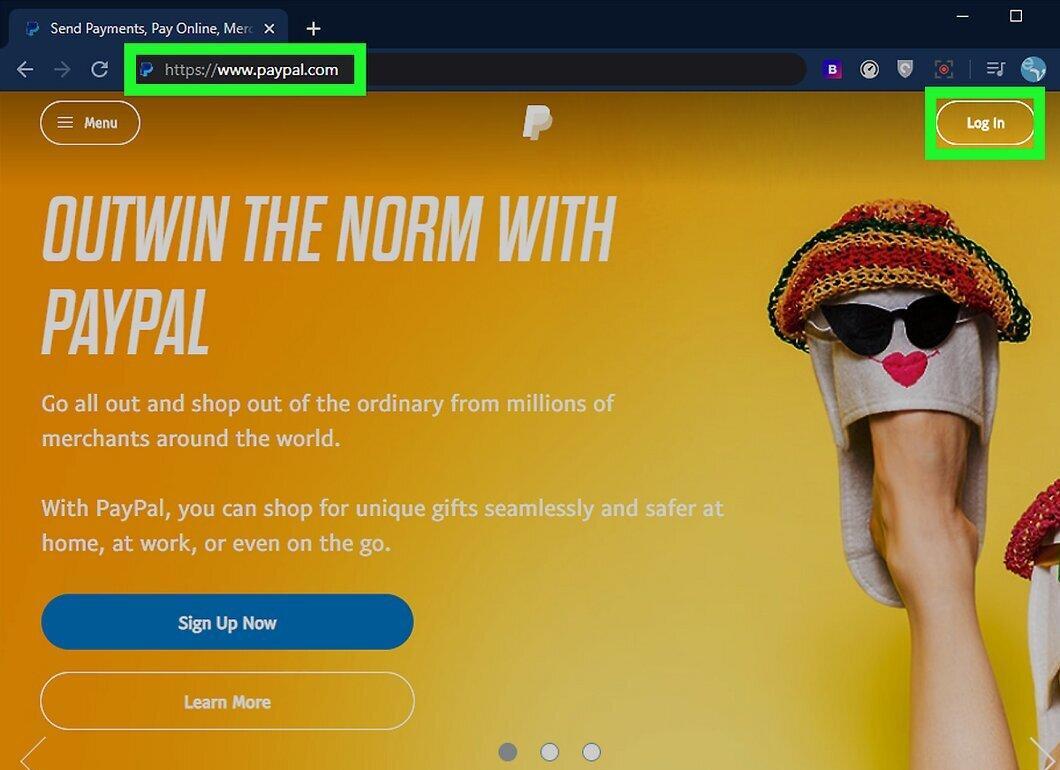
Go to https://www.paypal.com and log into your account. If you’re not logged in, click the “Log In” button located at the top right corner.
- Transferring funds from your bank account is free of charge.
- To use this method, you need to link your bank account to PayPal. If you haven't done this yet, go to the “Account” or “Wallet” section and select “Add Bank Account.” Keep in mind that the linking process may take a few days.
Step 2. Click on the “Send” button
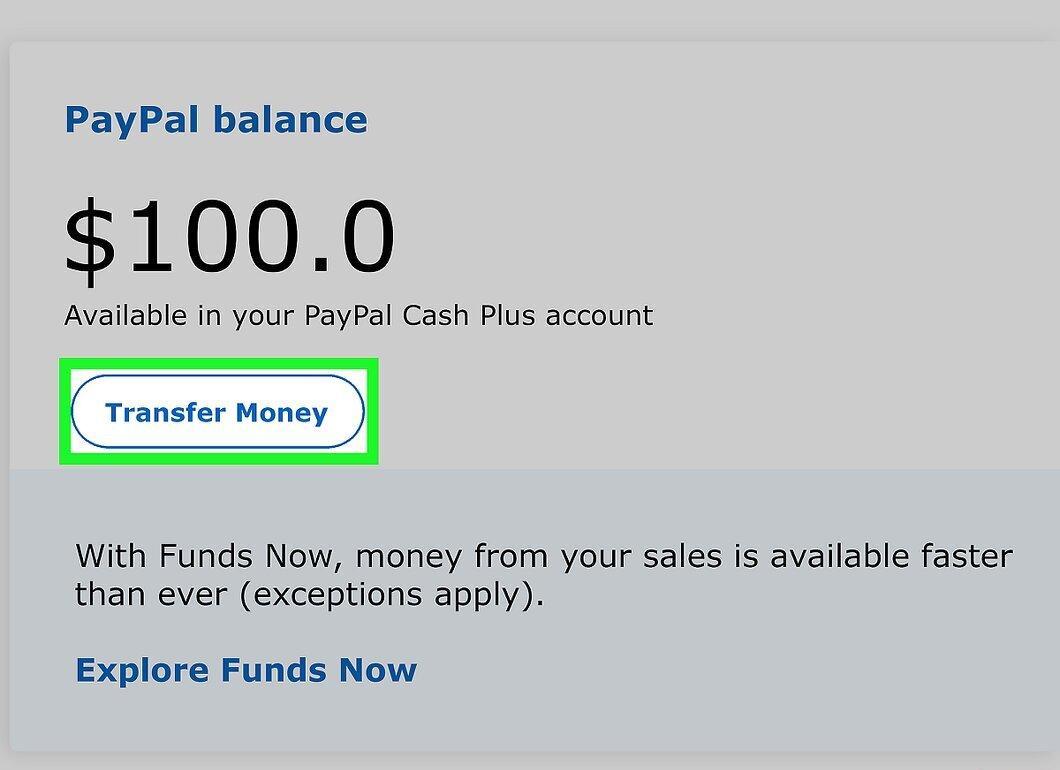
Click on the “Send” button, which is located under your balance in the upper left corner.
- You may see a notification offering to test the instant transfer feature from your bank account. If so, just click “Okay.”
Step 3. Select “Add Funds”
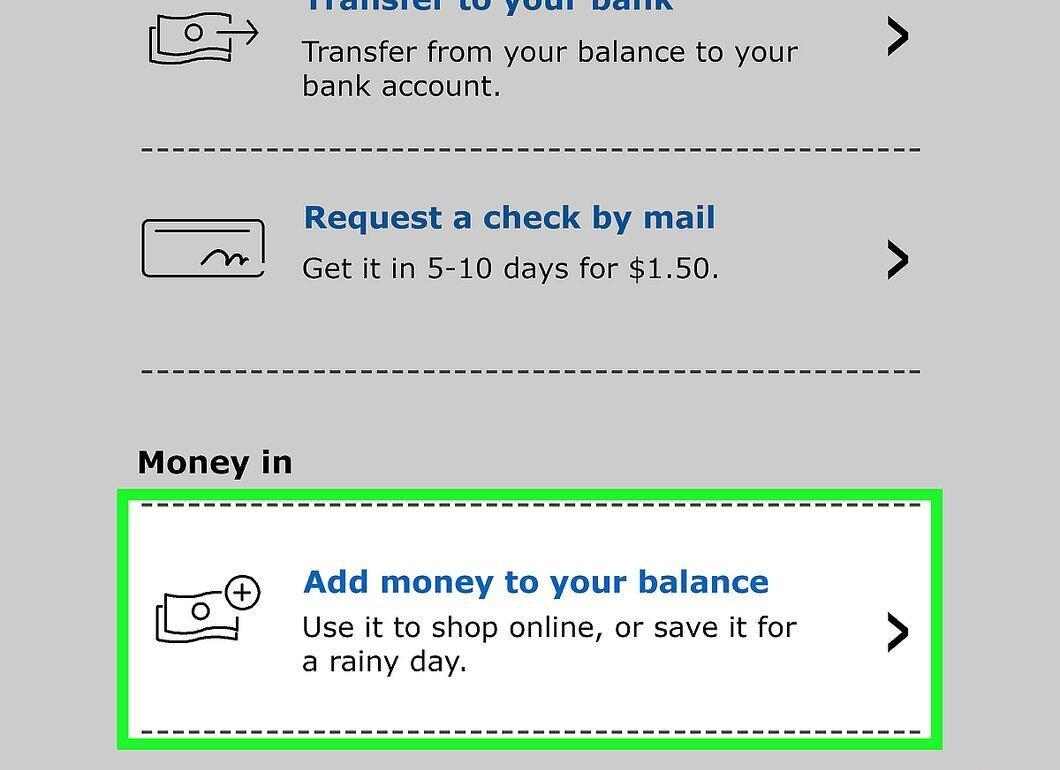
Choose the “Add Funds” option located in the “Balance” section.
- If you have a business PayPal account, instead of the “Add Funds” button, you will see two menus: select your bank account in the first menu and “PayPal Balance” in the second.
Step 4. Enter the amount
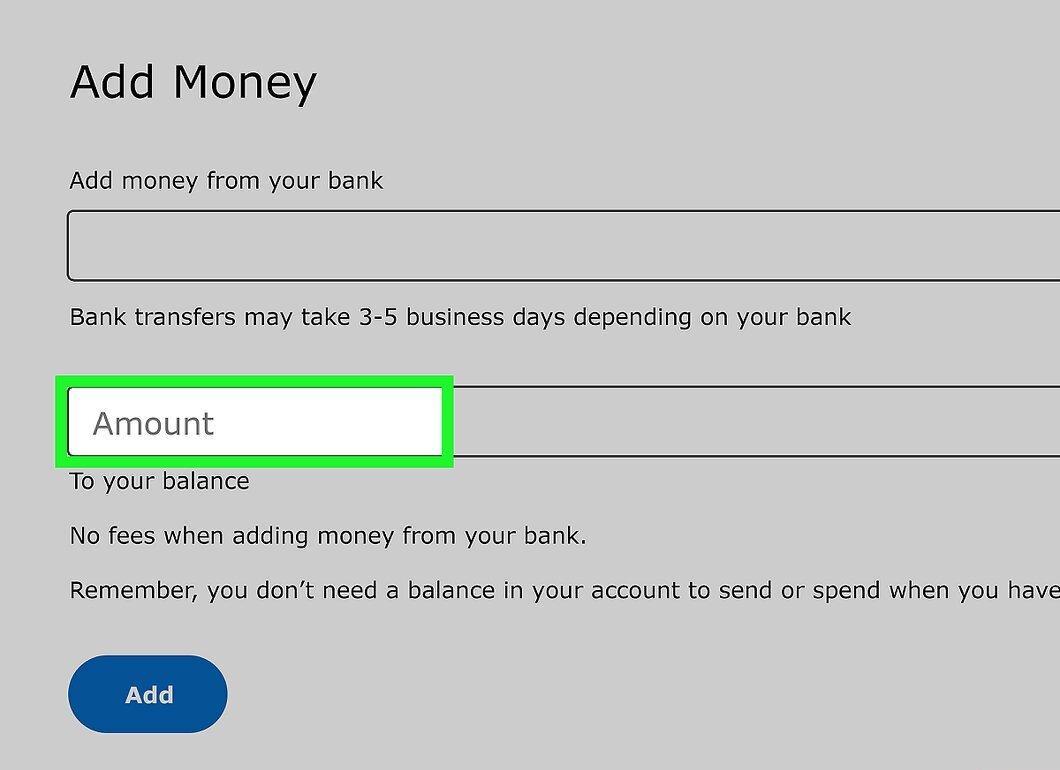
Input the amount you wish to transfer from your bank account in the “Amount” field.
Step 5. Click on “Add Funds”
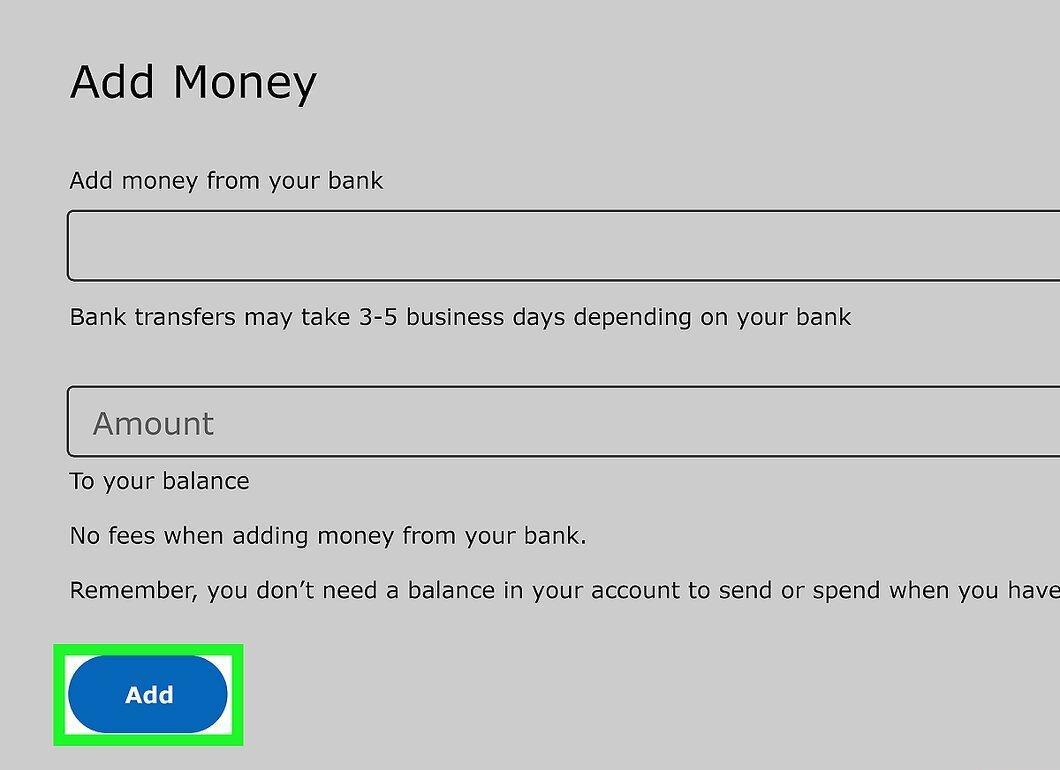
Click on “Add Funds” (for personal accounts) or “Send” (for business accounts). The money will be credited to your PayPal account within 3–5 business days.
Adding Funds from a Bank Account (via Mobile App)
Step 1. Open the PayPal app on your device
Launch the PayPal app by tapping the icon with a white “P” on a blue background on your home screen or in your apps.
- Transferring funds from your bank account is also free of charge.
- Don’t forget to link your bank account to PayPal if you haven’t done so yet.
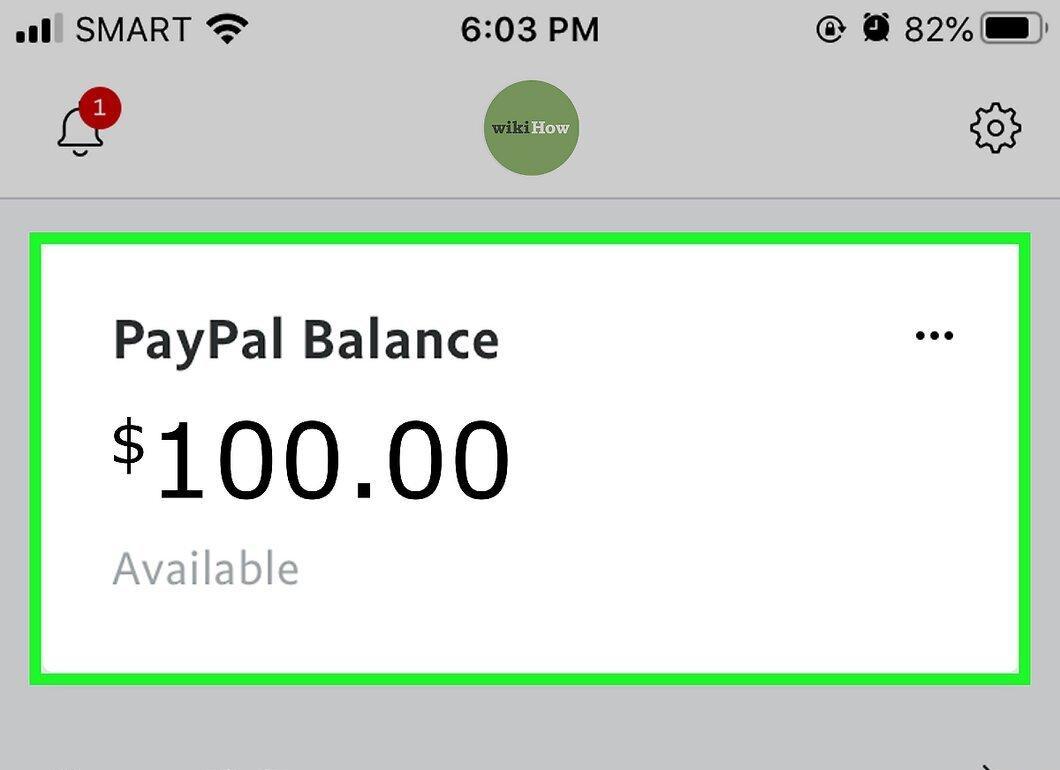
Step 2. Tap on your balance
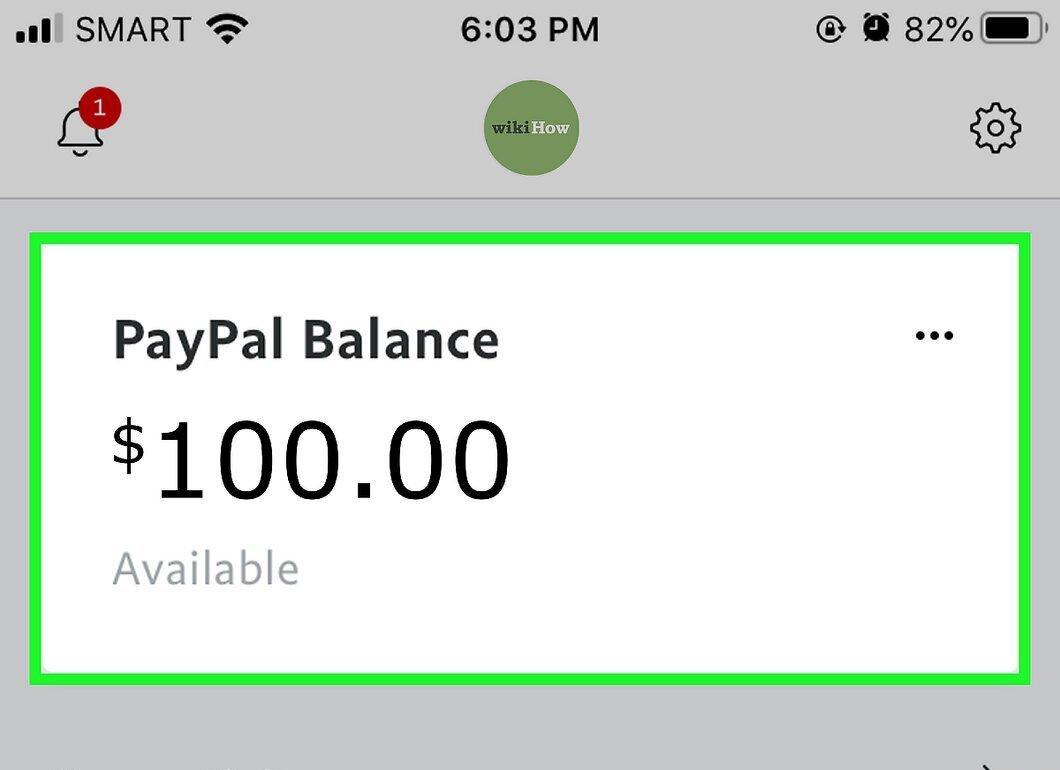
Tap on your balance displayed in the center of the screen.
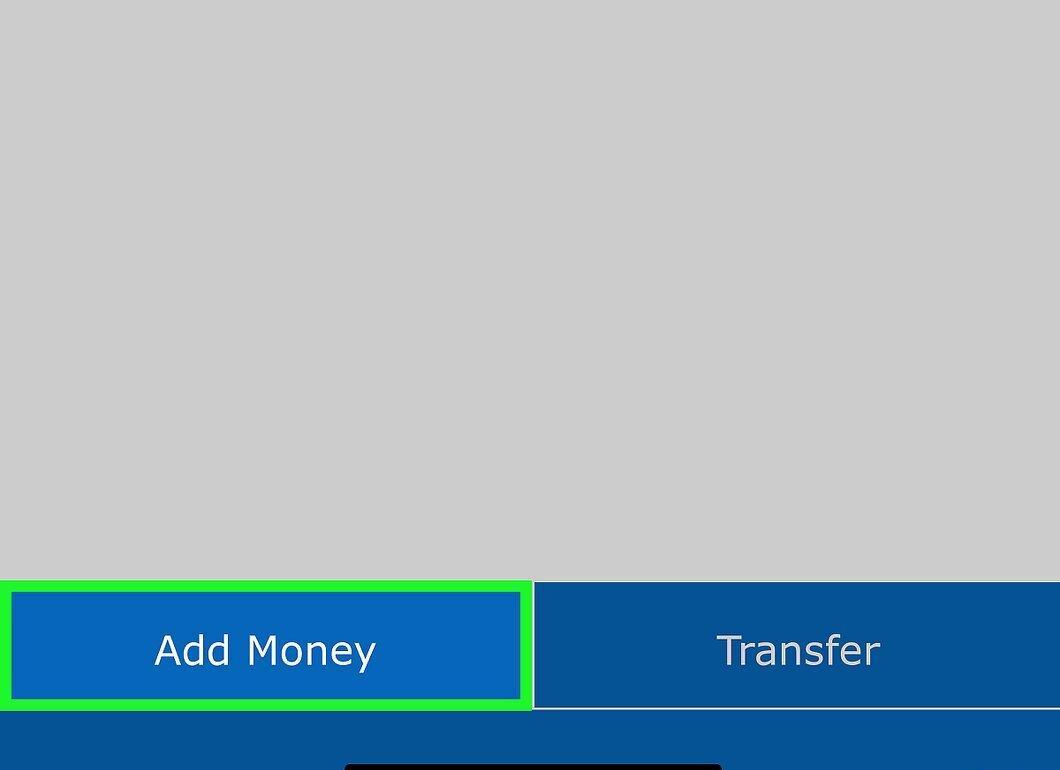
Step 3. Select “Add Funds”
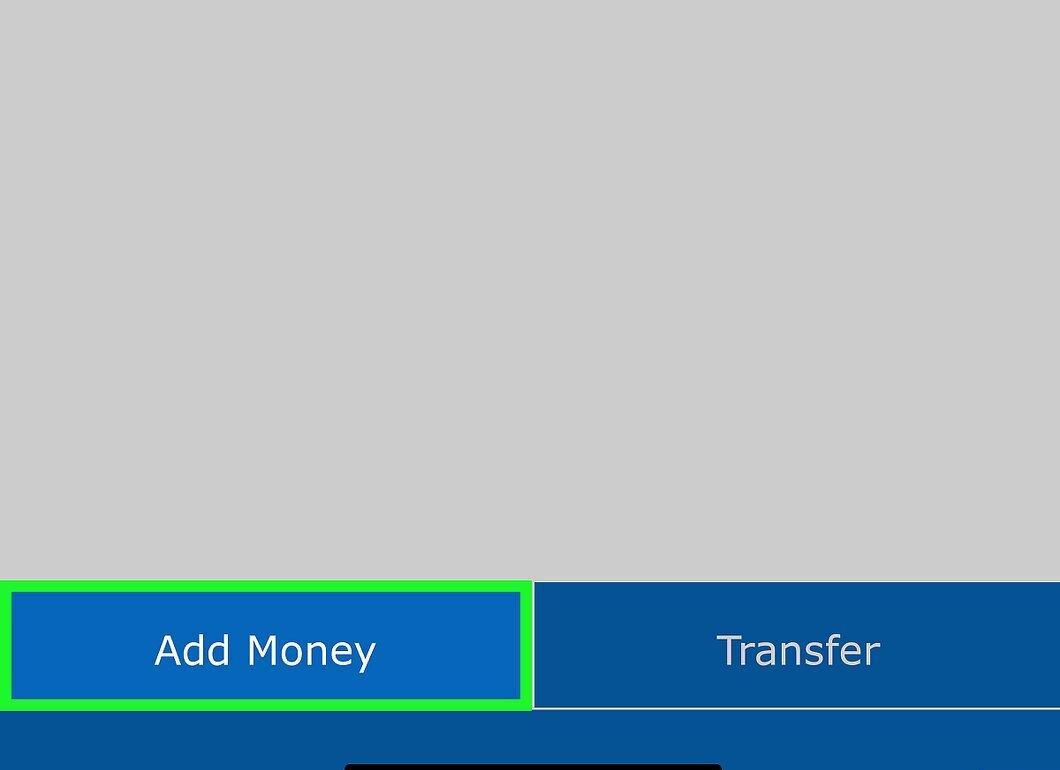
Tap the “Add Funds” button located at the bottom of the screen.
Step 4. Choose “Add from Bank Account”
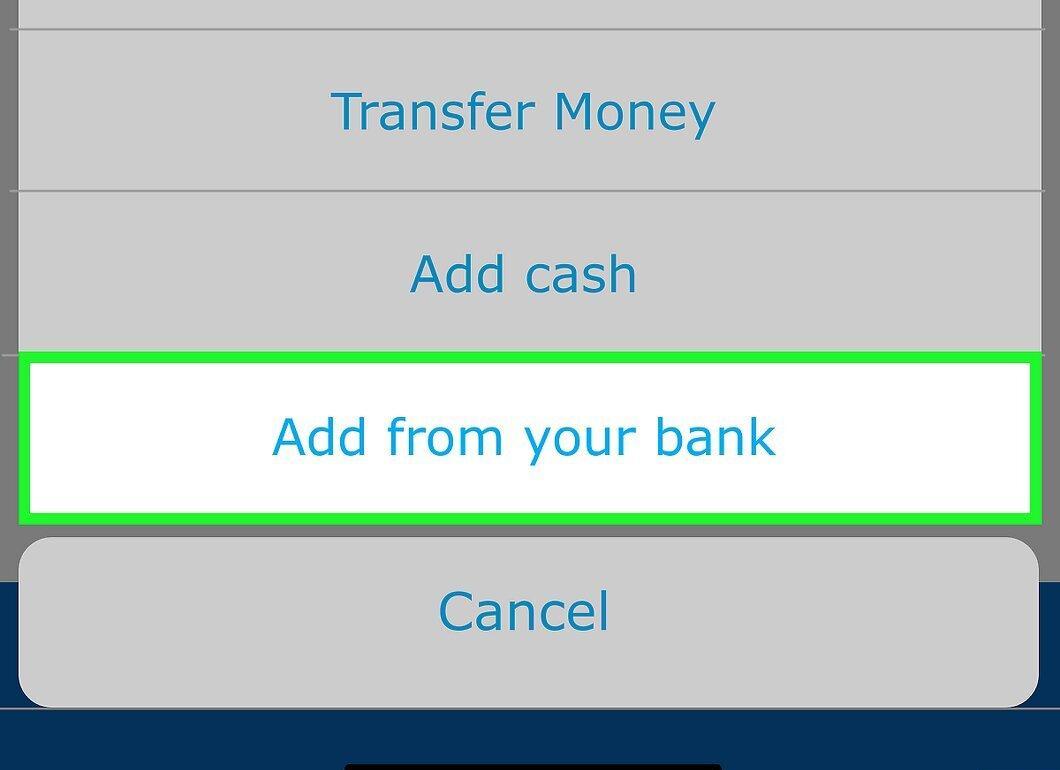
Select “Add from Bank Account” and specify your bank account.
Step 5. Enter the amount and tap “Next”

Enter the amount and tap “Next.”
Step 6. Tap “Add to Account”

Tap “Add to Account.” The funds will be credited to your PayPal account within 3–5 business days.
Adding Cash at a Store
Step 1. Add funds to PayPal at “Euroset” or “Svyaznoy” stores
- You can find a list of stores where you can add cash to PayPal here and here.
- Please note that cash deposits are only possible in rubles.
Step 2. Keep in mind that cash can only be deposited to a personal, not corporate account
Step 3. Find a “Euroset” or “Svyaznoy” store and visit it
Step 4. Go to the cashier to provide your information

Step 5. Provide the cashier with your email address linked to PayPal and the amount to be added

Step 6. Sign the prepay check printed by the cashier

- The check will include your email address, the amount, and agreement text.
Step 7. Check your account

Check your balance. The amount should appear in your account immediately.
- In rare cases, the update may take up to 24 hours.
Step 8. Note that the cash deposit limit is 15,000 rubles per transaction or 40,000 rubles per month

Adding Funds via Check
Step 1. Open the PayPal app on your mobile device

Launch the PayPal app and tap the icon with a white “P” on a blue background on your home screen or in your apps.
- If you haven’t signed the check yet, do so before proceeding.
Step 2. Tap on your balance

Select your balance displayed at the top of the screen.
Step 3. Tap “Add Funds”

Choose the “Add Funds” option at the bottom of the screen.
Step 4. Select “Cash a Check”

Tap “Cash a Check.” Simple instructions will appear on the screen.
Step 5. Tap “Get Started”

Tap the “Get Started” button.
Step 6. Allow the PayPal app access to your location and camera

Follow the on-screen instructions to grant the app access to your location and camera. A text regarding privacy policy will appear.
Step 7. Review the privacy policy and tap “Accept”

Read the privacy policy and tap “Accept.”
Step 8. Read the terms and tap “Accept”

Review the terms and tap “Accept.”
Step 9. Enter personal details and tap “Continue”

Enter your personal details such as date of birth and phone number, then tap “Continue.”
Step 10. Tap “Done”

Tap “Done,” then enter the information about your check.
Step 11. Enter the check amount

Input the check amount by tapping the “0.00” field at the top of the screen and entering the desired amount.
Step 12. Tap “Front of check”

Tap “Front of check.” Your device’s camera will turn on.
Step 13. Point the camera at the front of the check

Move the camera over the front of the check. The app will automatically take a picture.
Step 14. Tap “Back of check”

Tap “Back of check.” The camera will turn on again.
Step 15. Point the camera at the back of the check

Take a picture of the back of the check using the camera.
Step 16. Tap “Next”

Tap “Next” to proceed.
Step 17. Choose wait time for access to funds

Select how long you are willing to wait to access your funds. Fees may apply for each waiting period.
Step 18. Tap “Confirm”

Confirm and give PayPal time to verify the check. This will take just a few seconds, but sometimes may take up to 5 minutes. Do not proceed to the next step until you receive confirmation of the check’s validity.
Step 19. Void the check and provide proof

Void the check and provide proof. Do not do this until the app asks you to. Write the word “VOID” on the front of the check and follow the on-screen instructions to upload a new photo of the check. After completing the process, you will receive confirmation on the screen.