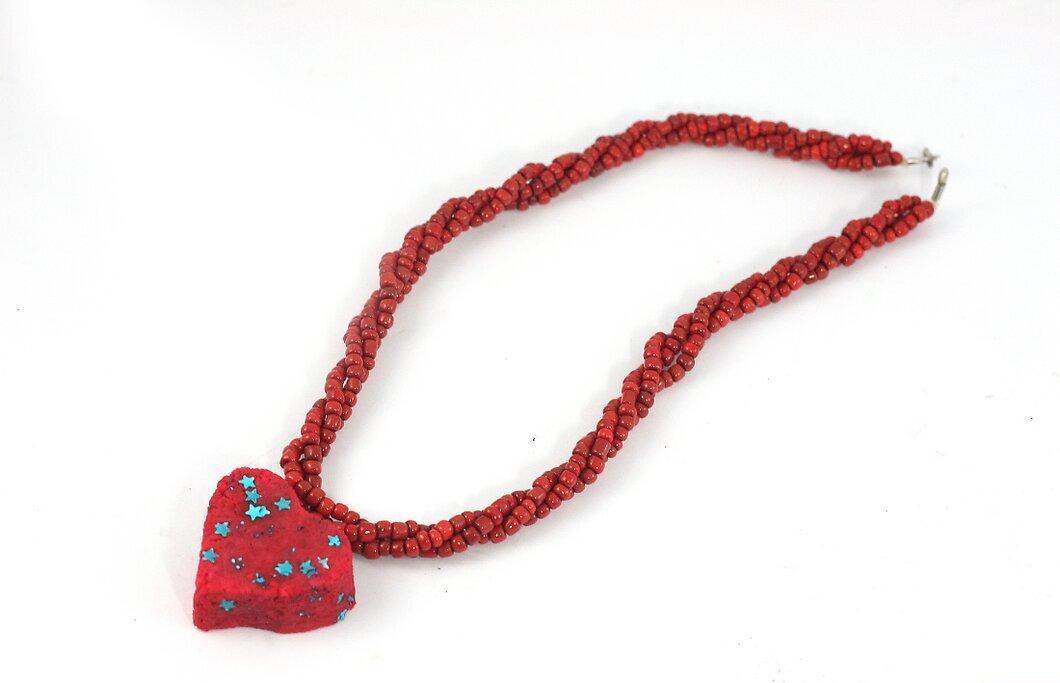
Creating stone from milk is a fun and inexpensive way to spend your time. This amazing material you will create is called "galalith" or "milk stone," and in the UK, it is referred to as "erinoid." It was first made in 1898 and was used until the 1930s for making buttons, accessories, and various decorative items.
Part 1
Step 1: Prepare the Milk
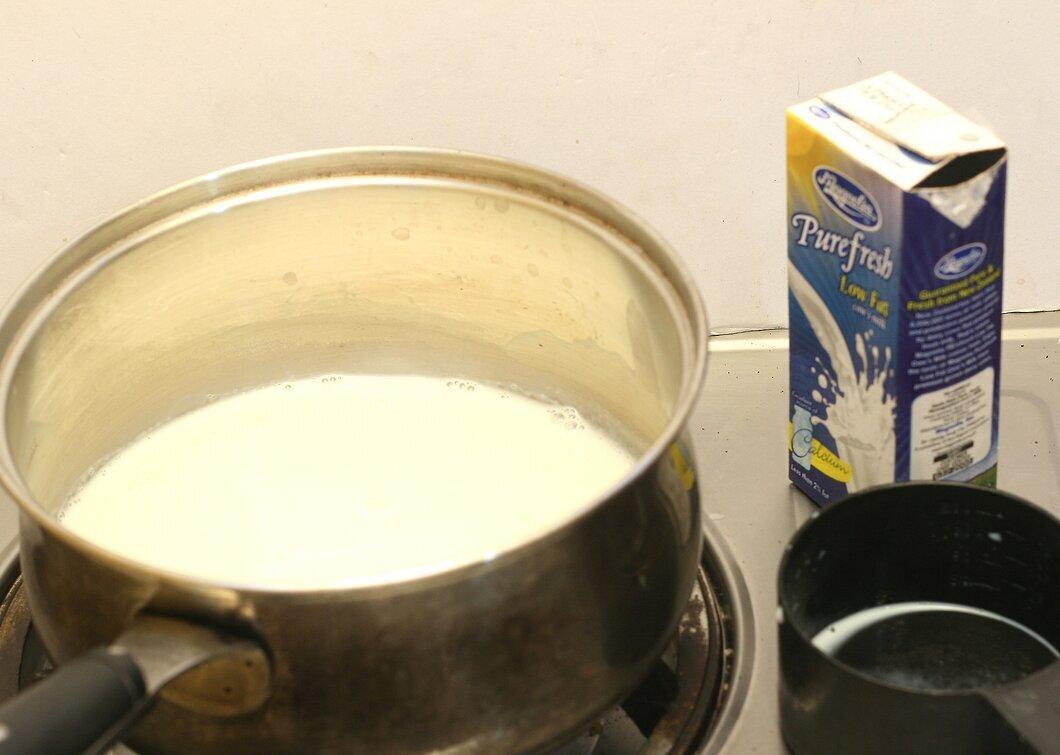
Pour 250 ml of skimmed milk into a pot. If you have full-fat milk, you can first turn it into butter and use the whey instead. Heat the milk until it starts to boil, stirring constantly to prevent it from burning. Heat until you see a light foam forming around the edges.
If you prefer, you can heat the milk in the microwave on low power for about two minutes, depending on your model.
Step 2: Add Vinegar
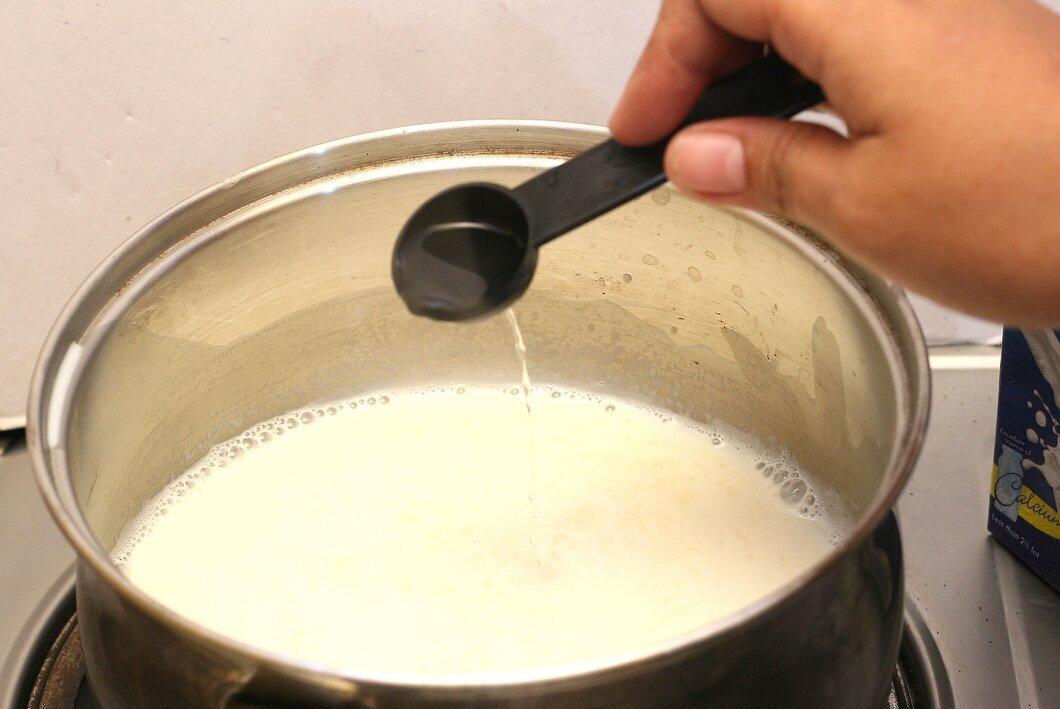
Add one tablespoon of vinegar to the milk and stir it well. Watch carefully for the reaction between the vinegar and the milk (use vinegar with 5% acidity).
Step 3: Decoration
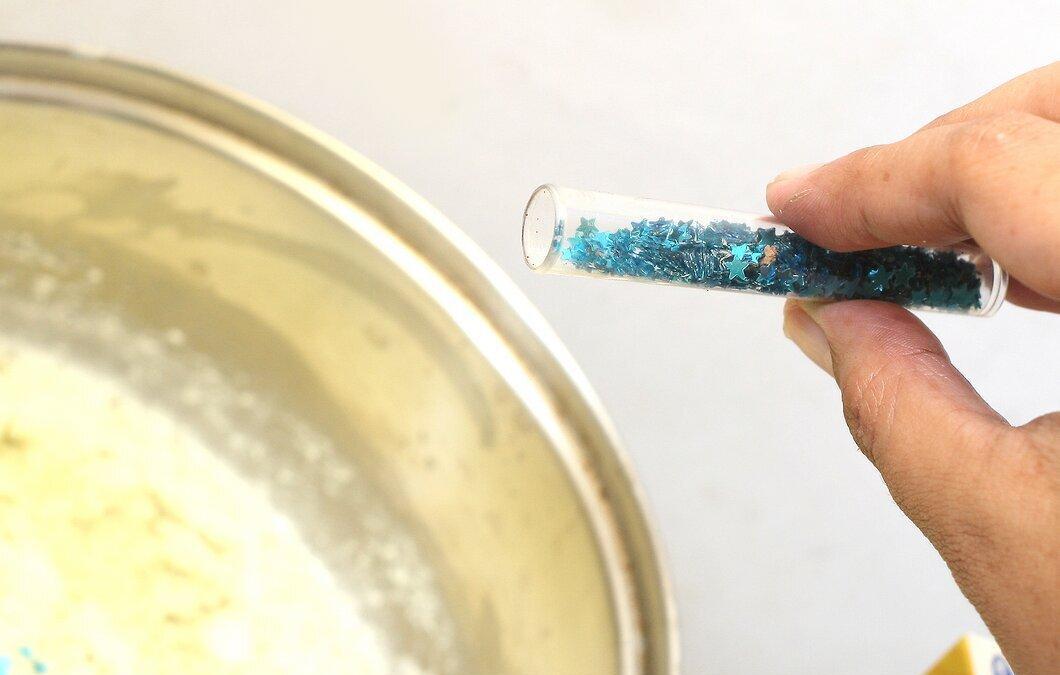
You can add strips of foil or other decorative elements to this mixture while continuing to stir.
Step 4: Coloring
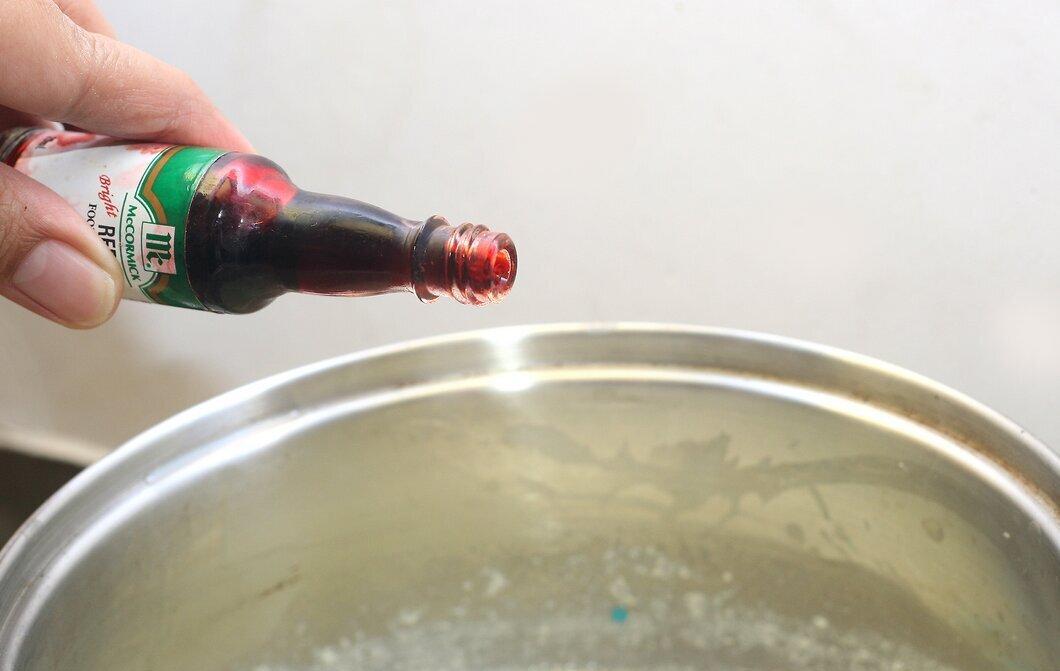
If you want your plastic to have color, add dye at this stage. You can also paint the final surface later.
- To achieve an even color, mix all the ingredients thoroughly.
Step 5: Cool the Mixture
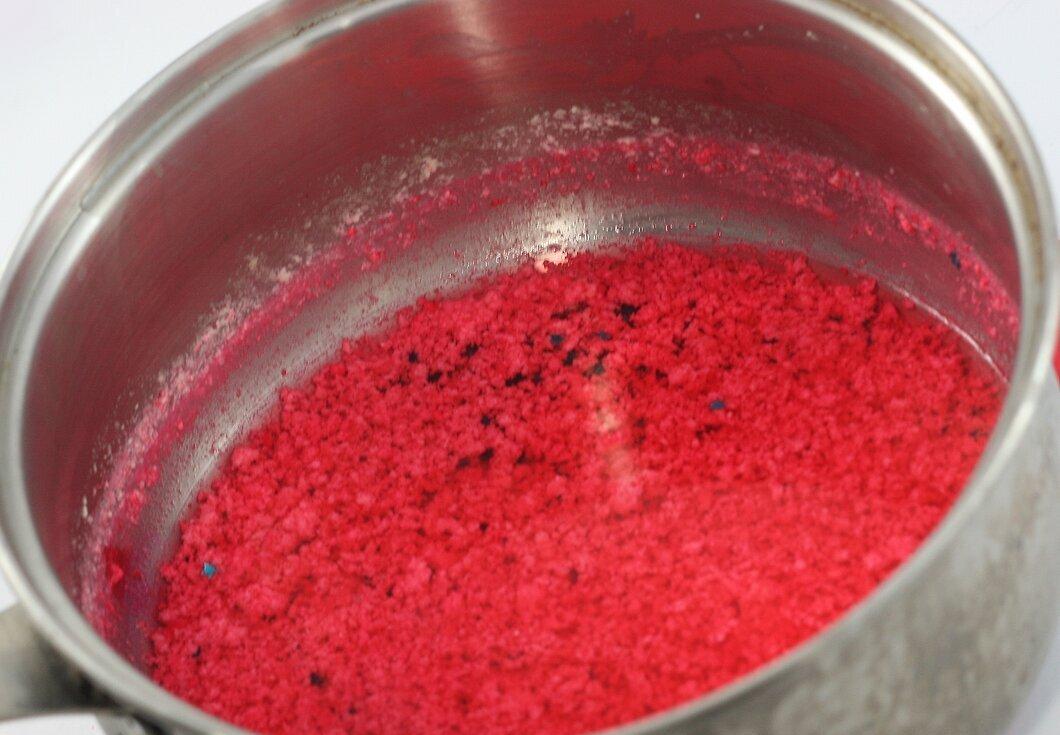
Cool the mixture until it is touchable, being careful not to spill it while it’s hot.
Step 6: Strain
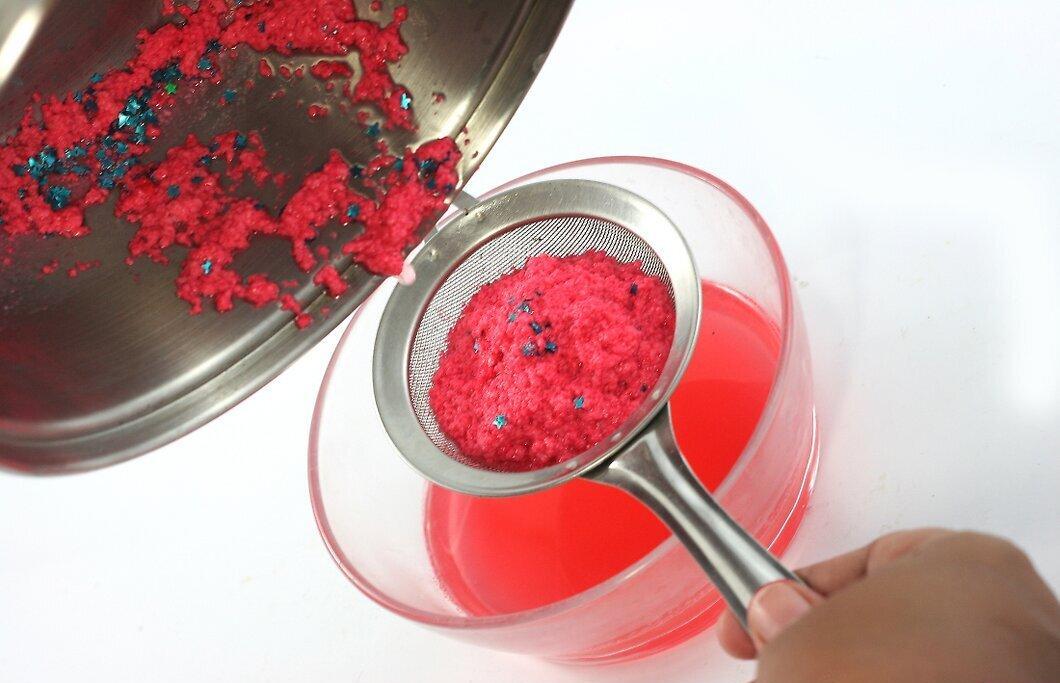
Carefully strain the mixture through a sieve to separate the curdled milk from the whey. Do not press on the clumps while straining. If necessary, repeat the straining process.
Step 7: Wrap the Casein
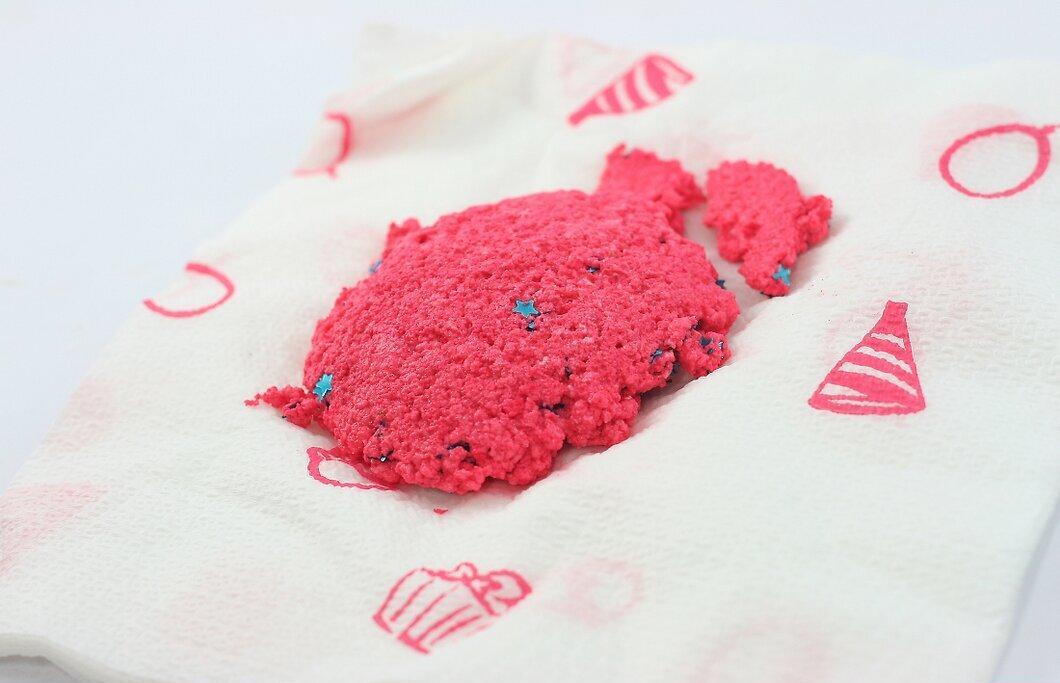
Wrap the resulting casein in a paper towel or a smooth kitchen cloth (not a terry one).
Step 8: Absorb Excess Liquid
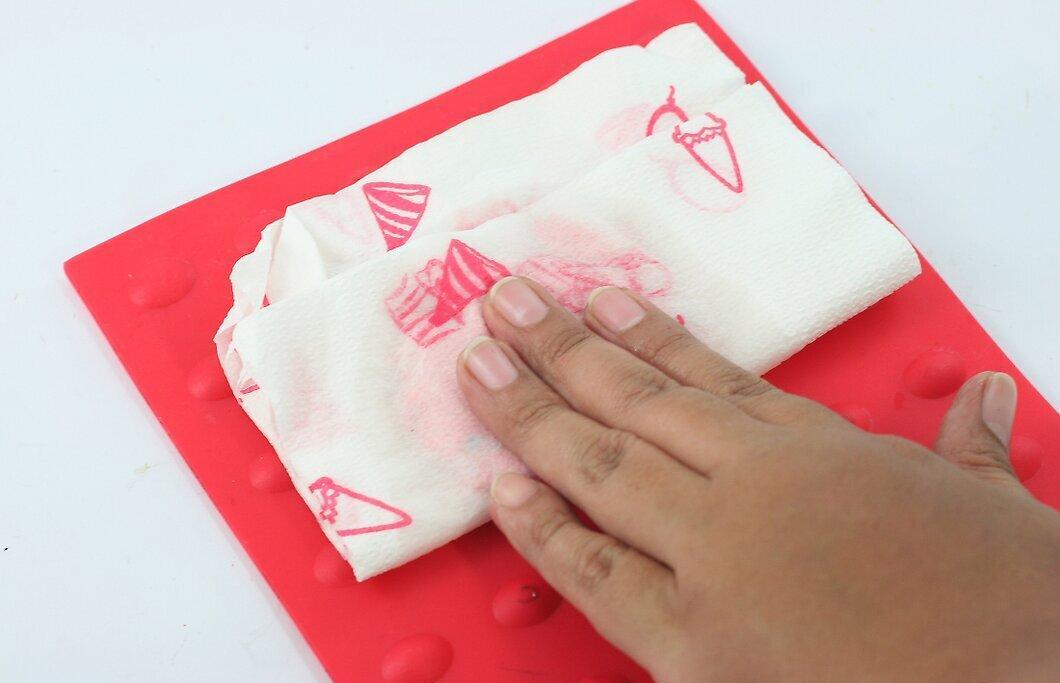
Press the towel to absorb any excess liquid.
Step 9: Drying
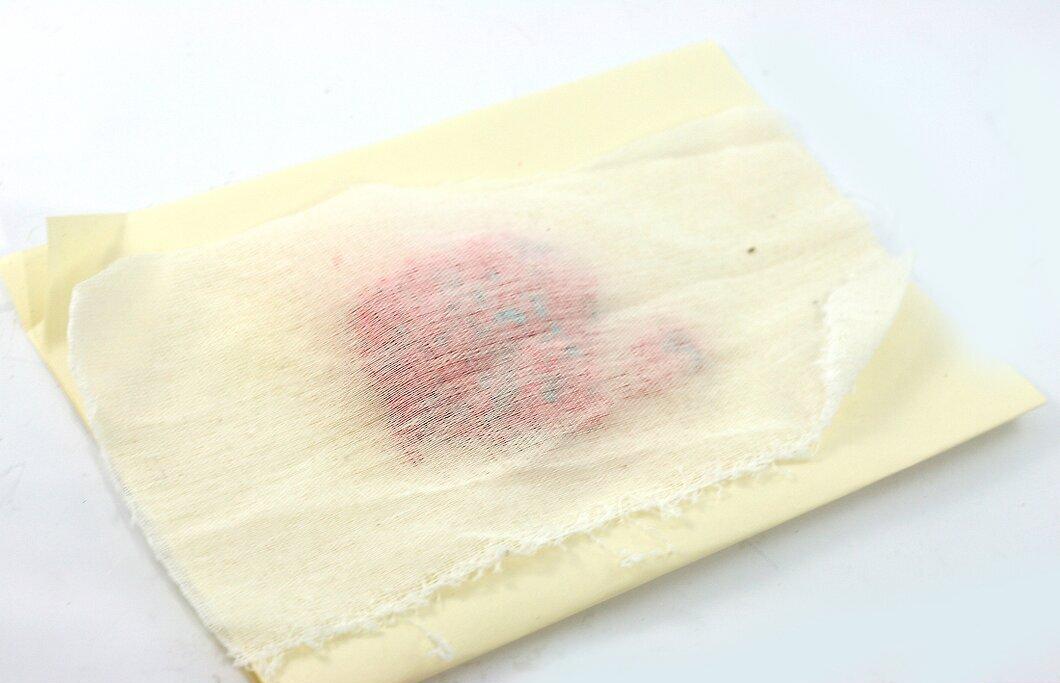
Unwrap the towel and place the curd on wax paper to dry. You can cover it with cheesecloth for dust protection.
Step 10: Drying Time
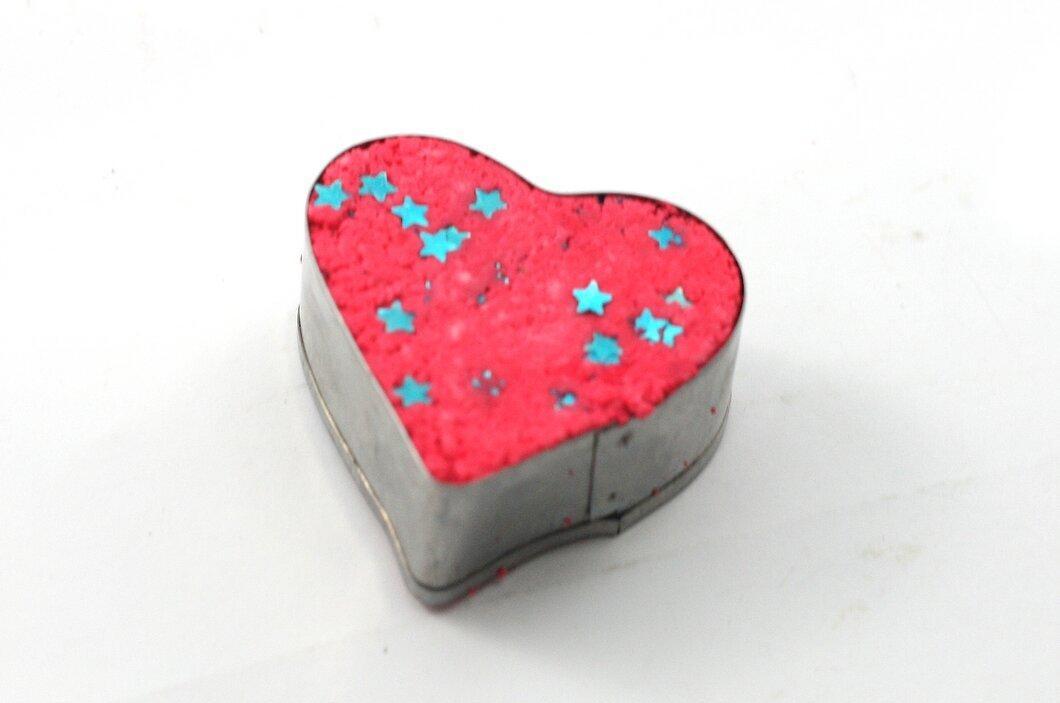
Allow the resulting plastic to dry for several days. Keep in mind that this material is thermosetting—it won’t melt when heated.
Step 11: Shaping
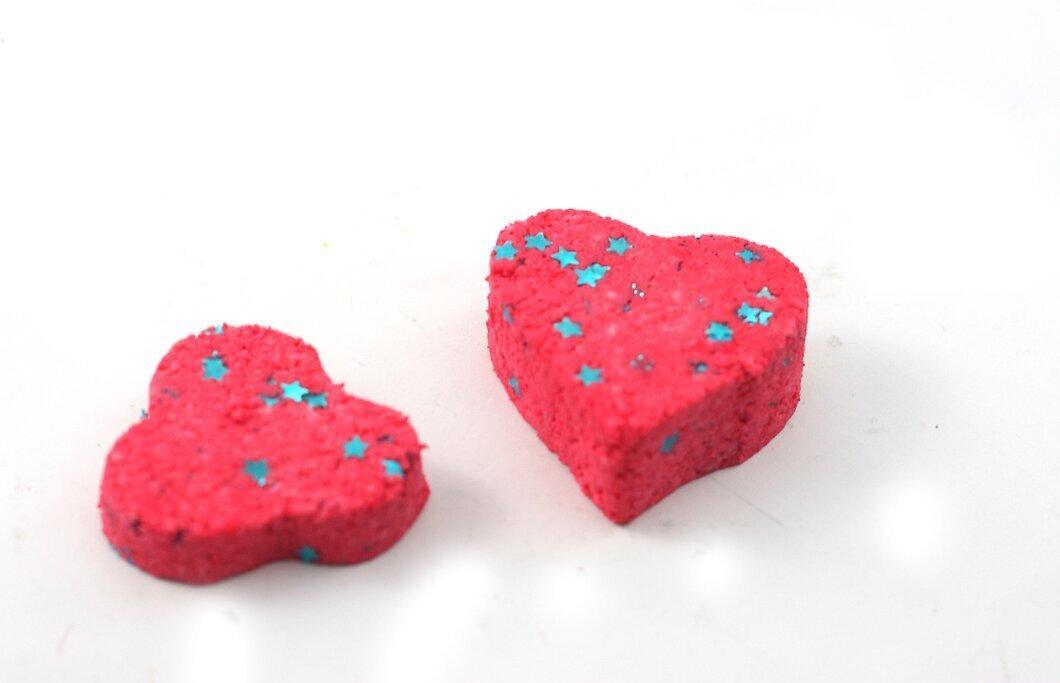
Shape the curd using a bottle cap or another suitable container. You can also shape it into jewelry and refine it later.
Paint the surface by dipping it in paint or adding dyes to the liquid casein. You can create interesting stripes by mixing colors. While drying, keep an eye on the shape—the material may deform.
Step 12: Strengthening
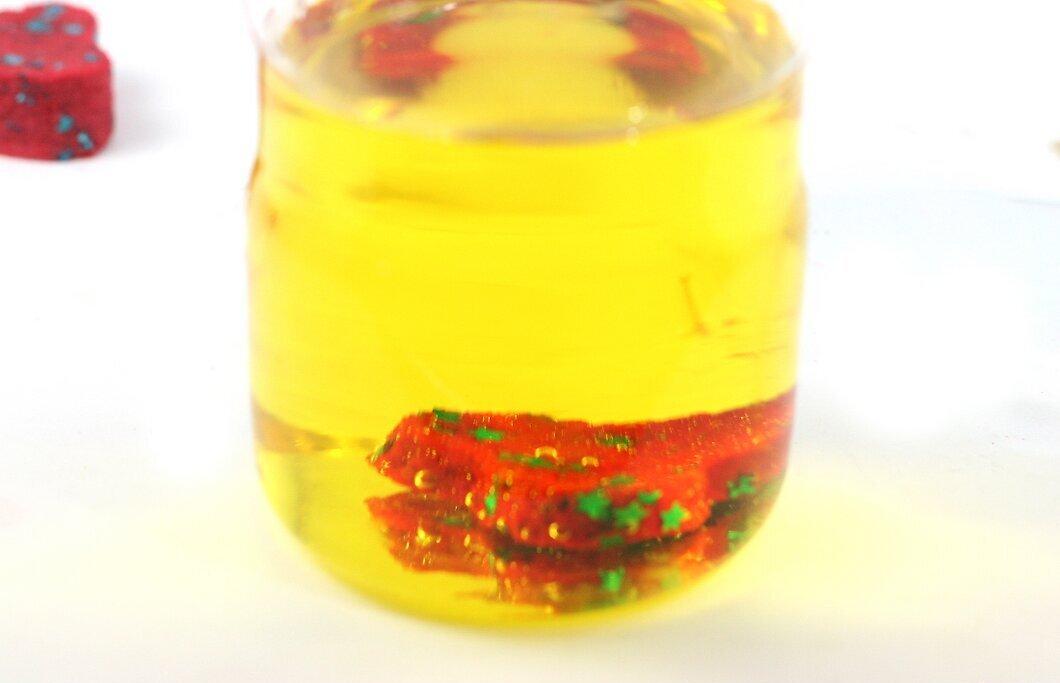
If desired, you can strengthen the plastic by dipping it in formaldehyde. This will make the material more durable and resistant to damage.
Step 13: Safety
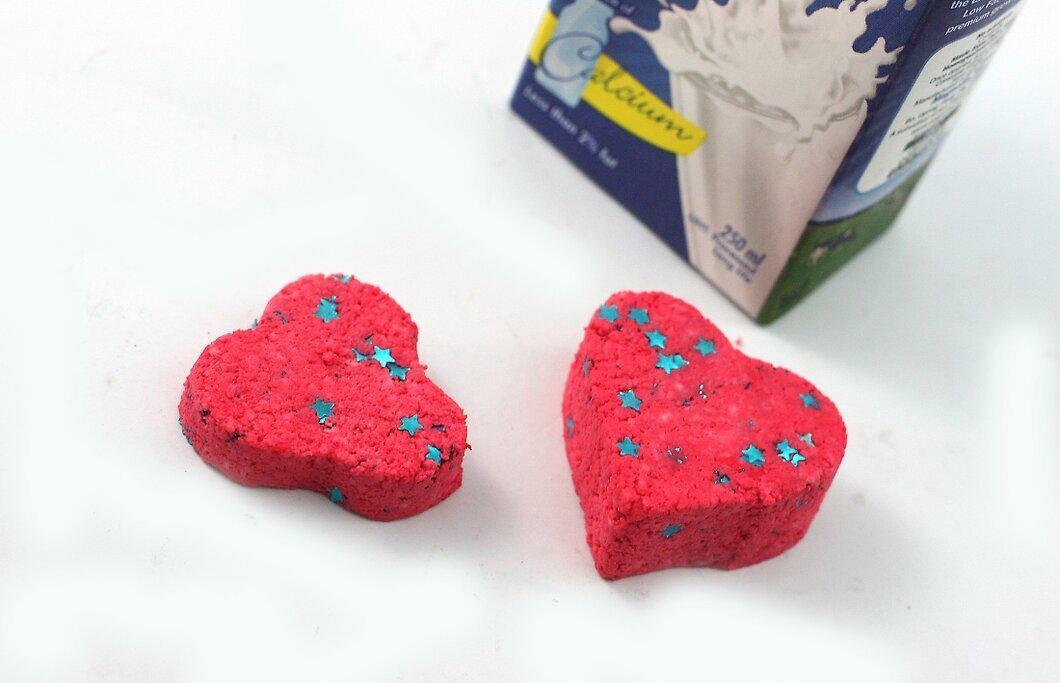
Don't forget about safety: work in a well-ventilated area, as formaldehyde can be harmful to health. If the substance comes into contact with skin or eyes, rinse the affected area and seek medical attention if necessary.
Step 14: Finished!