
This guide will teach you how to effortlessly melt acrylic sheets without cracking, splitting, or other damage. Note that this article does not cover mixing and pouring liquid to create complex shapes. Instead, it focuses on taking pre-made sheets, cutting, and bending them into shape. You will need sturdy gloves, strong scissors, a mold, and an oven.
Part 1
Step 1. Measure the interior dimensions of your oven.
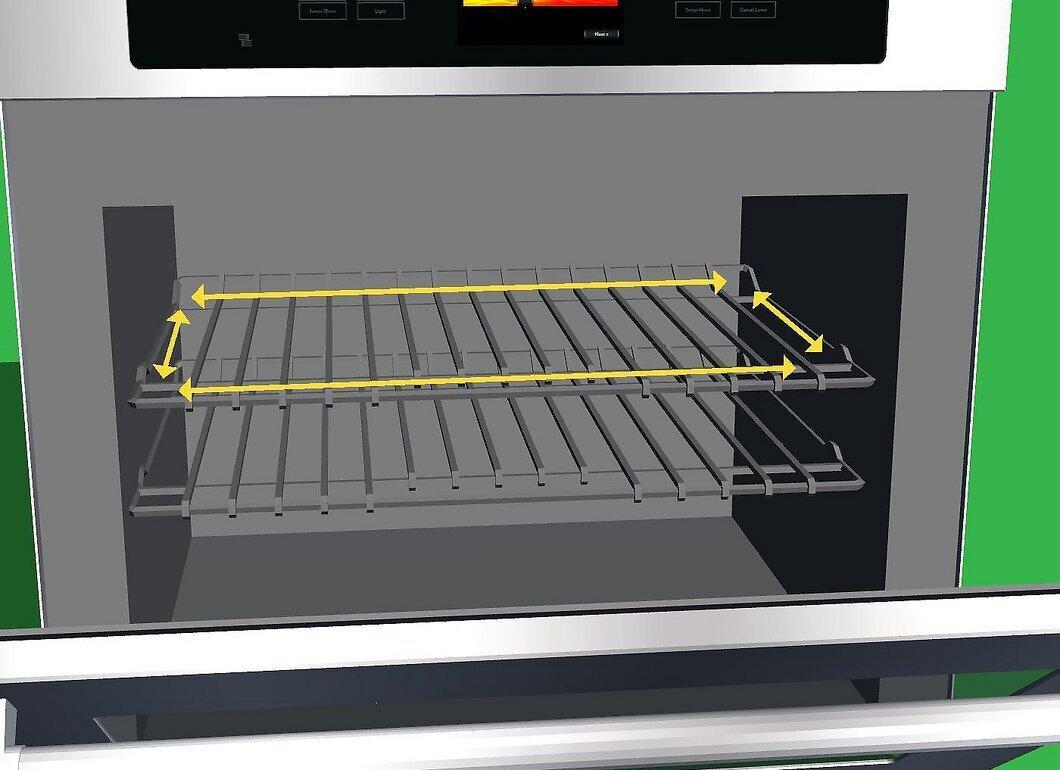
Measure the interior dimensions of your oven. These will be the size constraints for the acrylic sheet that can fit inside.
Step 2. Prepare the mold.
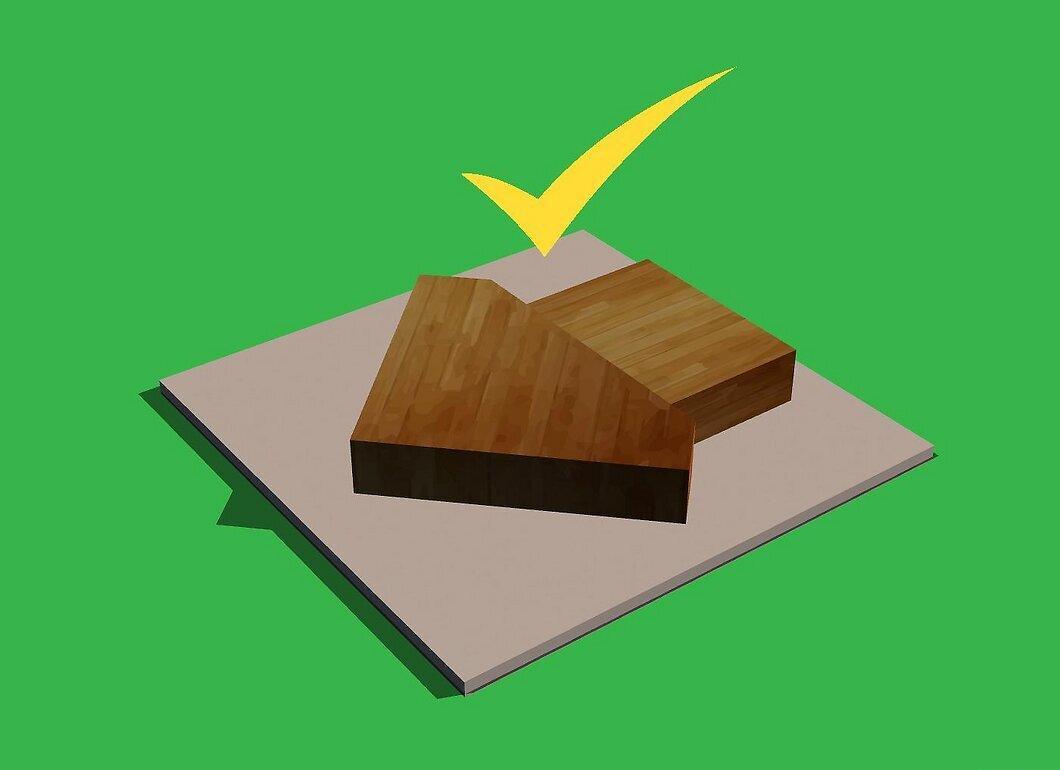
Prepare the mold. In this example, the outer part of the mold is used, but you can also work with the inner part.
Step 3. Adjust according to your project requirements.
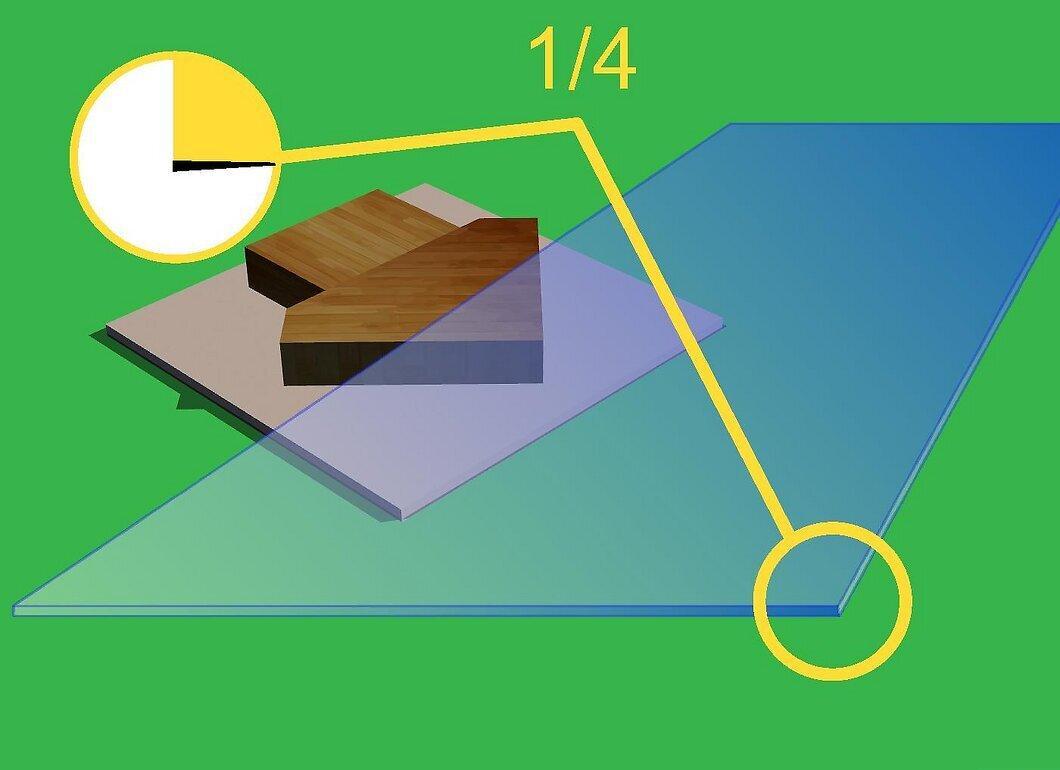
Adjust according to your project requirements. The only significant variable that can affect the molding process is the thickness of the acrylic sheet. This article uses a sheet that is 6 mm thick, so each step will take about 10-15 minutes. For thicker sheets, you should increase the time, while for thinner sheets, decrease it. Adjust the duration as needed.
Step 4. Measure the total size of the required piece.
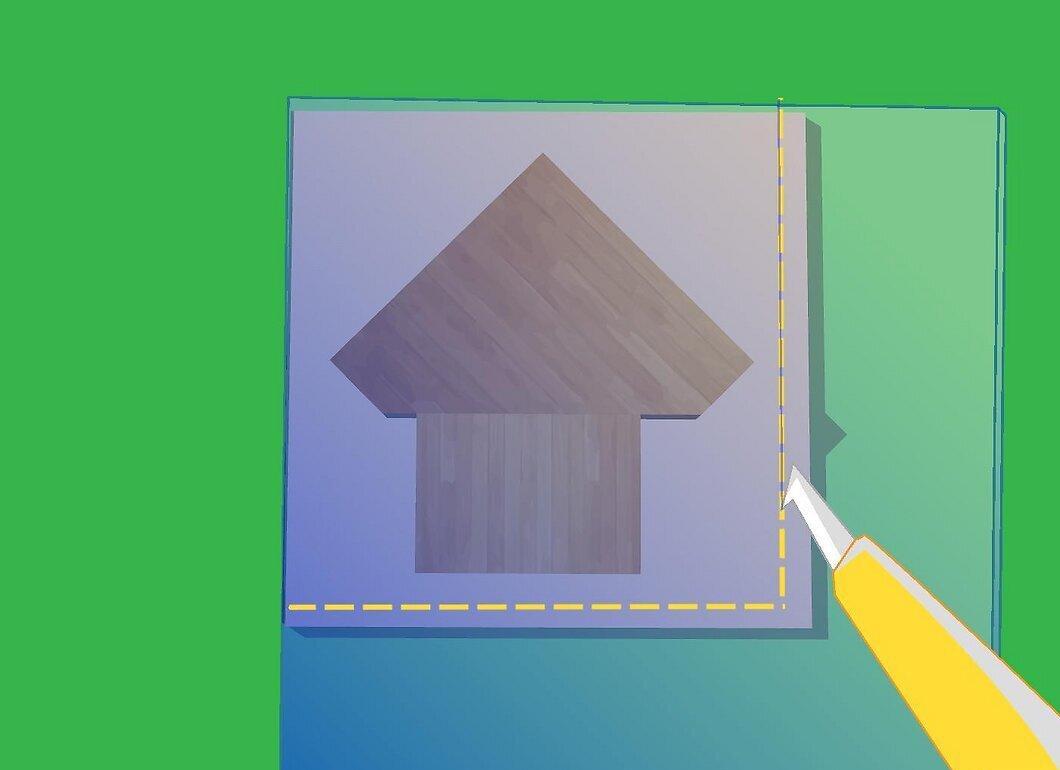
Measure the total size of the piece you need. The sheet should be large enough to accommodate the size of the mold. Use a plastic cutting knife to cut the sheet to size.
Step 5. Outline the contours with a marker.
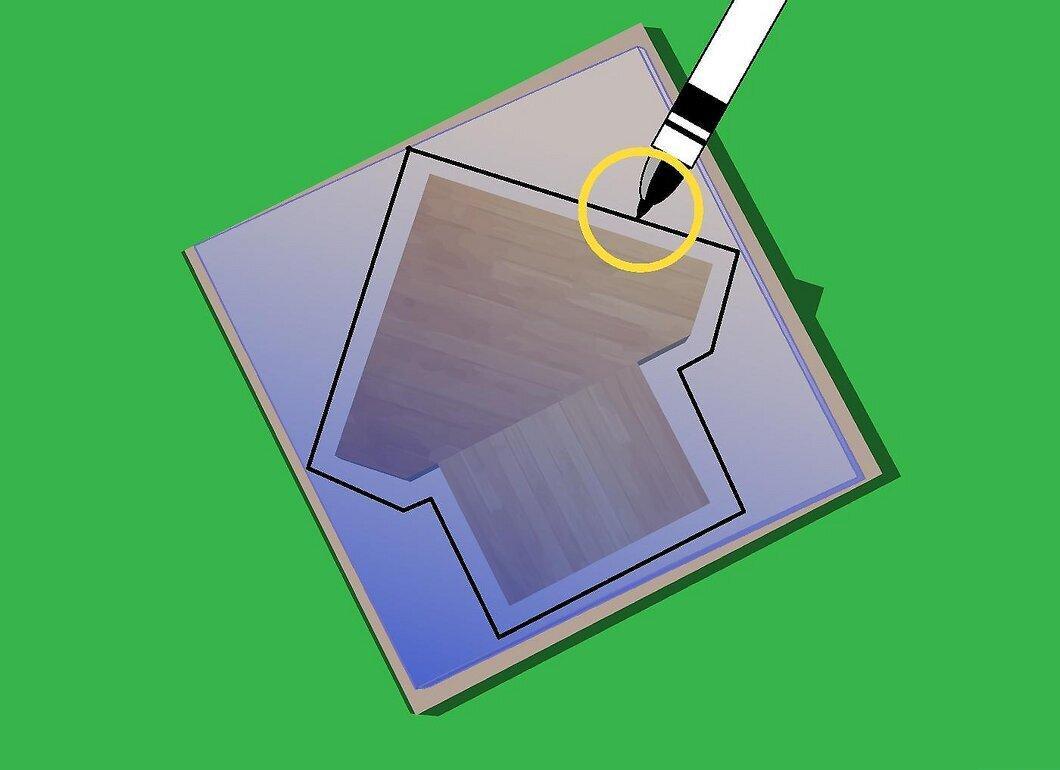
Outline the contours with a marker. Be sure to trace all internal cuts, corners, etc.
Step 6. Place the acrylic sheet on a baking tray and put it in the oven set to 120ºC.
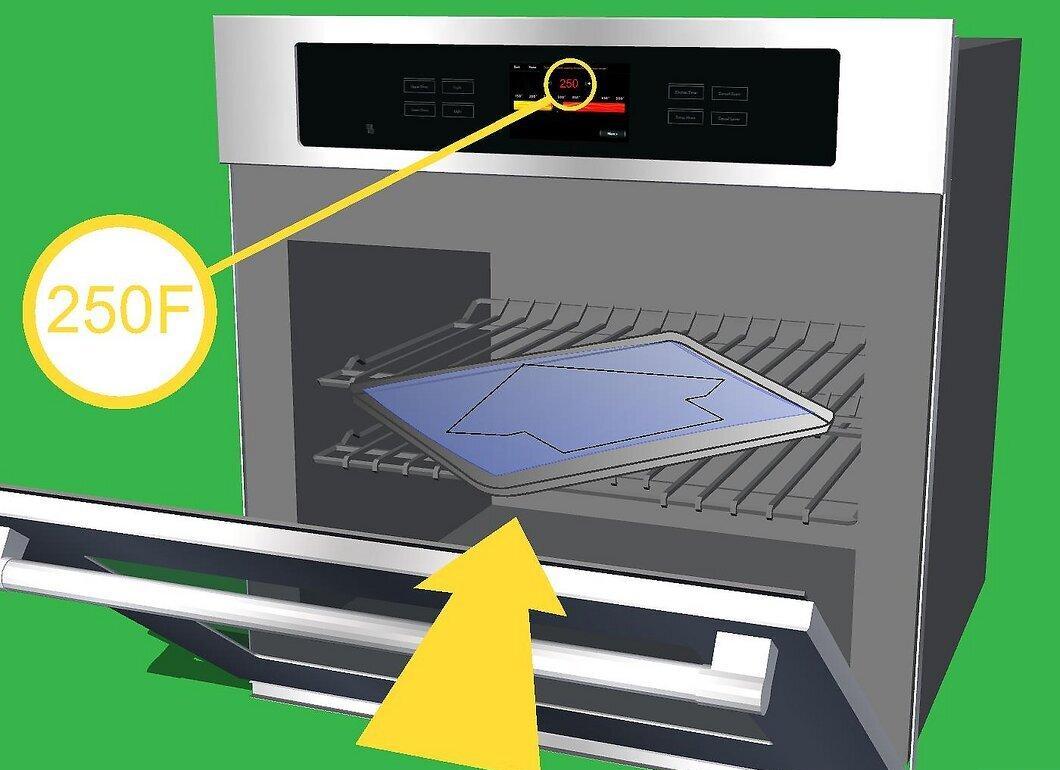
Place the acrylic sheet on a baking tray and put it in the oven set to 120ºC. Heat for 10 minutes. The sheet will become pliable enough to work with.
Step 7. Wear gloves while handling the plastic.
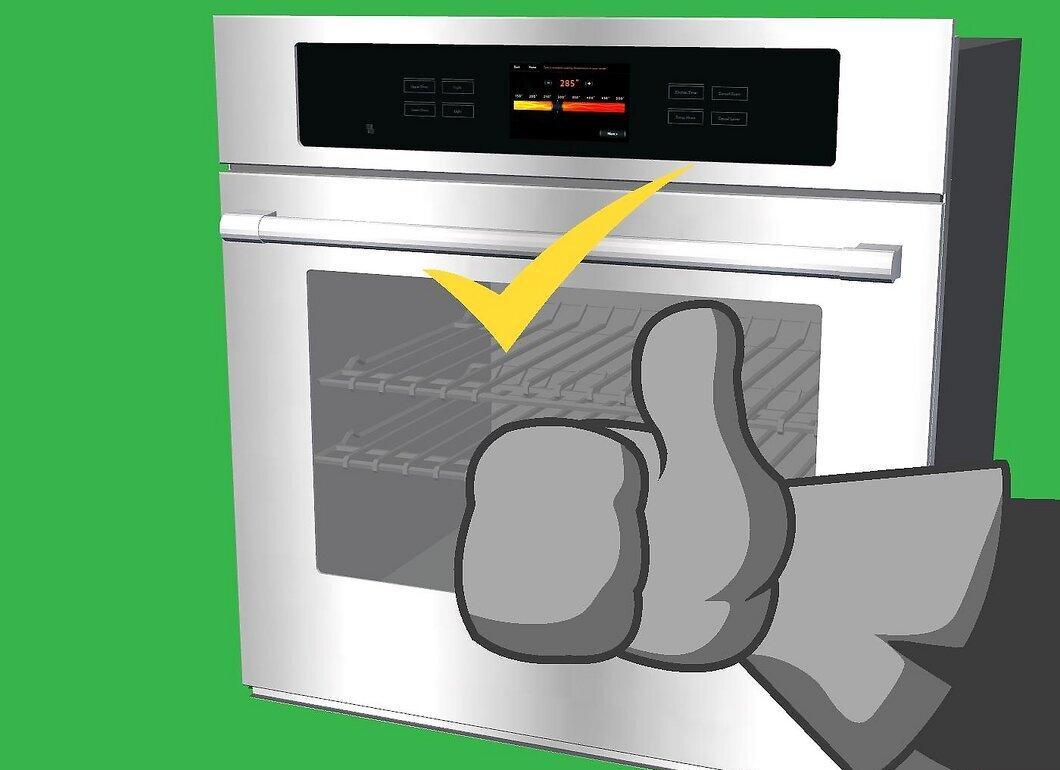
Wear gloves while handling the plastic. You can burn yourself if you're not careful.
Step 8. Cut all curves, corners, and notches with strong scissors.
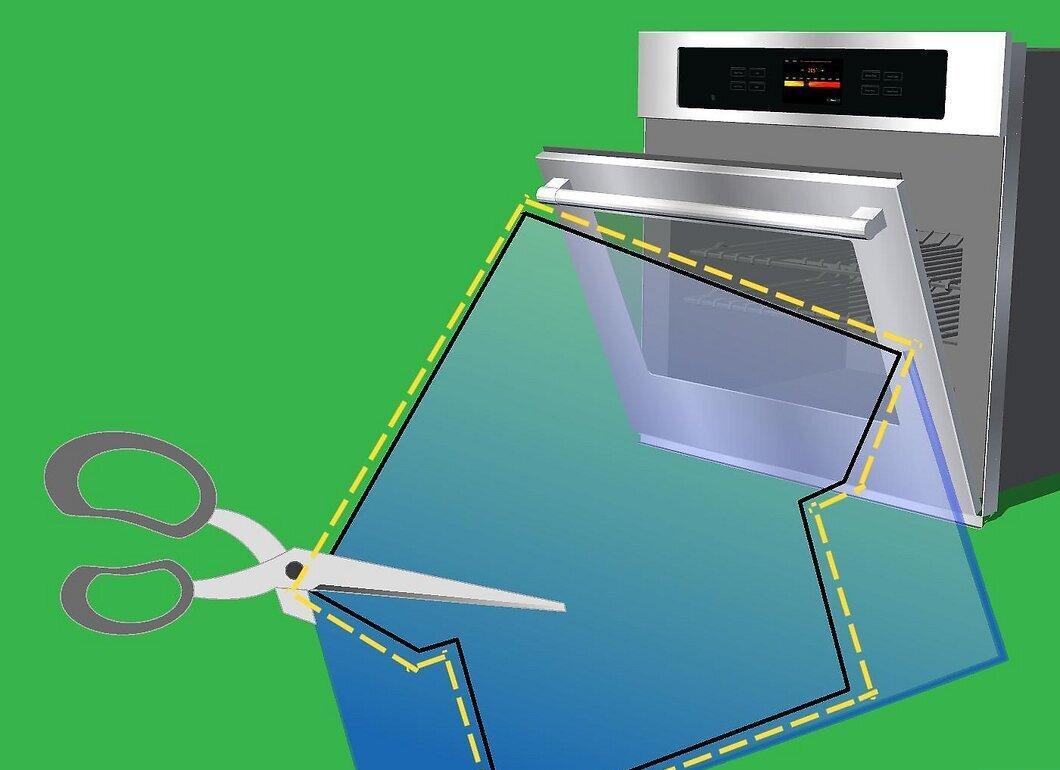
Cut all curves, corners, and notches with strong scissors first. You only have 2 minutes before the sheet cools down and hardens again. If it hardens, it must be reheated in the oven.
Step 9. After cutting the sheet to shape, place it back in the oven and raise the temperature to 135ºC.
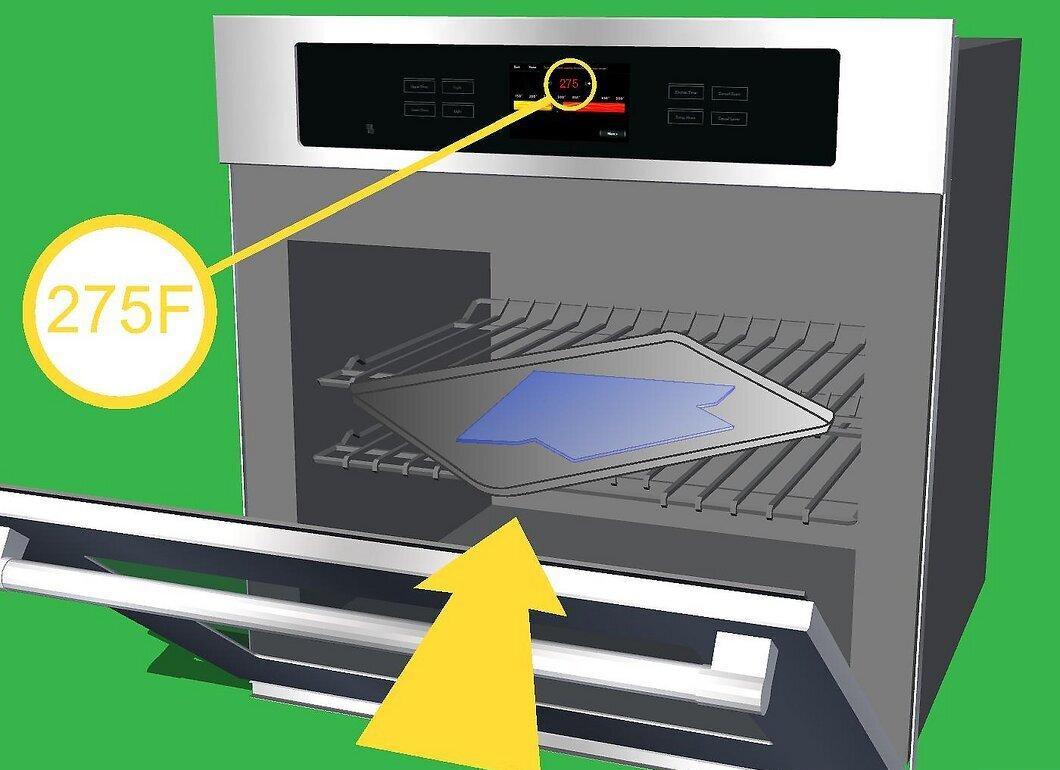
After cutting the sheet to shape, place it back in the oven and raise the temperature to 135ºC. At 150ºC, the plastic will start to stick to the tray. At higher temperatures, it may melt and/or bubble.
Step 10. Remove the sheet from the oven and quickly press it into the mold.
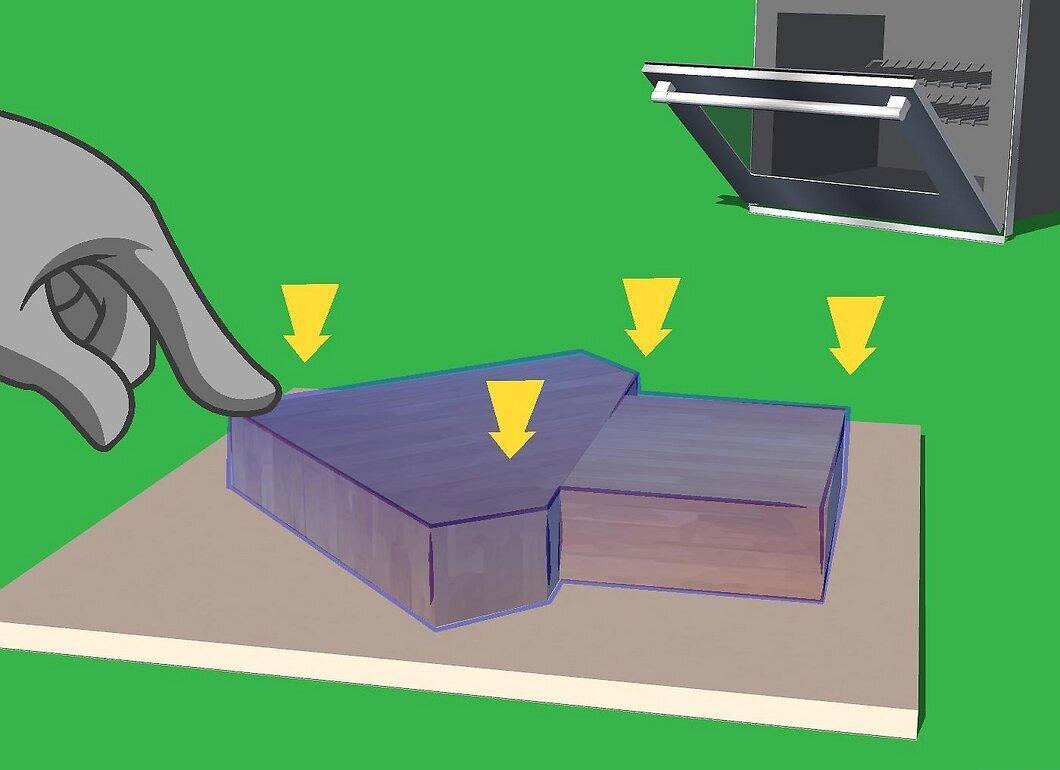
Remove the sheet from the oven and quickly press it into the mold. Use your fingers to firmly press all corners, bends, and folds. Keep holding and pressing the plastic against the mold until it starts to set.
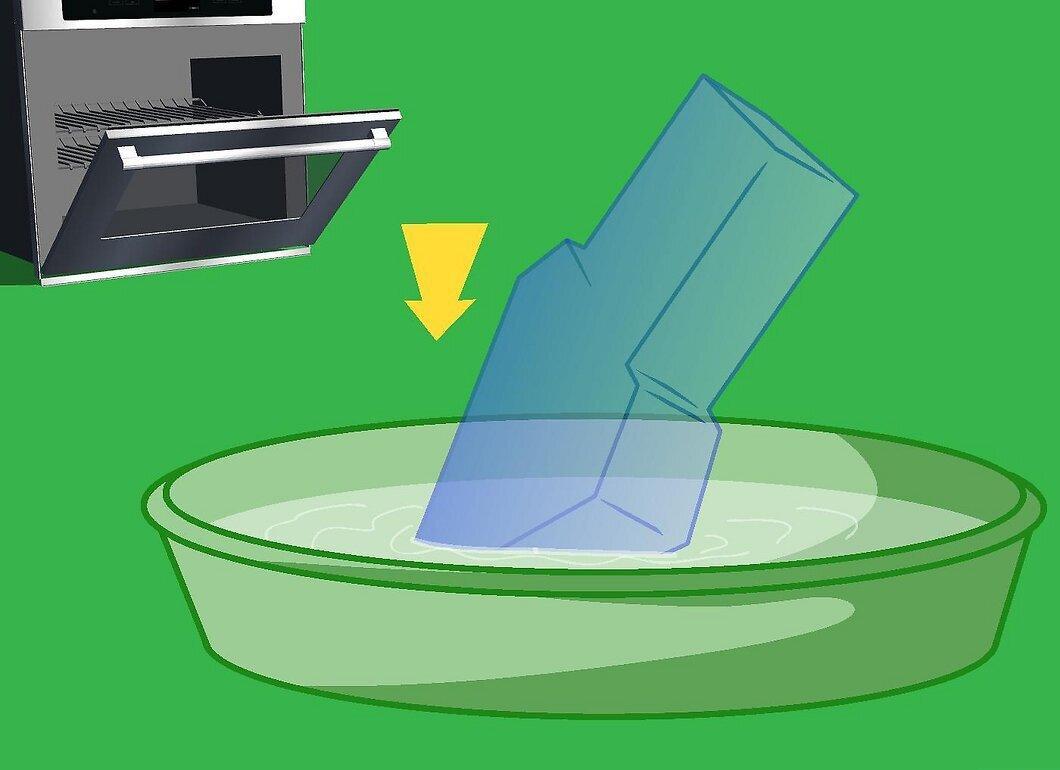
Step 11. Quickly immerse the piece in cold water to cool and harden it.
Step 12. If something went wrong, reheat the plastic and repeat the process.
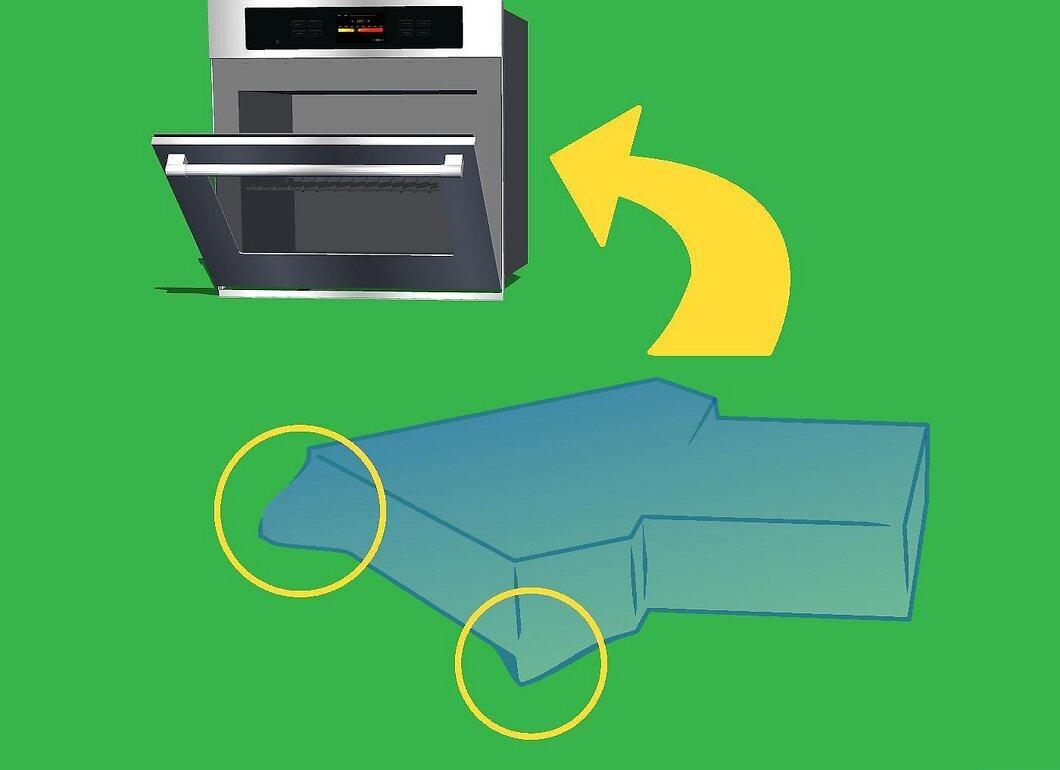
Step 13. Final check.
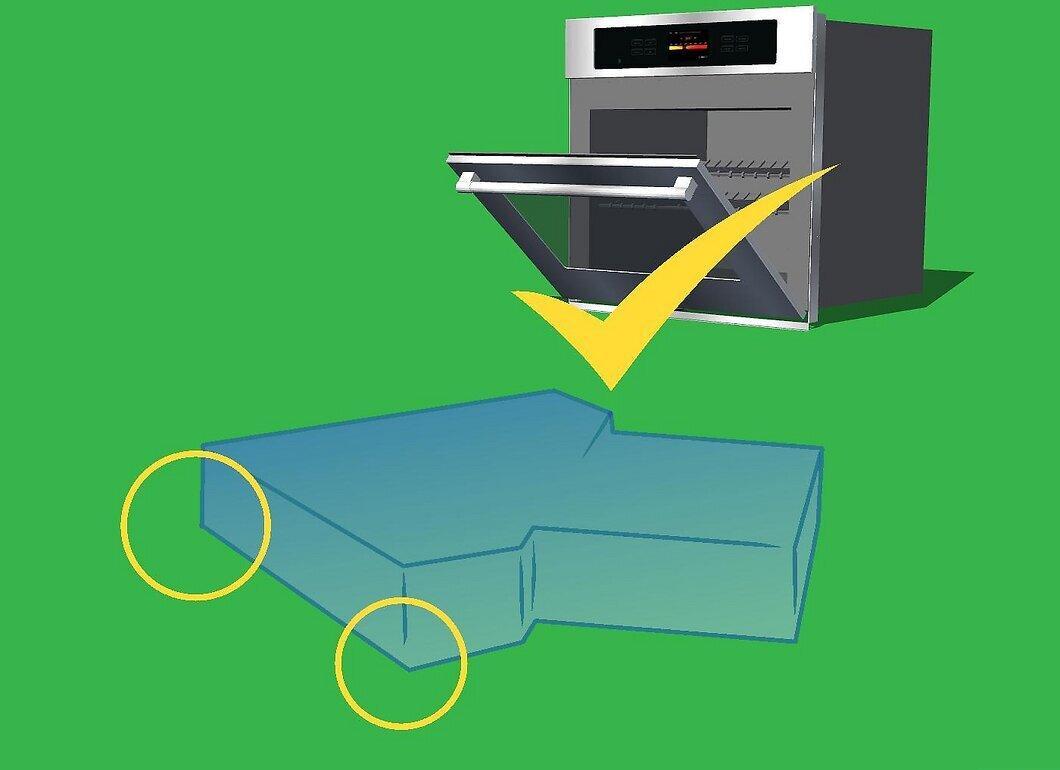
Final check. If any bends or folds need correcting, you can use a heat gun on a low setting to SLOWLY warm specific areas.


