
While there’s no foolproof method to completely remove scratches from a vinyl record, you can clean it of dust and smooth out the surface with glue. Start by brushing the record with a dry brush, cleaning solution, or toothpick to remove dirt and debris. To prevent scratches, always handle records by the edges and store them carefully. If the record continues to skip even after cleaning it in various ways, you may need to consider purchasing a new one.
Use Wood Glue
Step 1. Apply wood glue over the entire surface of the record while it spins on the turntable.
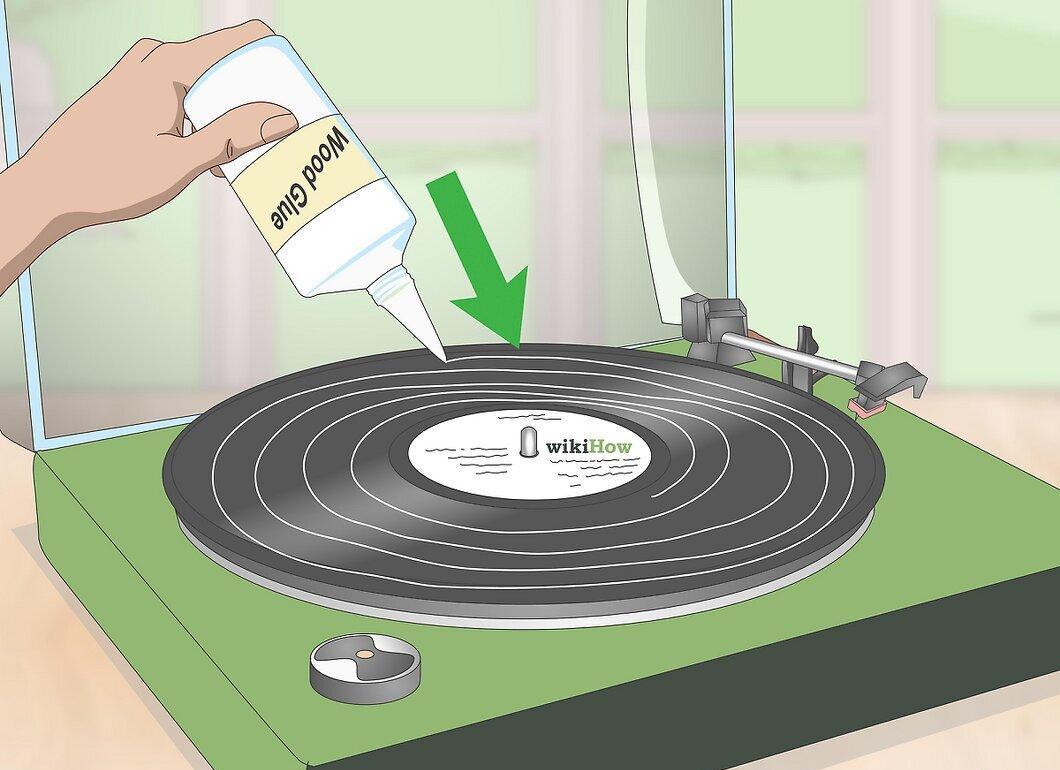
Apply wood glue over the entire surface of the record while it spins on the turntable. Position the tip of the glue bottle at the edge of the label in the center of the disc and gently squeeze the glue out. As the record spins, continue to apply glue in a long spiral strip until you reach the edge of the record. You should have evenly sized strips of glue across the surface of the disc.
- The glue strips should follow the circular grooves on the record.
- If you apply too much glue, it’s not a problem. You will later distribute it evenly across the surface. However, if you apply too much at the edge, wipe away the excess glue with a paper towel.
- If you’re worried about getting glue on the turntable, place the record on a table instead. However, applying glue to a spinning record is more convenient.
Step 2. Take a piece of cardboard and spread the glue over the surface.
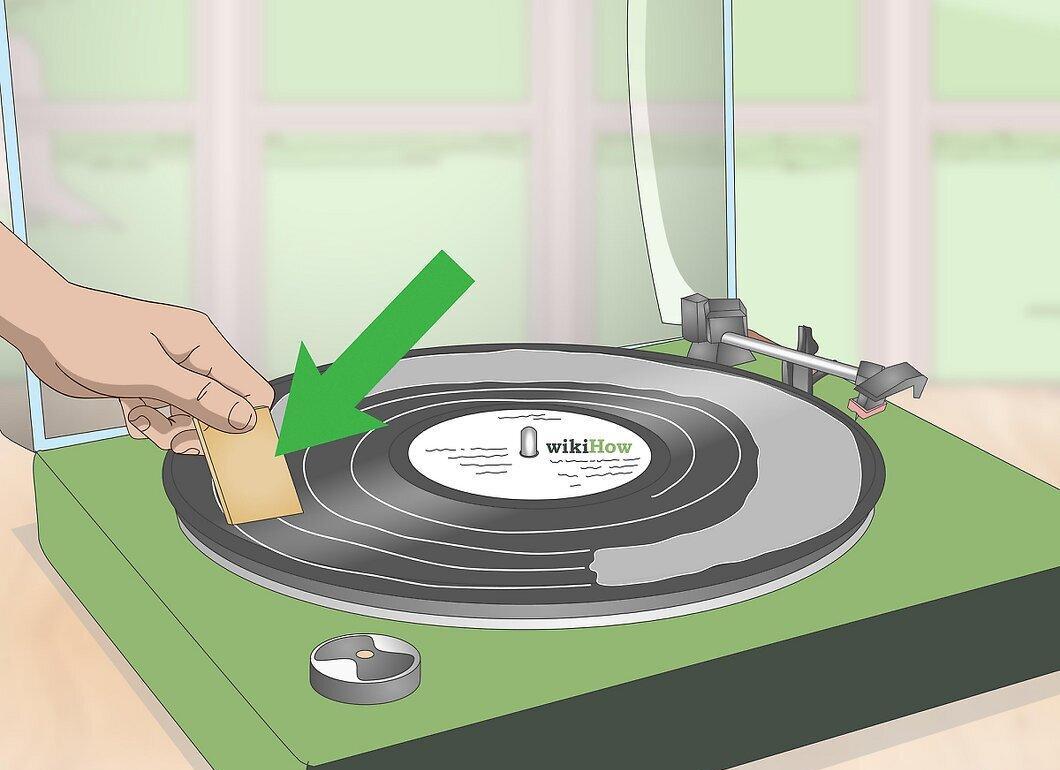
Take a piece of cardboard and spread the glue over the surface. Find a piece of cardboard about 2 inches wide and place it at the edge of the record. As the record spins, the glue will spread over the surface and cover the record. Then, place the cardboard on the inner edge near the label to distribute the glue in the remaining areas.
- You don’t need to move your hand while the record is spinning. The rotation will gradually spread the glue across the surface.
- As a result, the record should be completely covered with an even layer of glue.
Step 3. Turn off the turntable and let the glue dry for 24 hours.
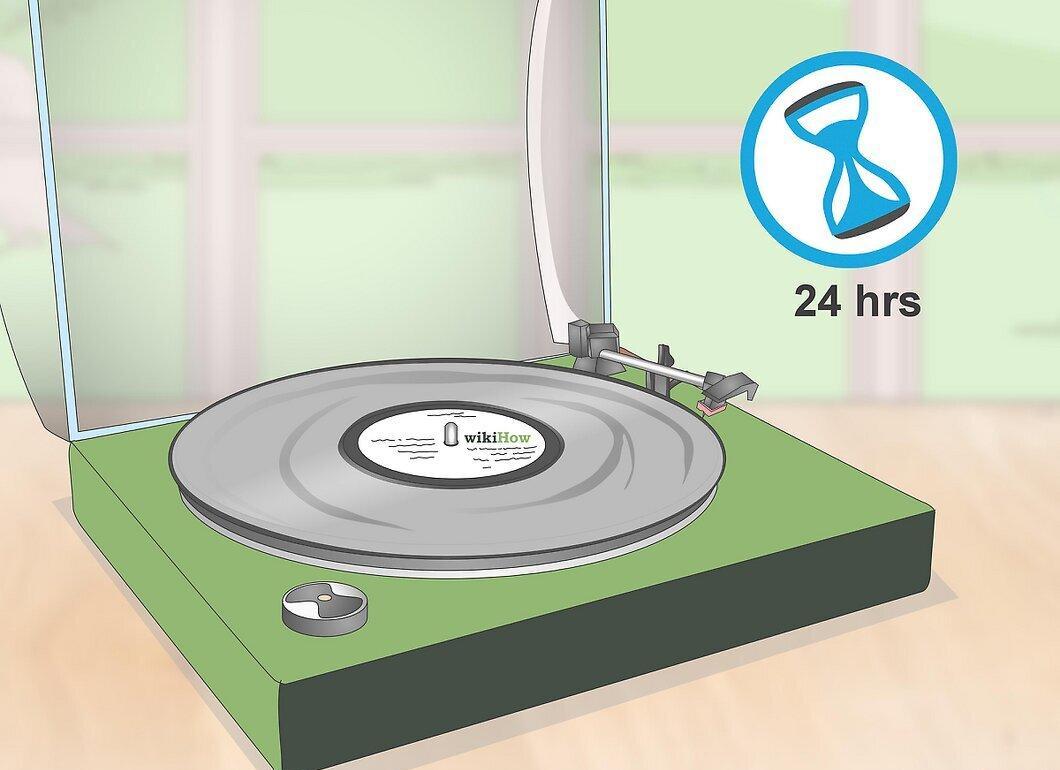
Turn off the turntable and let the glue dry for 24 hours. You can leave the record on the turntable overnight. To check if the glue is dry, gently touch it with your finger. If it’s still sticky, wait another 1–2 hours and check again.
- If you applied the glue away from the turntable, you can let the record dry on a newspaper.
Step 4. Remove the dried wood glue starting from the edge of the record.
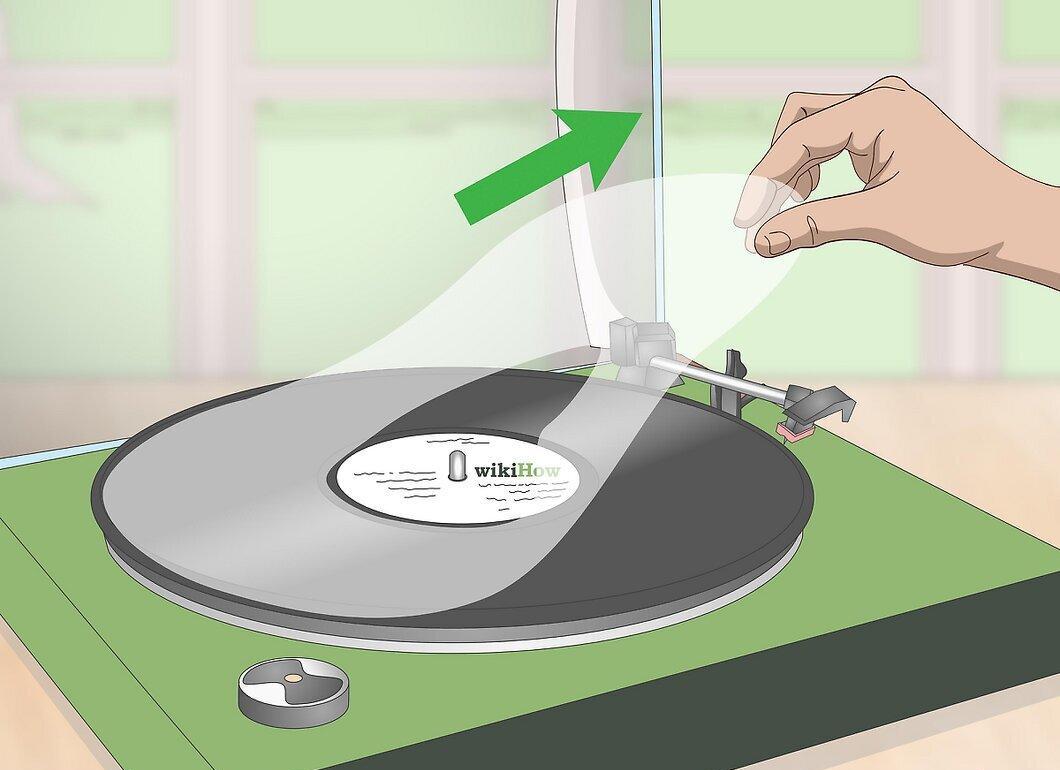
Remove the dried wood glue starting from the edge of the record. Gently lift the layer of glue from the edge using your index and thumb, then peel it away from the surface. Take your time and try to remove the glue in one piece.
- If you can’t remove it all in one go, that’s okay! Just lift the remaining pieces from the edge and remove them.
- Avoid touching the surface of the record while removing the glue.
Step 5. Play the record to check the sound.
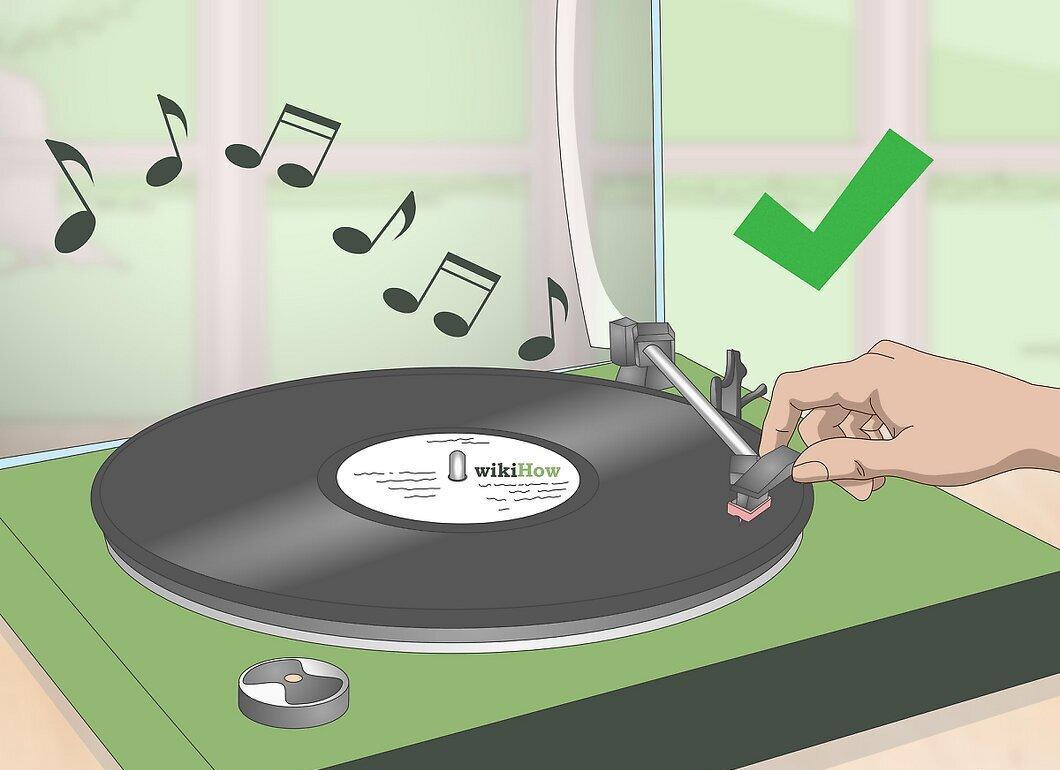
Play the record to check the sound. Place the stylus on the record and turn it on. Listen to the playback. The sound should now be clear where the record previously skipped. Wood glue can clean vinyl of even the toughest debris.
- Keep in mind that using wood glue does not guarantee the record will be restored.
- Wood glue allows for thorough cleaning of the entire surface of the record—removing dirt and debris and smoothing out any imperfections.
- If the record still skips, try applying another layer of glue or use another vinyl cleaning method. You can also look for a vinyl restoration specialist in your area online.
Clean Vinyl from Dirt
Step 1. Use a dry brush to clean the vinyl and remove dirt and dust.
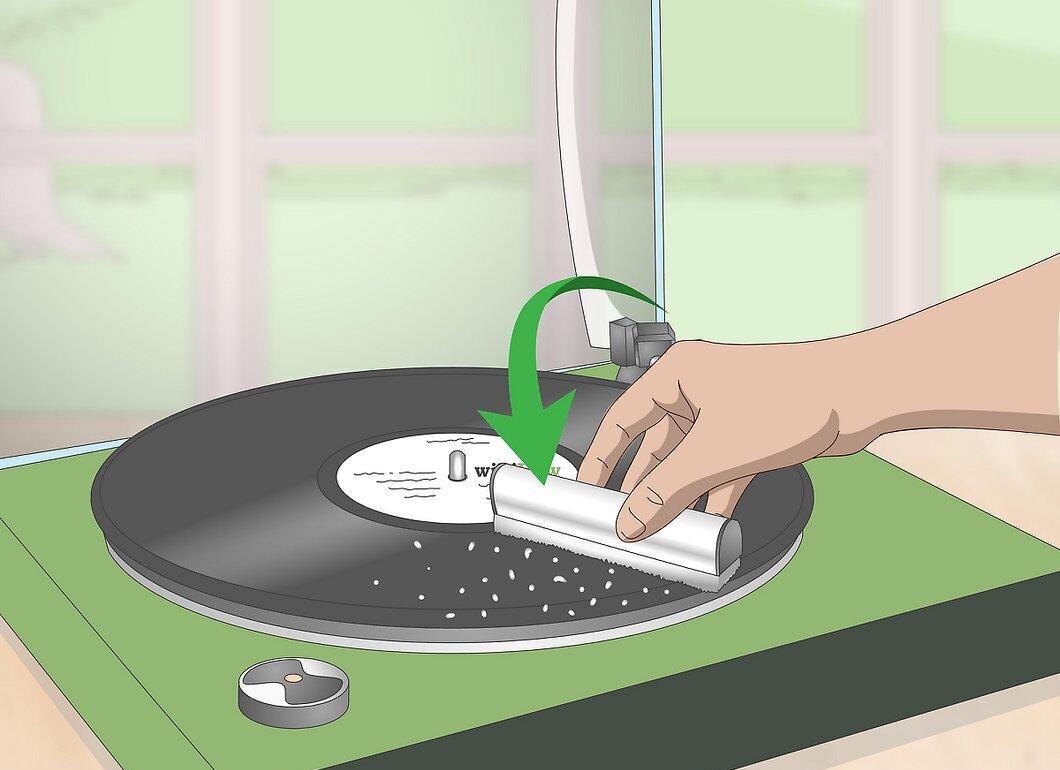
Use a dry brush to clean the vinyl and remove dirt and dust. Place the record on the turntable and turn it on. While the record spins, hold the brush against it to collect the accumulated debris and dirt. Keep the brush on the record for 1–3 rotations, then turn it towards the edge of the record to slowly lift it away along with the dirt.
- Most of these brushes have two rows of bristles. One removes dust, while the other collects debris.
- Be sure to clean the brush after each use to avoid transferring dirt to records during the next cleaning.
- While this step won’t help eliminate scratches, it will help the turntable read the grooves better, reducing the chance of skipping.
Step 2. Purchase a vinyl care kit for professional cleaning.
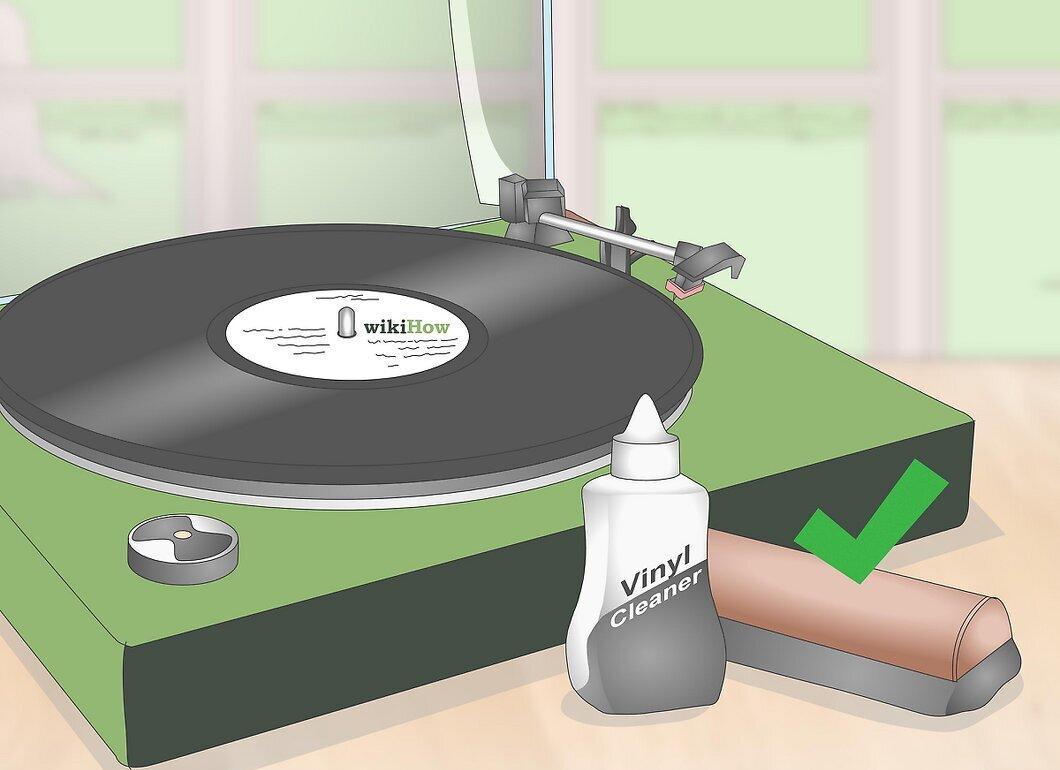
Purchase a vinyl care kit for professional cleaning. Head to a music store or search online. These kits usually include cleaning fluid, a special brush, and a smaller brush for cleaning the larger brush. Follow the instructions on the kit packaging while cleaning.
- Usually, you need to apply the fluid to remove debris, and then wipe the debris off the surface with the brush.
Step 3. If the kit is too expensive, make your own vinyl cleaning solution.
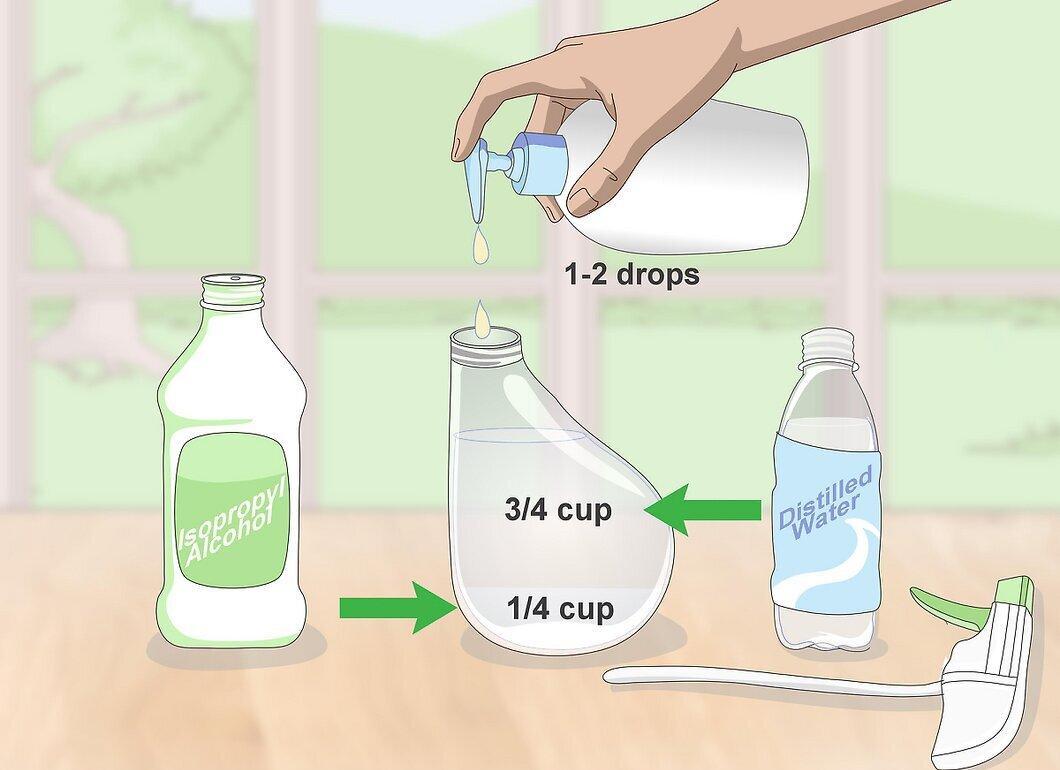
If the kit is too expensive, make your own vinyl cleaning solution. Mix ¼ cup of 90–99% isopropyl alcohol, ¾ cup of distilled water, and 1–2 drops of dish soap in a spray bottle. Place the record on a microfiber cloth and spray the solution onto it. Wait 30 seconds for the solution to fill the grooves, then wipe it off with another microfiber cloth. Next, dampen another microfiber cloth with distilled water and wipe the record on both sides.
- This will help remove fingerprints and ground-in dirt that can’t be removed with a vinyl cleaning brush.
- Do not spray the solution on the label.
- For extra assurance, you can clean both sides of the record again with the solution.
Step 4. Gently run a toothpick along the scratch.
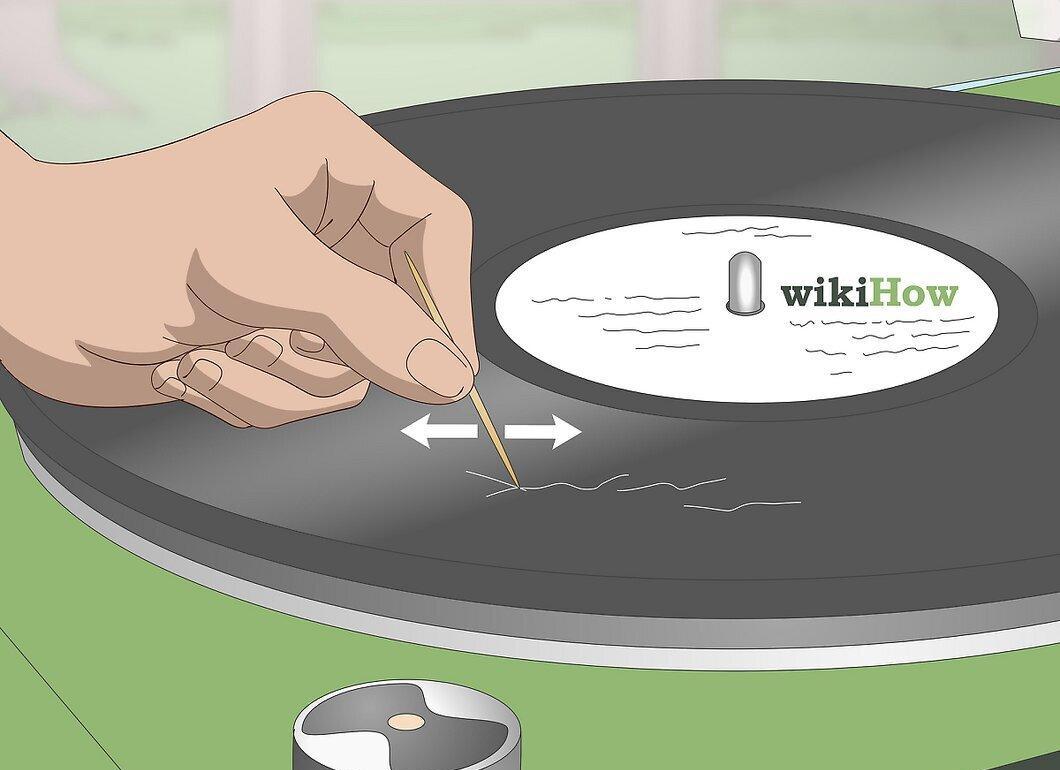
Gently run a toothpick along the scratch. Locate the scratch on the record and insert the toothpick into it at an angle. Apply a little pressure and move the toothpick back and forth along the scratch. Clean all the scratches on the vinyl with the toothpick. This method helps to reach into fine cracks and remove debris from them.
- Take your time when cleaning the record with the toothpick to avoid creating additional scratches.
- This won’t help eliminate the scratches but will allow you to remove debris from them.
Store Vinyl Carefully
Step 1. Place the record in a protective sleeve after listening.
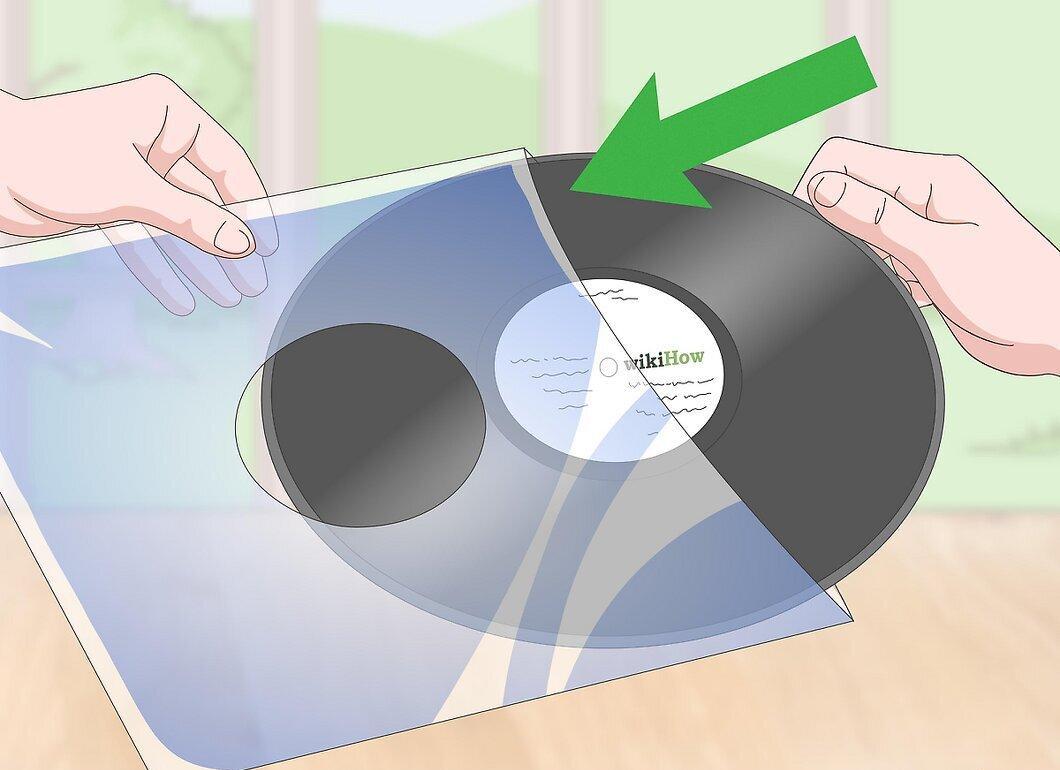
Place the record in a protective sleeve after listening. These sleeves are usually made from paper or plastic. After you’re done listening to the record, carefully slide it into the sleeve to provide the first level of protection.
- When purchased, the record should be packaged in a protective sleeve. If you've lost it, you can buy a replacement at a music store or order one online.
Step 2. Cover the record with an outer jacket.
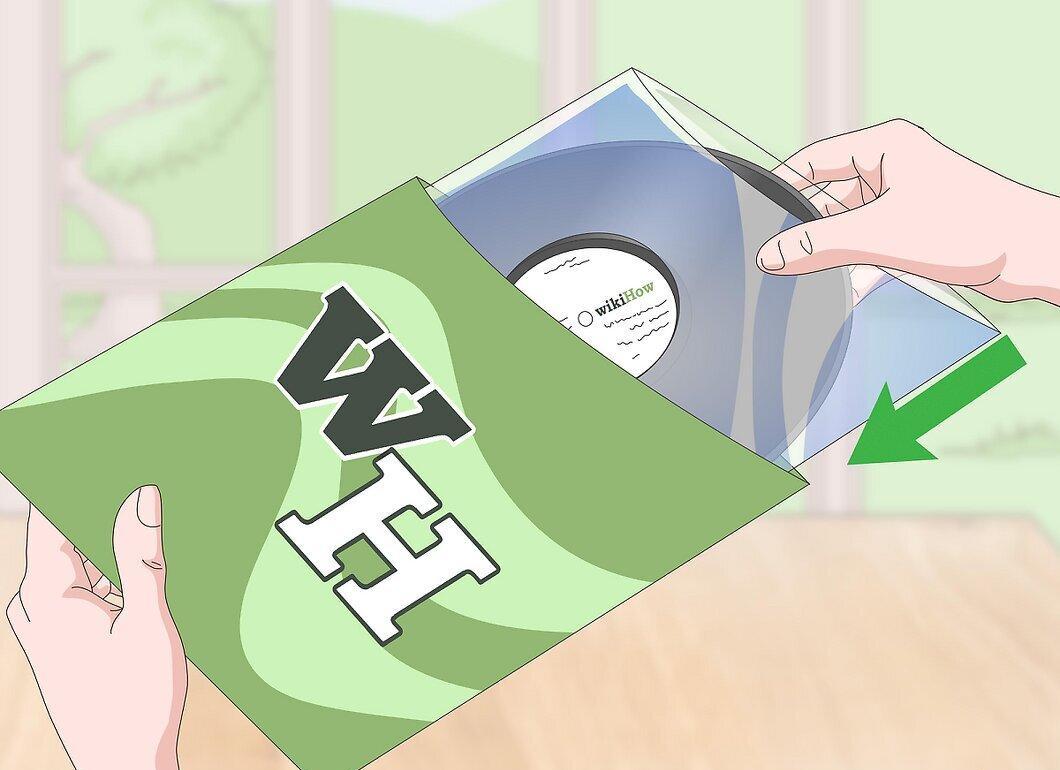
Cover the record with an outer jacket. Vinyl records come in cardboard jackets. If necessary, you can also buy a new plastic outer jacket. After placing the record in the inner sleeve, put it in the outer jacket. The jacket provides additional protection.
- If the jacket is in poor condition and part of the record remains uncovered, buy a new plastic jacket.
Step 3. Designate a shelf or drawer for storing your record collection.

Designate a shelf or drawer for storing your record collection. If you have more than one or two records, take care to ensure their safety to avoid damage. Store records on a separate shelf or in a drawer, and always vertically.
- You can buy a shelf or drawer at a furniture store or order one online. You can also make a shelf yourself!
- If you stack records on top of each other, they may warp, and their jackets may tear.
Step 4. Only handle the record by the edges or the center.
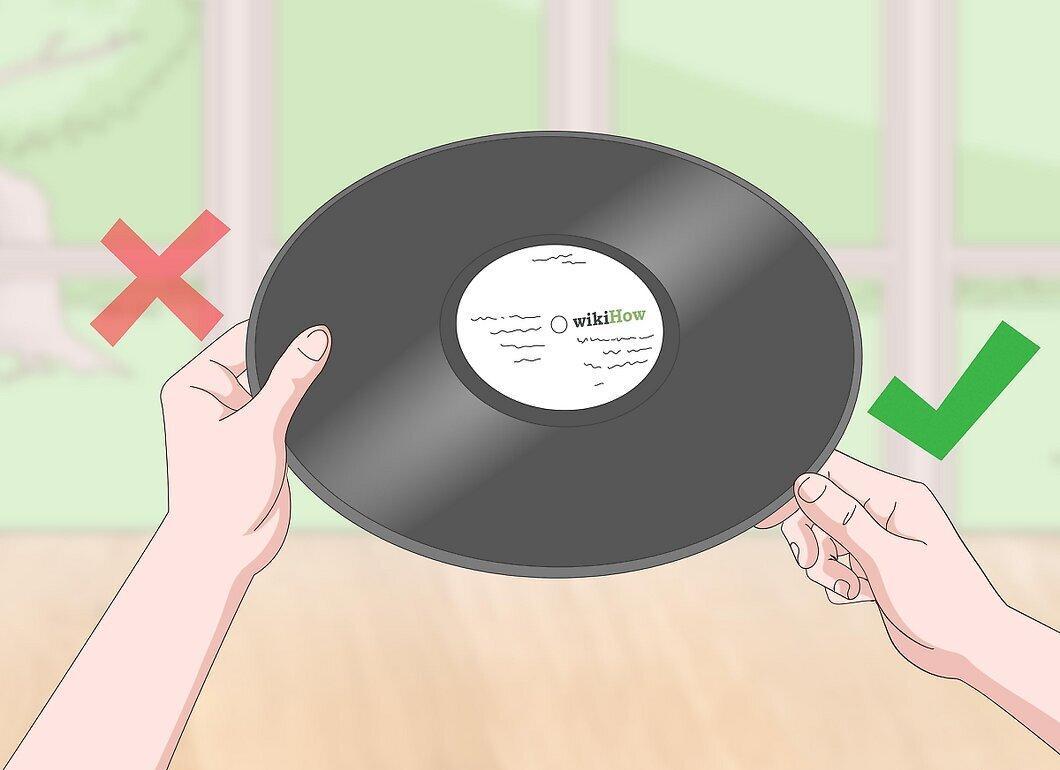
Only handle the record by the edges or the center. Proper handling helps prevent scratches, dirt, and fingerprints. The grooves of a record are very sensitive. Avoid touching them, as they contain musical information that is needed for playback.
Step 5. Close the turntable lid, if it has one, to prevent dust from settling.
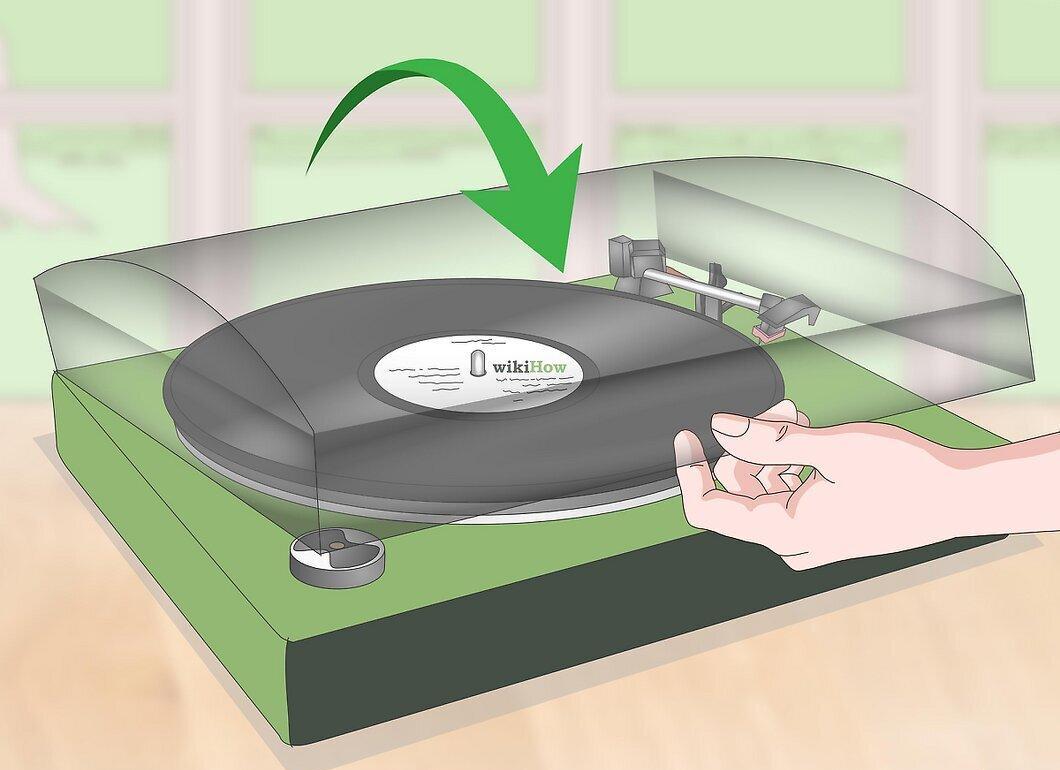
Close the turntable lid, if it has one, to prevent dust from settling. Some turntables come with a lid. After you finish listening to a record, lower the lid on the turntable to prevent dust and debris from accumulating on it.
- It’s very important to protect the turntable from dust. This reduces the risk of transferring dust to the record.


