Fleas can be a major nuisance and pose health risks to both humans and pets. If you've discovered fleas in your home and are concerned that standard insecticides may be harmful, consider using natural remedies. You'll need to tackle multiple fronts: clean your home, treat your pets for fleas, and eliminate fleas in your yard. While this process may take 3 to 4 months, with persistence and patience, you can get rid of fleas without using toxic substances.
Clean Your Home
Step 1: Vacuum Floors, Upholstery, and Bedding Daily.
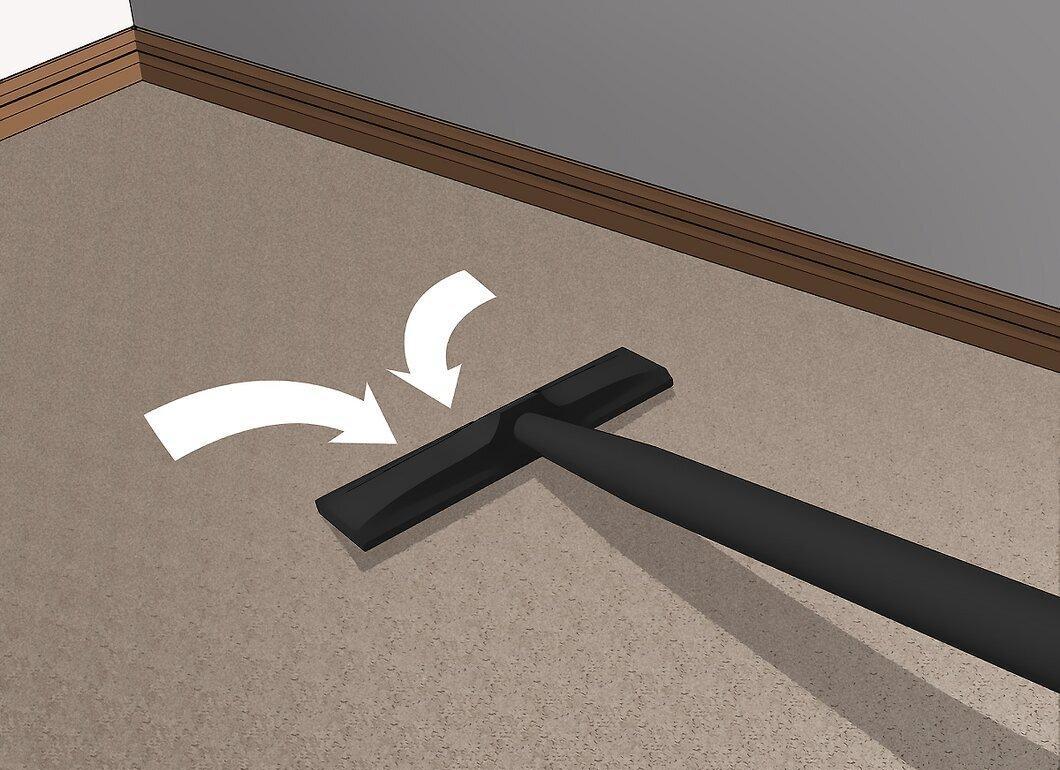
Vacuum floors, upholstery, and bedding daily. Pay special attention to the areas where your pets like to hang out, as well as dimly lit corners and spots where you've recently seen fleas, their droppings, or dried blood. Be sure to remove cushions from upholstered furniture to clean all folds and hidden areas.
- Don’t forget to vacuum under furniture, behind doors, along baseboards, and in other hard-to-reach places.
- If you have fleas in your home, vacuum every day. If you don’t find fleas, vacuum at least once a week.
- Tie up the full vacuum bag in a plastic trash bag and dispose of it in an outdoor bin.
Step 2: Wash Rugs, Bedding, and Pet Blankets in Hot Water.
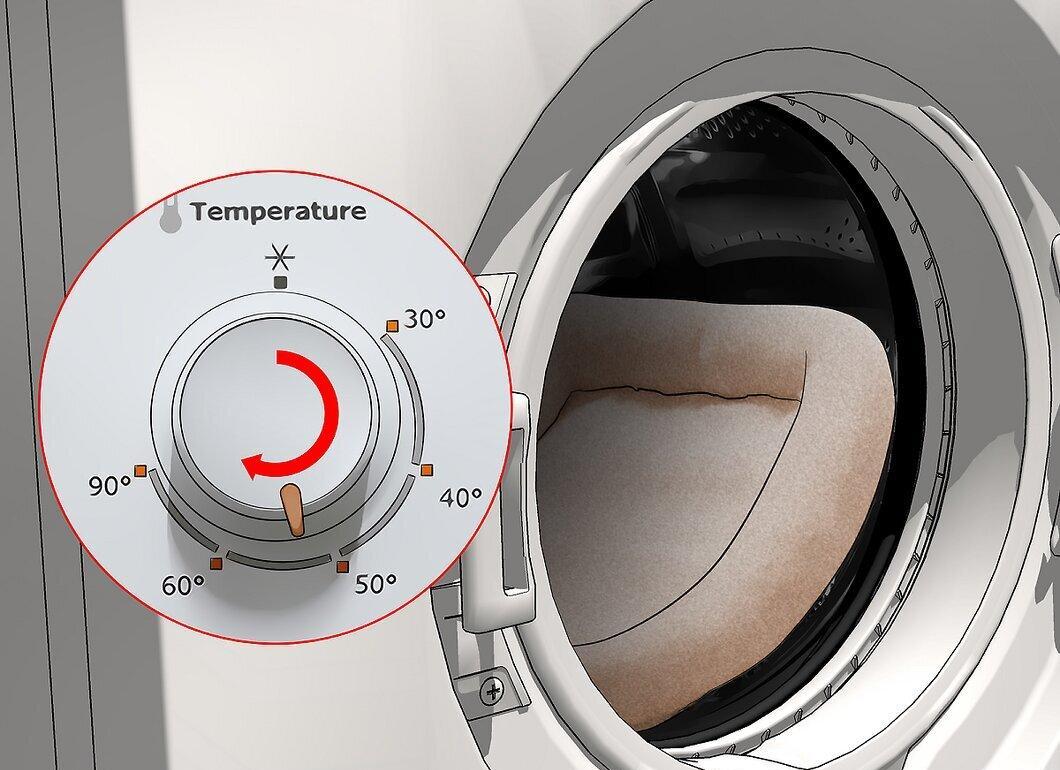
Wash rugs, bedding, and pet blankets in hot water. If fleas are present, wash sheets, blankets, pillowcases, pet bedding, and small rugs in the washing machine weekly and dry them thoroughly. Use the hottest water temperature suitable for each fabric.
- If a blanket can’t be washed, it’s best to err on the side of caution and throw it away.
Step 3: Steam Clean.
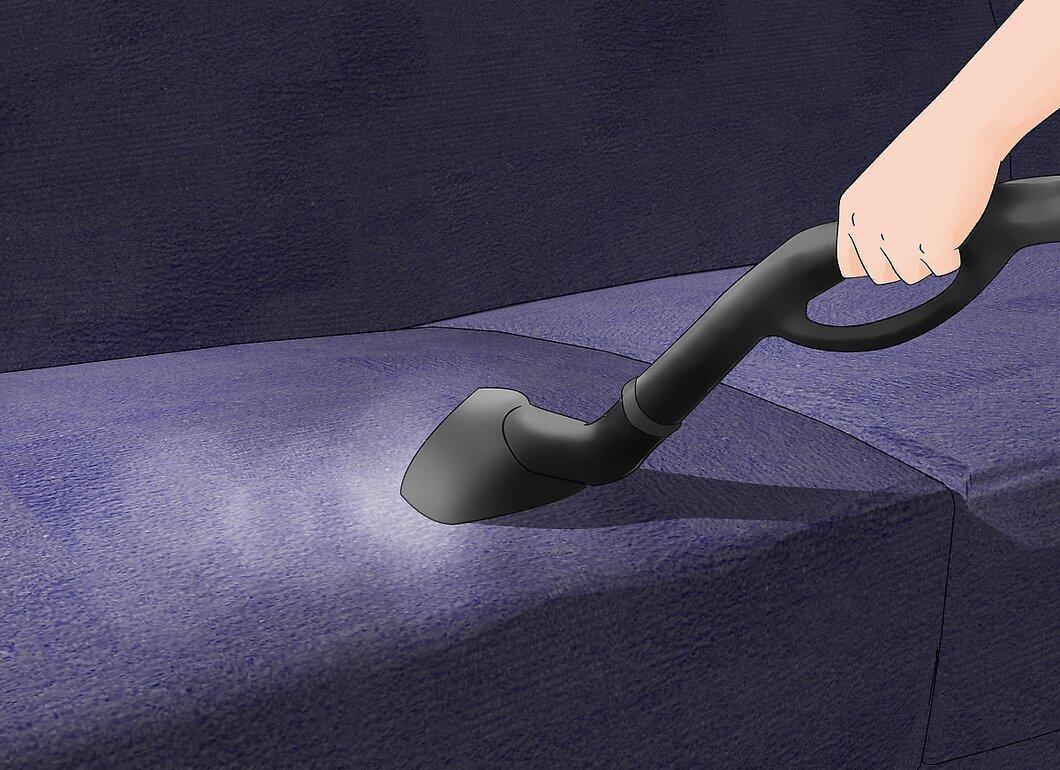
Steam clean carpets and upholstery. If you don’t have a steam cleaner, consider renting one or hiring professionals. Be sure to test any cleaning solution on a small area of carpet and upholstery first.
- While steam cleaners kill adult fleas and larvae, some eggs may survive. The incubation period can last up to 3–4 months, so continue vacuuming daily. Consider steaming your home every 1–2 months until the infestation is completely gone.
Step 4: Control Humidity with Dehumidifiers.
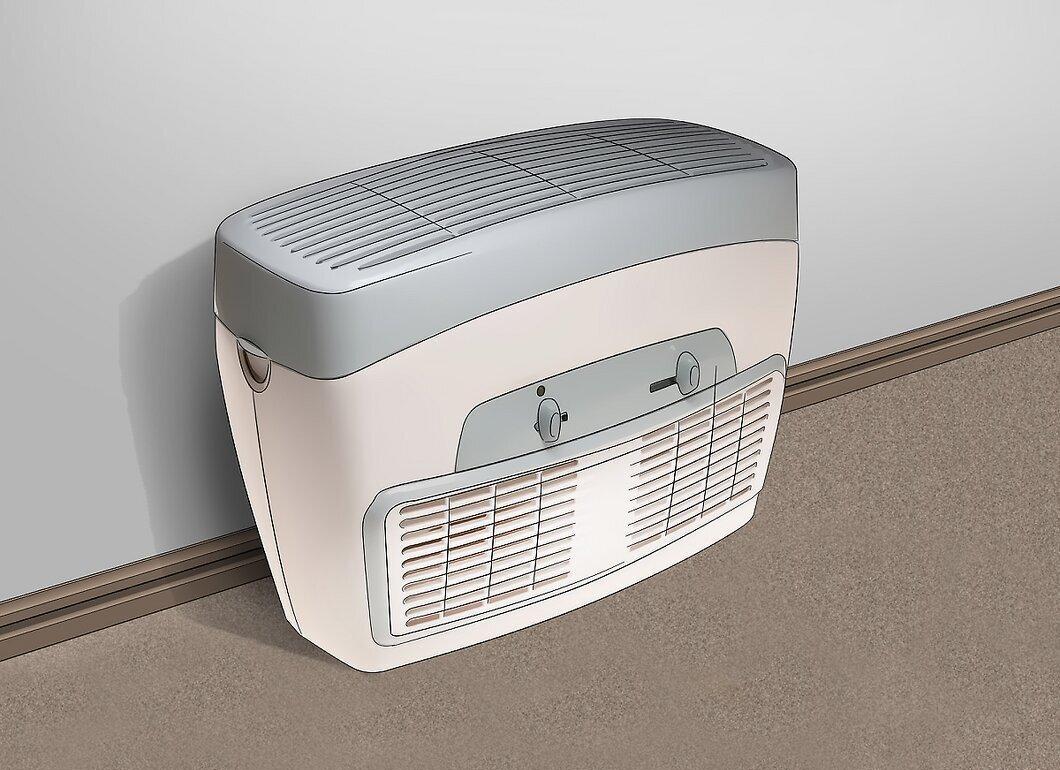
Control humidity levels with dehumidifiers. Flea eggs require humidity levels above 50%. Lowering humidity in your home can create less favorable conditions for egg development. Continue vacuuming regularly, washing bedding, and taking other measures to eliminate fleas.
- The number of dehumidifiers needed depends on the size and layout of your home. An average dehumidifier removes about 20 liters of water from the air in 24 hours, which is suitable for an area of approximately 150 square meters.
Step 5: Use Flea Traps to Monitor Progress.
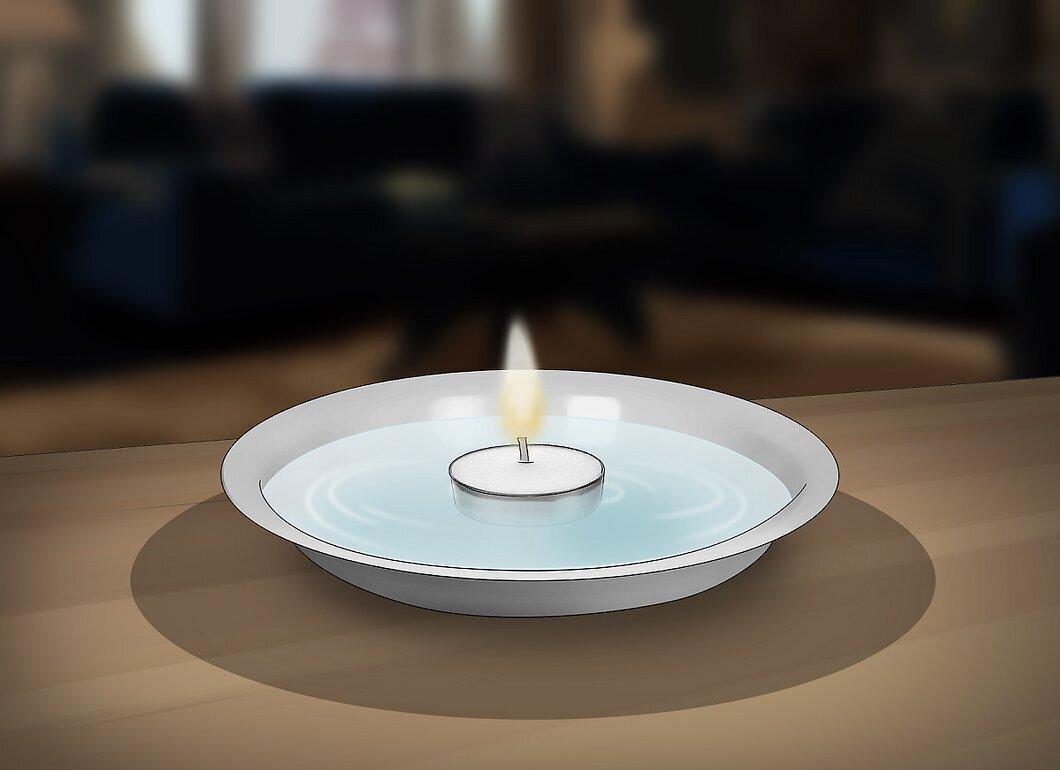
Use flea traps to monitor progress. Flea traps consist of sticky strips or cups of water placed under a lamp. The warmth of the light attracts insects, and they either stick to the tape or fall into the water. Over time, you should see fewer fleas.
- If you still catch about the same number of fleas in the traps after 1–2 months, it may be time to consult professionals.
- Flea traps help assess the level of infestation, but they only capture adult insects. They do not eliminate the infestation completely.
Step 6: Treat Your Home, Pets, and Yard Simultaneously.
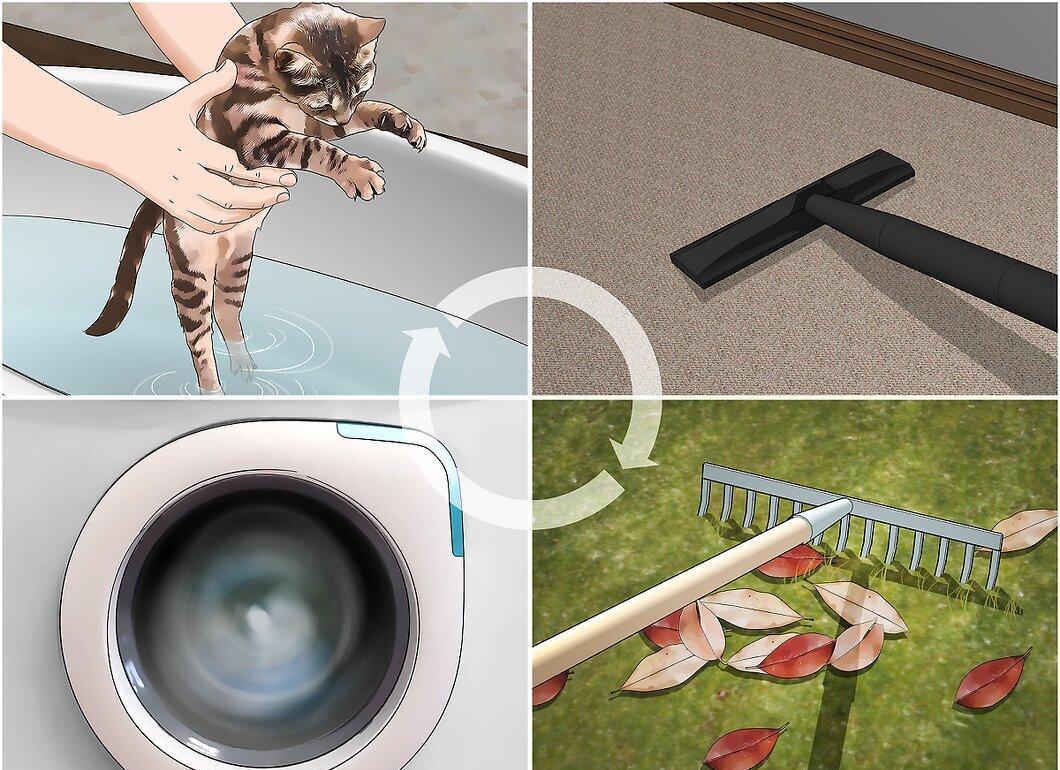
Treat your home, pets, and yard simultaneously. The only way to effectively deal with fleas is to fight on multiple fronts. If you clean your home but fleas remain on your pets, you won’t be able to eliminate them.
- Be patient: it may take 3–4 months to eliminate a flea infestation.
Bathe Your Pet
Step 1: Bathe Your Pet at Least Once a Week.
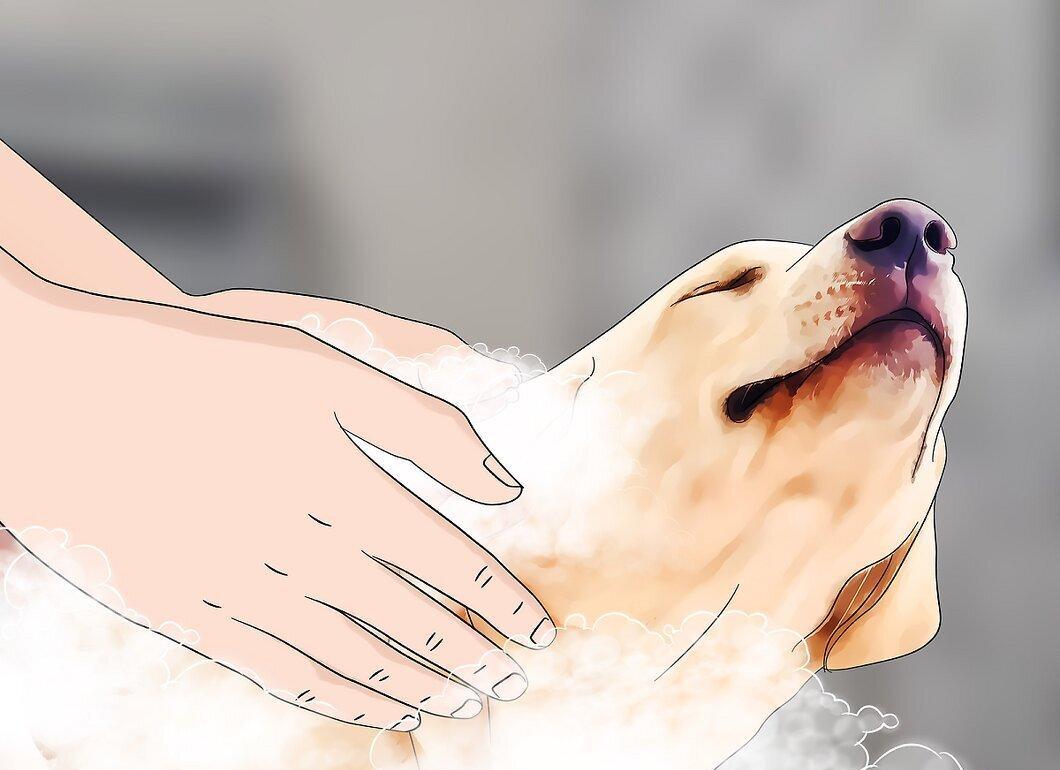
Bathe your pet at least once a week. Use a pet-specific shampoo for cats or dogs, not a regular human shampoo. Start washing from the head and neck to prevent fleas from jumping into their eyes, mouth, and ears.
- Bathing more than once a week may irritate their skin. Use a moisturizing shampoo that contains oatmeal to help prevent dry skin.
Step 2: Brush Your Pet’s Fur Daily with a Flea Comb.
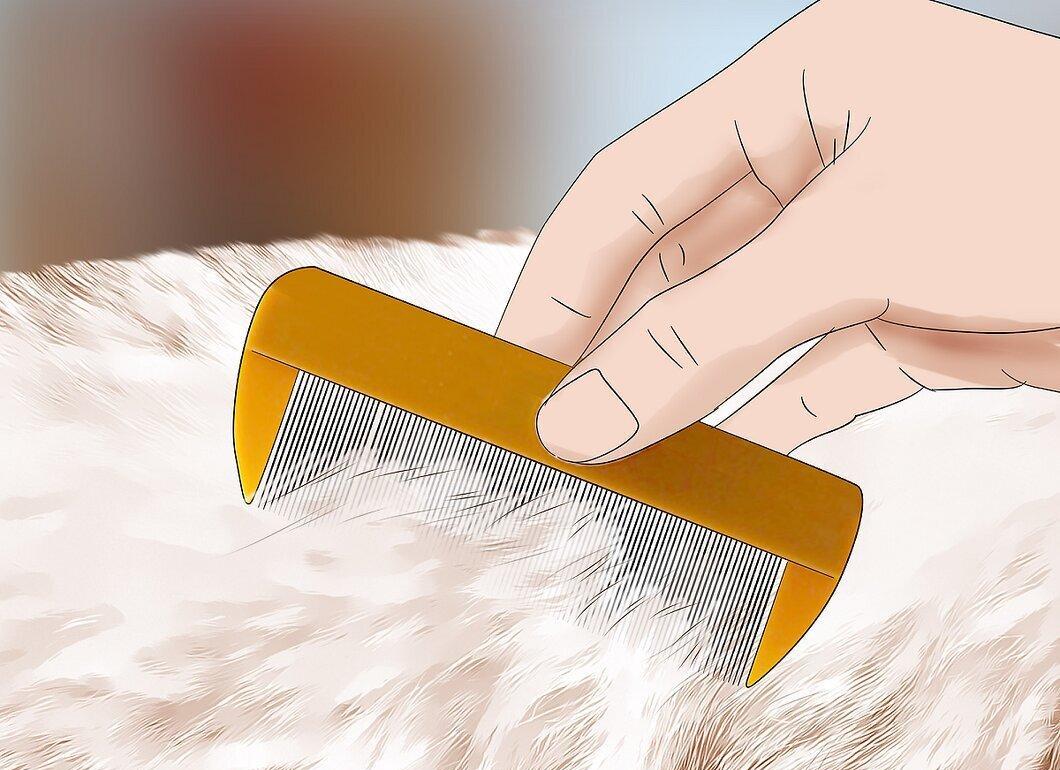
Brush your pet’s fur daily with a flea comb. At least once a day, comb your pet’s dry skin with a fine-toothed comb. Periodically dip the comb in a cup of hot water and alcohol in a 1:1 ratio to kill any fleas you comb out.
- Watch for fleas jumping out of the fur. It’s easier to spot fleas on your pet’s dry fur if you place them in the bathtub, where you can see them against the smooth white surface.
Step 3: Try Spraying Your Pet with Citrus Solution.
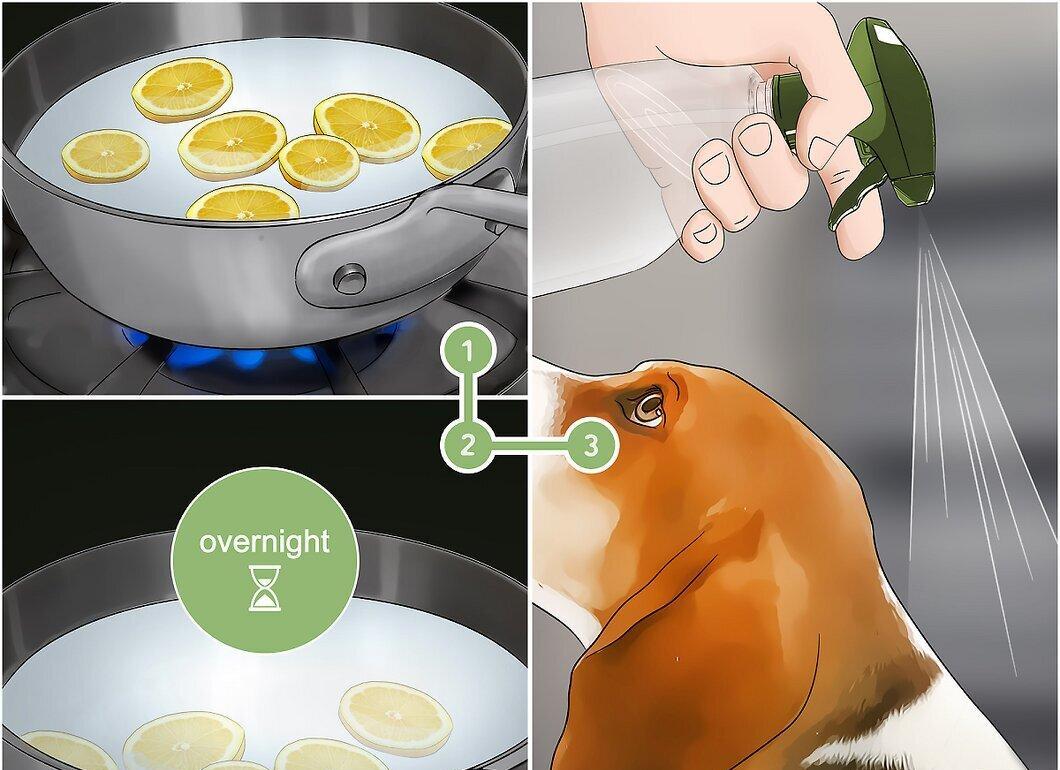
Try spraying your pet with a citrus solution. Boil 500 milliliters of water and add thinly sliced lemon. Remove the pot from heat, cover it, and let it sit overnight. Strain the water, pour it into a spray bottle, spray your pet, and rub the solution into their fur.
- Citrus sprays for pets can also be purchased at pet stores.
- Citrus juice is effective against fleas for 24 hours, but daily application can irritate your pet's skin. Start by spraying their fur every 3 or 4 days, then increase the frequency if no signs of irritation appear.
- Avoid applying the citrus solution around the face. Stop using the solution if you notice redness or dryness of the skin, or if your pet starts scratching excessively.
- Always consult a veterinarian before using any home remedies.
Step 4: Keep Your Pet Indoors as Much as Possible.
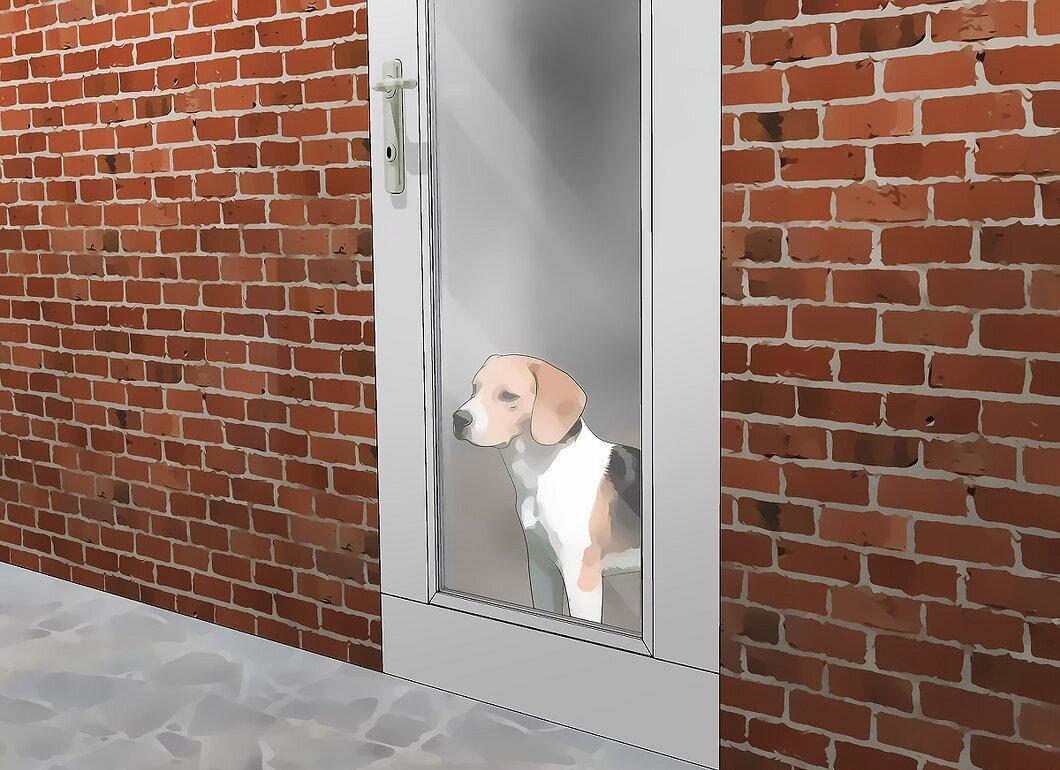
Try to keep your pet indoors as much as possible. It’s best not to let cats outside at all. For dogs, take them out for short walks only. Avoid shady, damp areas with dense vegetation.
- Limit your pet’s outdoor exposure to prevent them from picking up new fleas.
Eliminate Fleas in the Yard
Step 1: Mow Your Lawn Short and Rake Up Leaves.
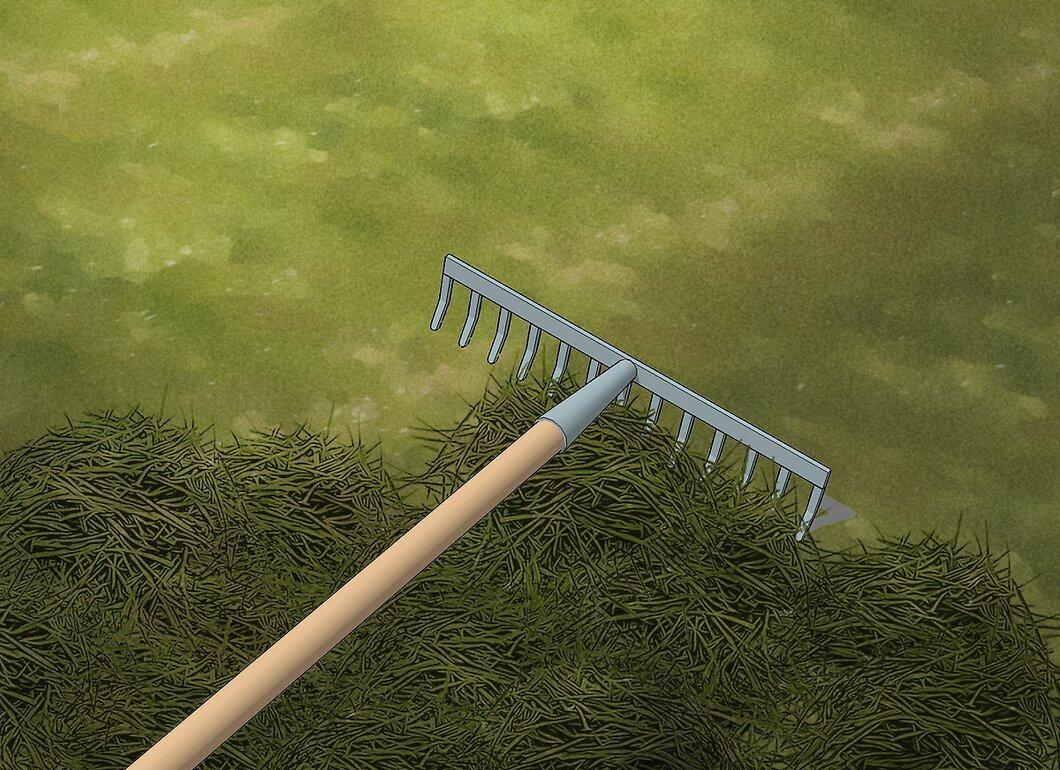
Mow your lawn short and rake up leaves. Keep the areas where your pets may go clean and tidy. Trim grass and bushes to eliminate shady spots in your yard. Rake up cut grass, fallen leaves, and other debris.
- Fleas prefer shady, damp spots. To make your yard less inviting to them, keep the grass short and clear away leaves and debris.
Step 2: Spread Beneficial Nematodes Early in the Spring.

Spread beneficial nematodes in your yard early in the spring. These tiny roundworms feed on flea larvae. You can purchase them at garden supply stores. Look for nematodes specifically designed for fleas and spread them over your lawn and garden according to the instructions.
- Pay special attention to the areas where your pets like to hang out. It’s best to apply the nematodes at the beginning of flea season, which is early spring.
- Typically, the substrate containing millions of microscopic worms is mixed with water and distributed through a garden hose or watering can. Afterward, water the soil periodically in spring and summer when it dries out.
- Don’t worry, these worms are harmless to humans and pets.
Step 3: Sprinkle Diatomaceous Earth Every 7–10 Days.
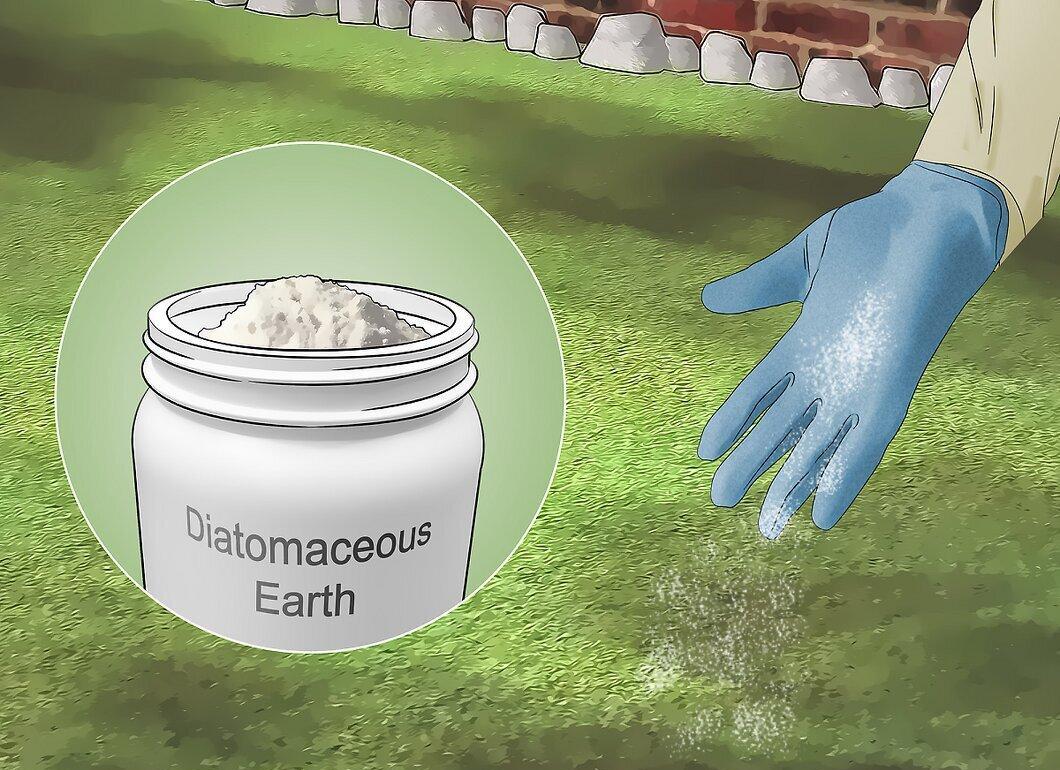
Sprinkle diatomaceous earth on the soil every 7–10 days. You can purchase diatomaceous earth at garden supply stores. Sprinkle it around your home and pay close attention to shady areas and spots where your pets like to rest.
- It’s best to apply diatomaceous earth in the morning. Don’t apply it on windy or rainy days, and be careful not to let it come into contact with your pets. Inhalation can irritate their respiratory systems.
- Diatomaceous earth is a mineral powder that scratches and dehydrates fleas. It loses effectiveness over time, so it should be reapplied weekly, as well as after windy or rainy weather and watering the yard.
Step 4: Consider Growing Mint in the Garden or in Pots.

Consider growing mint in the garden or in pots. This type of mint has been used for centuries to repel insects. Plant mint in your yard or keep it in pots indoors. Keep in mind that it is toxic to cats and dogs, so ensure your pets do not eat it.
- The essential oil of mint is sometimes used as a flea repellent, but it is not safe for pets. Do not apply the oil to your pet’s fur, food, or bedding.
- If you decide to grow mint in your garden, regularly pinch it back to prevent it from spreading all over. Like other types of mint, it can grow rapidly. To prevent excessive root growth, plant it in pots.