
The dizi is a bamboo flute with six holes, traditionally made from bamboo. Larger dizi can feature seven finger holes. Flutes have been a part of Chinese culture since ancient times. There are various theories about the origins of the dizi flute, also known as the transverse flute, but many scholars believe it was introduced to China during the Han Dynasty (206 BC – 220 AD). Dizi were musical instruments for the common people, with some variations found in northern (bandi flutes) and southern regions (gu di flutes). Well-crafted dizi can last up to 30 years with proper care.
Planning the Flute Body
Step 1. Choose the material for the flute body.
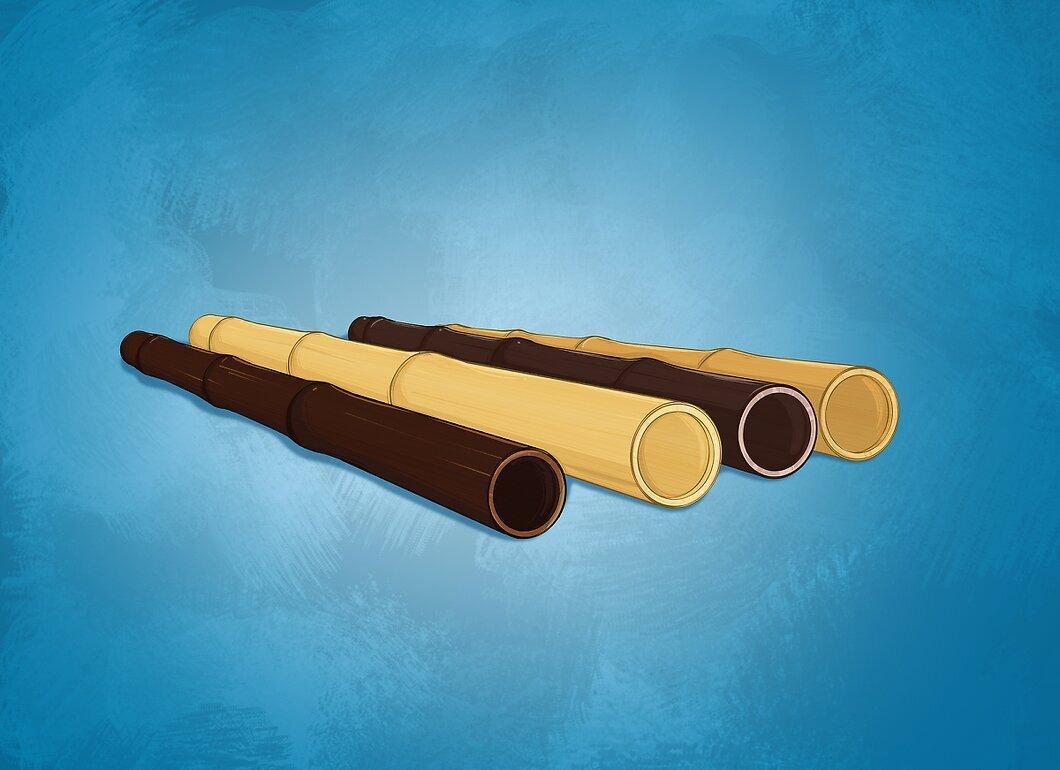
Select the material for making the flute body. Traditionally, dizi are made from bamboo, although historically there have been flutes made from bone, ceramic, jade, and other stones. When choosing, consider the availability and workability of the material. The flute's material should have a diameter of 2-2.5 cm.
- Bamboo is an ideal material for dizi as it is easy to source and work with. It is lighter in weight, making it easier to play (especially beneficial for beginner flutists). You can use regular bamboo by removing the leaves or repurpose an old bamboo item, such as a fishing rod. Different types of bamboo can be used: red bamboo has traditionally been used in northern China, while other types are more common in the south.
Step 2. Determine the size of the flute.
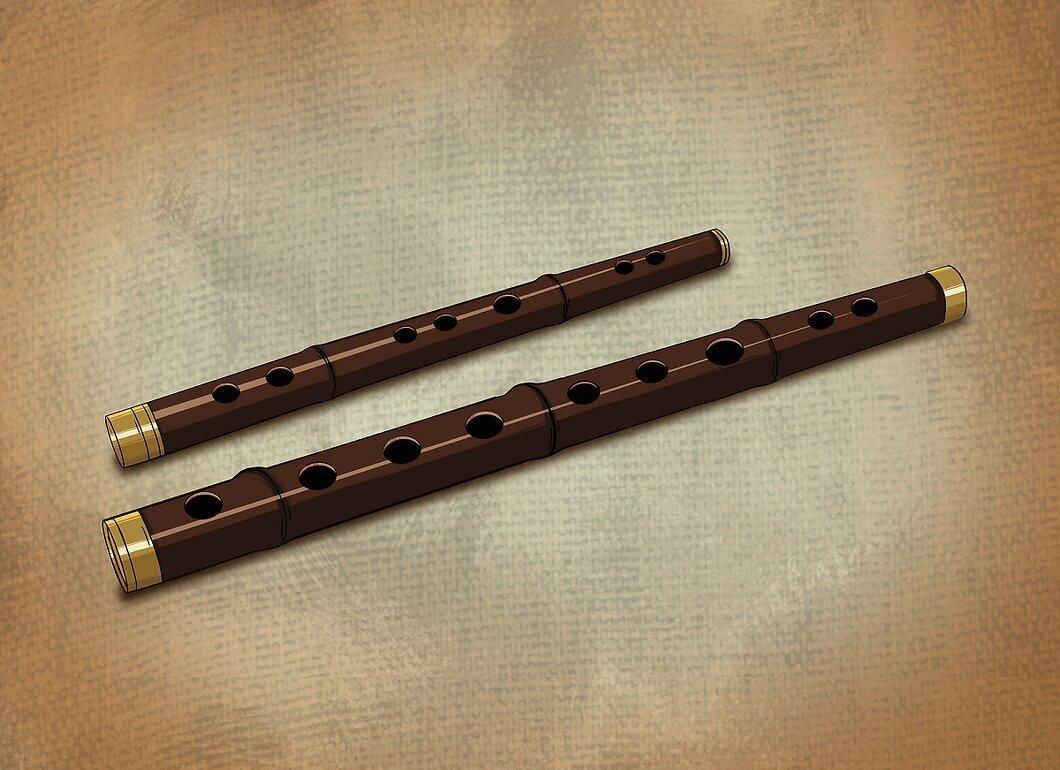
Decide on the size of the flute. The size will determine the key in which it can play. Typically, flutes come in the following keys (from longest to shortest): F, G, G#, A, A#, B, C, C#, D, D#, E, F, and F#. A good length for a flute is about 45-50 cm. Longer flutes may have an additional finger hole (usually found in larger dizi) and will play lower notes. Smaller flutes that play higher octaves are shorter than 40 cm, while larger flutes ideally measure 60-65 cm.
Step 3. Choose the end style of the dizi.

Select the style of the dizi ends. Dizi can have ringed ends, capped ends, or raw ends. This choice will affect the flute's durability and its susceptibility to cracking and molding. Materials such as brass, bone, plastic, or wood can be used for caps and rings.
- Ringed ends. Some flutes feature brass rings at the ends, which protect them from cracking (especially bamboo or wooden flutes). However, moisture can get trapped under the rings and cause molding. Rings can be added to a flute that previously had none to stop ongoing cracks.
- Capped ends. These caps are often made from plastic, cow bone, or horn. Flutes with caps usually have a brighter sound. However, moisture can also get under the cap and lead to molding.
- Raw ends. It is not necessary to close the ends of the flute with caps or rings. Instead, you can beautify them with paint or leave them as-is. However, bamboo flutes with raw ends may be more prone to cracking than those with caps or ringed ends.
Step 4. Carefully measure the outer diameter of the flute body.
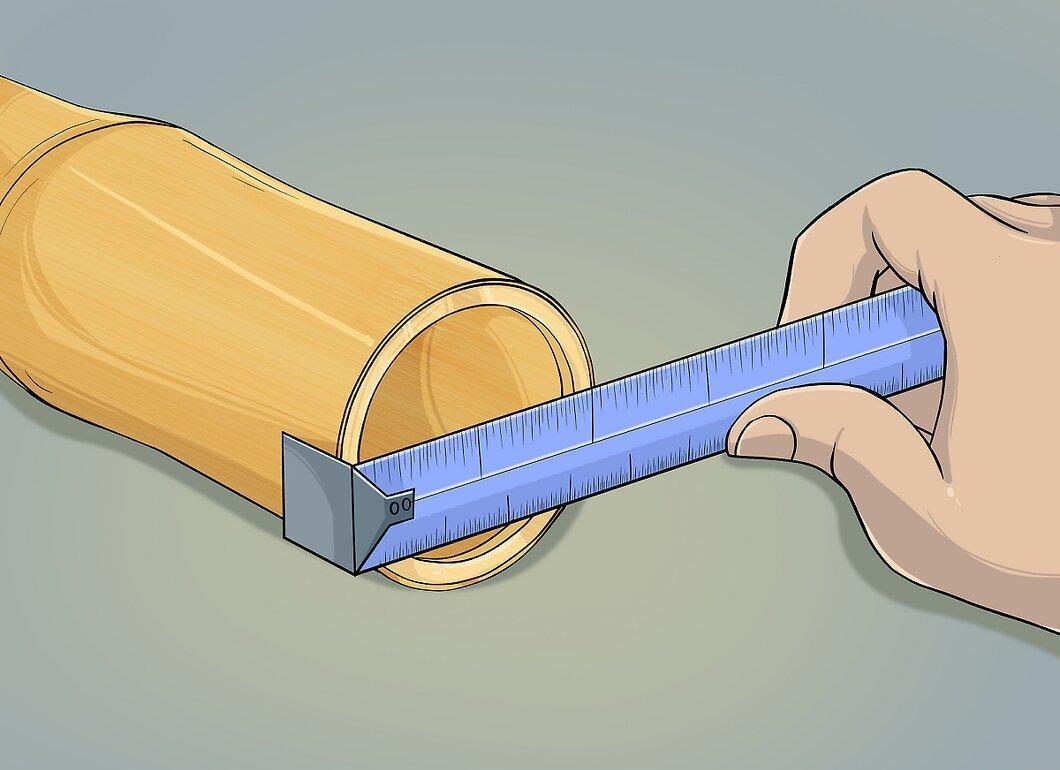
Carefully measure the outer diameter of the flute body. Select rings or caps of the appropriate size from a hardware store, either made of metal or plastic. If you are not using rings or caps, you can also wrap the ends with string to prevent cracking.
Making the Flute Body
Step 1. Measure and cut the material chosen for the flute body.
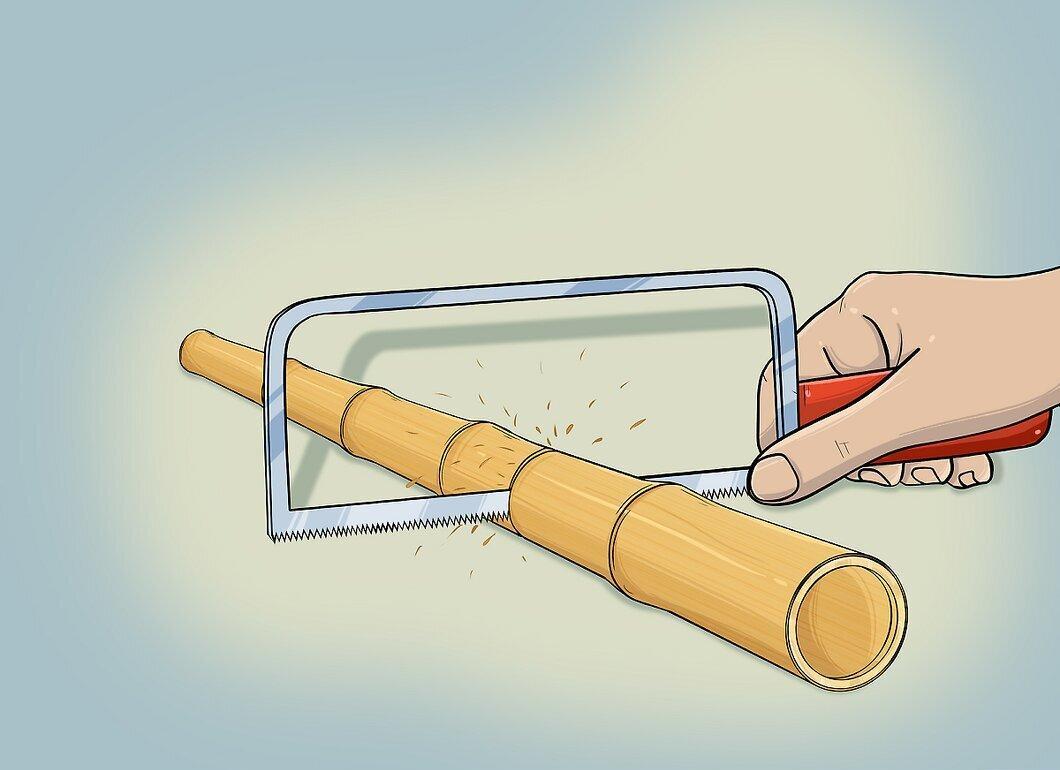
Measure and cut the material you have chosen for the flute body. If you are using bamboo, cut a piece approximately 45-50 cm long, starting just before one of the charming nodes of the stem (this will be one end of the flute). Mark around the circumference of the stem. At least two bamboo nodes should be placed between the two ends of the flute, including the one at the very small part of the stem section. Carefully saw both ends.
Step 2. Mark the hole placements.
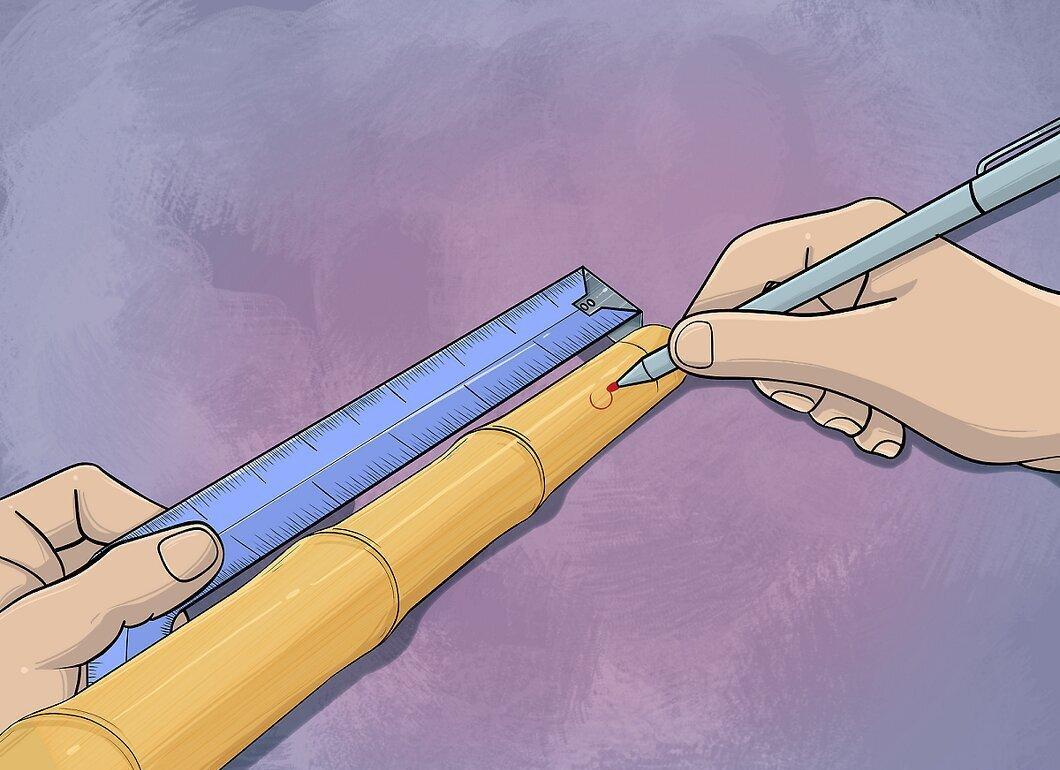
Mark the position of the holes. Decide which side will be the top part of the flute with the holes. Starting from the blocked end of the flute, measure 2.5 cm and mark the top side for the first hole (this will be the air-blowing hole or mouthpiece). From this hole, measure 7.5 cm and mark for another hole (this resonating hole will be covered with a thin membrane called di mo). From the mark of the previous hole, measure another 7.5 cm and mark the next hole (this will be the first finger hole). Continue marking five more finger holes at intervals of 2.5 cm. You should have one mouthpiece hole, one resonating hole, and six finger holes. These holes should be approximately 6 mm in diameter.
Step 3. Burn the inside of the bamboo flute.
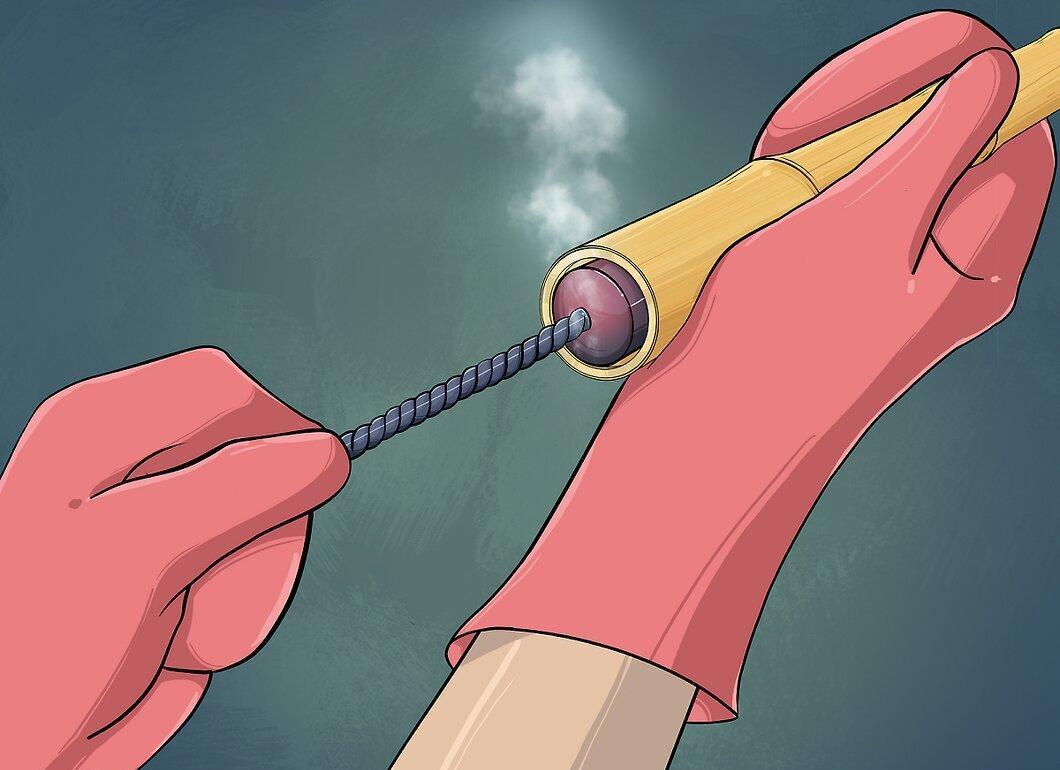
Burn the inside of the bamboo flute. You should burn out and remove the fibrous partitions inside the bamboo stem. Heat a steel rod with a diameter of 1.3 cm over a fire (do not use an oven for this). Hold the unheated end of the rod with a cloth, as it will also become hot. Carefully insert the rod into the bamboo stem, without piercing through it. Leave one blocking node at the end intact. Rotate the rod a few times to burn away all excess inside the stem. Remove the rod.
Step 4. Burn the holes.

Burn the holes. Using a cloth and clamp, heat a 6 mm drill bit over the fire (again, do not use a kitchen oven). Place the tip of the drill bit on each hole mark, gently rotating the drill to burn through the wood, but do not push the drill all the way through the stem wall (this may lead to cracking the bamboo).
Step 5. Sand the holes.
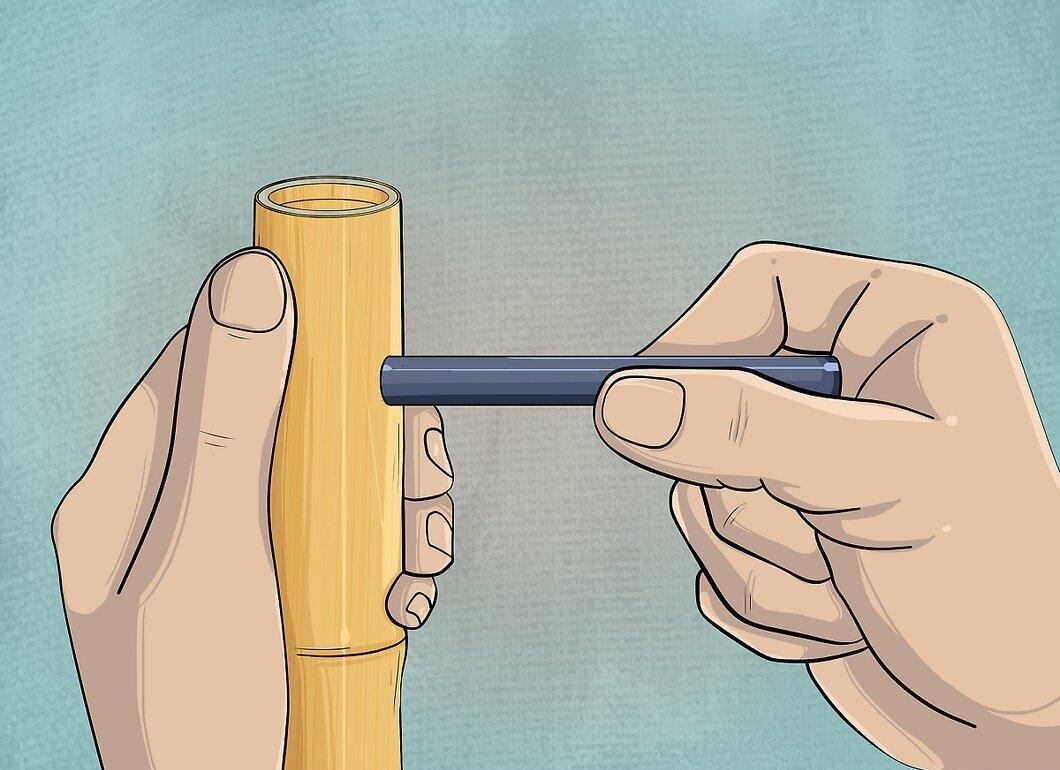
Sand the holes. Roll a piece of fine-grit sandpaper into a tube and insert one end into the burned hole. Move it back and forth to clean away the charred spots. The tube of sandpaper should pass through the wall of the stem, finishing the formation of the hole. Sand the mouthpiece hole more vigorously to make it slightly larger, but do not make it too wide. It should measure only 0.7-0.9 cm in diameter.
Step 6. Sand the entire flute.
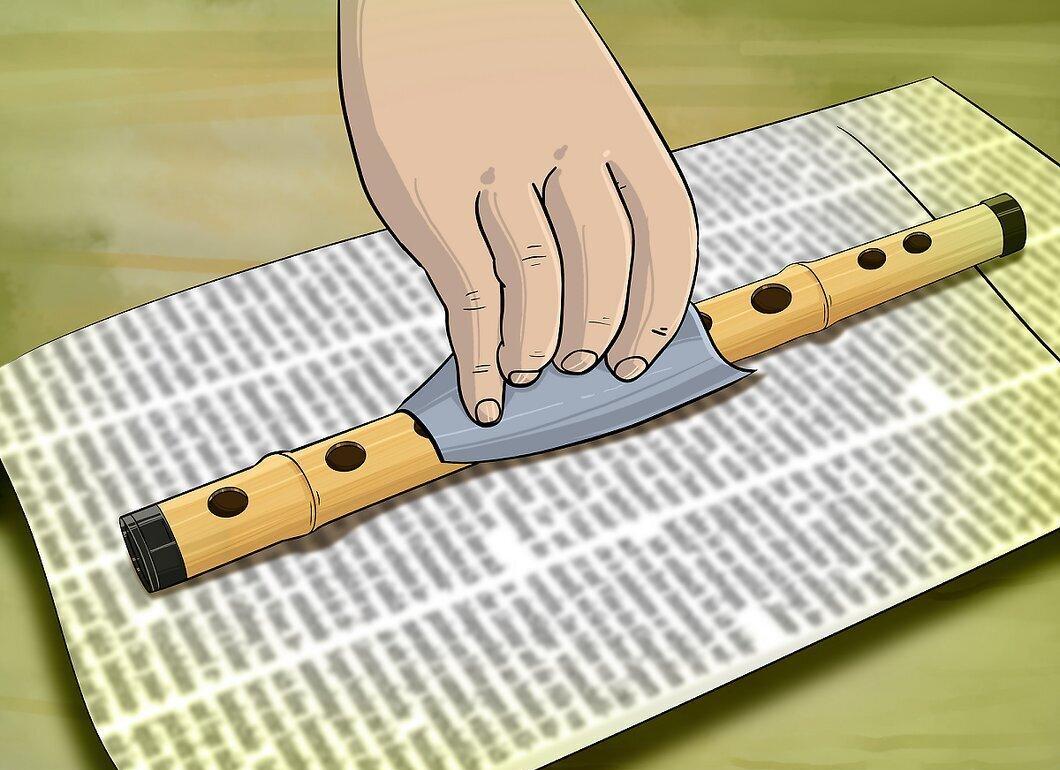
Sand the entire flute. Using fine-grit sandpaper, gently sand the entire surface of the flute body. Lay down a newspaper to catch all the dust. Pay extra attention to the areas around the mouthpiece hole, near the finger holes, and at the ends. The flute should be sanded until it feels smooth to the touch.
Decorating the Flute
Step 1. Choose engravings for your flute.
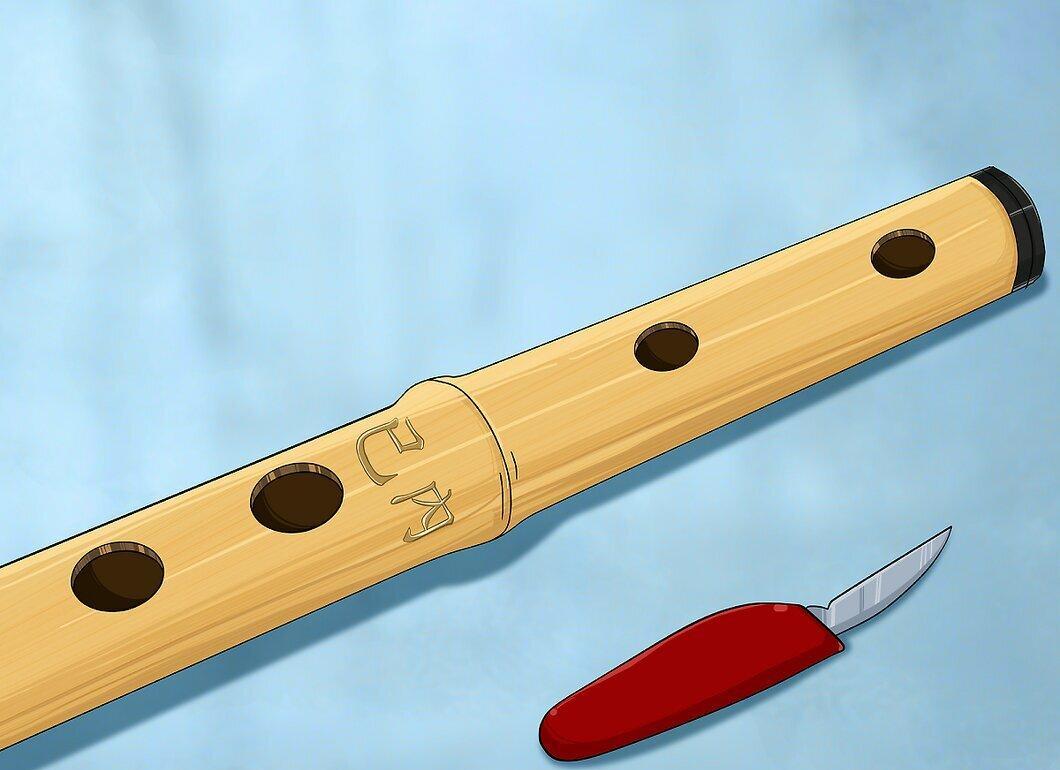
Choose engravings for your flute. Most dizi makers carve their initials on the body; some place a Chinese poem or saying along the body. The key of the flute is usually engraved near the third finger hole.
Step 2. Choose a finish for your flute.
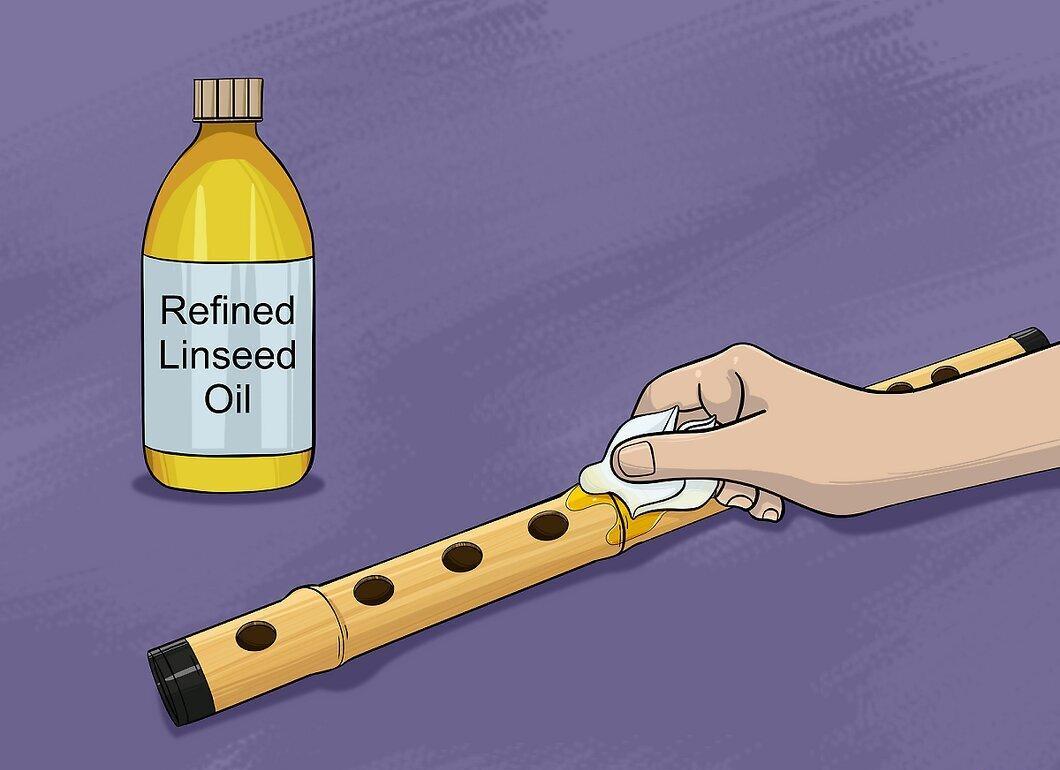
Select a finish for your flute. Some dizi are lacquered or painted, while others are left uncoated. One option is to treat the flute with linseed oil. Pour a little linseed oil onto an old cloth and gently wipe it onto the flute's body. Allow the flute to dry before adding accessories, affixing the di mo membrane, and starting to play.
Step 3. Choose accessories for the flute.

Select accessories for the flute. These can be purchased at Asian markets or online. Attach a silk tassel to the lower hole of the dizi. The color red is often associated with good luck in China and could be fitting for a decorative tassel.
Attaching the Di Mo Membrane
Step 1. Choose material for the Di Mo membrane.

Select material for the Di Mo membrane. Traditionally, it is made from the thin inner membrane of bamboo. Other suitable materials include garlic skin, rice paper, cigarette paper, and other thin types of paper. Di Mo paper is available in music online stores. You can also use tape, but the sound quality may not be as good.
Step 2. Gather all necessary materials.
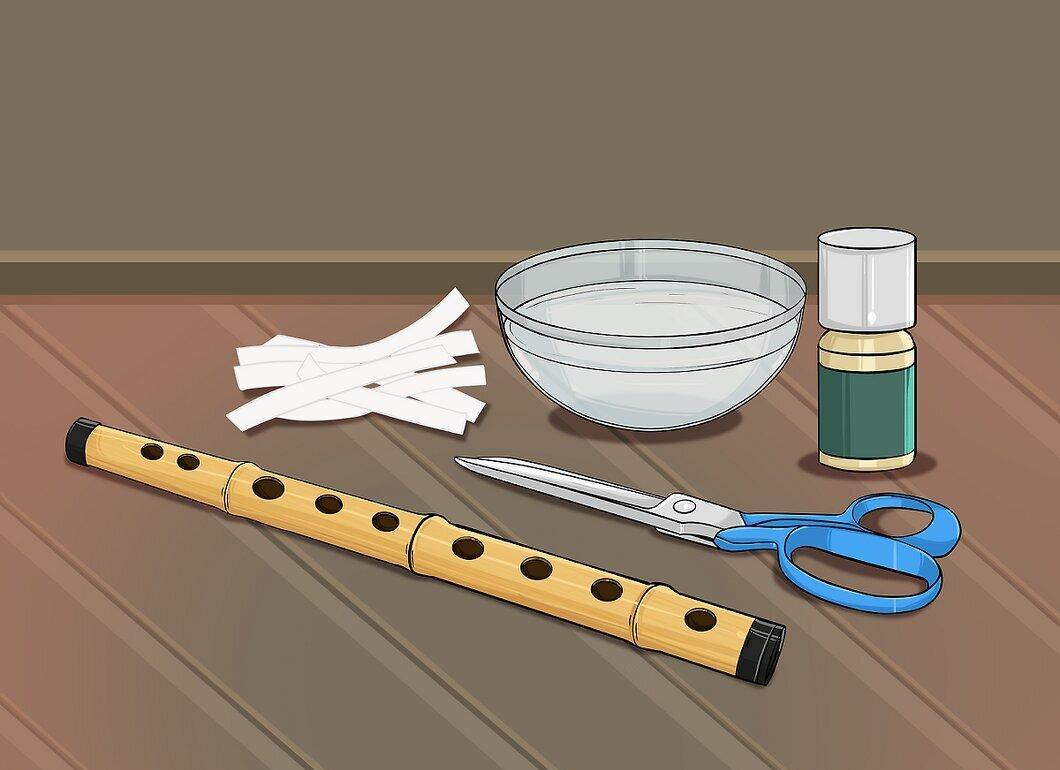
Gather all necessary materials. You will need small sharp scissors, water, Erjiao (traditional Chinese glue for dizi), or another water-soluble glue, the Di Mo membrane, and the dizi body. Erjiao glue can be bought at music online stores.
- Water-soluble glue, like the special glue for attaching the Di Mo membrane, is preferable, as you may need to occasionally adjust the position of the Di Mo. If you use a glue that sets completely, trying to move the Di Mo will cause it to crack and damage the membrane.
Step 3. Determine the size and cut the Di Mo membrane.
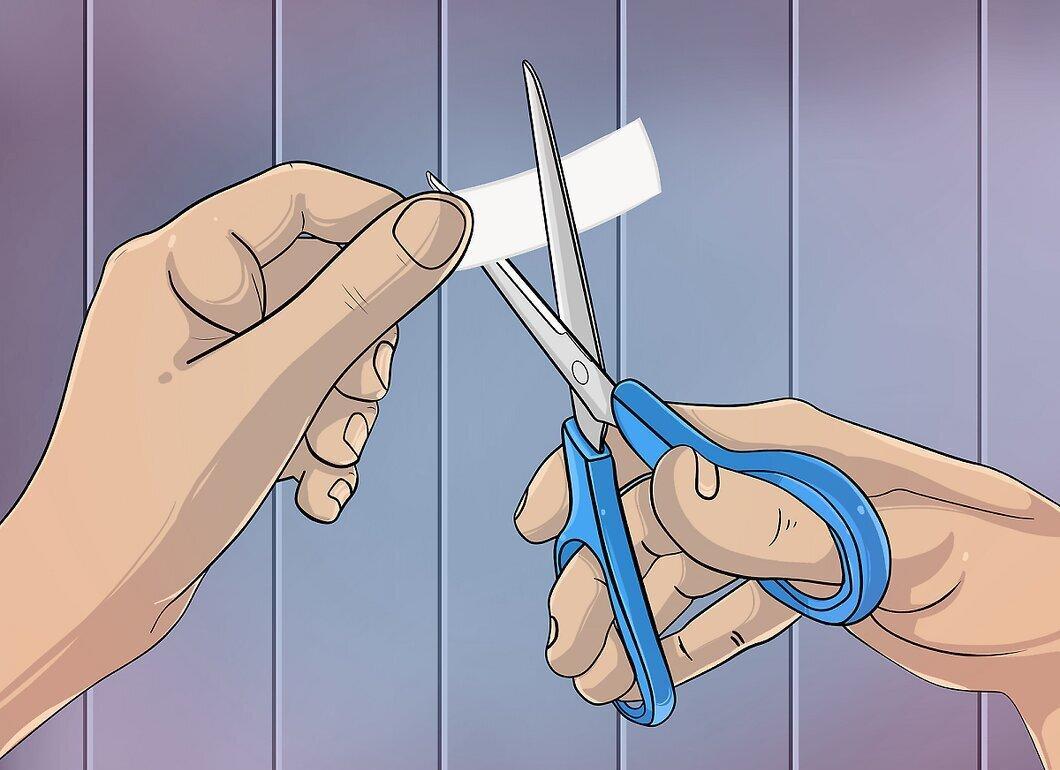
Determine the size and cut the Di Mo membrane. The Di Mo should be placed on the second hole from the top of the flute (i.e., the resonating hole). Lay the Di Mo paper over this hole and mark all sides about 5 mm from the edges of the hole. Cut the membrane according to the marked sizes.
Step 4. Apply glue to the dizi.
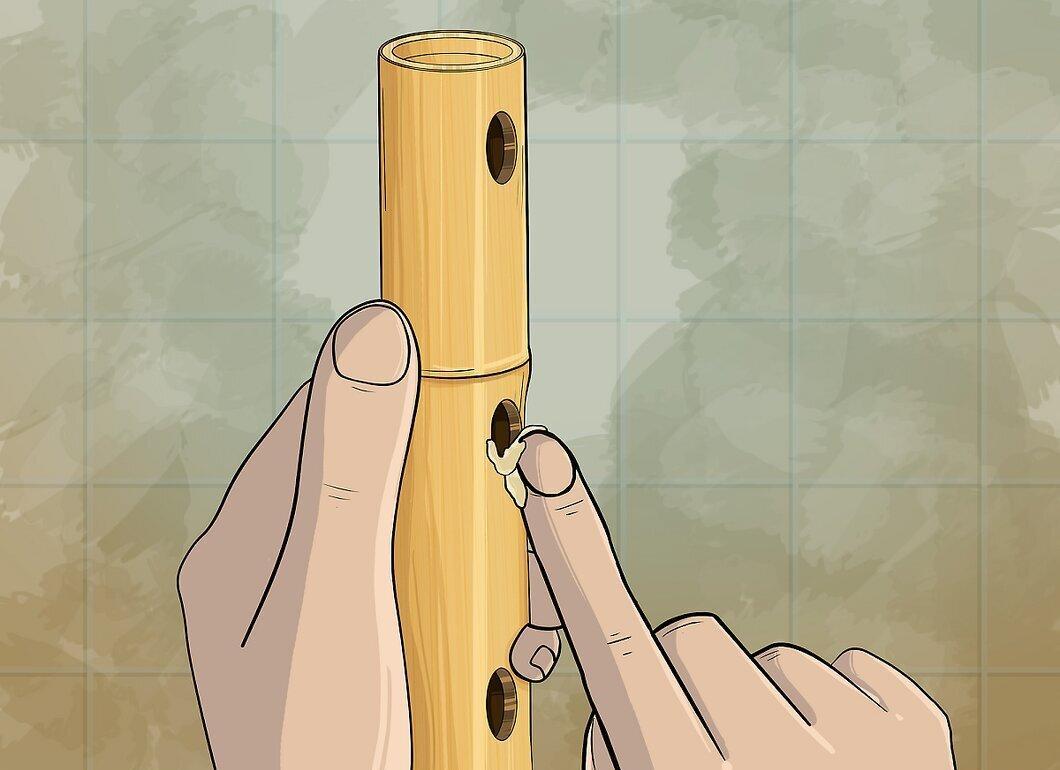
Apply glue to the dizi. Dip a finger in water and rub it against the solid Di Mo glue. Apply the glue around the resonating hole using your finger. Remove any excess glue that got into the hole or on its edge. Gluing the membrane directly to the edges of the resonating hole will disrupt its vibration.
- For a sticky water-soluble glue, you can use garlic juice. Clean one clove of garlic, cut it, and rub the fresh cut around the resonating hole. This will leave a little sticky substance on the flute.
Step 5. Carefully place the Di Mo over the hole.
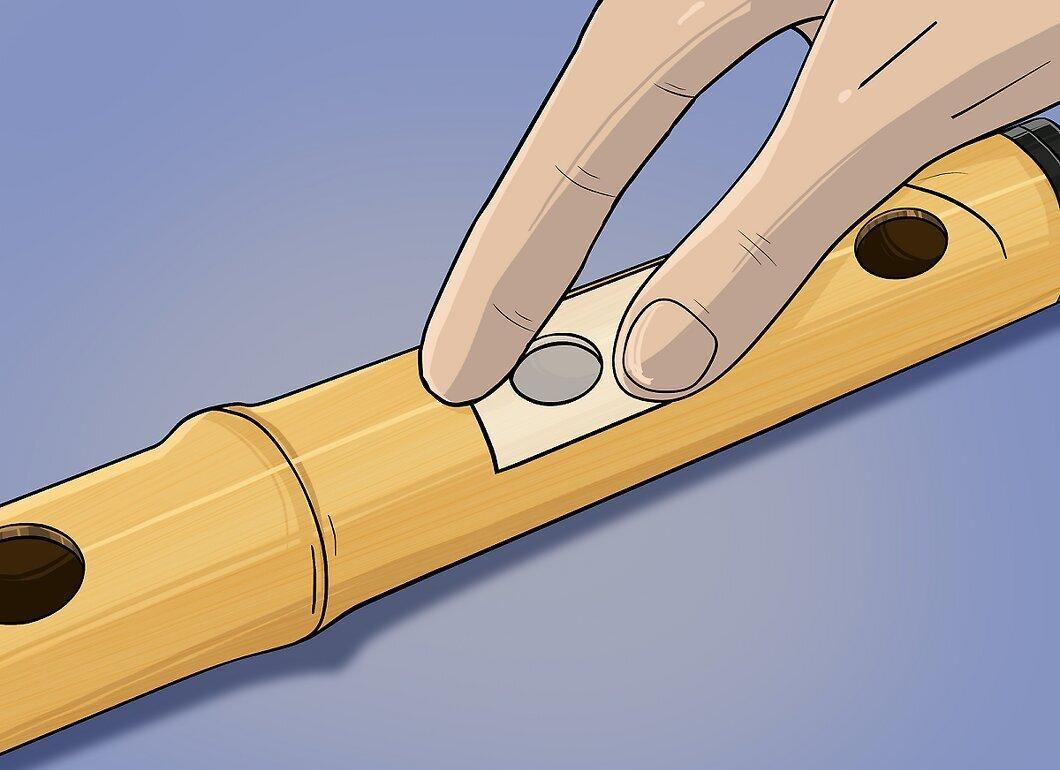
Carefully place the Di Mo over the hole. Align the Di Mo so that it lays evenly on all sides. Pinch the Di Mo with your fingers from the sides of the hole. With the fingers of your other hand, run them up and down the flute body over the Di Mo to prevent transverse folds from forming. The folds should be evenly distributed on the Di Mo. If the membrane is perfectly flat, the flute will not sound bright. However, if the Di Mo is loosely tensioned even with folds, the dizi may sound bright, but it can also sometimes produce no sound, becoming unpredictable.
Step 6. Test the dizi.

Test the dizi. Blow into the flute to check the sound produced by the membrane. Tap the Di Mo a few times while playing the flute to help it settle into the correct position. During play, the membrane should begin to vibrate.
- The membrane lowers the sound of the dizi during play. It also limits the ability to play high notes.
- One Di Mo can be used on a flute for several months, but adjustments may be necessary to keep the flute in working order.
- Don’t get discouraged if you have difficulties with the Di Mo. Properly attaching the membrane and achieving the best sound from the dizi requires specific skills and practice.
Playing the Dizi
Step 1. Hold the flute horizontally across your body and place your lips at the mouthpiece hole.

Hold the flute horizontally across your body and position your lips at the mouthpiece hole. Place three fingers of one hand on the first three holes behind the resonating hole and three fingers of the other hand on the last three holes. Blow into the flute as if you were blowing into the neck of a glass bottle to produce sound, directing the air stream with your lips from your mouth into the hole. If you can't produce sound, try tightening your lips more and making the hole smaller.
- Since the dizi has a symmetrical structure, it can be held horizontally in any direction, making it easy to play for both right-handed and left-handed players.
Step 2. Consider the season and air temperature when playing the flute.

Take into account the season and air temperature when playing the flute. The dizi may have different tonal qualities depending on temperature and humidity, so winter is not the best time to play some of these flutes.
Step 3. Practice in front of a mirror.

Practice in front of a mirror. Pay attention to the shape of your mouth while playing. Remember the position of your mouth where you are able to produce sounds.
Step 4. Consult flute instructors and sign up for online courses.

Consult flute instructors and enroll in online courses. There are many online resources that explain how to play the dizi. One of the most well-known dizi instructors is Tim Liu, but there are many others.
Step 5. Learn advanced playing techniques.

Learn advanced playing techniques. Once you master the basics of playing the dizi, you can start experimenting with other performance techniques, such as using glissando and grace notes, simultaneous tone creation, various tongue techniques, circular breathing, and so on, which may also involve changes in the mouthpiece hole and the air stream. Achieving such heights is difficult, so beginners should not expect to become experts in playing the flute right away. Dizi players spend decades honing their skills.
- Master dizi players typically use several flutes to be able to play in multiple musical keys.
Storing and Caring for the Dizi
Step 1. Wipe the dizi after playing.
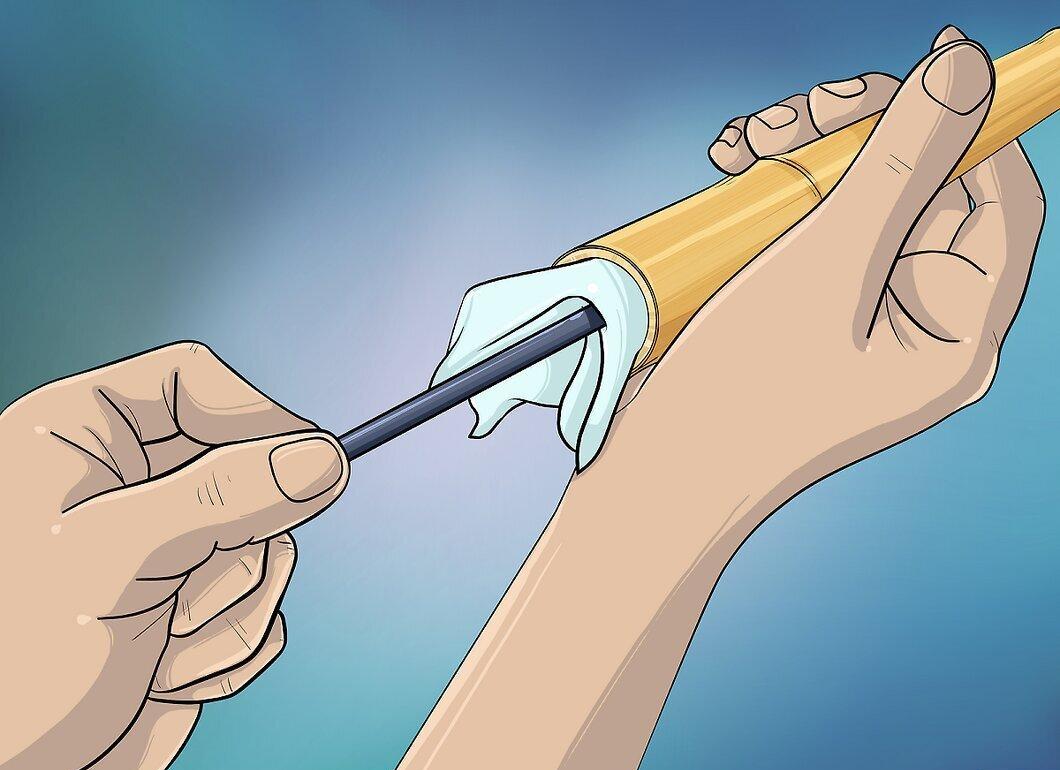
Wipe the dizi after playing. After finishing playing the flute, use a soft cloth to dry the dizi. Use a cleaning rod to push the cloth inside the flute and remove any excess moisture from the inside.
Step 2. Store the dizi in a special case.
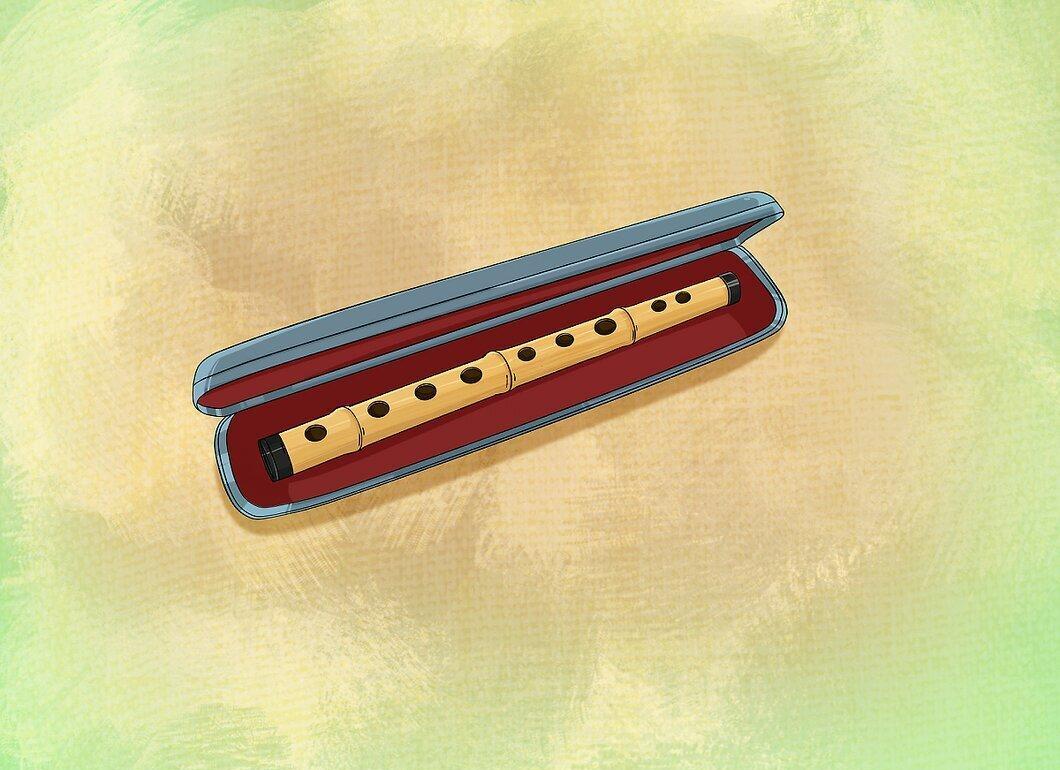
Store the dizi in a special case. This could be a fabric pouch, a tightly sealed plastic case, or a hard case with soft lining – all are ideal for storing the dizi.
Step 3. Avoid sharp temperature changes.

Avoid sharp temperature changes. Bamboo flutes are prone to expansion and contraction due to temperature and humidity fluctuations. Do not leave such flutes in the sun (for example, on a windowsill), as this is likely to lead to cracking. If you take the dizi outside on a cold day, allow it to acclimatize before playing.
Step 4. Eradicate any signs of mold.

Eradicate any signs of mold. Since moisture can accumulate in the dizi, even if you wipe it down, mold may start to grow. To clean the flute of mold, use a hydrogen peroxide solution.
Step 5. Periodically oil the dizi.
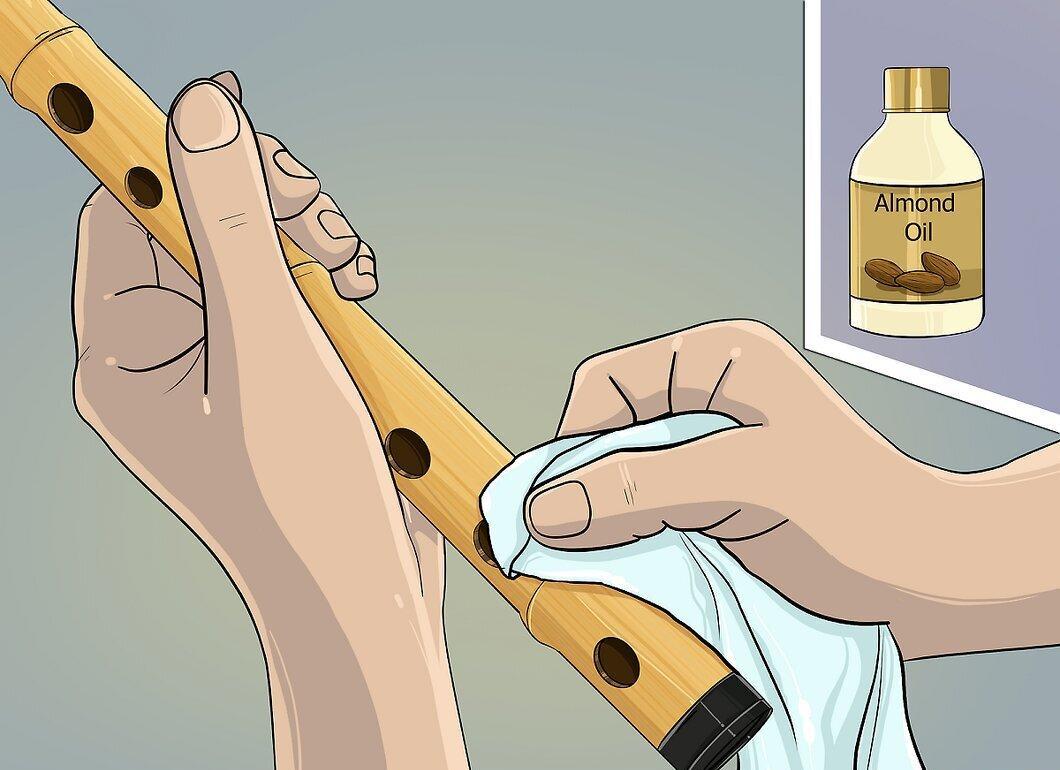
Periodically oil the dizi. Some dizi owners prefer to oil it with almond oil 3-4 times a year. For best results, wait until the flute is completely dry (for example, a day after playing and wiping it down). Use only a small amount of oil and apply it to the flute with a soft cloth. You can oil the inside of the flute as well. Allow the flute to dry completely before playing again.


