
Creating fossils is a fun and creative way to engage kids with science and history. It's an affordable and straightforward process that requires minimal skills and materials. Here's how to do it.
Making an Impression
Step 1: Gather Your Materials.
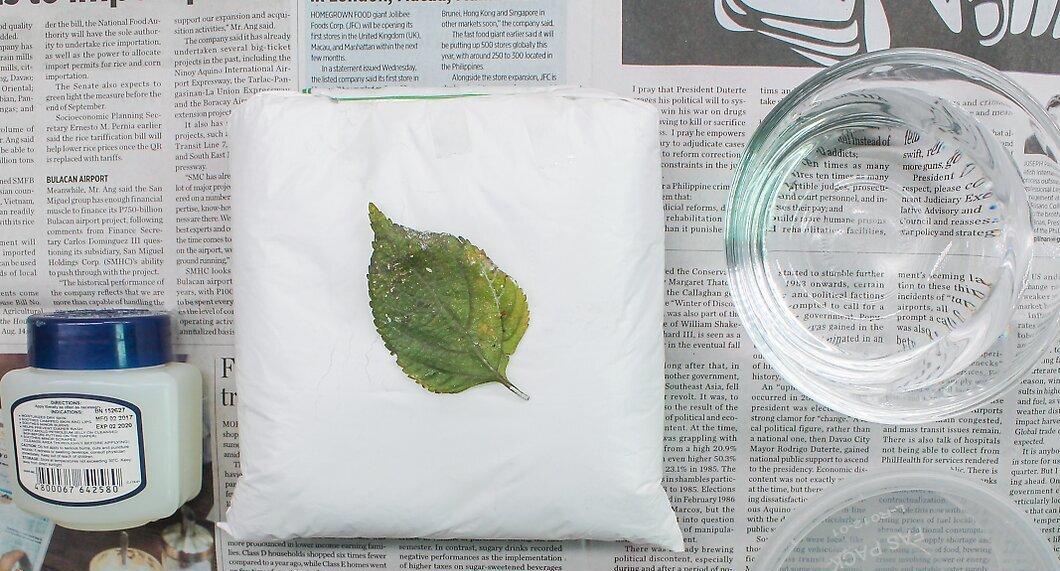
Gather your materials. Things might get a bit messy (especially if kids are involved), so lay down some newspapers, put away any valuables you don’t want to ruin, and collect everything you need. You will need:
- A small natural object (like a shell, leaf, bone, etc.)
- Petroleum jelly
- A small disposable plate or plastic container (for example, a margarine tub)
Step 2: Choose Your Object.
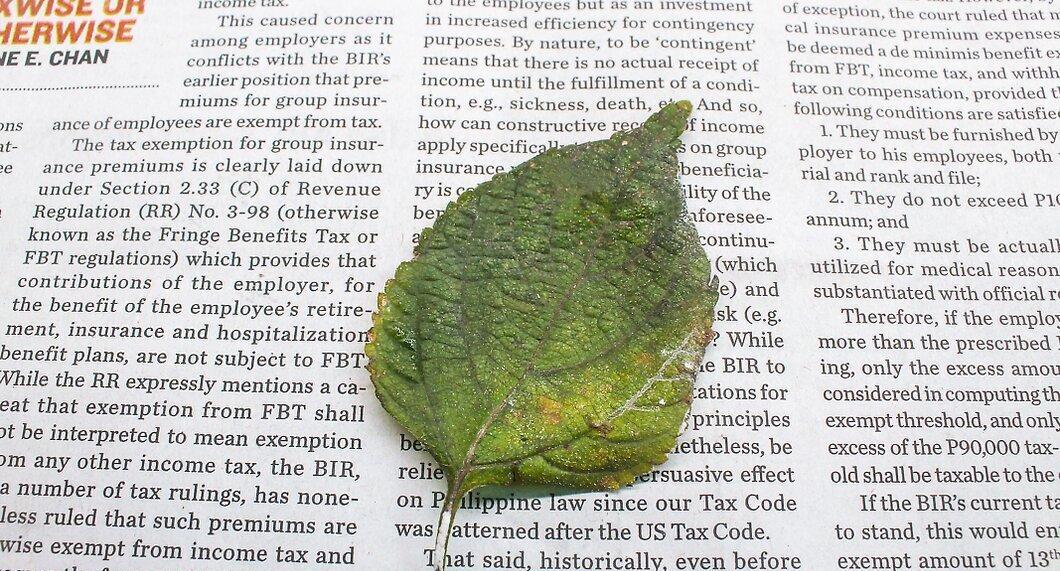
Choose the object you want to turn into a fossil. Any natural object works well: shells, leaves, bones—all are great choices. If you opt for a leaf, make sure it’s not dry and brittle. It should also fit comfortably in the container.
Step 3: Coat the Object with Petroleum Jelly.
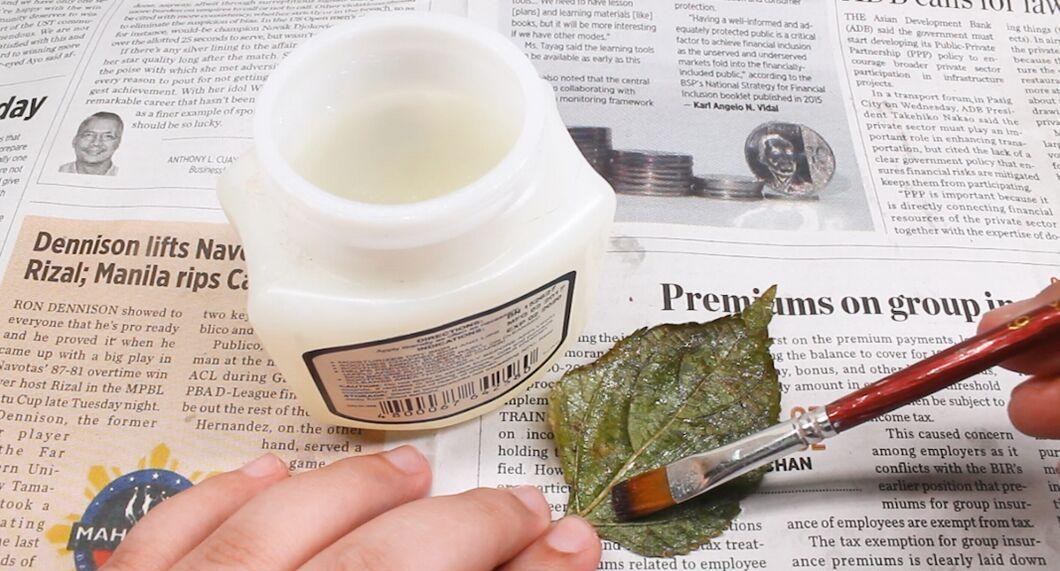
Coat the object with petroleum jelly. This will prevent it from sticking to the plaster when you remove it later. Make sure to cover the object thoroughly!
Step 4: Mix Plaster with Water in a Bowl.
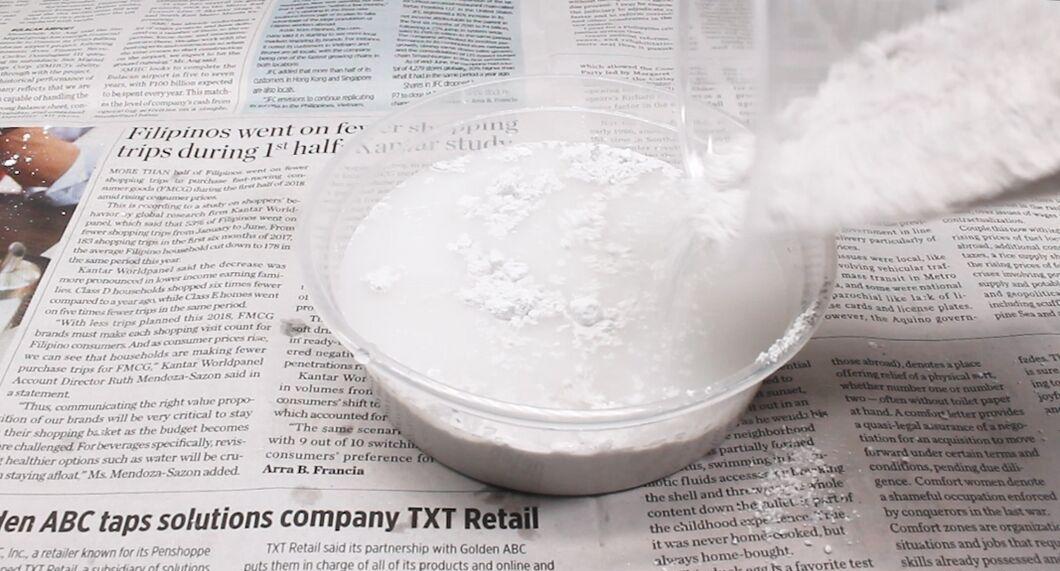
Mix plaster with water in a bowl. Follow the instructions on the plaster packaging. Stir the plaster and water thoroughly and let the mixture sit for a few minutes.
- You will need about twice as much water as plaster, but you can adjust the amounts as needed.
Step 5: Press the Object into the Plaster.
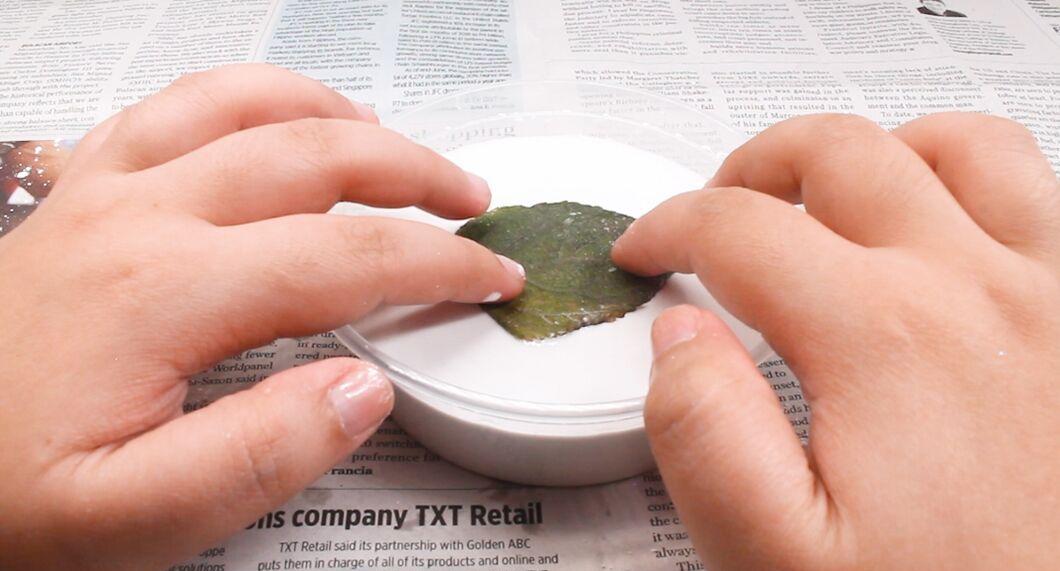
Press the object into the plaster. Be careful not to press too hard! Once you’re done, just wait for the plaster to dry. Set the container aside and check it the next day. The drying process will take at least one day.
Step 6: Remove the Object.
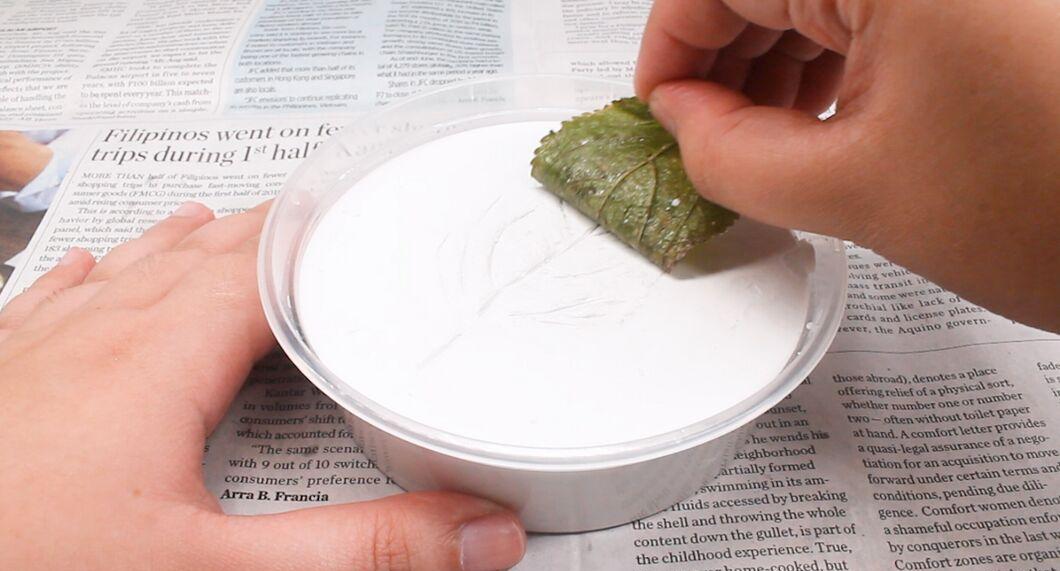
After 24 hours, remove your natural object from the plaster. Your fossil is ready! It looks just like a shell that has been preserved in the earth for thousands of years, now cracked but leaving behind an impression.
Creating a 3D Object
Step 1: Clear Your Workspace.
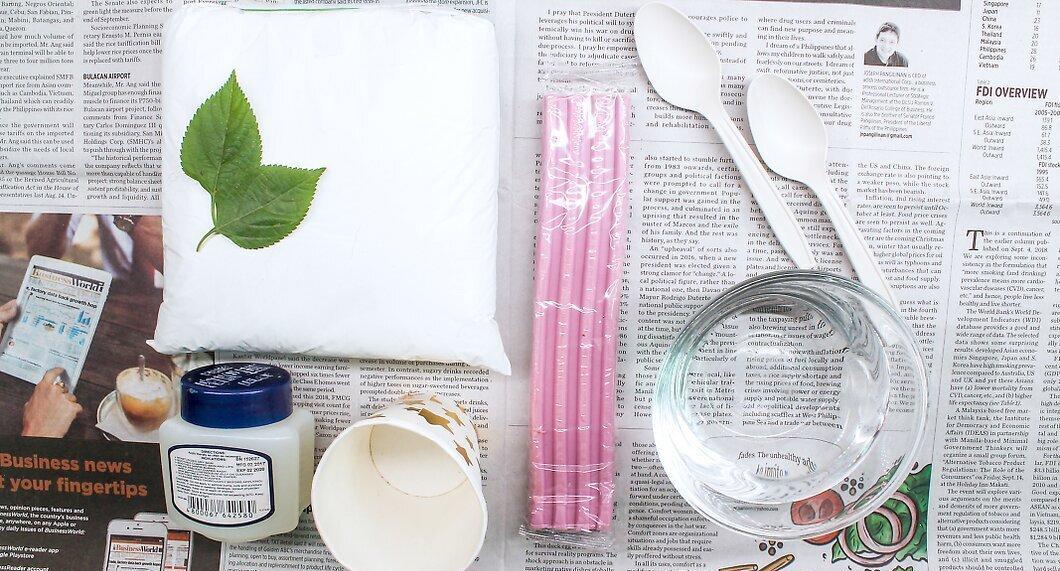
Clear your workspace. You’ll be working with modeling clay and plaster, so it’s worth mentioning that these can be messy materials. Lay down some newspapers and get started. You will need:
- Modeling clay
- Petroleum jelly
- A small natural object, such as a sea shell
- Paper cups
- Plastic spoons
- Newspaper or paper towels
Step 2: Mix Plaster with Water.
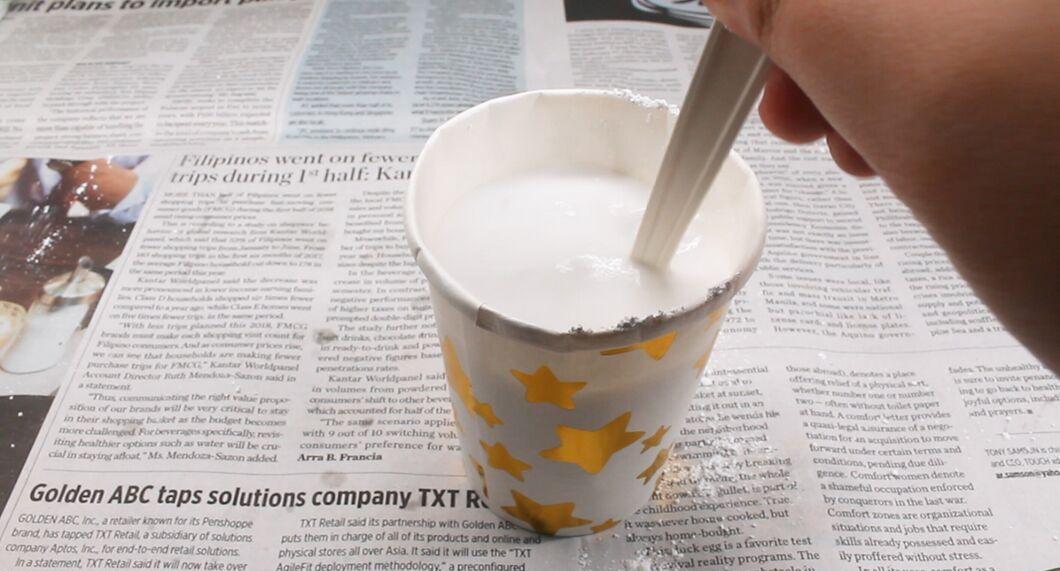
Mix plaster with water. Use 1 part plaster to 2 parts water and mix them well in a paper cup with a plastic spoon. Let the mixture sit while you work with the clay.
Step 3: Choose Your Model Object.
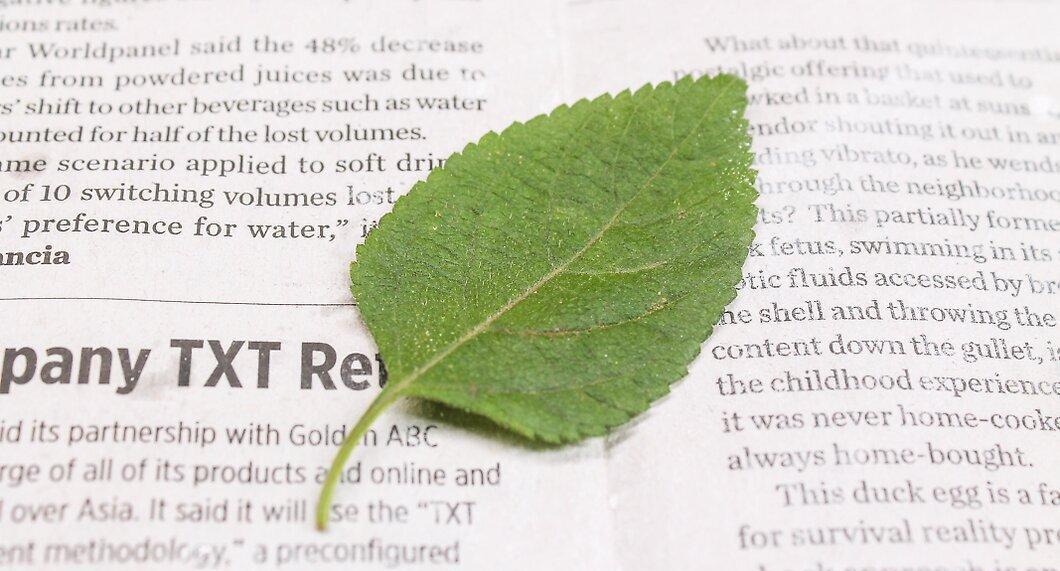
Choose the object that will be the model for your fossil. Leaves, shells, twigs, or bones work best for this. Just make sure you have enough clay and plaster to cover them.
Step 4: Knead the Clay Until Soft and Pliable.
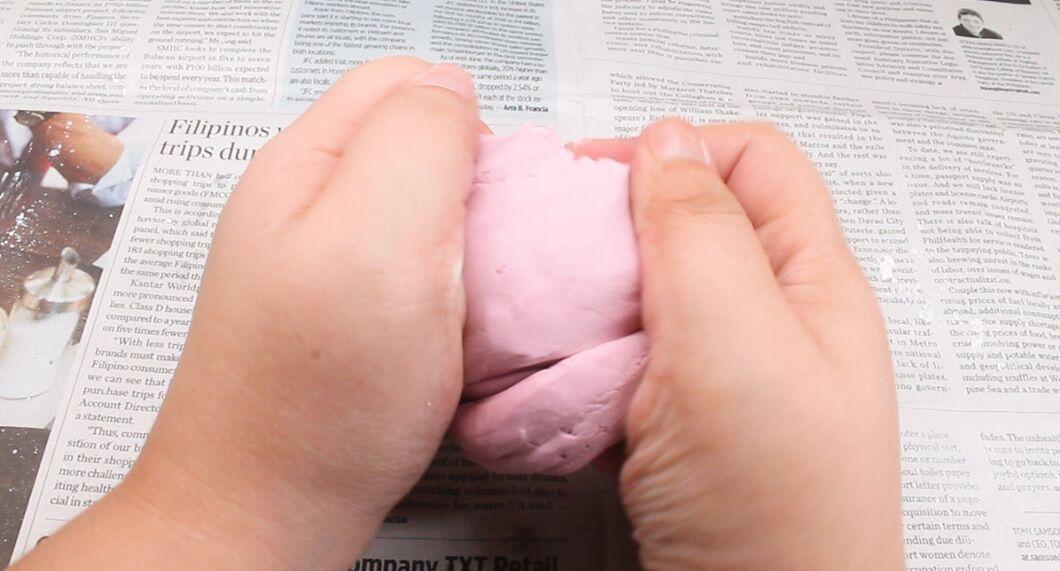
Knead the clay until it’s soft and pliable. You will create an impression of the object with the clay, so it needs to be malleable enough to wrap around the entire item.
Step 5: Coat the Object with Petroleum Jelly.
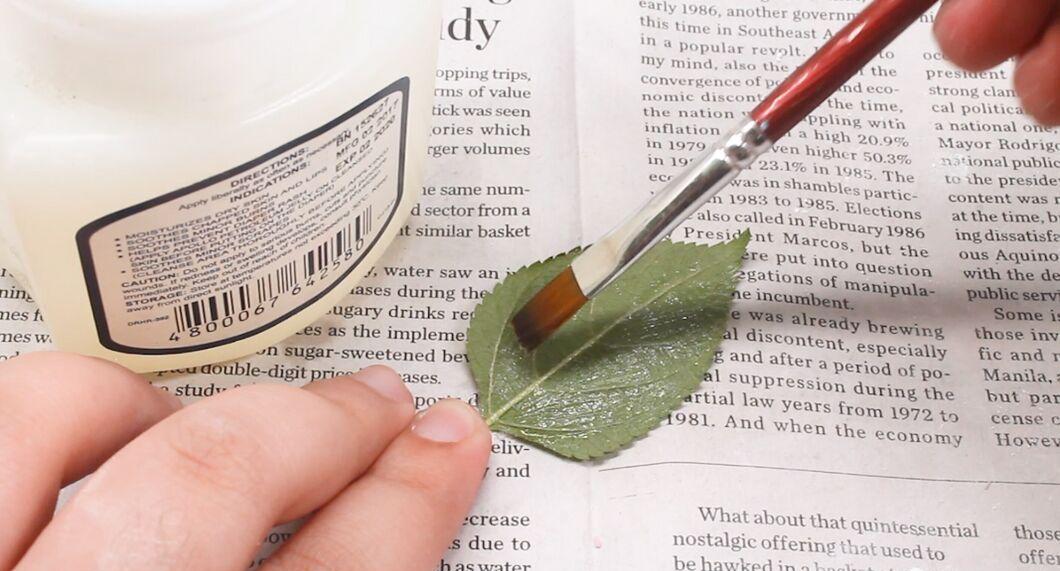
Coat the object with petroleum jelly. Firmly but gently press the item into the clay to make an impression. The petroleum jelly prevents the object from sticking to the clay, so don’t skimp on it.
- Carefully remove the object to leave its mold.
Step 6: Fill the Mold with Plaster.
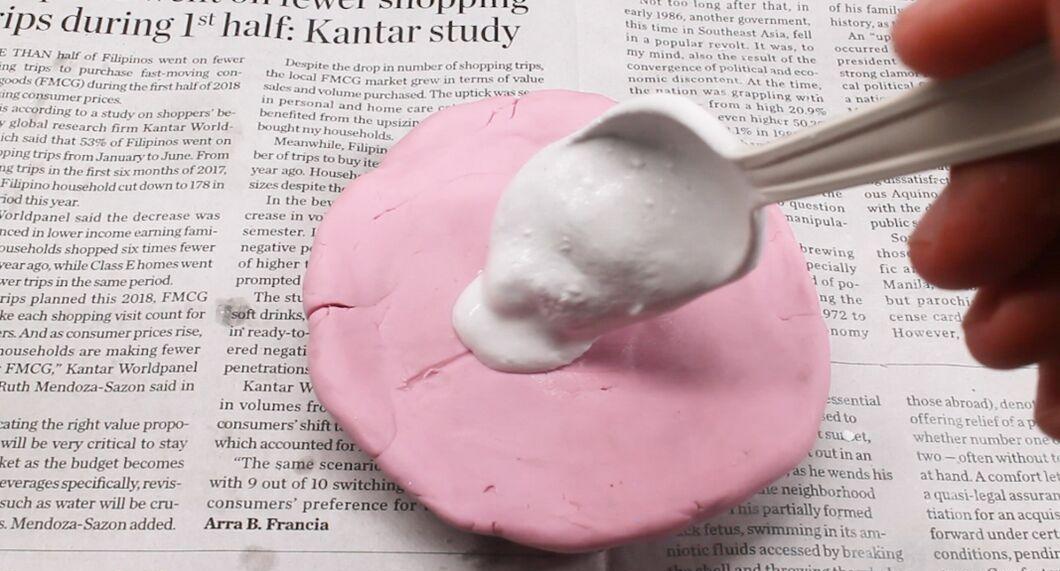
Fill the mold with plaster. Smooth the surface of the plaster with the surface of the clay.
- Place the clay and plaster on newspaper, paper towels, or another disposable surface to harden. You will need to wait at least overnight, but it’s preferable and safer to wait 2-3 days.
Step 7: Clean the Hardened Plaster from the Clay to Free the Fossil.
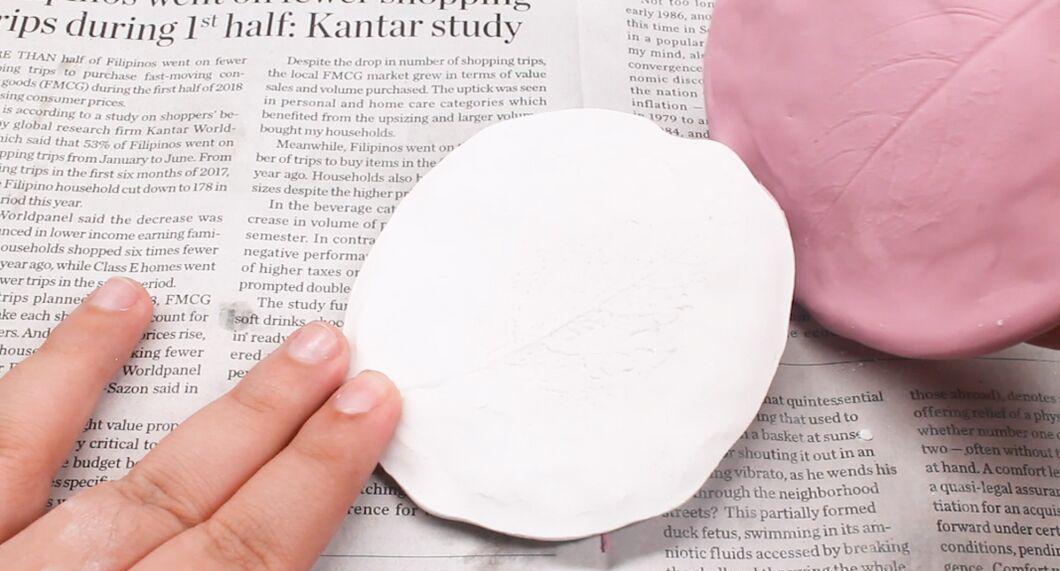
Clean the hardened plaster from the clay to free the fossil. The mold of your object should have been recreated in detail by the plaster.


