
If your goal is to craft wind chimes or unique beads from shells, you'll need to drill holes in them. However, using an electric drill on fragile mother-of-pearl can be problematic and even dangerous — you risk damaging both yourself and the shell. We offer you a simple and safe method to achieve this.
Part 1
Step 1. Choose Your Shell
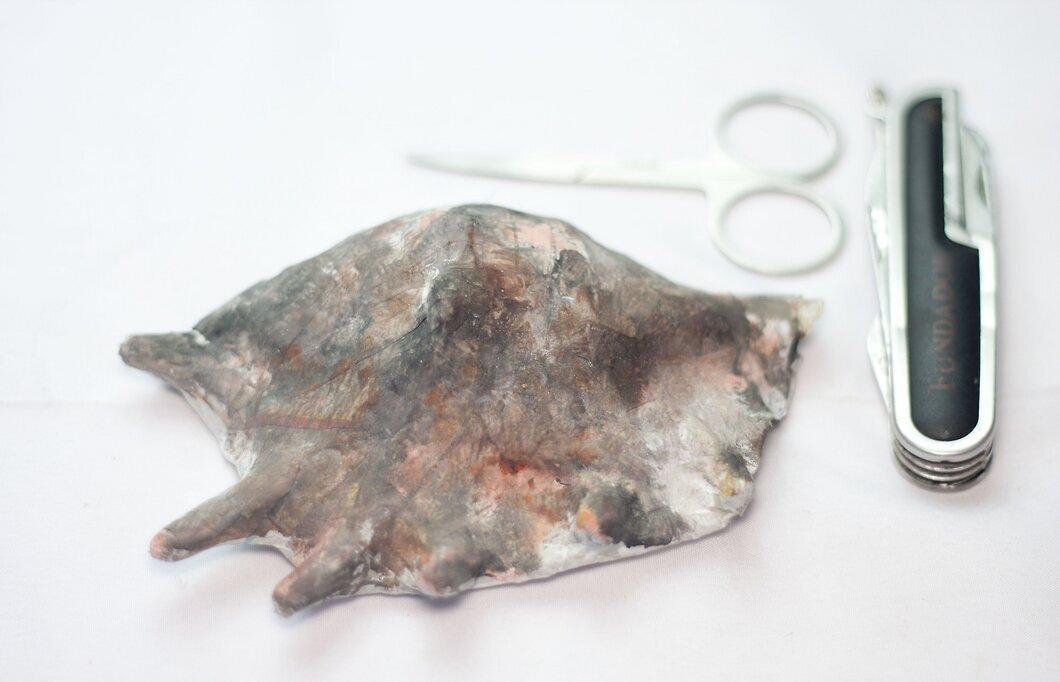
Start by selecting a shell, keeping several important characteristics in mind:
- Thickness: Thin shells are more likely to break, while thick ones are harder and take longer to work with.
- Size: Larger shells are easier to work with, but choose a size that fits your project.
- Layering: Some shells have layers that may chip off.
Step 2. Determine the Location for the Hole
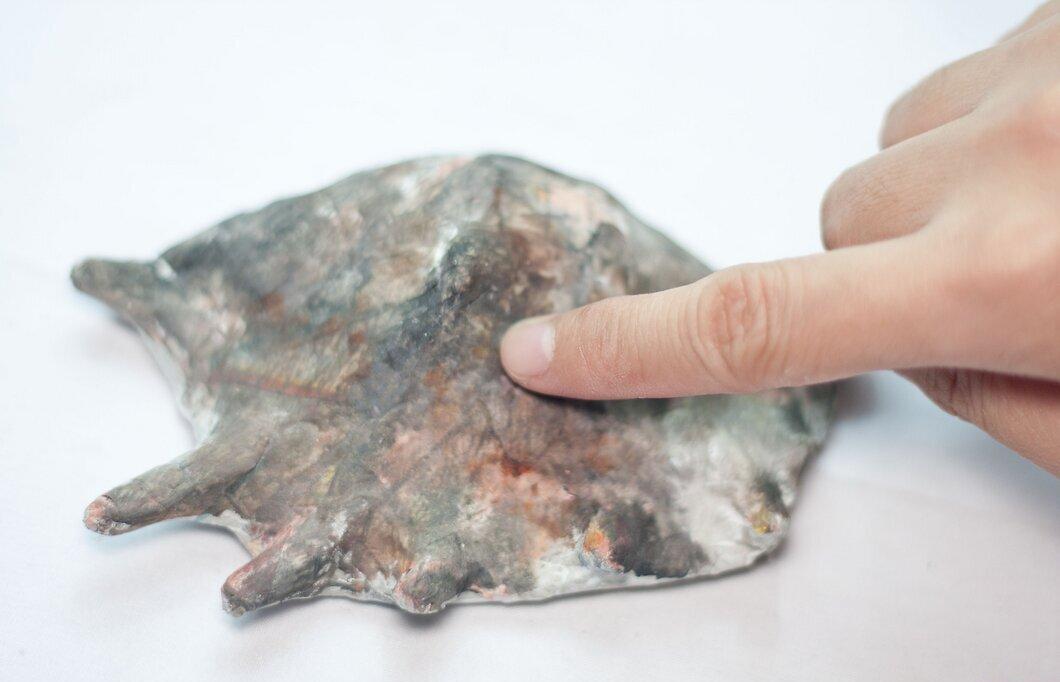
Decide where the hole will be located. Ensure that there is enough space on the shell for a hole of the desired diameter. Keep in mind: the closer the hole is to the edge, the higher the chance that the shell may crack.
Step 3. Mark the Spot
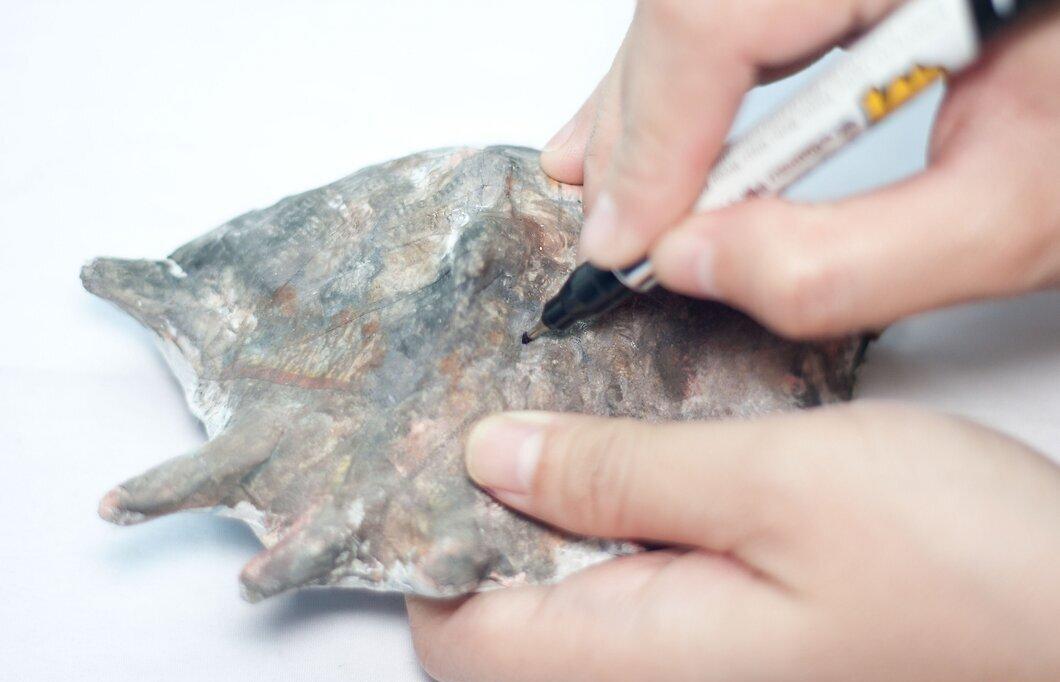
Step 4. Create an Indentation
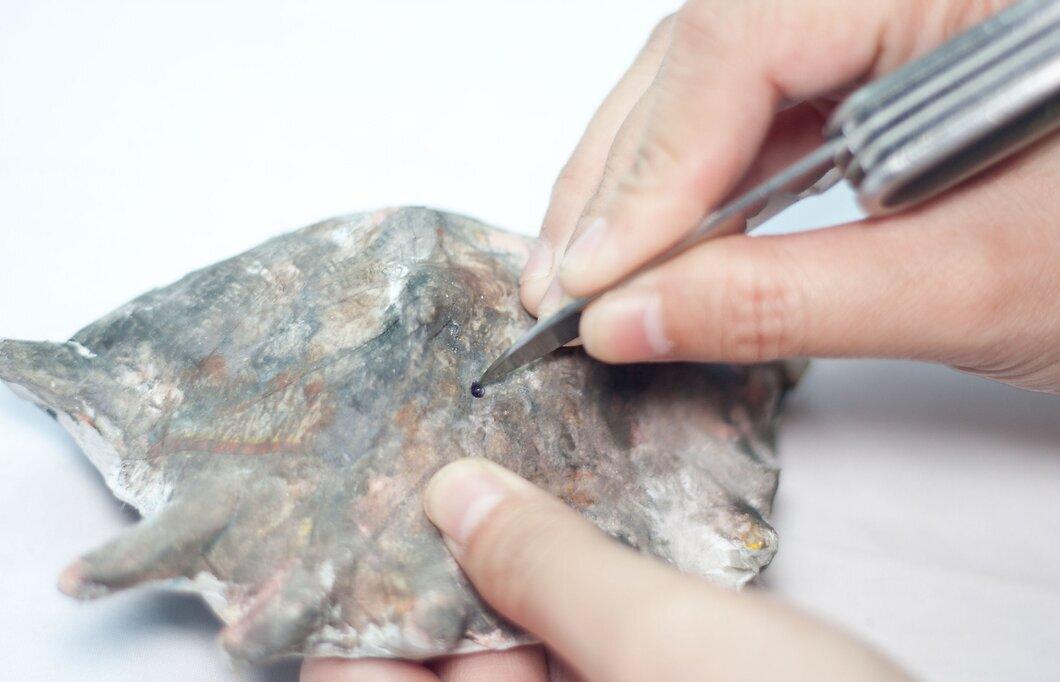
Using scissors or a pocket knife, carefully scratch an indentation in the shell that is 1-2.5 mm deep. Be cautious while working.
Step 5. Insert the Tool
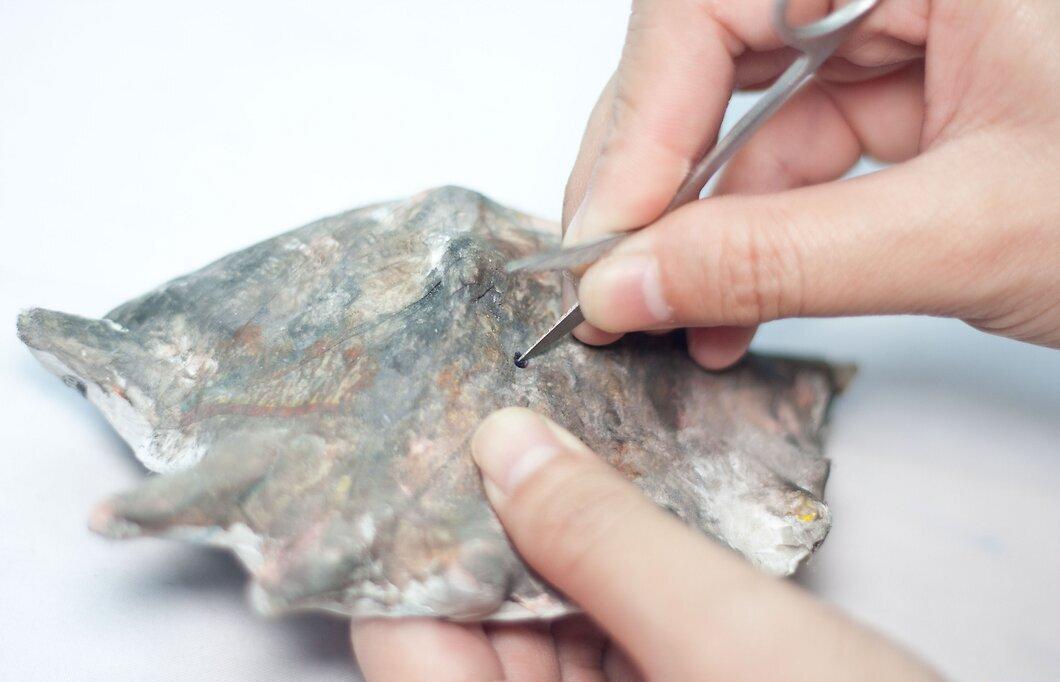
Using the sharp end of your tool, gently insert it into the indentation you made.
Step 6. Twist the Tool
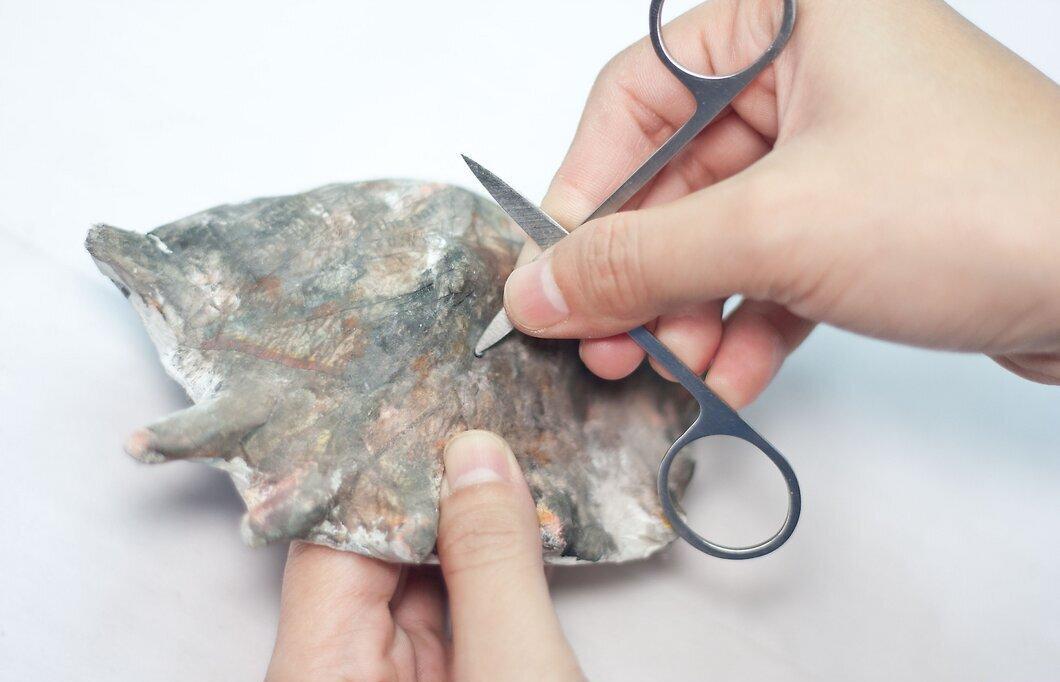
Slowly rotate the tool while pressing it into the shell. Continue twisting until you break through to the other side of the shell. After that, keep twisting for another 5 seconds, then stop.
Step 7. Clean the Hole

Blow into the hole to remove any dust that has formed. Check if the hole is large enough; if not, carefully enlarge it by rotating the sharp tool.
Step 8. Finish the Process
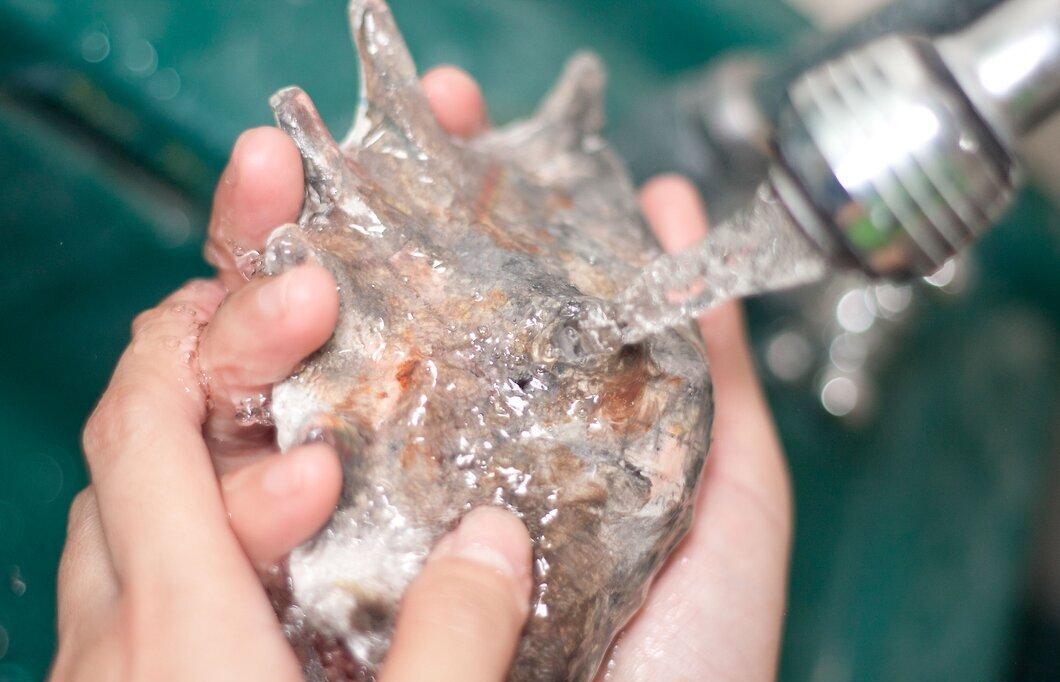
Rinse the shell under water, then thoroughly clean your tools and the work surface.


