
Bioplastic is a type of plastic made from plant starch or gelatin/agar-agar. It is environmentally friendly since it is not derived from petroleum products. You can make bioplastic at home with just a few simple ingredients and a stove![1] X Source
With Corn Starch and Vinegar
Step 1. Gather Your Materials.
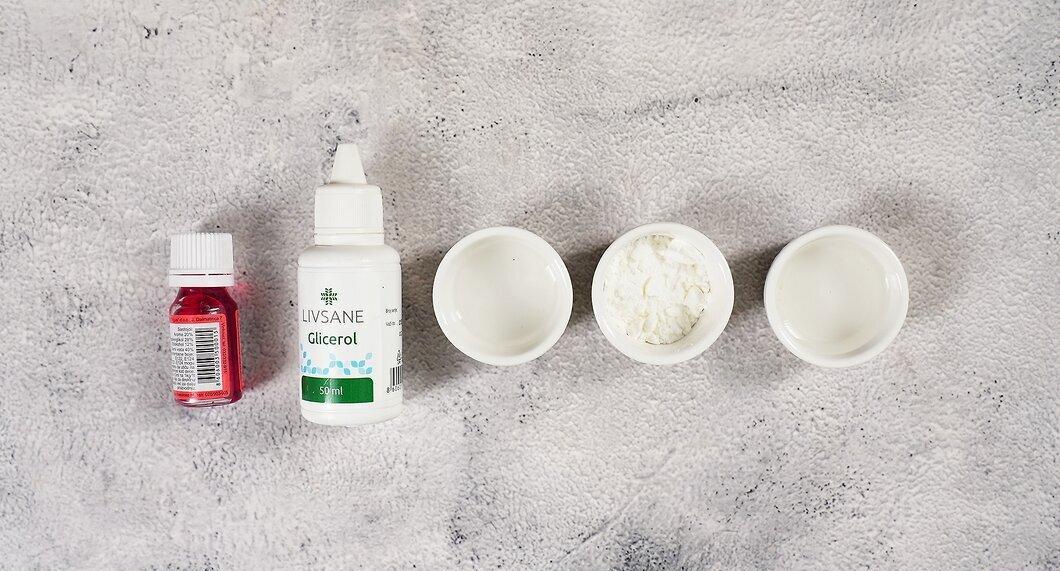
Gather everything you need. For this type of bioplastic, you will need: corn starch, distilled water, glycerin, white vinegar, a stove, a saucepan, a silicone spatula, and food coloring (optional). All of this can easily be purchased at a grocery store or ordered online. Glycerin is sometimes called glycerol, so look for it under that name if you can't find glycerin. To make bioplastic, you will need the following:
- 10 ml (2 teaspoons) of distilled water;
- 0.5–1.5 g (1/8–1/4 teaspoon) of glycerin;
- 1.5 g (1/3 teaspoon) of corn starch;
- 1 ml (1/5 teaspoon) of white vinegar;
- 1–2 drops of food coloring.
- It is recommended to do this under adult supervision.
Step 2. Combine All Ingredients and Mix Well.
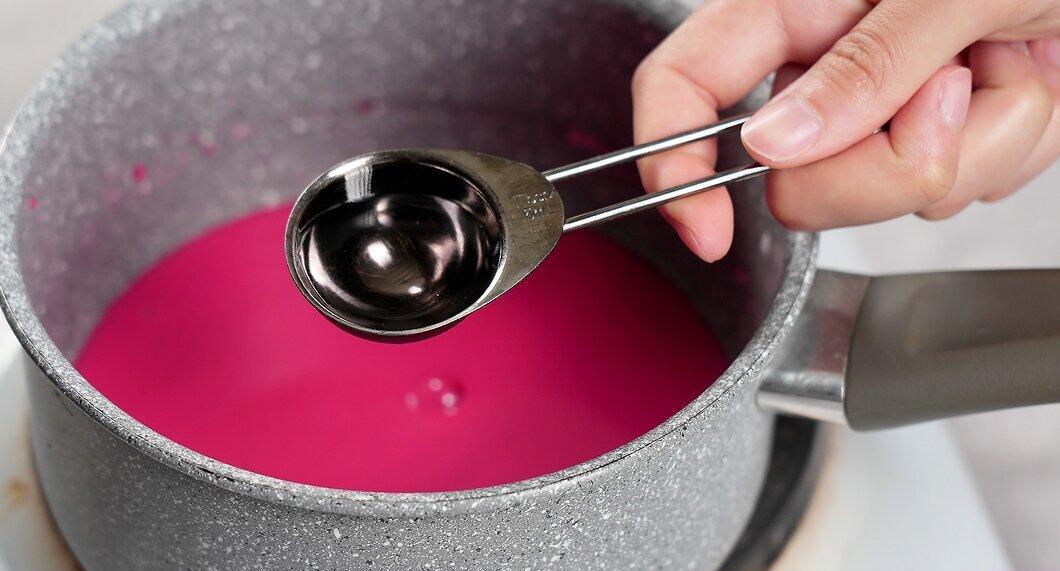
Combine all ingredients and mix well. Add all the ingredients to the saucepan and stir with a silicone spatula until there are almost no lumps left in the mixture. The mixture should turn milky-white and liquid.
- If you add the wrong amount of ingredients, simply discard the mixture and start over.
Step 3. Heat the Mixture Over Medium Heat.
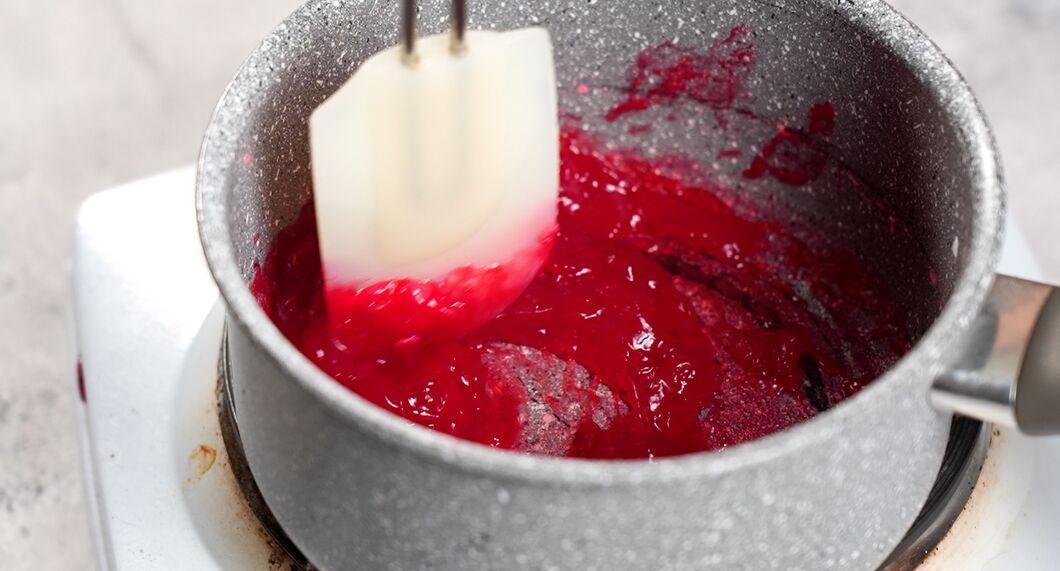
Heat the mixture over medium heat. Place the saucepan on medium heat. While the mixture is heating, stir it constantly. Bring the mixture to a boil. As it heats up, it will become more transparent and begin to thicken.
- Remove the saucepan from the heat when the mixture becomes transparent and thick.
- The total heating time is about 10–15 minutes.
- If the mixture overheats, it will start to clump.
- Add 1–2 drops of food coloring if you want to color the plastic.
Step 4. Pour the Mixture onto Foil or Parchment Paper.
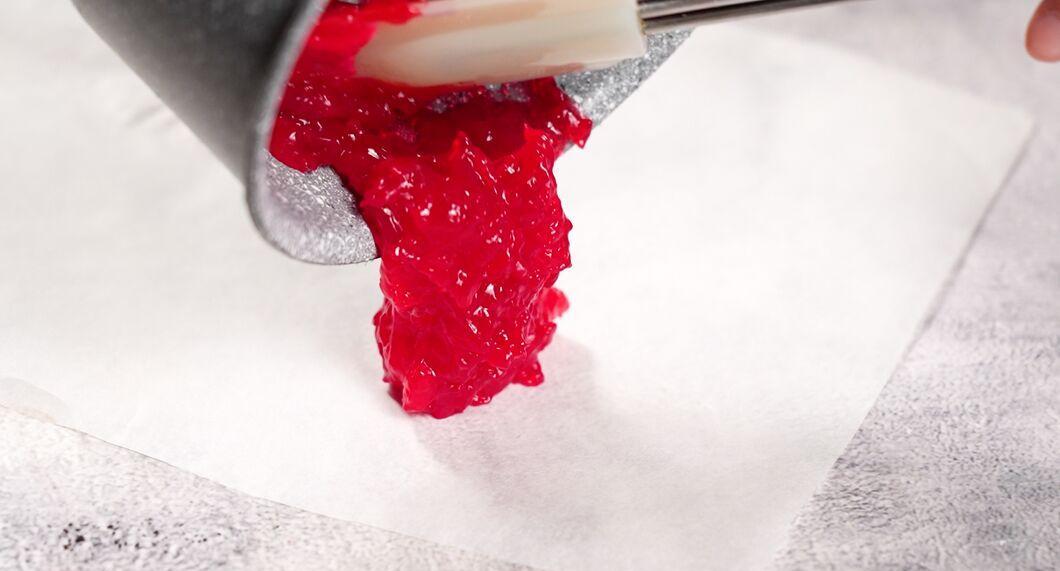
Pour the mixture onto foil or parchment paper. Spread the hot mixture on the foil or paper to allow it to cool. If you want to mold the plastic into a shape, do this while it is still warm. Refer to the final method for how to shape the plastic.
- Remove any bubbles by popping them with a toothpick.
Step 5. Let the Plastic Dry for at Least Two Days.
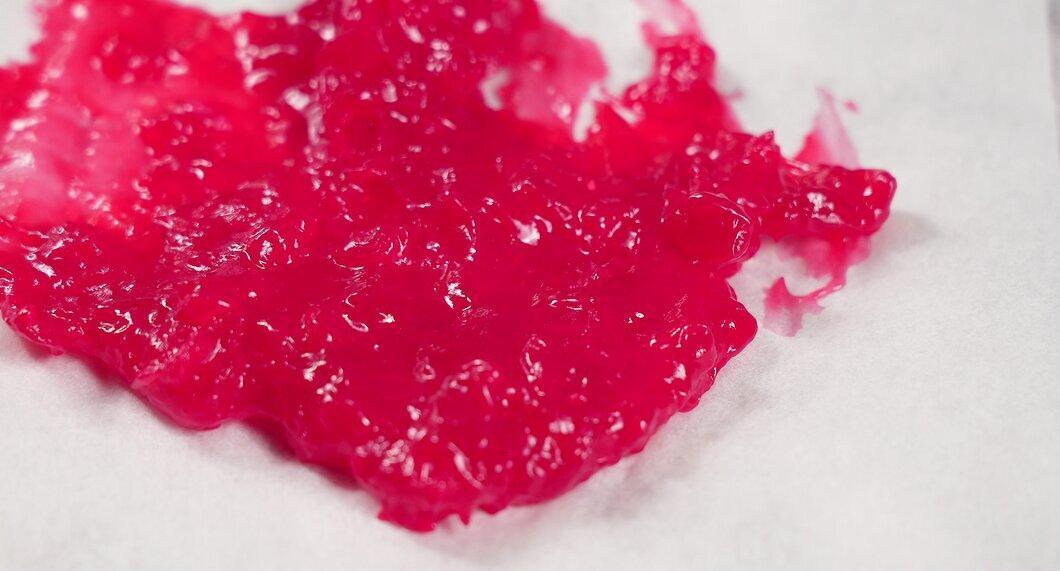
Let the plastic dry for at least two days. It takes time for the plastic to dry and harden. As it cools, the plastic will start to dry. Depending on the thickness of the plastic, it may need more time to dry. If you made a small but thick piece of plastic, it will take longer to dry than a large but thin piece.
- Leave the plastic to dry in a cool, dry place.
- Check the plastic after two days to see if it has fully hardened.
With Gelatin or Agar-Agar
Step 1. Gather Your Materials.
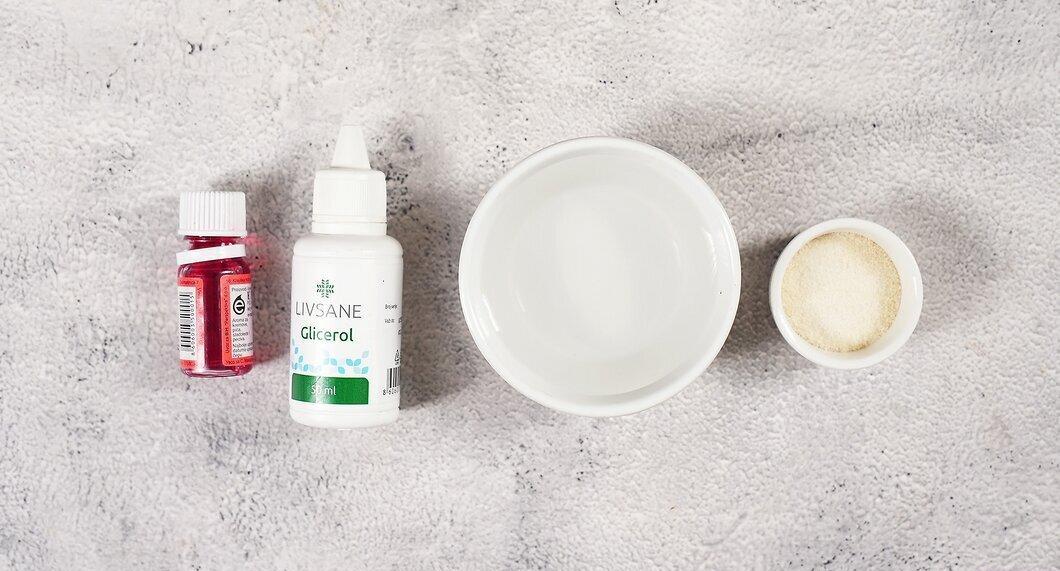
Gather everything you need. For this bioplastic recipe, you will need: gelatin or agar-agar powder, glycerin, hot water, a saucepan, a stove, a silicone spatula, and a candy thermometer. All necessary ingredients can be easily purchased at a local grocery store. Remember that glycerin is sometimes called glycerol, so look for it under that name if you can't find glycerin. You will need the following ingredients:
- 3 g (1/2 teaspoon) of glycerin;
- 12 g (3 teaspoons) of gelatin or agar-agar;
- 60 ml (1/4 cup) of hot water;
- food coloring (optional).
- Agar-agar is a substance derived from seaweed, which can be used to replace gelatin and make vegan bioplastic.
Step 2. Mix All Ingredients Together.
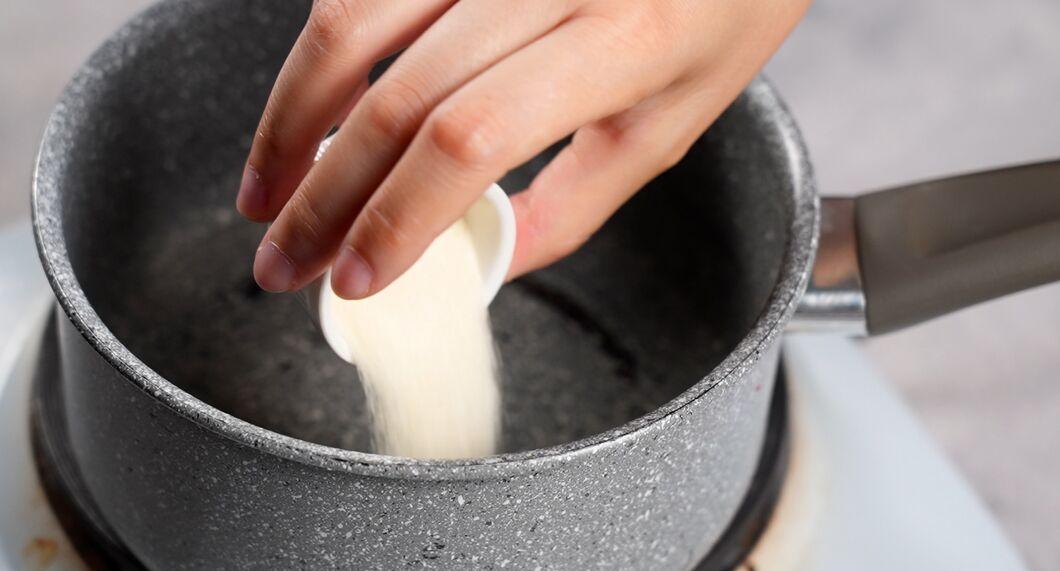
Mix all ingredients together. Add all the ingredients to the saucepan and stir until there are no lumps left in the mixture. You may need to use a whisk to remove lumps. Place the saucepan on the stove and start heating the mixture over medium heat.
- If you want to color the plastic, add a few drops of food coloring at this stage.
Step 3. Heat the Mixture to 95 °C or Until Foamy.
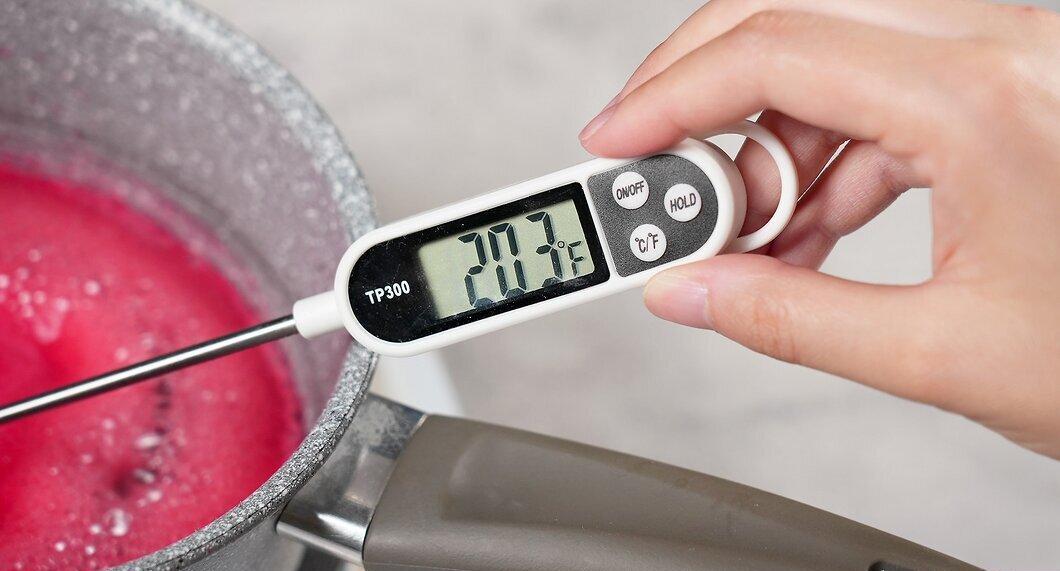
Heat the mixture to 95 °C or until it becomes foamy. Insert a candy thermometer into the mixture and wait until the temperature reaches 95 °C or until the mixture becomes foamy. Don’t worry if the foam appears before the mixture reaches the desired temperature. Remove the saucepan from the heat when the mixture starts to foam or reaches the desired temperature.
- Continue stirring the mixture as it heats up.
Step 4. Pour the Plastic onto a Smooth Surface Covered with Foil or Parchment Paper.
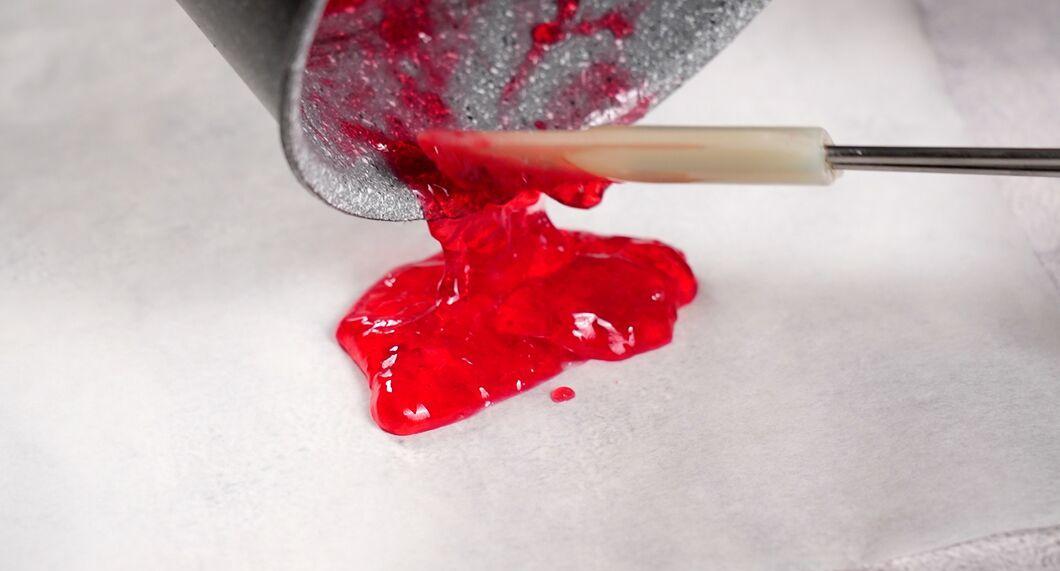
Pour the plastic onto a smooth surface covered with foil or parchment paper. Remove the foam after taking the saucepan off the heat. Scoop it out with a spoon before pouring the plastic out of the saucepan. Mix everything well to eliminate lumps from the plastic.
- If you want to make bioplastic just for fun, pour the mixture onto a smooth surface. Make sure to cover the surface with foil or parchment paper for easier cleanup later.
- If you want to shape the plastic into a specific form, this needs to be done at this stage. Refer to the final method for how to shape the plastic.
Step 5. Let the Plastic Set for Two Days.
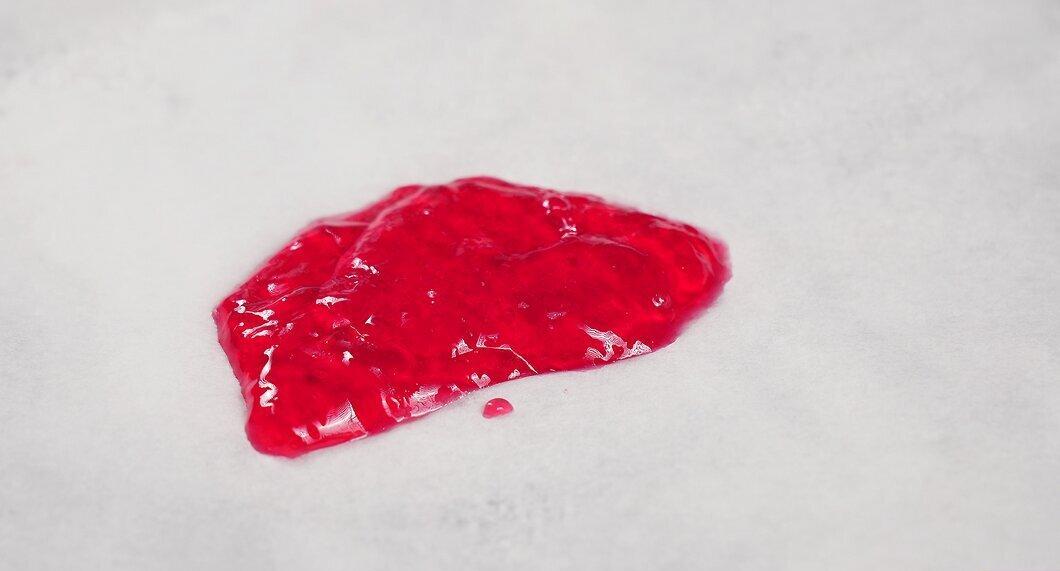
Let the plastic set for two days. The setting speed of the plastic depends on the thickness of the piece. Typically, bioplastic needs at least two days to fully dry and harden. You can speed up this process a little by blowing on the plastic with a hairdryer. Just leave the plastic alone for a few days to let it dry.
- Once the plastic has hardened, it can no longer be shaped. If you want to mold something from it, do this while it is still warm and pliable.
Molding Bioplastic
Step 1. Prepare a Mold
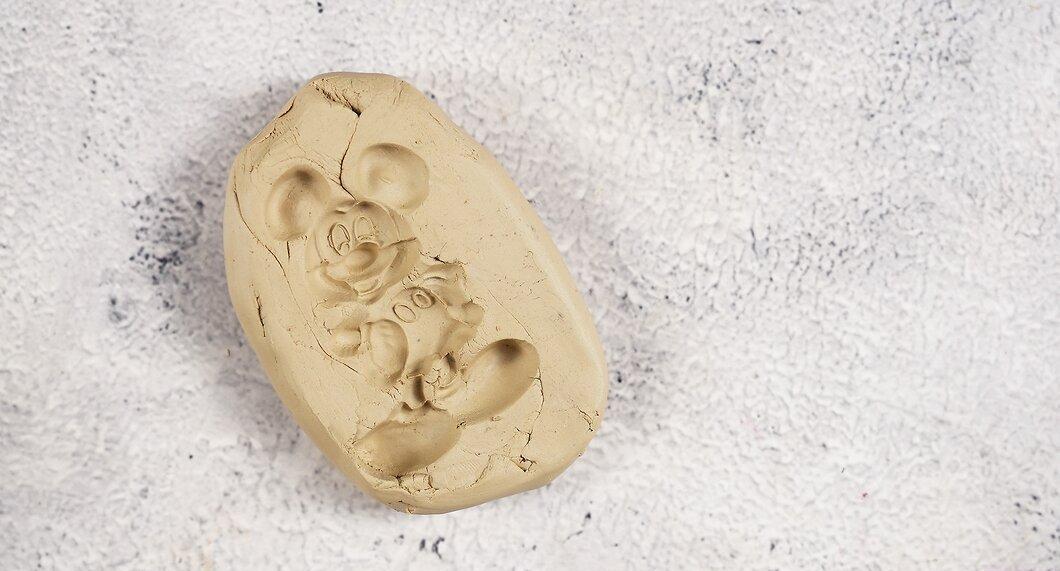
Prepare a mold for the plastic. The mold is the outline of the item you want to create with the plastic. To make a sample of the item to be reproduced, mold two pieces of clay around it. When the clay dries, remove it from the item. If you fill the two halves with liquid plastic and then rejoin them, you will get a copy of that item. You can also use a cookie cutter to cut out different shapes from the still warm plastic.
- A ready-made mold can be purchased at a craft store.
Step 2. Pour Hot Plastic into the Mold.
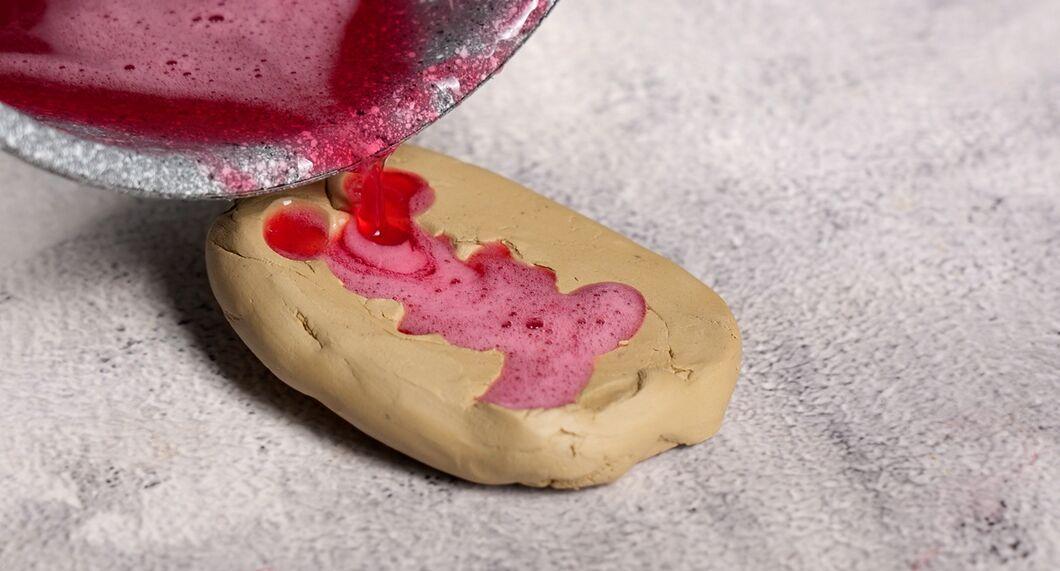
Pour hot plastic into the mold. Use the mold to create items. Pour hot plastic into the mold, making sure it fills completely, and remove any bubbles by gently tapping the mold.
- To make it easier to remove the item from the mold later, spray the mold with non-stick spray before pouring in the plastic.
Step 3. Wait Two Days for the Plastic to Dry.
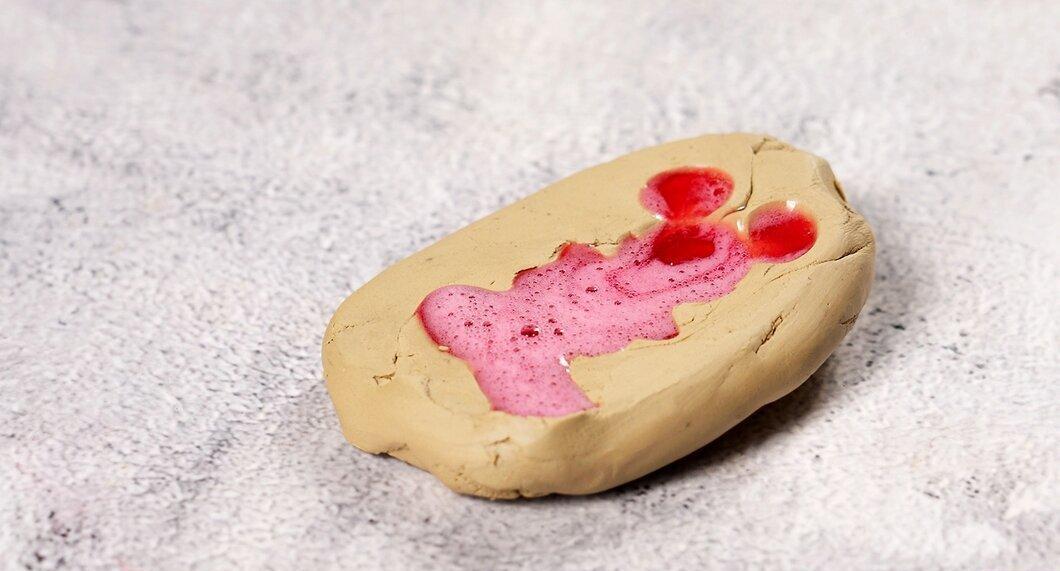
Wait two days for the plastic to dry. The plastic will need a few days to dry and fully harden. The setting speed depends on the thickness of the item. If the item is very thick, it may take more than two days to dry.
- Check the plastic after two days. If it seems wet, leave it for another day and check again. Keep checking from time to time until the plastic is fully dry.
Step 4. Remove the Item from the Mold.
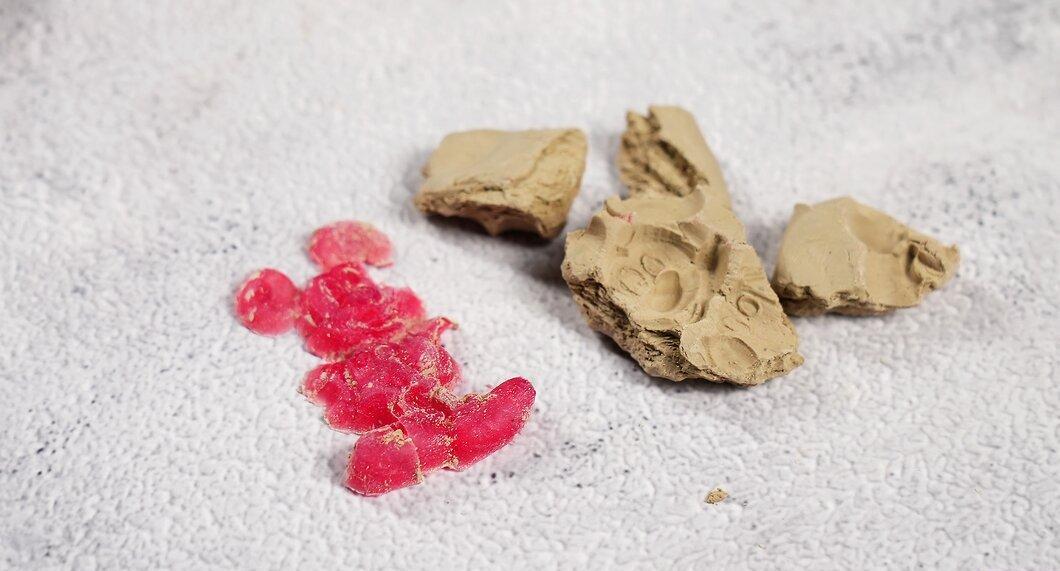
Remove the item from the mold. After a few days, the plastic should be completely set and dried. At this stage, you can take the plastic out of the mold. Now you have your very own plastic version of the chosen item.
- The mold can be reused to make as many copies of the item as you need.


