
If you're teaching a lesson on Ancient Egypt, you can captivate your class by demonstrating the methods and technologies used in the mummification process with a chicken. By letting high school students not only observe but also participate in this project under your guidance, they will gain a memorable practical experience. Learn what materials you will need and how to turn this into an exciting project.
Getting Started
Step 1. Allow Enough Time to Complete the Project.
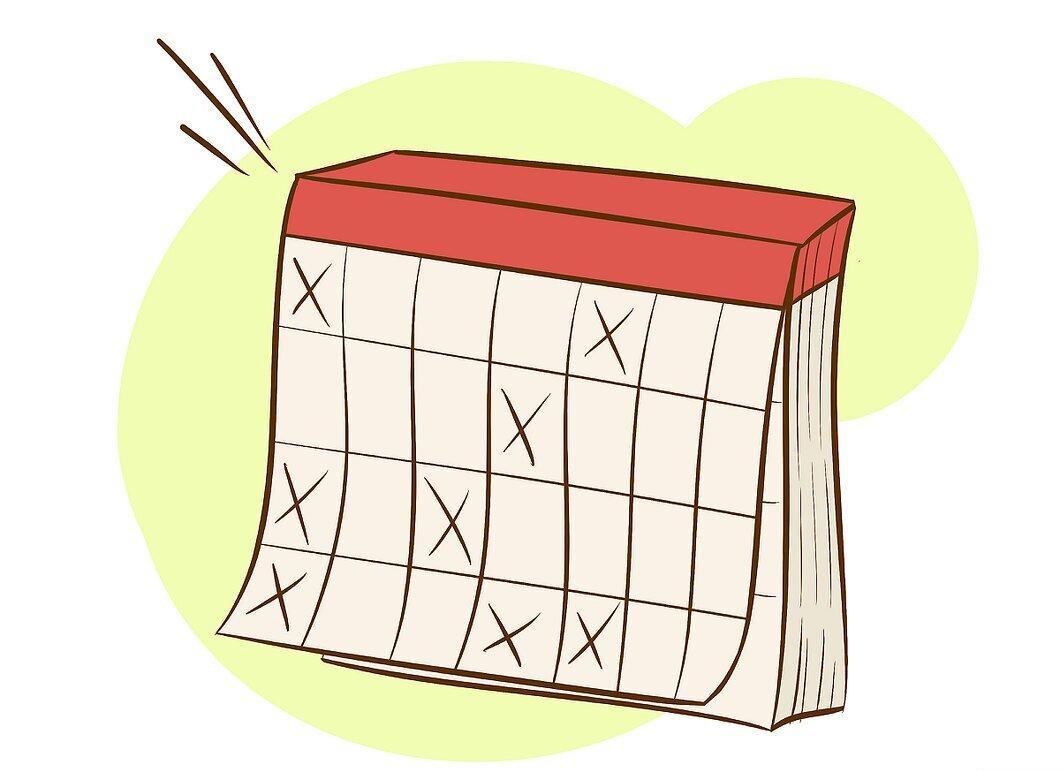
Make sure to allocate enough time to complete this project. Depending on how your lessons are structured, you will likely need to set aside sufficient time to finish the project. Generally, a properly executed chicken mummification should take about 40 to 50 days. So, it's unlikely you'll want to spend that much time on a monotonous lesson about Ancient Egypt. It might make sense to discuss this during general history lessons, but the choice is yours.
- Additionally, you can get a head start by mummifying the chicken in advance, preparing for the project. This way, your project will be at a stage where students can finish it on their own. You could start the mummification process and let it gradually preserve, returning to it later when the lessons on the topic are over. You need to plan this project to fit within your allotted time.
Step 2. Gather All the Necessary Materials for Mummification.
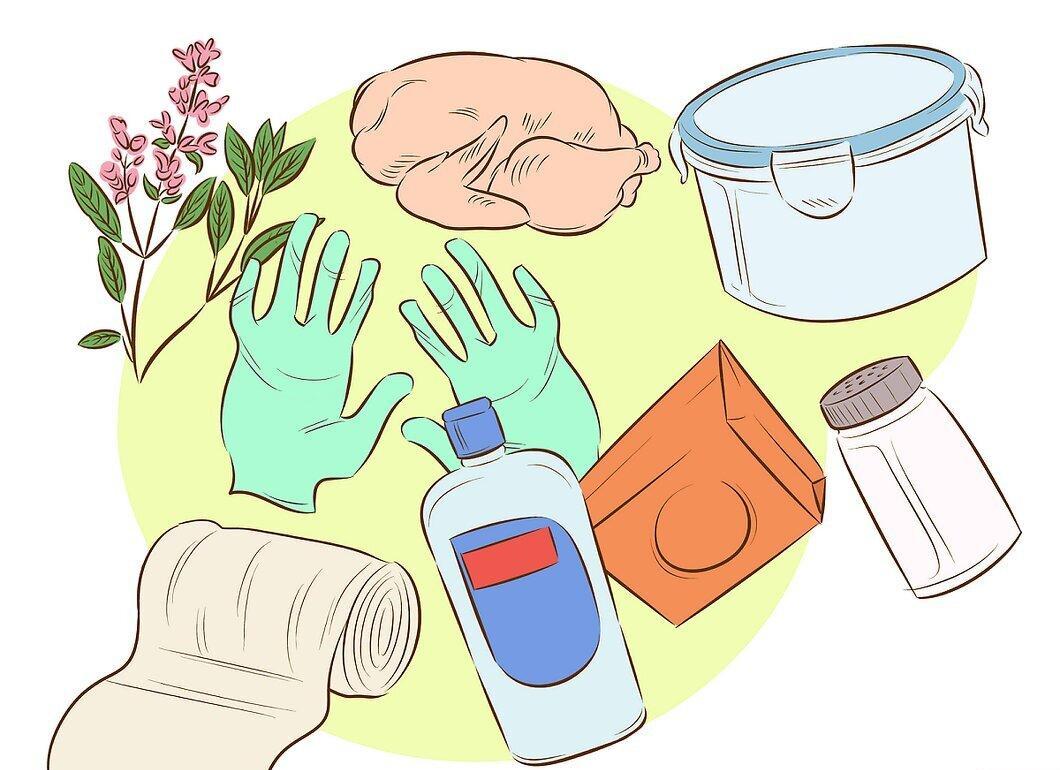
Collect all the materials you will need for the mummification process. The substances required for school mummification are generally available at most grocery stores at relatively low prices. The most expensive ingredient will be the chicken itself.
- 1 raw chicken. Ideally, the store-bought chicken should weigh less than 1.36 kilograms (3 pounds) so it dries faster and more thoroughly. Larger chickens will require more materials and will emit more odor during mummification.
- Isopropyl alcohol. You will only need a small amount to wipe the inside and outside of the chicken.
- Rubber gloves for students. If you plan for students to handle the chicken themselves, they will need to wear rubber gloves and wash their hands before and after.
- Fresh herbs such as sage, rosemary, and thyme may be useful for performing the "ritual" after the chicken has been preserved.
- At the end of the project, you can wrap the mummy in a roll of gauze.
- A plastic container. You will need a sealing plastic container of any brand to mummify the chicken in. Since the process will produce an unpleasant odor, you can avoid it spreading throughout the classroom by placing the chicken in a relatively airtight container.
- Mix salt with baking soda in a 50/50 ratio. Depending on the size of your chicken, you will need approximately 2 kg (4.4 lbs) of this mixture for the project.
Step 3. Thoroughly Wash the Chicken.
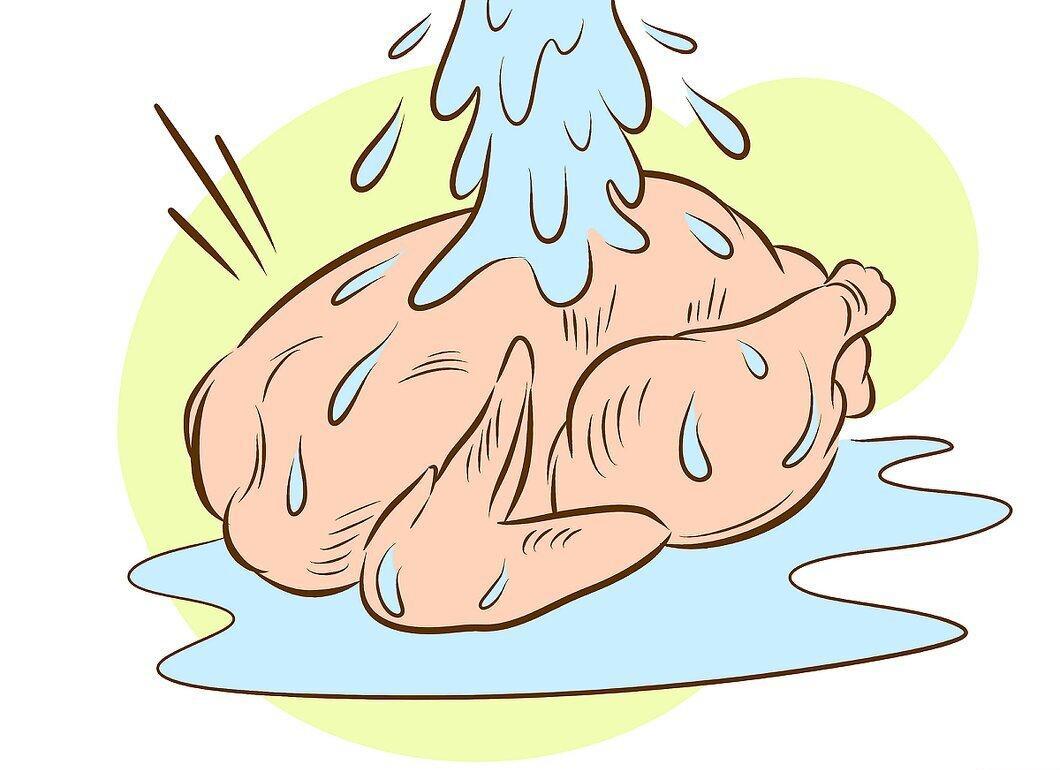
Thoroughly wash the chicken. Once prepared, start the project by washing and drying the chicken thoroughly. This will help remove any bacteria and other particles on the chicken's skin that could contribute to spoilage. If you have a sink in your classroom, do this there and clean the sink afterward.
- Pat the chicken dry with paper towels to ensure it is completely dry, then wipe the inside and outside with a small amount of alcohol.
Step 4. Mix Baking Soda with Salt.
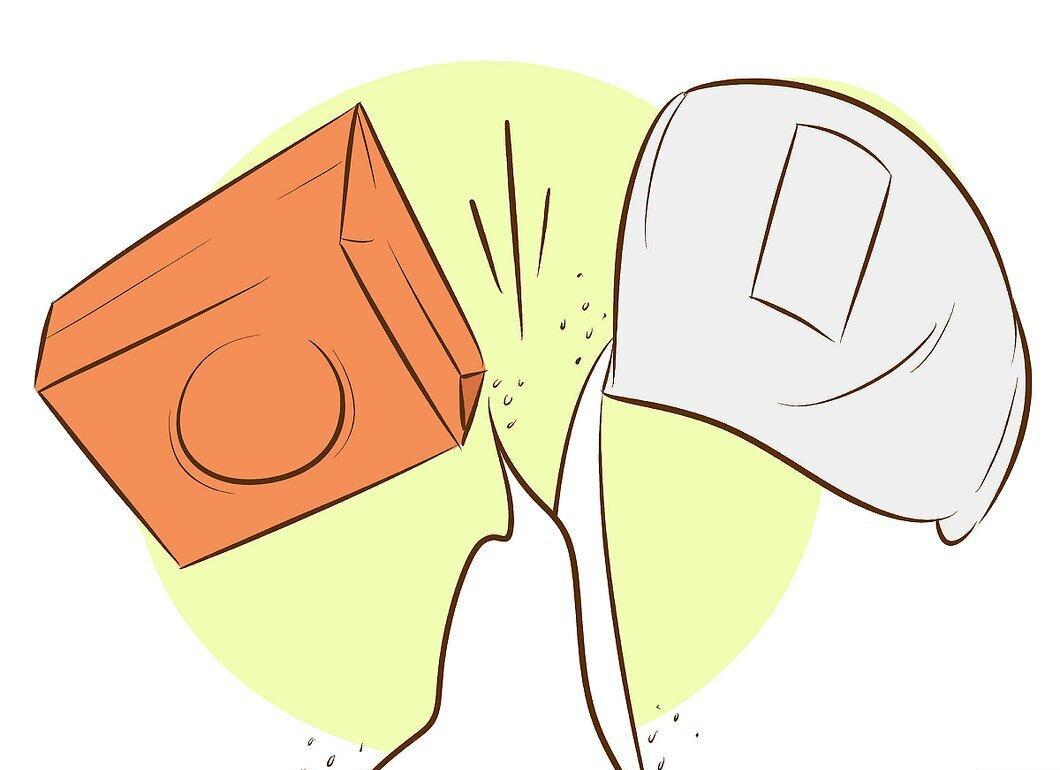
Mix baking soda with salt. For this project, you will need a lot of salt and baking soda, so it’s a good idea to buy a kilogram bag of each beforehand. You can mix them in zip-lock bags to make the mixture accessible to the whole class or allow students to finish this part of the project themselves.
- Throughout the project, you will need to change the salt and baking soda every ten days, so consider having students bring some from home to ensure you have enough.
Start Mummifying
Step 1. Fill the Plastic Container with the Preserving Mixture.
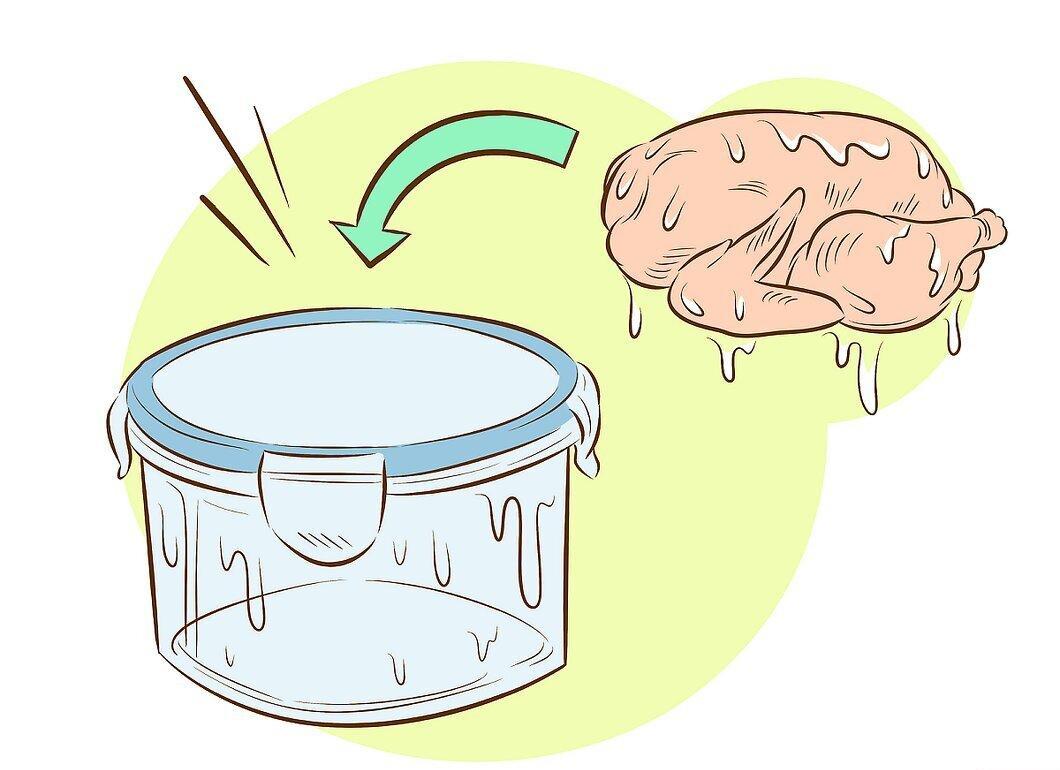
Fill the plastic container with the preserving mixture. Pour a small amount of the mixture into the bottom of the plastic container, then place the chicken on top. Completely cover the chicken inside and out with the mixture, rubbing it into all visible areas. Sprinkle a little more on top to ensure it is fully covered.
- If students are helping you, make sure they wear rubber gloves and wash their hands thoroughly afterward.
Step 2. Store the Chicken in a Cool, Dry Place.
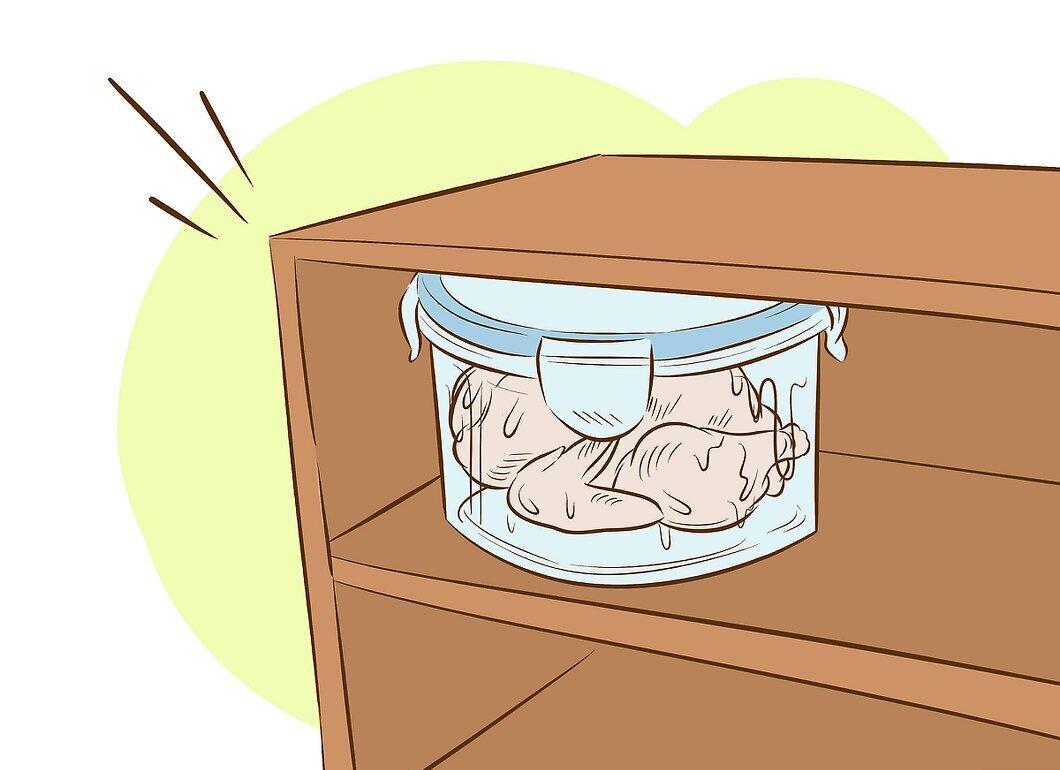
Keep the chicken in a cool, dry place. After covering the chicken with the mixture, close the plastic container and place it in a cool, dark location. If your classroom has lockers, they can make an ideal makeshift preservation chamber. If you have a transparent plastic container, it’s great to let students peek inside to observe what’s happening without opening it.
Step 3. Change the Salt and Baking Soda Every 7-10 Days.
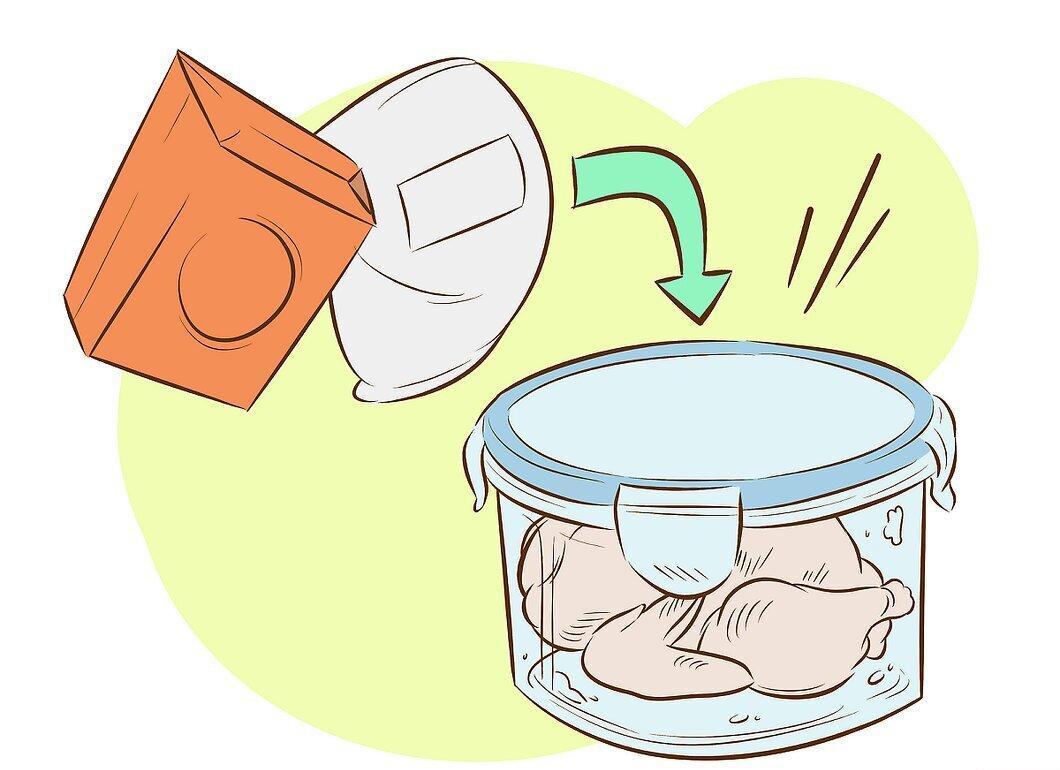
Change the salt and baking soda every 7-10 days. Gradually, the salt and baking soda will absorb moisture from the chicken, leaving it dry and dehydrated. When you notice that the salty crust has become hard and brown, it’s time to replace the mixture. Remove the chicken from the container and shake off as much of the mixture as possible, wiping it down also on the inside. Get rid of as much of the old mixture as you can.
- Replace it with fresh salt and baking soda. You can decide to make this process part of the school lessons or do it on your own to avoid distracting the students. Alternatively, you can allow small groups of students to help you during the mixture replacement so they gain practical skills while others engage in different activities.
Step 4. Let Students Observe the Process and Record Changes.
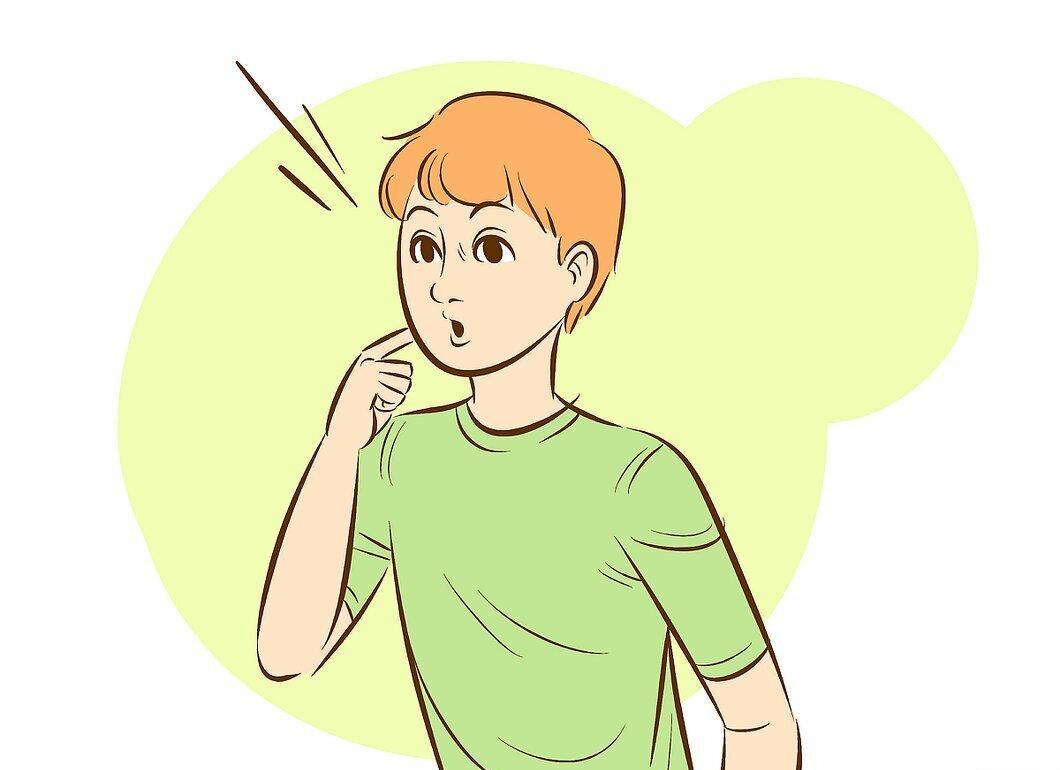
Allow students to observe the process and note all changes that occur. Each time you take the chicken out and change the mixture, let the students observe it. How has the texture of the skin changed? What about the color? Have them feel the chicken’s skin and describe how it has changed.
- Have all students keep a "Mummy Chronicles" or some kind of journal to record their observations. Students will have a fun and productive time if you allow them to engage actively.
Step 5. Eliminate Unpleasant Odors Around the Container.
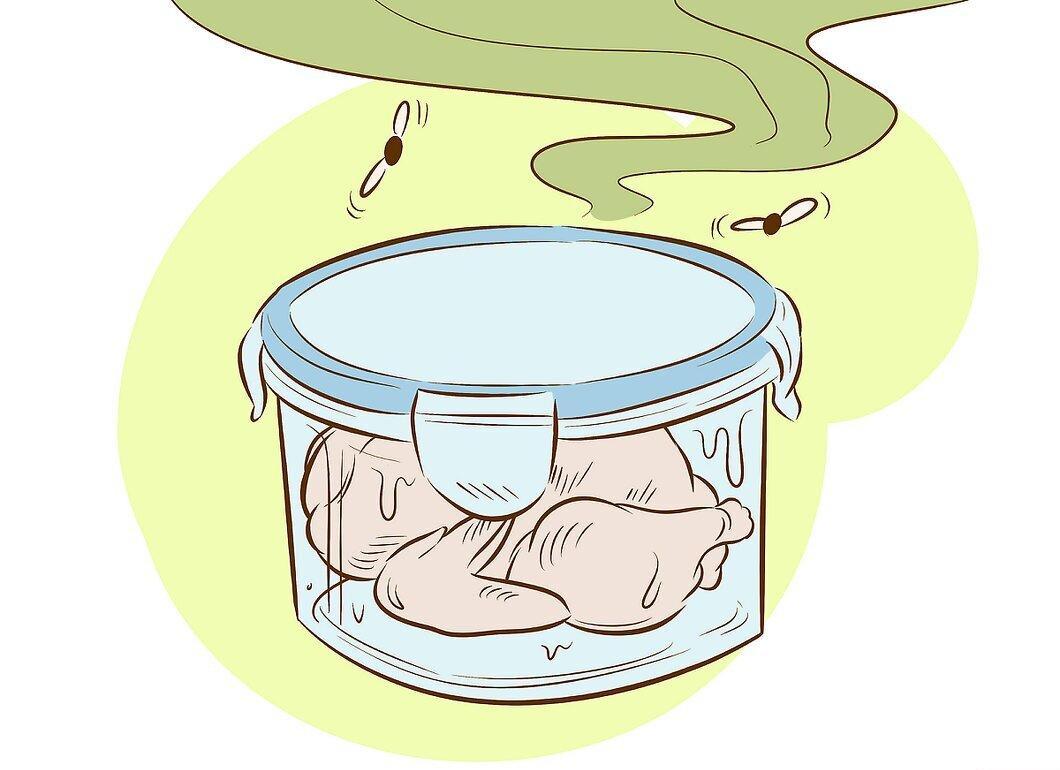
Get rid of any unpleasant odors around the container. Even if your plastic container is relatively airtight, you may still notice a distinct unpleasant smell nearby. It’s best to address this odor immediately to prevent it from spreading throughout the classroom. You can use car air fresheners, aerosol disinfectant sprays, or other cleaning products.
- When planning this project, discuss it with the janitors and school principal so that if they decide to inspect the lockers, they won’t be surprised by an unexpected find inside one of them.
Step 6. Remove the Mummy After 40 Days.
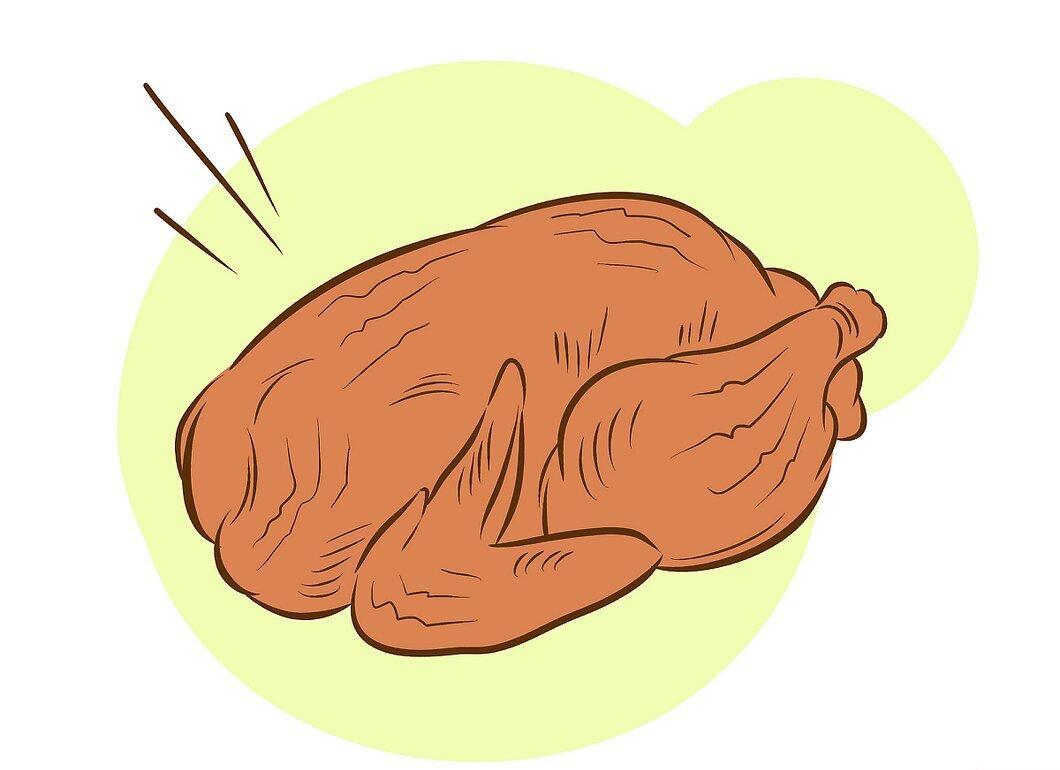
Take out the mummy after 40 days. After replacing the salt mixture about four times, the chicken should be well-preserved. To complete the project, all that remains is to dispose of the mixture and wrap the chicken. Thoroughly wipe off all the salt mixture from the chicken's body and let the students take one last look at the finished product.
- Depending on the humidity levels in your area, it may take more or less time to complete the task. The chicken should be ready just over a month later, but keep a close eye on it to ensure it doesn’t develop mold or spoil in any other way.
Complete the Project
Step 1. Dilute Some Glue with Water.
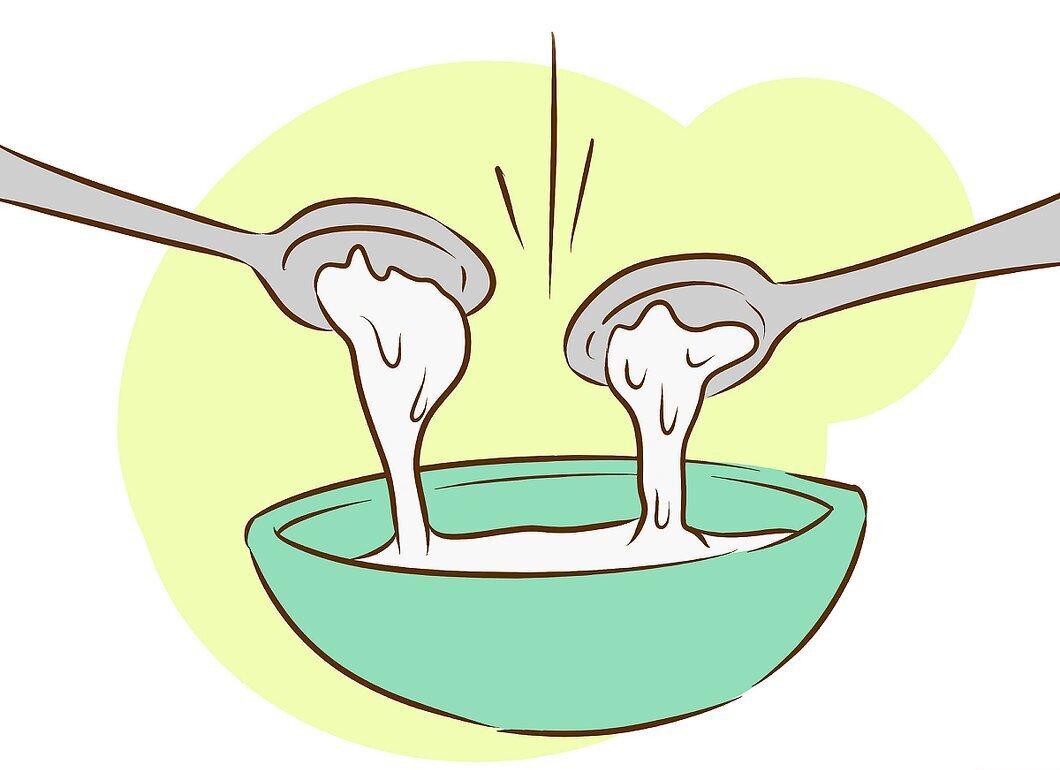
Dilute some glue with water. To wrap the mummy, you will need gauze strips soaked in a hardening solution so they adhere and form a sturdy, mummy-like shell for the chicken. To make this solution, dilute some regular school glue with warm water until it flows evenly off a spoon.
Step 2. Soak Gauze Strips in the Glue Solution.
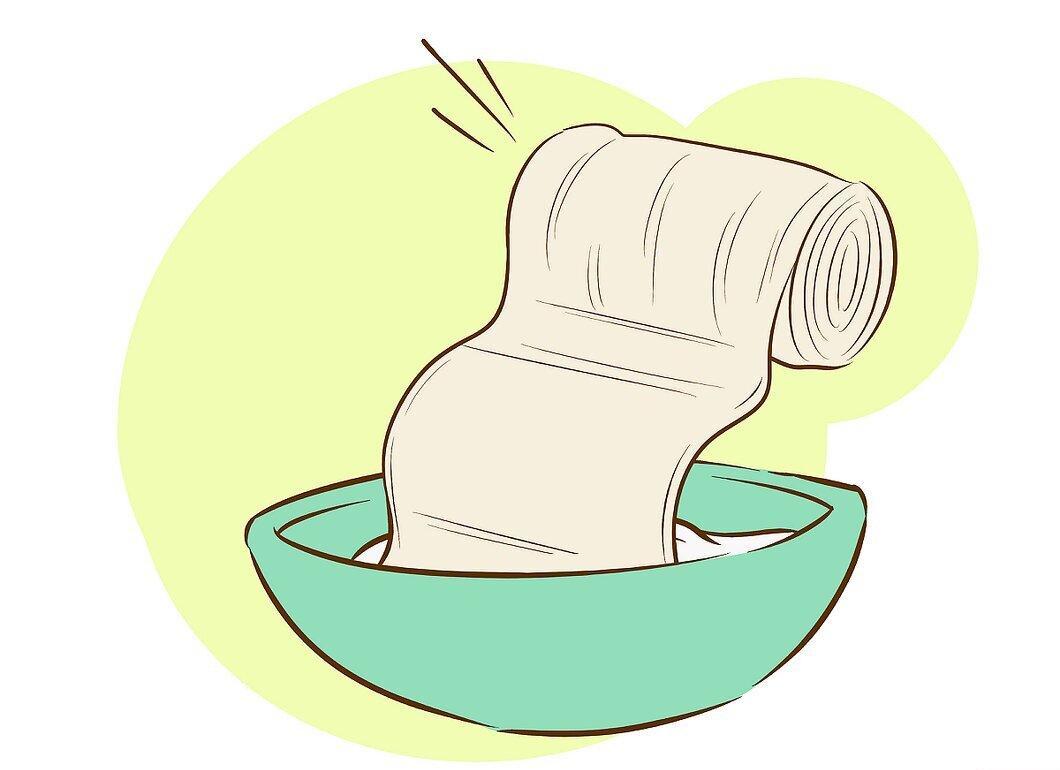
Soak gauze strips in the glue solution. Tear off gauze strips long enough to wrap around the entire chicken and start soaking them in the glue mixture. If you want, you can assign this task to students divided into small groups. Don’t soak them for too long; just a few seconds is enough for the glue solution to spread evenly over them.
Step 3. Wrap the Mummy.
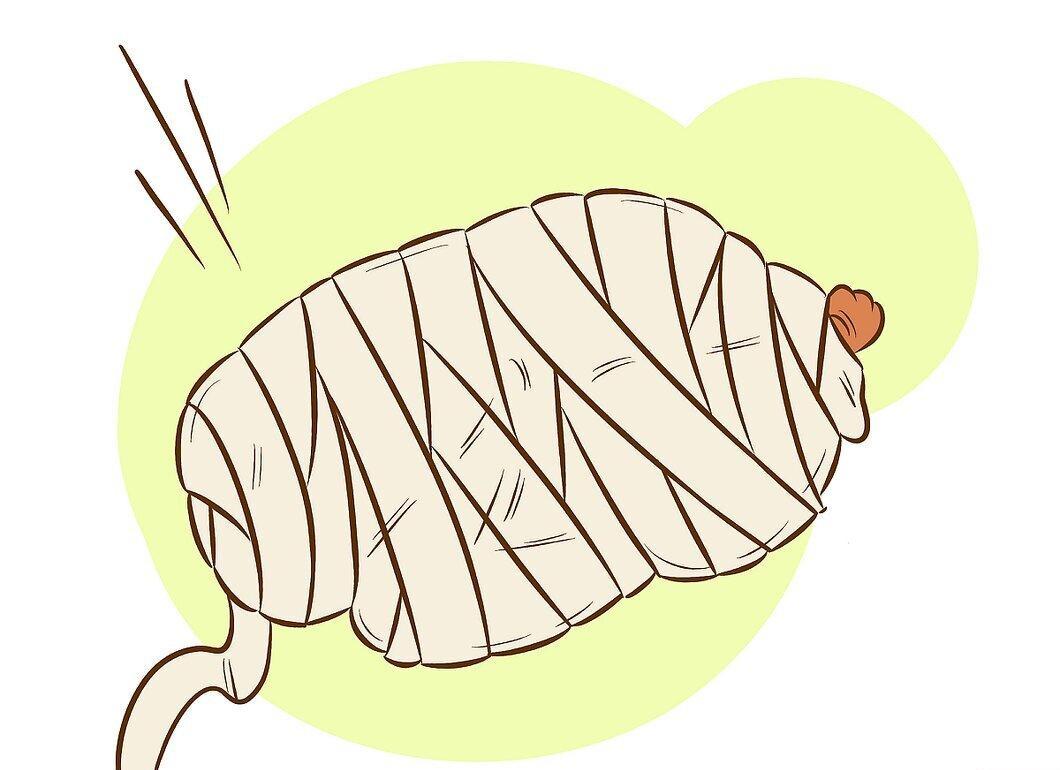
Wrap the mummy. Start wrapping the gauze around the thickest parts of the chicken, while allowing students to wrap the legs and other parts. The more gauze you use, the better the chicken will look, and the students will find this final stage of the project more interesting.
- Allow the shell to dry completely before moving on. The outer layer should dry in about 24 hours, during which you can place the chicken back in the plastic container after cleaning it.
- Don’t worry about the chicken spoiling, but it might be a good idea to keep it in the container so that when you return to class, you won’t accidentally encounter an awful smell. In ancient times, fresh herbs were often used in burial sites for mummies, helping to suppress and eliminate odors, so it would be wonderful if you could add this to your project as well.
Step 4. Decorate the Chicken.
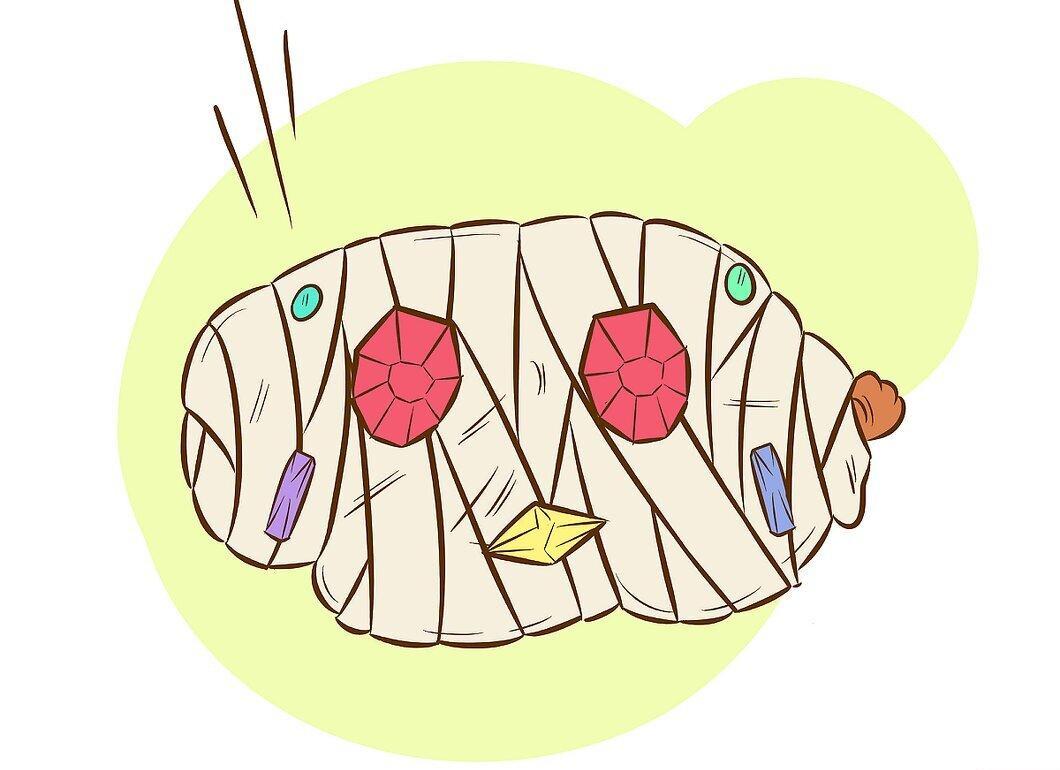
Decorate the chicken. Let students use paints to decorate the mummy with symbols, patterns, and drawings. If you’re studying Egyptian symbols and mummification, you can encourage them to use symbols they find or let them create their own, representing the chicken and chicken life. Have fun with them and allow students to paint the mummy as they see fit.
- It might also be interesting to decorate a sarcophagus made from a shoebox instead of the chicken. Assign each student to come up with their own design, or create one collective class design, and then place the chicken in the shoebox to rest peacefully.
Step 5. Hold a Ceremony in Class.
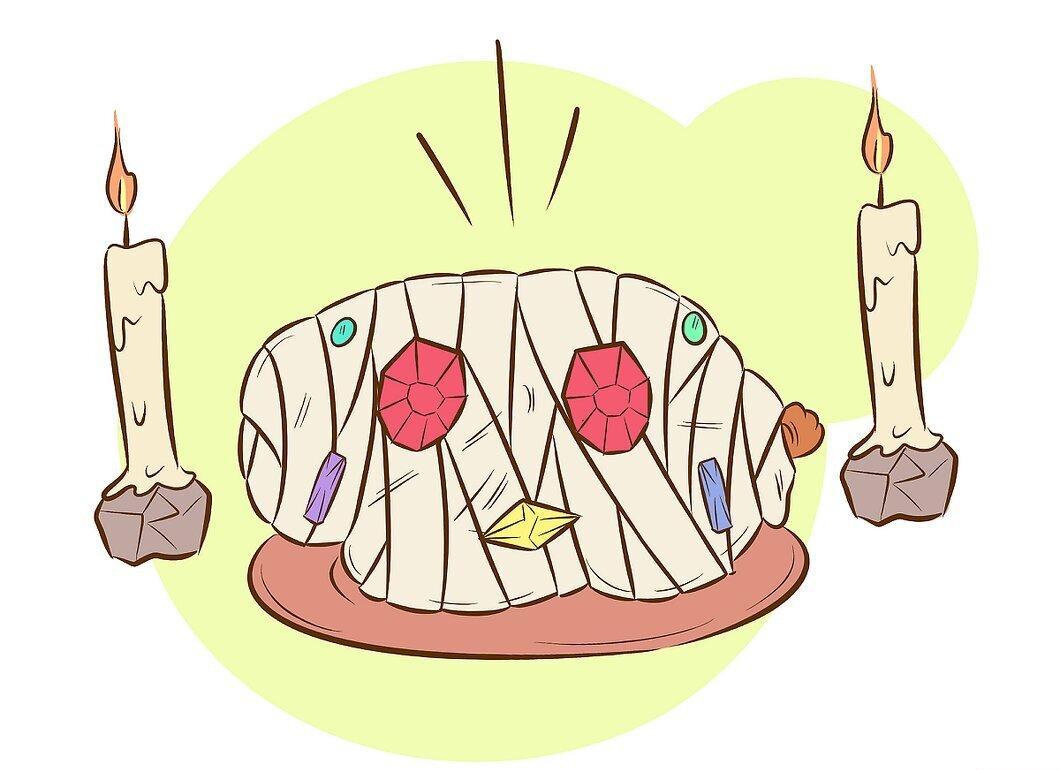
Conduct a ceremony in class. If you want, this can be a great way to wrap up your lesson on Egypt. Throw a school party or hold some ceremonies outside to say goodbye to the chicken. Light incense, make speeches, and do something in the spirit of the Egyptians to conclude the lesson.


