
Jupiter is the largest planet in our Solar System. This fifth planet from the Sun is one of the so-called gas giants. Jupiter takes nearly 12 years to orbit the Sun. It is famous for its Great Red Spot and alternating dark and light bands. It is one of the brightest objects in the sky after the Sun, Moon, and Venus. Due to its massive size, Jupiter shines brightly for several hours before and after midnight for several months each year. Many people look for Jupiter in the night sky — it's a wonderful way for aspiring astronomers to observe distant planets without expensive equipment.
Required Equipment
Step 1. Get a star chart.
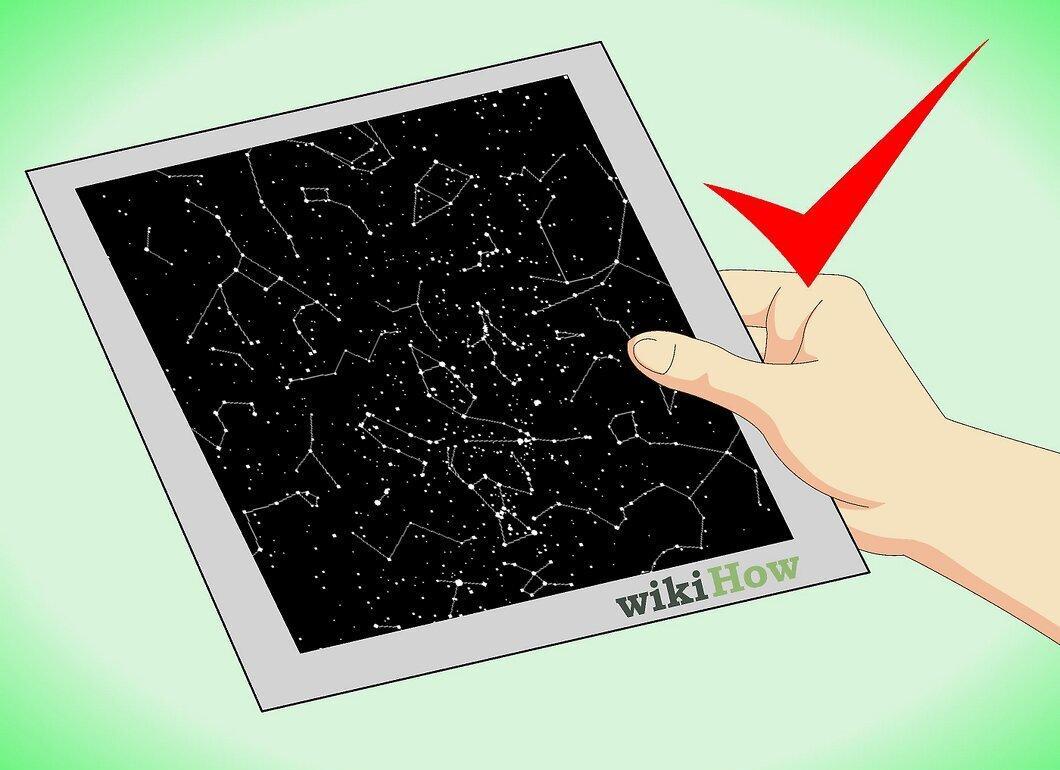
Get a star chart. Before you begin observing Jupiter, it’s important to have a star chart handy to determine where to look for the planet in the sky. Experienced astronomers can use various detailed star charts that depict the positions and trajectories of planets. Less experienced astronomy enthusiasts can use numerous smartphone apps that help locate Jupiter as well as other planets and stars in the night sky.
- If you have downloaded a suitable app on your smartphone, simply point it at the sky, and it will identify the stars and planets for you.
Step 2. Prepare binoculars.
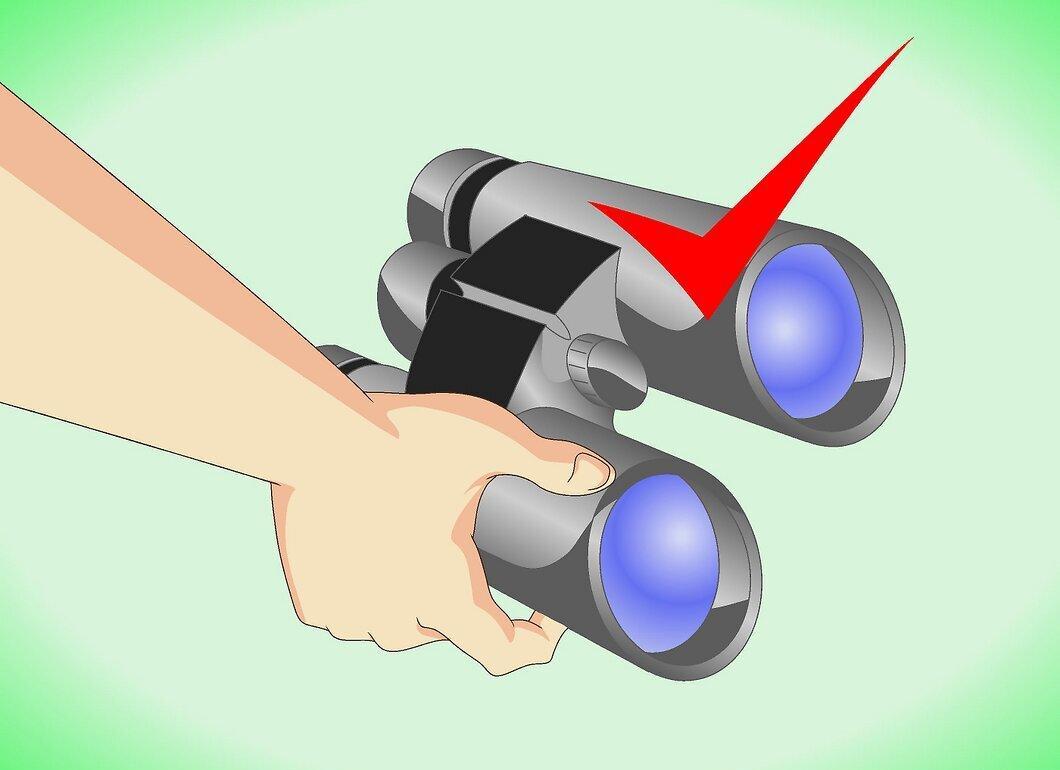
Prepare binoculars. To catch a glimpse of the large and bright Jupiter in the night sky, a good pair of binoculars is sufficient. A binocular with 7x magnification will provide you with a view of Jupiter as a small white disk in the sky. If you’re unsure of the magnification of a particular binocular, check the numbers printed on it: the label "7x" means that the binocular magnifies objects seven times, allowing you to see Jupiter clearly.
Step 3. Acquire a telescope.
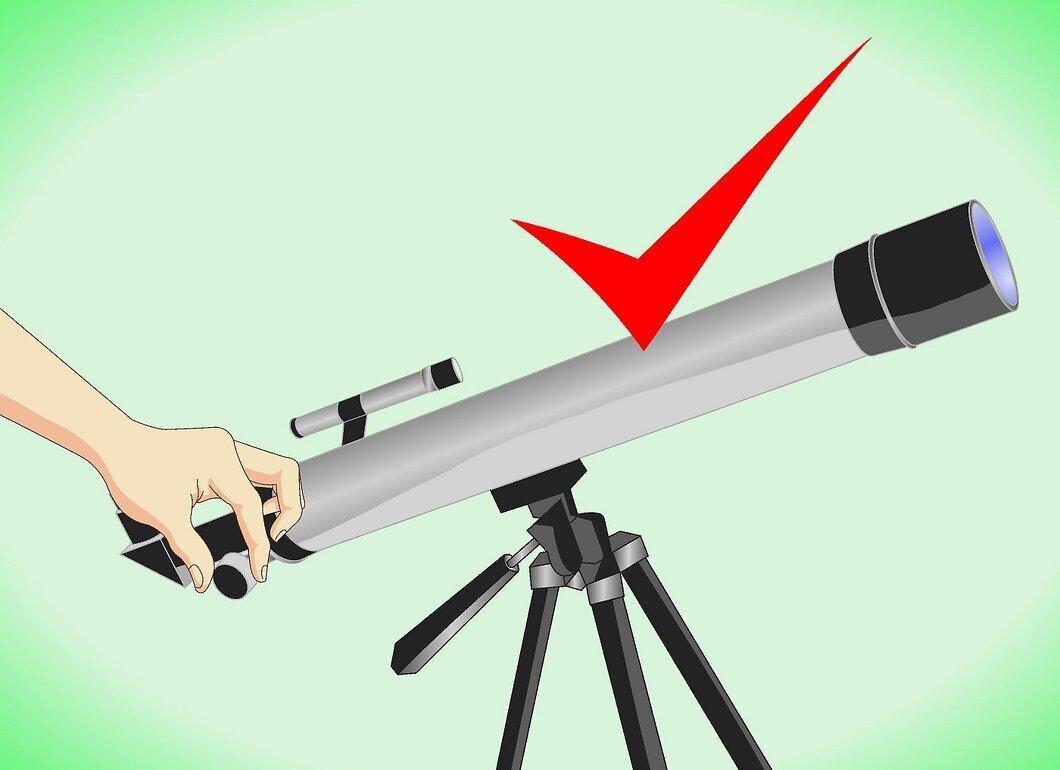
Acquire a telescope. To observe Jupiter's colorful features, you will need a telescope. A simple beginner's telescope will suffice. With it, you can see Jupiter's bands, all four of its major moons, and possibly even the Great Red Spot. Today, there is a wide variety of telescopes available. A refractor telescope with an aperture (lens diameter) of 60-70 millimeters is suitable for beginners.
- Your telescope's performance will be compromised if its optics are not adequately cooled. Store the telescope in a cool place and take it outside in advance to allow it to cool down before you begin observing.
Preparing for Observation
Step 1. Choose good observing conditions.
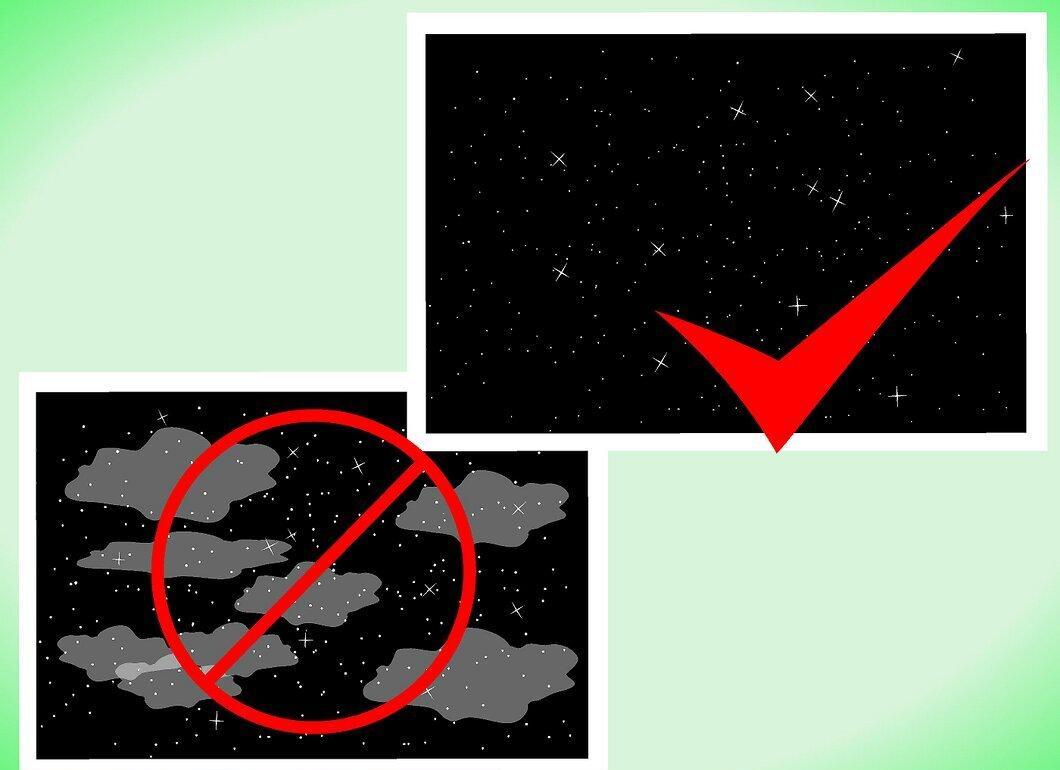
Choose good observing conditions. This will save you time and prevent long hours of waiting in vain. Before setting up your telescope, take a look at the stars. Check if they are twinkling in the night sky. Such twinkling indicates atmospheric turbulence, which will make observation difficult. It’s best to observe planets and stars in calm atmospheric conditions when the night sky seems to have a slight haze.
- The Association of Lunar and Planetary Observers (ALPO) has an astronomical seeing scale ranging from 0 to 10. If conditions are below 5 on this scale, you are unlikely to have good observing results.
Step 2. Determine the right time of day or night.
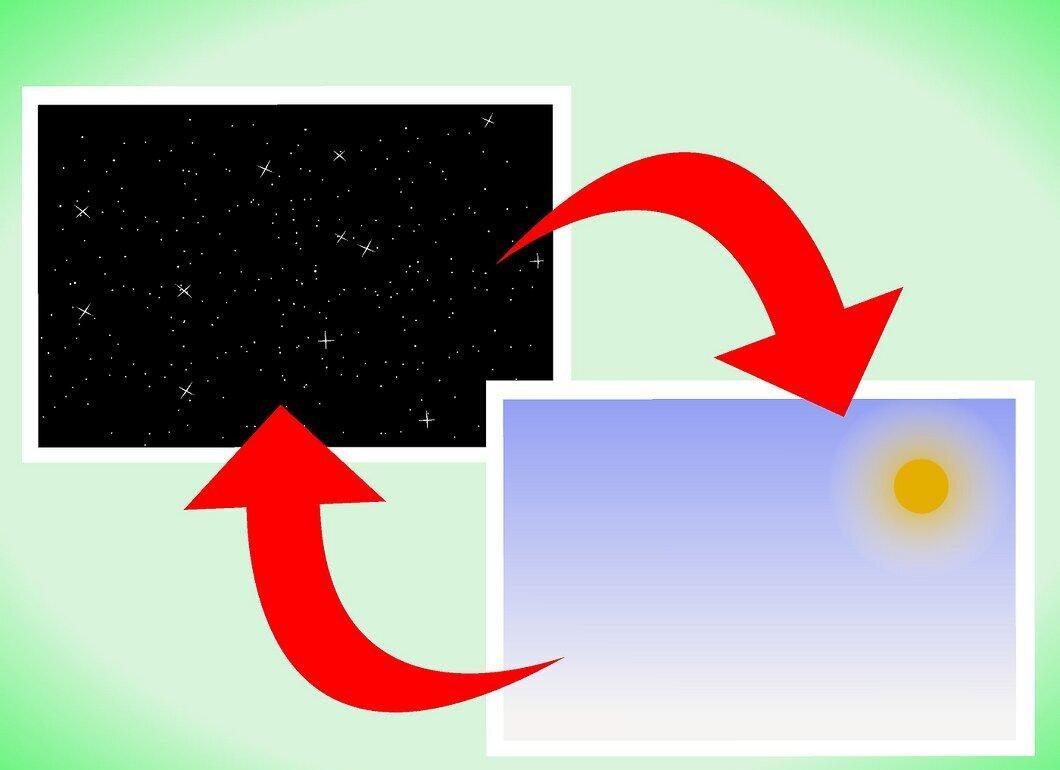
Determine the right time of day or night. Planets are best observed at night; however, Jupiter is so bright that it can sometimes be seen right after dusk or just before dawn. During twilight, it appears in the east and moves across the sky to the west throughout the night. In the mid-latitudes of the Northern Hemisphere, Jupiter is visible in the mornings in the west shortly before the sun rises in the east.
Step 3. Choose a location for observation and prepare to wait.
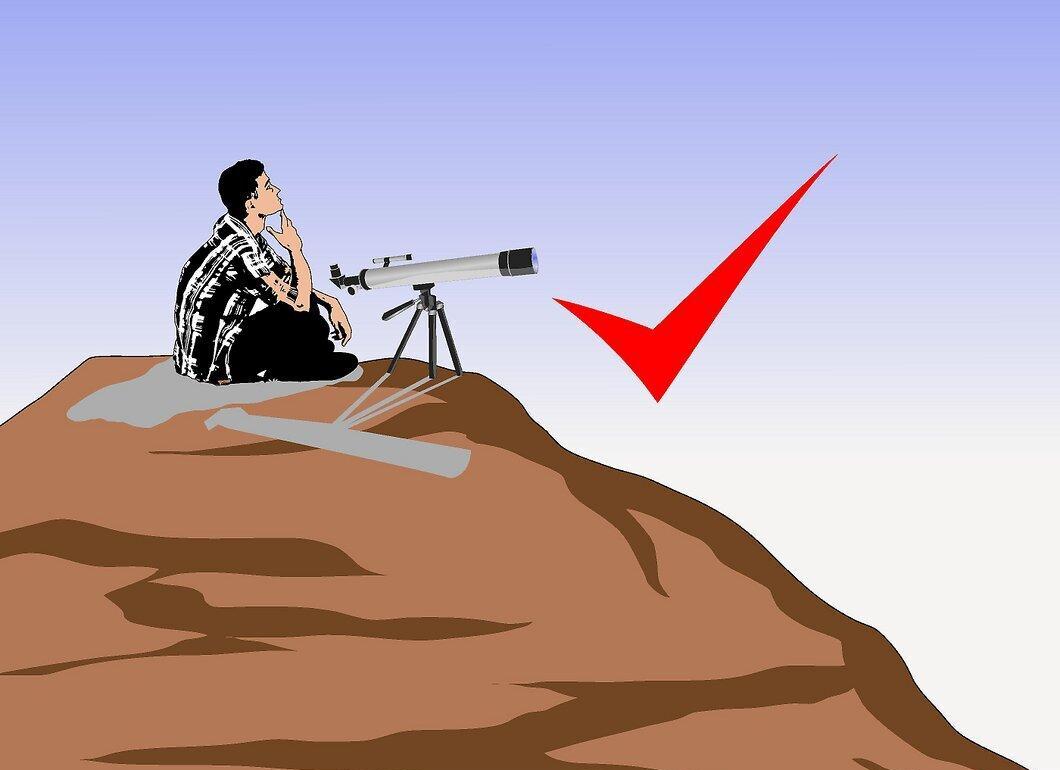
Choose a location for observation and prepare to wait. Find a suitable spot that is dark and quiet, so you won't be distracted. Your backyard may work well, but remember that observing planets can take a considerable amount of time, so dress warmly and be prepared for a long wait. If you plan to document your observations, gather necessary materials in advance so you won't have to leave your post.
Observing Jupiter
Step 1. Locate Jupiter with binoculars.
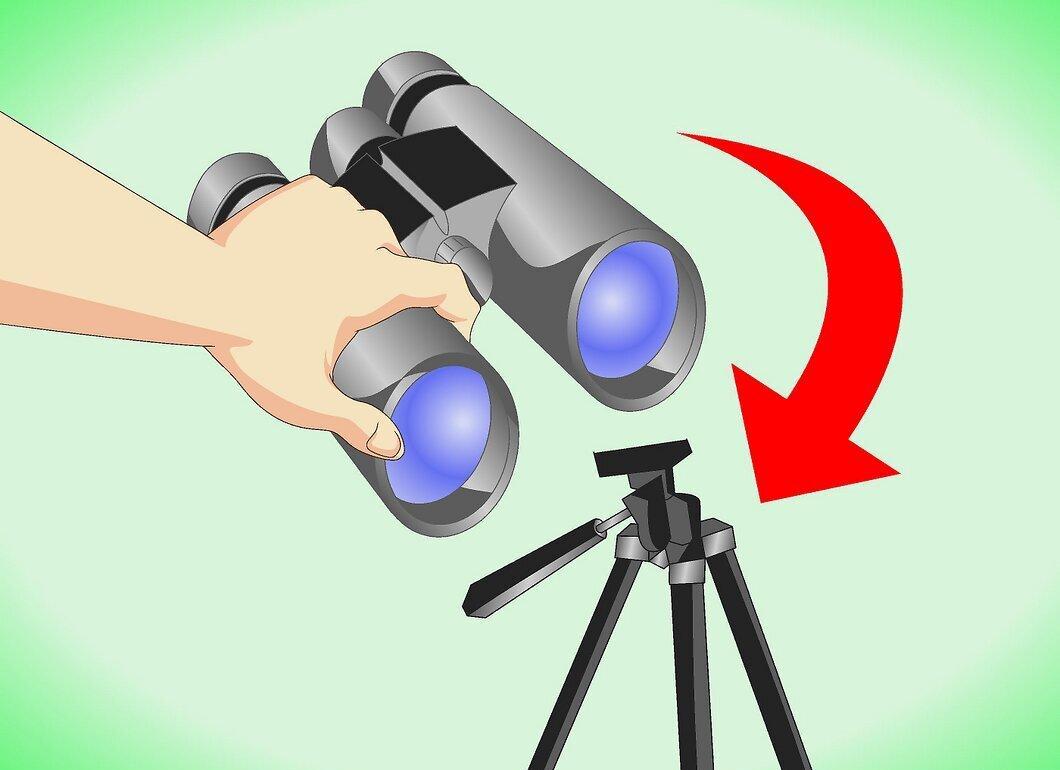
Locate Jupiter with binoculars. Find a comfortable and stable position and, if possible, set the binoculars on a tripod or another stable surface to avoid shaking. With binoculars, you’ll be able to see Jupiter as a white disk.
- You may also see several (up to four) bright points near Jupiter — these are the four Galilean moons of the planet. Jupiter has at least 63 moons orbiting it. In 1610, Galileo Galilei discovered the four largest moons and named them Io, Europa, Ganymede, and Callisto. The number of moons you can see depends on their current positions in orbit around Jupiter.
- Even if you have a telescope, it’s convenient to use binoculars first to locate Jupiter in the sky, and then switch to the telescope for detailed observations.
Step 2. Observe the planet through the telescope.
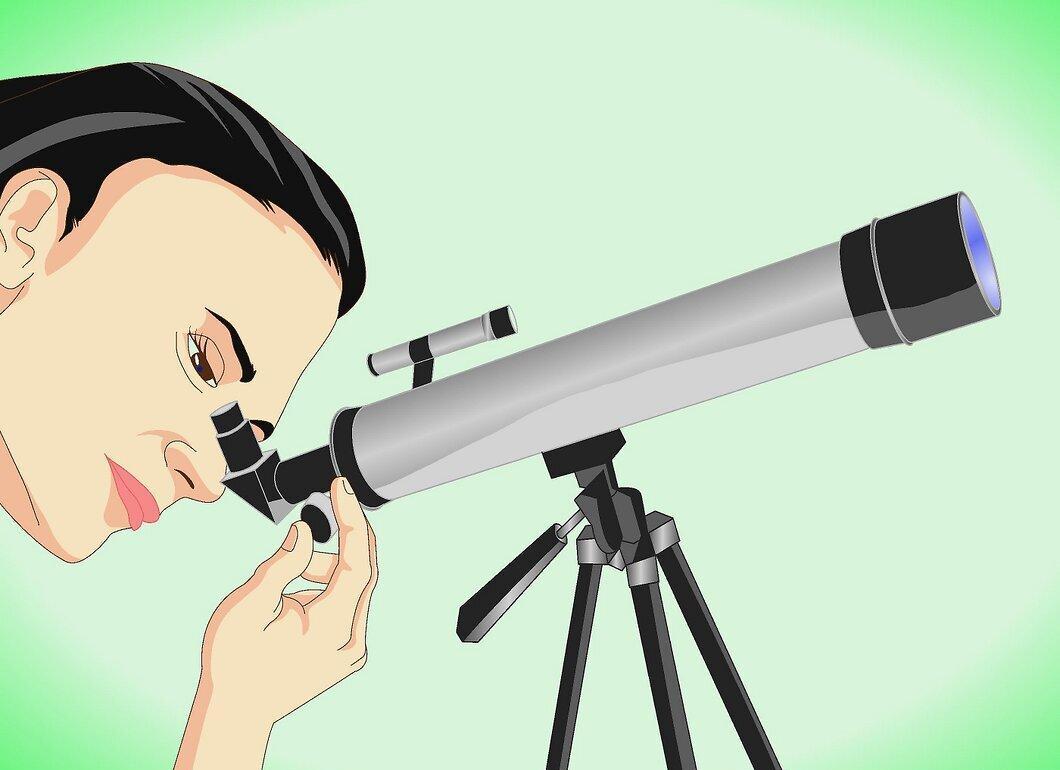
Observe the planet through the telescope. Once you have located Jupiter, you can direct the telescope at it to view surface details and identify the planet's distinctive features. Jupiter's surface has a characteristic banded structure: dark belts alternate with light zones. Try to observe the central light band known as the equatorial zone, along with the darker belts to the north and south of it.
- Be persistent in searching for the belts and zones. It takes time to learn to distinguish the individual bands through a telescope. It would be helpful to have someone with experience assist you.
Step 3. Find the Great Red Spot.
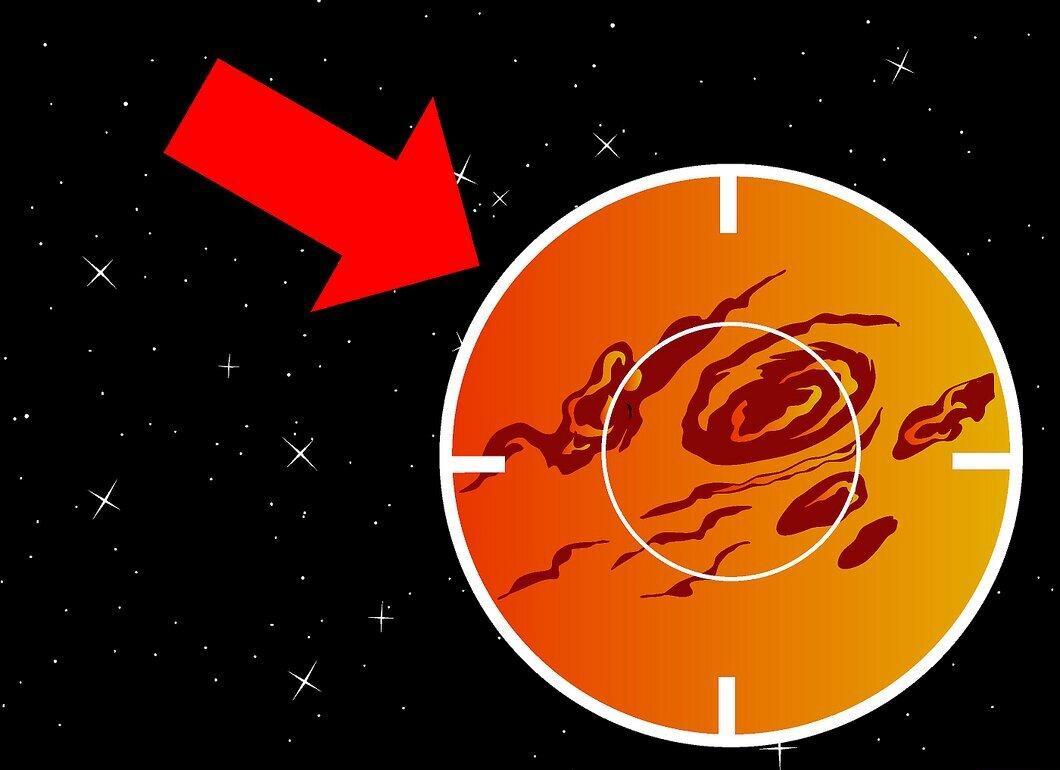
Find the Great Red Spot. This is one of Jupiter's most colorful and distinctive features. The Great Red Spot is a giant oval storm larger than Earth. It has been observed for over 300 years. The Great Red Spot is located on the outer edge of the southern equatorial belt. You can see how quickly the planet's surface changes: within just an hour, you may notice that the spot has shifted position.
- The intensity of the Great Red Spot varies, and it is not always visible.
- In fact, the spot is not entirely red; it is more orange or pale pink.
Documenting Observations
Step 1. Try sketching what you see.
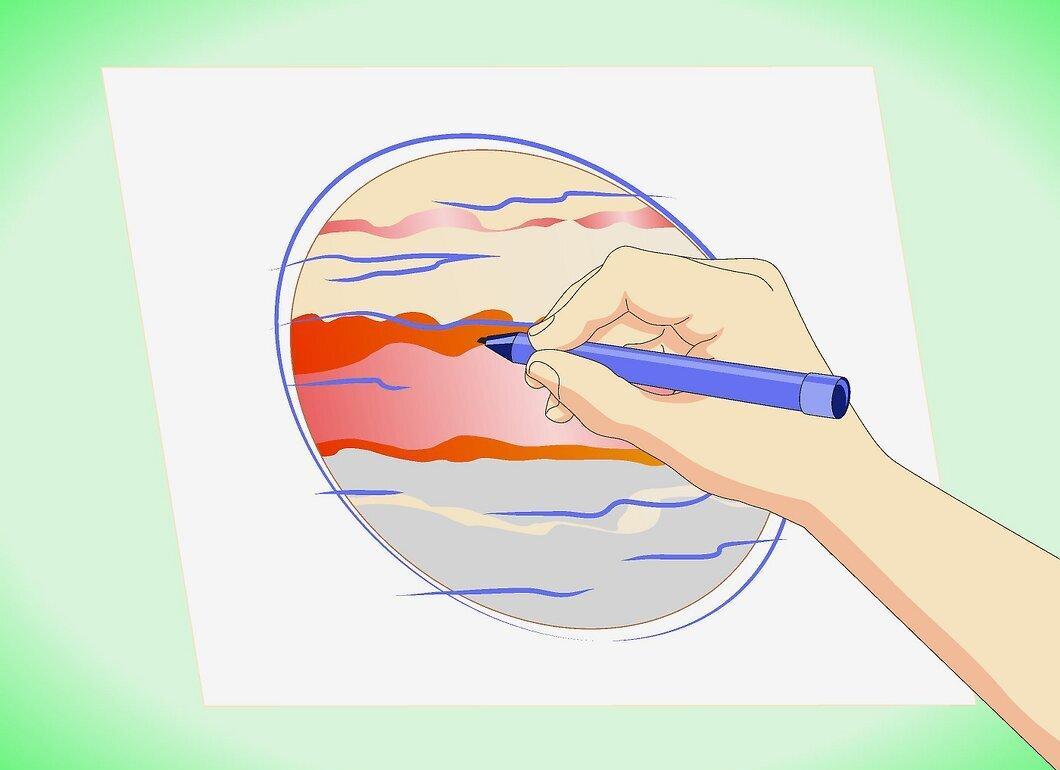
Try sketching what you see. After carefully observing Jupiter through the telescope, you can document your observations and make sketches of the planet. Essentially, this is what astronomers do (with minimal technical equipment): they observe the sky, note what they see, and analyze the results. Jupiter changes quickly, so try to complete your sketches in about twenty minutes. This way, you will be part of the great tradition of astronomical sketching.
Step 2. Photograph Jupiter.
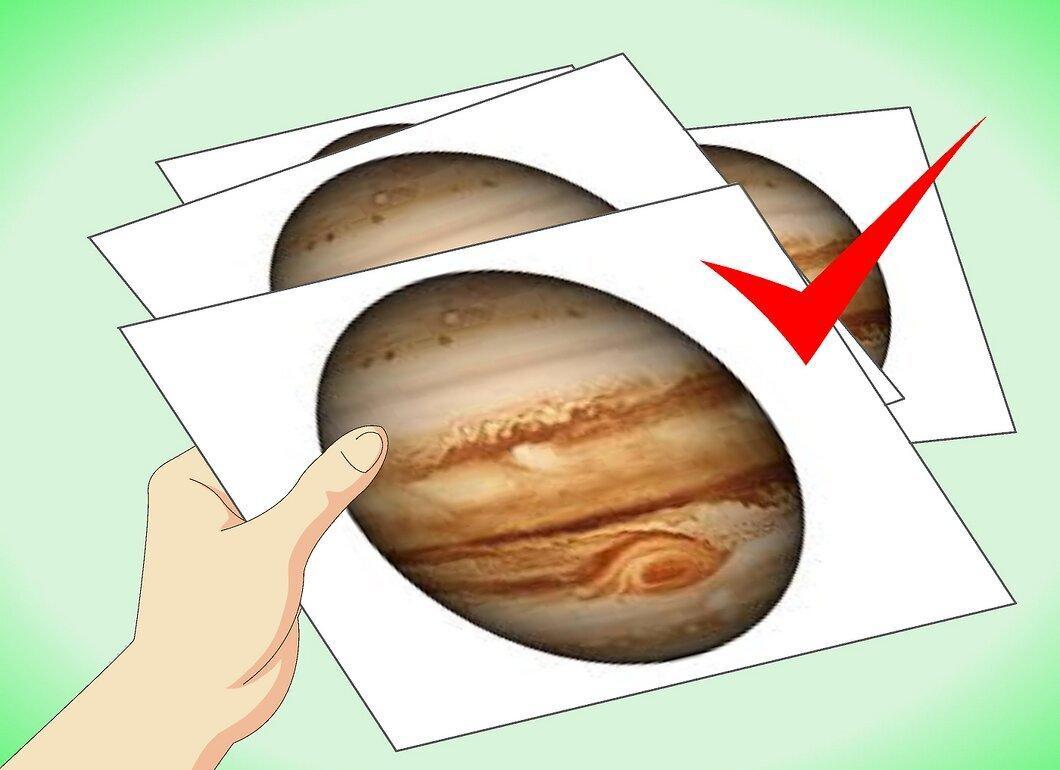
Photograph Jupiter. If you prefer a more modern method of documenting your observations, you can take a photo of Jupiter. Modern cameras can provide significant magnification. Some amateur astronomers use cameras with CCD sensors, while others use more affordable cameras. Even a regular webcam can work for shooting through a telescope.
- If you plan to use a digital single-lens reflex camera, remember that a longer exposure time will better capture the moons but may make the light and dark bands on the planet's surface indistinguishable.
Step 3. Record a video.
Record a video. The continuous changes in Jupiter's surface and the positions of its moons can be captured on video. This is done similarly to photography.
- Use your notes and captured materials to track changes on the planet's surface and highlight the most interesting moments.
- Jupiter's atmosphere is highly turbulent, and the view of its surface can change dramatically within just a few days.


