
Have you been painting landscapes in oil for a while, perhaps even for years? Yet, you're often disappointed with the results: instead of a beautiful view, you end up with something muddy. Say goodbye to frustration – learn how to create stunning oil landscapes with our simple tips.
Part 1
Step 1. Find a photograph of the landscape you want to paint.
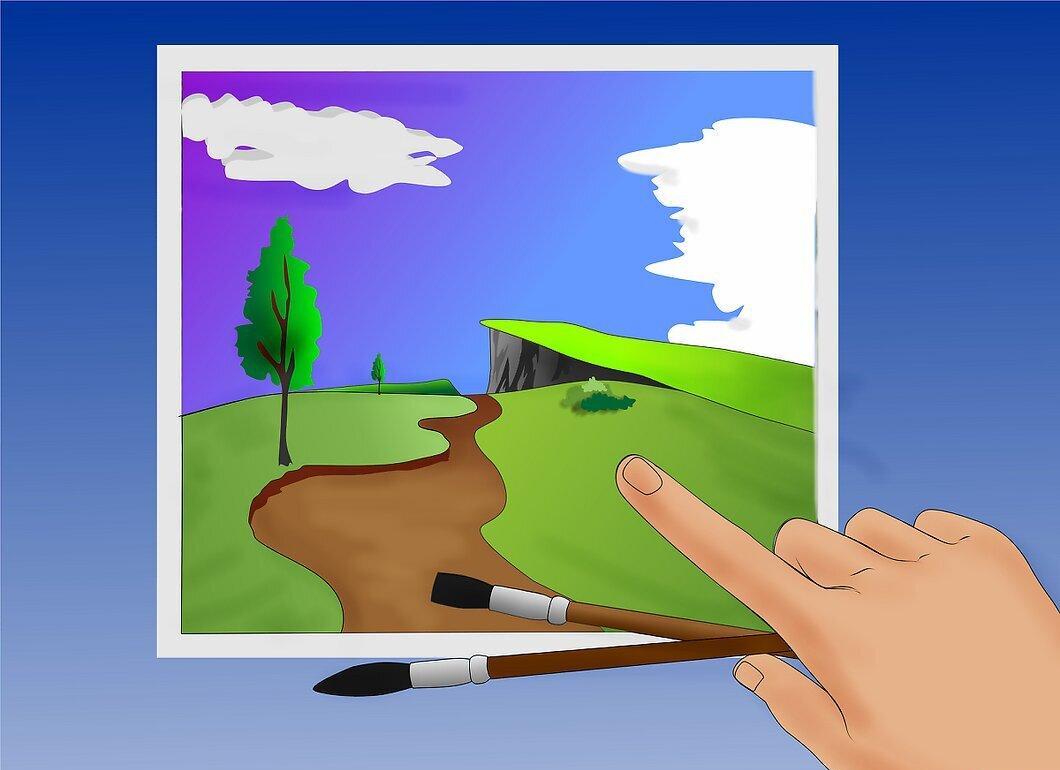
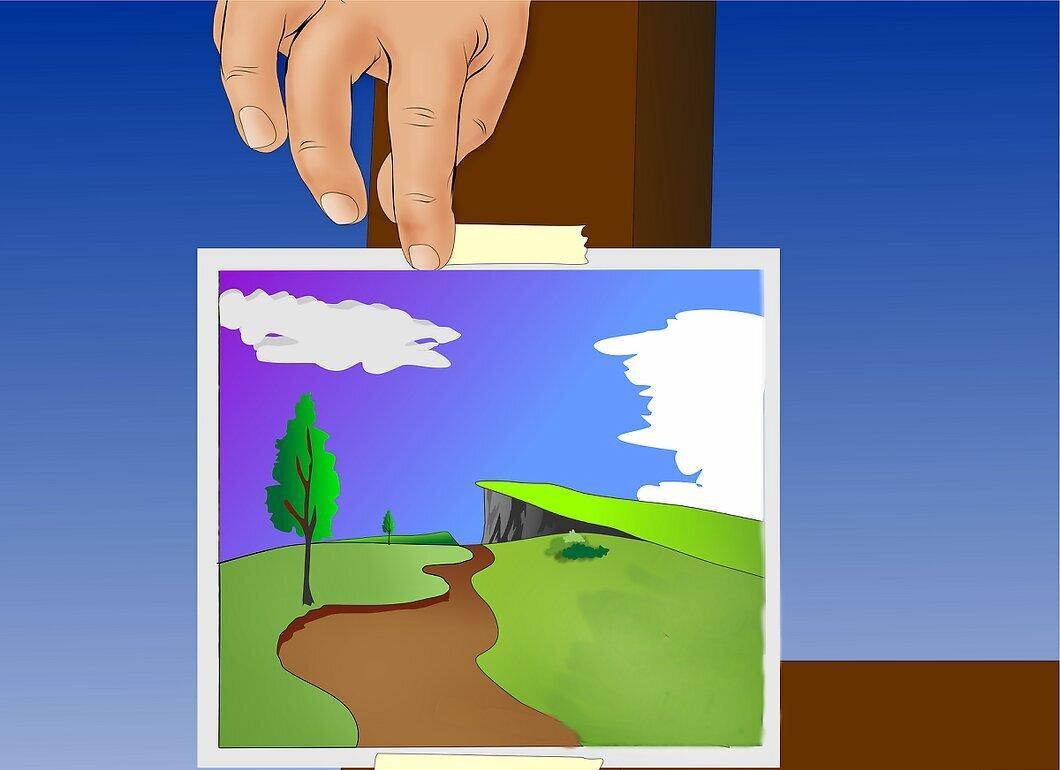
Step 2. Attach the photo to your easel and begin painting.
Step 3. Squeeze paints onto your palette.
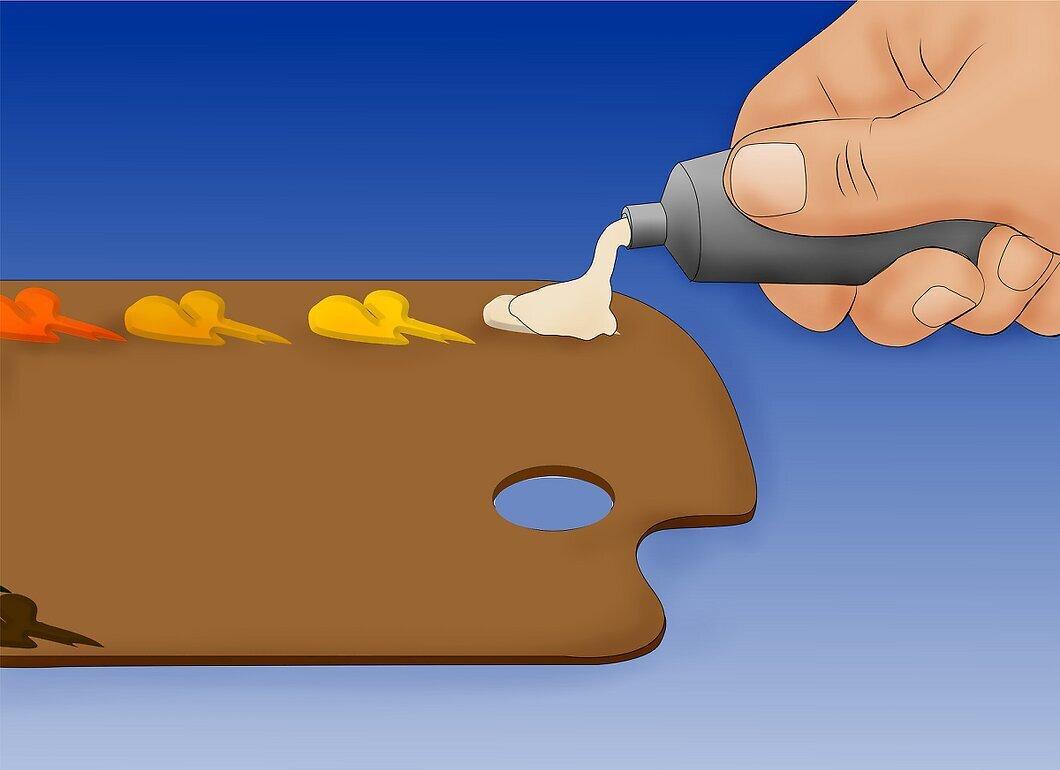
Squeeze paints onto your palette. Get into the habit of arranging them in the same order each time. Over time, you’ll remember where each color is without looking. This is especially convenient if you're painting en plein air.
Step 4. Mix 1 part poppy oil with 2 parts sunflower oil in a container.
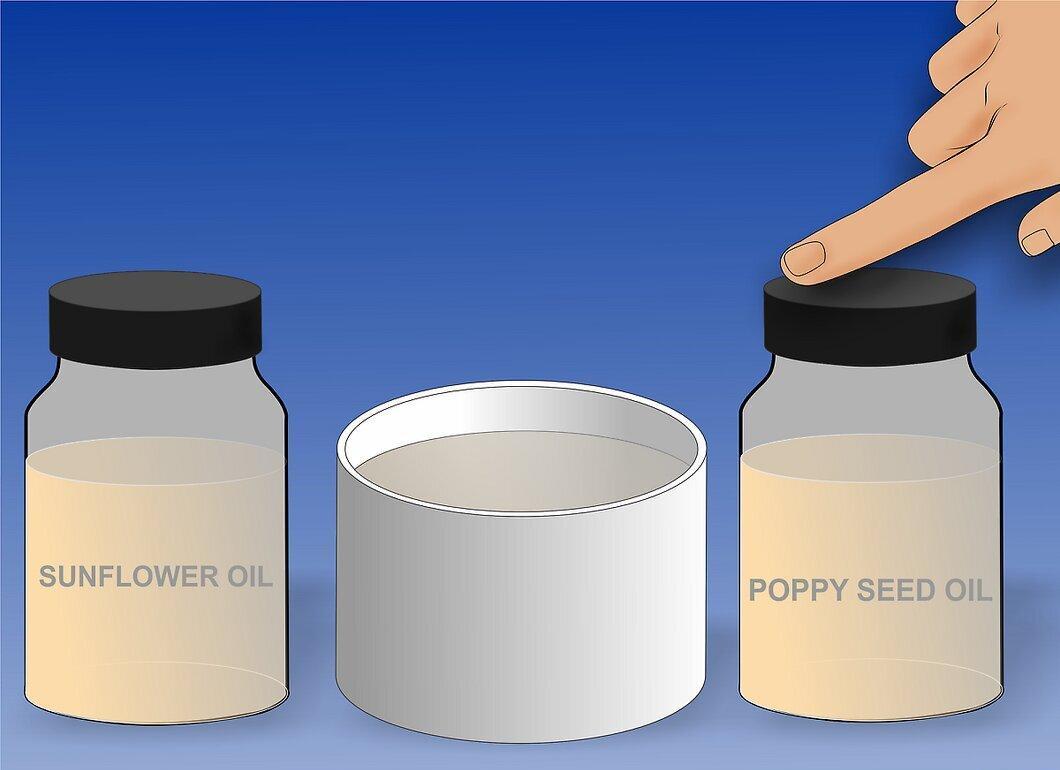
Mix 1 part poppy oil with 2 parts sunflower oil. For example, use 30 ml of poppy oil and 60 ml of sunflower oil.
Step 5. Start with a medium-sized brush.
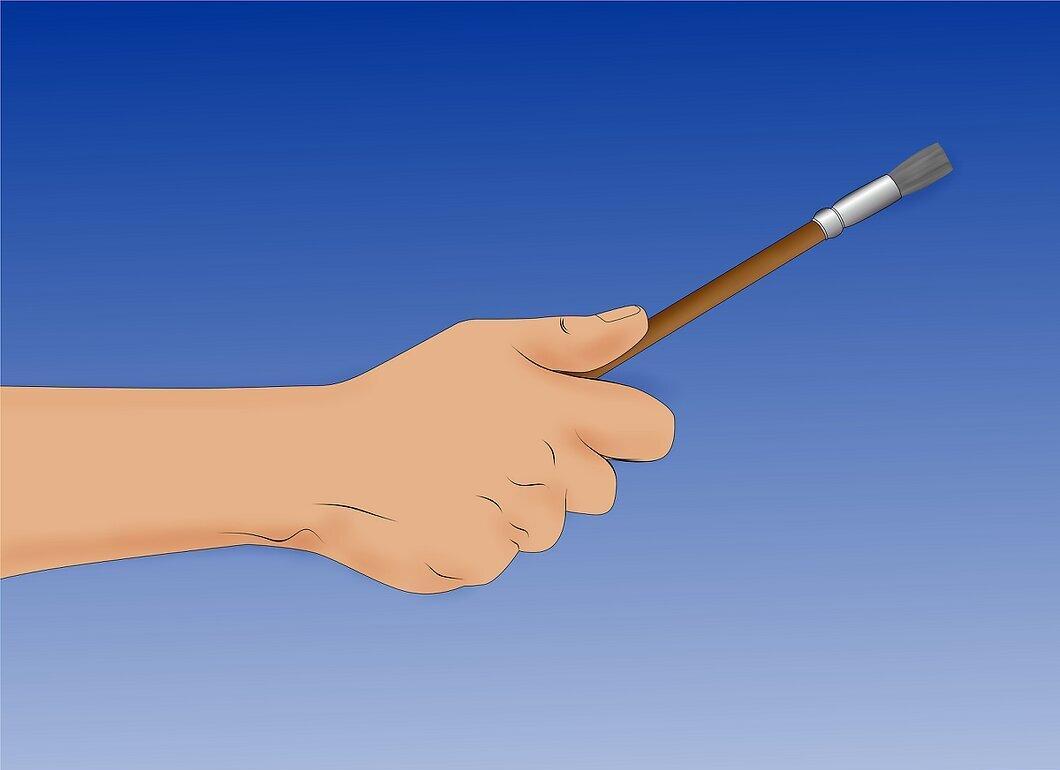
Step 6. Mix raw sienna with a small amount of turpentine on your palette.
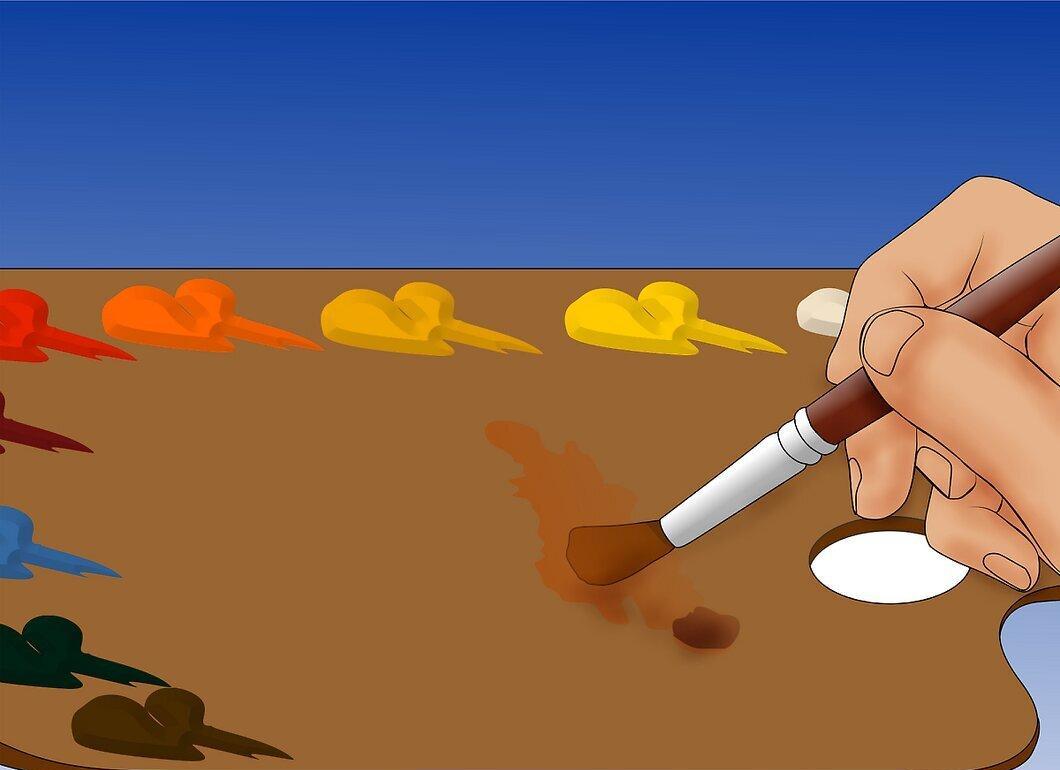
Mix raw sienna with a small amount of turpentine on your palette. Using turpentine instead of oil will allow the paint to dry faster. For the initial sketch, you want the paint to be fluid and quick-drying.
- Raw sienna is an excellent neutral paint for sketching; it will be easily covered by other colors later.
- Don’t dilute the pigment too much, but keep it fluid enough for smooth and transparent application.
Step 7. Use the diluted sienna to sketch the future landscape on the canvas.
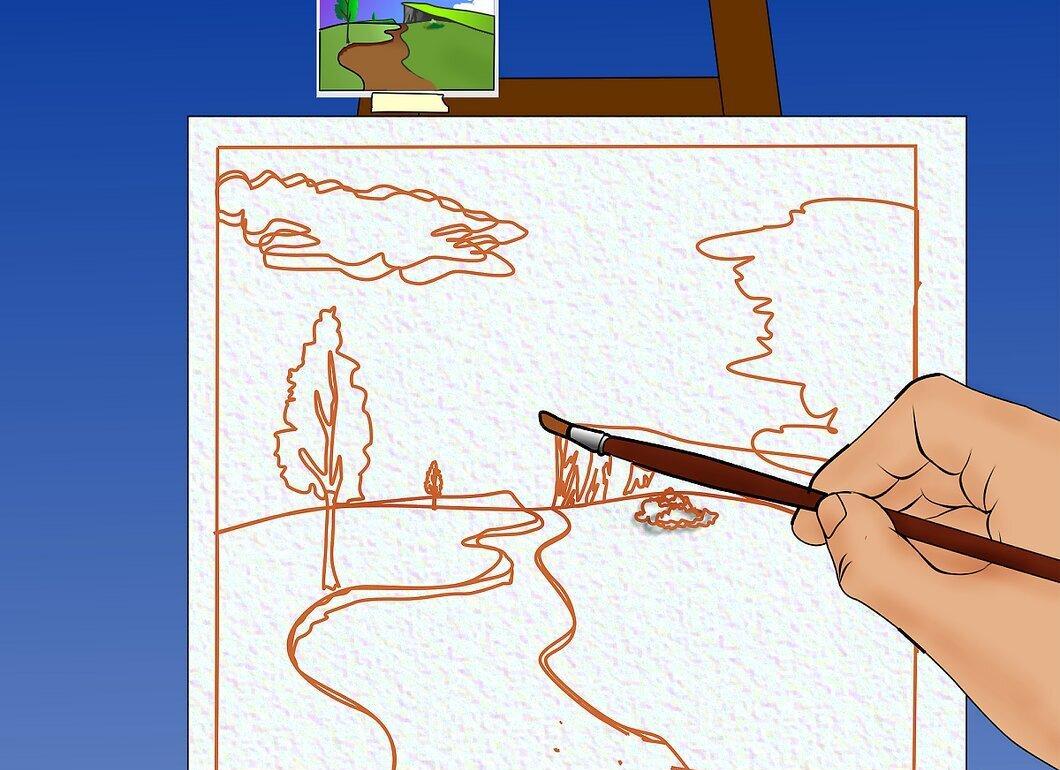
Use the diluted sienna to sketch the future landscape on the canvas. Lay down all the major objects. Try to position the horizon line about 1/3 or 2/3 from the top of the canvas, depending on how much of the original photo is sky.
Step 8. While the sketch lines dry, start mixing your paints.
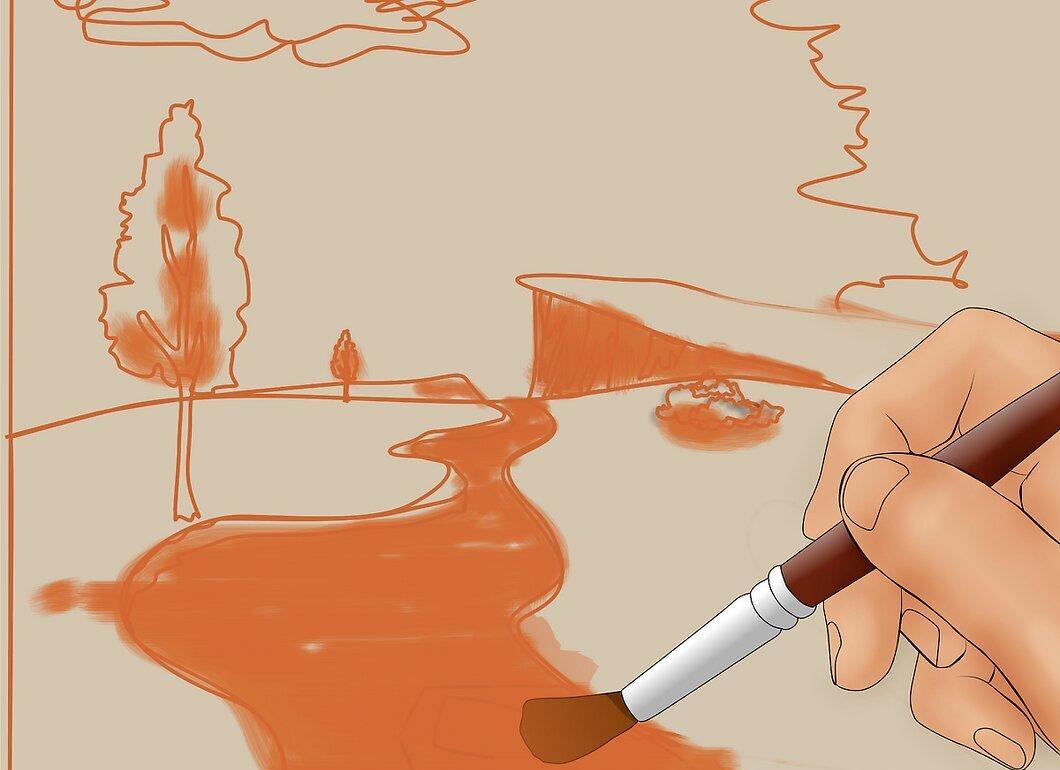
While the sketch lines dry, start mixing your paints. Dilute them with the oil mixture you prepared earlier.
- Initially, your paints should be quite fluid and transparent. With each subsequent layer, make them thicker by adding less oil. This way, you will paint in the "fat over lean" principle. This is crucial, as the lower layers will absorb the oil from the upper layers. If the top layers dry faster than the bottom ones, the paint will crack.
Step 9. Start with the sky.
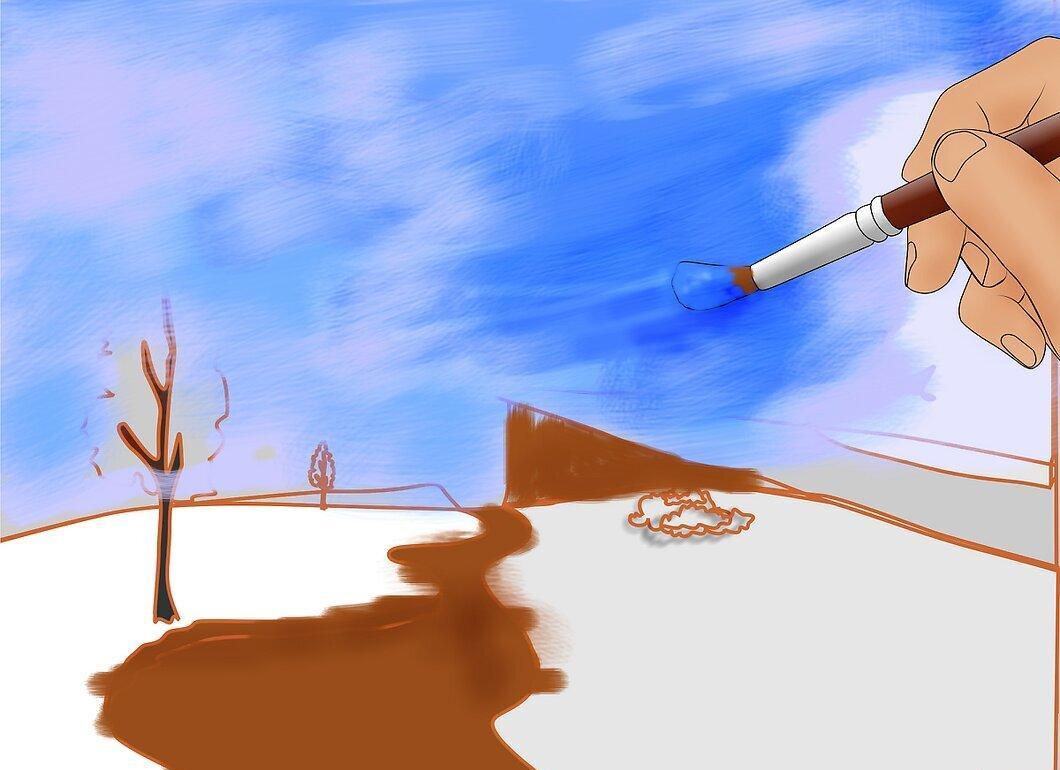
- If the sky has many shades, just fill it in with the base color.
Step 10. Fill in the shadows and large areas of the landscape with their base colors.
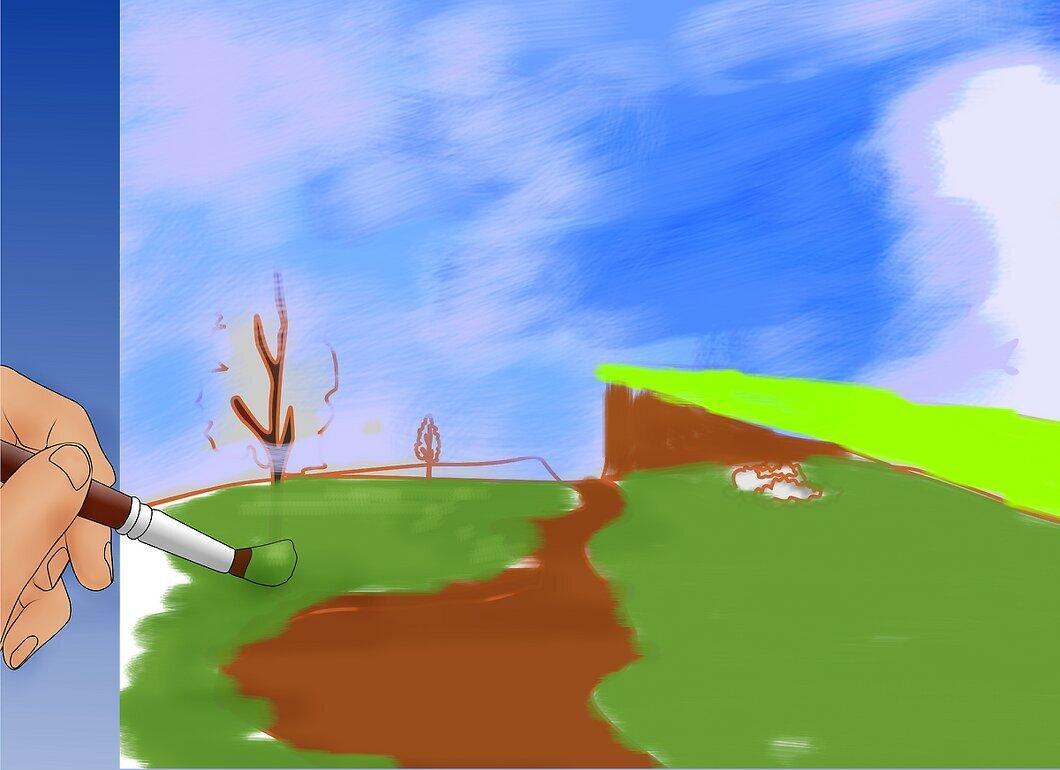
Step 11. Allow to dry completely (about 48 hours) before continuing.
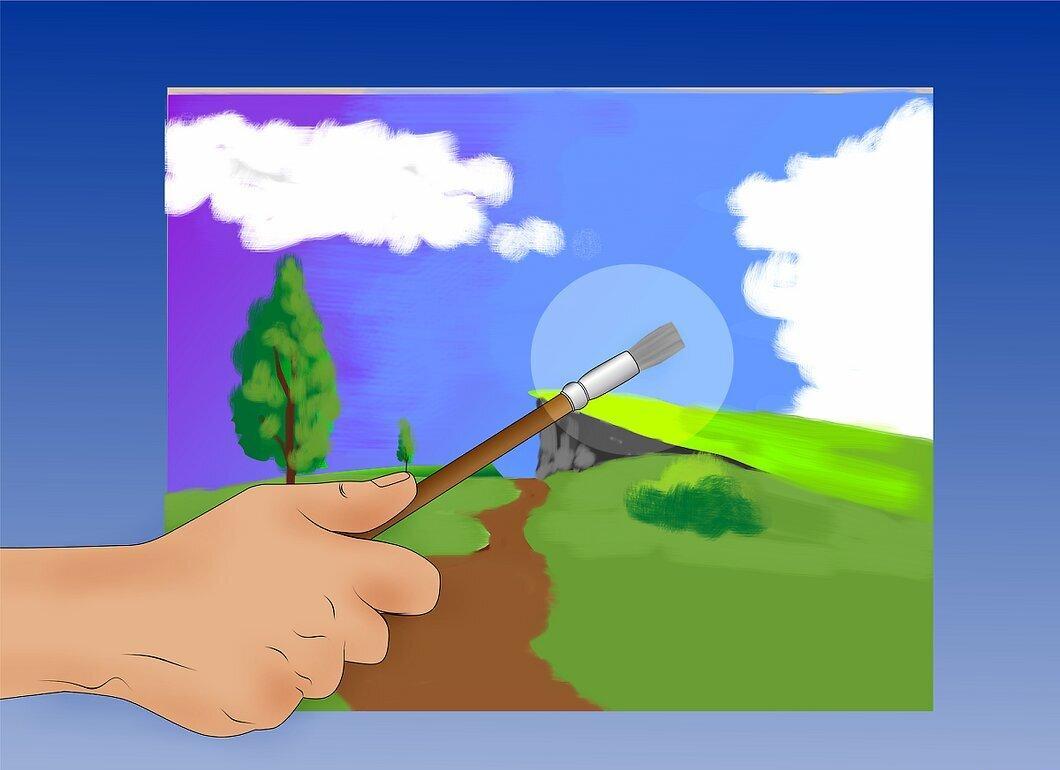
Let it dry completely (about 48 hours) before continuing. When taking a break from your work, thoroughly wash your brushes and care for your paints by covering the palette and tightly sealing the oil container.
Step 12. Remember a few simple things for the next layers.
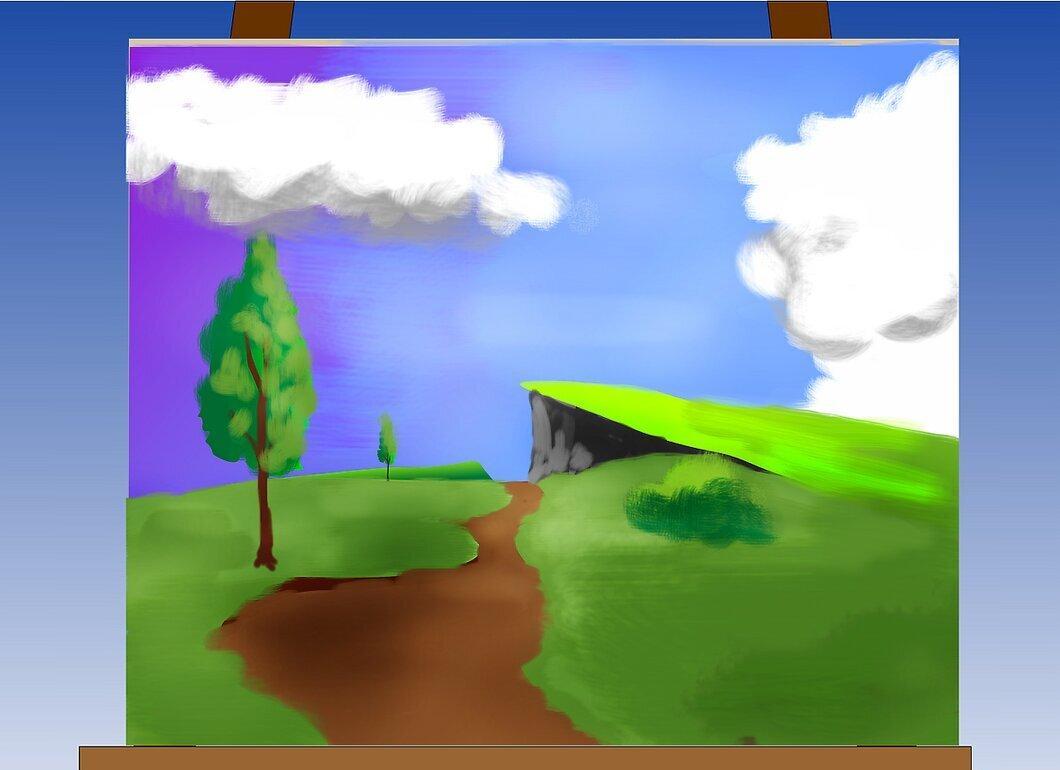
- If an object is far away, there is an air layer between it and you. It is not completely transparent, so distant objects (like mountains and trees) will be less vibrant and less detailed.
- The darkest shadows will be in the foreground. Many tend to think the darkest shadows are in the distance. However, if you closely observe any landscape, you will see that due to the air layer, the shadows in the background are muted compared to the foreground.
- Remember the rule of thirds. This compositional rule will help you not only place your subject correctly on the canvas but also ensure that the painting has a harmonious impression. It is well-known among photographers but is equally important for painters.
Step 13. Thicken your paints and start detailing the next layer.
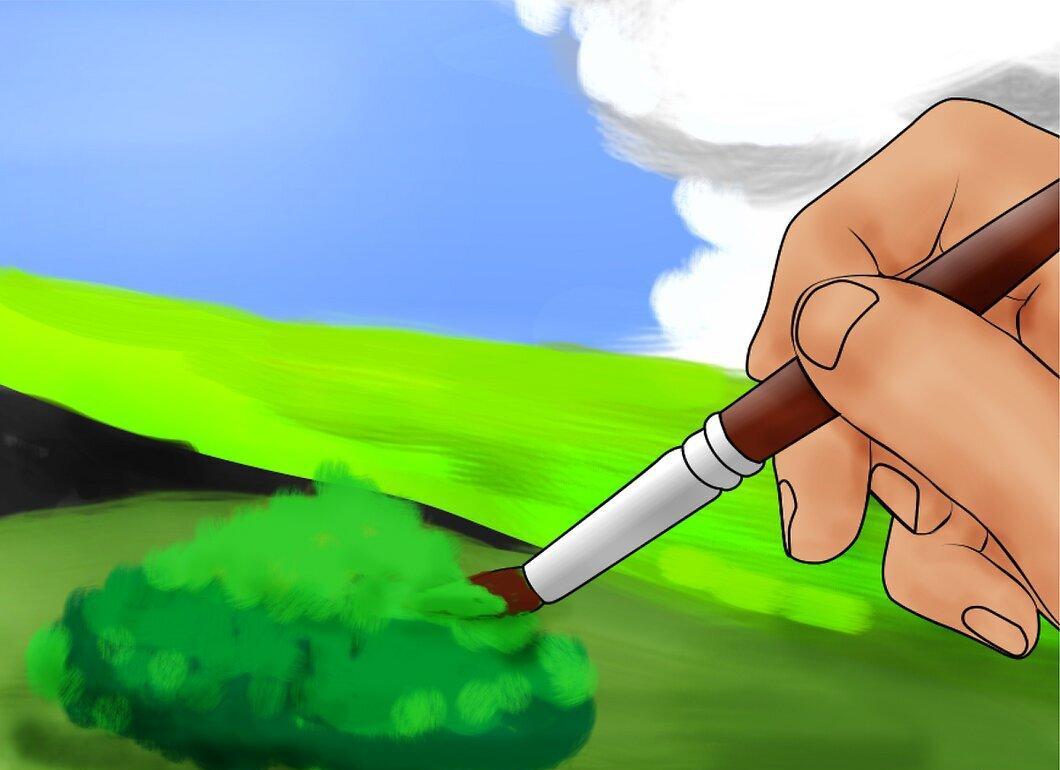
Thicken your paints and start adding more detail to the next layer. Continue to use thicker paints and work on finer details until the canvas is complete.


