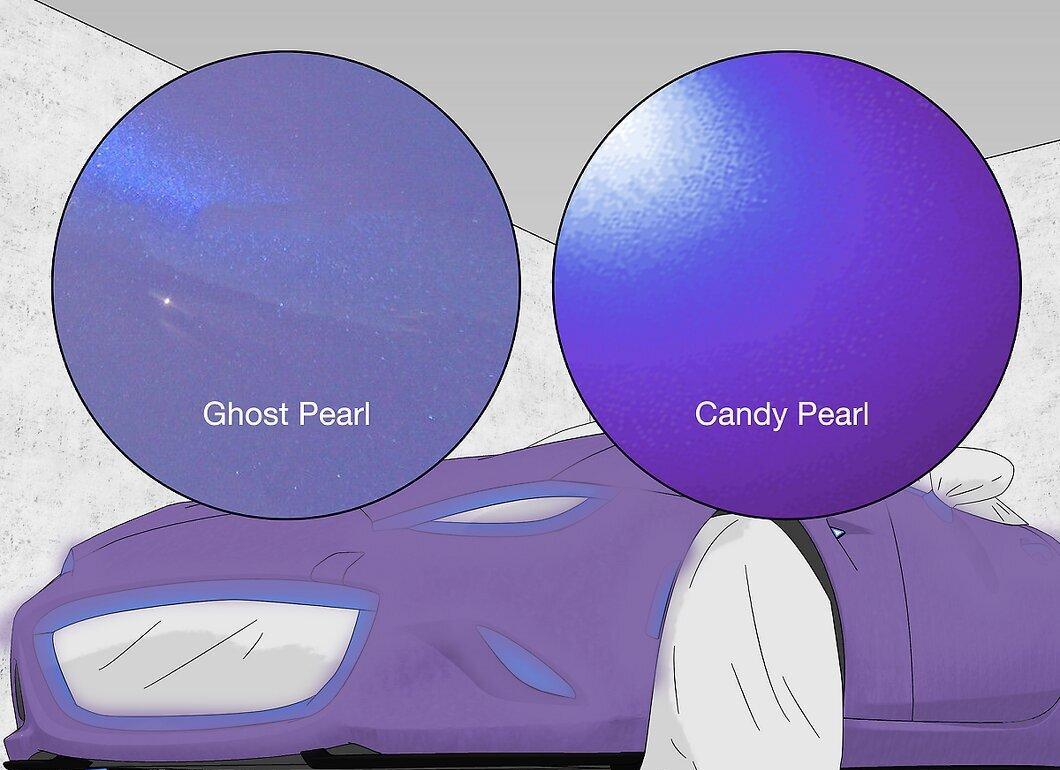
Pearlescent paints add depth to the base color and refract light, giving the finish a soft shimmer or even changing color at certain angles. Specialty paint shops and manufacturers use pearlescent paints to enhance the shine of car surfaces. Pearlescent itself is neither paint nor real pearl. It is a translucent, iridescent powder added to paint. "Ghost" pearlescent contains very little pigment or none at all and enhances the color with which it is used. "Candy" pearlescent contains some pigment and either highlights or complements the color it is mixed with, emitting a soft pearlescent shimmer. You can elevate the look of your vehicle once you understand how to apply pearlescent paint.
Preparing the Car and Workspace
Step 1. Wash the Car.
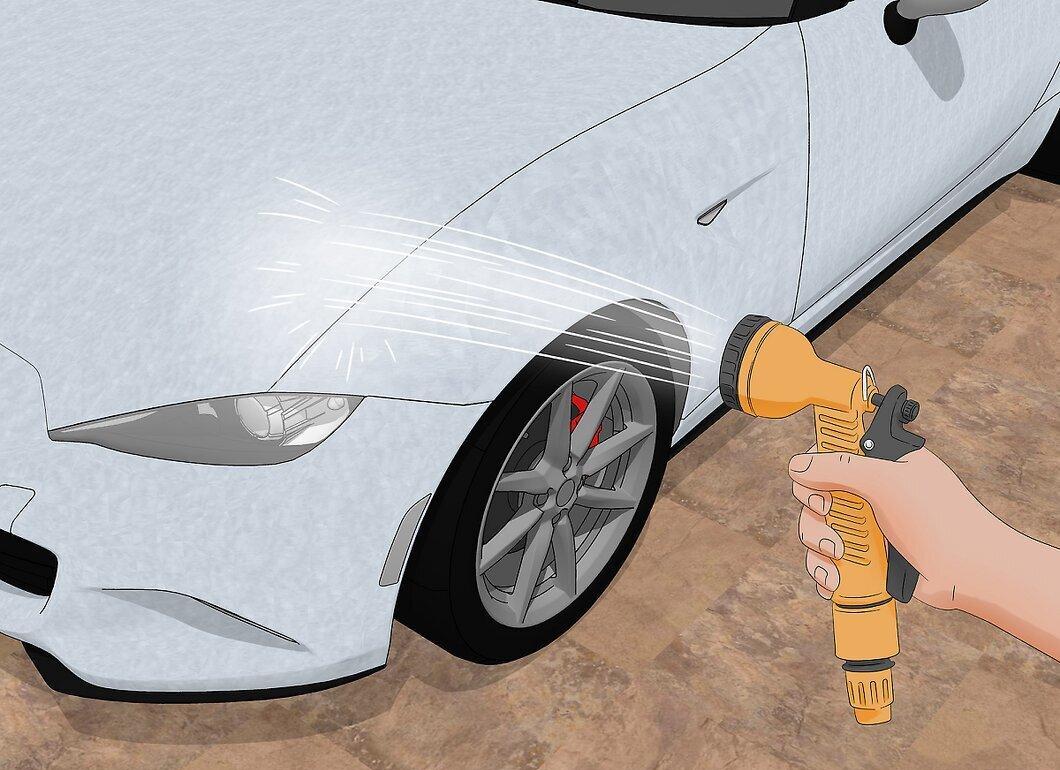
- Check the car's body for defects that need repair, such as dents, holes, and especially rust and corrosion that could eat through the new paint layer.
Step 2. Sand the Body for a Smooth, Even Finish, Especially if You Have Done Body Repairs or Used Sealant.
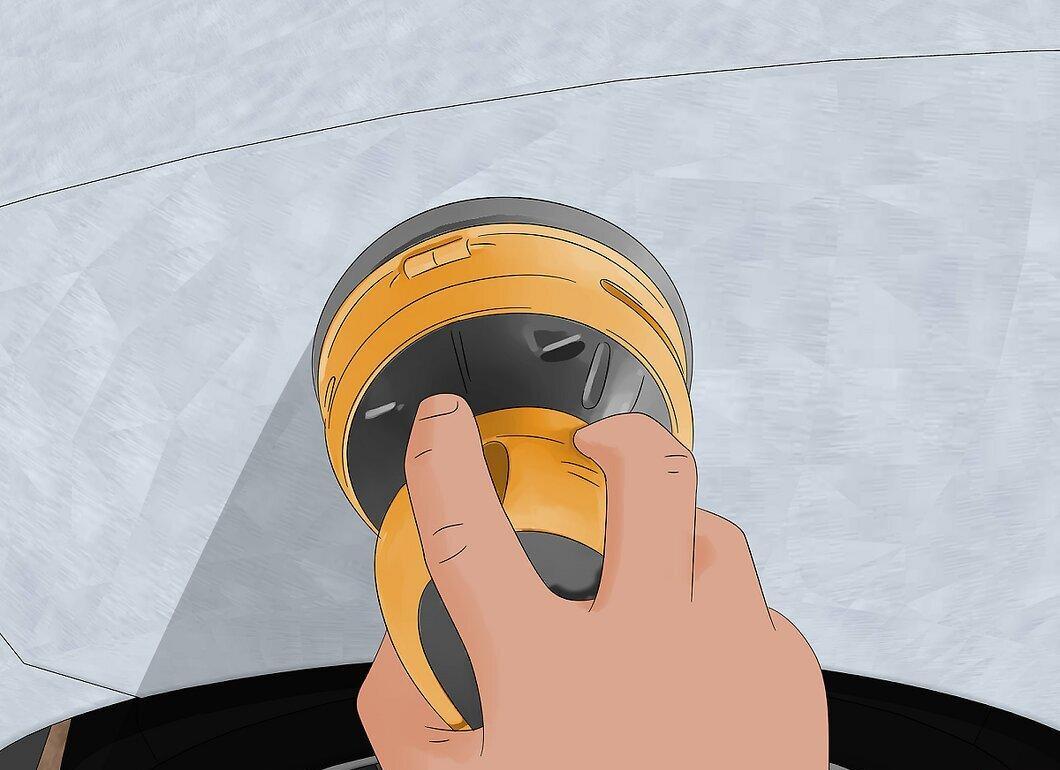
Step 3. Wash and Rinse the Car Thoroughly to Remove Dust, Dirt, and Grease.
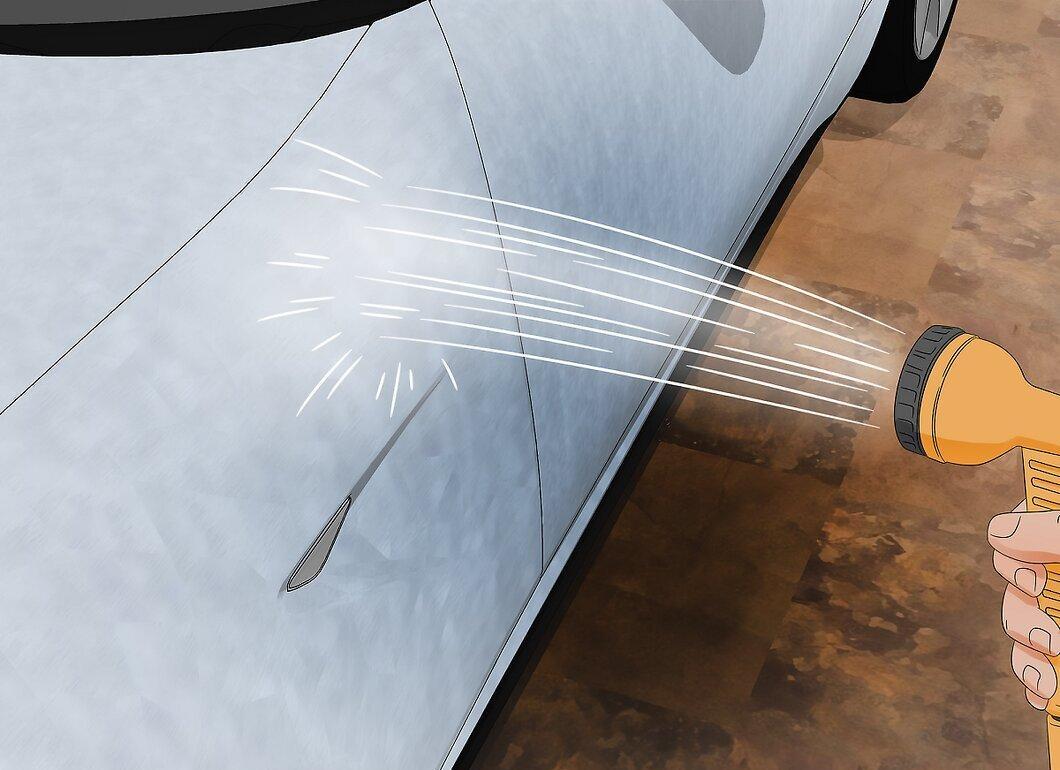
Step 4. Mask Off Areas of the Car You Don’t Want to Paint (Windshield, Headlights, Wheel Wells, Grille).

- Use masking tape and paper to cover any parts of the car you don’t want to paint. If possible, cover the door frames and trunk lid to prevent excess paint from getting into the interior, engine compartment, or trunk.
Step 5. Wipe Down the Surface You Plan to Paint with a Damp Sponge.
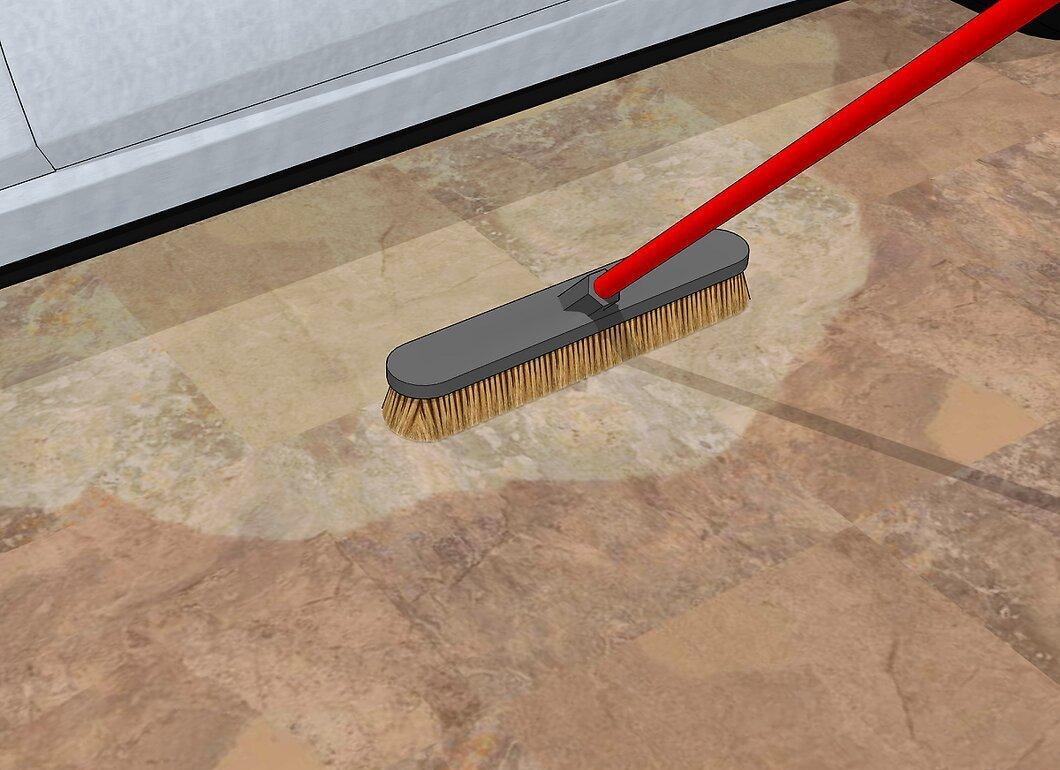
Step 6. Mask the Walls and Ceiling of the Interior, and Lay Plastic on the Floor to Make Cleanup Easier from Excess Paint After You’re Done.
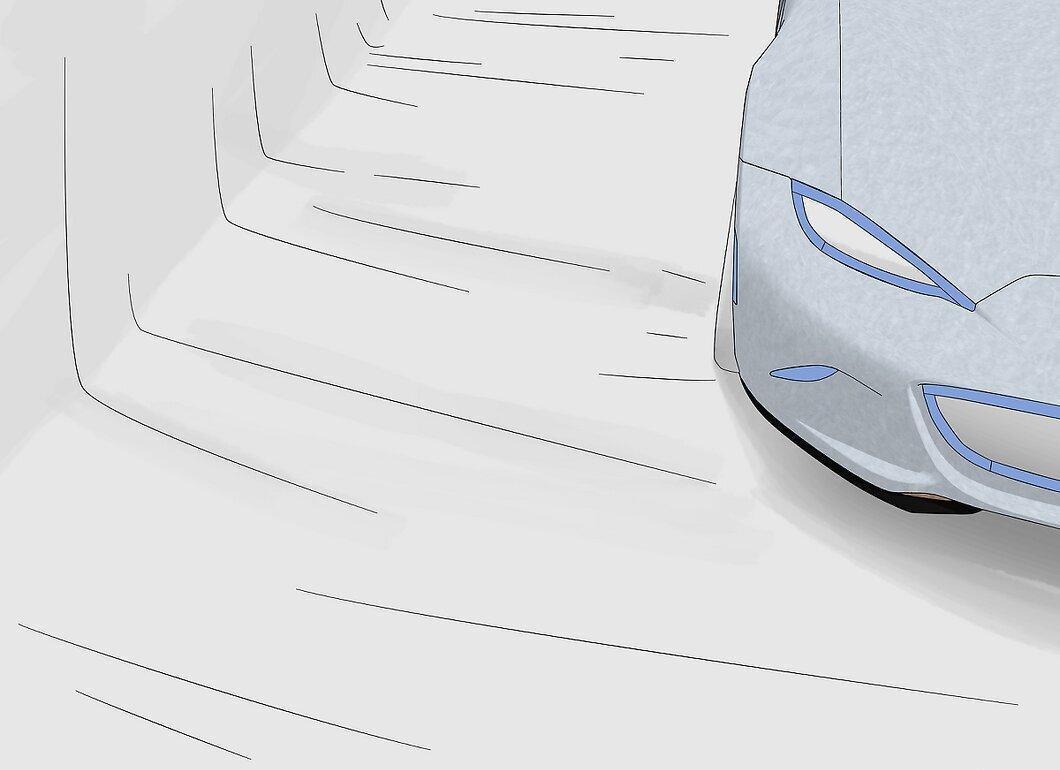
Step 7. Ensure the Paint Sprayer and Connected Hoses are Clean.
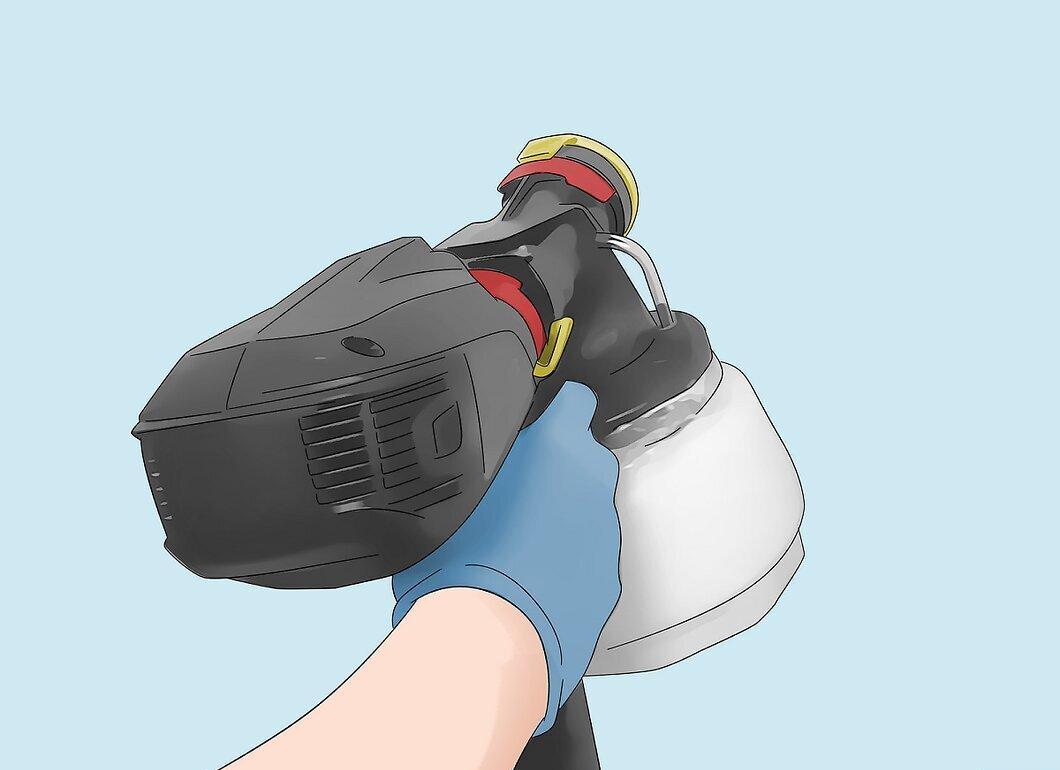
- If possible, have separate sprayers for different stages to save time on cleaning the sprayer in between and avoid mixing colors and types of paint.
Step 8. Set Up Bright, Even Lighting Above at an Angle to Also Highlight the Sides and Avoid Shadows.

- If possible, use full-spectrum lighting to ensure accurate color representation.
Priming the Car Surface
Step 1. Apply a Coat of White, Gray, or Black Primer Depending on the Final Color.
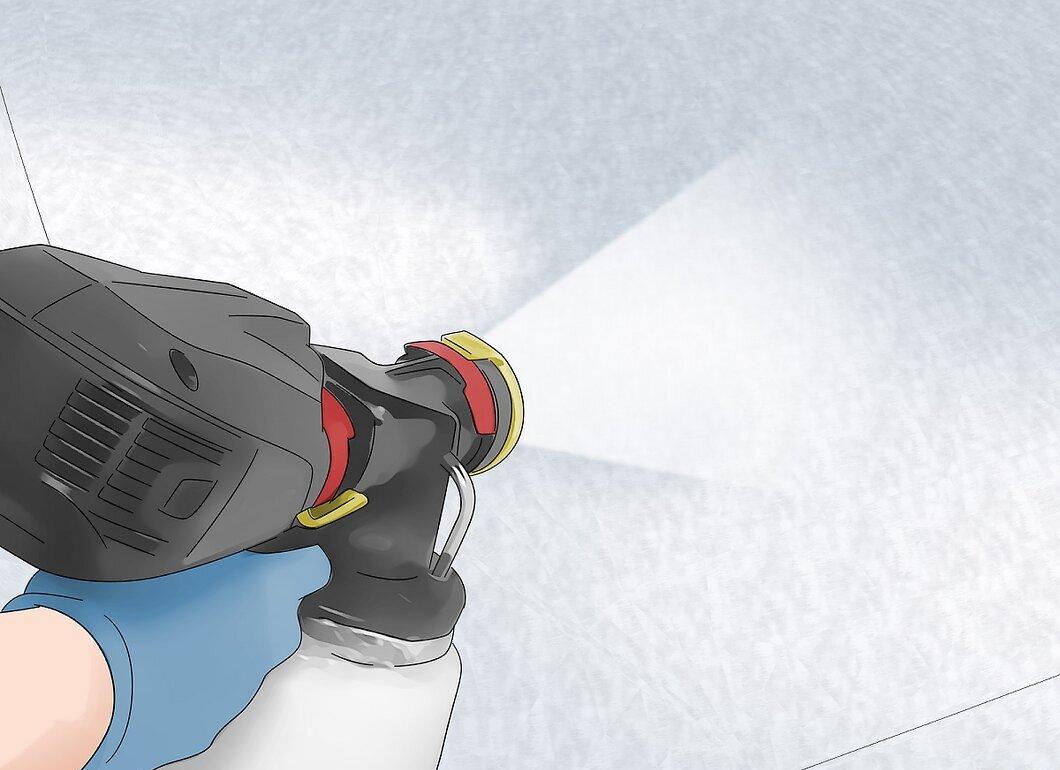
- Overlap each subsequent pass by about 50% to ensure even coverage.
Step 2. Sand the Primed Surface Once It Dries with 600-Grit Sandpaper.
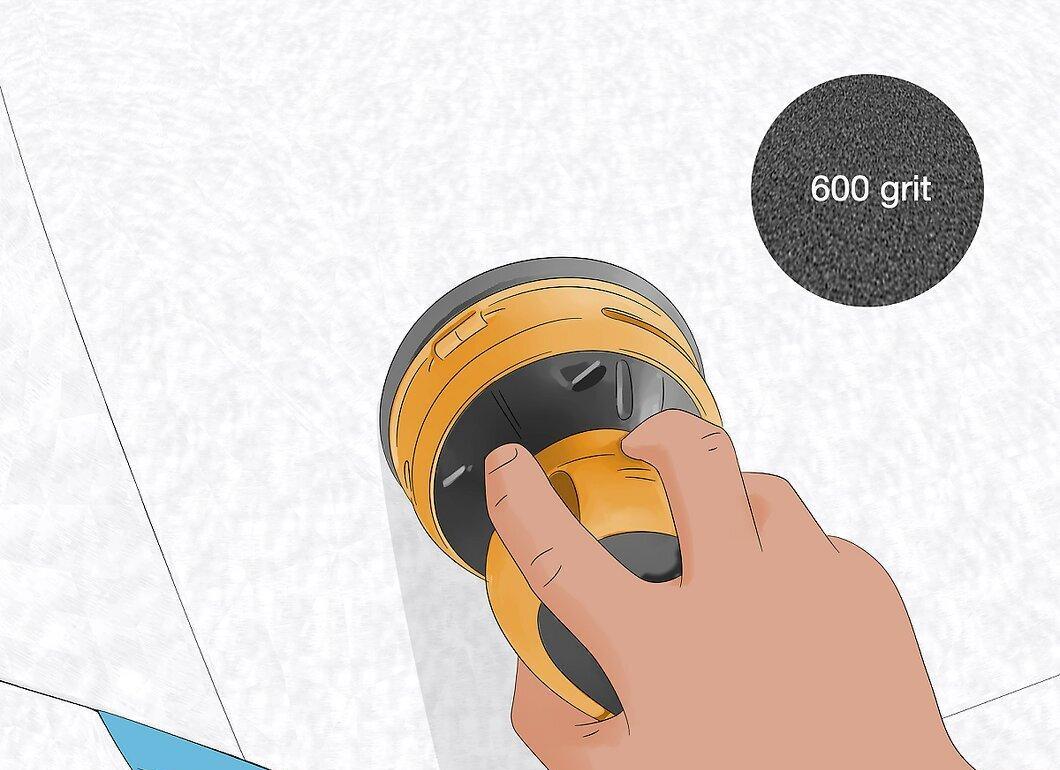
- Check for any signs of body repair or spots that might show through.
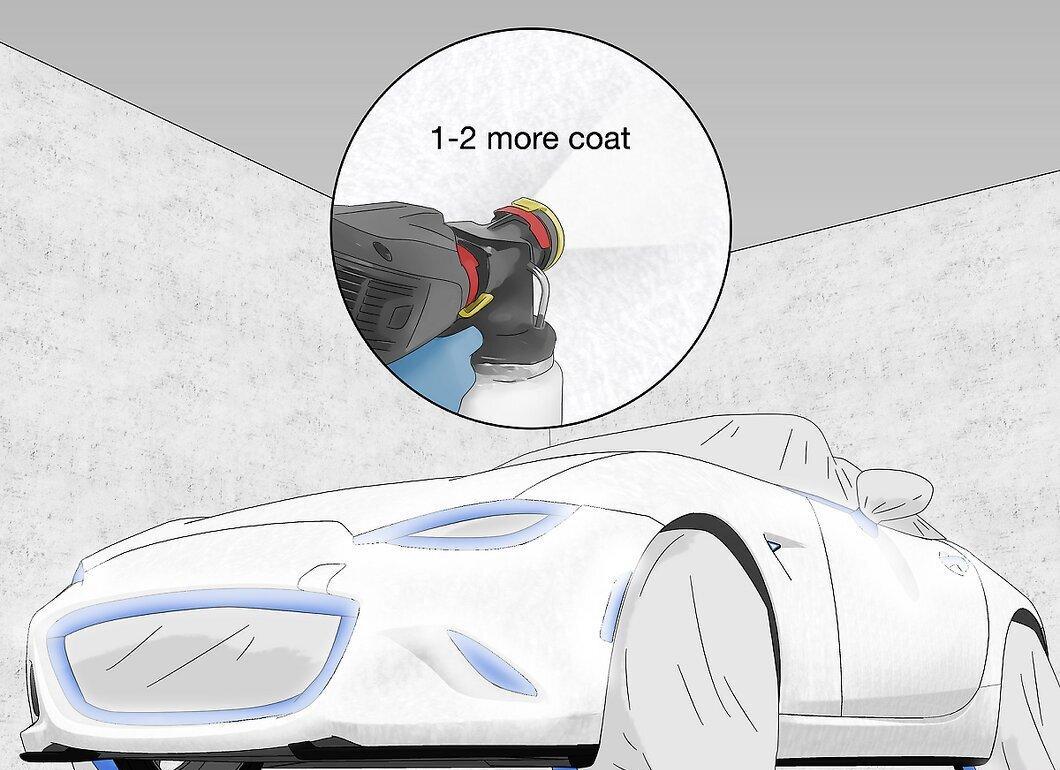
Step 3. Apply One or Two More Coats of Primer Until You Achieve an Even Base Across the Body.
Applying the Base Color
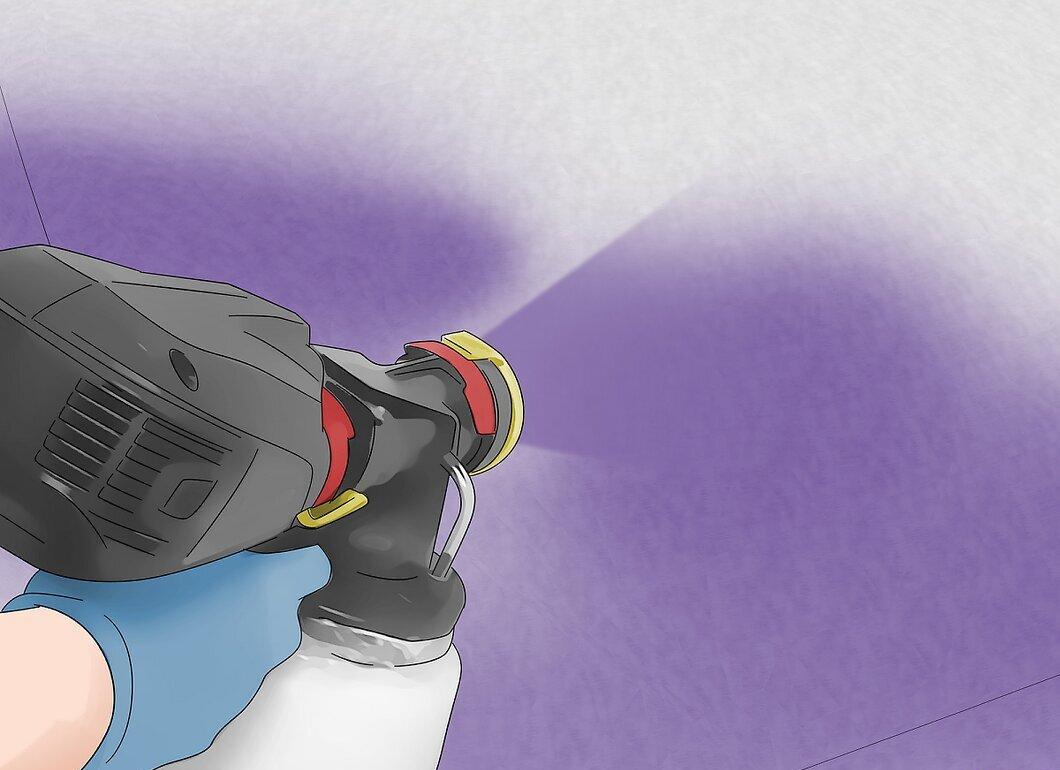
Step 1. Spray a Coat of Base Color, Overlapping Each Pass by 50%.
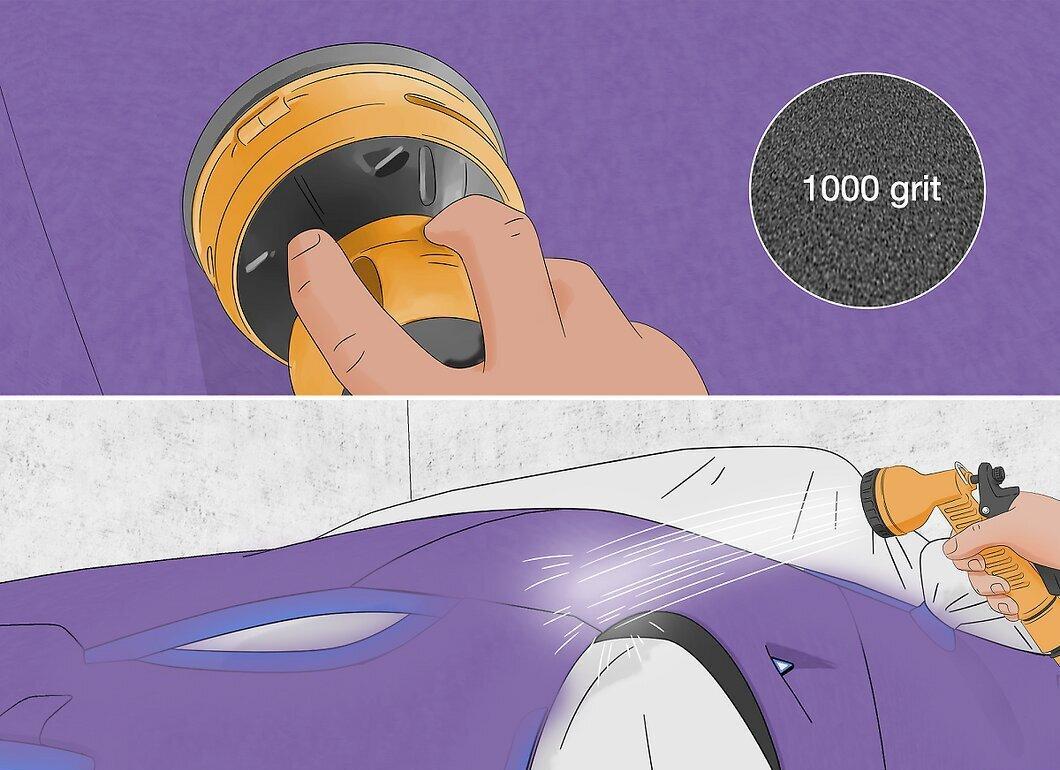
Step 2. Allow the Paint to Dry, Then Sand it with 1000-Grit Sandpaper and Wash the Surface.
Step 3. Check the Color to Decide if It’s the Desired Shade.

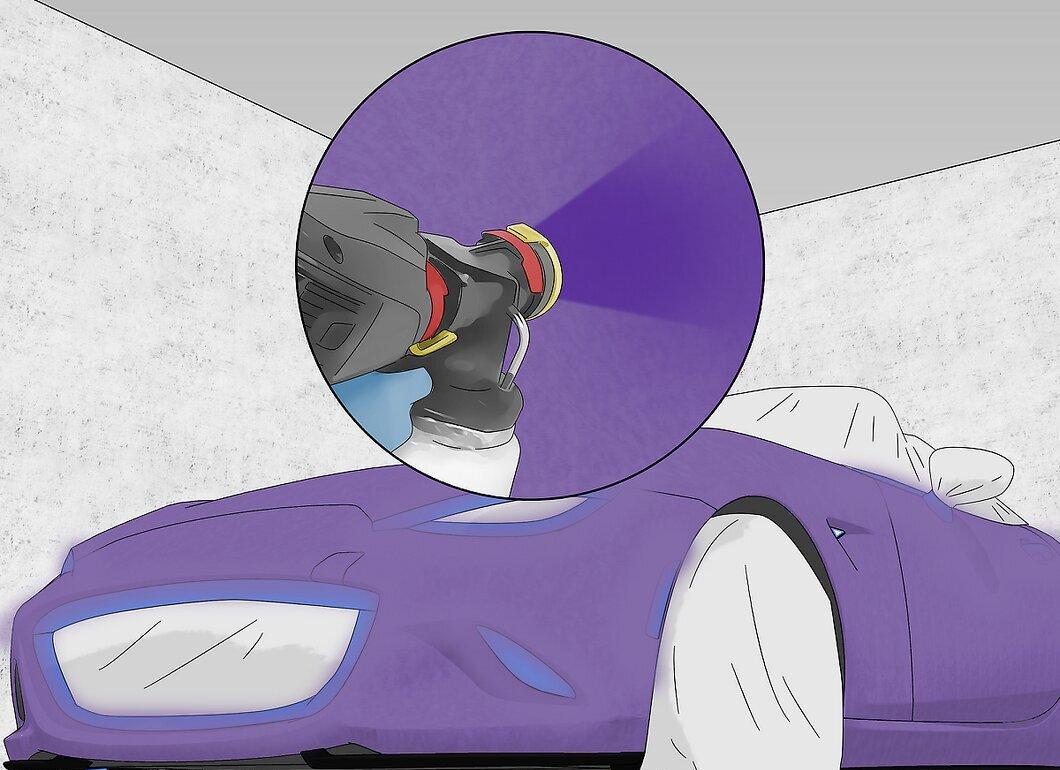
Step 4. Spray at Least One More Coat of Paint to Ensure Even Coverage of the Primer.
Step 5. Decide Whether You Want to Use "Ghost" or "Candy" Pearlescent.
Using Pearlescent Paint
Step 1. Make "Candy" Paint from Pearlescent Powder and Apply It as a Separate Layer.
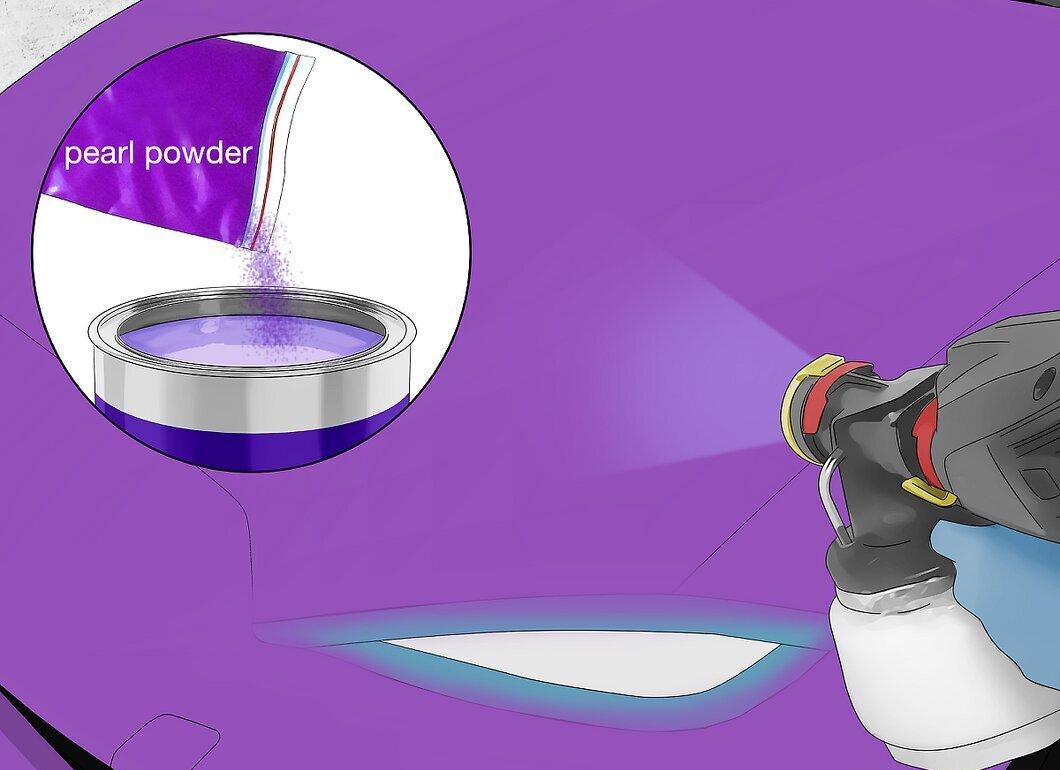
- Since "Candy" paint colors are translucent, like looking through caramel, you will need to apply at least four layers. The color will darken as you add layers. The pearlescent powder in "Candy" paints enhances or complements the base color, depending on the pearlescent color you use. The base color will show through, while the "Candy" paint will tint it, and the pearlescent will add extra deep shine.
- Overlap each subsequent pass while painting by 75%.
- Some specialists also prefer to spray a clear layer of paint between the base color and "Candy" color as an additional sealer.
Step 2. Sand the Surface with 1000-Grit Sandpaper After Each Layer Dries.
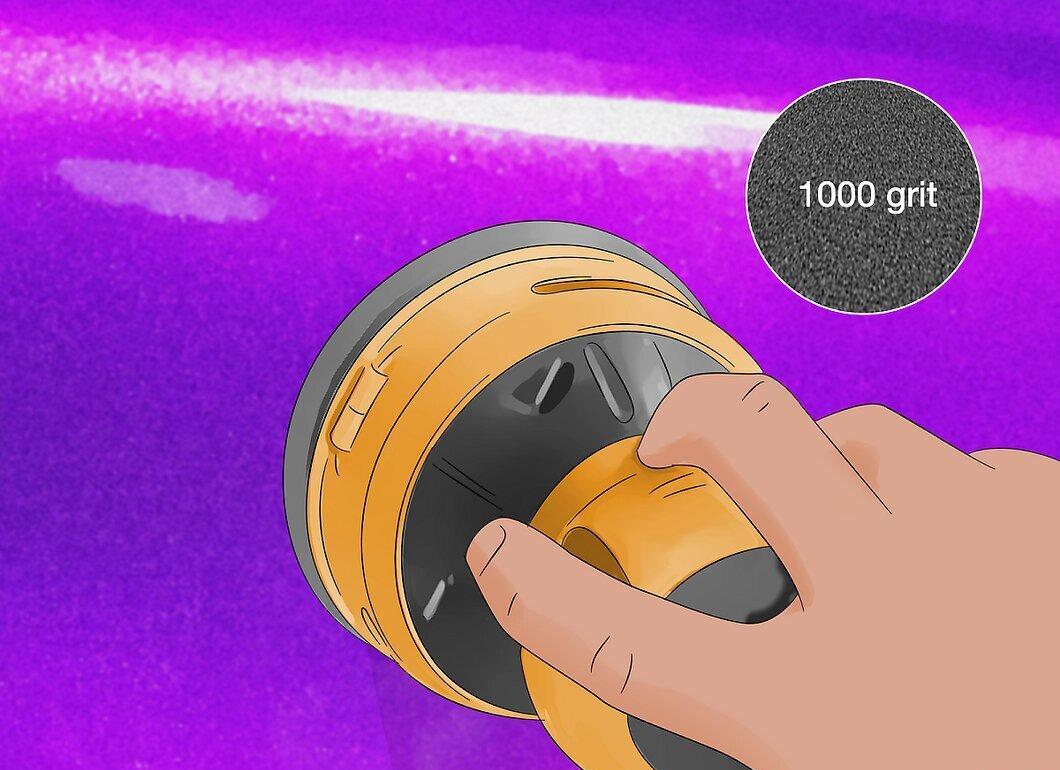
Step 3. Rinse the Surface and Apply Additional Layers Alternately Until You Achieve the Desired Shade and Color Saturation.
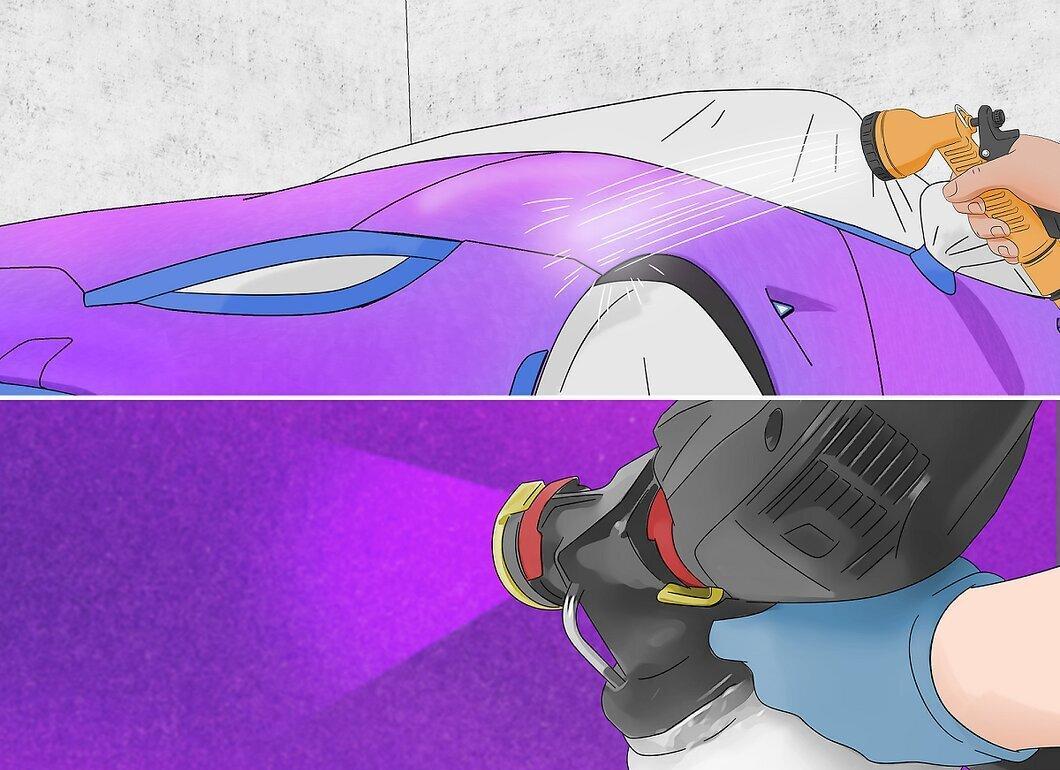
Applying the Finish
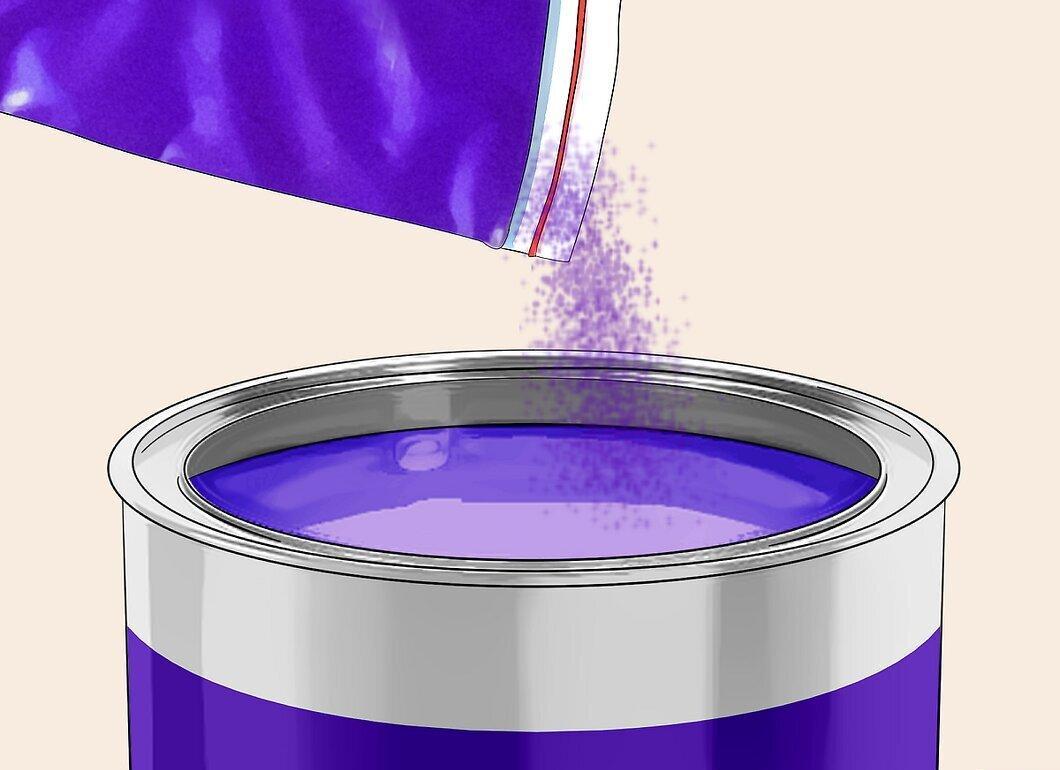
Step 1. Mix Pearlescent Powder with the Base Color.
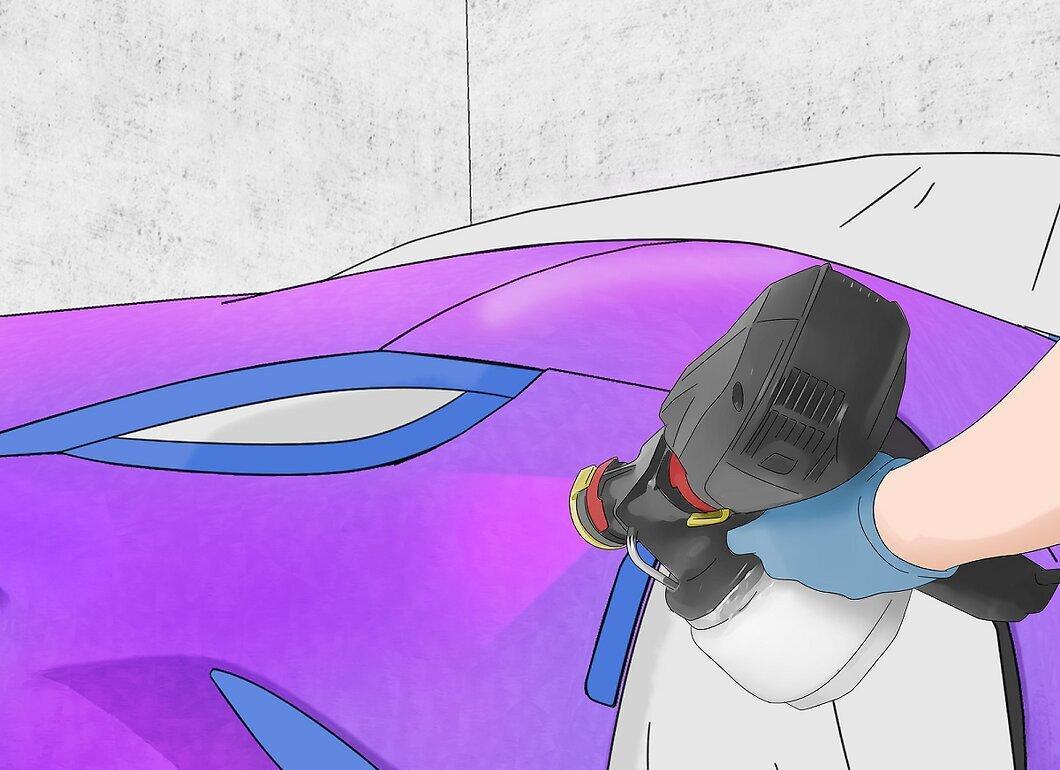
Step 2. Spray the Paint as the Final Color.
Part 6
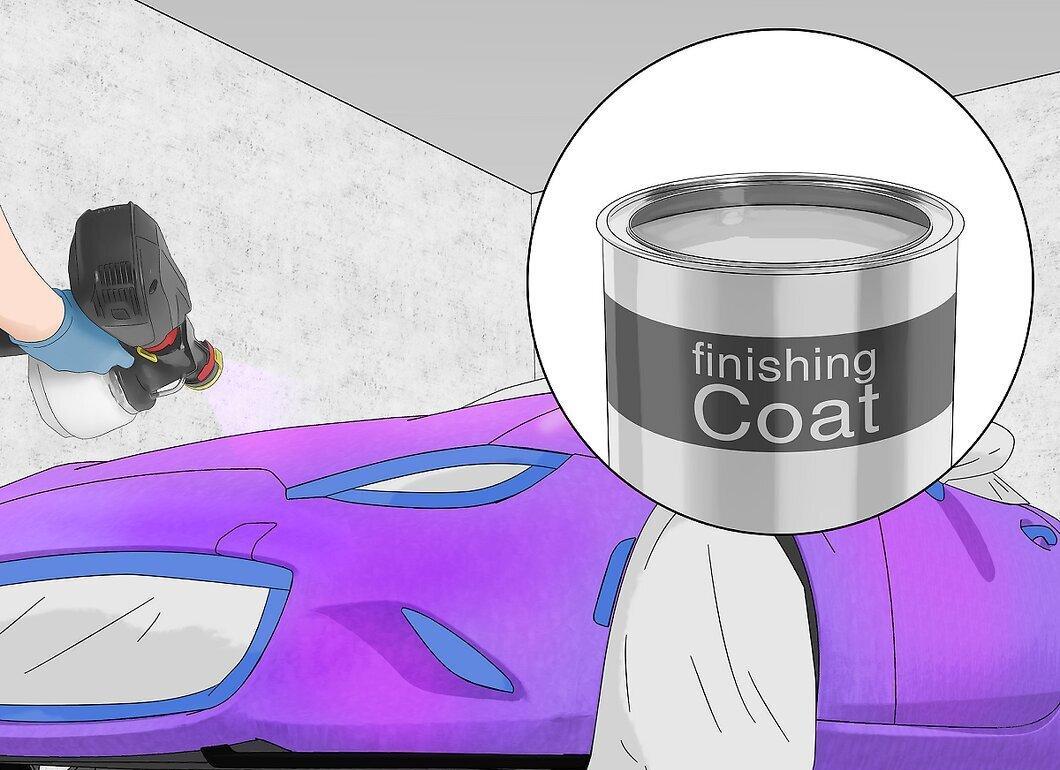
Step 1. Cover and Protect the Color with One or Two Coats of Clear Coat.
Step 2. Sand the Surface One Last Time.