
How to Polish Stones Effectively: A Step-by-Step Guide
Collecting stones can be an engaging hobby for both adults and children. It’s a fantastic and inexpensive way to spend time outdoors while introducing younger generations to science. If you already have a sufficient collection of softer stones, you can polish them to reveal their natural beauty. Polishing stones is simple: just like in nature, you need to rub a soft stone against something harder, like sandpaper or abrasive powder, to remove the outer layer. This can be done by hand without the need for specialized tools or a vibrating tumbler.
Collecting Stones for Polishing
Step 1. Gather or Purchase Stones
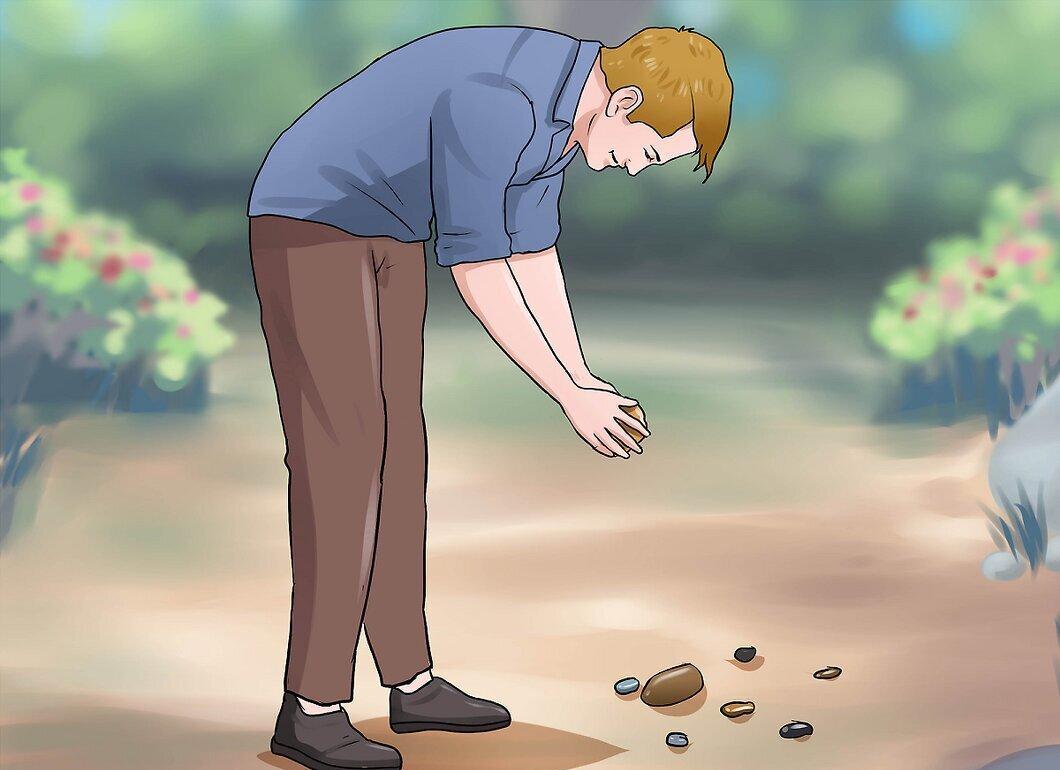
Start by looking for or purchasing stones online. You can collect them yourself, focusing on small specimens about the size of your thumb. Avoid sandstone (which crumbles easily) as well as cracked or broken stones. It’s best not to choose stones with uneven or jagged surfaces, as they will be difficult to polish.
- If you’re new to stone polishing, it might be challenging to select quality specimens on your own. Try to find an experienced collector who can guide you on where to find suitable stones in your area.
- Use the internet to search for information about places where you can find appropriate stones, or visit websites that offer unprocessed and unpolished stones.
Step 2. Choose Suitable Types
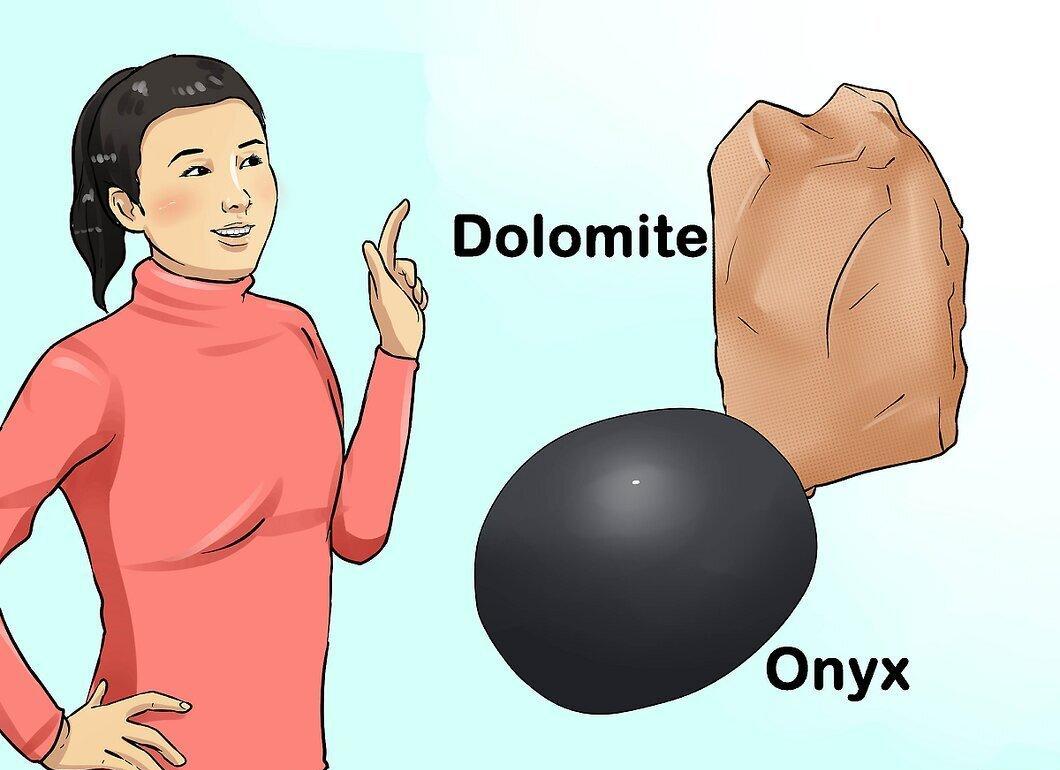
Look for stones that are suitable for polishing. Start with softer types that are easier to work with, such as onyx, calcite, limestone, dolomite, and fluorite.
- The hardness of minerals is measured on the Mohs scale from 1 to 10, where 1 is very soft and 10 is very hard. Most of the listed types have a hardness of 3 or 4.
Step 3. Check the Hardness of the Stone
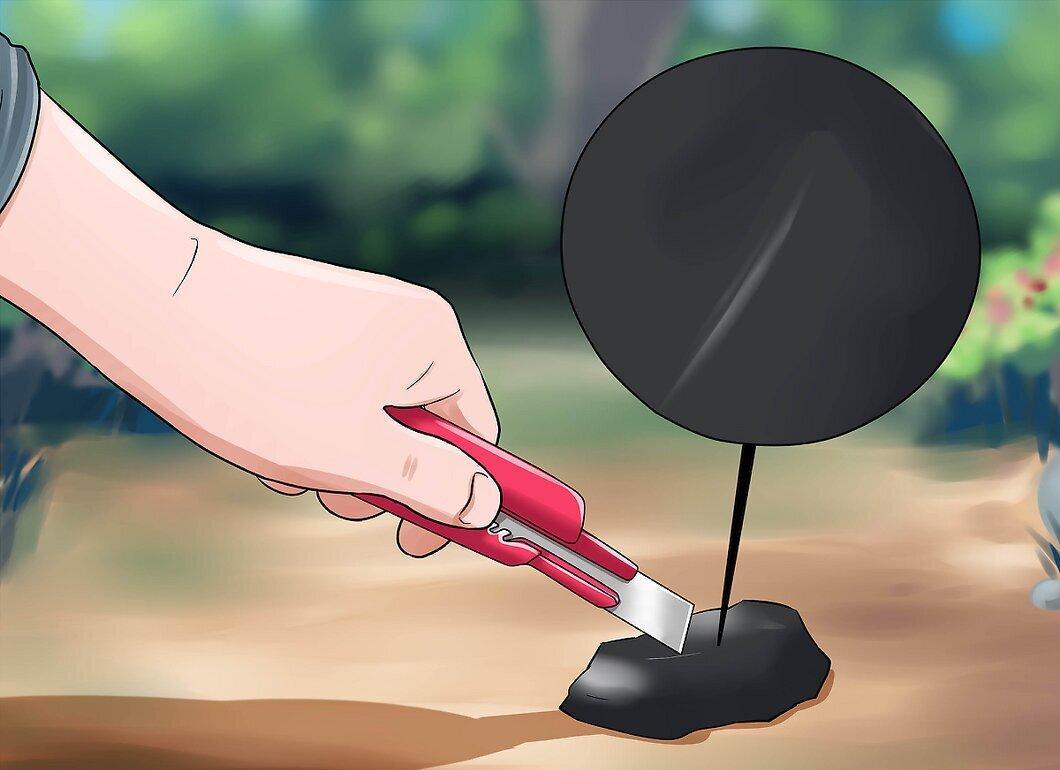
Use the tip of a pocket knife to scratch the surface of the stone. This will help determine if it’s hard enough for polishing. If a white or grainy mark remains on the stone, it’s too soft, and polishing won’t improve its appearance.
- If the blade leaves a shiny mark, the stone is suitable for polishing.
- Be careful with the knife while scratching the stone, directing the blade away from yourself. Start with light pressure and increase it if necessary.
Step 4. Shape the Stone
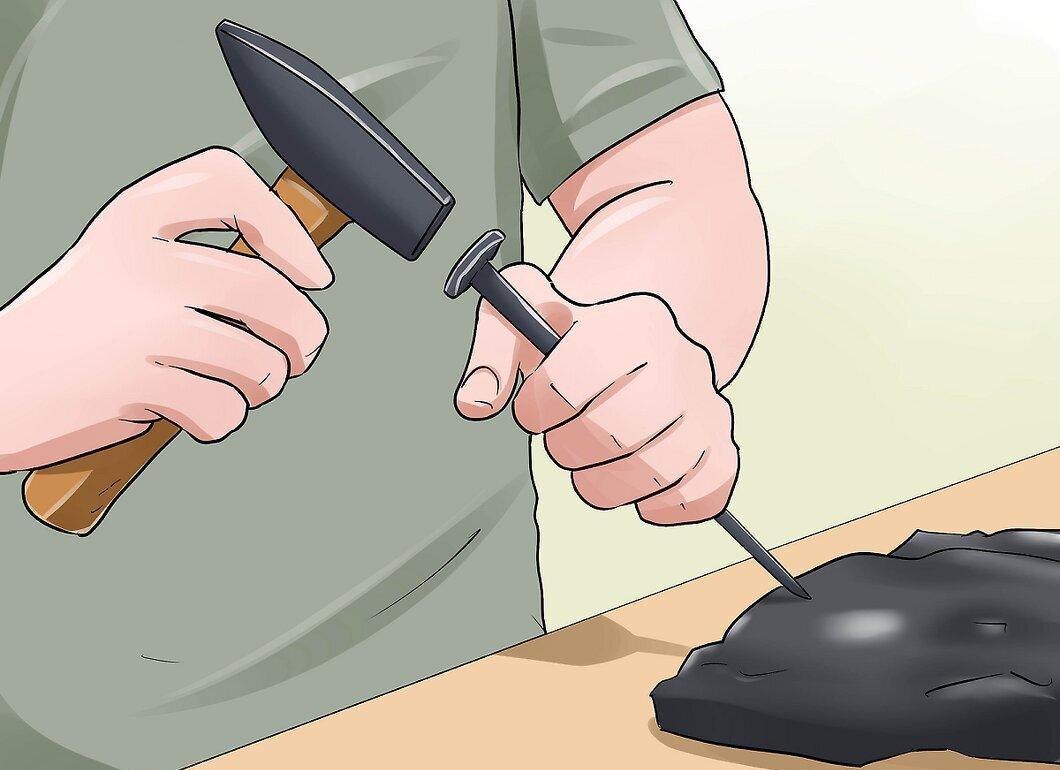
Use a hammer and chisel to shape the stone. Stones often come in bulky and awkward shapes, so aim for a rounded, symmetrical shape. If your stone is large, it’s better to break off any protruding parts first.
- Stone dust can be harmful, so don’t forget to wear safety goggles and a dust mask while working.
- After chiseling, rub the rough edges against a concrete surface to smooth them out a bit.
Step 5. Clean the Stones
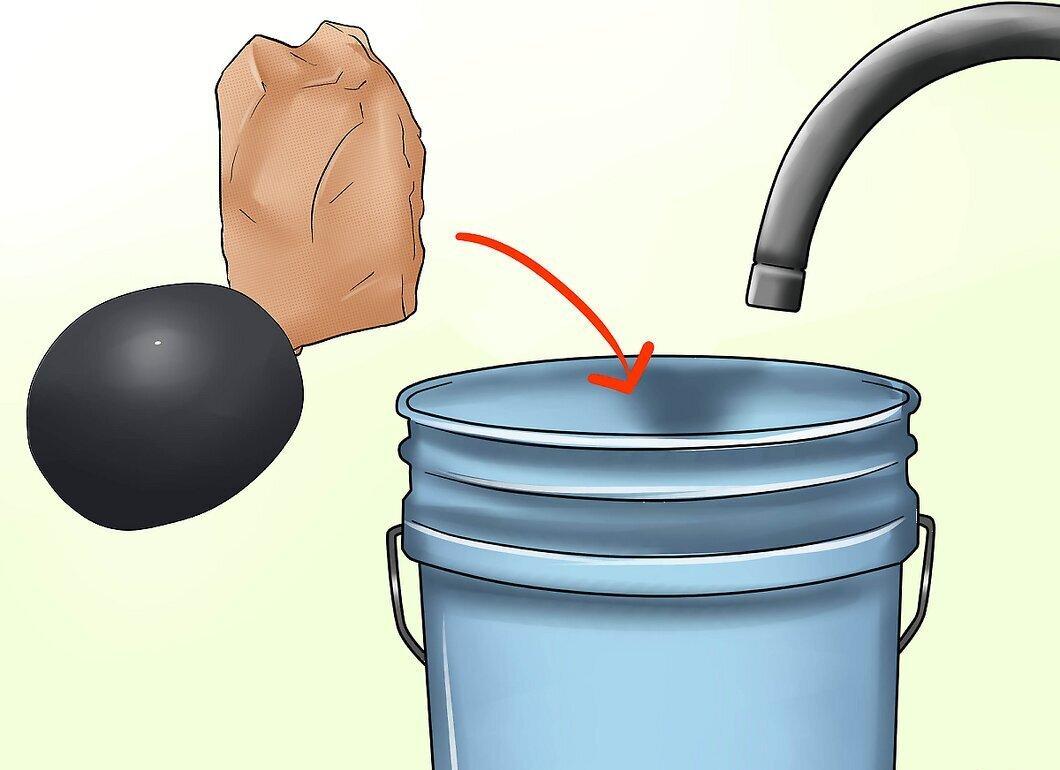
Clean the stones of dirt and sand. Place the stones in a bucket of hot soapy water and let them soak for 30 minutes. This will help soften any grime.
- After that, rinse the stones thoroughly.
- Be sure to clean the stones before polishing; otherwise, dirt will clog the sandpaper and make polishing impossible.
Step 6. Choose Your First Stone to Polish
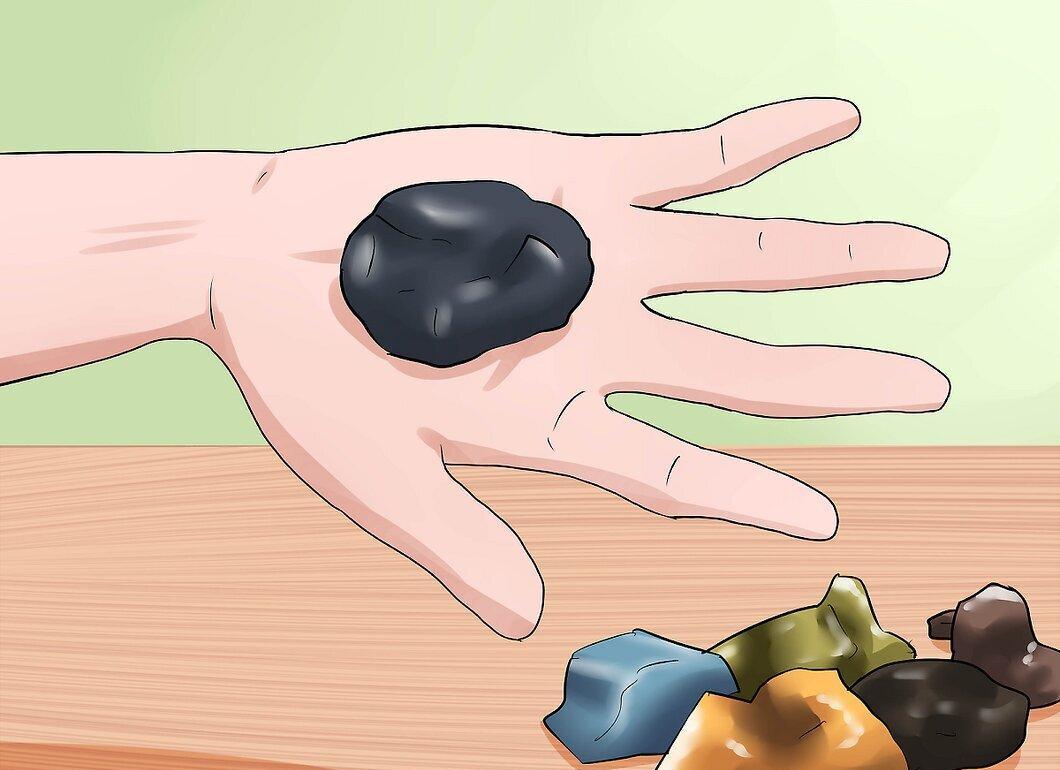
Start by selecting a stone for polishing. It’s best to begin with the softest and smallest stone to gain experience. This stone will be easier and quicker to polish.
- You’ll appreciate the results, and this will inspire you to continue with this hobby.
Hand Polishing Stones
Step 1. Use P60 Sandpaper (25-H)
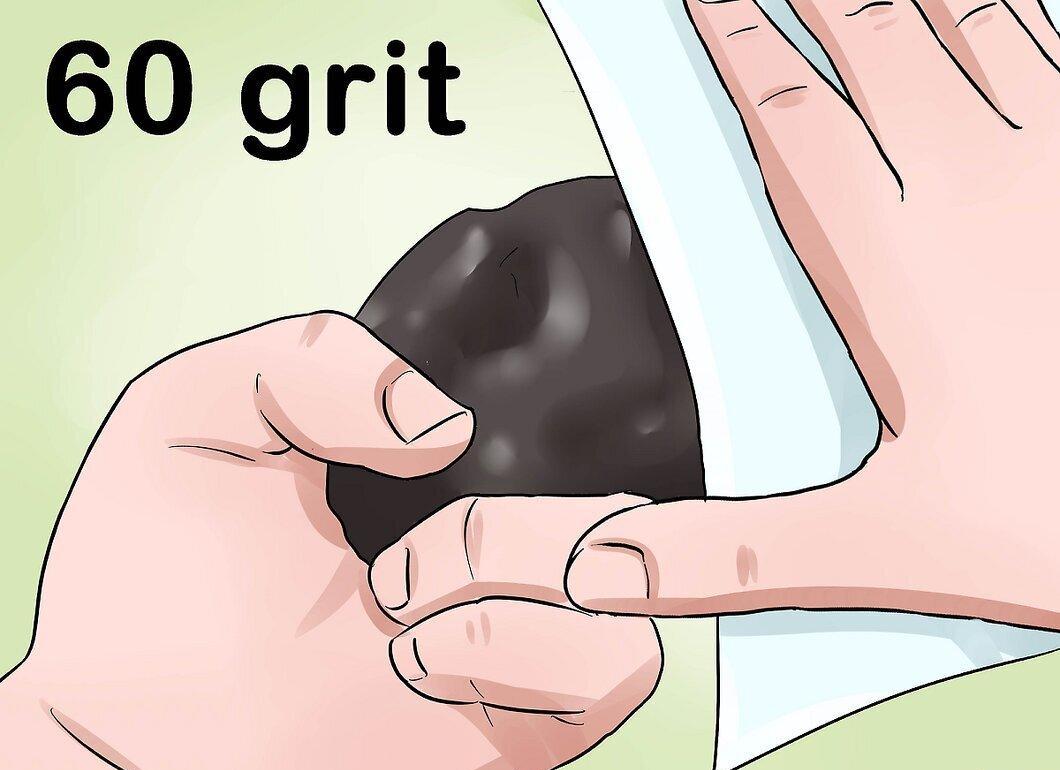
Take P60 (25-H) sandpaper and begin working on the stone. While it’s not meant for final polishing, it will help shape the stone more attractively. Start with the corners to round them off. After that, move on to finer sandpaper.
- Regularly dip the stone in a bucket of water to keep it moist.
- You can find P60 (25-H), P150 (8-H), and P400 (M40/N-3) sandpapers at stores.
Step 2. Dip the Stone in Water
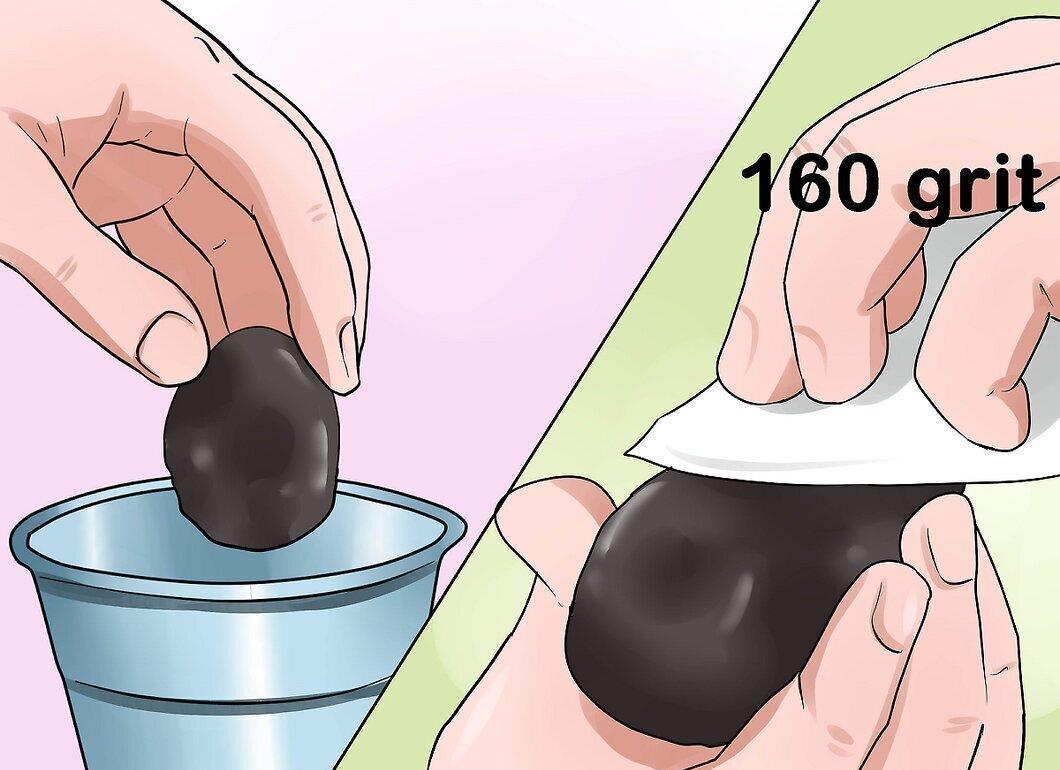
Next, take P150 (8-H) sandpaper and work on the stone to remove scratches left by the coarser paper. Although it will still leave marks, it will smooth out the larger scratches.
- Remember to periodically dip the stone in water to keep it moist. Once you’ve removed the larger scratches, proceed to the next step.
Step 3. Work the Stone with P400 Sandpaper (M40/N-3)
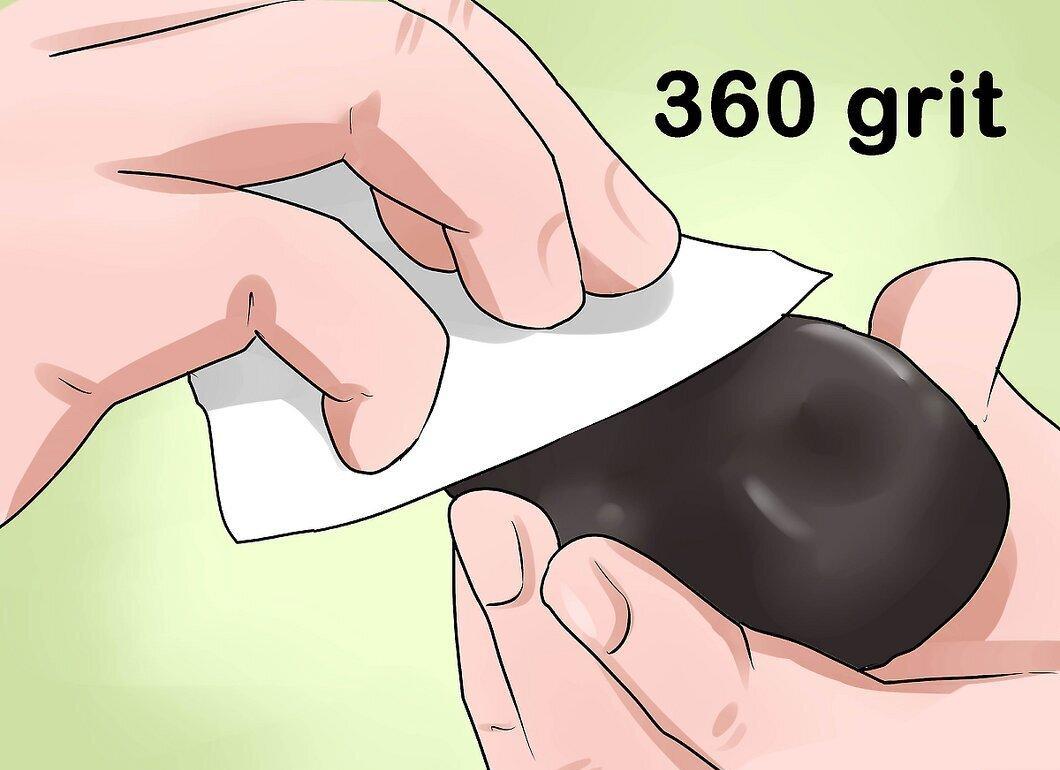
Use P400 (M40/N-3) sandpaper to smooth the surface. This paper removes the larger scratches and leaves finer ones behind.
- Rinse the stone regularly. During sanding, the stone should remain wet.
- Finish sanding when all the large scratches are gone.
Step 4. Polishing with a Vibrating Tumbler
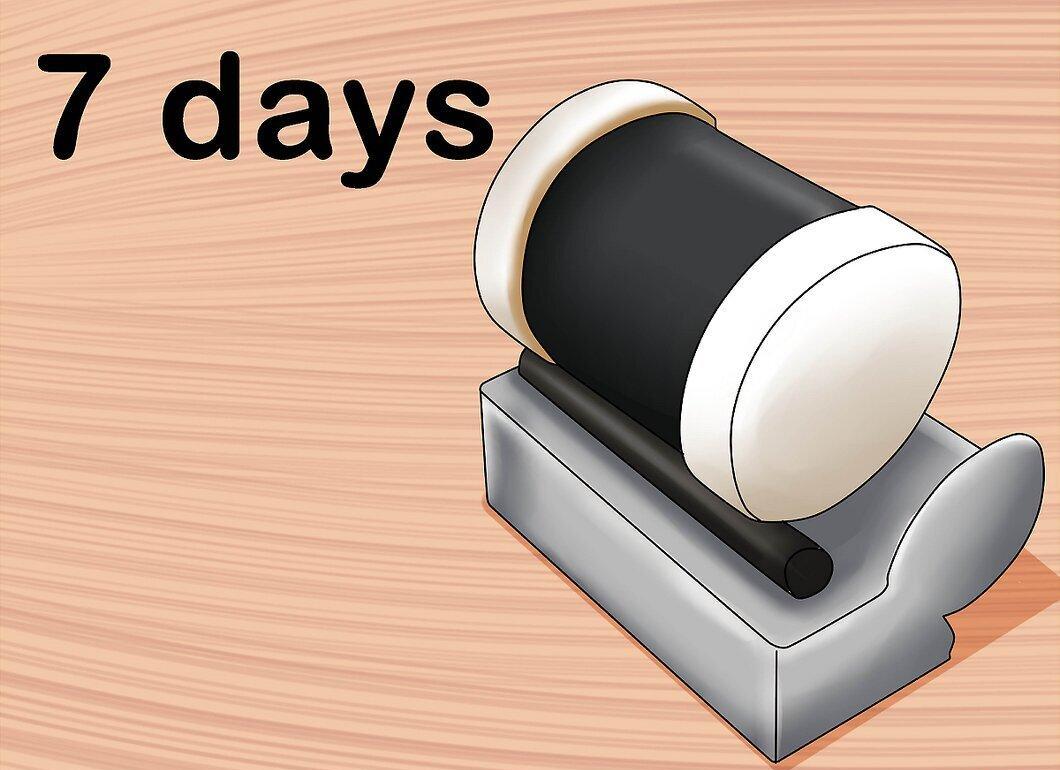
If you don’t have the time or desire to polish stones by hand, use a vibrating tumbler. It works on the same principle, but instead of sandpaper, it uses abrasive powder placed in a container with the stones.
- While using a tumbler requires less effort, it is a lengthy process. You’ll need to grind the stones three times (each time with a finer abrasive), and each grinding takes about 7 days. The final polishing also takes seven days.
Completing the Stone Processing
Step 1. Apply Polishing Powder with Denim Fabric
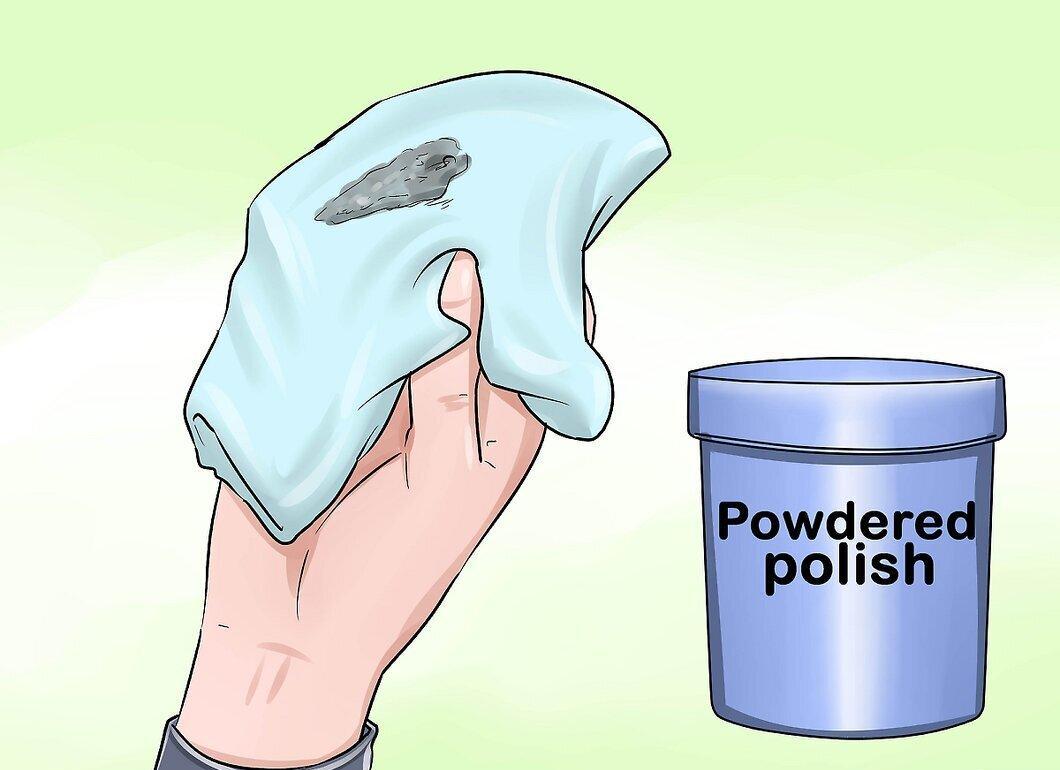
First, polish the stone with denim fabric and polishing powder to make the surface smoother. The powder will remove scratches left by the finest sandpaper and give the stone a shine.
- Don’t use too much powder—start with a small amount (like half a teaspoon) and add more as needed.
- Polishing powder can be found in hardware stores; it’s often used with grinding machines. If you can’t find it, ask the salespeople.
- If you can’t find polishing powder, try specialized stores that sell stone processing tools.
- Note that colored polishing powder may alter the stone's color.
Step 2. Polish with a Leather Strip
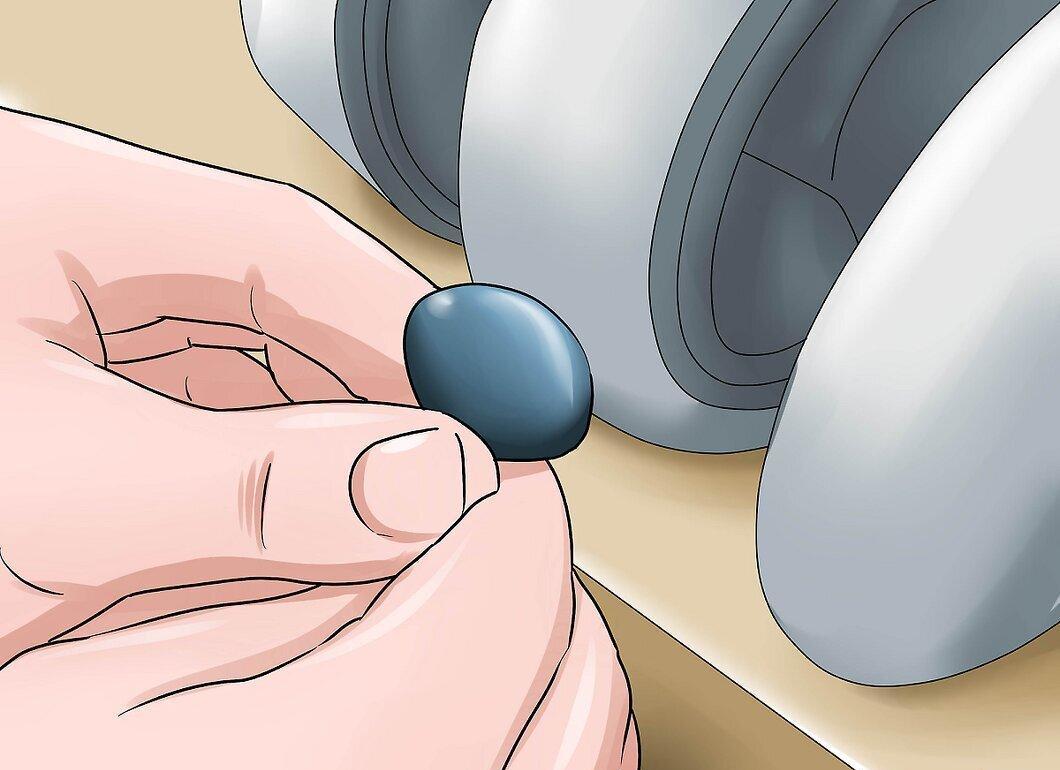
Polish the stone with a leather strip. This can be done after polishing with denim fabric or instead of it. Leather will give the stone a soft sheen and make it smooth to the touch.
- To achieve a more uniform surface, you can add a bit of polishing powder.
Step 3. Treat the Surface with Iron Oxide Powder
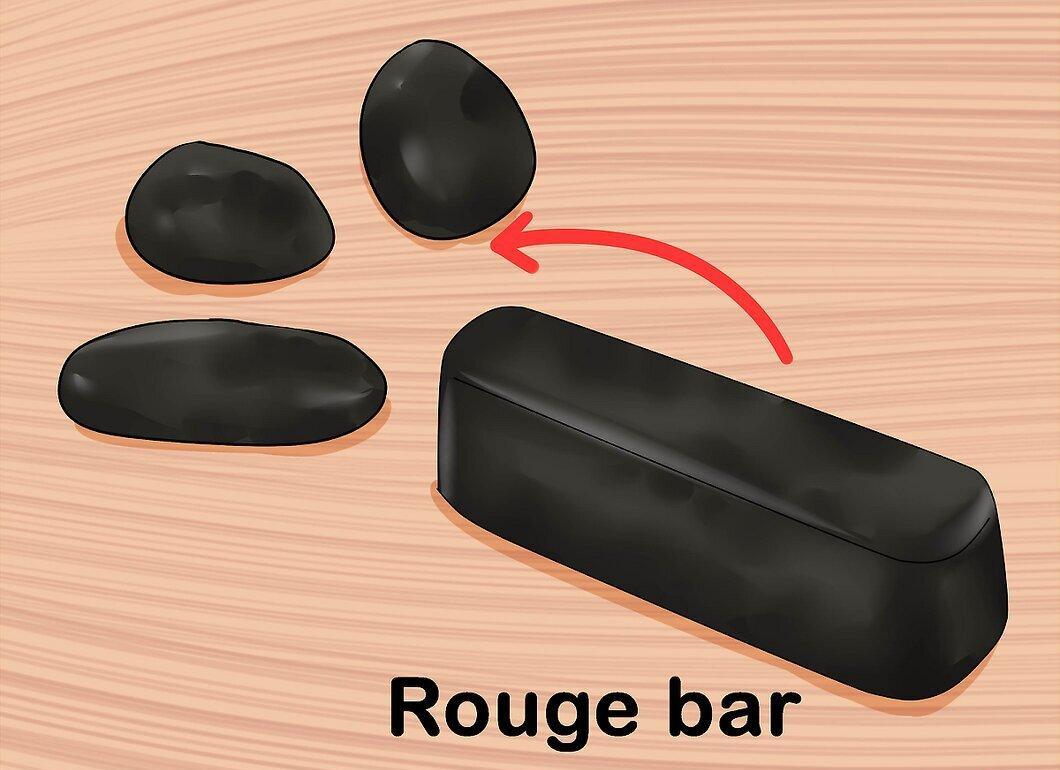
Treat the polished surface with iron oxide powder. This powder is commonly used by jewelers for finishing jewelry, but it’s also suitable for polishing stones. Apply it to denim fabric or leather and rub the stones.
- This step is optional. Iron oxide can give the stones a reddish tint, so ensure that the color of the stone and powder match. If you can’t find the powder in a hardware store, check specialized or jewelry stores.


