
Even the most experienced knitters face challenges when it comes to keeping scarf edges from curling. But don't worry! There are plenty of techniques to maintain a beautiful and flat scarf: from adding a border to working the edges correctly. With these tips, you'll be on your way to creating your best scarf yet.
Part 1
Step 1. Block the scarf if the yarn type allows it.
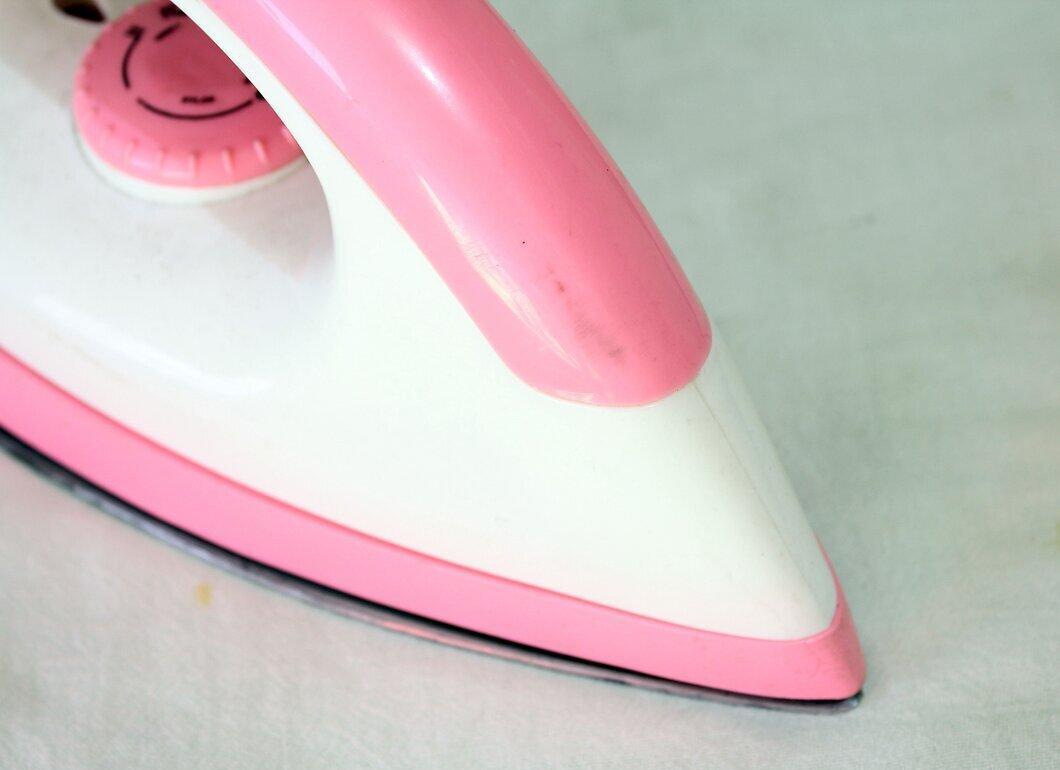
Block the scarf if the yarn type allows it. (This usually works only with wool or wool-blend yarns. Acrylic is not suitable.) Blocking involves steaming or pressing the garment. Always check the labels on your yarn! Set your iron to a medium/low temperature. You can adjust it higher or lower depending on the yarn used for knitting the scarf. Iron the scarf on the reverse side, which is the wrong side.
Step 2. Add a border.
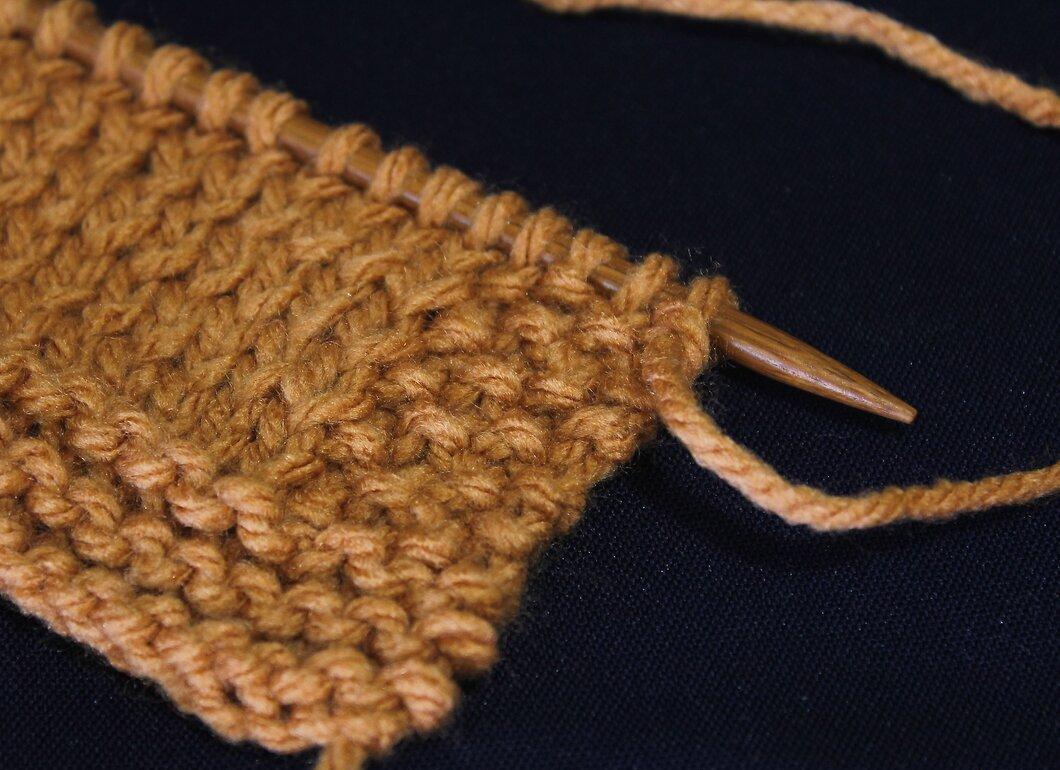
Add a border. Make 4 additional stitches on each edge when you cast on, always knitting them in seed stitch (K1P1 on the right side, P1K1 on the wrong side) or ribbing (k2 on the right side and k2 on the wrong side).
Step 3. Work the edges.
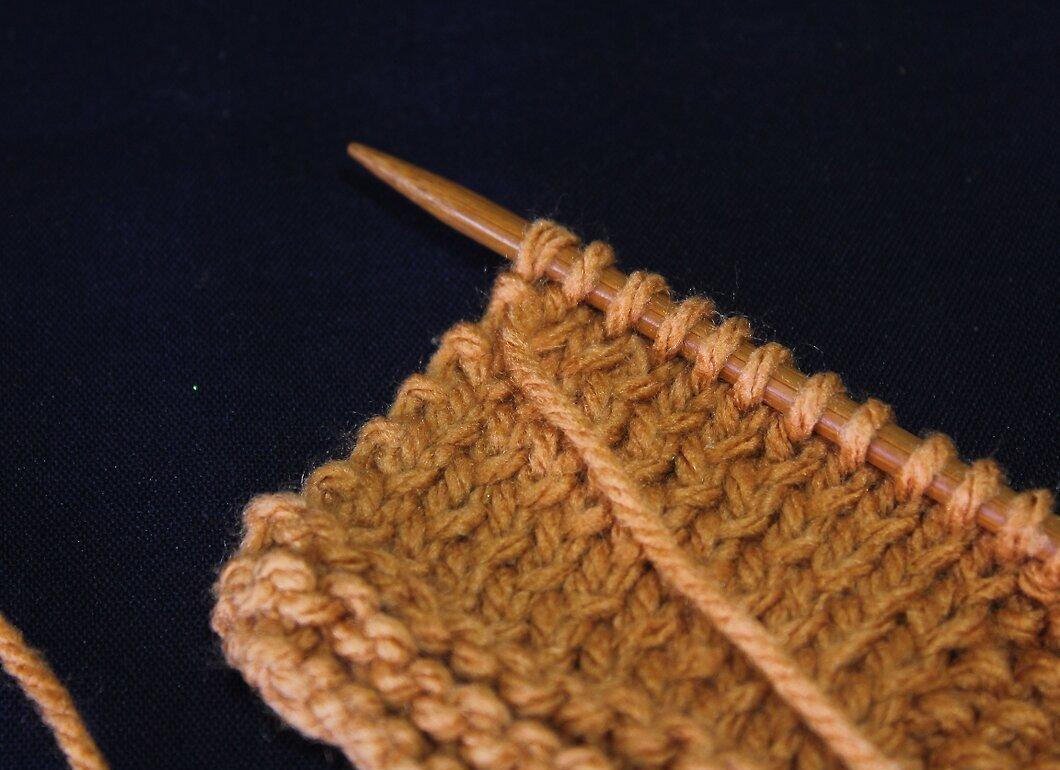
Work the edges. Add 2 extra stitches when casting on. Now you will always knit the first stitch and skip the last stitch, ensuring you capture the yarn before it slips away, so it’s always ready for your return. This will create a straight edge, which is also very convenient when knitting pieces that will be sewn together.
Step 4. Attach a dense fabric lining to the wrong side of the scarf.
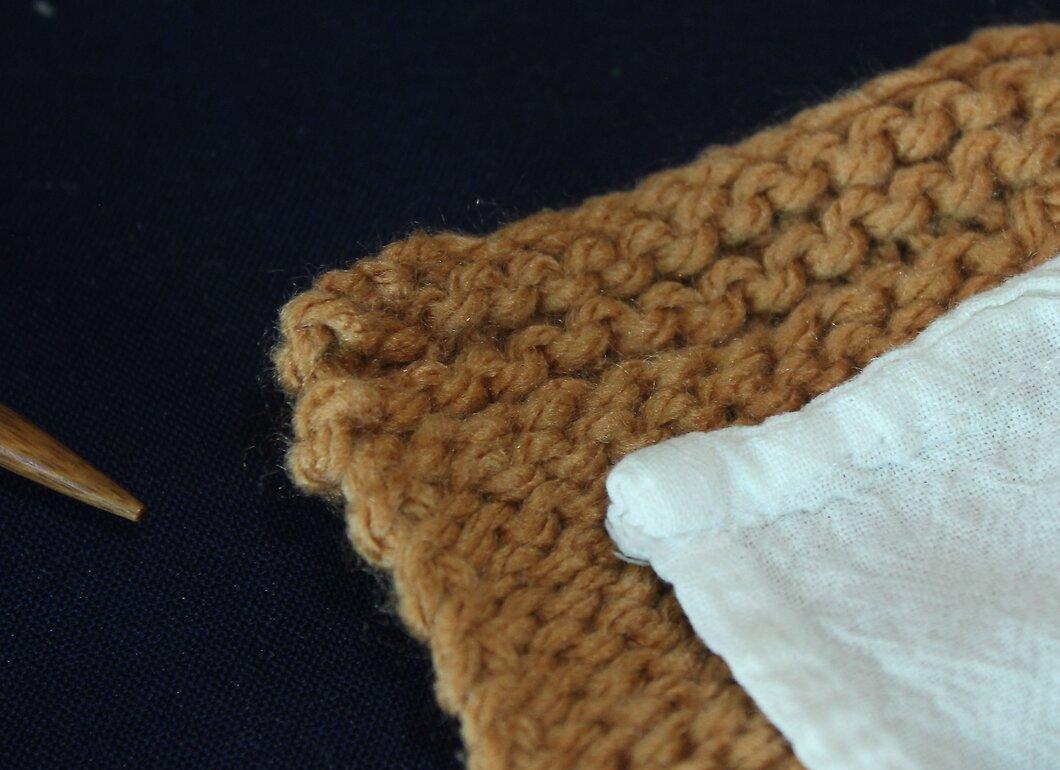
Step 5. Use a stitch that won’t curl while knitting the scarf.
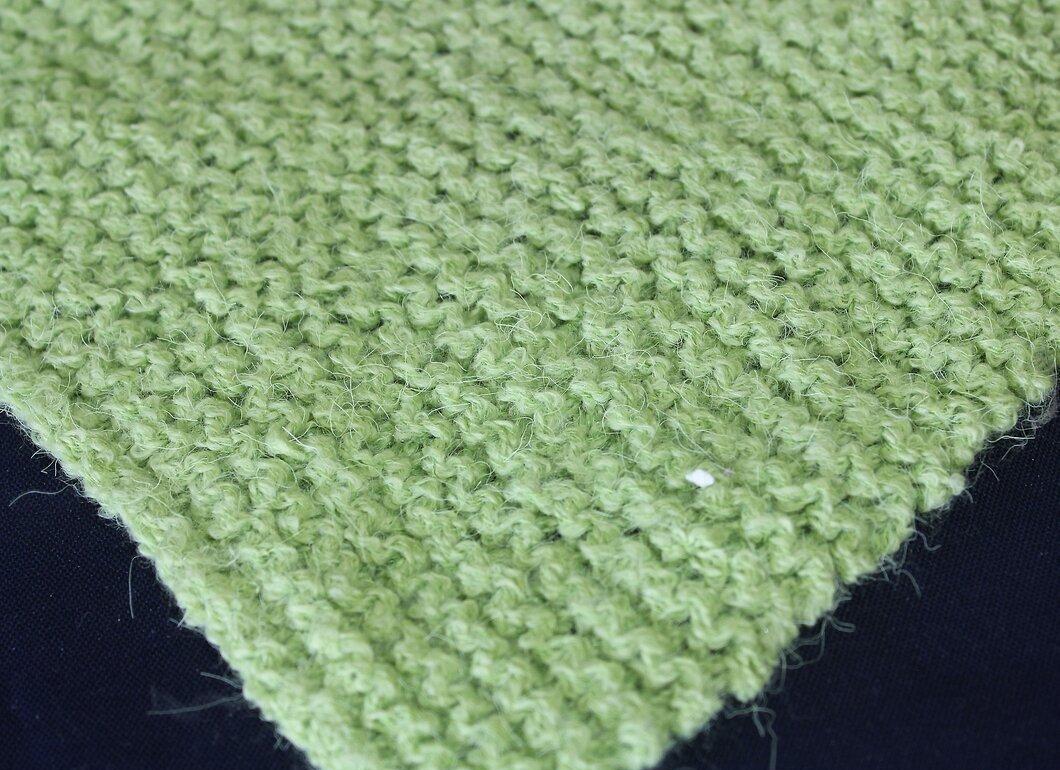
Use a stitch that won’t curl while knitting the scarf. Good options include: seed stitch, basketweave, and ribbing. Steer clear of purl stitch like the plague.


