
Printing your own design on a t-shirt is a fun and affordable way to create custom shirts for your group, sports team, or simply to add a unique piece to your wardrobe. Start by purchasing a few plain t-shirts and deciding on the design and method you'll use to apply it. This article provides instructions for applying a design in three different ways: stencil, screen printing, and decal.
Applying a Design with a Stencil
Step 1. Gather Your Materials.
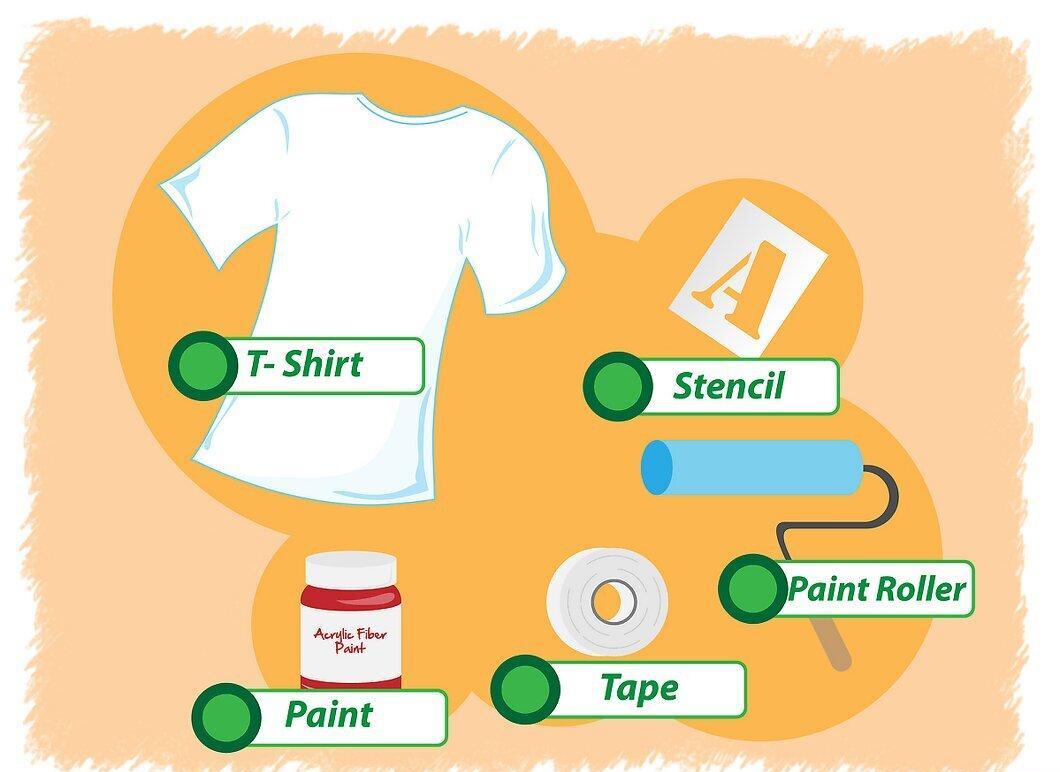
Gather all your materials. For applying a design using a stencil, you probably already have most of what you need on hand. If not, you will need to visit an art supply or craft store. Here’s what you’ll need:
- T-Shirt. A regular plain cotton t-shirt will work just fine. Keep in mind that some inks and paints may bleed through the fabric, so if that’s a concern, choose a thicker material. The color of the t-shirt should be light enough (or dark enough) for the color you use for the design to contrast well.
- Stencil. You can buy a ready-made stencil from an art supply store or make your own out of cardboard.
- Paint or Ink. Fabric acrylic paint works great for applying a design on a t-shirt. You may also use fabric ink or another dye. Look for a dye that won’t wash out in the washing machine.
- Small Paint Roller and Paint Tray. The roller is needed to apply paint evenly to the fabric. If you don’t have a roller, a wide brush will work too.
- Tape. Tape is necessary to keep the stencil in place while you apply the paint. Painter's tape works well.
Step 2. Wash the T-Shirt.

Wash the t-shirt. Cotton t-shirts may shrink a bit after the first wash, so it’s important to wash and dry it before applying the design. If you apply the design first and then wash the t-shirt, it may distort. Once the t-shirt is dry, iron it.
Step 3. Prepare Your Workspace.
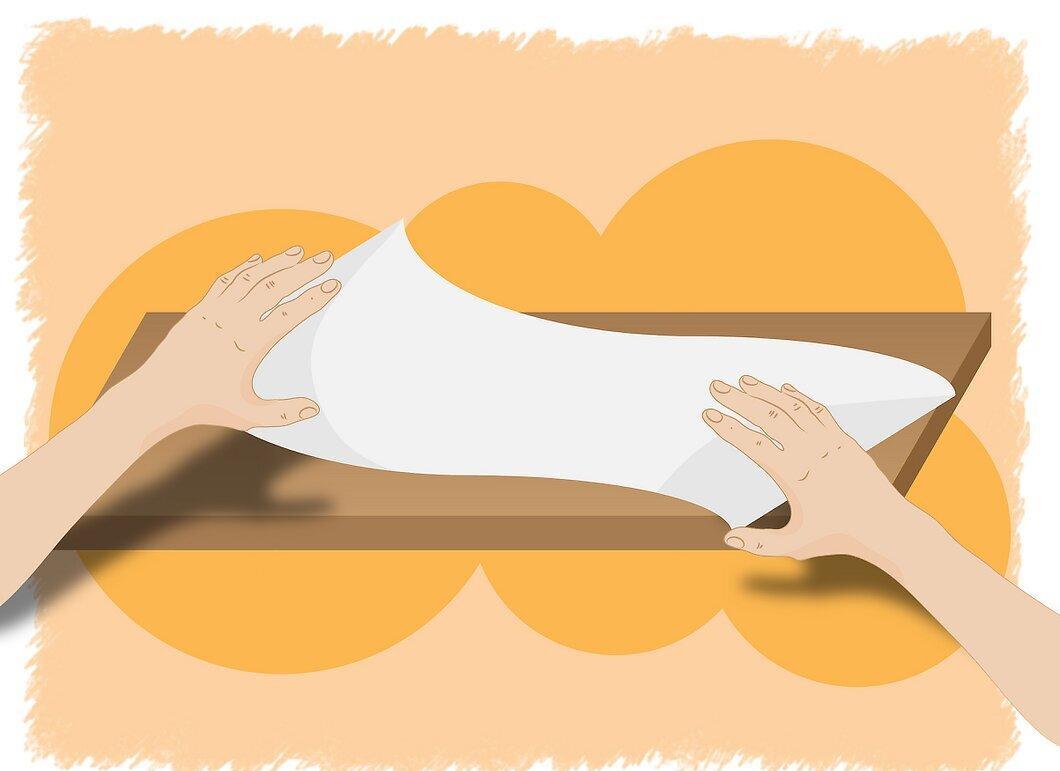
Prepare your workspace. Cover a flat, hard surface with wrapping paper or old newspapers. Place the t-shirt on top and smooth it out so that there are no wrinkles or creases. Position the stencil on the t-shirt where you want the design to be. Use tape to secure the edges of the stencil in place.
- If you’re worried about the paint bleeding through the fabric, place a piece of cardboard inside the t-shirt. This way, the paint won’t seep through to the other side.
- To avoid getting paint on your nice shirt, wear something older before starting your project.
Step 4. Prepare the Roller.
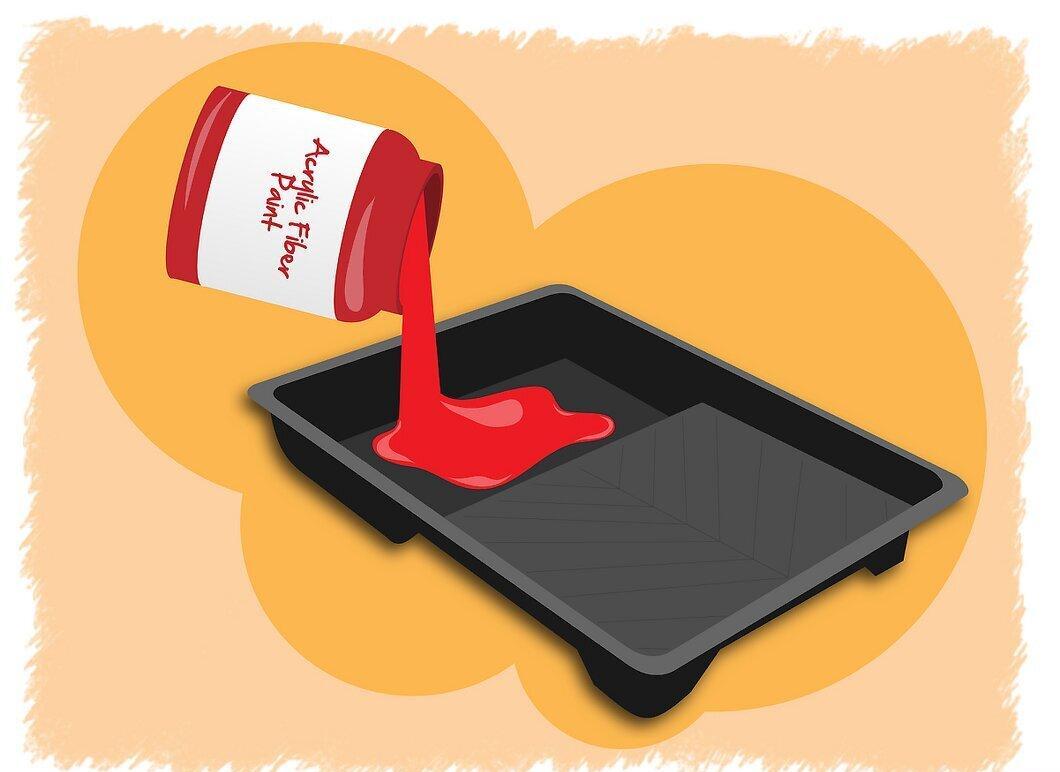
Prepare the roller. Pour the paint into the tray. Dip the roller into the tray several times so that it is evenly covered with paint. Do a test stroke on a piece of paper.
Step 5. Apply Paint to the T-Shirt.
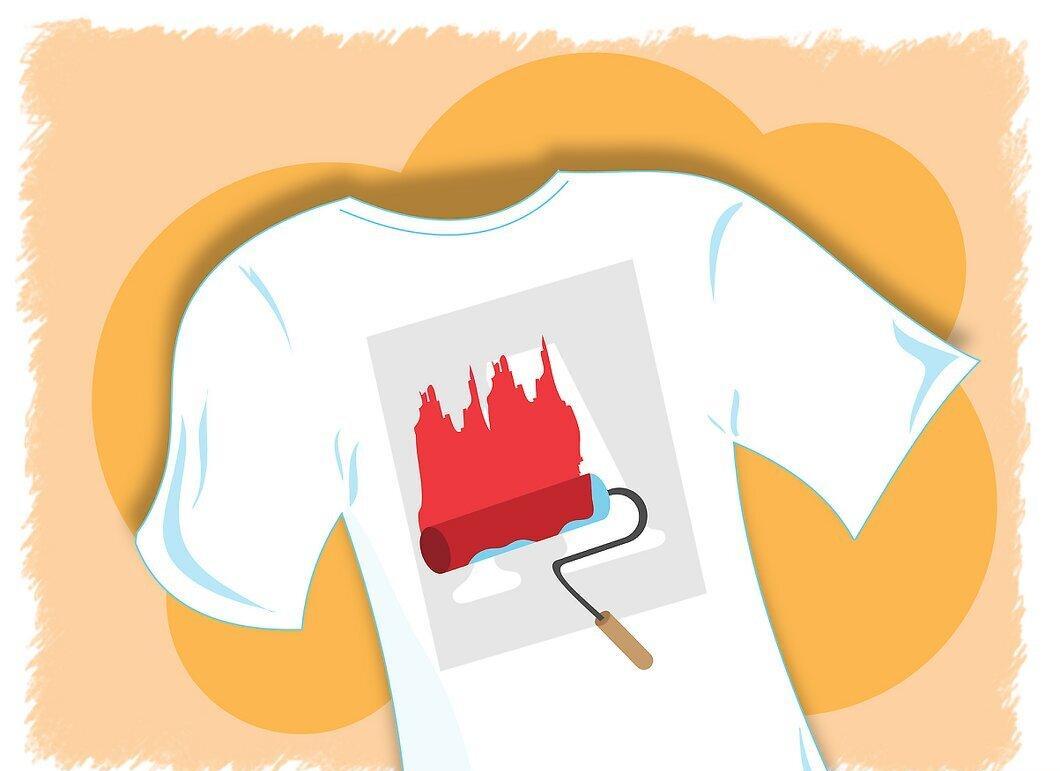
Apply paint to the t-shirt. Use firm, confident strokes to fill in all the openings in the stencil with paint. You can cover the stencil itself by a few centimeters with paint, just make sure not to go beyond its edges.
Step 6. Remove the Stencil.
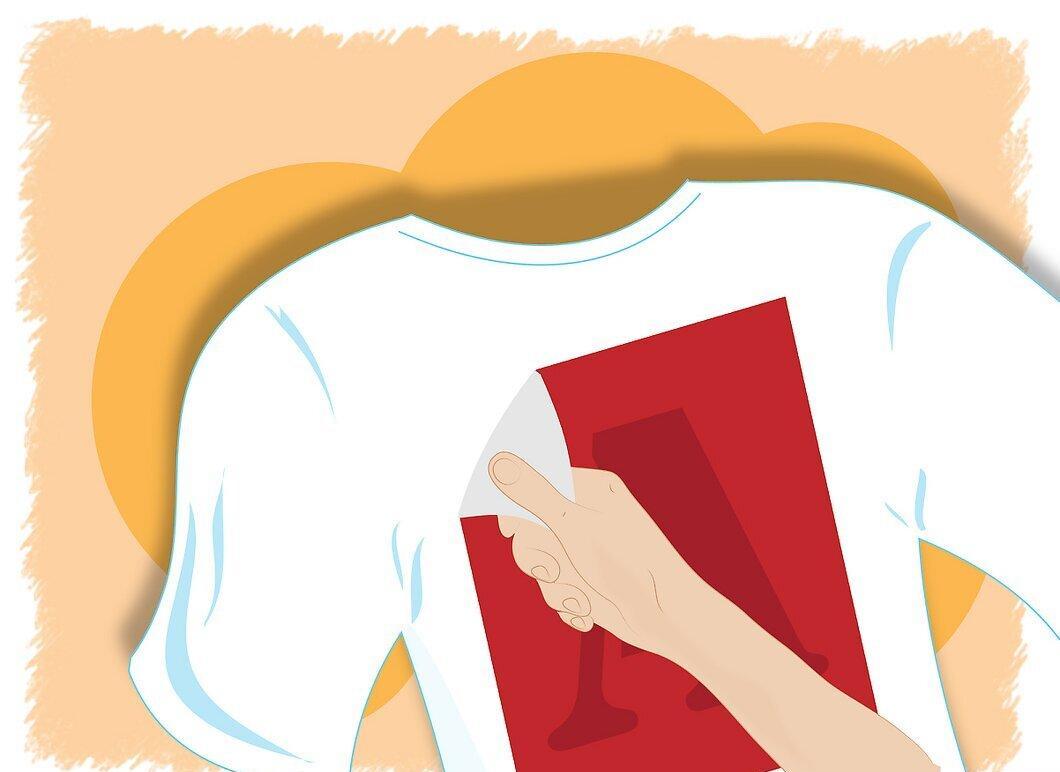
Remove the stencil. Carefully lift the stencil off the t-shirt and set it aside. Do not touch the t-shirt until the paint is completely dry.
Step 7. Iron the T-Shirt.
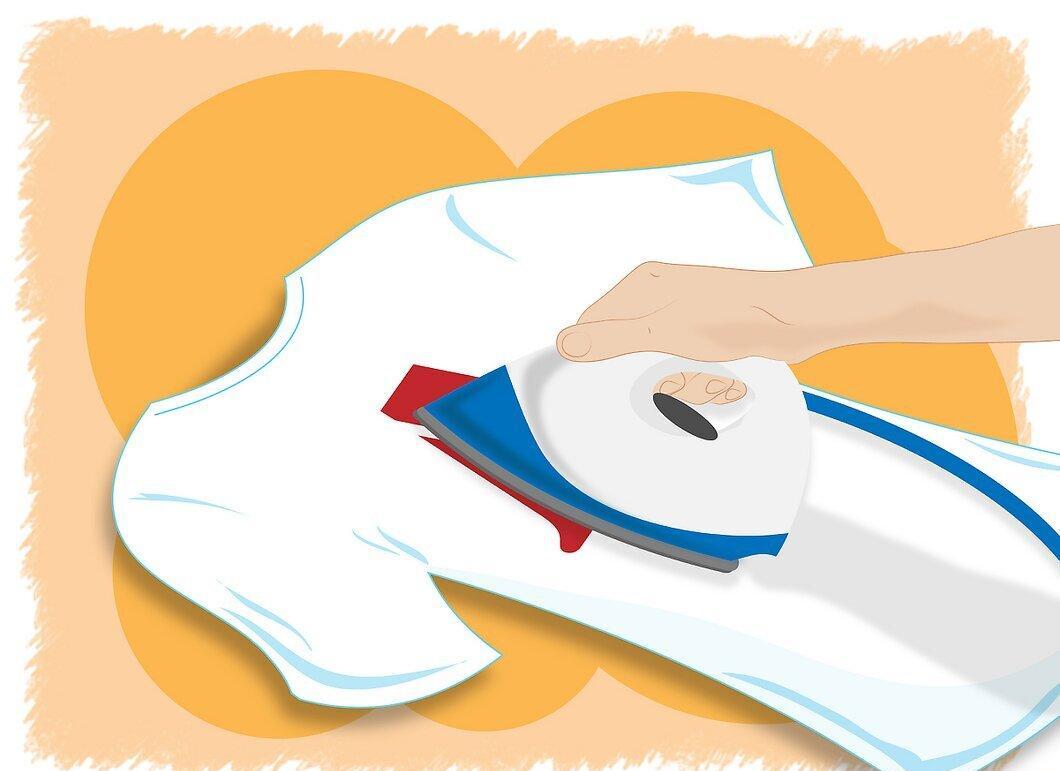
Iron the t-shirt. Once the paint is completely dry, iron the design through a thin cloth (such as a thin towel) using a hot iron. This will help the paint adhere firmly to the fabric and prevent it from peeling off.
Step 8. Wear and Wash the T-Shirt.

Wear and wash the t-shirt. There are no special restrictions on wearing a t-shirt with a homemade design. For the first few washes, you should wash the t-shirt by hand in cold water. Over time, you can wash it in the machine with your other laundry.
Applying a Design with Screen Printing
Step 1. Gather Your Materials.
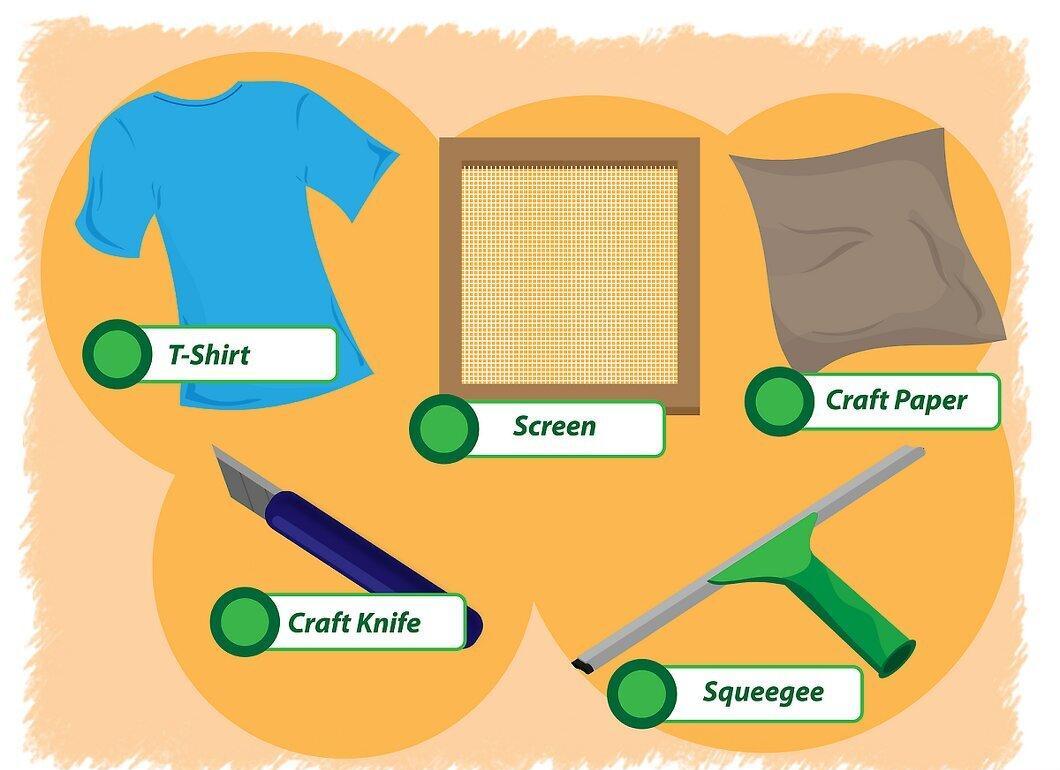
Gather your materials. Screen printing is an applied graphic technique, and its complexity depends entirely on you. Screen printing uses a stencil mesh that allows the paint to be evenly distributed across the fabric according to the sketch. Using this method, you can apply several layers of paint to the fabric, which allows for many details in the design. Here’s what you’ll need:
- T-Shirt. Screen printing works for all types of fabric, but cotton is best for beginners. Be sure to wash, dry, and iron the t-shirt before applying the design.
- Screen Printing Mesh. You can buy these at art supply stores. Choose a mesh that is roughly the same width as the t-shirt.
- Screen Printing Ink. You can choose one or several colors.
- Rubber Roller. This will help you spread the ink evenly on the mesh and transfer it to the t-shirt.
- Kraft Paper. You’ll need a piece of kraft paper that is the same size as the mesh.
- Craft Knife. You will use this to cut out the stencil from the aforementioned paper.
Step 2. Make the Stencil.
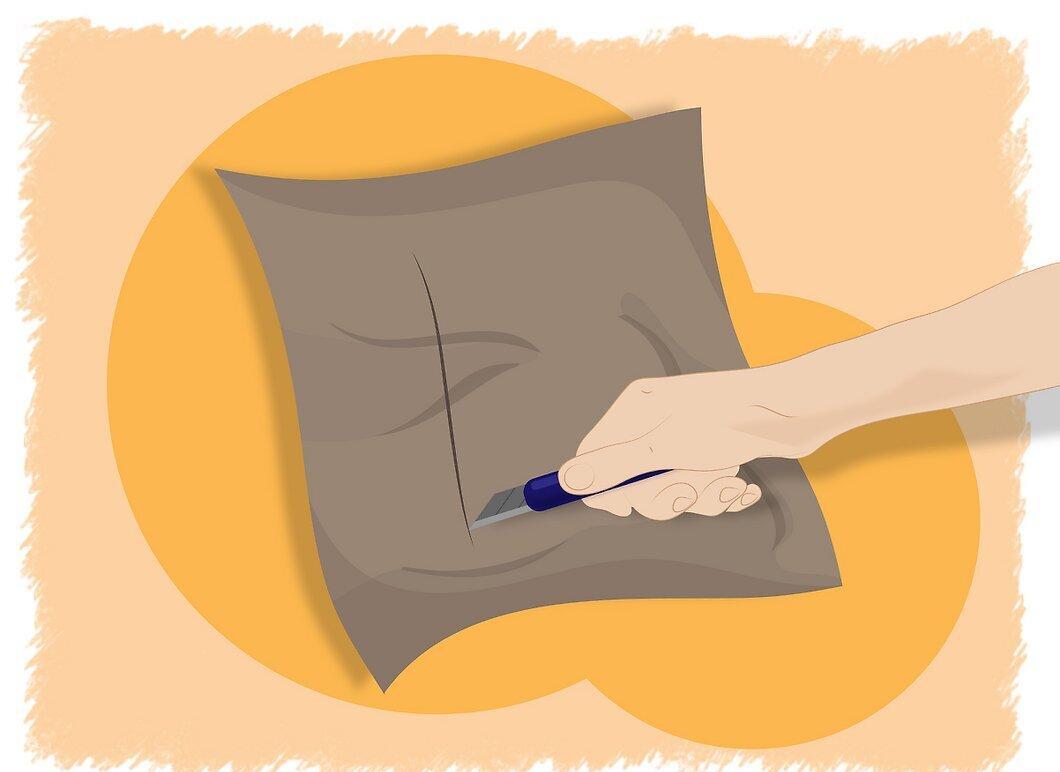
Make the stencil. Use the craft knife or a utility knife to cut the stencil out from the kraft paper. It may be helpful to sketch it out first before you start cutting. The simplicity or complexity of the design is entirely up to you. If you want to create a multi-colored design, make a separate stencil for each color.
Step 3. Prepare Your Workspace.

Prepare your workspace. Cover a flat, hard surface with wrapping paper or old newspapers. Place the t-shirt on top and smooth it out so that there are no wrinkles or creases. Position the stencil on the t-shirt where the design should go. Place the mesh on top of the stencil.
Step 4. Apply Paint to the Mesh.
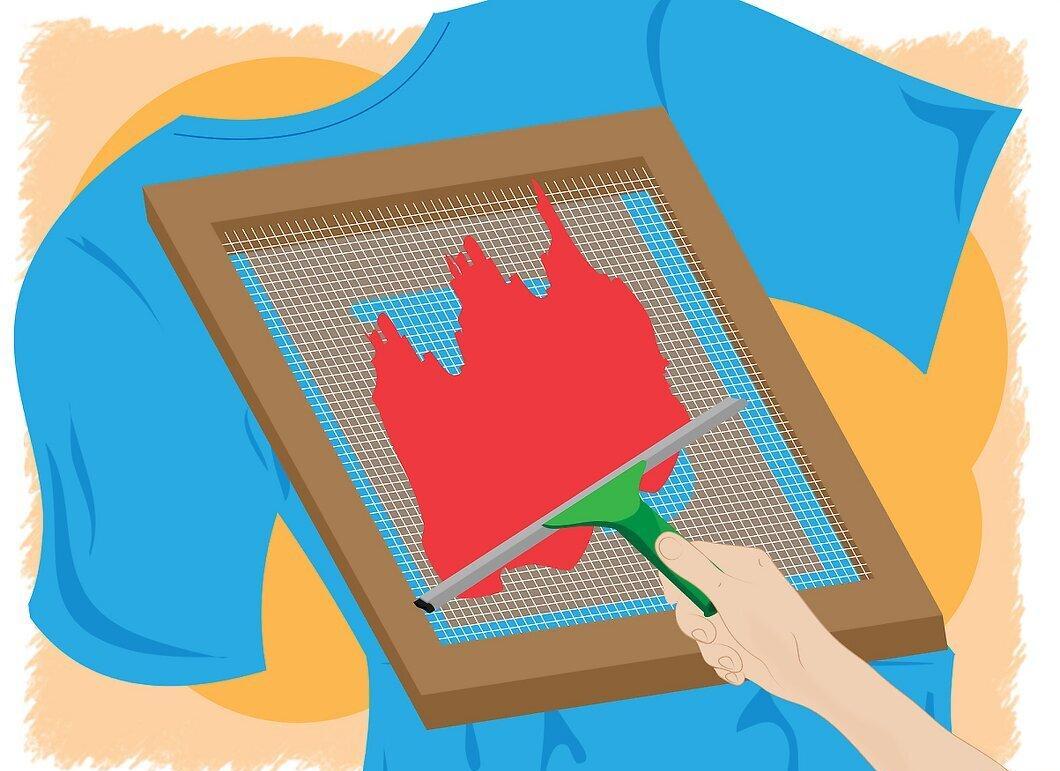
Apply paint to the mesh. Pour a spoonful of paint onto the top of the mesh and evenly spread it down using the rubber roller. Then, go over the mesh again with the roller, this time across the frame.
- It may take some time to learn how to properly distribute paint on the mesh (and the t-shirt underneath). Try to manage with just two roller movements: one vertical and one horizontal. This method is optimal for evenly applying the right amount of paint.
- Make sure the edges of the paper extend beyond the edges of the mesh frame; otherwise, an unplanned paint stripe may appear on the t-shirt.
Step 5. Remove the Mesh from the T-Shirt and Let the Paint Dry.
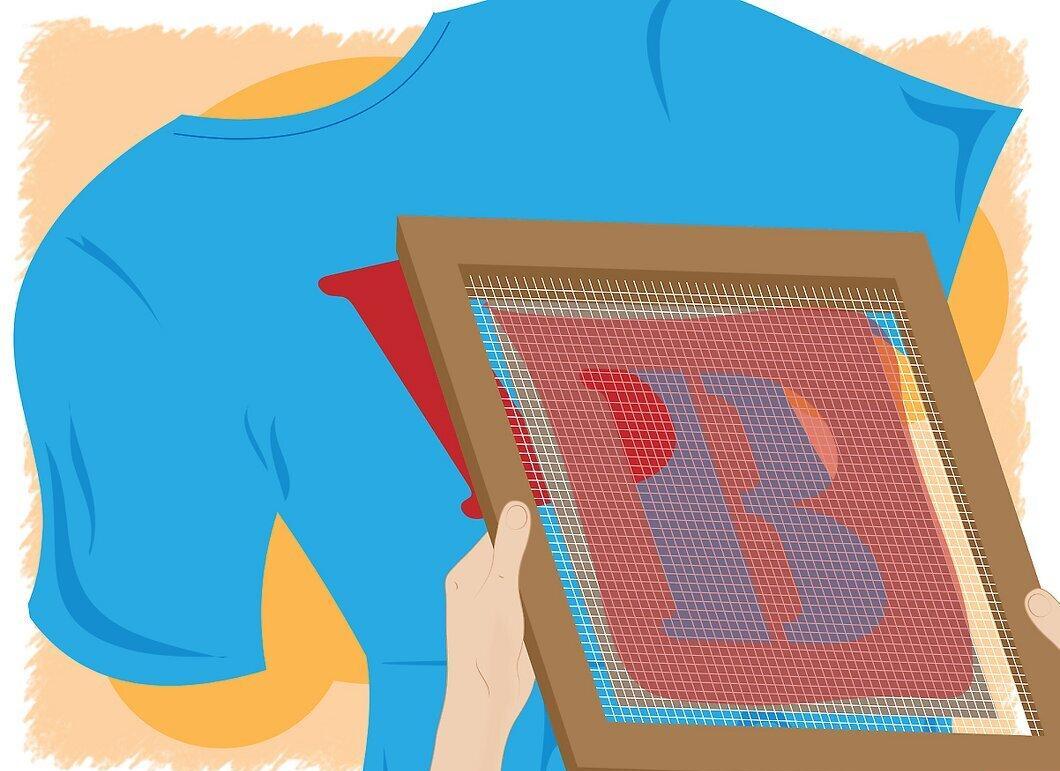
Remove the mesh from the t-shirt and let the paint dry. Carefully lift the mesh and check the quality of the design. The paint should be completely dry before you can wear and wash the t-shirt.
Step 6. Reuse the Mesh.
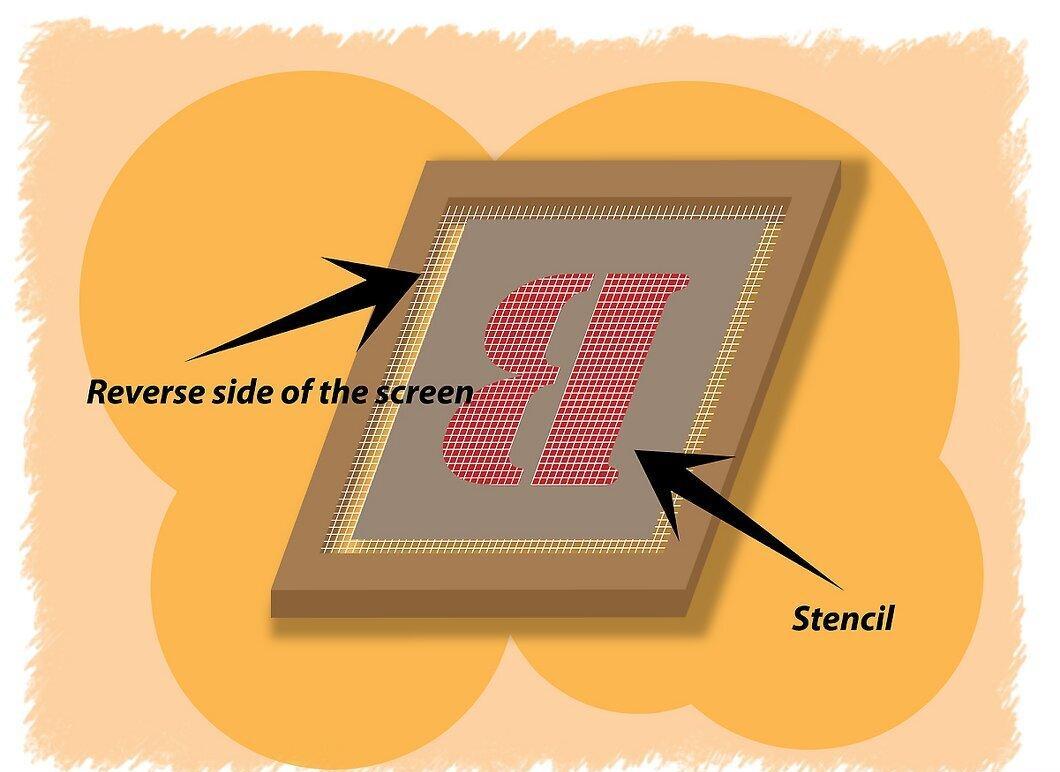
Reuse the mesh. When you remove the mesh from the t-shirt, the paper stencil will likely stick to the paint on it. You can use the same mesh to replicate the design on another t-shirt. Repeat the previous steps as many times as you plan to make t-shirts with the design.
Step 7. Rinse the Mesh.
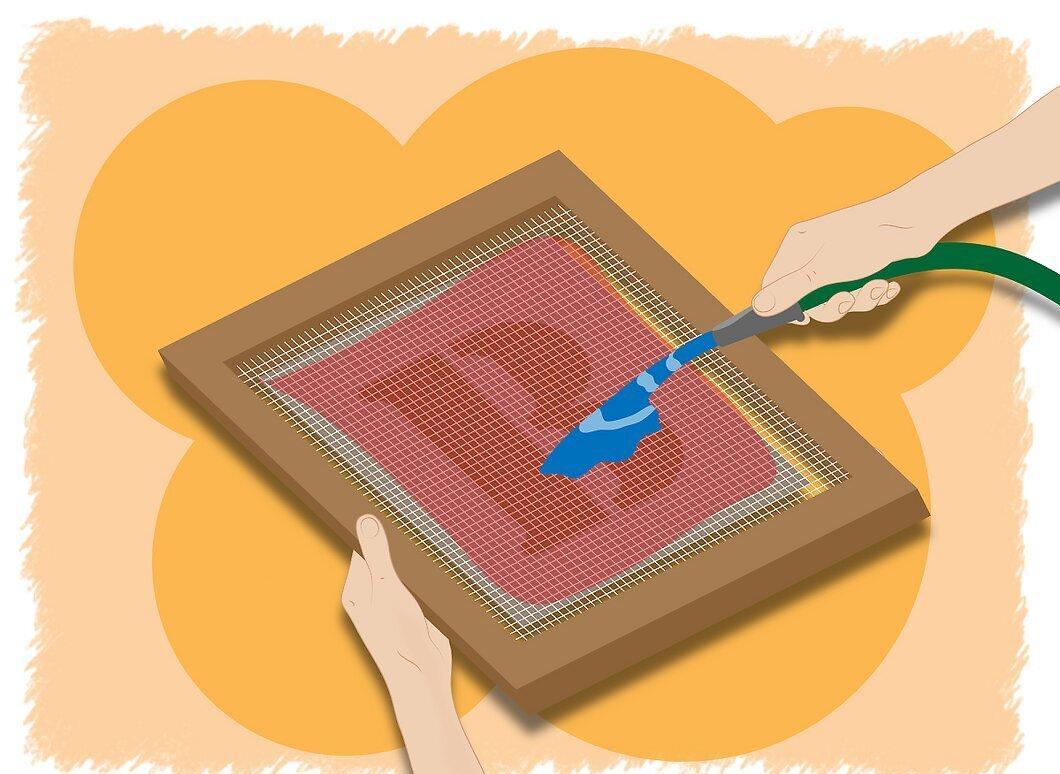
Rinse the mesh. Water-based screen printing ink dries quickly and can be difficult to wash off any surface once it sets. After you’re done using the mesh, rinse it thoroughly in warm water.
Applying a Design with Decals
Step 1. Gather Your Materials.
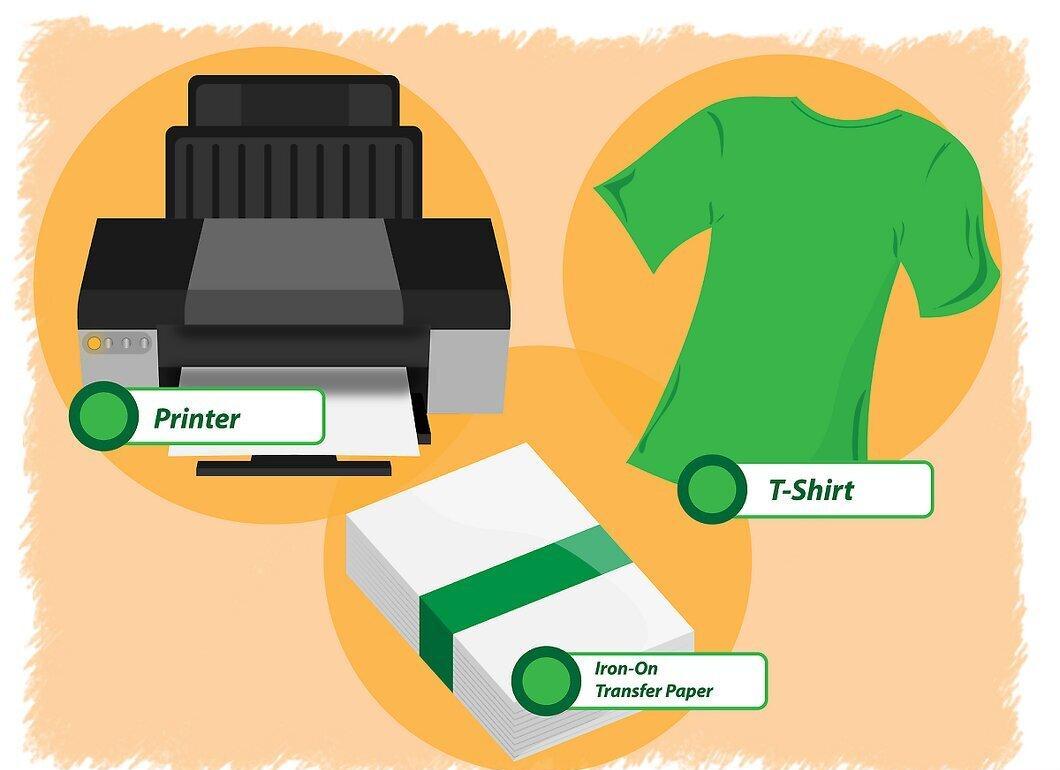
Gather your materials. To apply a design to a t-shirt using this method, you will need: a t-shirt, a pack of transfer (decal) paper, and a printer. Decal paper can be purchased at most craft and hobby stores.
Step 2. Create Your Design.

Create your design. "Draw" the image on your computer or use an existing photo or other image. The great thing about this method is that you don’t have to worry about any limitations on the number of colors.
Step 3. Print the Desired Image on the Decal Paper.
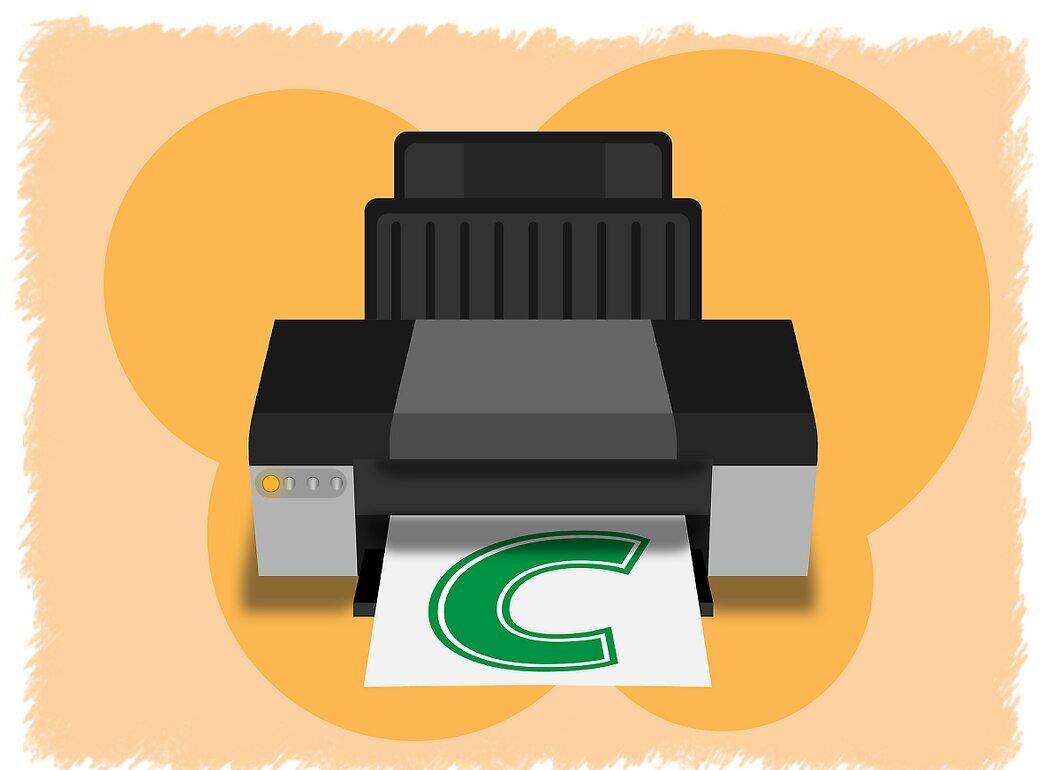
Print the desired image on the decal paper. Be careful when inserting the paper into the printer; you need to print on the "transfer" side.
Step 4. Lay the T-Shirt on a Flat Surface and Smooth It Out.

Lay the t-shirt on a flat surface and smooth it out so that there are no wrinkles or creases. Place the decal paper image-side down on the t-shirt. On top of the paper, lay a thin cloth, such as a thin towel.
Step 5. Iron the Stack with a Hot Iron.
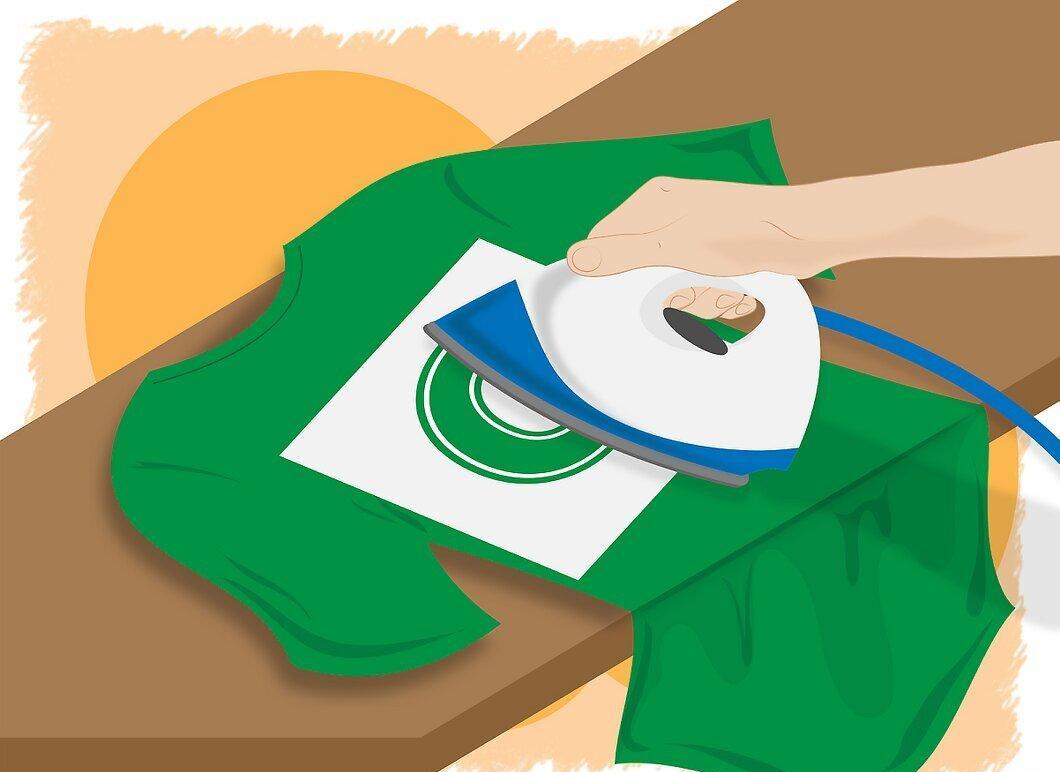
Iron the stack with a hot iron. The hot iron should heat not only the towel but also the decal paper underneath it. The ironing time should be specified in the instructions for the decal paper.
Step 6. Remove the Paper Backing from the Decal.
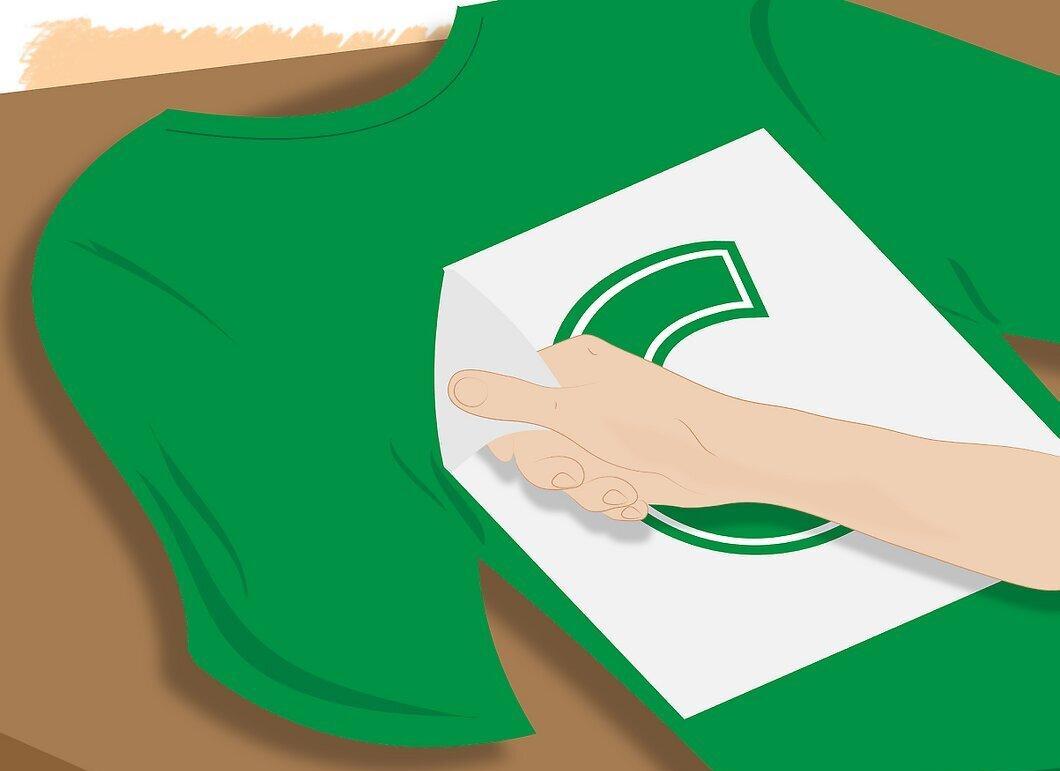
Remove the paper backing from the decal. Take away the cloth and gently peel the paper backing off the decal with your fingers. It should come off easily, leaving only the design on the t-shirt. If the paper backing is hard to remove, press it back down and iron it again, then try again.


