
Hole punch pliers are a fantastic tool for installing eyelets in various materials. Let's break down how to use them correctly.
Part 1
Step 1: Cut a Hole in Your Material
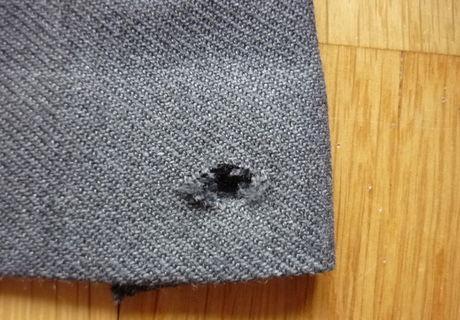
Start by cutting a hole in the material where you want to insert the eyelet. Make sure it’s big enough for the eyelet to pass through easily, but not too big, or it might fall out.
Step 2: Place a Cutting Mat Under the Fabric
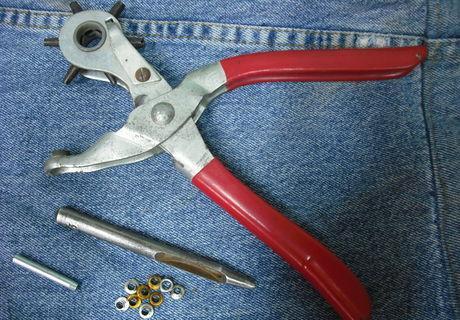
To achieve a clean cut, place a cutting mat under the fabric. This could be a piece of sturdy leather, an acrylic cutting board, a plastic tile, or even several layers of paper. Make sure you have everything you need close at hand before you start!
Step 3: Support the Inner Side of the Fabric When Punching
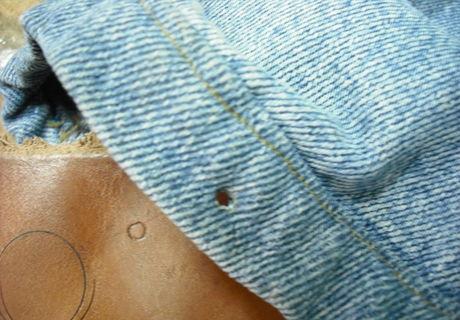
When creating the hole, always place something under the inner side of the fabric. Squeeze the pliers with enough force, or use a hammer to punch through.
Step 4: Insert the Eyelet into the Hole
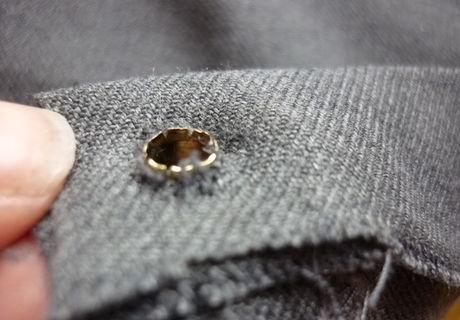
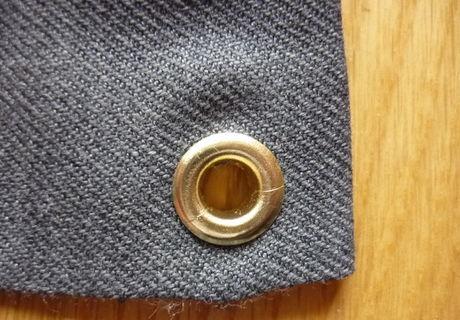
Push the eyelet through the hole you’ve created. Ensure that the flat side of the eyelet is facing the front side of the fabric.
Step 5: Tuck Loose Threads Under the Flat Part of the Eyelet
Step 6: Bring the Pliers to the Hole
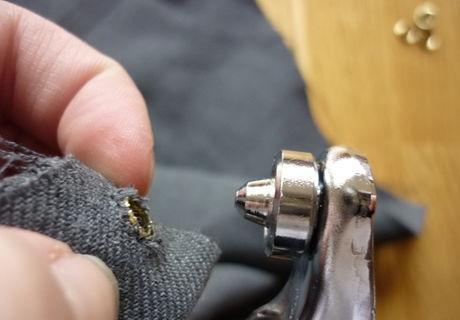
Bring the hole punch pliers close to the hole. The flat (front) side of the eyelet should be on the slightly curved side of the pliers, and the curved (inner) side of the eyelet should be on the "pointed" part of the pliers.
Step 7: Squeeze the Pliers Handles
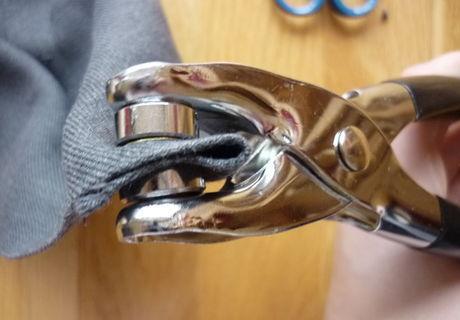
Step 8: Remove the Pliers and Check the Eyelet's Security
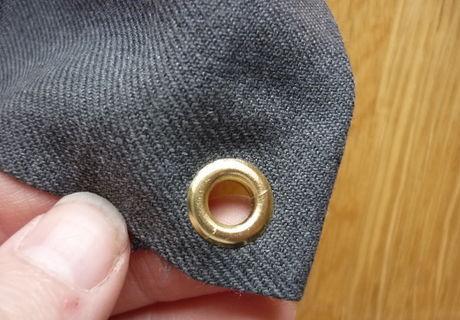
Remove the pliers and ensure that the eyelet is securely fastened. If it can spin in the material, repeat the process, applying more force for a tighter fit.


