Sending cookies by mail can be a delightful way to surprise friends who live far away or to remind your children of home. It’s important to know which types of cookies are best suited for shipping and how to pack them properly. Follow these tips to avoid any mishaps along the way.
Preparing Cookies for Shipping
Step 1: Choose the Right Cookies.

Selecting the right cookies is crucial. Avoid soft and greasy types, as they can spoil due to moisture. Instead, opt for dry and crunchy varieties, such as shortbread, sugar cookies, gingerbread, or biscotti. You can also choose:
- Cookies with a firm texture, like oatmeal raisin or chocolate chip.
- Macarons and nut cookies that only improve over time.
Step 2: Send Cookies as Soon as Possible.

Try to send cookies right after baking. If you bake them on Sunday morning but don’t ship them until Monday evening, you’ll lose two days of freshness. Ideally, bake the cookies on the day of shipping or at least the day before.
- If you need quicker delivery, consider using express mail services.
- When shipping during the holidays, ensure the cookies arrive by the weekend.
Step 3: Pack Cookies Right After Cooling.

Make sure to pack cookies right after they have completely cooled. If packed too early, condensation can form inside, making the cookies moist. So, as soon as they cool down, start packing to maintain their freshness.
Packing Cookies
Step 1: Wrap Each Cookie.
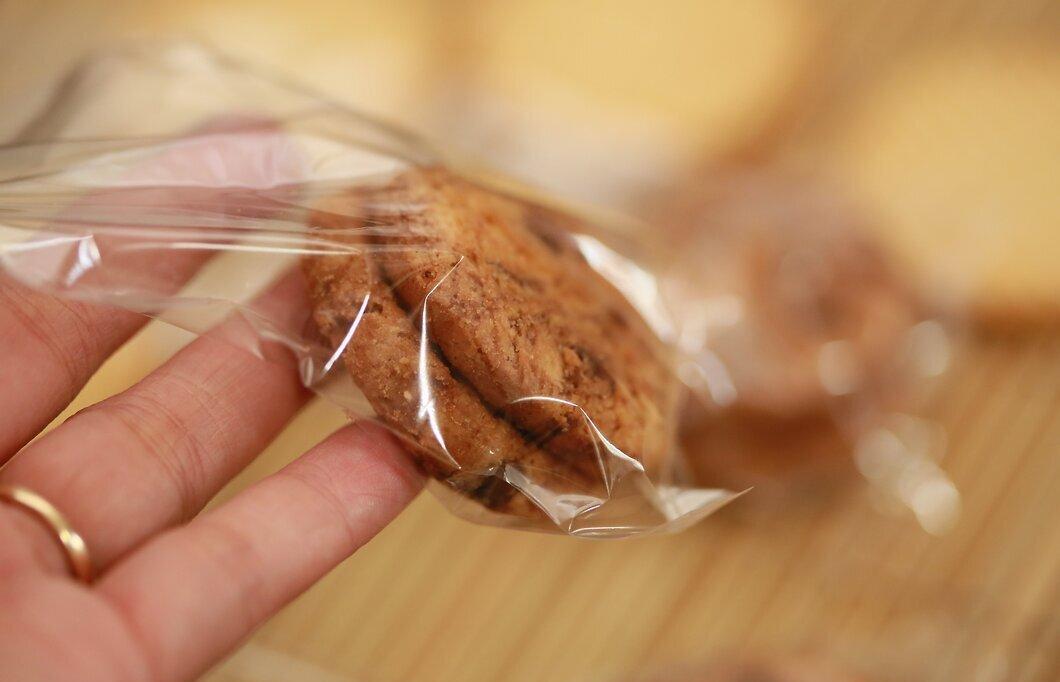
Each cookie should be wrapped individually or in pairs, with their flat sides together. Use plastic wrap, cellophane bags, or aluminum foil to prevent air and moisture from getting in. You can even wrap the cookies in two layers.
Step 2: Separate Different Types of Cookies.

It’s essential to keep crunchy cookies separate from soft ones, or they may change texture. You don’t need different containers; Zip-Lock bags or pretty cellophane bags will suffice.
- If all cookies are of the same type, you can stack them, separated by wax paper.
Step 3: Choose a Reliable Container.
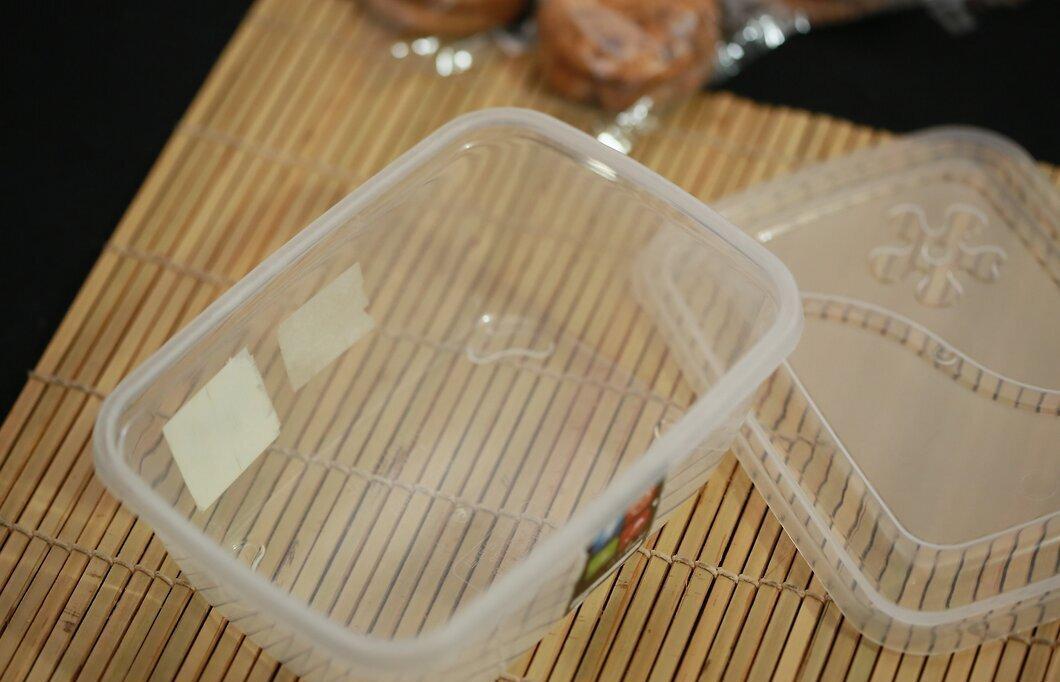
The container should be either plastic or metal, but the main thing is that it seals tightly and the lid doesn’t come off during transport.
Step 4: Fill the Container with Soft Material.
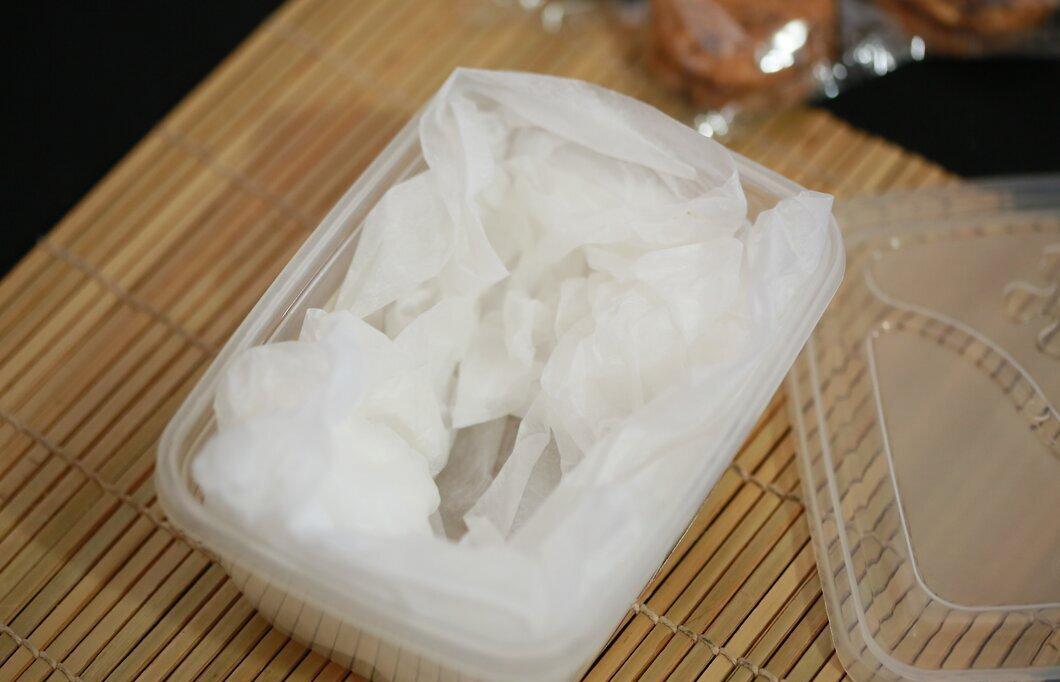
After choosing the container, fill it with soft materials like crumpled wax or parchment paper, newspapers, bubble wrap, or packing peanuts. You can also use bags of sweet popcorn for added aroma.
- Pack the cookies snugly to avoid damage, but don’t overdo it to prevent crushing them.
Step 5: Place Cookies in the Container.
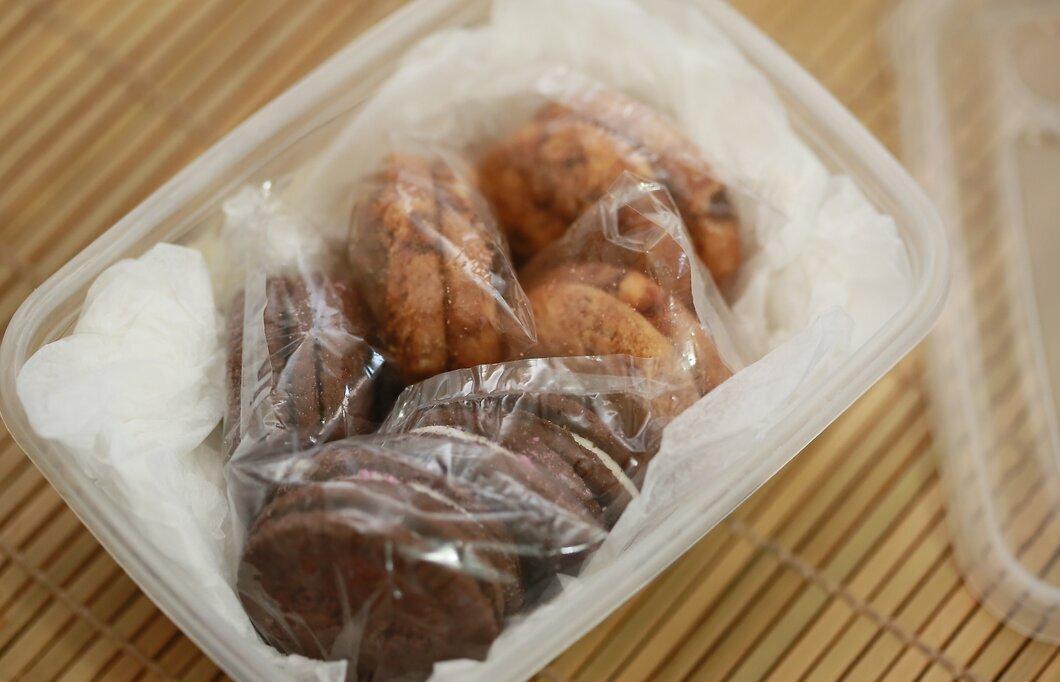
Once all the cookies are wrapped and sorted by type, place them in the container. Fill any empty spaces with soft material, then seal the lid tightly.
Step 6: Put the Container in a Shipping Box.
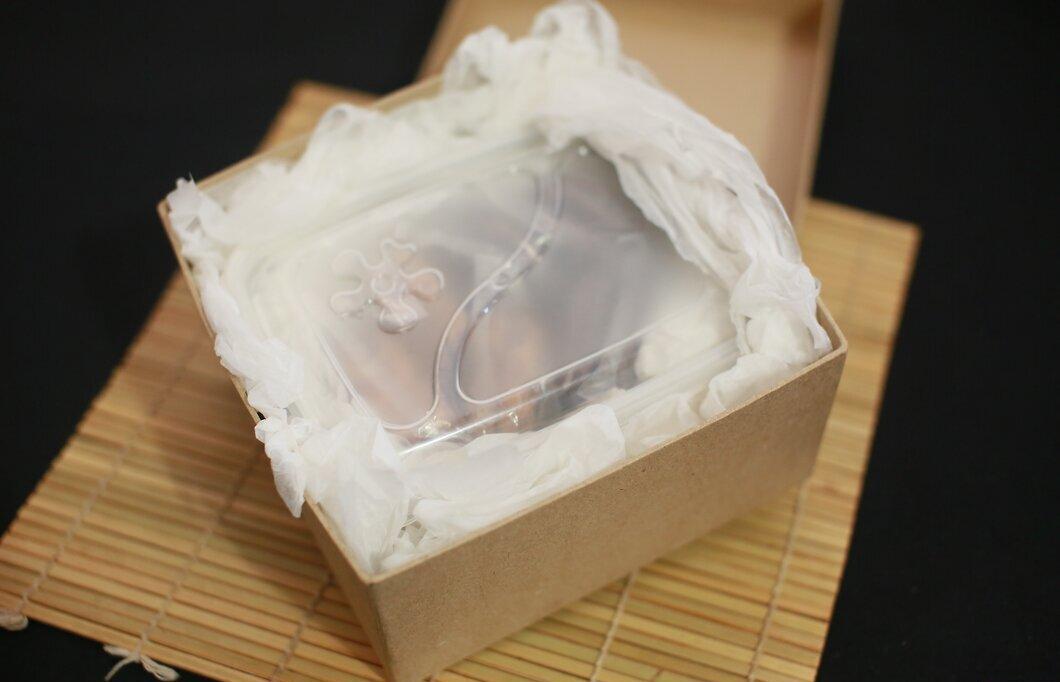
If the box is too large, use newspapers, bubble wrap, or another suitable material to prevent the container from moving inside. Gently shake the box—if the container rattles, add more filler. Don’t forget to include the recipient’s address inside the box in case something happens to the external label.
- Seal the box with packing tape.
- Write "Perishable" and "Fragile" on the box.
Step 7: Address the Package.
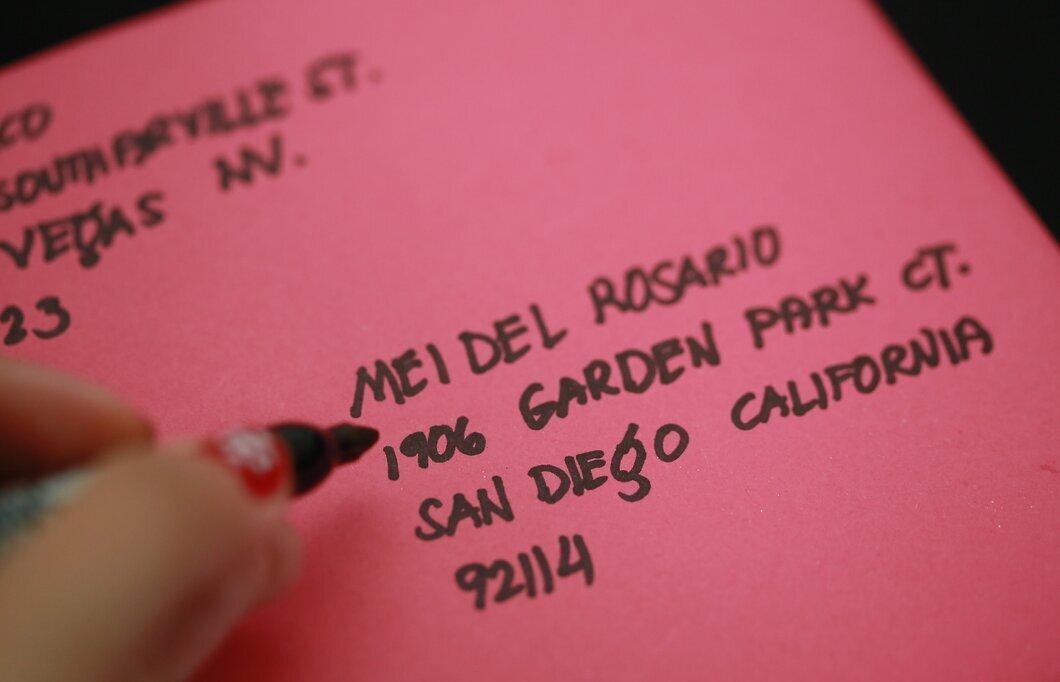
Write the recipient's name and address on the box, along with your contact information. Check with the post office for the shipping cost for this package and pay for it.
Step 8: Send the Package.
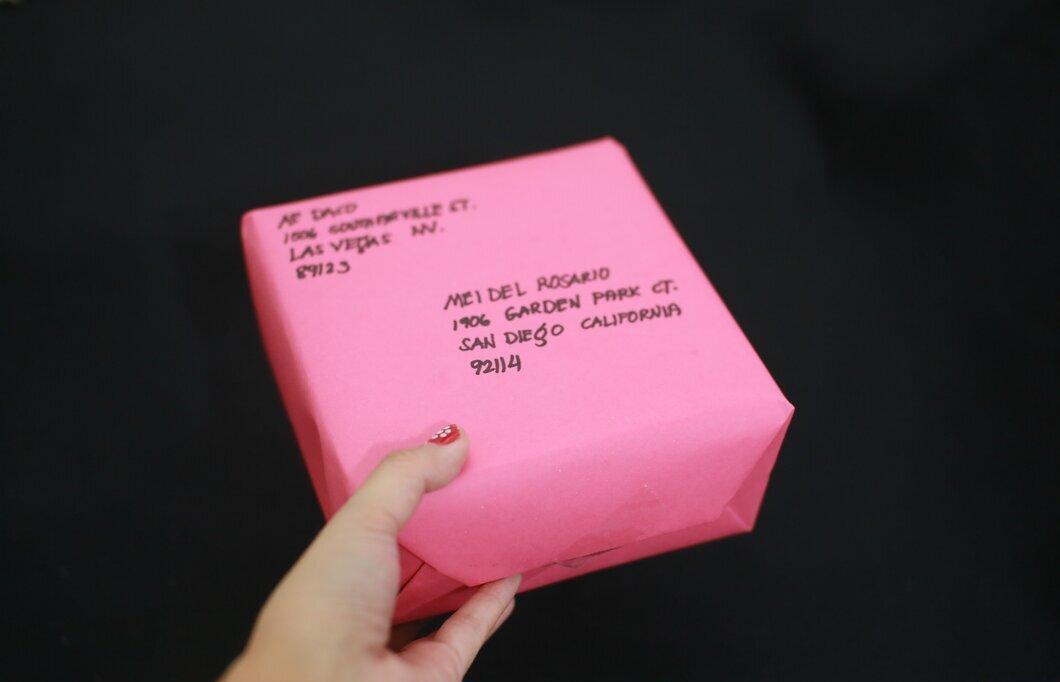
After assembling the package, all that's left is to send it through the post office or an express delivery service and wait for the recipient to call you with their thanks.