
Colored glass is perfect for creating stained glass windows, beautiful ornaments, and picture frames. Mastering the art of soldering this glass will open up endless possibilities for you. This article outlines all the steps involved in soldering, from selecting the necessary materials to achieving the final product.
Part 1
Step 1: Place the Glass on a Towel on a Flat, Hard Surface.
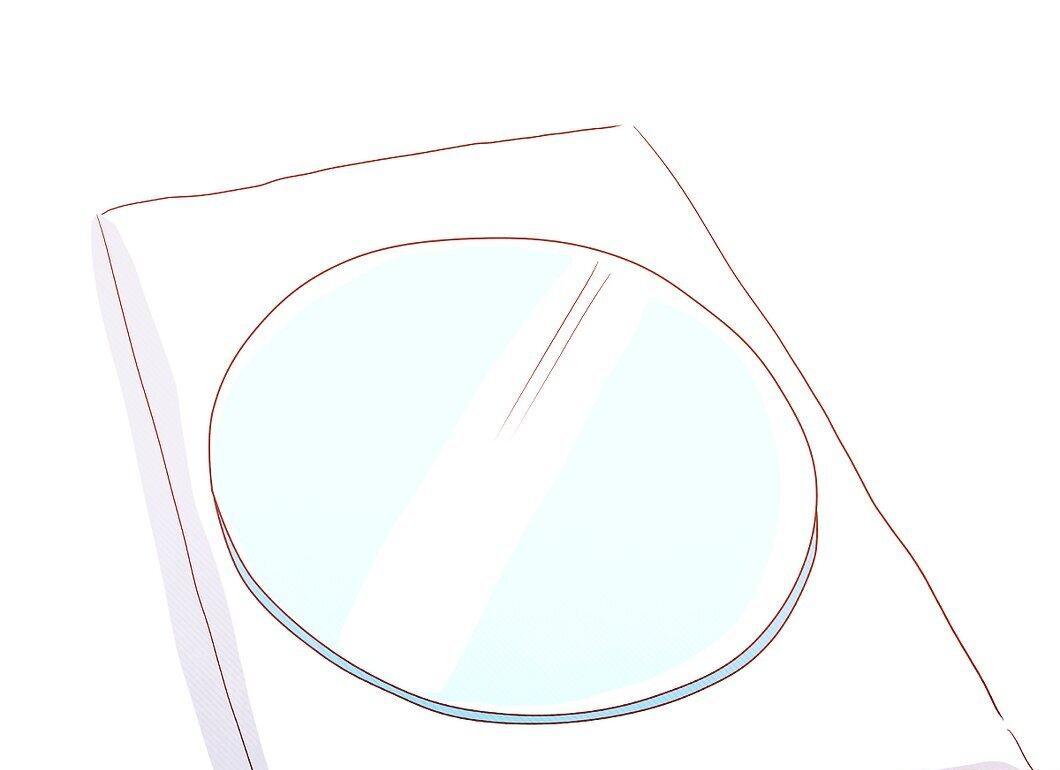
Place the glass on a towel on a flat, hard surface. This will prevent the glass from slipping, and the towel will catch any small shards created during cutting.
Step 2: Score the Glass.
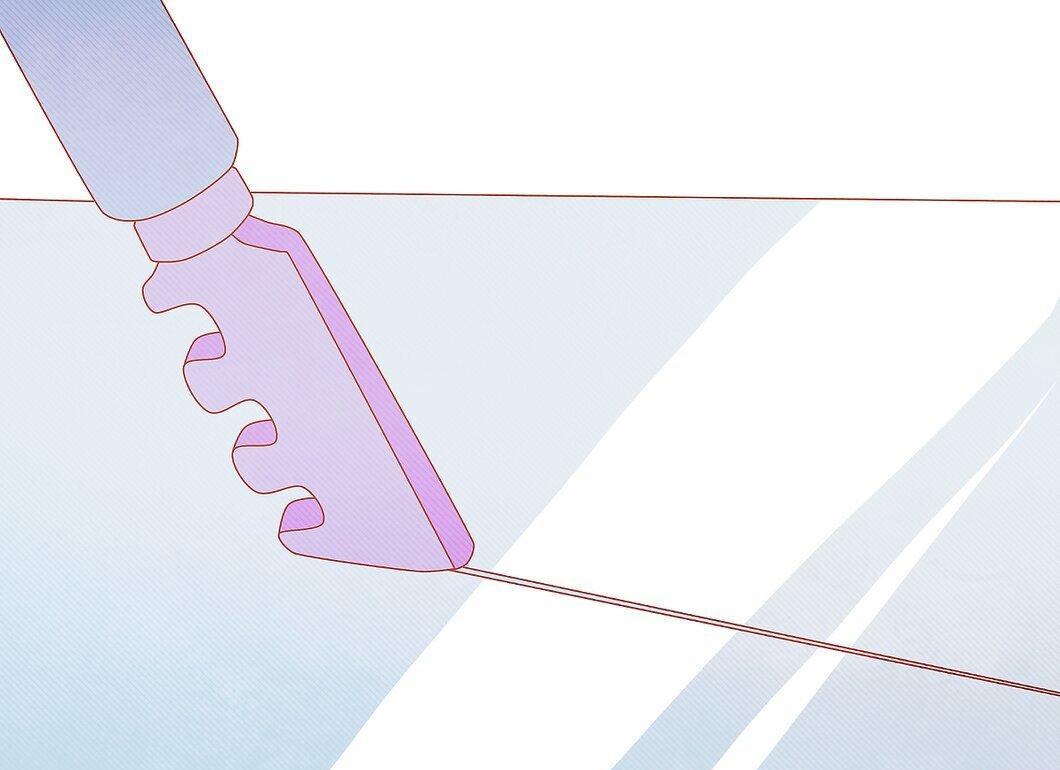
Score the glass. Firmly hold the glass cutter in your hand and draw a line from one edge of the glass to the other along the line where you want to cut. It’s important to make a single line to prevent the glass from shattering along the score.
Step 3: Break the Glass Along the Score Line.
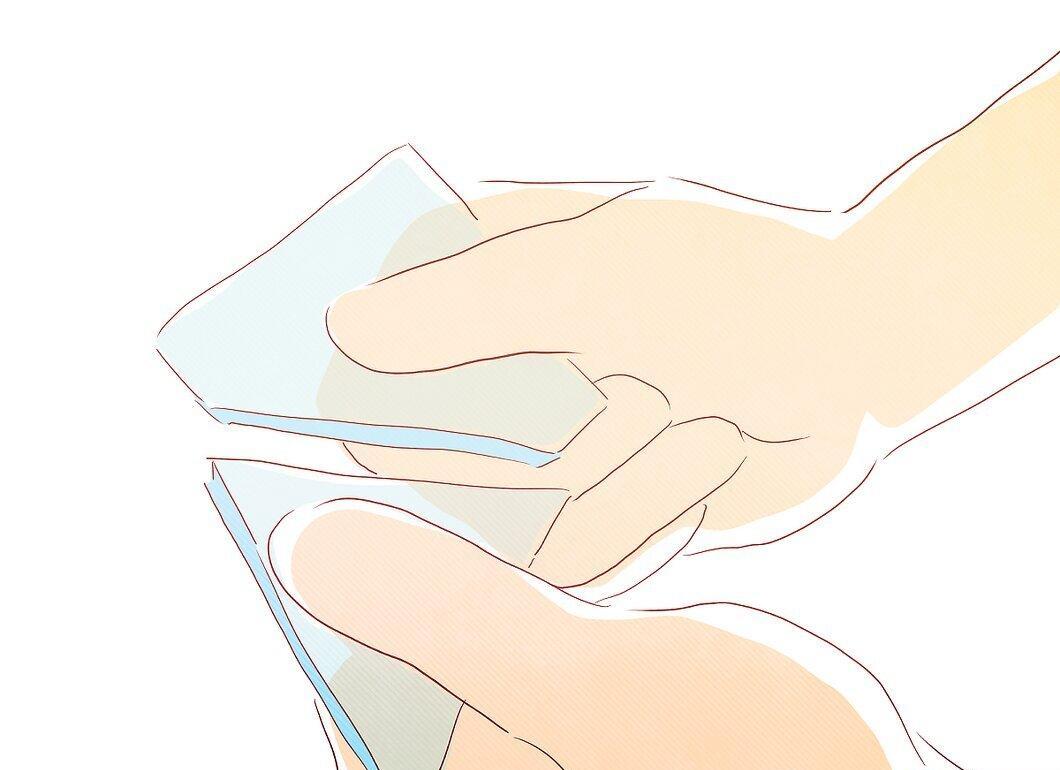
Break the glass along the score line. The simplest way to do this is to hold the glass with both hands on either side of the line. Then, make a sharp breaking motion, and the glass will crack along the line.
Step 4: Create the Glass Pieces You Need.
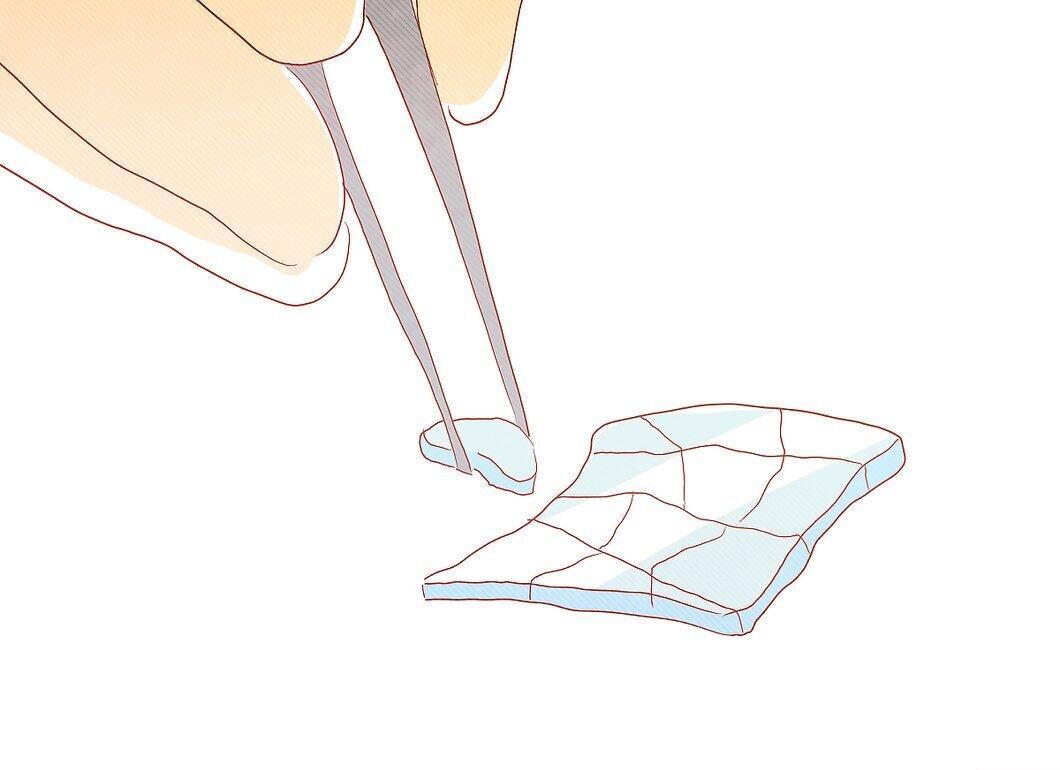
Create the glass pieces you need. Continue scoring and breaking the glass until you have the appropriately shaped pieces. For most colored glass crafts, the pieces should fit together like a puzzle. If you’re unsure what to create, consider buying a book with popular colored glass patterns.
Step 5: Prepare Everything You Need for Soldering.
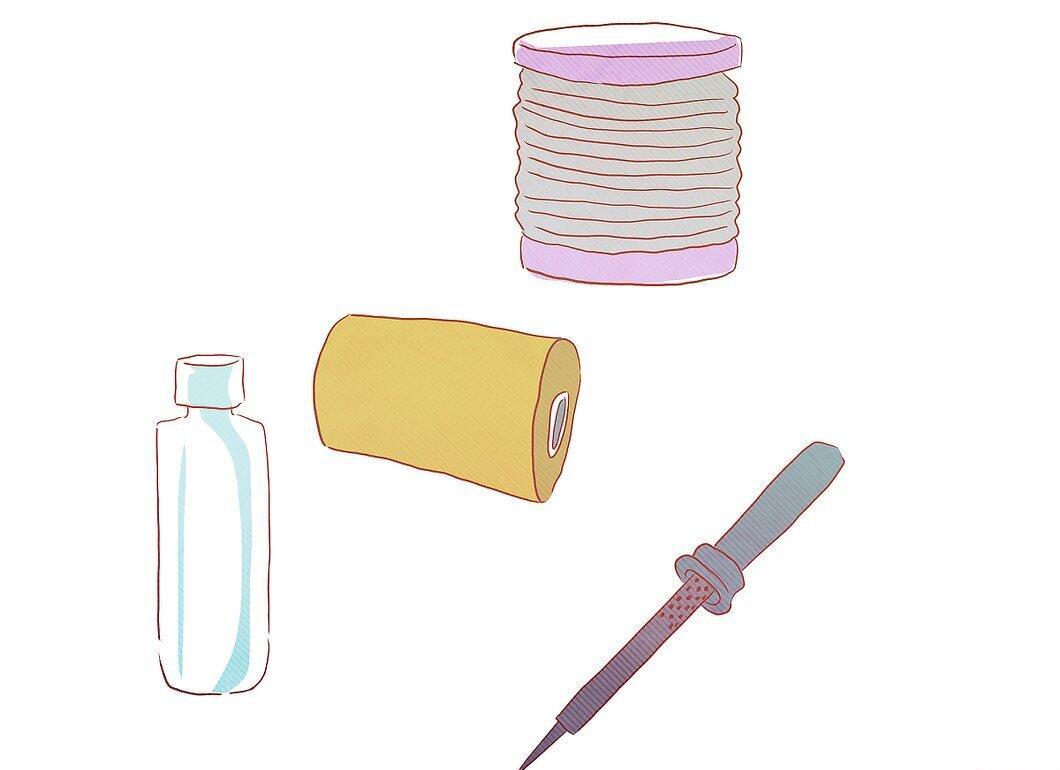
Gather everything you need for soldering. Stock up on copper foil, liquid flux, and solder wire. Plug in the soldering iron and wait for it to heat up to the required temperature. It's important to prepare everything beforehand, as the soldering process is quick, and you won't have time to gather materials later.
Step 6: Cut a Piece of Copper Foil.
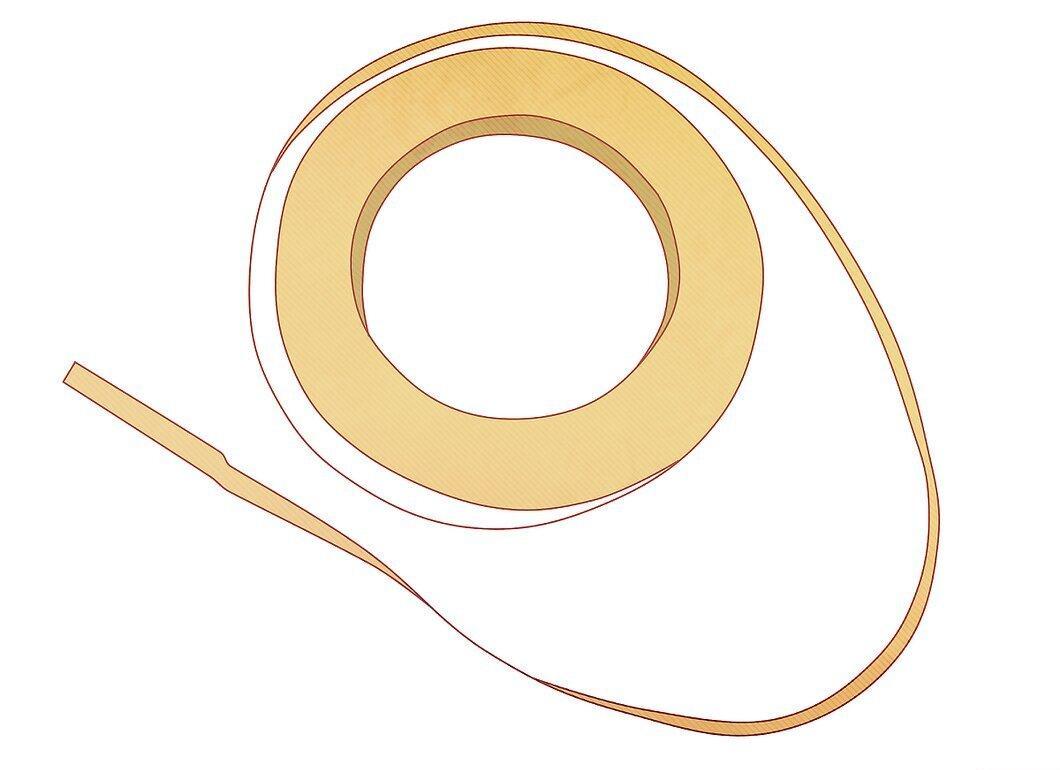
Cut a piece of copper foil sufficient to wrap around the edge of the glass you intend to solder. First, estimate the size by wrapping the foil around the edge of the glass and leaving about 3 mm extra on both ends. Cut the foil with scissors. You can also purchase pre-cut strips of copper foil at a hardware store.
Step 7: Remove the Backing from the Adhesive Side of the Foil.
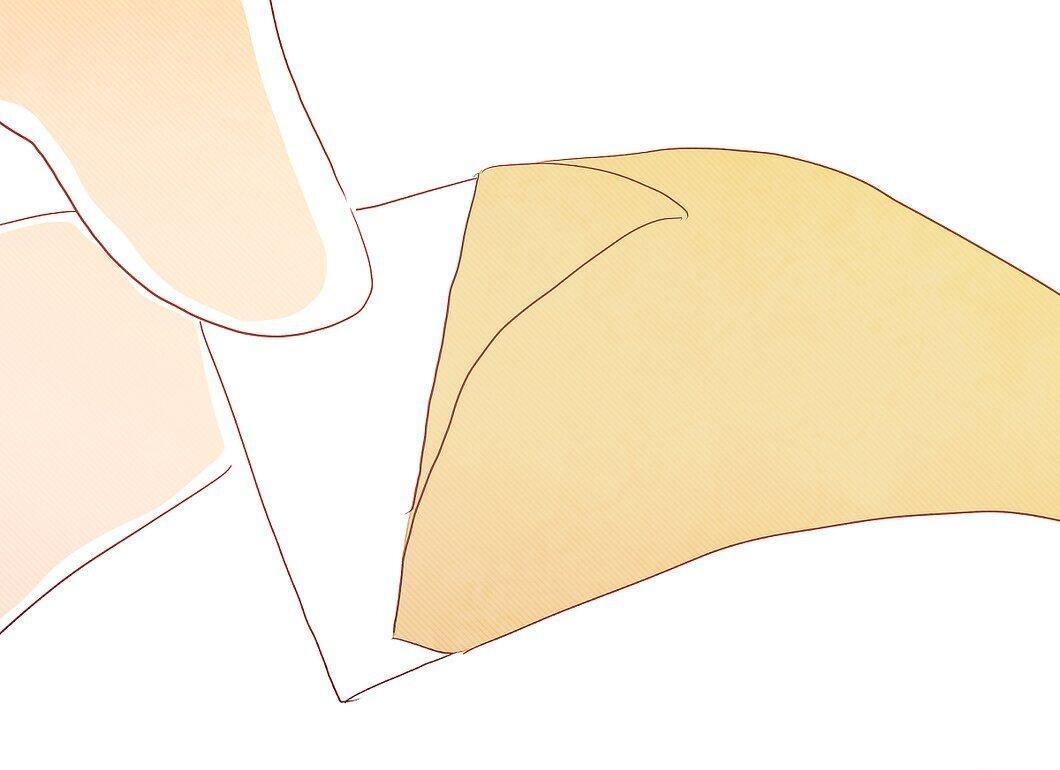
Remove the backing from the adhesive side of the foil. This strip should peel off easily, revealing the sticky surface of the foil.
Step 8: Place the Copper Foil Adhesive Side Down on the Edge of the Glass.
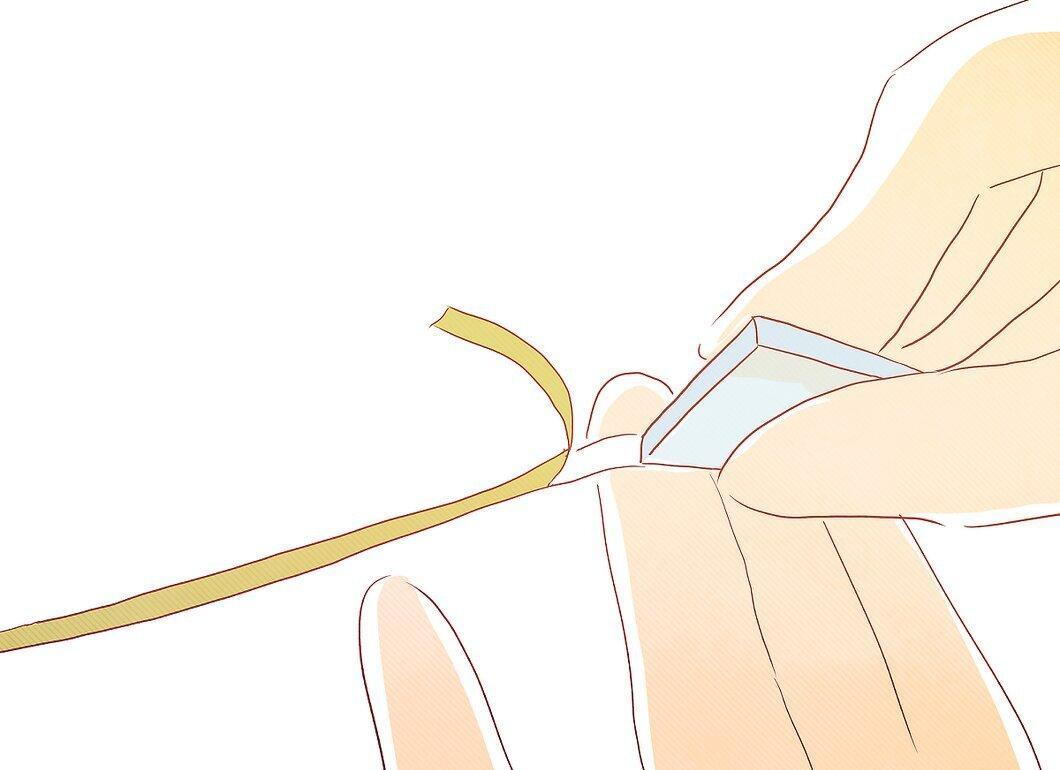
Place the copper foil adhesive side down on the edge of the glass. Try to center the strip of foil on the edge.
Step 9: Fold the Overhanging Edges of the Foil onto the Glass.
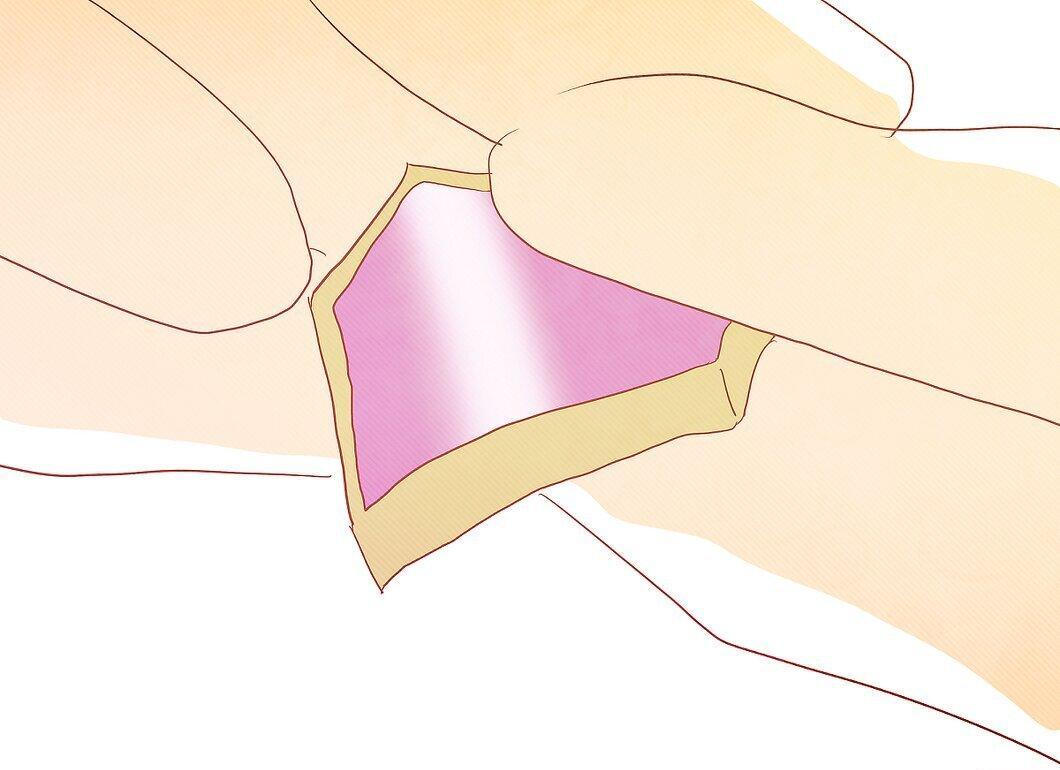
Fold the overhanging edges of the foil onto the glass. It’s convenient to use a pencil to smooth the edges of the foil along the glass.
Step 10: Firmly Press the Pencil Along All Areas Where the Foil Touches the Glass.
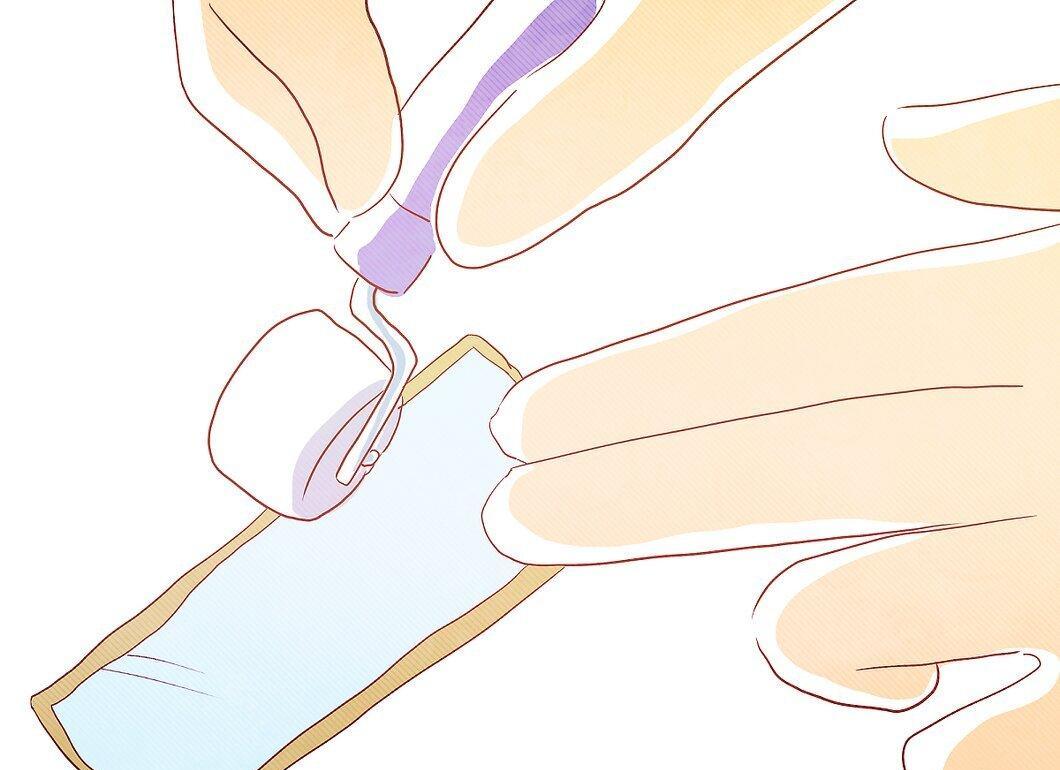
Firmly press the pencil along all areas where the foil touches the glass. This is crucial as it will align the foil and press it against the glass, promoting a stronger bond during soldering.
Step 11: Repeat the Same Process with the Second Glass Piece You Plan to Solder.

Step 12: Apply Flux to the Foil on Both Glass Pieces.
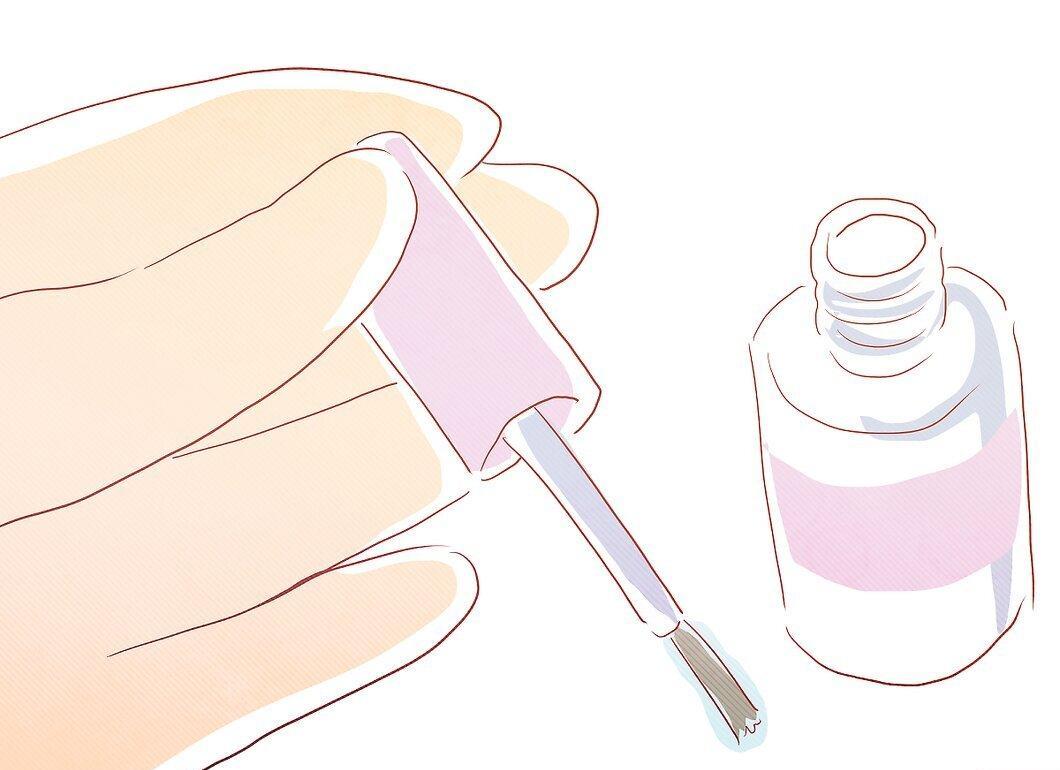
Apply a layer of flux to the foil on both glass pieces. The flux will clean the copper surface, leading to a stronger bond when soldering.
Step 13: Position the Glass Pieces for Soldering.
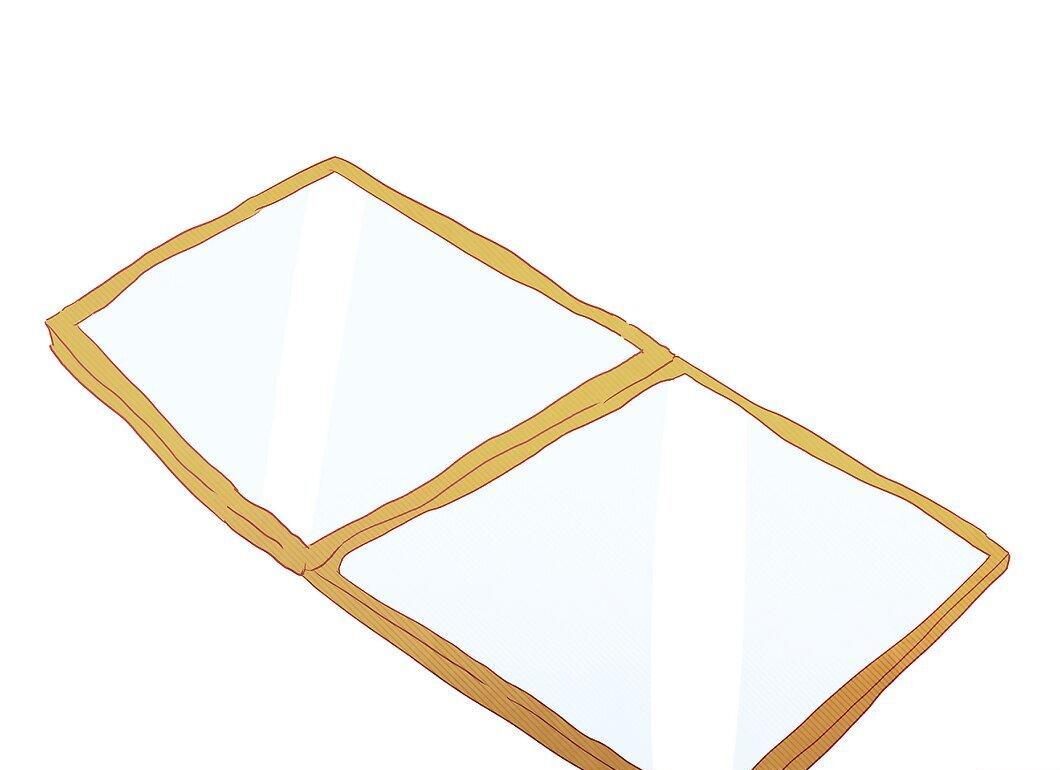
Position the glass pieces for soldering. Leave a small gap of about 1.5 mm between them so that the solder can flow into it.
Step 14: Unroll About 10 cm of Solder Wire.

Unroll about 10 cm of solder wire. This length should be sufficient to solder the two glass pieces together.
Step 15: Hold the Solder Wire in Your Left Hand and the Soldering Iron in Your Right.
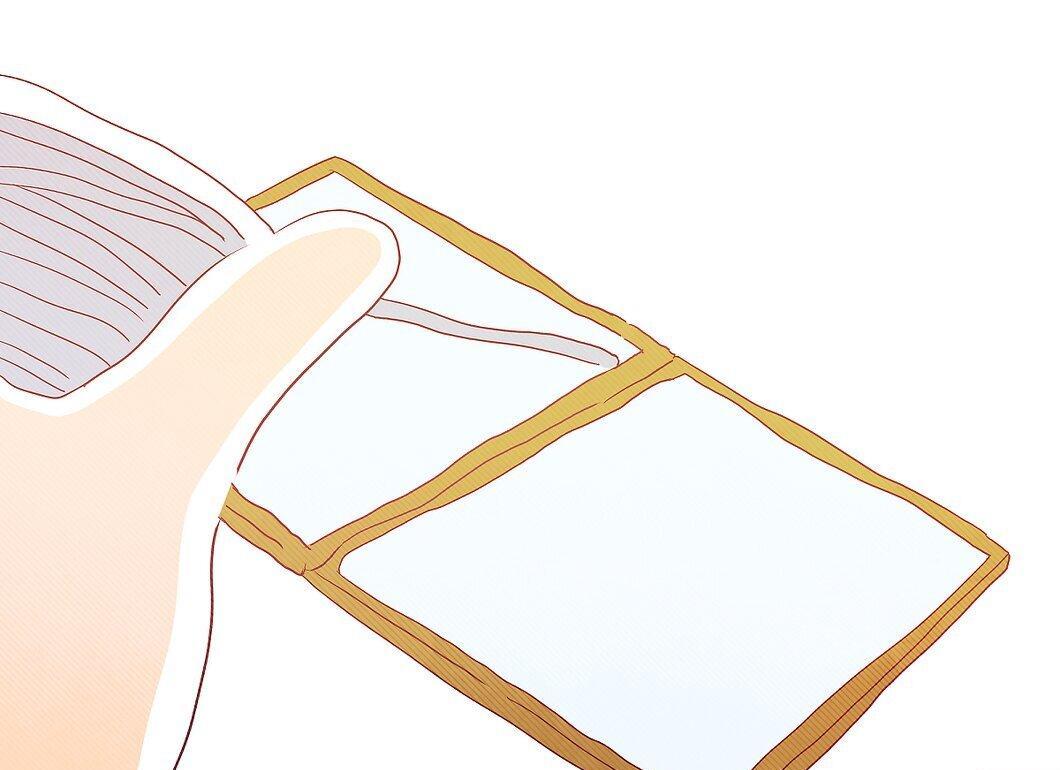
Hold the solder wire in your left hand and the soldering iron in your right. If you are left-handed, switch hands. Do what feels comfortable for you.
Step 16: Place the End of the Solder Wire Near the Copper Foil Without Touching It.
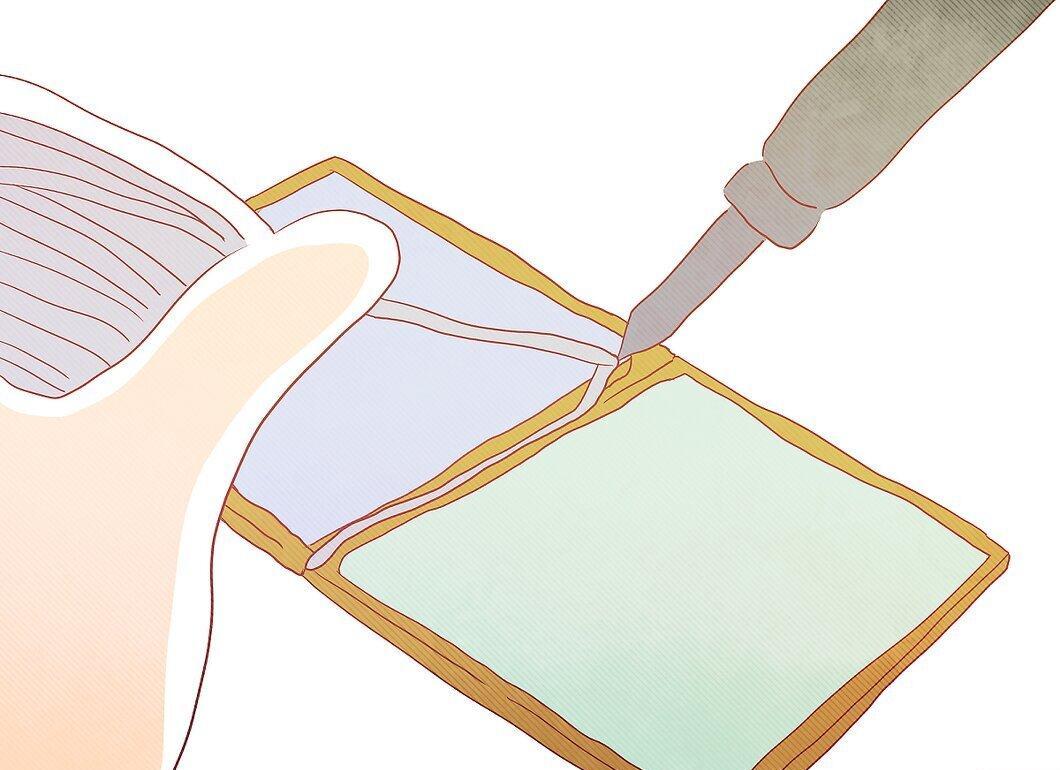
Place the end of the solder wire near the copper foil without touching it. The best results are achieved when the melted solder drips into the gap between the glass pieces.
Step 17: Touch the Tip of the Soldering Iron to the End of the Solder Wire.
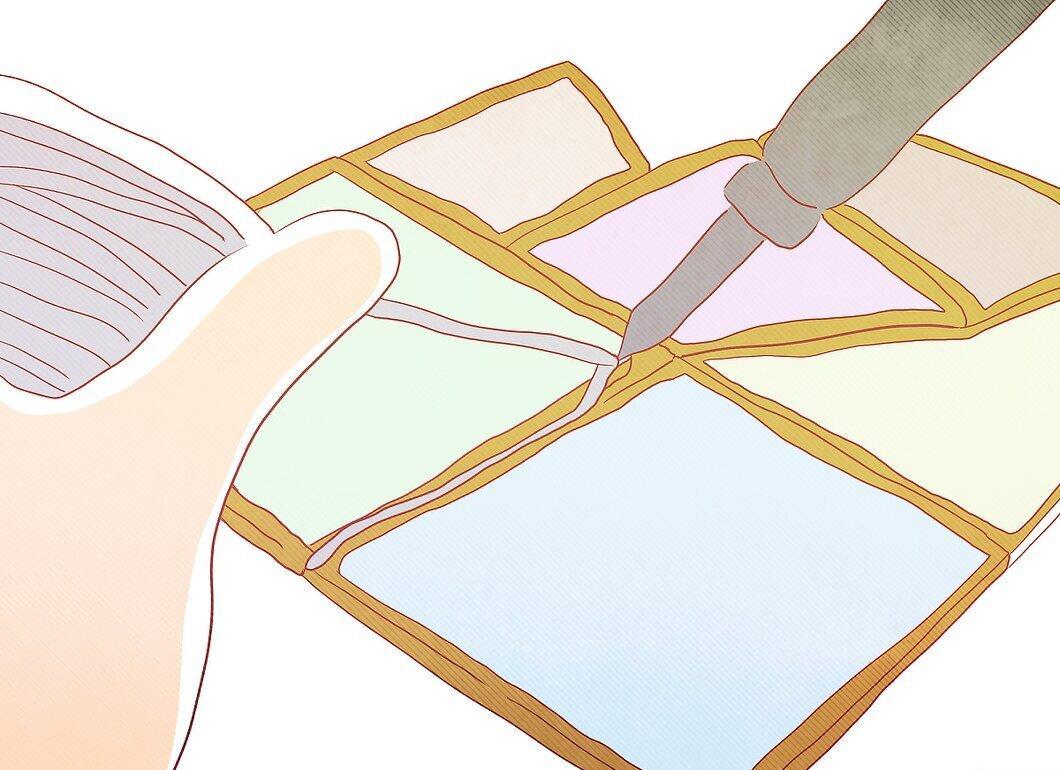
Touch the tip of the soldering iron to the end of the solder wire. The solder will begin to melt and drip into the gap between the glass pieces.
Step 18: Smoothly Move Both Hands Along the Solder Line Between the Two Glass Pieces.
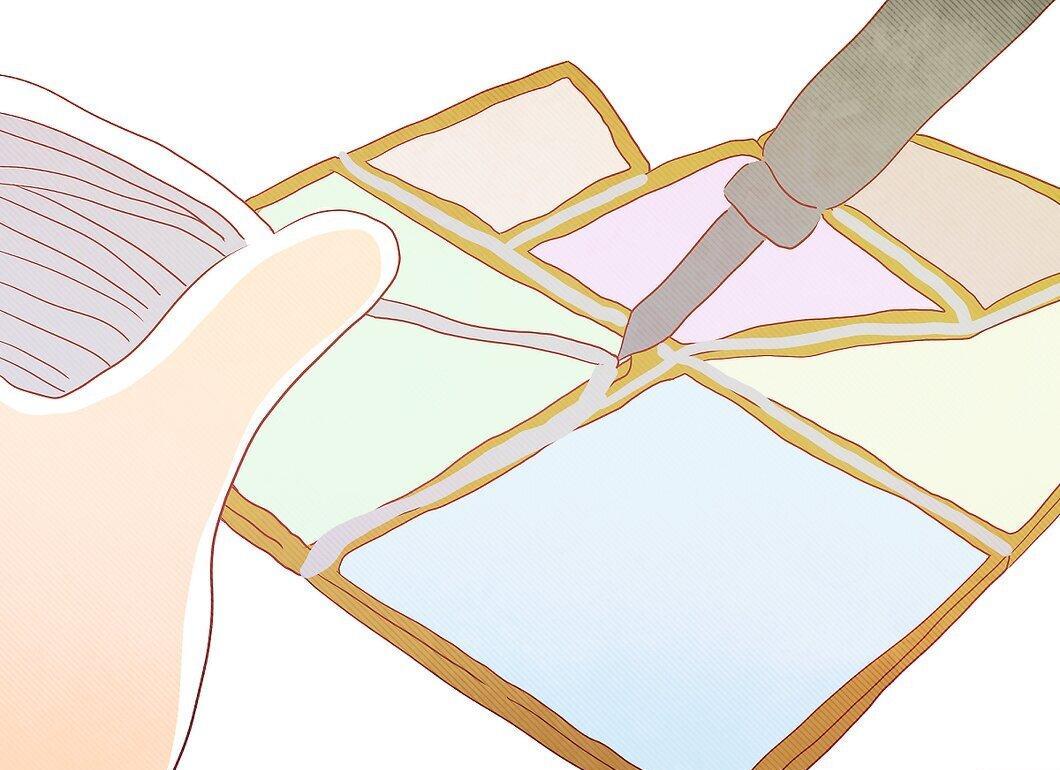
Smoothly move both hands along the solder line between the two glass pieces. Move quickly enough so that the melted solder doesn’t run over the glass surface, but not so quickly that it can’t fill the gap between the pieces being soldered.
Step 19: Once You Reach the Edge of the Glass, Remove the Soldering Iron from the Solder.
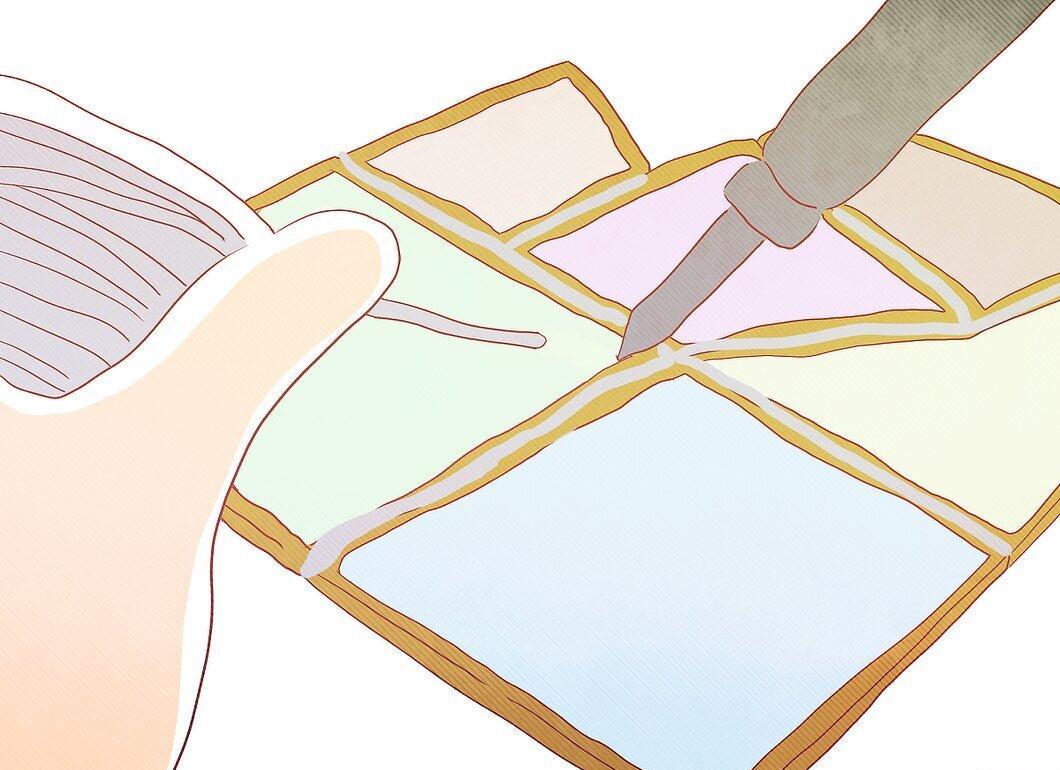
Once you reach the edge of the glass, remove the soldering iron from the solder. This should leave you with a solid line of solder between the two glass pieces. Now these pieces are securely soldered together.
Step 20: Repeat This Process for the Other Glass Pieces.
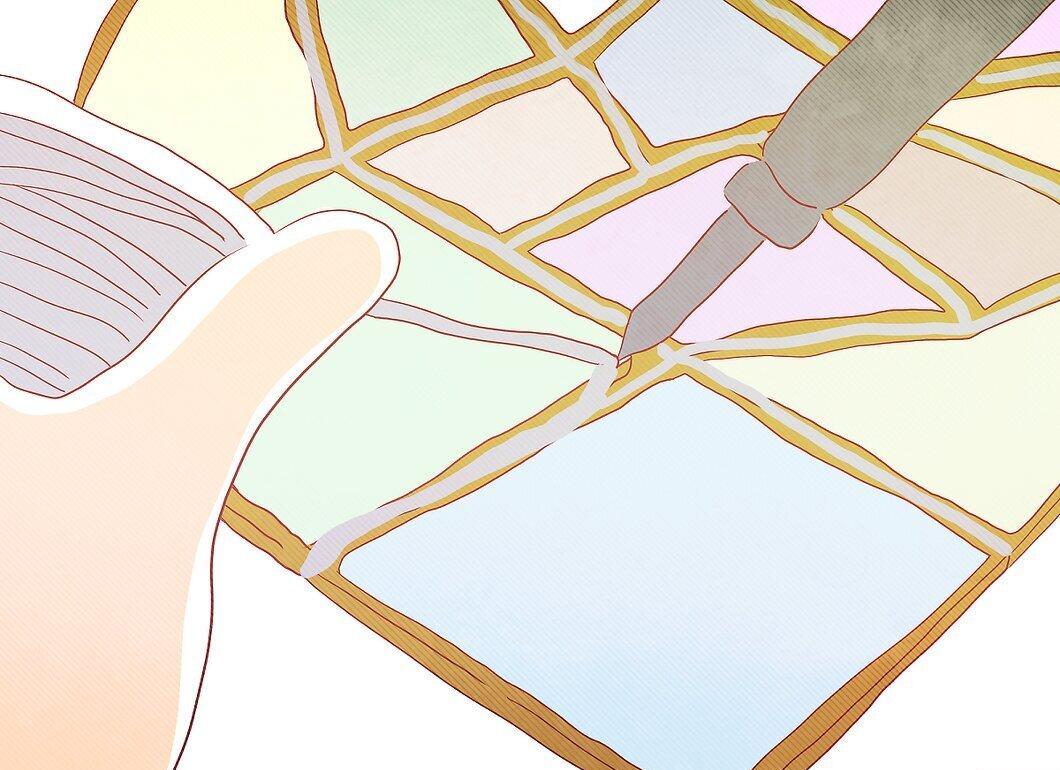
Repeat this process for the other glass pieces. The more you practice, the more confident you will feel, and the neater your solder joints will become.


