
Soldering two pieces of silver or repairing a crack in a silver item requires specific materials and techniques, unlike soldering most other metals. Even if you already have a soldering setup ready, take a moment to read through this guide to learn about the adjustments you might need to make before you start soldering silver.
Preparing Your Workspace
Step 1. Find a soldering brick or another suitable work surface.
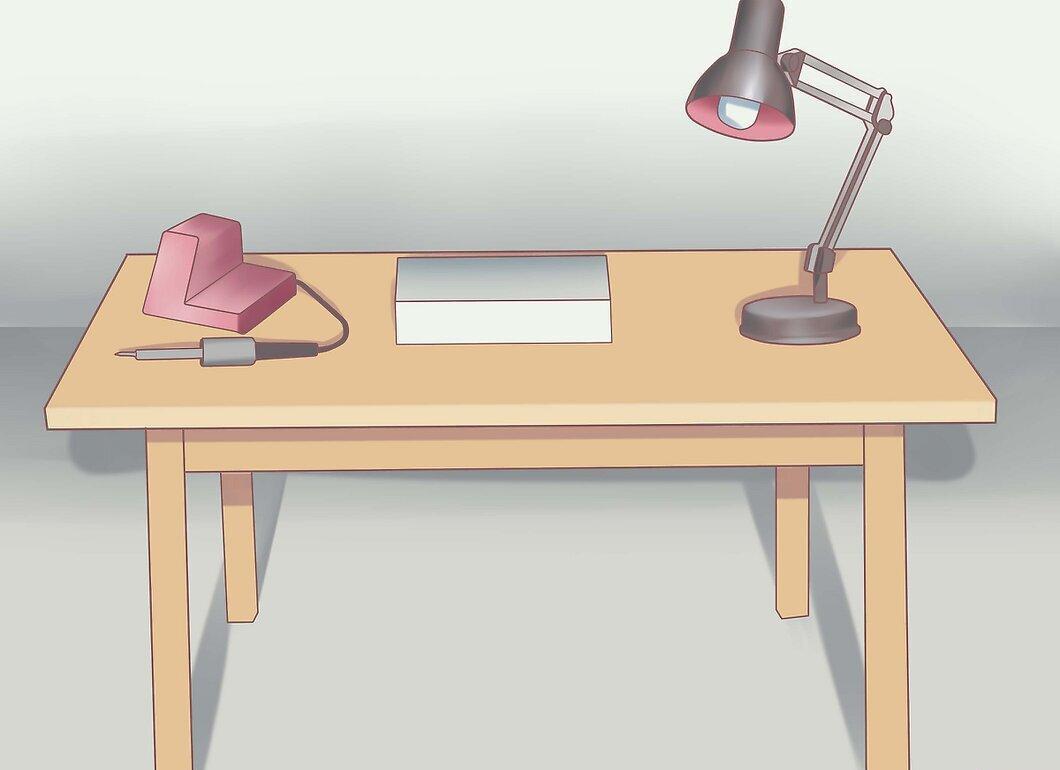
Look for a soldering brick or another suitable work surface. Soldering won't be successful if too much heat is lost to the air or absorbed by the work surface, so you'll need to find a specialized surface that has low thermal conductivity. A soldering brick is often the best option for silver as it reflects heat, creating the high temperatures needed for silver. Magnesium bricks or fire bricks are other common options that may last longer in soldering projects than a carbon brick.
- They can be purchased at craft stores or jewelry supply shops; they resemble regular building bricks in shape and size.
Step 2. Buy silver solder.
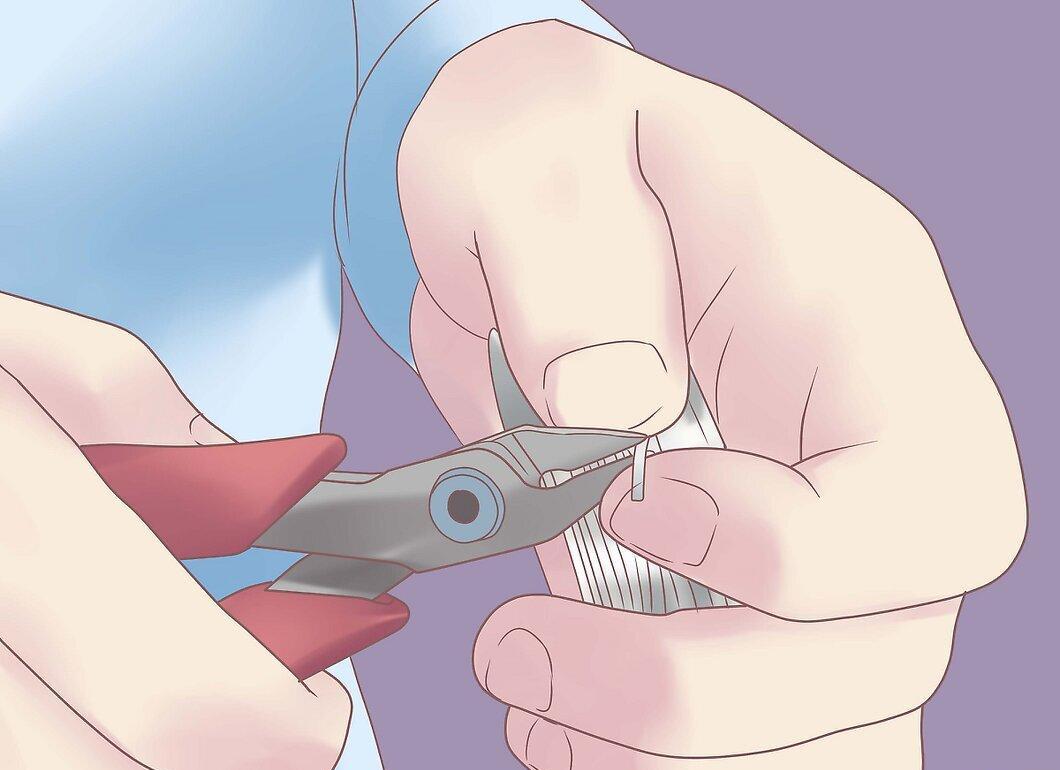
Purchase silver solder. Silver solder is an alloy of silver and other metals designed to bond with silver, melting at lower temperatures. You can buy it in packs of cut pieces or in sheet or wire form and cut pieces of about 3 mm with wire cutters. Avoid using lead solder when soldering silver, as it won't work and will be difficult to remove.
- Caution: Avoid working with silver solder that contains cadmium, which can pose health risks when inhaling fumes.
- If you're filling a crack, you can use a less pure, "easy" silver solder, as it melts at a lower temperature. For joining two pieces together, use "medium" or "hard" silver solder with a higher silver content to create a stronger bond. Note that there are no industry-wide definitions for these terms; if you switch brands and want to achieve similar results to before, check the specifications.
Step 3. Use a torch instead of a soldering iron.
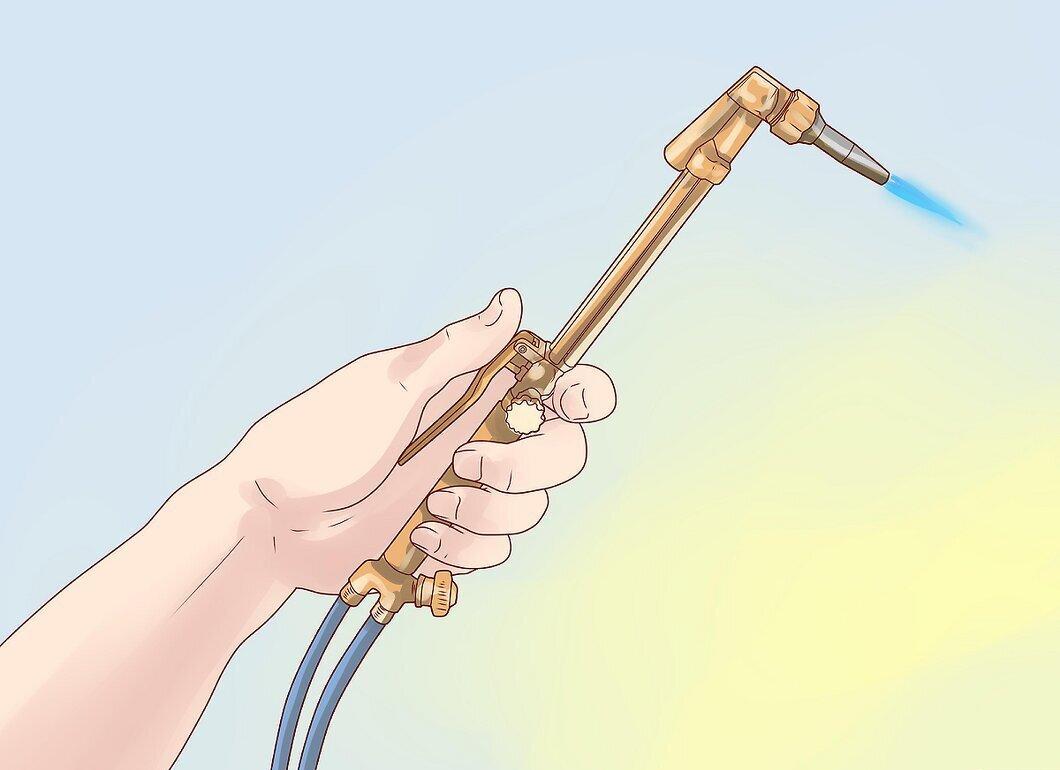
Use a torch instead of a soldering iron. Do not use soldering irons, as they are designed for lead solder with a lower melting point and can damage precious metals. Purchase a small acetylene torch from a hardware store, preferably with a flat, "chisel-shaped" tip rather than a pointed one.
- Silver quickly dissipates heat away from the flame's point of contact. Therefore, a small torch tip can make the soldering process slower.
Step 4. Choose a general-purpose flux or a brazing flux.
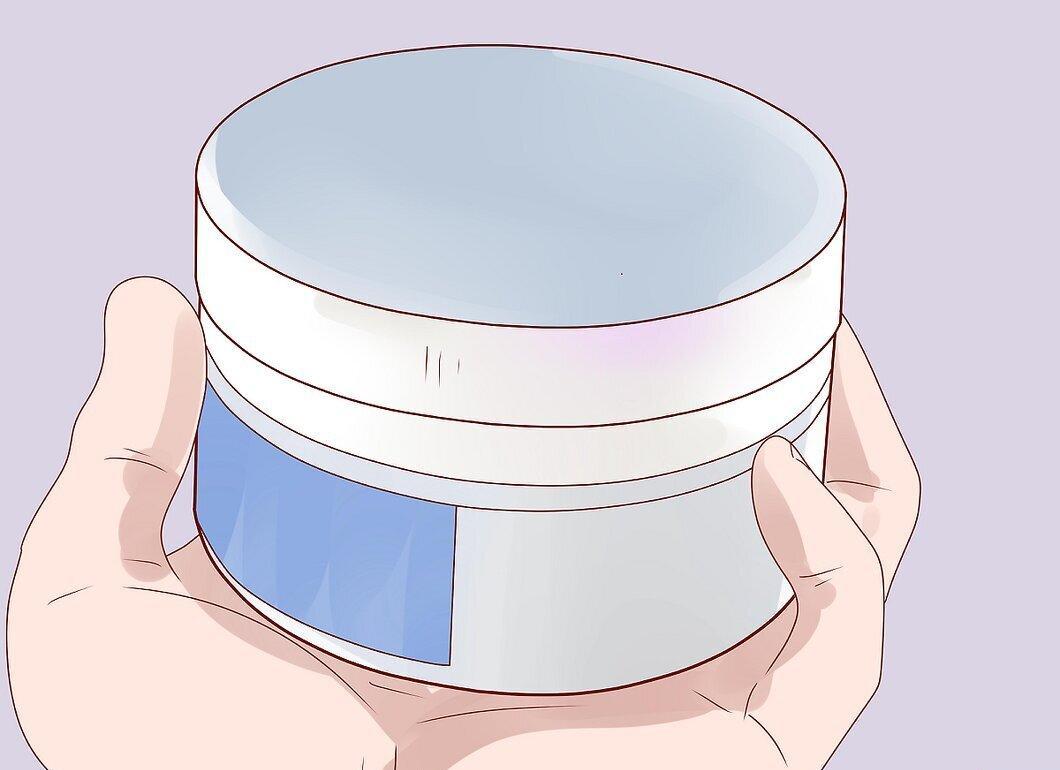
Choose a general-purpose flux or a brazing flux. Flux is necessary for cleaning the surface of the silver and promoting heat transfer. It also helps remove oxidation from the surface of the silver that can hinder bonding. You can use general-purpose flux or "solder flux" specifically for silver or jewelry.
- Brazing flux is used for joining at high temperatures, where the surfaces of the metal items chemically change. That’s why even jewelers say that referring to this process as "soldering" rather than "brazing" is technically more accurate.
- It doesn't matter what form of flux you buy (paste or liquid).
Step 5. Use a fan for ventilation if needed.
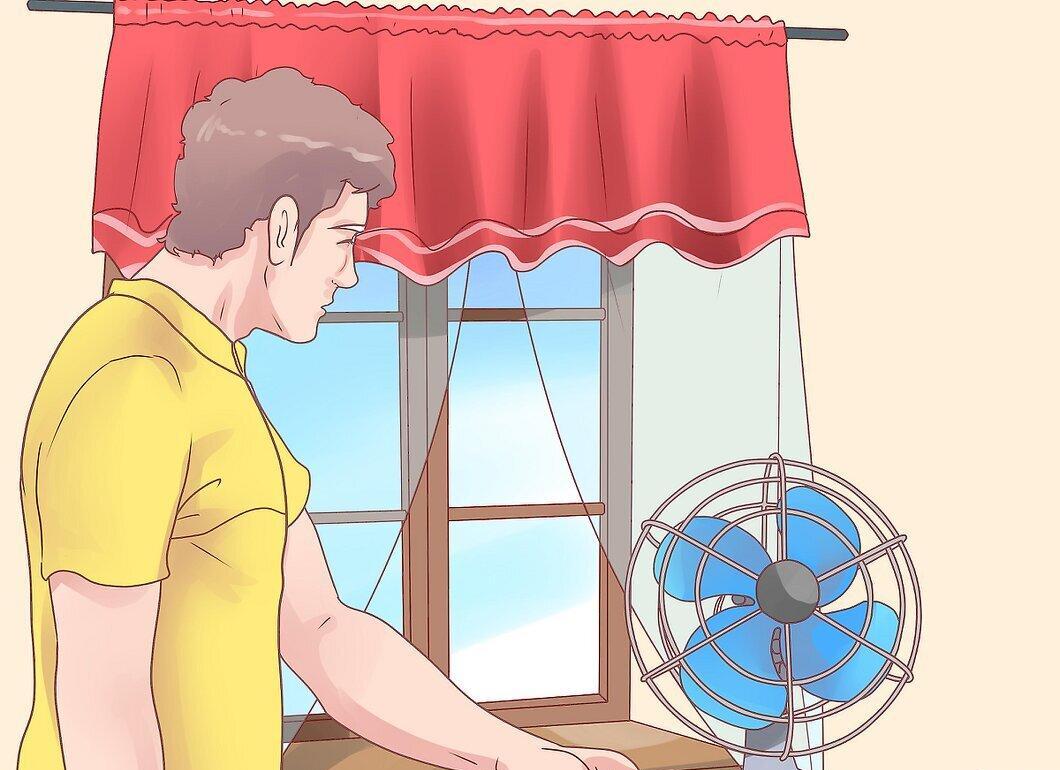
Use a fan for ventilation if necessary. Open windows or turn on a fan to minimize the amount of smoke you inhale by moving air over the work surface and away from yourself. Keep strong drafts away from the object itself, or the cooling effect may make soldering more difficult.
Step 6. Find tweezers and copper tongs.
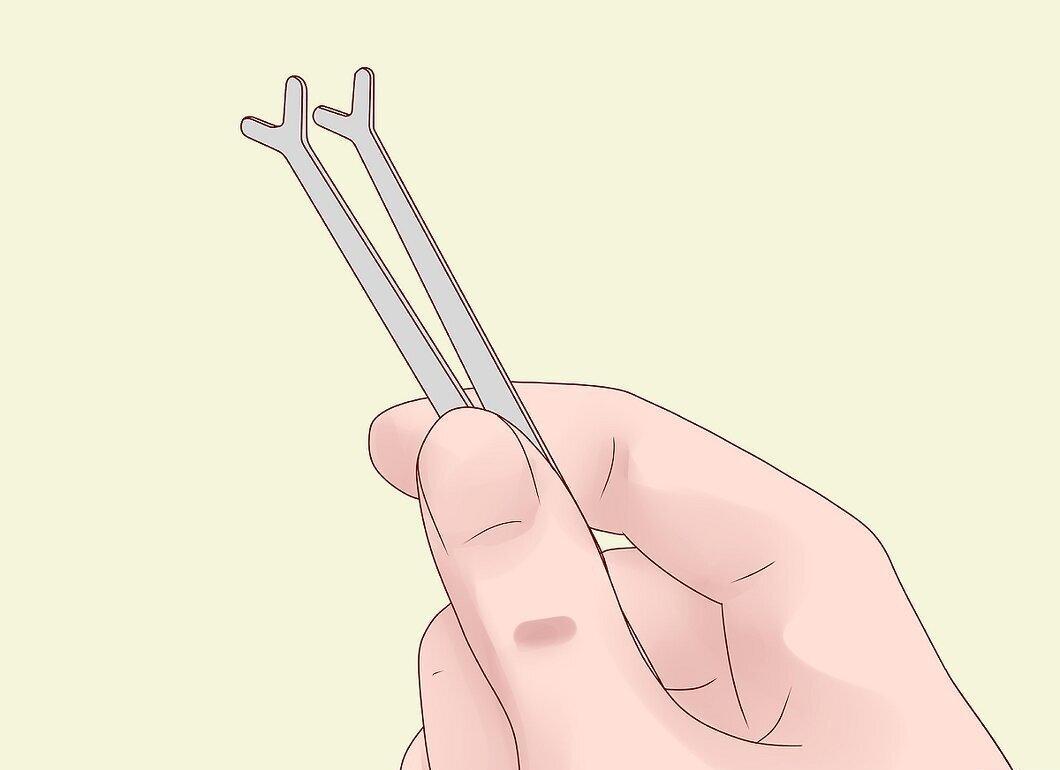
Find tweezers and copper tongs. Copper tongs are recommended as they can handle high temperatures, will not corrode, and won't damage the pickling solution described below. Tweezers are useful for holding silver pieces in place and can be made from any metal.
Step 7. Take safety precautions by using goggles and an apron.
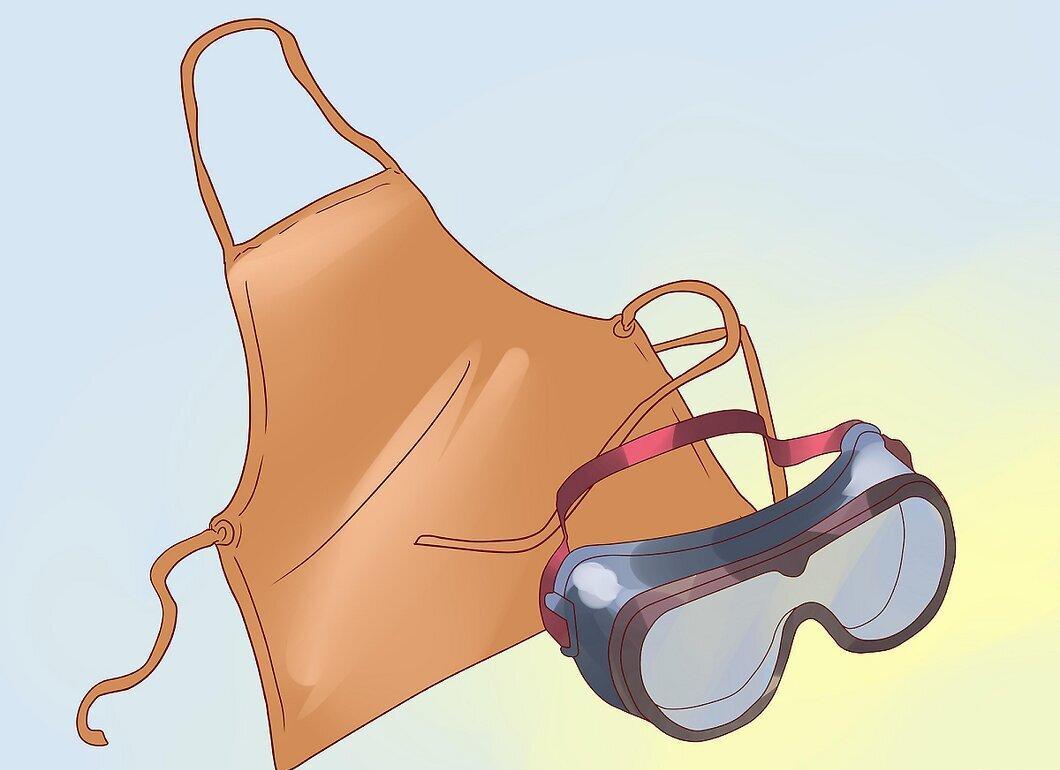
Take safety precautions by wearing goggles and an apron. Protective goggles are necessary to shield your eyes from accidental splashes, as you may need to look closely at the joint. A denim or canvas apron minimizes the risk of clothing catching fire.
- Avoid loose or hanging clothes. Tuck in long sleeves and ties, and tie back long hair before you begin working.
Step 8. Prepare a container of water.
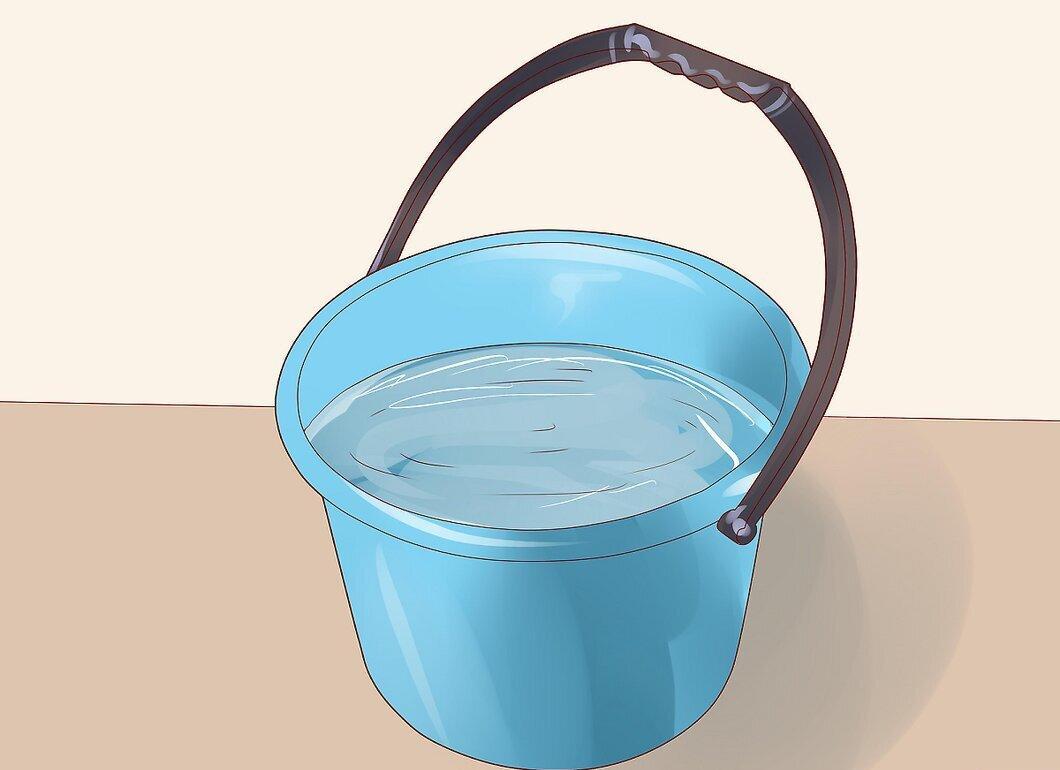
Prepare a container of water. You will need a container of water to rinse the silver at the end of the process. Ensure it is deep enough to fully submerge the object.
Step 9. Heat the pickling solution.
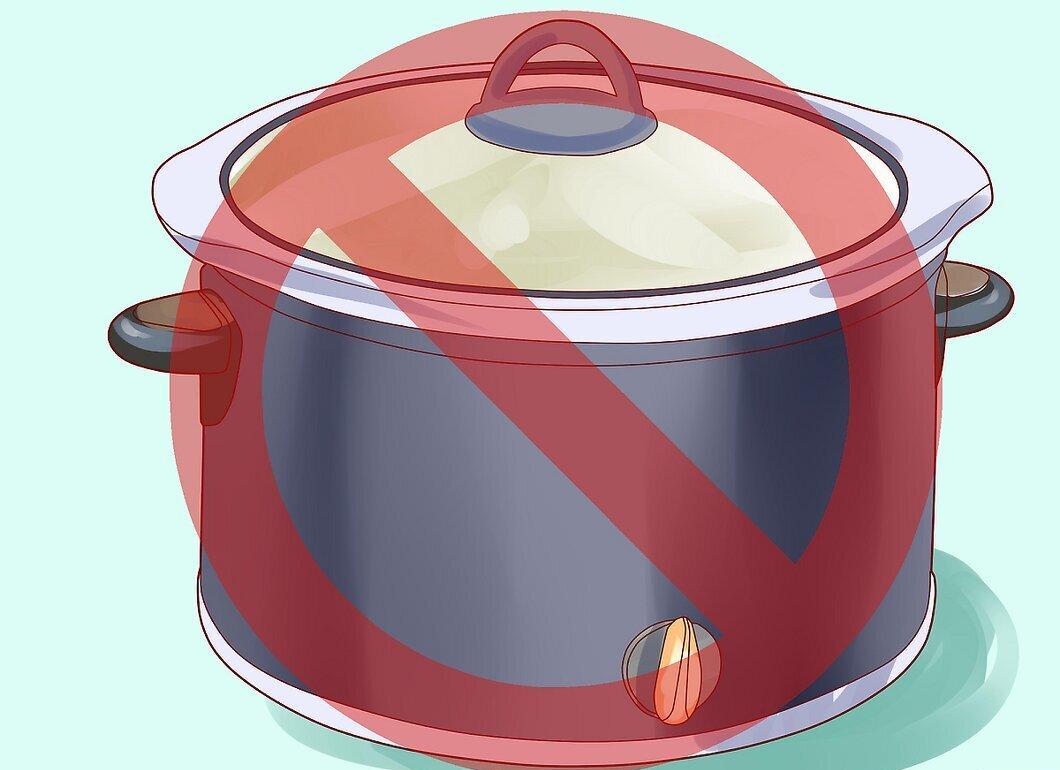
Heat the pickling solution. Acquire a pickling solution or acid solution used in soldering, clearly labeled for silver. It usually comes in powder form. Just before you begin soldering, dissolve the powder in water and use a pot or a special "pickling pot" to heat it according to the manufacturer's instructions.
- Do not use a pot, microwave, or oven that you plan to use again for cooking. The pickling solution can leave a metallic odor or even traces of toxic materials. Never leave steel in contact with the pickling solution.
- Most prepared pickling solutions can be stored for several weeks.
Joining Silver
Step 1. Clean the silver.
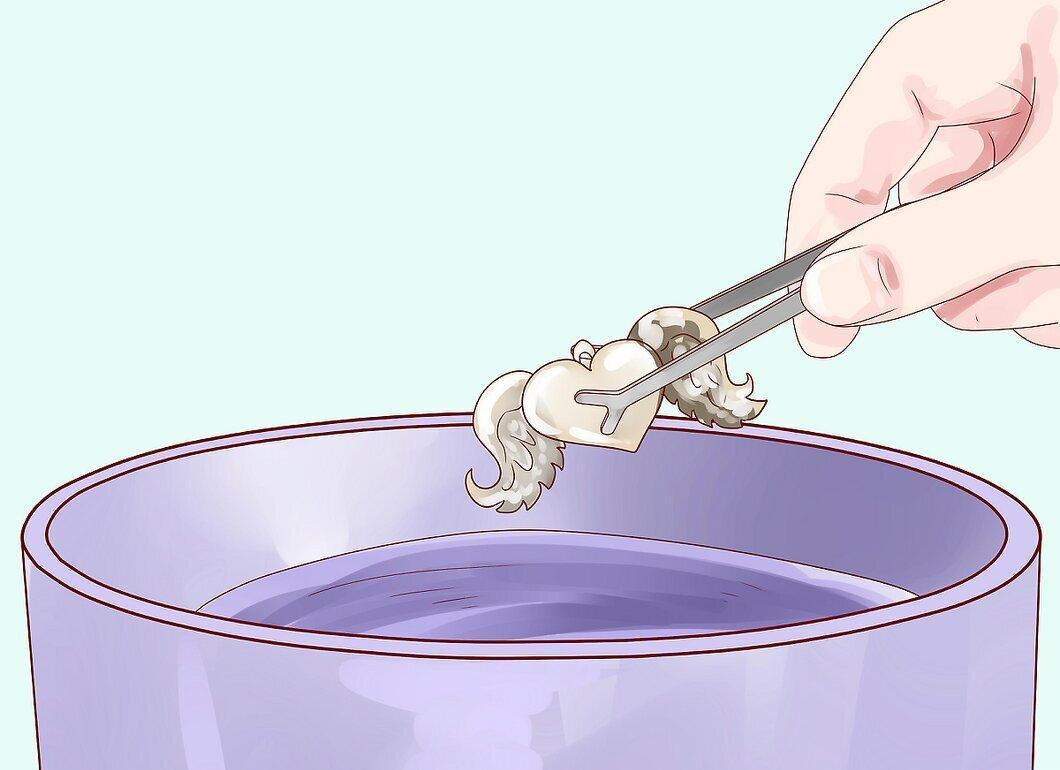
Clean the silver. Degreasers are recommended for oily or heavily soiled silver. If there are signs of oxidation on the surface, you may need to place the silver in the pickling solution before soldering. If desired, you can use 1000-grit sandpaper to roughen the surface of the joint.
Step 2. Apply flux to the joint.
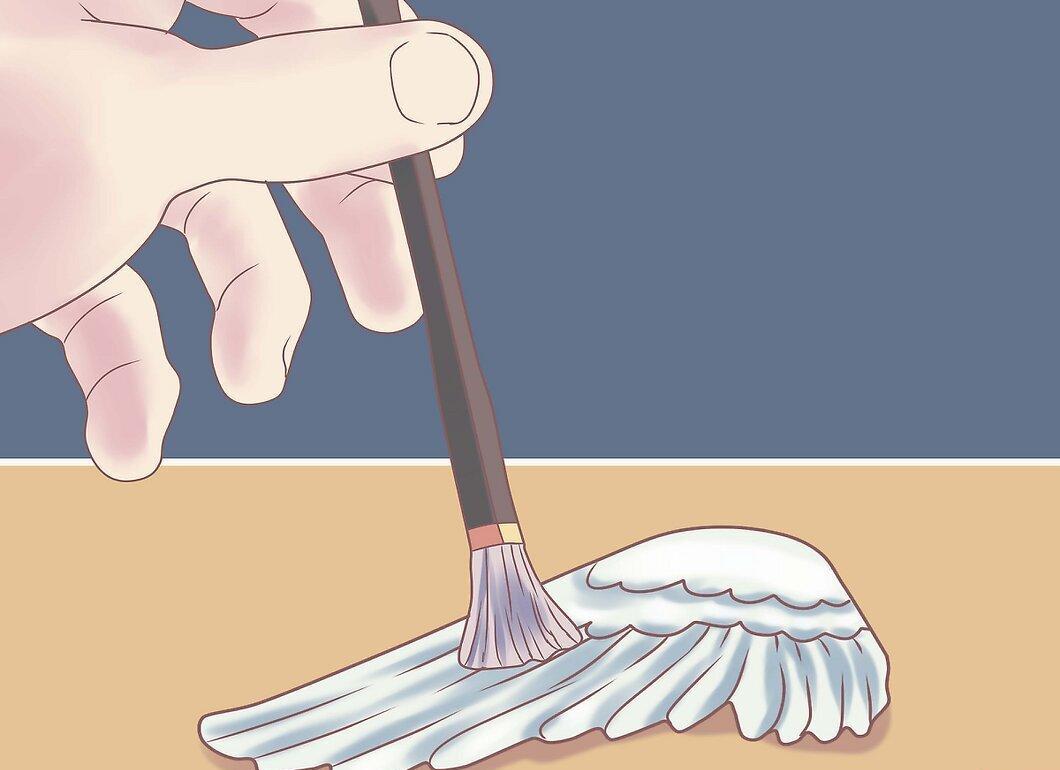
Apply flux to the joint. Prepare the flux according to the instructions on the packaging if it's not ready to use. Use a small brush to apply the flux to the silver object(s). Some people apply it only where the solder will be present to limit its spread to unwanted areas. Others prefer to apply flux over a larger area to minimize the risk of fire damage, but this is not recommended for beginners.
- It is advisable to use a small amount of flux in a separate container, as repeatedly dipping the brush into the main bottle may introduce dirt and affect its function.
Step 3. Position the silver pieces for joining.

Position the silver pieces for joining. Place the two pieces side by side on the soldering brick. Arrange them as you want them to be joined, noting that they must physically touch to join correctly.
Step 4. Place the solder on the joint.
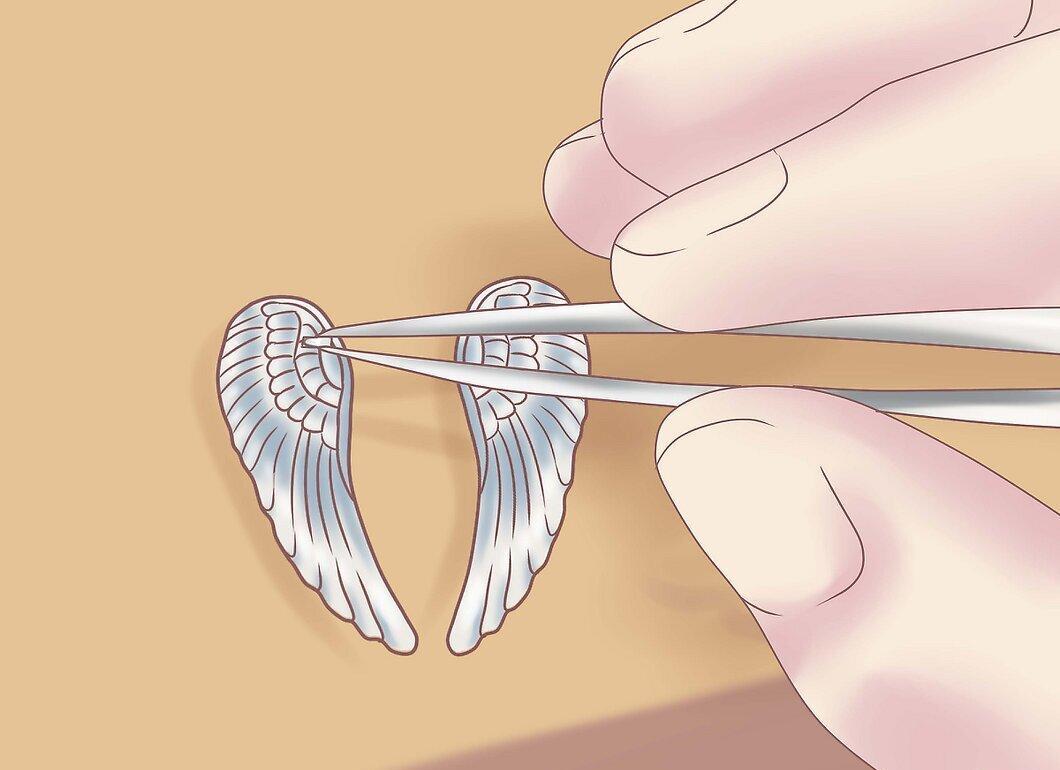
Place the solder on the joint. Use tweezers to pick up a piece of solder and carefully place it at one end of the crack or gap. When the solder melts, it will flow across the surface where the flux has been applied, so you don’t need to cover the entire length of the gap with solder.
Step 5. Heat the solder until it melts.
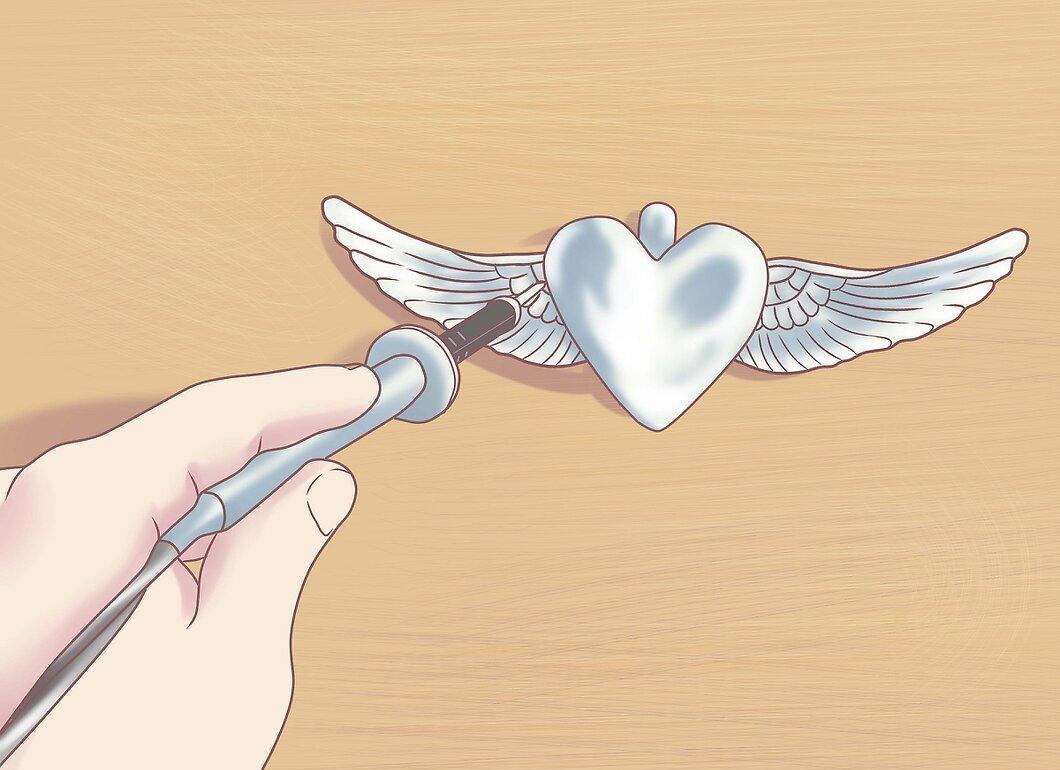
Heat the solder until it melts. Ignite the torch and set it to maximum temperature. Begin soldering as follows: hold the torch about 10 cm from the joint and move it in small, steady circular motions to ensure even heating across all elements. Slowly bring the flame closer to the joint, focusing your attention on the solder. When the solder reaches its melting point, it will melt quickly and flow onto the flux-treated areas of silver.
- If one of the items being joined is thicker than the other, heat the thicker object from the back first until the solder starts to melt, then quickly heat the thinner one.
- If necessary, use tweezers to hold the objects in place, but keep them away from the flame. You may need to hold small, thin areas of silver to ensure heat transfer, preventing the thin area from melting.
Step 6. Dip the object in water, then immerse it in the pickling solution.
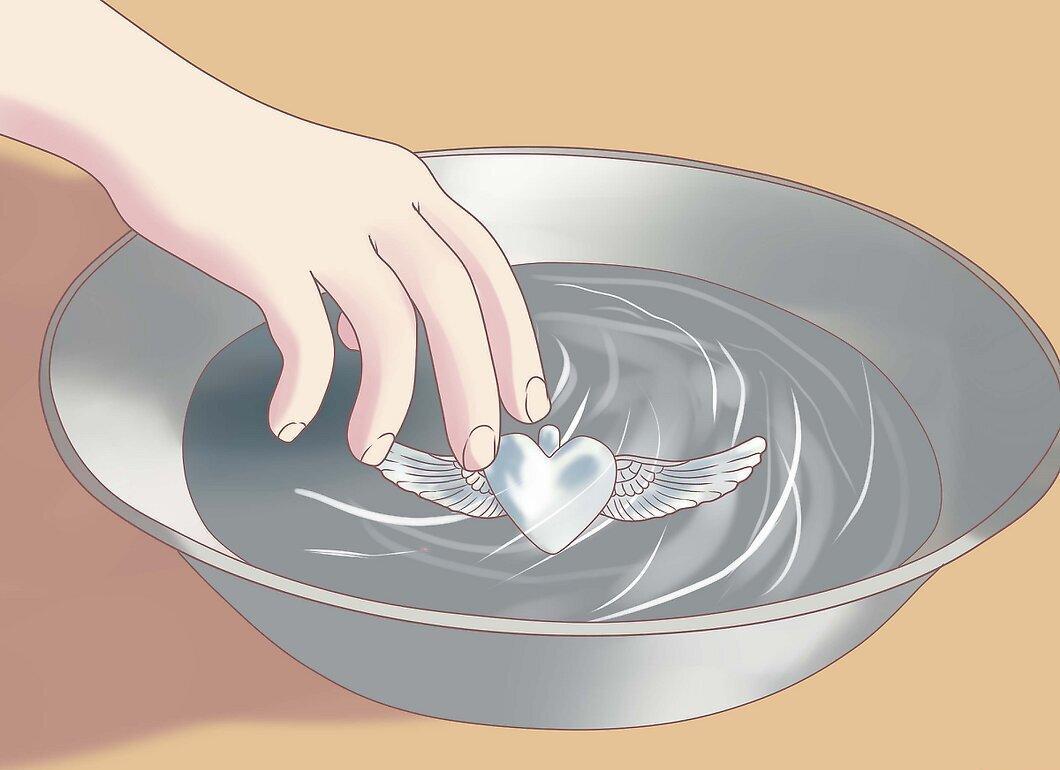
Dip the object in water, then immerse it in the pickling solution. Let the object cool for a minute, then cool it further by dipping it in the water bath. The "pickling solution" described in the workspace section is an acidic bath used to clean jewelry after soldering. Dip the silver into this bath using copper tongs and leave it for a few minutes to remove flux and oxidation. Avoid contact with skin, clothing, or steel tools, as the pickling solution can cause corrosion.
Step 7. Rinse the silver.

Rinse the silver. Rinse the joined silver item under water. Pat it dry with a clean cloth. If the process was completed correctly, the silver should be securely joined.


