
Stainless steel comes in the form of pipes, rods, and sheets. It is usually non-magnetic and has a shiny silver appearance. Grades of stainless steel that contain a high amount of nickel or chromium exhibit a brighter, mirror-like shine. Soldering this type of steel can be challenging due to the very stable oxide layer on its surface. Generally, this layer needs to be removed first mechanically by scrubbing the metal surface with a wire brush or sand, and then chemically using an acid flux. The oxide layer regenerates quickly, so the surface preparation and soldering operations must be performed continuously and without delay.
Part 1
Step 1. Prepare the Metal for Soldering.
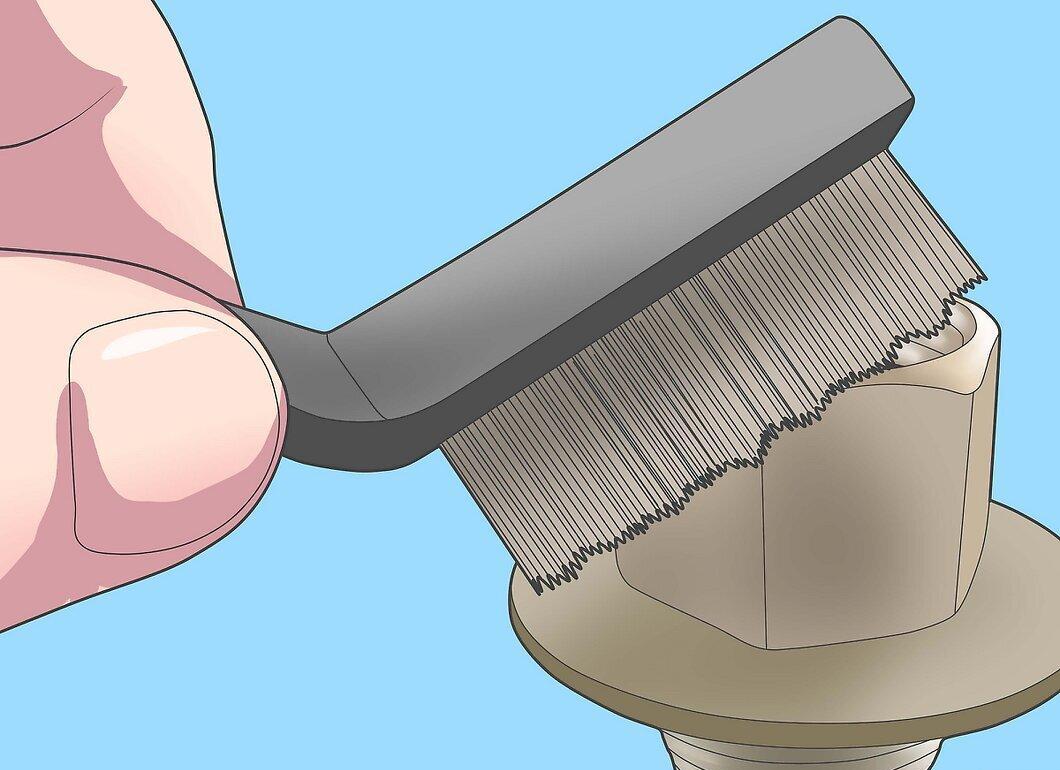
Prepare the metal for soldering. Clean the surface of the metal designated for soldering. After cleaning, it should shine and be free of stains. Thoroughly scrub the stainless steel surface with a wire brush made of stainless steel. It is crucial to remove the oxide film from the metal surface before soldering.
Step 2. Apply Flux.
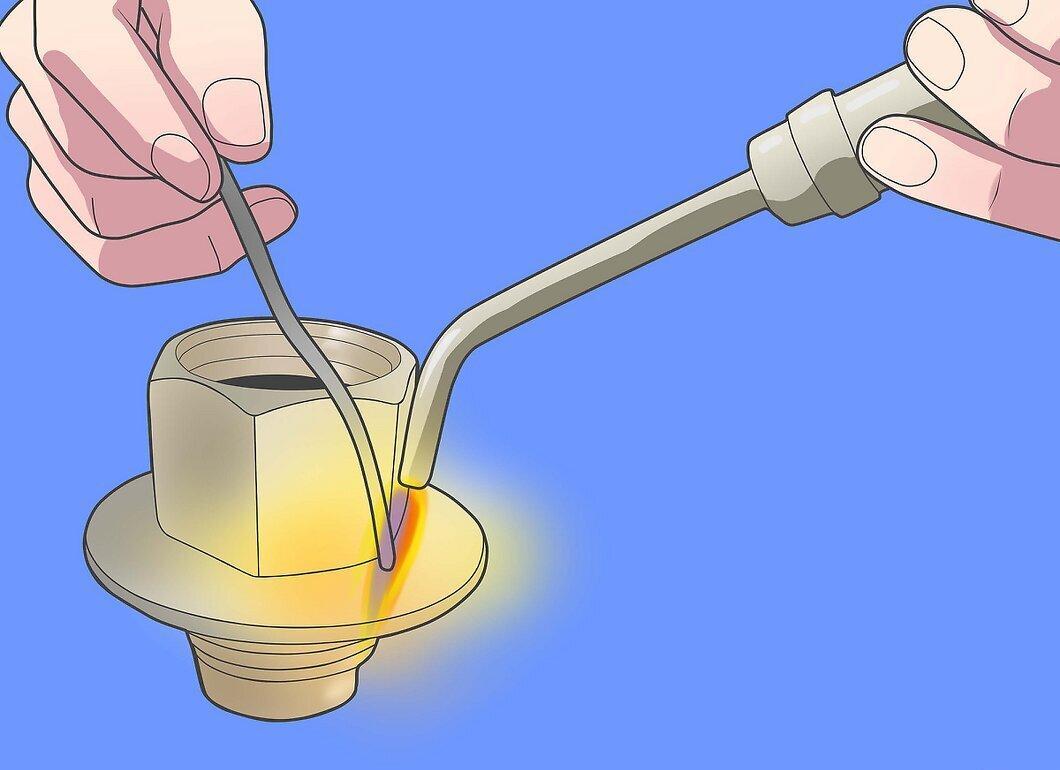
Apply flux. Place an appropriate soldering flux on the stainless steel that breaks down the oxide barrier, and then apply solder to the prepared surface. Use the solder wire to apply the flux precisely where needed.
Step 3. Heat the Metal.
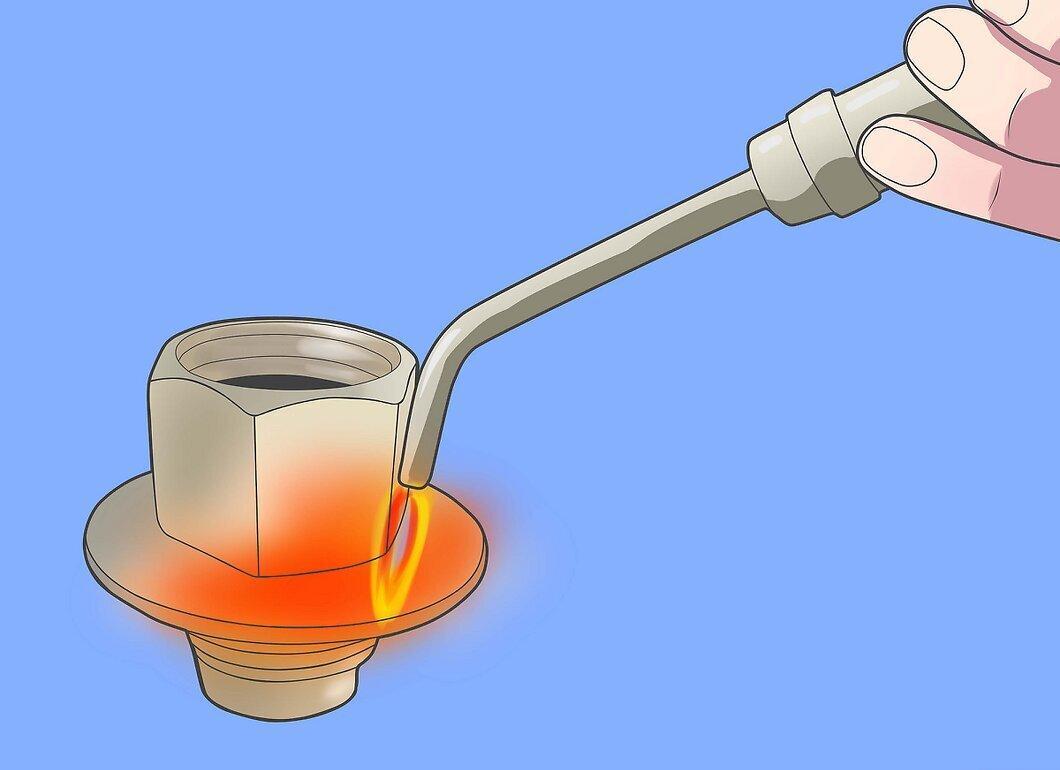
Heat the metal. Using a heating element, heat gun, or soldering iron, heat the metal near the soldering surface; you can start heating from the back side, as long as the heat transfers to the soldering area. It is not recommended to direct an open flame at the soldering spot, as this can lead to overheating of the solder and flux. When using a torch, keep the nozzle 10-15 centimeters (4-6 inches) away from the metal surface.
Step 4. Once the Flux Acts, Apply the Solder.
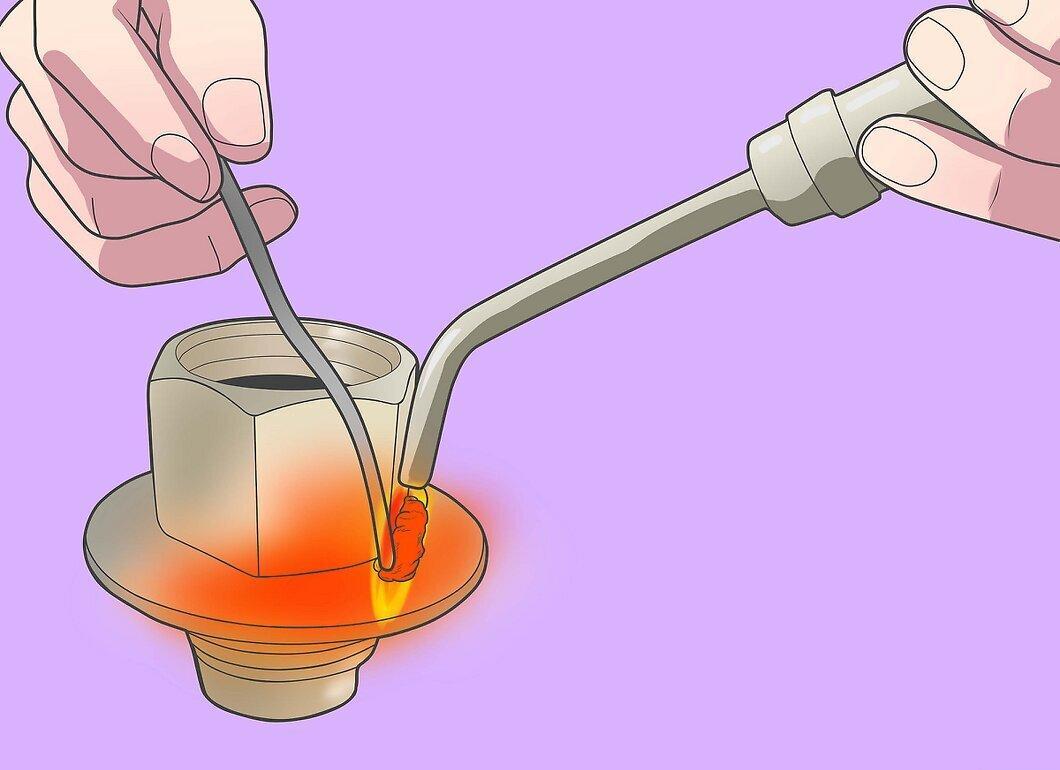
Once the flux acts, apply the solder. When gas bubbles start forming in the flux and it turns brown, you can bring the solder wire closer. Press the wire against the heated surface until the solder begins to flow. Once this happens, turn off the heat. If additional layers of solder are needed, continue pressing the wire against the heated surface.
Step 5. Monitor the Spread of the Solder.
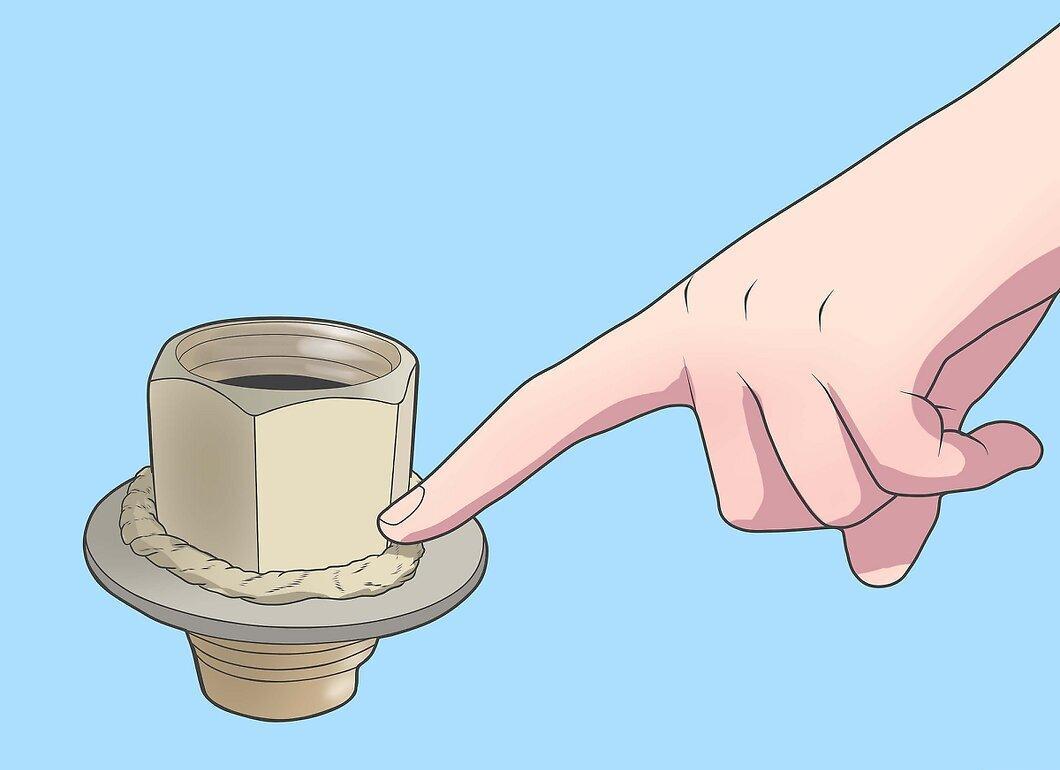
Monitor the spread of the solder. It should cover the surface evenly. If the solder forms separate droplets, it means it is not wetting the metal surface properly. This could be due to insufficient removal of the oxide layer or overheating.
Step 6. Apply Additional Solder.
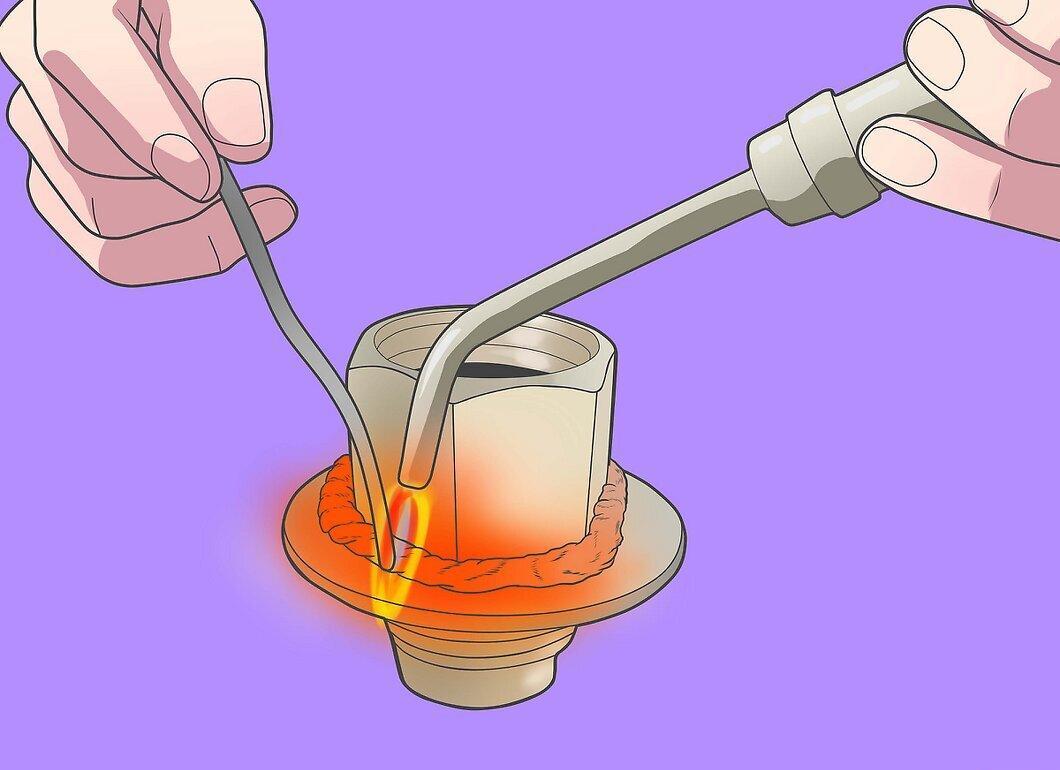
Apply additional solder. If you paused the soldering and then decided to add solder or move previously applied solder, let the metal cool slightly, then add flux and reheat it. The flux will facilitate both the adhesion of the new solder and the flow of the old solder.
Step 7. Rinse Off Excess Flux with Water and a Wire Brush.
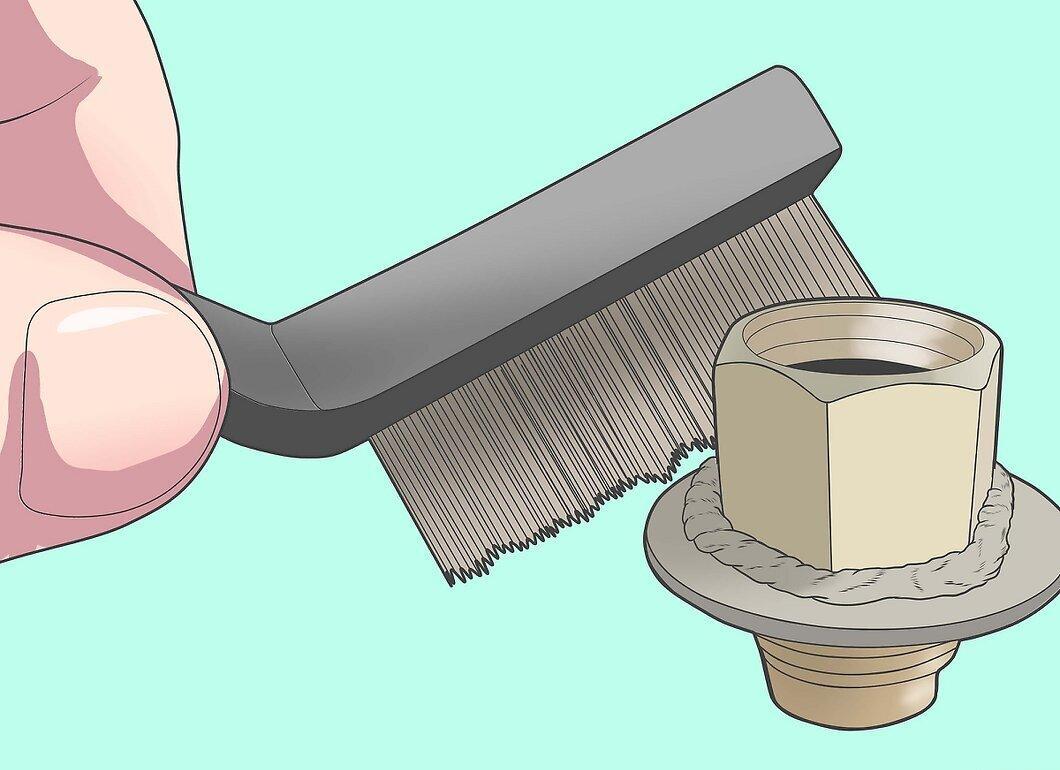
Rinse off excess flux with water and a wire brush. Flux is corrosive by nature, so it must be completely removed.


