
Alder is a deciduous tree with medium-density wood that is frequently used for furniture, doors, and finishing. To enhance its appearance, the wood can be stained. The best results are achieved by applying a primer before staining, which helps prevent blotches and ensures an even color.
Choosing the Stain Color
Step 1. Alder wood is relatively rare and is mostly sold unfinished.
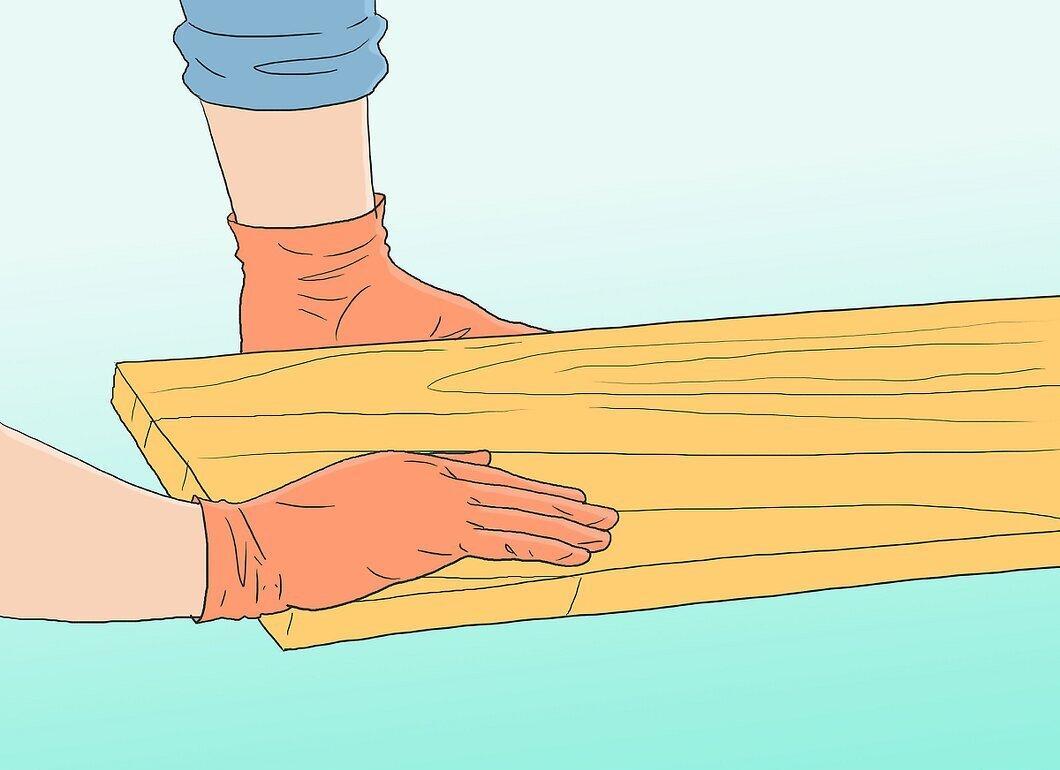
Alder wood is relatively rare and is generally sold without any finish. If the surface is finished, strip it using chemical strippers or sandpaper.
Step 2. Check out the stain samples available at your local hardware store.
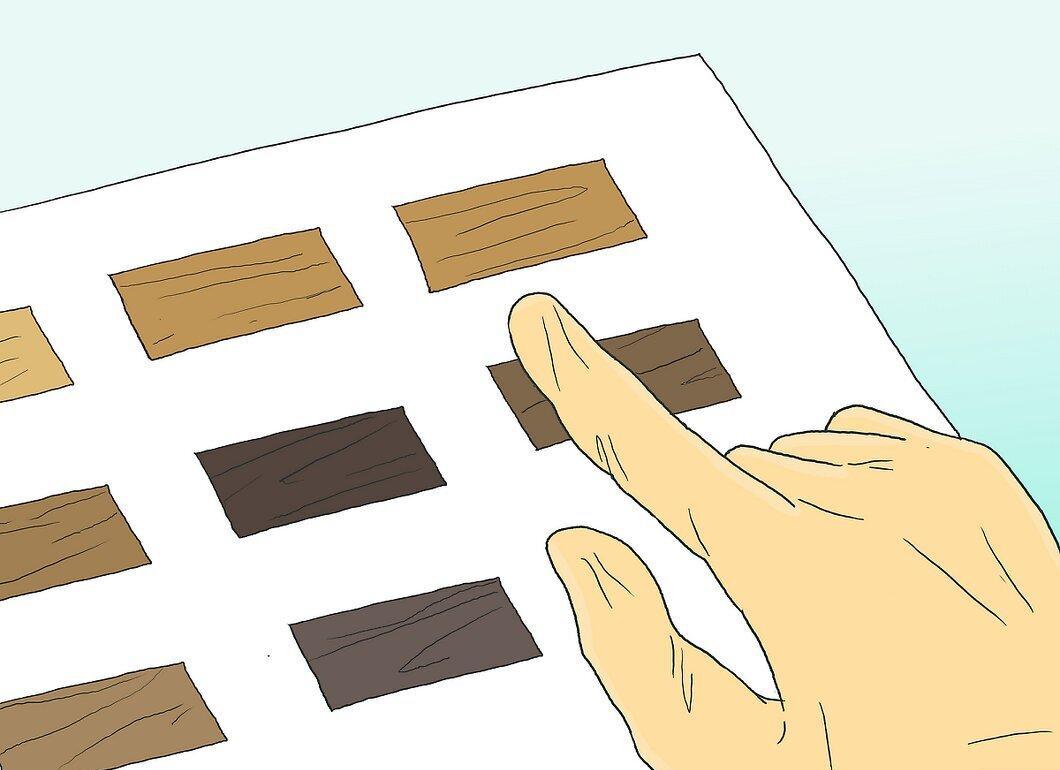
Examine the stain samples at your local hardware store. Alder can be stained in nearly any color, allowing you to mimic the appearance of cherry or other wood types.
Step 3. Before starting, test the stain on a small piece of alder wood.
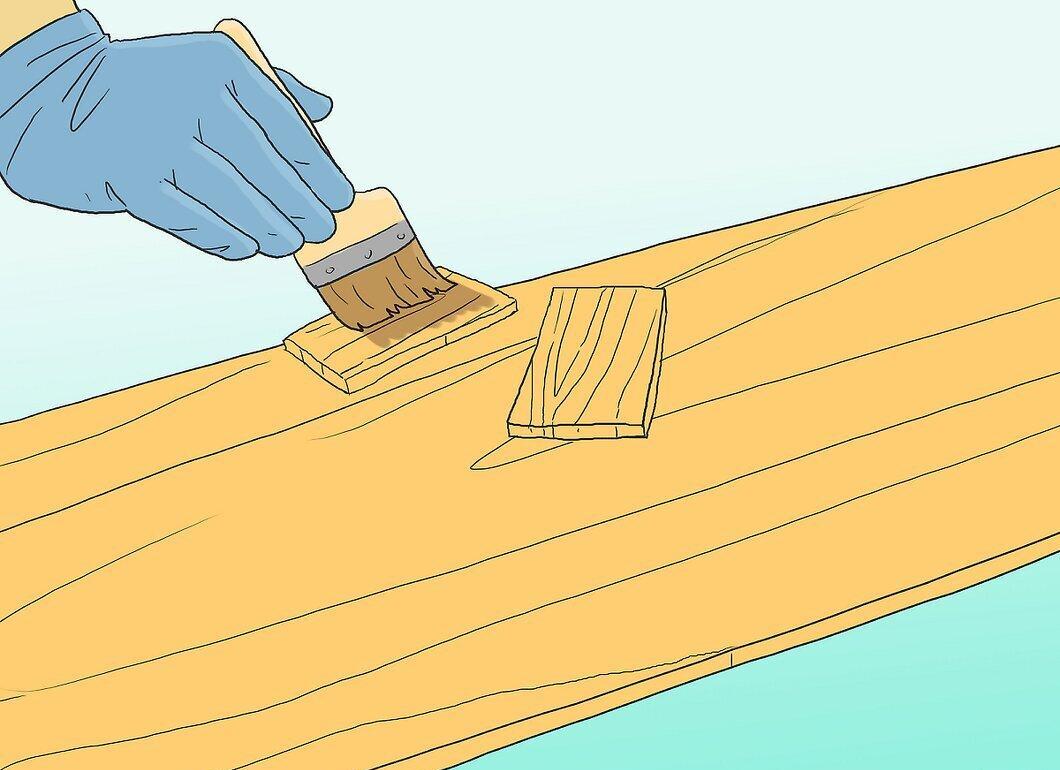
Before proceeding, test the stain on a small piece of alder wood. If you don’t like the color of the first stain, sand it off and try a different one.
Step 4. Purchase enough stain.
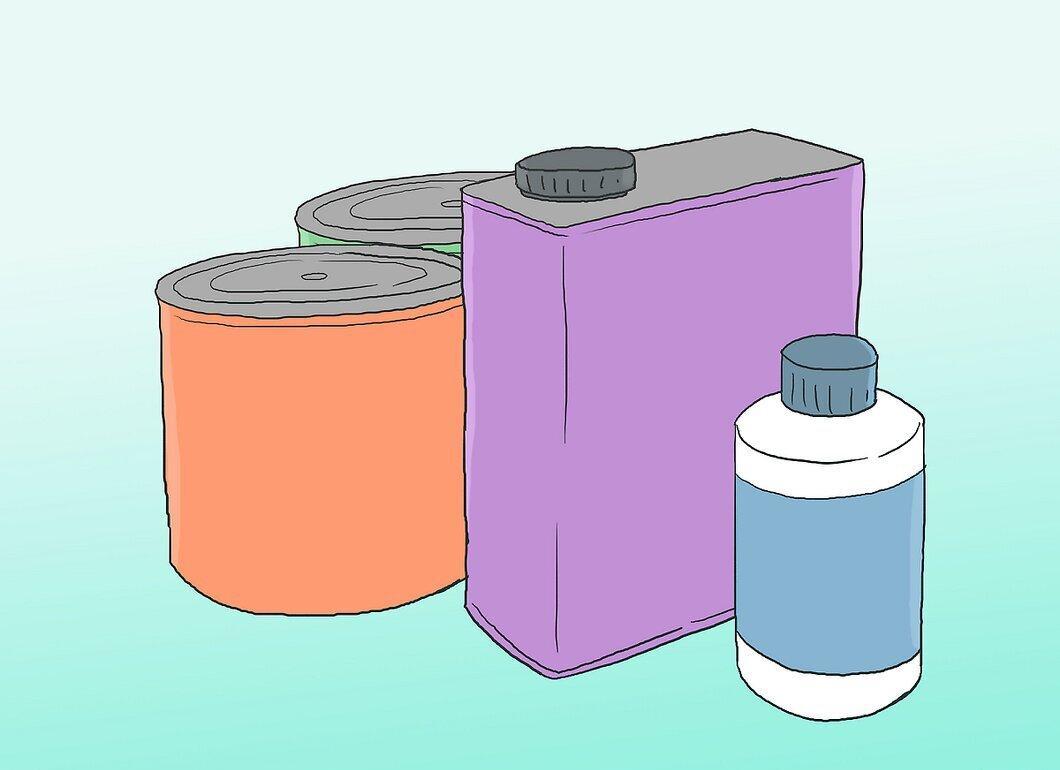
Buy a sufficient amount of stain. Don’t forget to also get a wood conditioner and the necessary staining tools.
Priming Alder
Step 1. Sand the wood using sandpaper with a grit of 180 to 220.
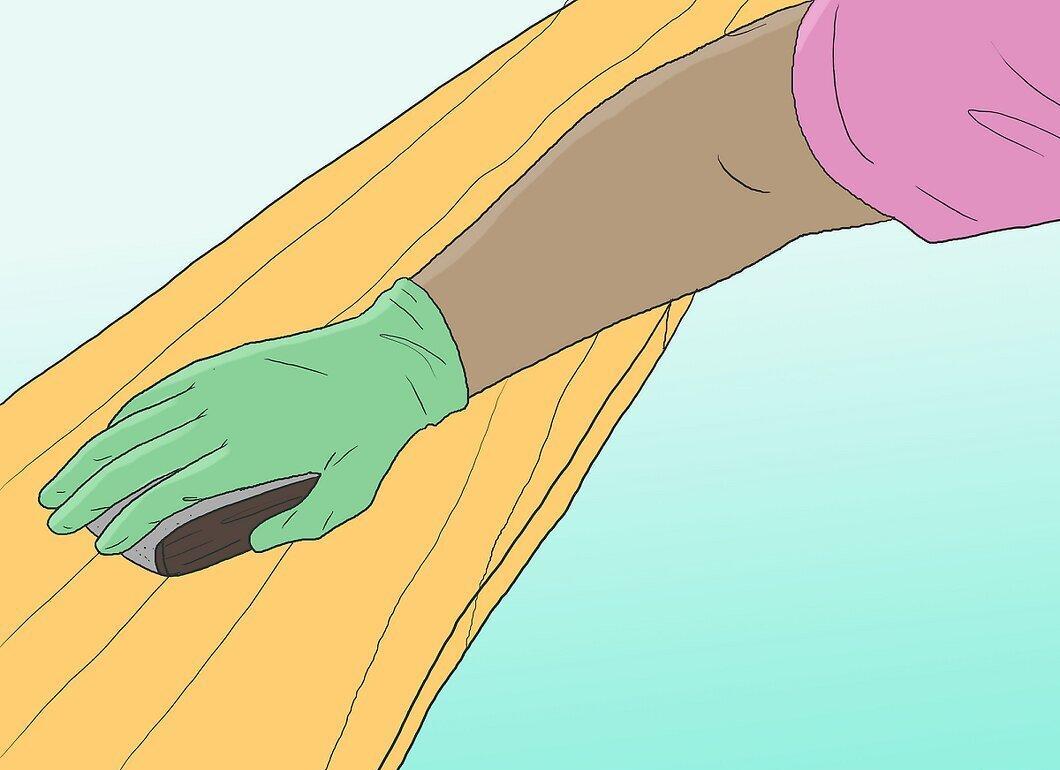
Sand the wood using sandpaper with a grit of 180 to 220. This will ensure even stain application.
Step 2. Apply a fast-drying wood conditioner to the surface.
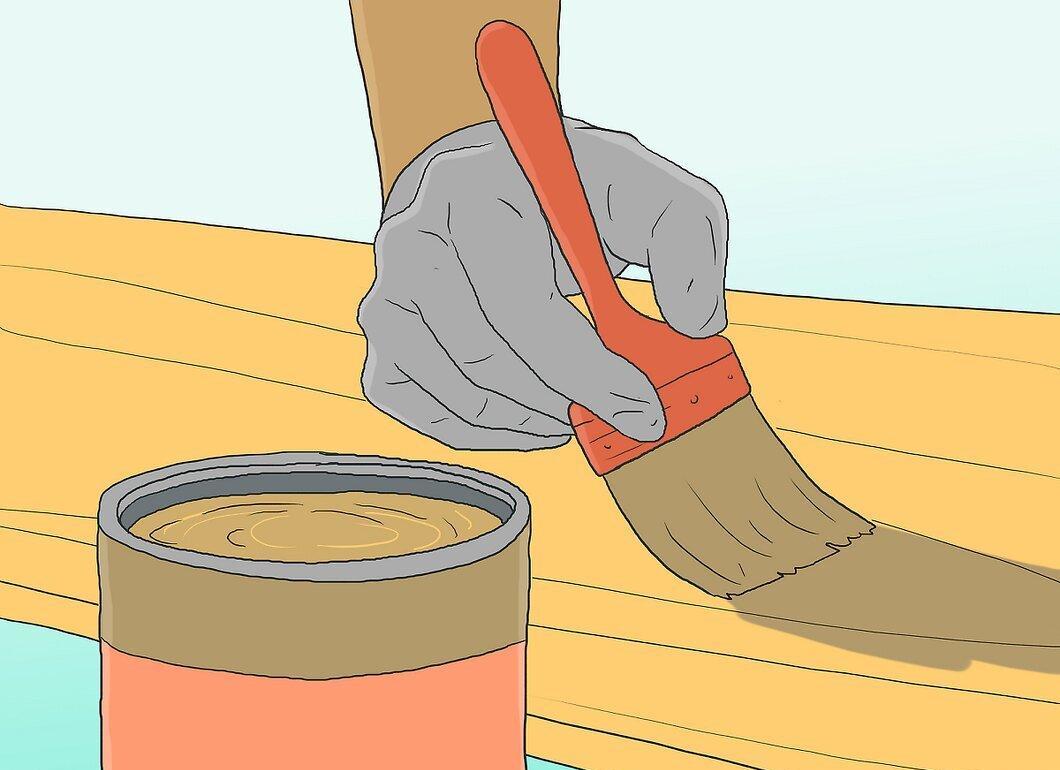
Apply a fast-drying wood conditioner to the surface. Most conditioners come in spray cans for convenience. Allow the conditioner to dry completely before applying the stain.
Staining Alder
Step 1. Apply the stain using a paintbrush or cloth.
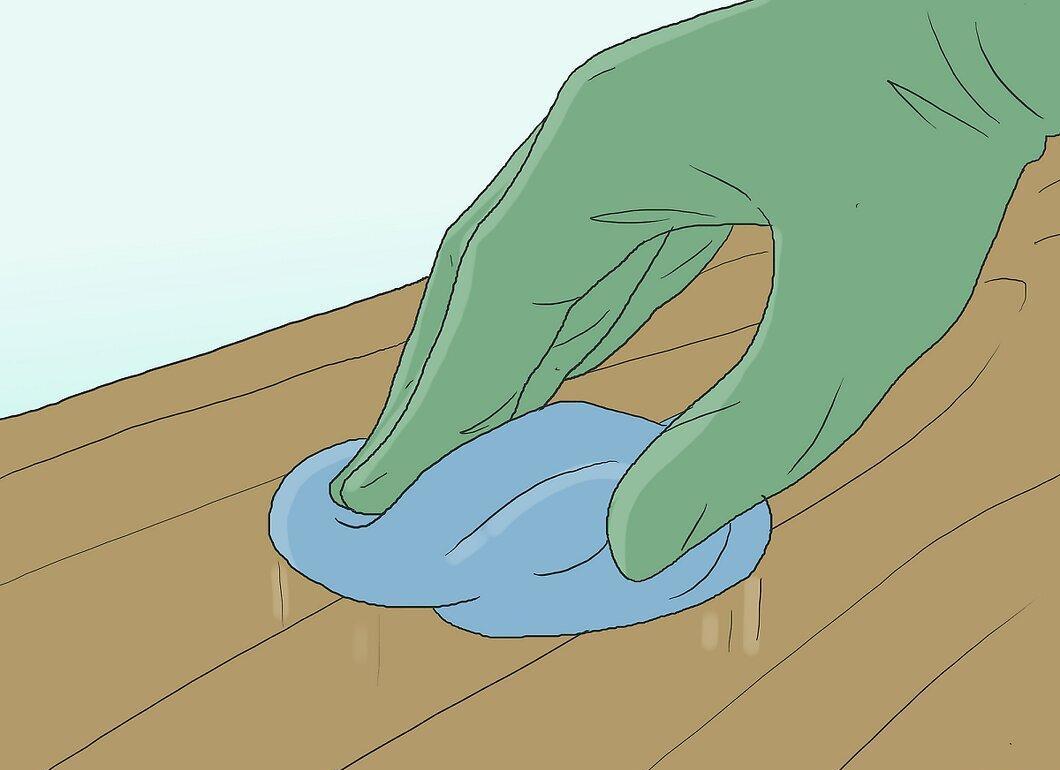
Apply the stain using a paintbrush or cloth. A cloth can help achieve a more even stain application. Spread the stain as evenly as possible and wipe off any excess.
Step 2. Wait for the stain to dry.
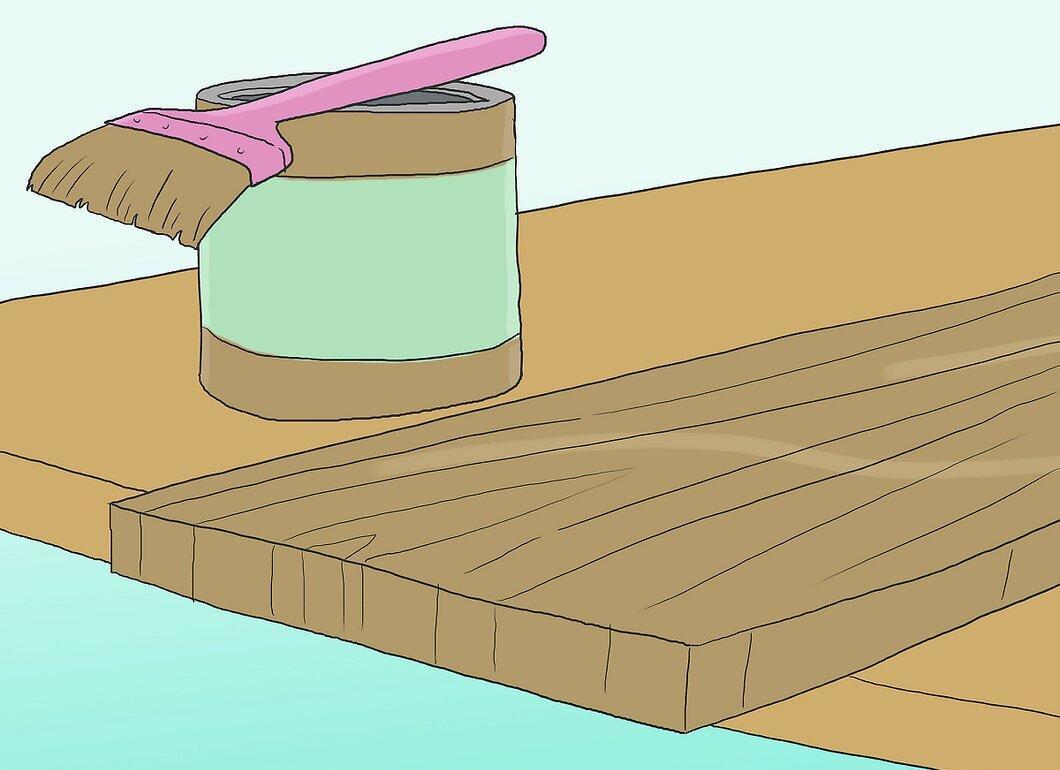
Wait for the stain to dry. After this, if you want a darker shade, apply another coat of stain.
Step 3. Seal the dried stain with a coat of sealant according to the instructions.
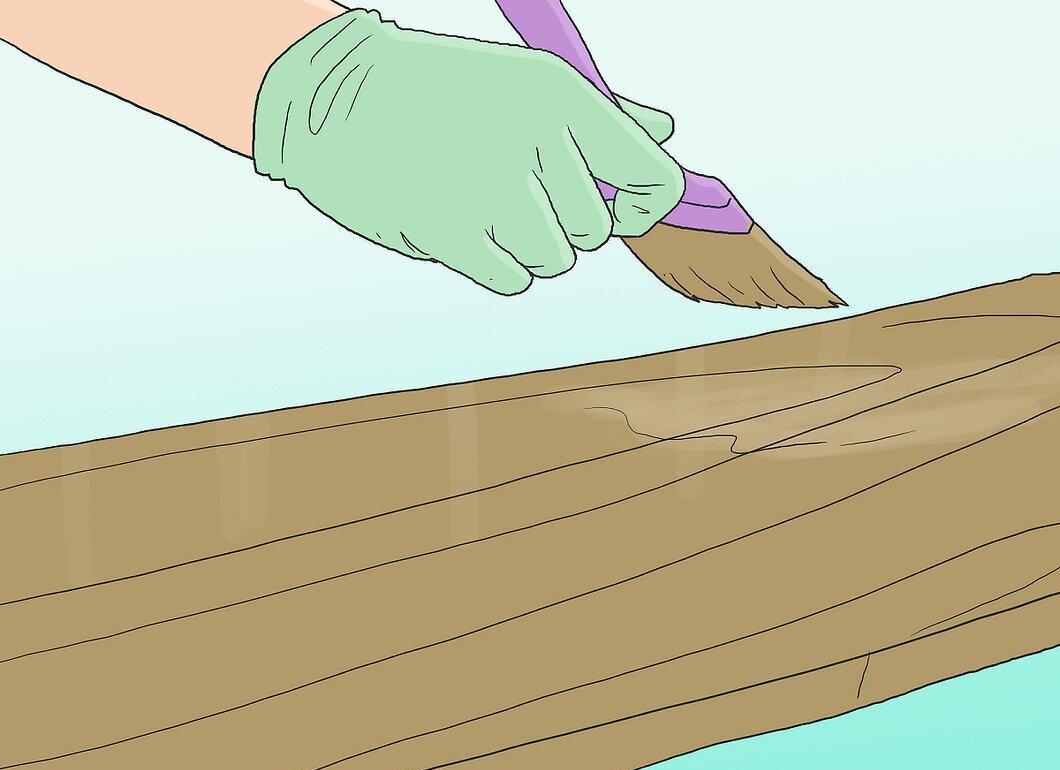
Step 4. Sand the surface with 240-280 grit sandpaper (very fine paper) for better adhesion.
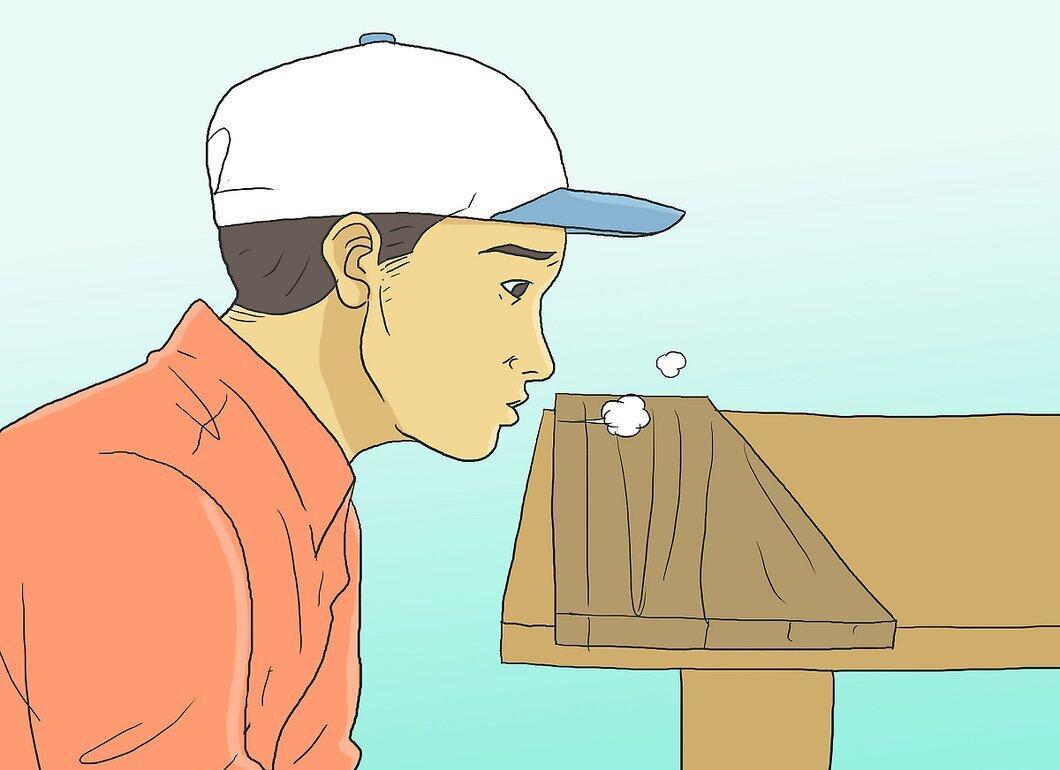
Sand the surface with 240-280 grit sandpaper (very fine paper) for better adhesion. Then blow off the surface or wipe it with a tack cloth.
Step 5. Apply another coat of sealant.
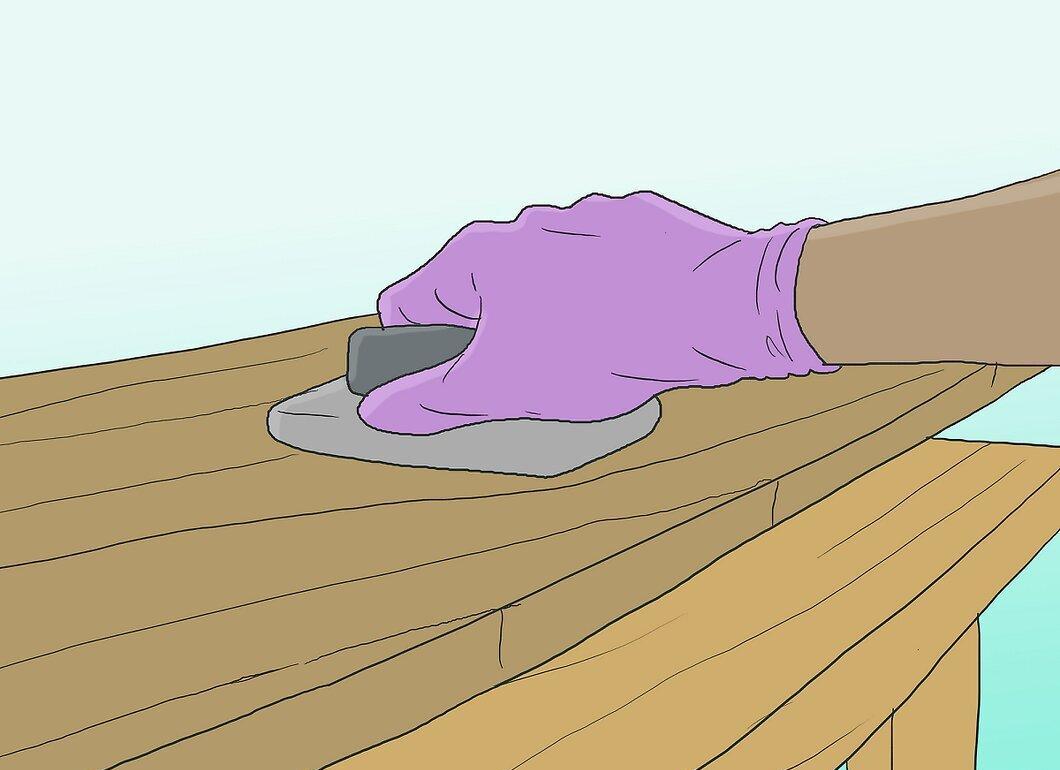
Apply another coat of sealant. Again, sand the surface with very fine sandpaper. Apply the final finish coat.
Step 6. Allow the wood to dry in a room with a temperature of at least 21 degrees Celsius (70 degrees Fahrenheit).
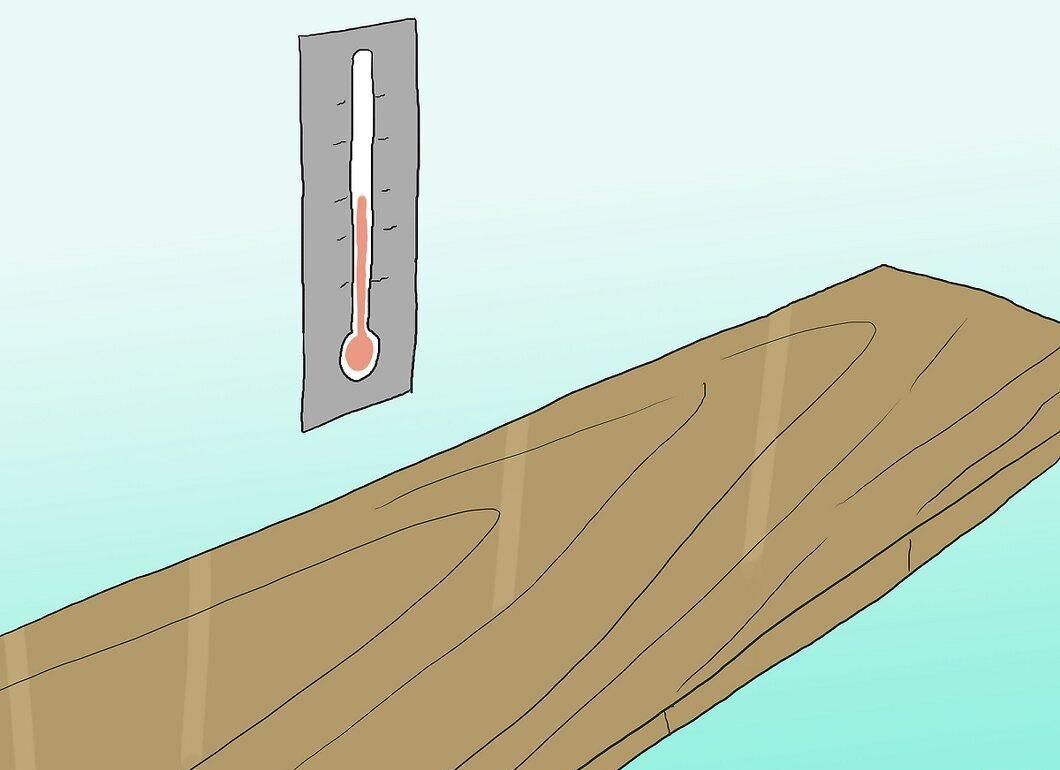
Allow the wood to dry in a room with a temperature of at least 21 degrees Celsius (70 degrees Fahrenheit). This process can take anywhere from 48 hours to several weeks.


