Veneer is a thin layer of hardwood sliced from logs, primarily used in the furniture industry. It allows craftsmen to finish wooden products with beautiful exotic woods that might otherwise be too expensive or inaccessible. Since veneer is natural wood, it is stained similarly to solid wood, but there are differences in techniques to note.
Staining Veneer with Oil-Based Stain
Step 1. Choose the right stain for your project.
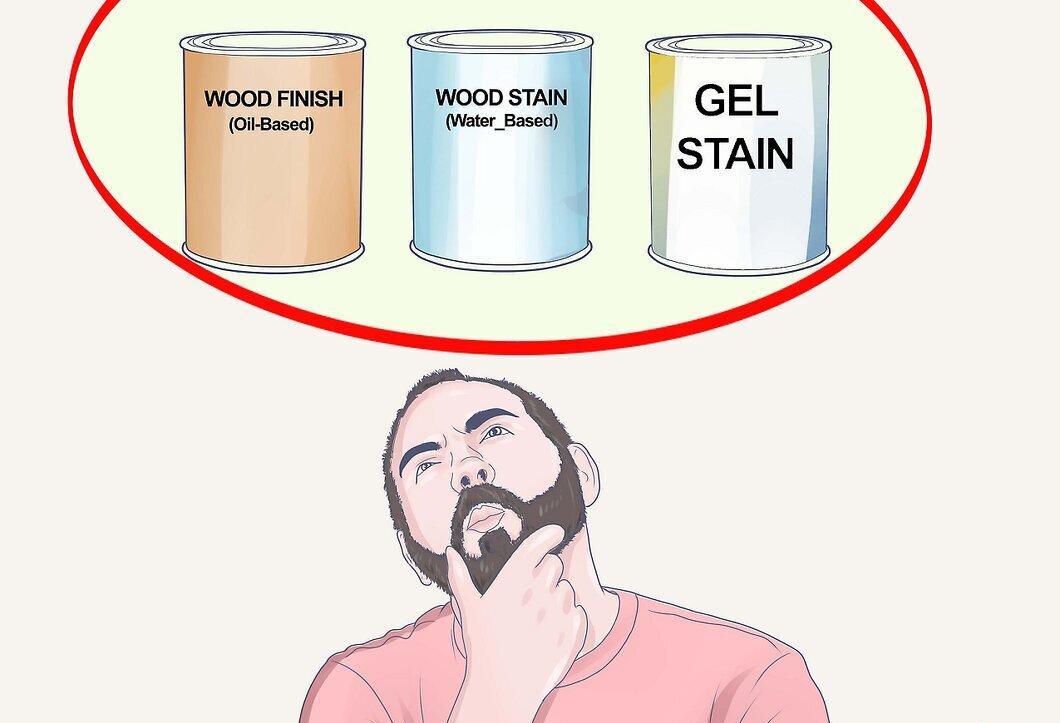
Choose the right stain for your project. You can select oil-based, water-based, or gel stains. Each has slightly different properties that make it ideal for one type of wood but unsuitable for another.
- For example, some woods, like teak and rosewood, contain more natural oils than others, like oak or hickory. Water-based stains may not adhere as well to oily woods, which is an important consideration when selecting a stain.
- The basic steps for staining veneer are the same as for solid wood, but absorption and drying times vary for each type of stain: gel, oil-based, or water-based.
Step 2. Inspect the veneer carefully to ensure it is smooth.
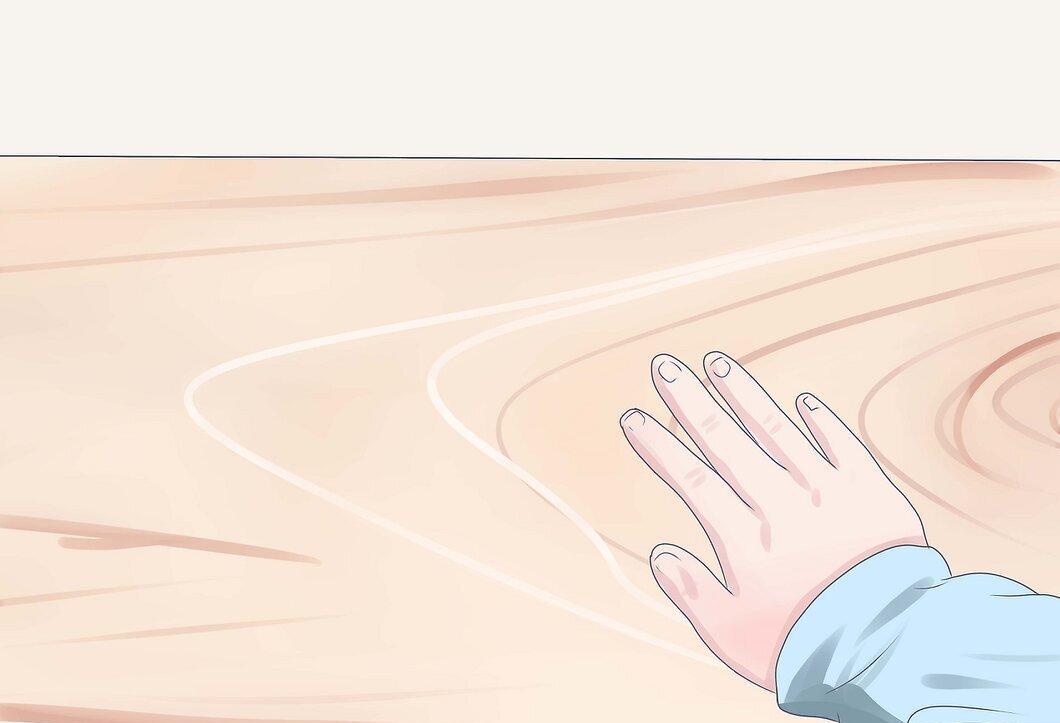
Inspect the veneer carefully to ensure it is smooth. Most sawn veneers and those from valuable woods do not require sanding. Sawn veneer is very thin, typically 0.60 mm, and cannot withstand heavy sanding.
Step 3. Lightly sand the veneer if necessary, starting with 180-grit sandpaper and always sanding with the grain.
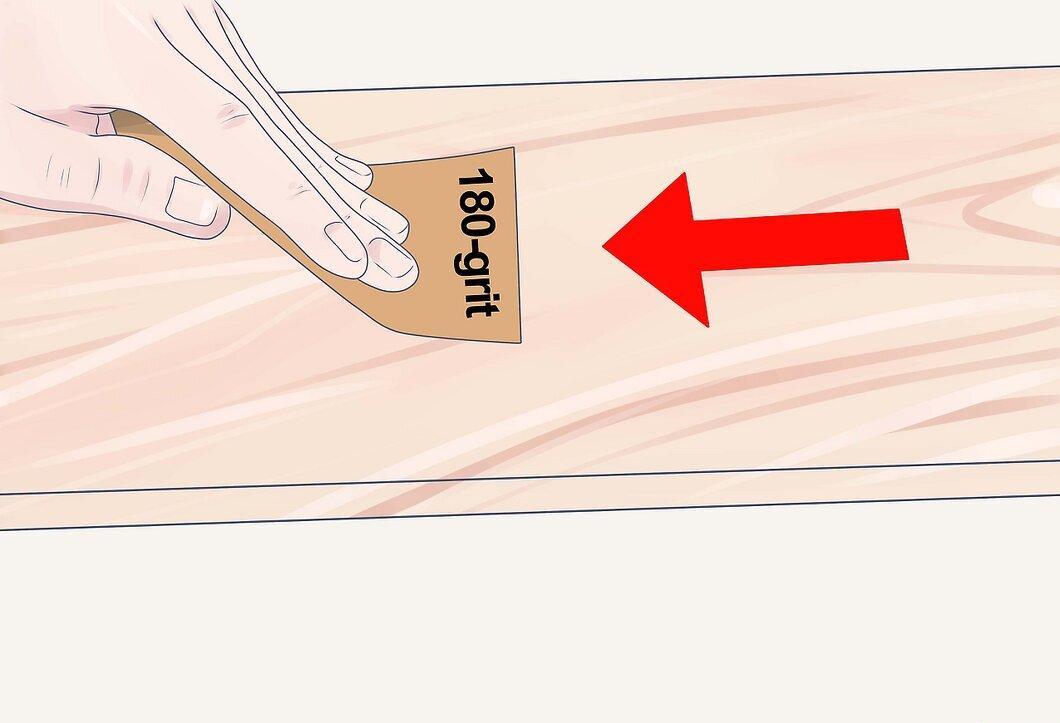
Lightly sand the veneer if necessary, starting with 180-grit sandpaper and always sanding with the grain. Take frequent breaks to inspect the surface to avoid damaging the veneer.
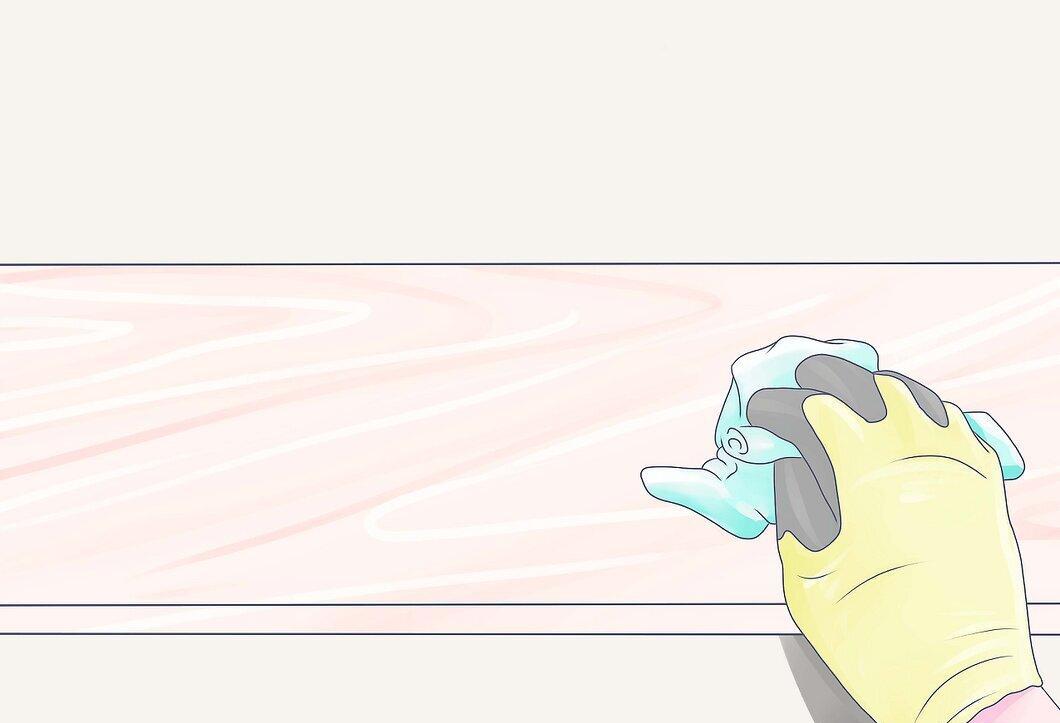
Step 4. Clean the veneer thoroughly.
Step 5. Stir the stain vigorously before use and repeat every 30 minutes while working.
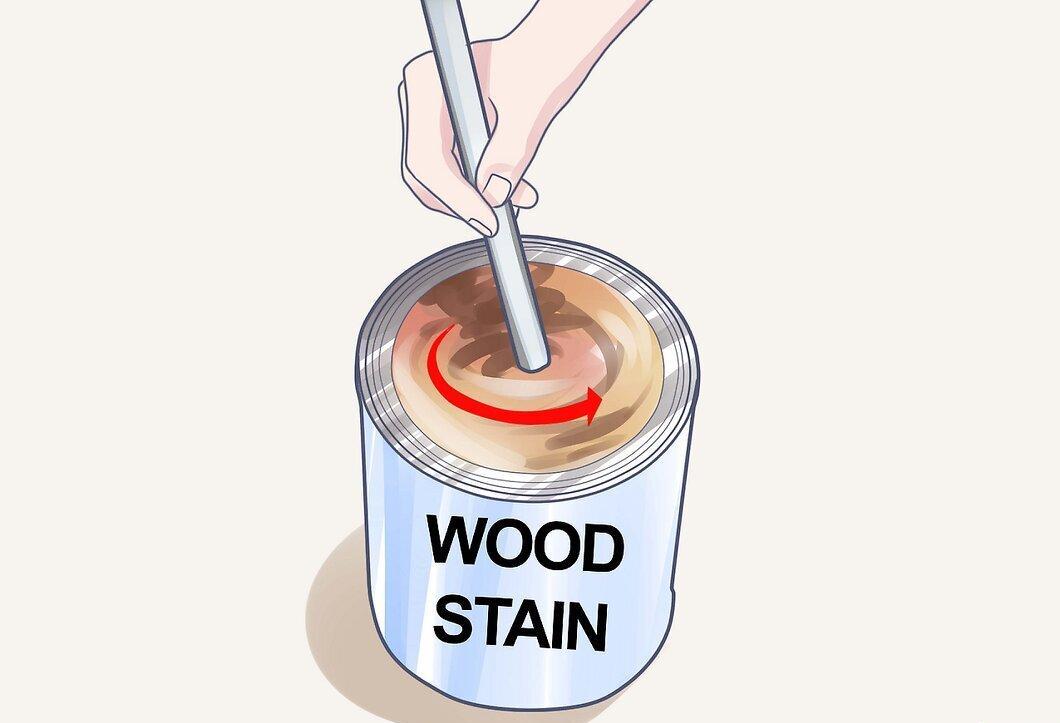
Stir the stain vigorously before use and repeat every 30 minutes while working. Perform a color test on a scrap piece of veneer or in an inconspicuous area.
Step 6. Apply a conditioner with a brush if your veneer is made from soft or porous wood, such as pine.
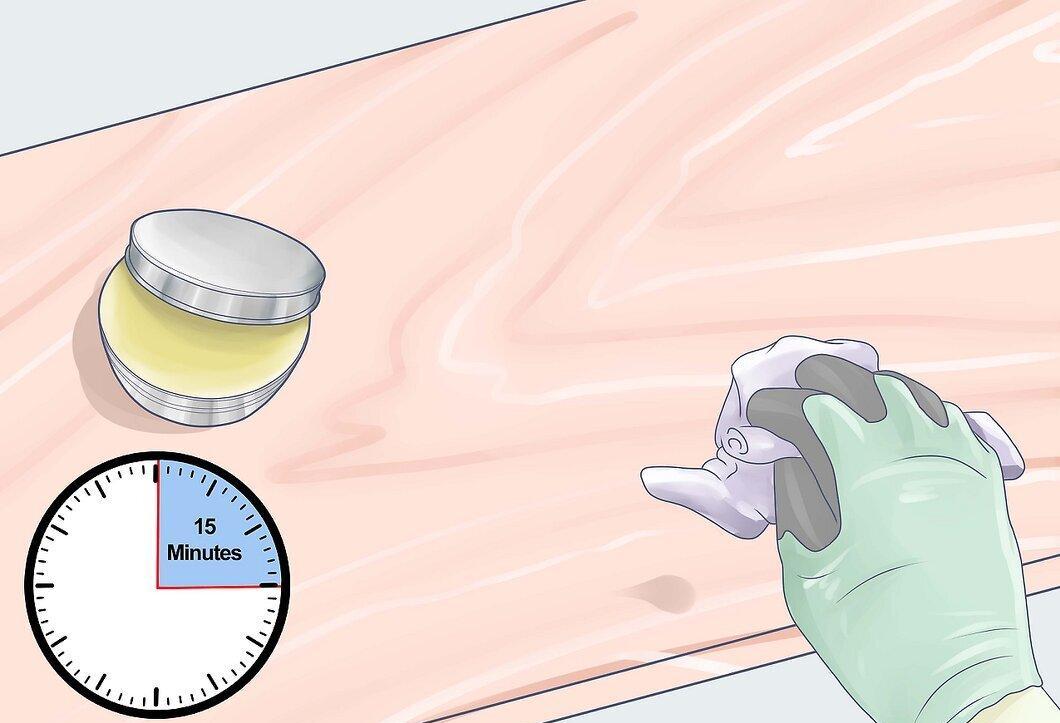
Apply a conditioner with a brush if your veneer is made from soft or porous wood, such as pine. Allow the conditioner to dry for 5-15 minutes, then wipe the surface with a clean cloth. Do not wait more than 2 hours before applying gel stain.
Step 7. Apply the stain to the veneer using a rag, soft brush, or foam applicator, following the direction of the wood grain.
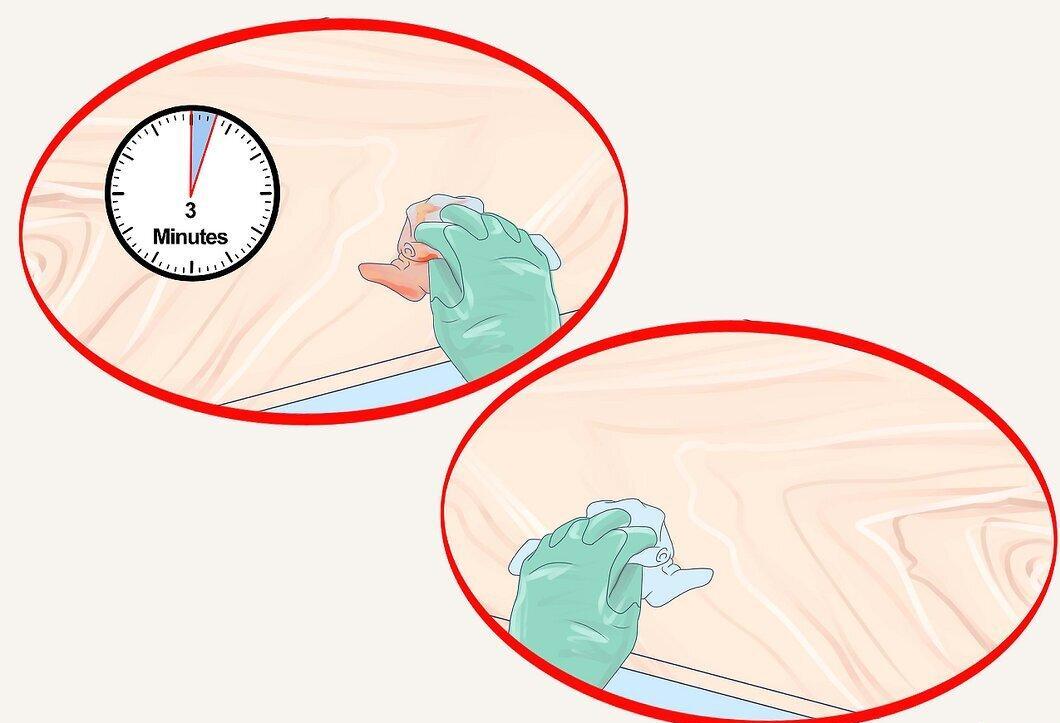
Apply the stain to the veneer using a rag, soft brush, or foam brush, following the direction of the wood grain. Allow the stain to absorb for 3 minutes and then wipe the surface with a clean cloth, again following the grain.
Step 8. Let the stain dry for 8-10 hours.
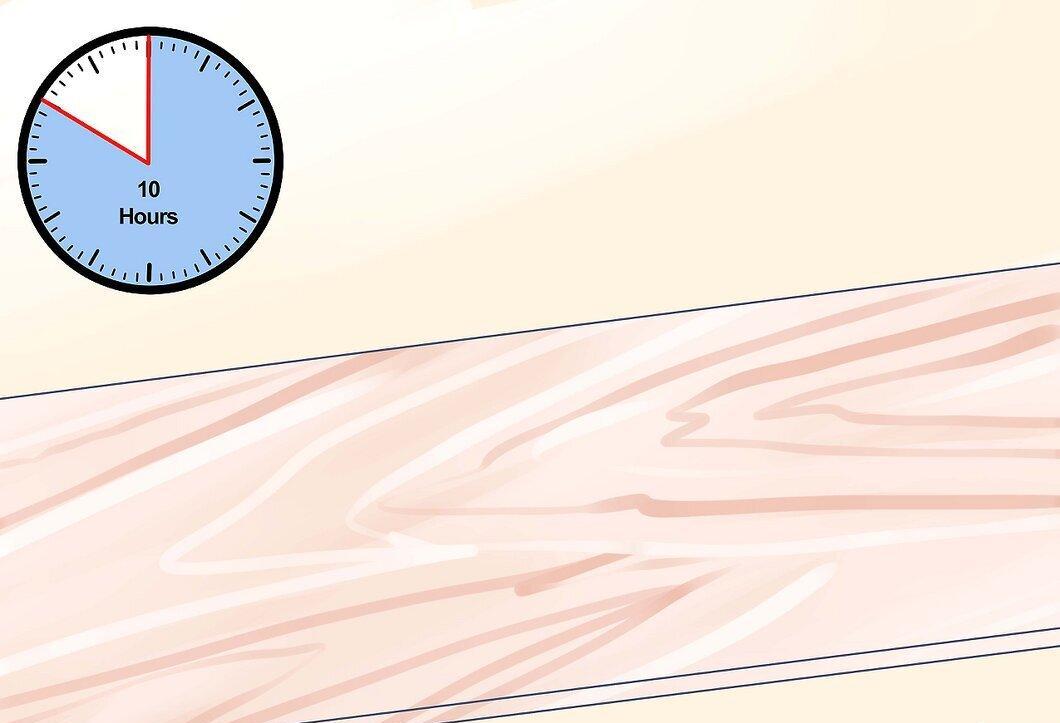
Allow the stain to dry for 8-10 hours. If the color is not deep enough, apply an additional coat of stain in the same manner as the first until you achieve the desired result.
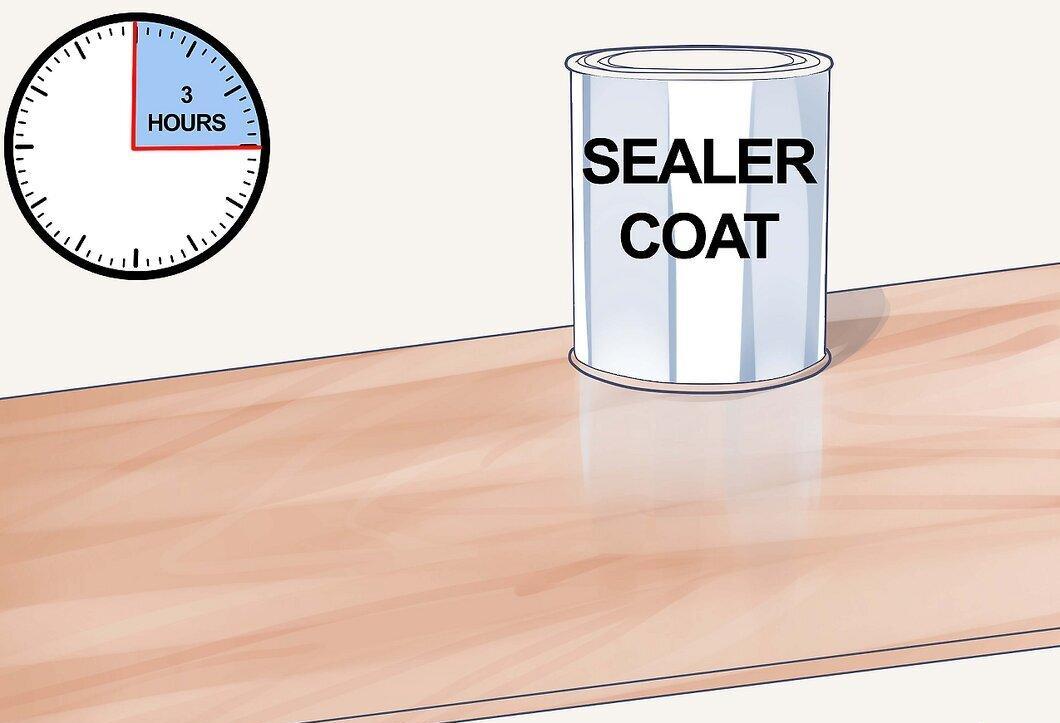
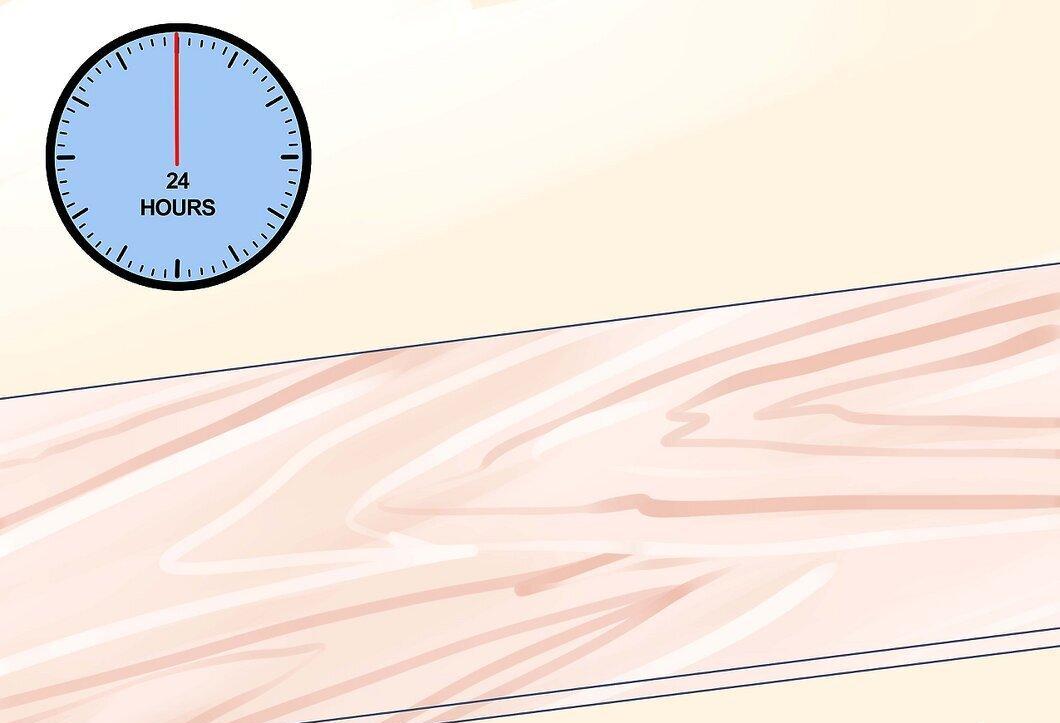
Step 9. Allow the stain to dry for 24 hours before applying a sealer, if necessary.
Staining Veneer with Water-Based Stain
Step 1. Apply oil-based stain with a rag or soft brush, following the direction of the wood grain.
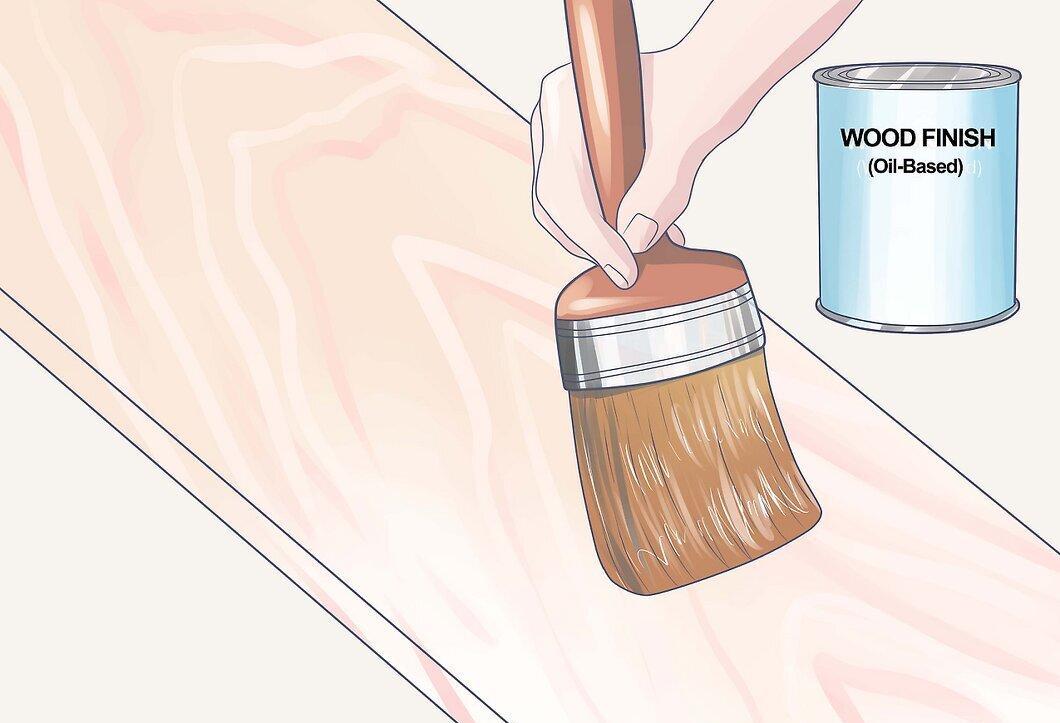
Apply oil-based stain with a rag or soft brush, following the direction of the wood grain. Wait 5-15 minutes to allow the stain to absorb into the veneer, then wipe off excess stain with a clean rag, again following the grain.
Step 2. If necessary, apply a second coat of stain once the first coat has dried, usually after 4-6 hours.
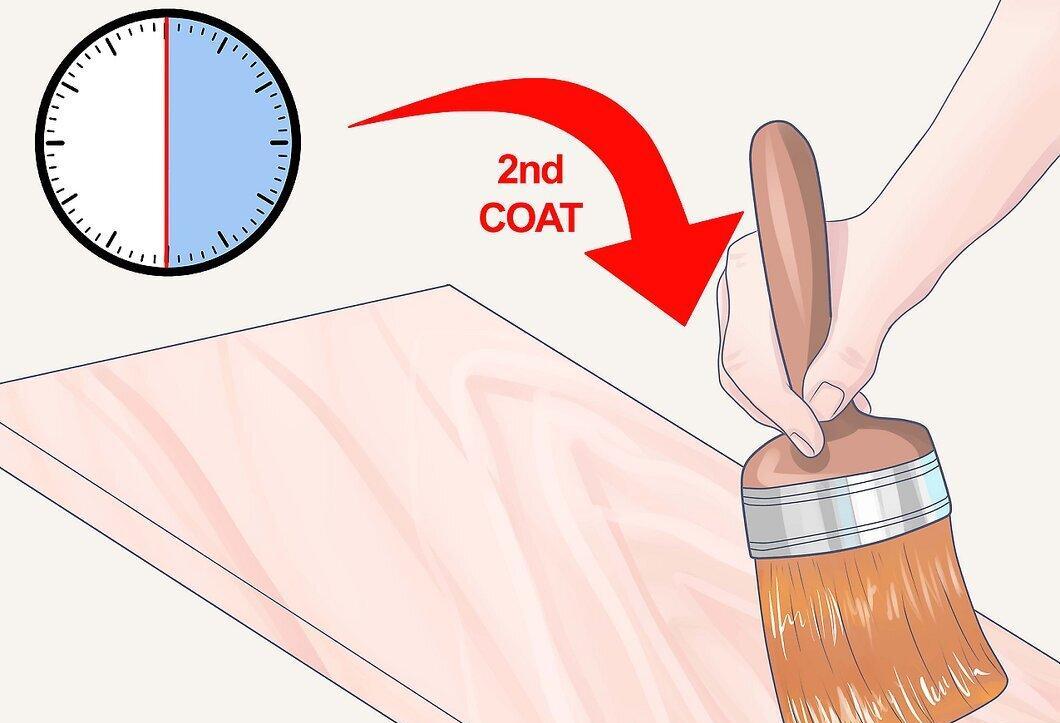
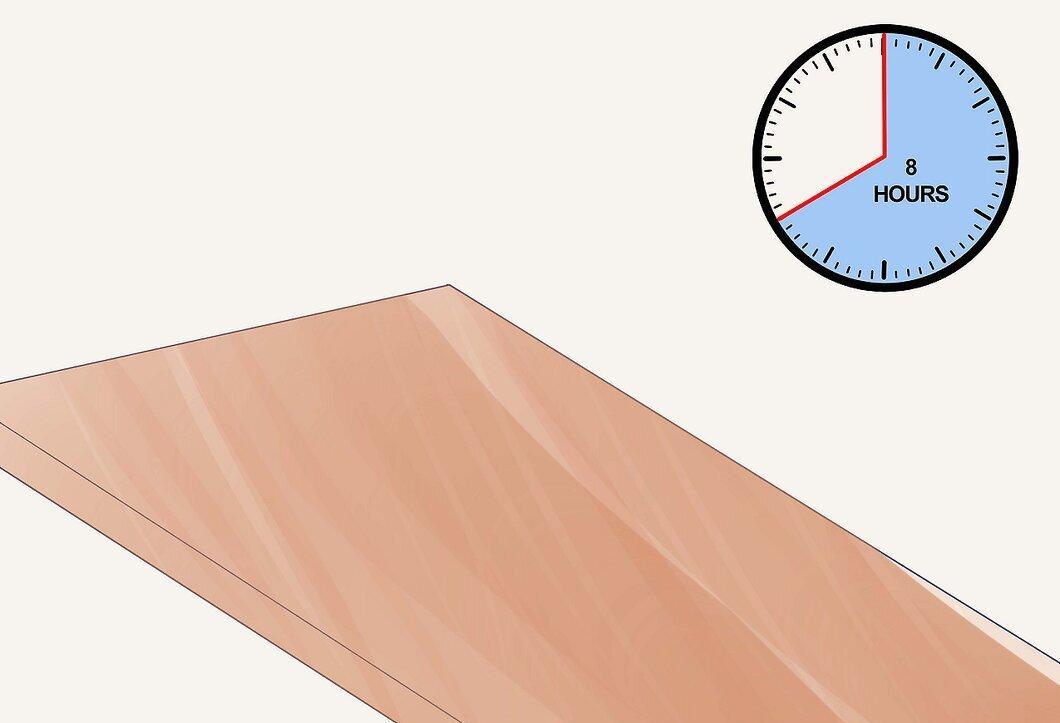
Step 3. Allow the surface to dry for 8 hours before applying a sealer, if necessary.
Part 3
Step 1. Apply a pre-conditioner and let it soak in for 1-5 minutes.
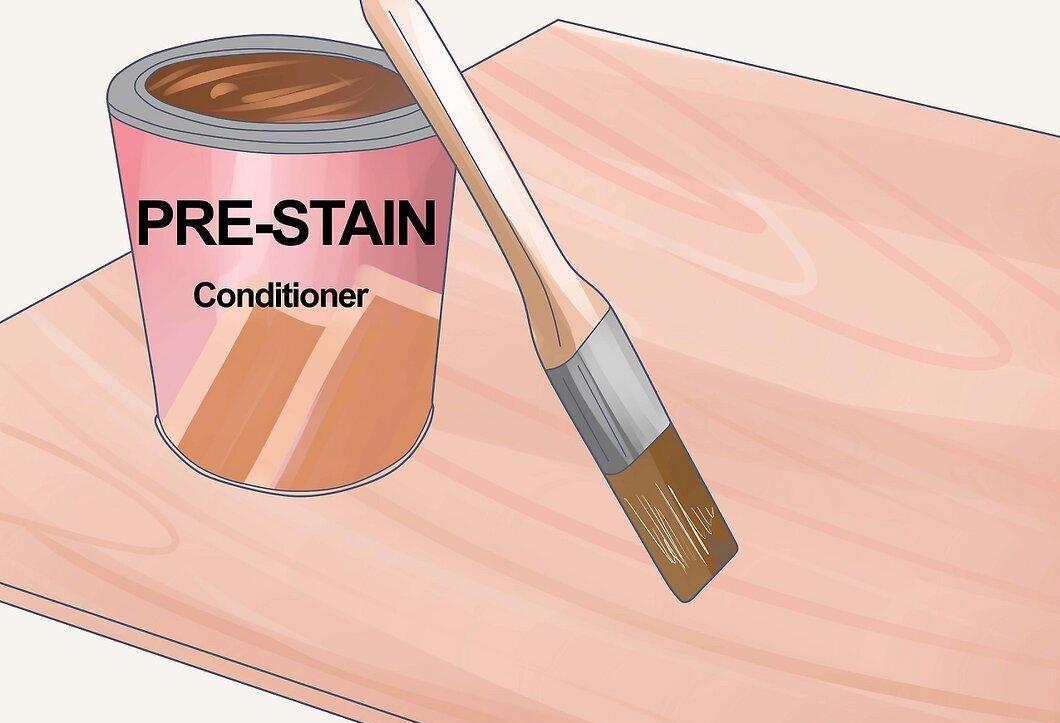
Apply a pre-conditioner and let it soak in for 1-5 minutes. A conditioner is typically necessary when using water-based stain. Wipe off any excess conditioner with a clean cloth.
Step 2. Apply water-based stain with a rag, synthetic brush, applicator, or foam brush along the wood grain.
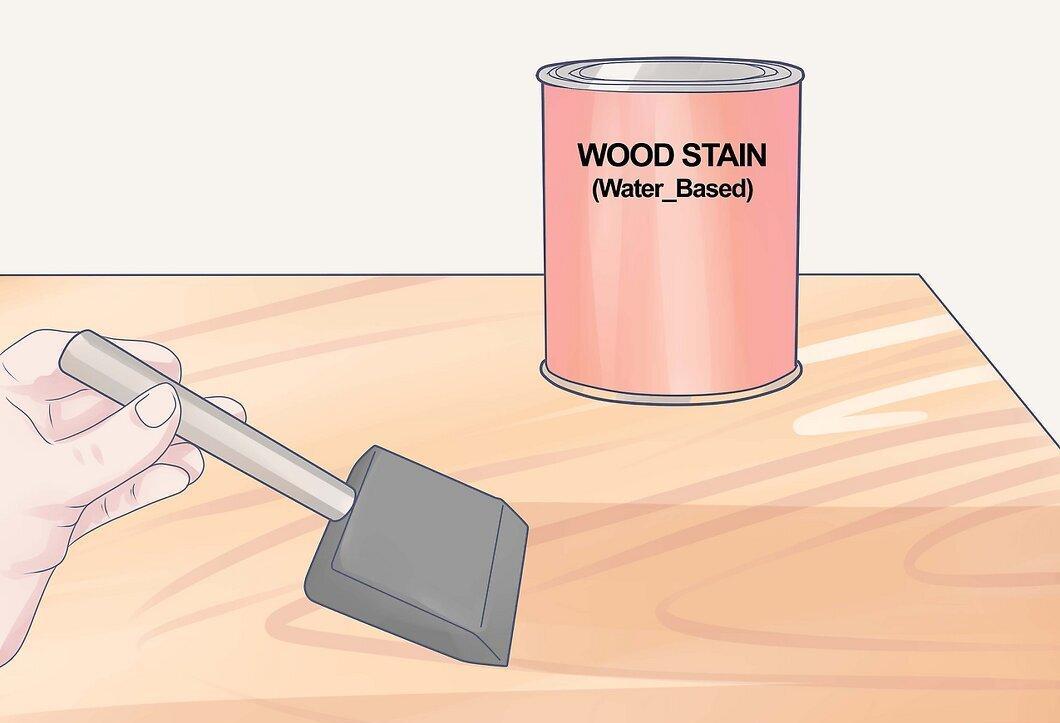
Apply water-based stain with a rag, synthetic brush, applicator, or foam brush along the wood grain. Allow the stain to absorb for no longer than 3 minutes before wiping off the excess with a clean cloth, slightly dampened with stain, again following the grain.
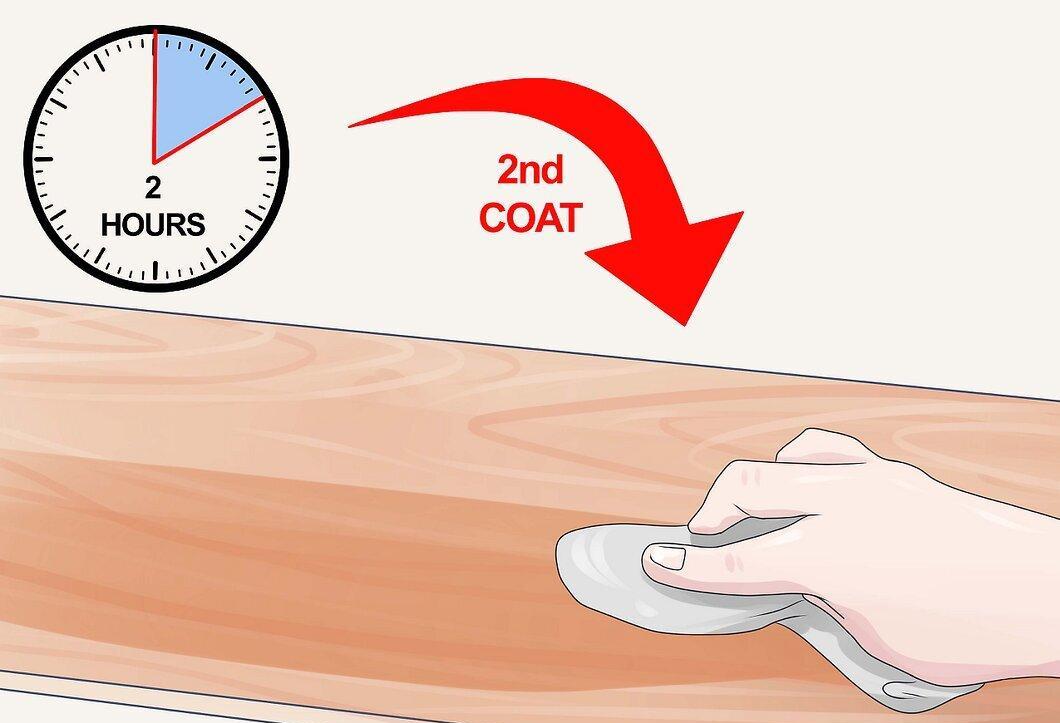
Step 3. If necessary, apply a second coat of stain once the first coat has dried, usually after two hours.
Step 4. Wait at least three hours before applying a layer of sealer if desired.