
Before diving into painting, you need to stretch your canvas so that the paint applies evenly. If you're an artist, learning to stretch canvas on your own will save you money and give you a valuable skill. In this article, you will learn how to choose the right materials, how to stretch the canvas, and how to prepare it for work.
Preparation
Step 1. Buy or make a frame.
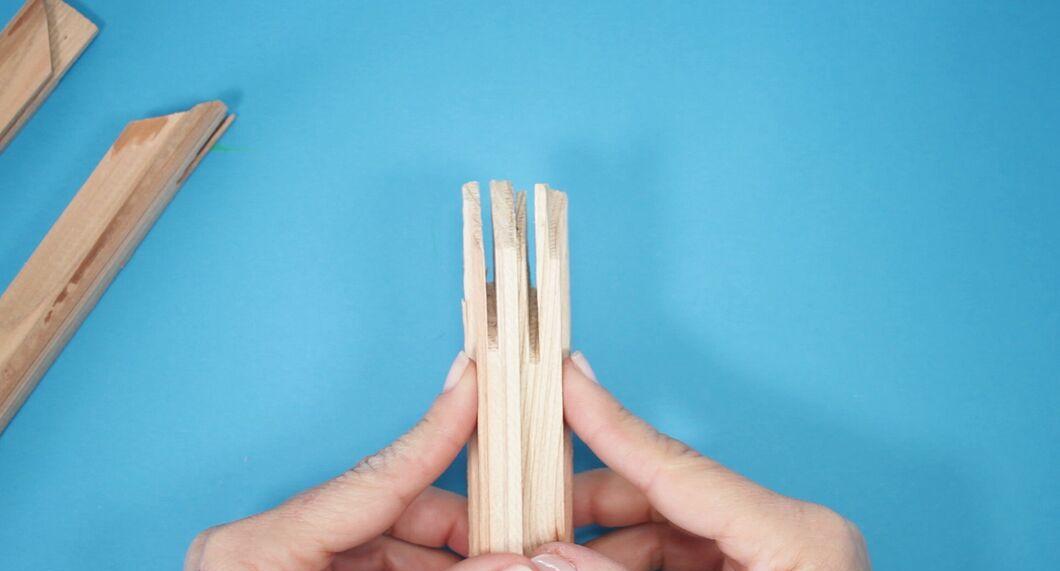
Purchase a frame or make one yourself. There are special frames with ready-made strips that hold the canvas in place. This is the quickest and easiest method. Most artists use frames.
- There are kits available for assembling frames in various sizes (for example, EasyWrappe). They allow you to quickly secure the canvas without needing special tools (other than a knife to cut off excess canvas). The selection of sizes is limited, but you can assemble the entire structure in under five minutes.[1] X Source
Step 2. Buy a canvas of the right size.
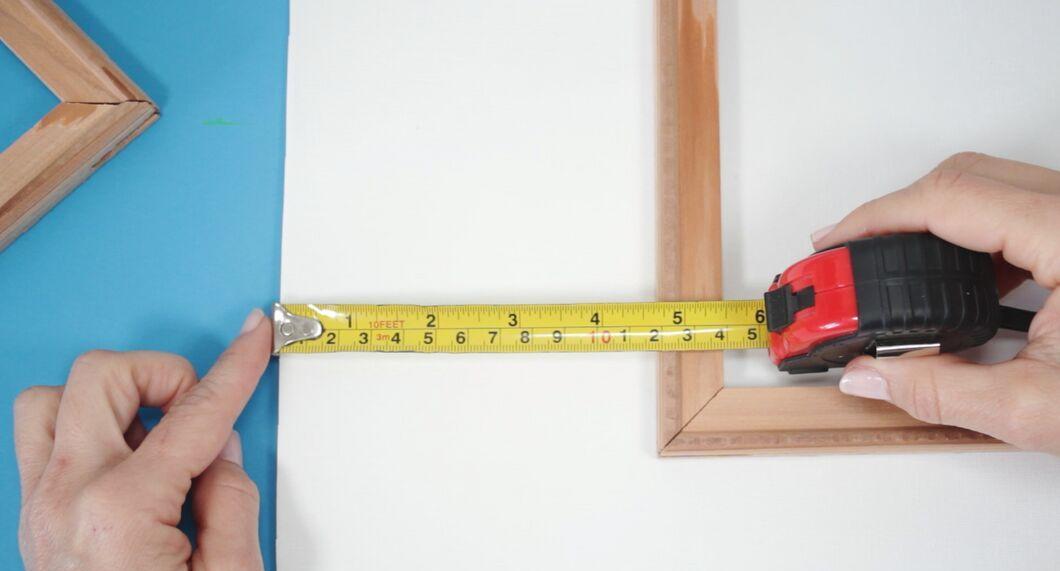
Purchase a canvas that is the right size. The canvas should extend at least 15-20 centimeters beyond the frame (depending on the width of the frame). The canvas must be larger than the frame; otherwise, it cannot be stretched properly. Measure the dimensions of the frame or estimate the size of the painting you want, and buy a slightly larger canvas.
- It's much easier to stretch unprimed canvas (not covered with gesso) than prepared canvas. It's best to buy unprimed canvas and apply gesso later.
Step 3. Buy other necessary tools.
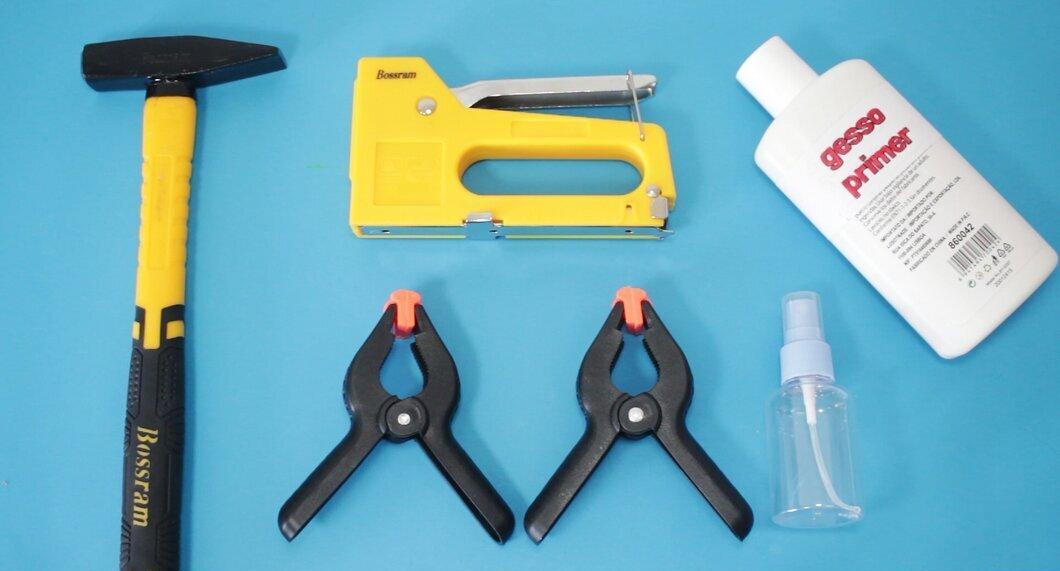
Purchase other necessary tools. You will need a few simple tools for this job. Prepare the following:
- A spray bottle with clean water. You should moisten the back of the canvas that you are stretching on the frame. When it dries, it will contract and stretch tighter.
- Gesso. This primer is often used to treat the canvas after it has been stretched. Gesso is a white mixture of gypsum, chalk, and other substances, which can be found in many art supply stores.
- Special canvas stretching pliers. These can be purchased at almost all specialized stores. These pliers have a flat surface that allows you to stretch the canvas without leaving holes in it.
- A staple gun. Regular staplers are not suitable for this purpose. To securely attach the canvas, you will need a special upholstery stapler.
Step 4. Cut the canvas.
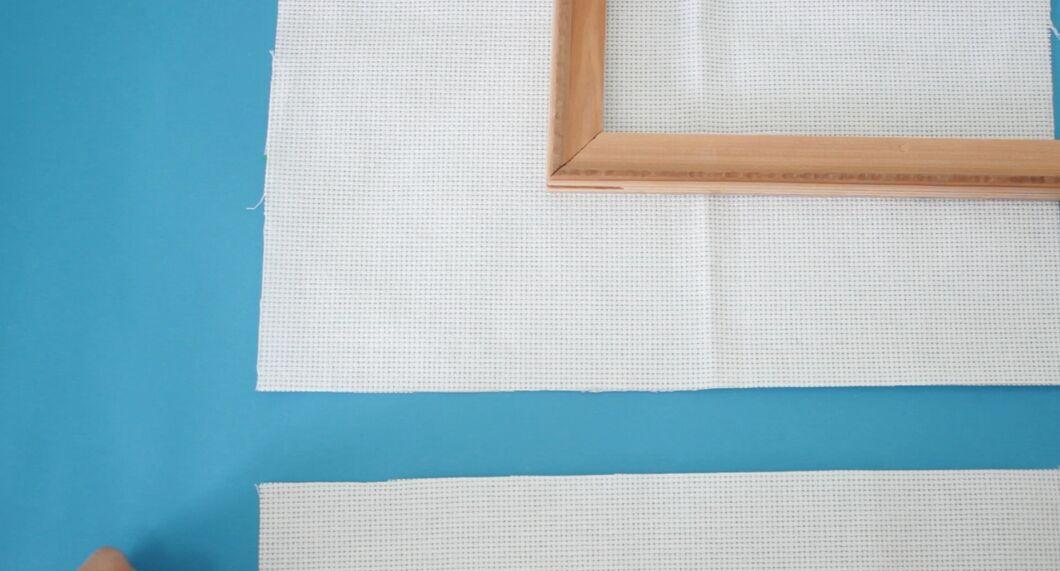
Cut the canvas. Cut a section that is 8-10 centimeters larger than the frame, taking into account the width of the frame. These extra pieces of canvas will be needed for gripping while you stretch the canvas. Once you have all the necessary tools, frame, and canvas, use a sharp utility knife to cut the canvas to the required size.
- If you tear the canvas, it will create a smoother edge than if you cut it. Score the canvas with the knife and then tear it along the fibers for a clean edge.
How to Stretch the Canvas
Step 1. Position the frame in the center of the canvas.
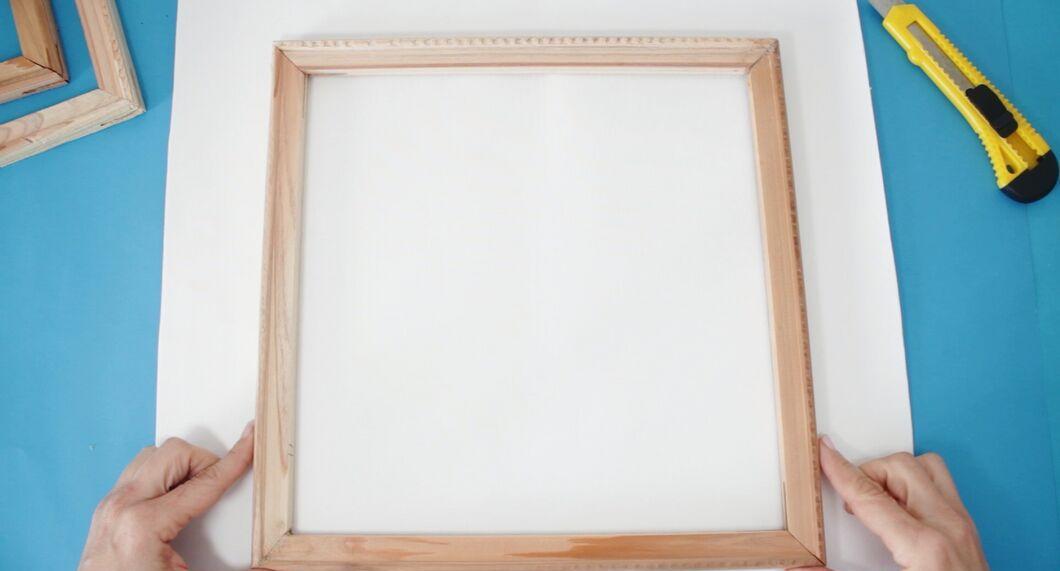
Position the frame in the center of the canvas. Lay the canvas on your workspace and place the frame on top. Try to smooth out the canvas as much as possible.
- The fibers of the canvas should be parallel to and perpendicular to the frame's crossbars. If they are at an angle, the frame will warp, and the edges will begin to curl up.
Step 2. Stretch the canvas along the long side first.
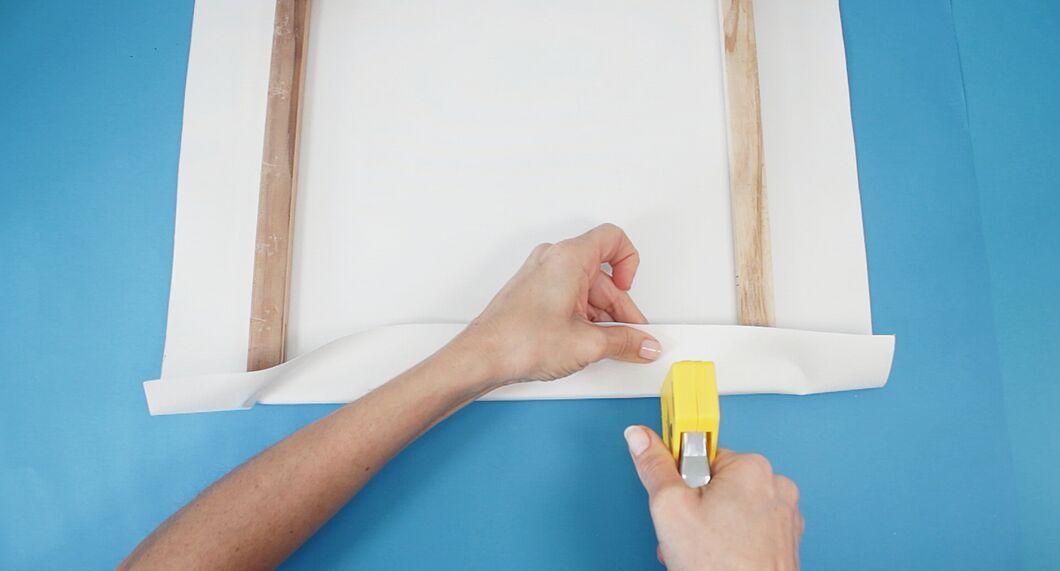
Stretch the canvas along the long side first. Take the long side that is closer to you and fold it inward. Secure the canvas to the frame with three staples from the inside (meaning you need to wrap the canvas around the frame and secure it from the inside). Do not secure the edges just yet - you will do that later.
- Rotate the canvas with the frame or walk around to the other side of the workspace and do the same on the other side. Pull the canvas tightly, wrap it around the frame, and secure it with three staples.
- Secure the canvas from the center to the edges. Don’t start from the edges, as this will cause the canvas to warp and sag.
Step 3. Lightly moisten the canvas if necessary.
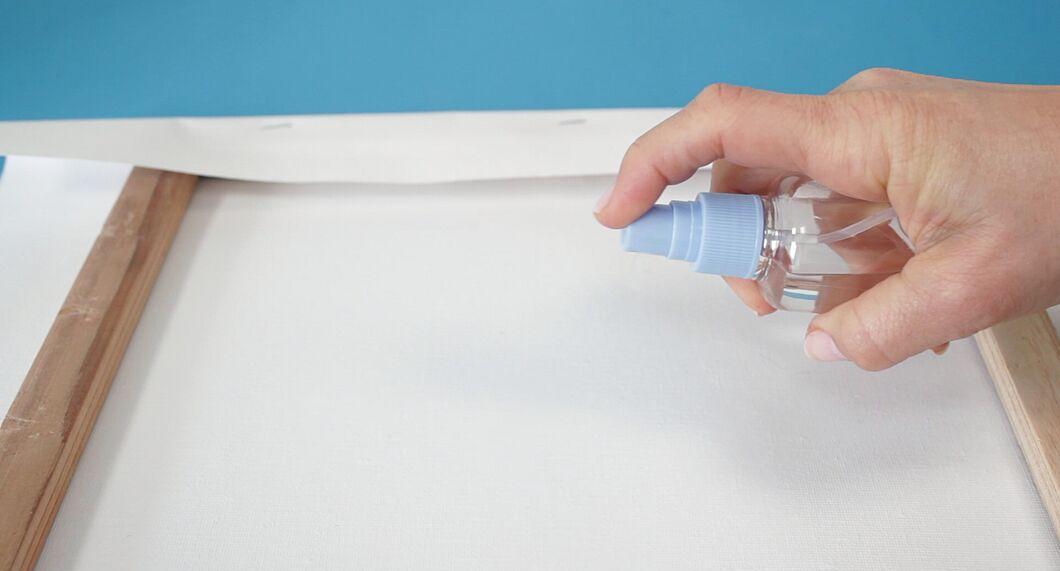
Lightly moisten the canvas if necessary. If you are stretching unprimed canvas, you can spray it with water to ensure that it stretches tighter after drying. After securing the long sides of the canvas, lightly dampen the back of the canvas.
Step 4. Stretch the short sides.
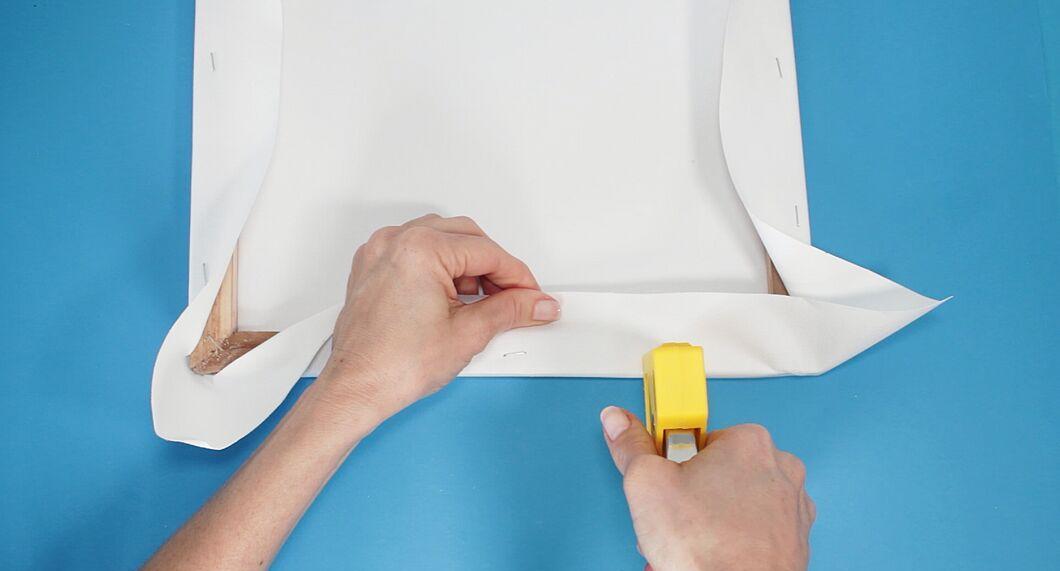
Stretch the short sides. Grab the unsecured side, pull the canvas tightly, fold it under the frame, and secure it with two staples to the frame. Do the same on the other side.
Step 5. Stretch the edges.
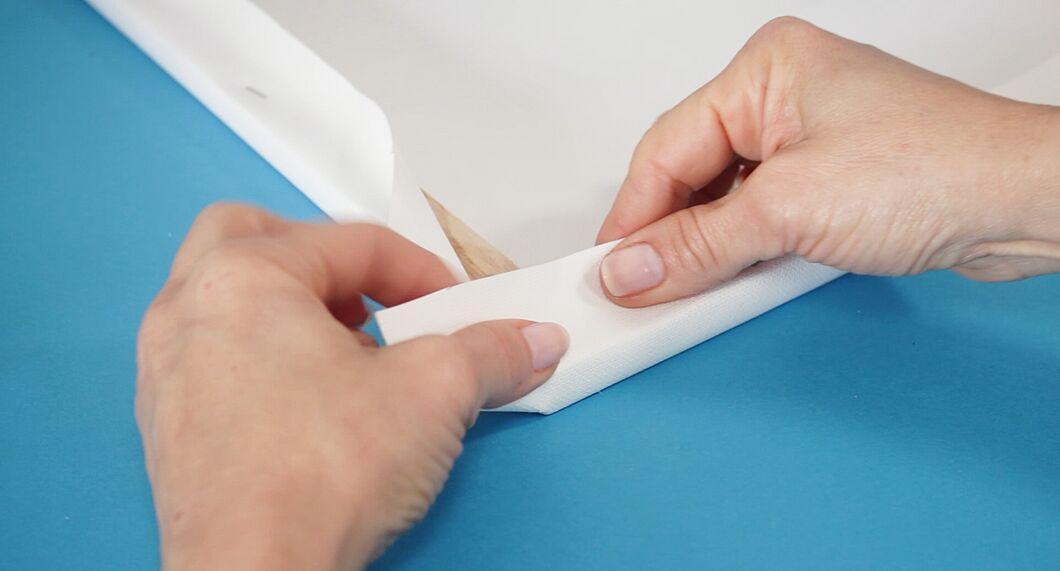
Stretch the edges. Go back to the first side where you started stretching the canvas and secure the edges. Pull the unsecured section of the canvas towards you, stretch it, and staple it. Work slowly, trying to stretch small sections at a time. Continue securing the edges, gradually moving from one section to the next.
- You can place staples near the corners and then also between the center and the corner. Keep working until you have about 10 centimeters of unsecured canvas left from the corners.
Step 6. Fold and secure the corners.
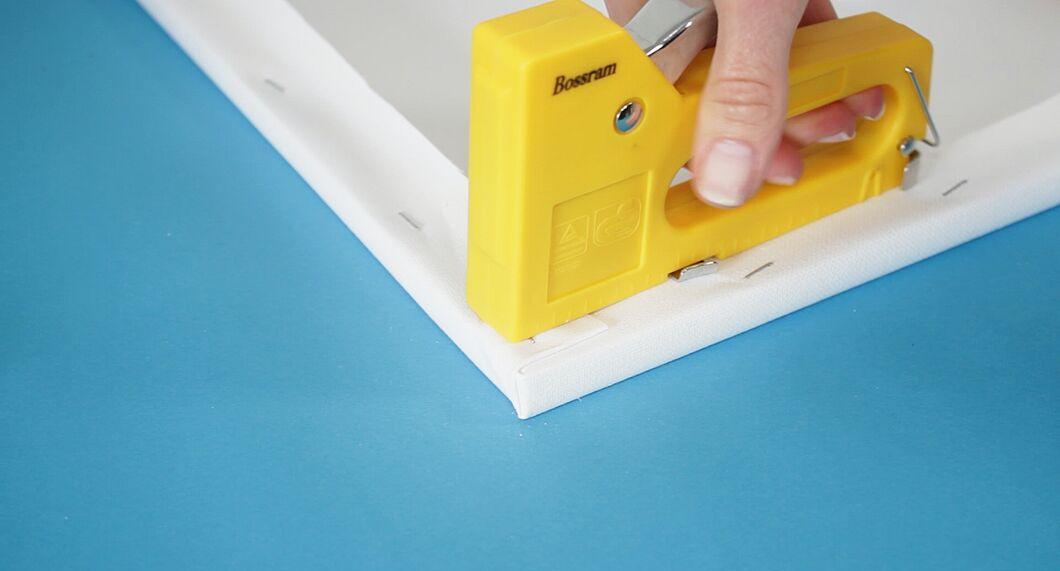
Fold and secure the corners. Tuck in one corner, pull tightly to avoid any waves. Hold the canvas firmly. This is the final touch, and it’s the most important. It’s essential to make sure the canvas is smooth and tightly stretched.
- Sometimes, it’s helpful to make a small diagonal cut to allow the canvas to stretch better and lay flat at the corners. The corners should look neat, so trim the canvas if necessary.
Step 7. Finish up.
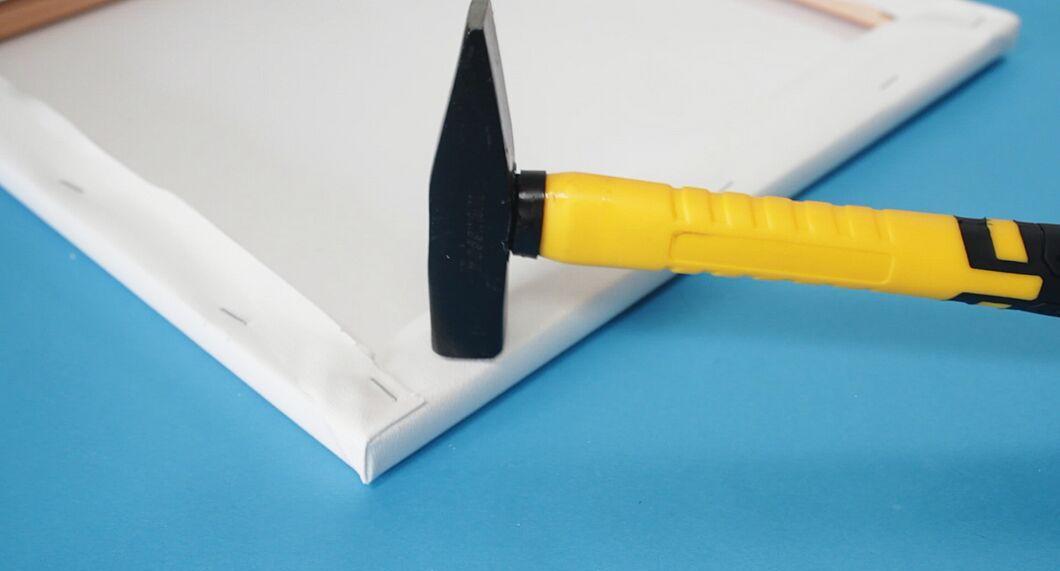
Finish up. Go over all the staples with a hammer to ensure they are flush against the frame. There should be no sharp protruding edges. If you feel the need to add a few more staples, go ahead.
Finalizing and Priming the Canvas
Step 1. Check the tension of the canvas.
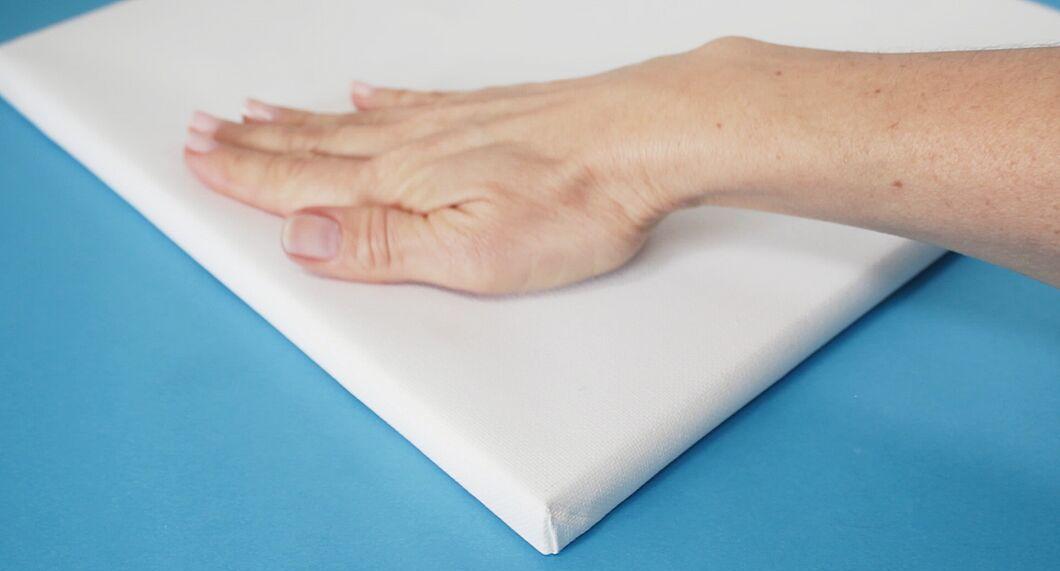
Check the tension of the canvas. Once you are finished, flip the canvas over and tap it with your finger. The sound should resemble a drum, and the canvas should feel very taut. If there are creases or areas with poor tension, you will notice them. If you improperly secured the staples or if the canvas is not taut enough, remove the staples and redo everything from the beginning. If the canvas is poorly stretched, it will sag even more once paint is applied.
Step 2. Use small wooden wedges for tighter tension.
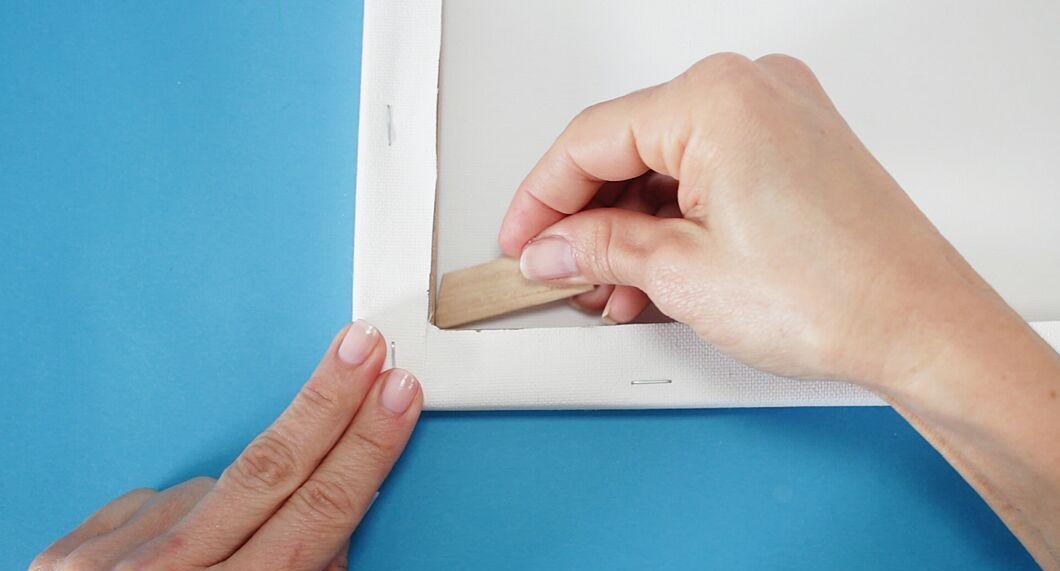
Use small wooden wedges for tighter tension. Wedges in the corners allow for tighter stretching. This should not be done all the time: if you need the tension to be especially tight or want to stretch the canvas tighter without redoing everything, wooden wedges can help you fix the issue.
- Wooden wedges are thin wooden pegs that can be purchased at any hardware store for a small price. They come in various sizes, meaning you can adjust the tension and fill in any missed spots if needed.
Step 3. Let the canvas sit.
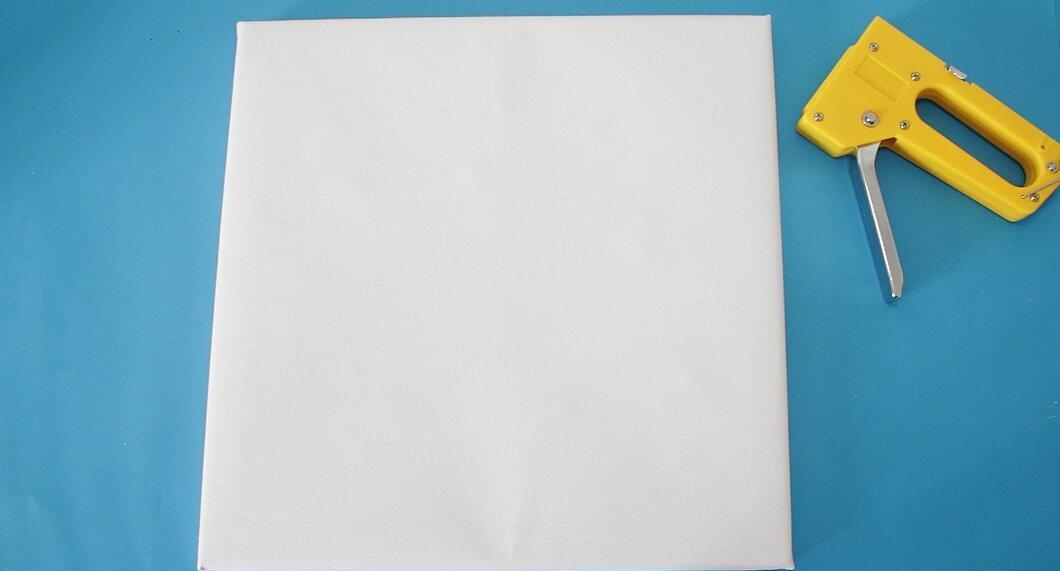
Let the canvas sit. After stretching the canvas, it's important to let it sit and tighten before priming and painting on it. Leave it in a room with room temperature and normal humidity. The canvas will tighten and become strong in 1-2 days.
Step 4. Prime the canvas.
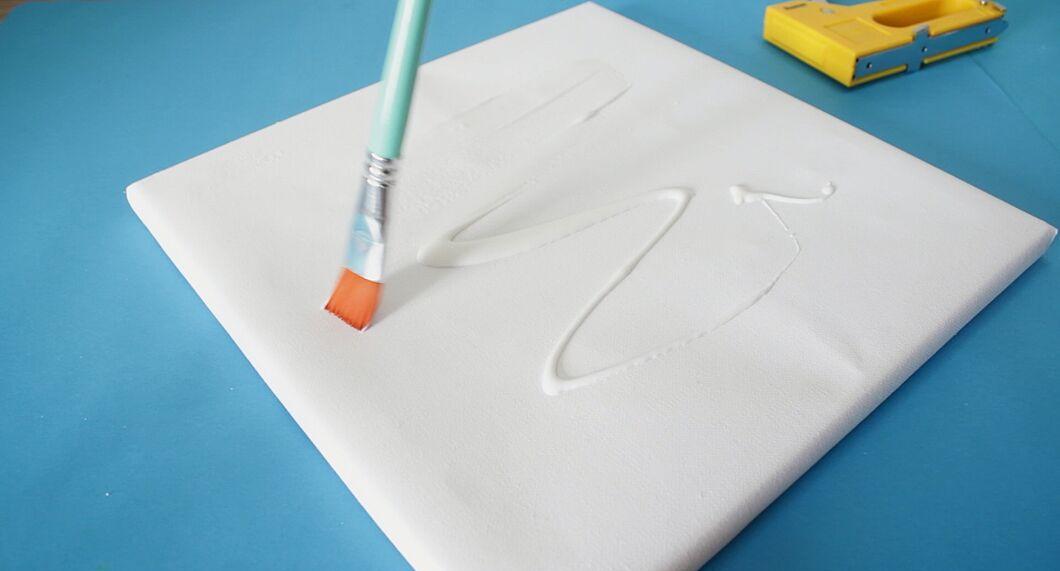
Prime the canvas. After stretching the canvas, proceed to priming it in any way that suits you. Sometimes a special hardening agent is applied to the canvas first, while other times priming is done directly. Typically, the canvas needs at least one layer of primer (applied in one direction with a brush), but most often, three layers are used.
- Apply one layer and let it dry, then apply a second. Before applying the third layer, sand the surface with fine-grit sandpaper.
- It is advisable to apply the primer in one direction to make the surface look even and neat, which will help you in your work. Sand down any drips and unevenness with sandpaper.


