
Tie-dyeing is a beloved craft for kids and adults of all ages. There are several different tying techniques you can use and a variety of dyes, but most of the process remains the same. Keep reading to learn more about this fun activity.
Tying the Fabric
Step 1: Create a Simple Spiral.
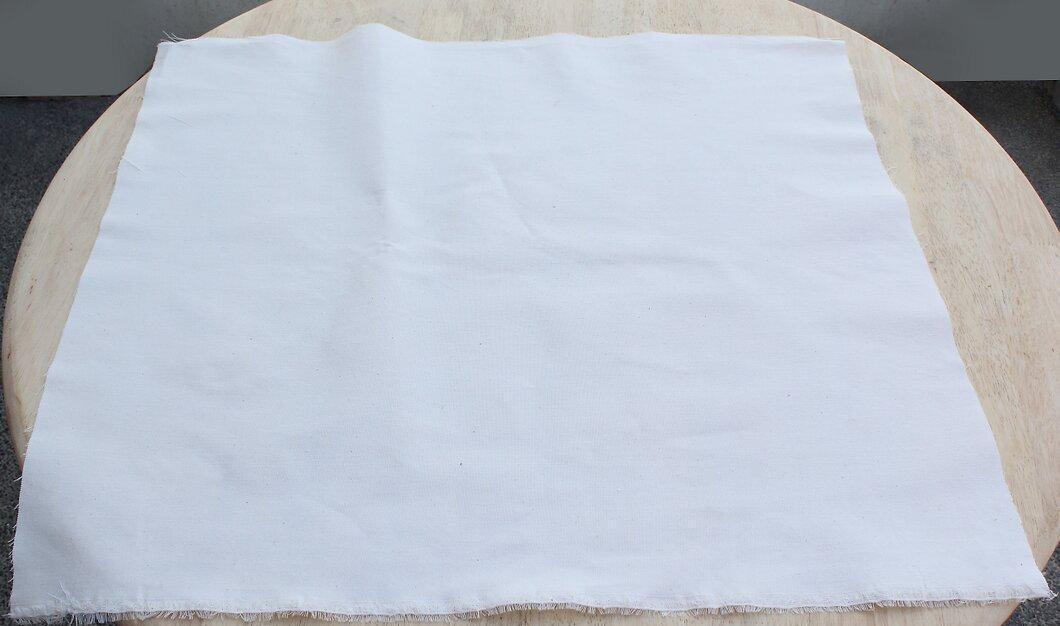
Create a simple spiral. The spiral technique is a classic way to tie fabric for dyeing. By tying the fabric this way, you will get a large spiral with small spots in the center of your fabric.
- Lay your material flat on a surface.
- Pinch the center of the fabric with your thumb and two fingers.
- Twist the fabric while holding it with your fingers. The fabric will start to form into a spiral shape. Smooth the fabric after each twist to keep the folds from sticking up.
- Wrap the loose ends into a circle with your other hand.
- Secure the fabric with several large rubber bands so that their intersections are at the center of the bundle. Start with four rubber bands and add more if necessary to hold the shape.
Step 2: Create a Knot.
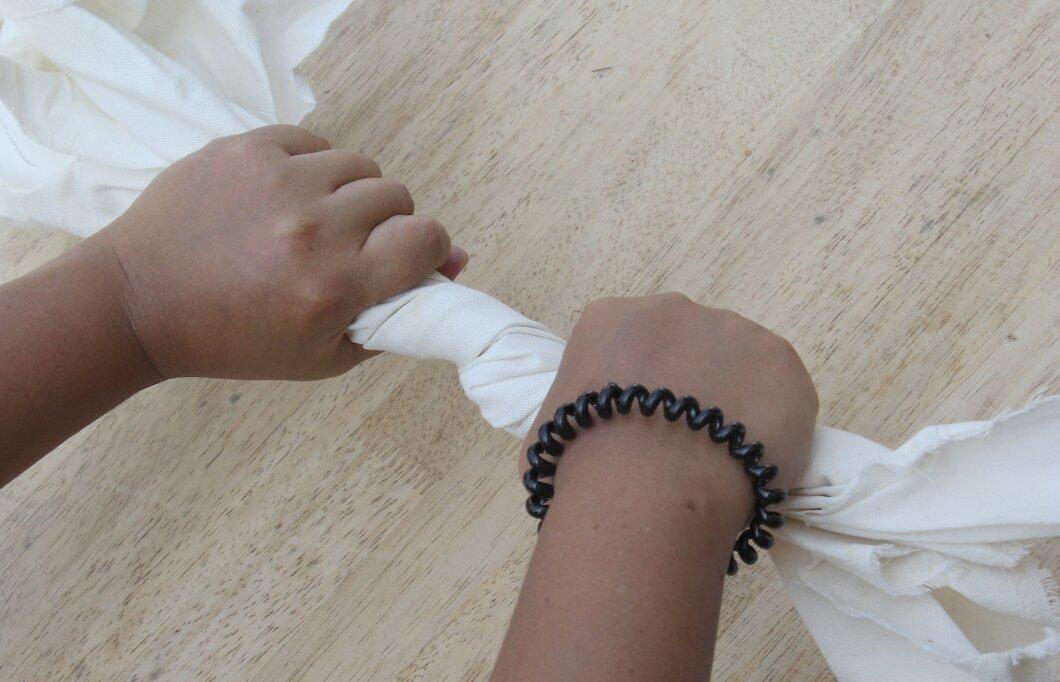
Make a knot. You can tie as many knots as you can from a long strip of fabric. Dyeing the knotted fabric will result in a pattern of thin white lines that scatter in different directions.
- Twist the fabric into a rope shape. Hold one end with one hand while continuing to twist the fabric with the other hand until a rope begins to form.
- Tie the rope into a knot. Tie a knot as best as you can without tearing the fabric.
- Secure the knots with rubber bands, wrapping them tightly.
Step 3: Try Random Binding.
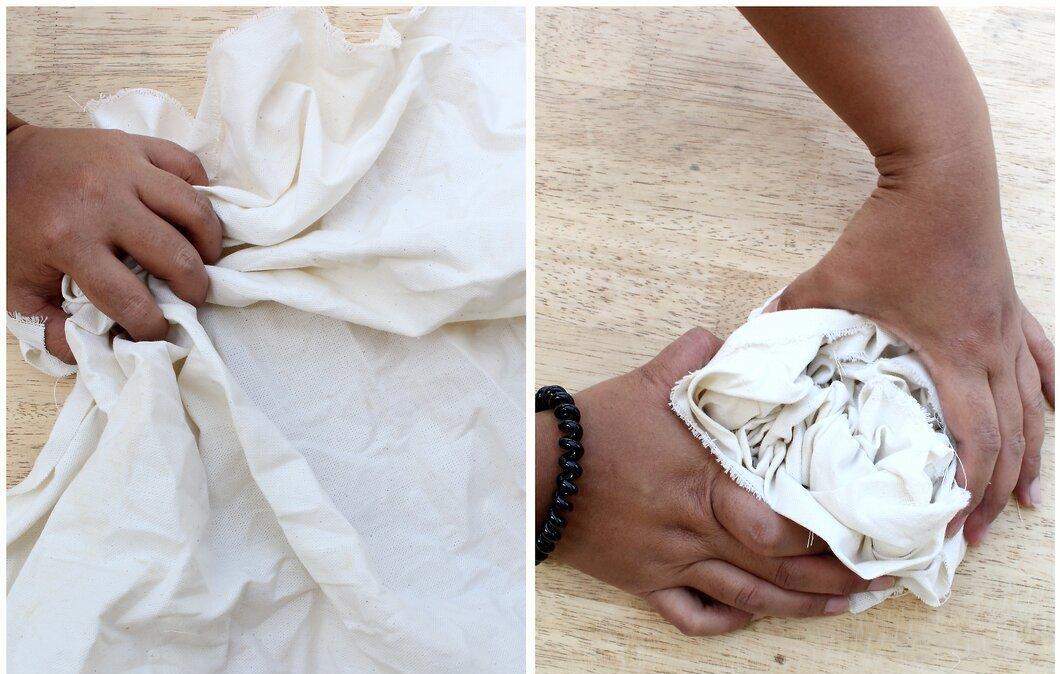
Try random binding. This method is easy to do but hard to predict. After dyeing, you will end up with "patches" of colors scattered randomly across the fabric.
- Gather small sections of fabric randomly throughout the piece, bringing them together into a ball. Leave most of the fabric "face-up" or inside-out on the surface.
- Secure the fabric ball by wrapping it with rubber bands or tying it with string. Tie it loosely and use as needed to hold the shape.
Step 4: Create a Rosette Shape.
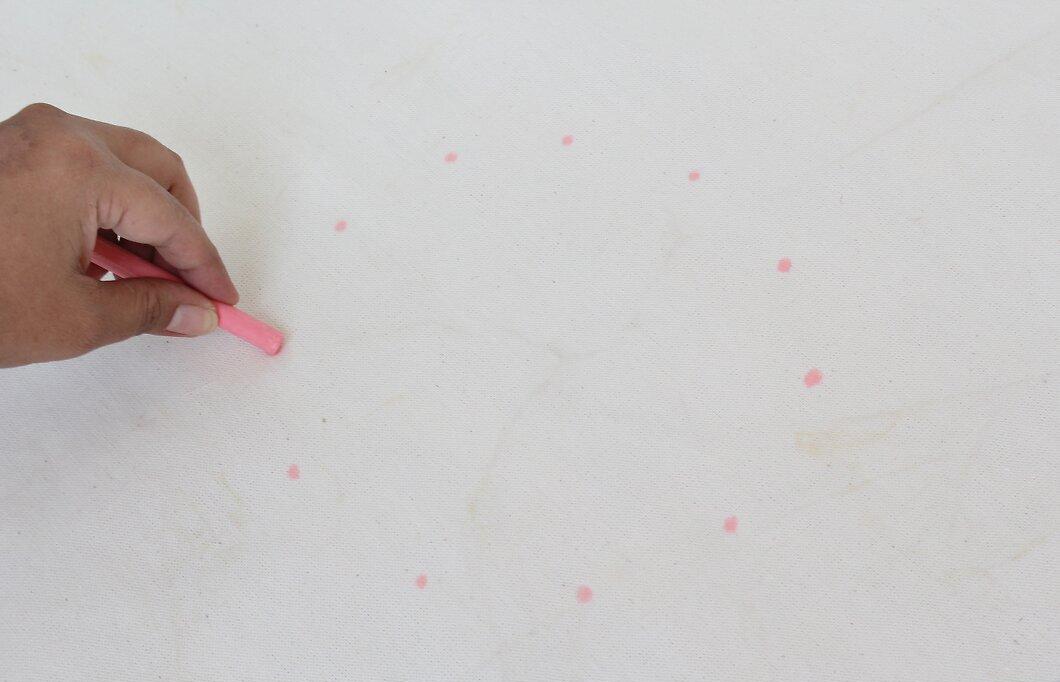
Tie in a rosette shape. The rosette design creates a series of small overlapping circles that can connect into various patterns.
- Use a piece of chalk to draw several dots on the surface of the fabric. Space the dots in any pattern you want: a big circle, flower, star, curved line, etc.
- Connect the dots sequentially with your thumb and index finger. Pick up each dot and guide them towards the other hand until all dots meet in one spot in your hand.
- Secure the area below the gathered dots with a rubber band or string. Make sure you tie all the fabric gathered in this bunch.
- Tie the bundle tightly from start to finish.
Step 5: Create Stripes.
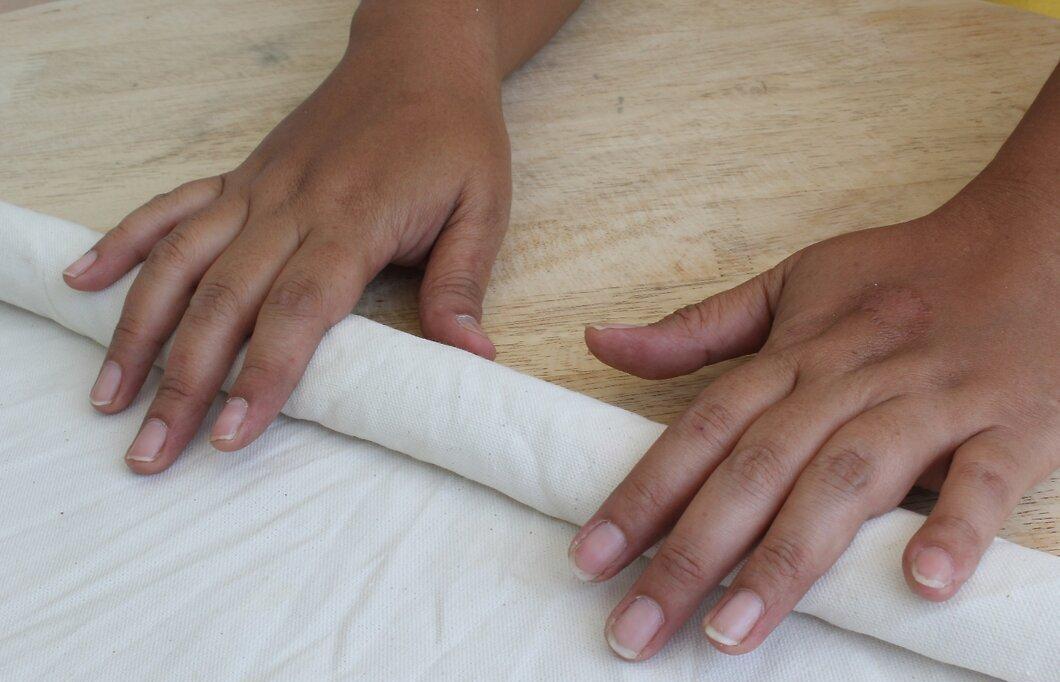
Make stripes. The striped method involves creating a series of white stripes across the surface of the fabric.
- Loosely tie the fabric into a long tube shape.
- Use rubber bands or strings to tie the fabric tube in several places.
Soaking the Fabric in Fixative
Step 1: Prepare a Soda Ash Bath for Most Chemical Dyes.
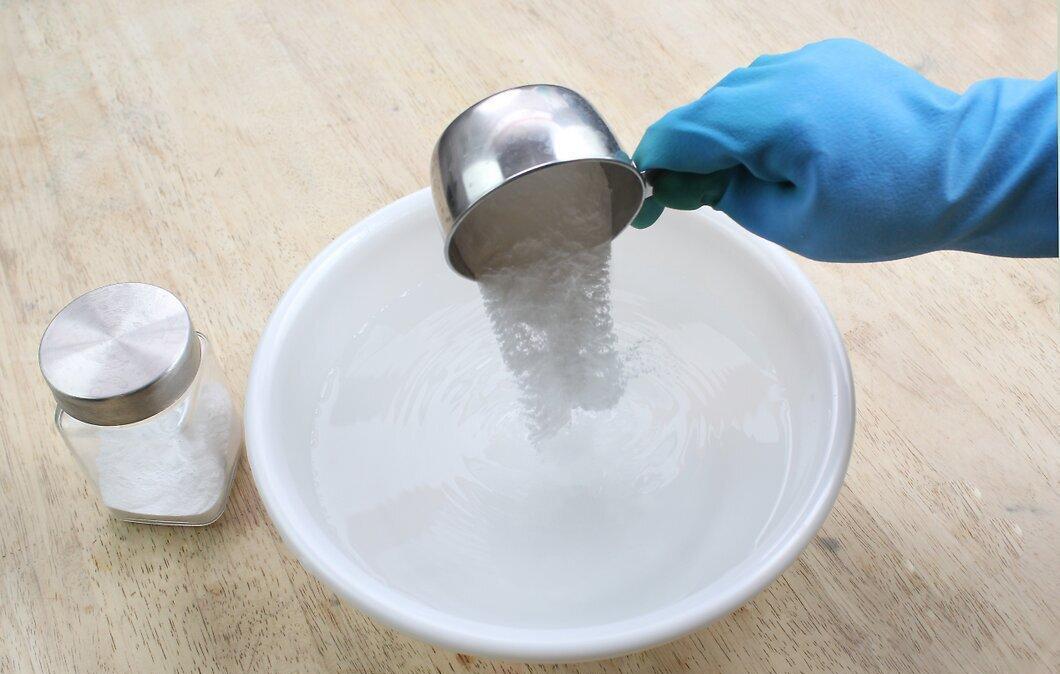
Prepare a soda ash bath for most chemical dyes. Chemical dyes, even commercial ones bought at hardware stores, typically need to be soaked in a solution of soda ash and warm water.
- Mix 8 ounces (250 ml) of soda ash fixative with 1 gallon (4 L) of warm water. Stir until evenly mixed.
- Wear a mask and plastic or rubber gloves while preparing this solution, as soda can be harmful to your lungs or skin.
Step 2: Create a Salt Fixative for Natural Dyes Made from Berries.
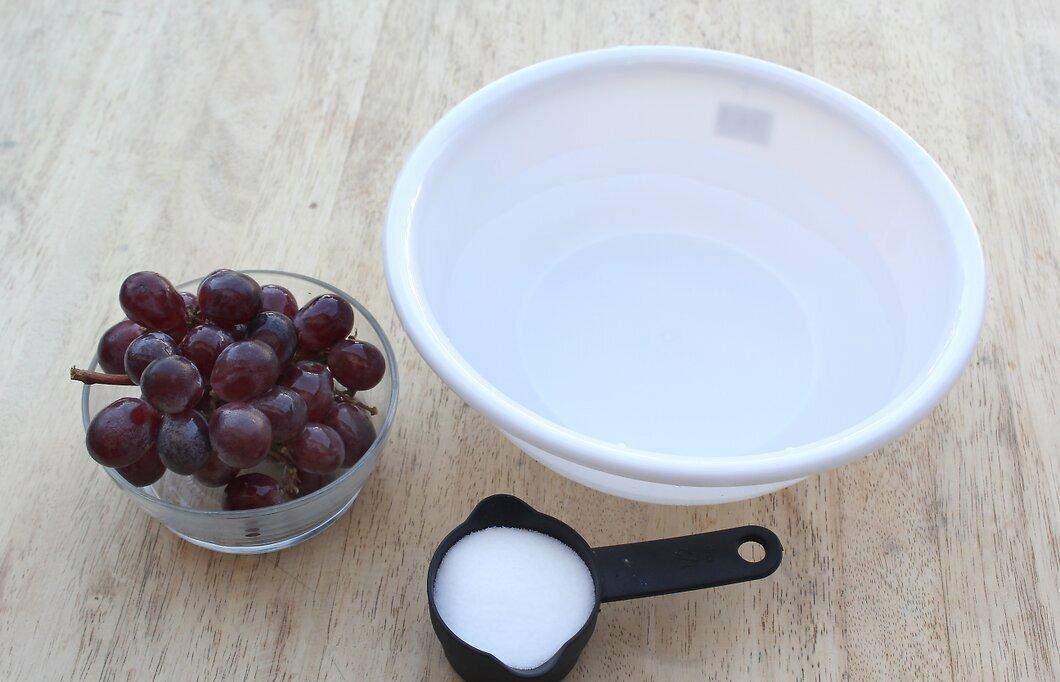
Create a salt fixative for natural dyes made from berries. If you plan to use natural dyes made from certain types of berries, the best fixative to use is made from salt and cold water.
- Combine 1/2 cup of salt (125 ml) with 8 cups (2 L) of cold water. Stir until dissolved.
Step 3: Prepare a Vinegar Fixative for Other Natural Plant Dyes.
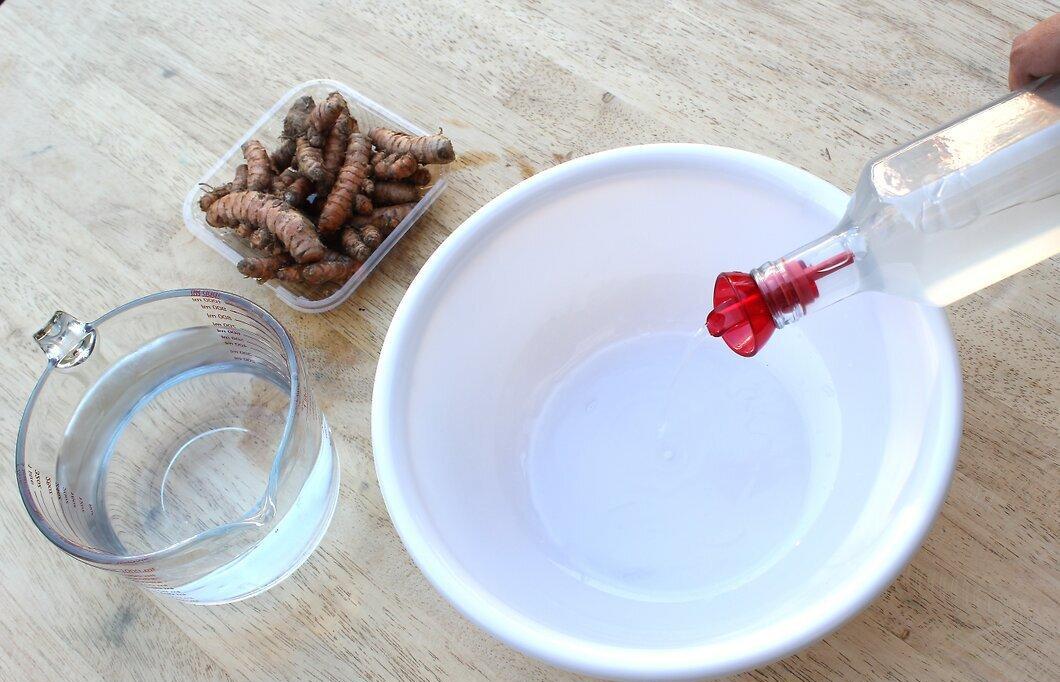
Prepare a vinegar fixative for other natural plant dyes. If you plan to use dyes from other plants besides berries, a solution made from water and vinegar works better than salt.
- Mix 1 cup (250 ml) of white distilled vinegar with 4 cups (1 L) of cold water. Stir until homogeneous.
Step 4: Soak the Tied Fabric in the Appropriate Solution.
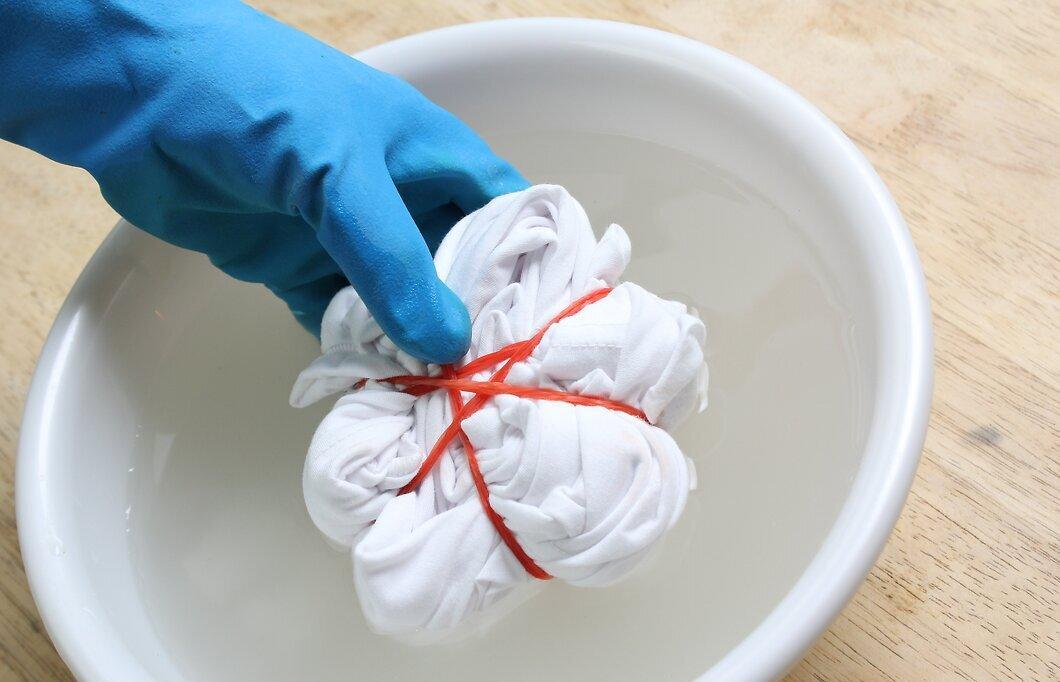
Soak the tied fabric in the appropriate solution. Dip the tied fabric bundle into the fixative solution to ensure the fabric is fully saturated.
- The fixative helps the dye adhere longer.
- If using the soda ash solution, soak the fabric for 5-15 minutes.
- When using salt or vinegar, heat the liquid over low heat and allow the item to remain in the boiling liquid for 1 hour.
Step 5: Remove Excess Moisture.
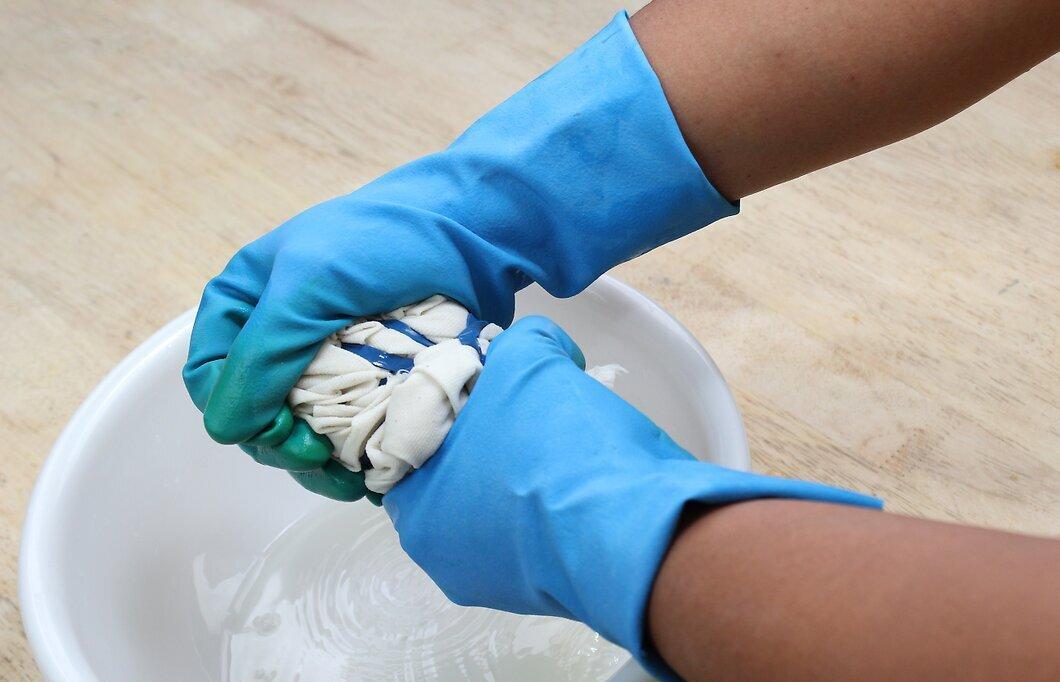
Remove excess moisture. Take the fabric out of the fixative solution and wring it out so that it remains damp but not soaking wet.
- If using vinegar or salt, rinse the material before wringing it out.
Mixing the Dyes
Step 1: Follow Package Instructions to Mix Chemical Dyes.
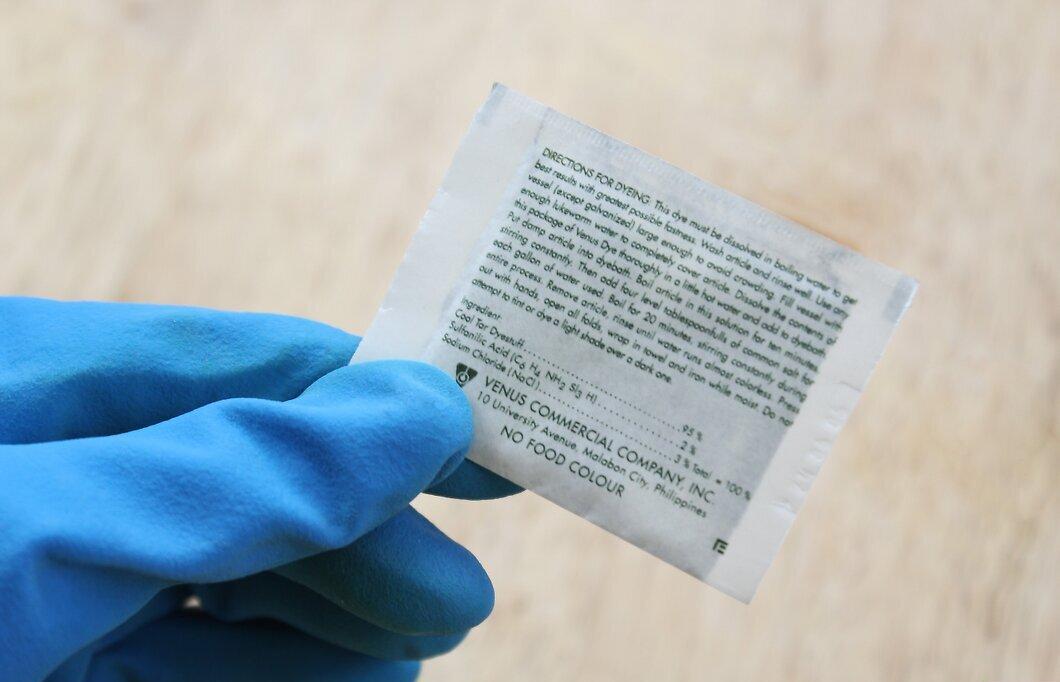
Follow the package instructions to mix chemical dyes. All commercial dyes vary, so be sure to follow the instructions on the packaging carefully to achieve vibrant color. Although the dyes differ, there are some common features in the most popular commercial brands.
- Use rubber or plastic gloves to prevent staining your hands.
- Pour hot water into a large plastic bucket. The water should typically be around 140 degrees Fahrenheit (60 degrees Celsius). For some dyes, hotter water gives a more vibrant effect. For others, too hot water can cause the color to fade. Check what type of dye you have before starting.
- Add the dye to the hot water and stir until fully dissolved. Usually, 1 packet of powder dye or 1/2 cup of liquid dye is needed for every 2-3 gallons (8-12 L) of water. More dye means a richer color.
Step 2: Boil and Simmer When Mixing Natural Plant Dyes.
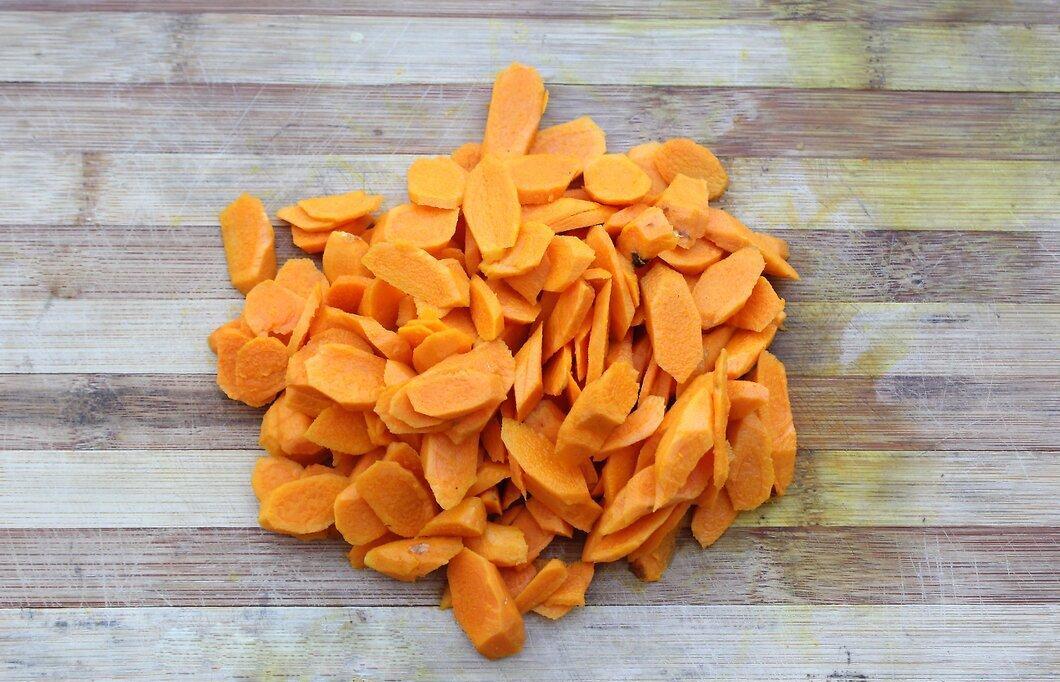
Boil and simmer when mixing natural plant dyes. You should perform the same procedure when mixing natural, plant-based dyes.
- Chop the plant or dye material into small pieces with a kitchen knife.
- Combine two parts water and one part dye material in a large pot and bring to a boil.
- Reduce the high heat and let it simmer for another hour.
- Strain the plant material, leaving a liquid dye.
Step 3: Boil Berry Dyes When Mixing Natural Dyes.
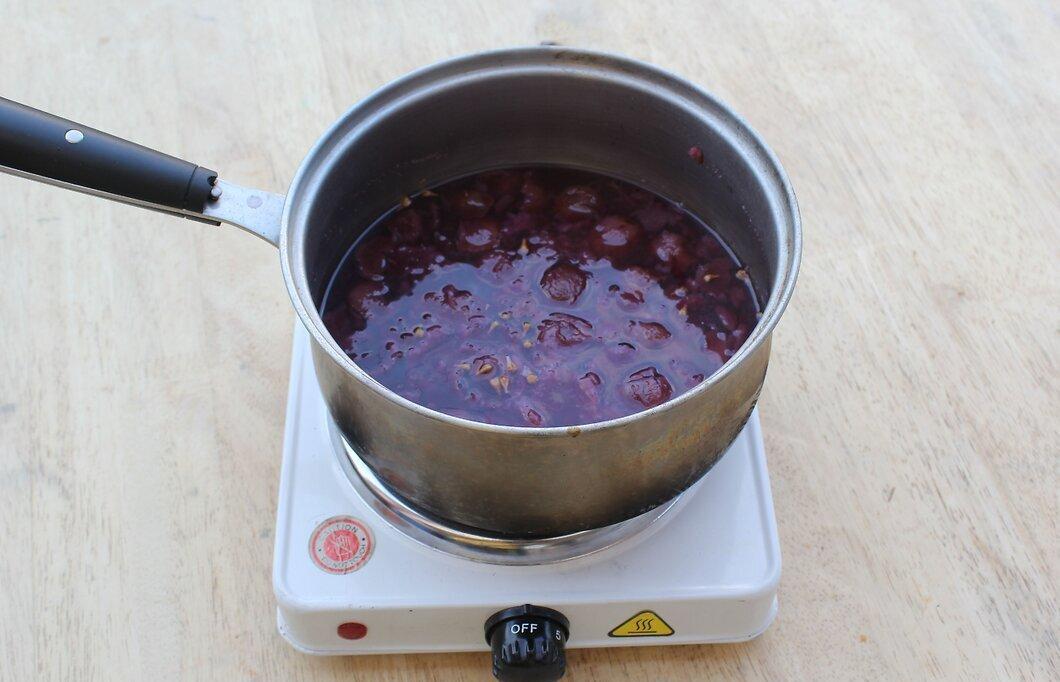
Boil berry dyes when mixing natural dyes. Follow these steps if you are using a natural dye from berries.
- Boil the berries for 15 minutes, or until the color from the berries mixes with the water.
- Strain the berries using a sieve. Discard the berry pieces, leaving only the colored liquid that will be used for dyeing the fabric.
- Dip the fabric into a bowl of berry-based dye. Leave it for about an hour, or until you achieve the desired color.
Step 4: Learn Which Plants Produce Specific Colors.
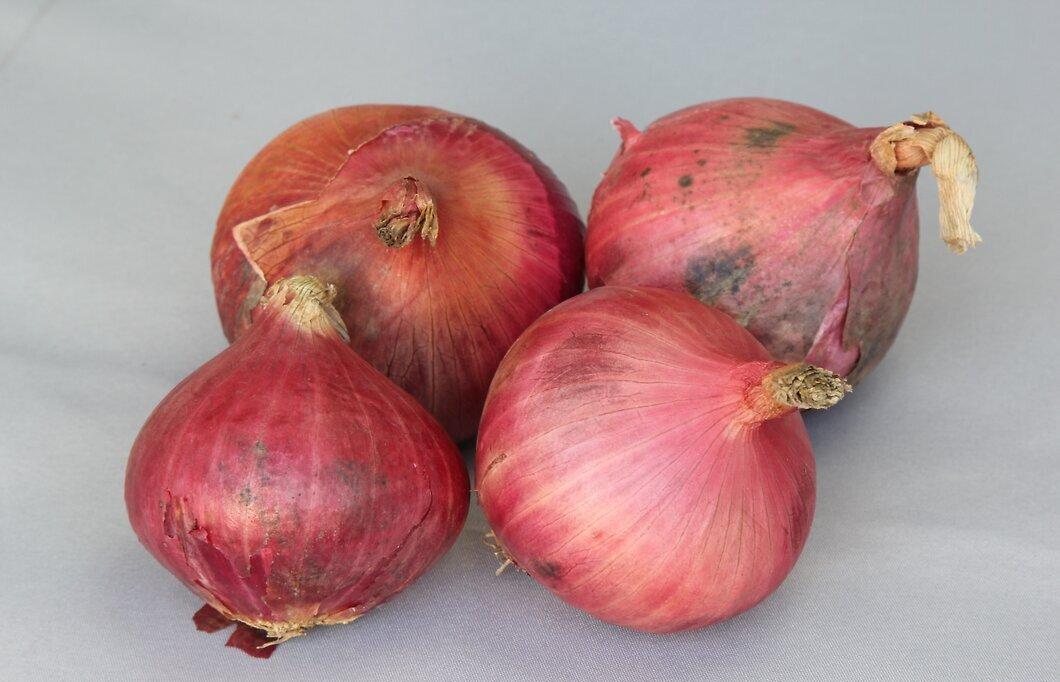
Learn which plants produce specific colors. Only certain plants can be used to produce various colors. Here are some of the most popular:
- Onion skins and carrots produce orange.
- Coffee, tea, walnuts, and dandelion produce brown.
- Raspberries, cherries, and strawberries produce pink.
- Red cabbage, mulberries, elderberries, blueberries, purple grapes, cornflower petals, and purple irises produce purple and blue.
- Beets, rose hips, and St. John's wort soaked in alcohol produce red.
- Iris produces black dye.
- Artichokes, spinach leaves, reddish-brown roots, purple flowers, snapdragon flowers, rudbeckia, and grass produce green.
- Celery leaves, turmeric, willow leaves, marigold flowers, paprika, and peach leaves, yarrow, and alfalfa produce yellow.
Dyeing the Fabrics
Step 1: Learn How Long to Soak the Fabric.
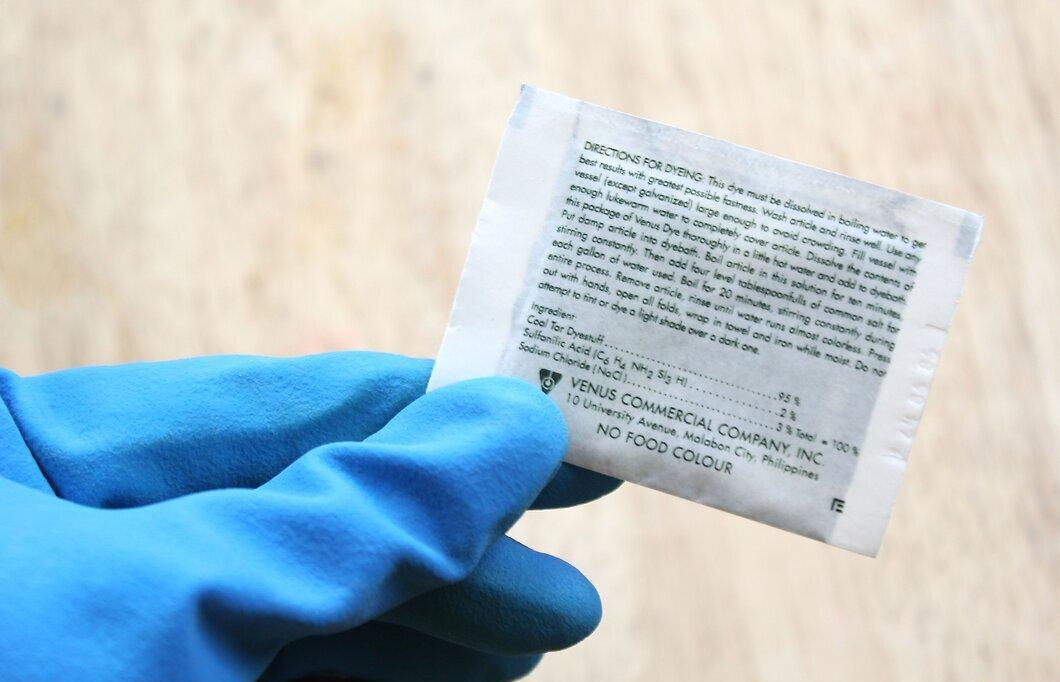
Learn how long to soak the fabric. Each dye is different, so the exact amount of time needed to soak your fabric in the dye will vary depending on the type of dye used.
- When using chemical dyes, follow the instructions on the packages.
- When dyeing fabrics with chemical dyes, you typically need to soak it for 4-10 minutes.
- When dyeing fabrics with natural dyes, soak it in warm, boiling dye for about 1 hour. For a more vibrant, longer-lasting color, soak the fabric overnight.
Step 2: Immerse the Fabric in the Lightest Color First.
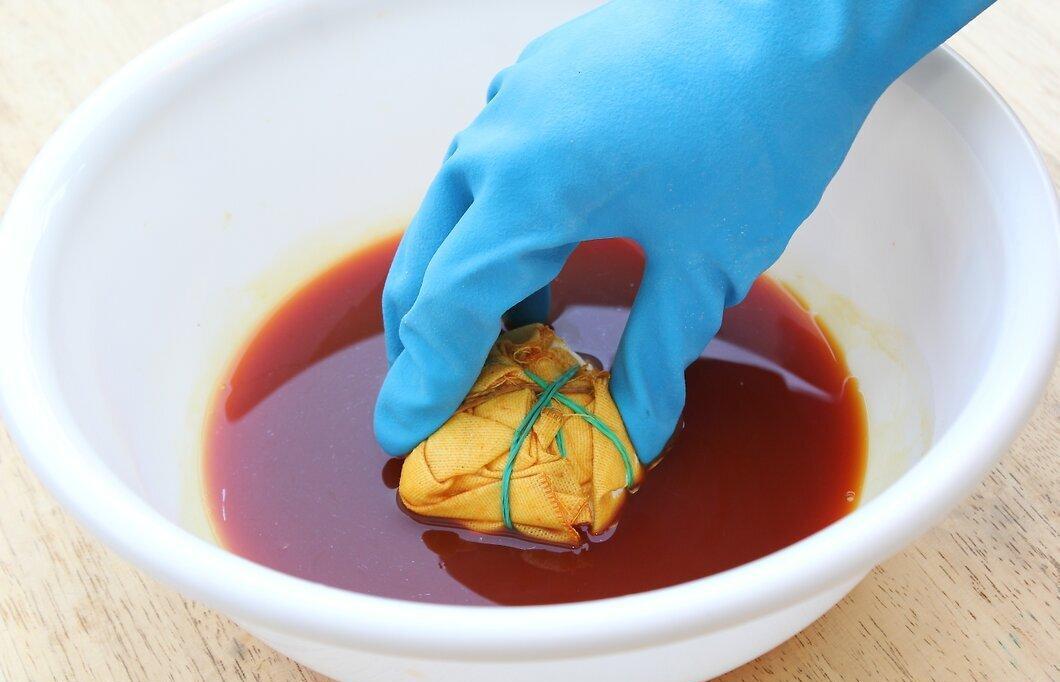
Immerse the fabric in the lightest color first. If you are using multiple colors, soak the fabric first in the lighter color. Place the fabric into progressively darker shades after all other colors have been used.
- Rinse the fabric under cool running water between using different shades.
Final Touches
Step 1: Rinse in Cool Water.
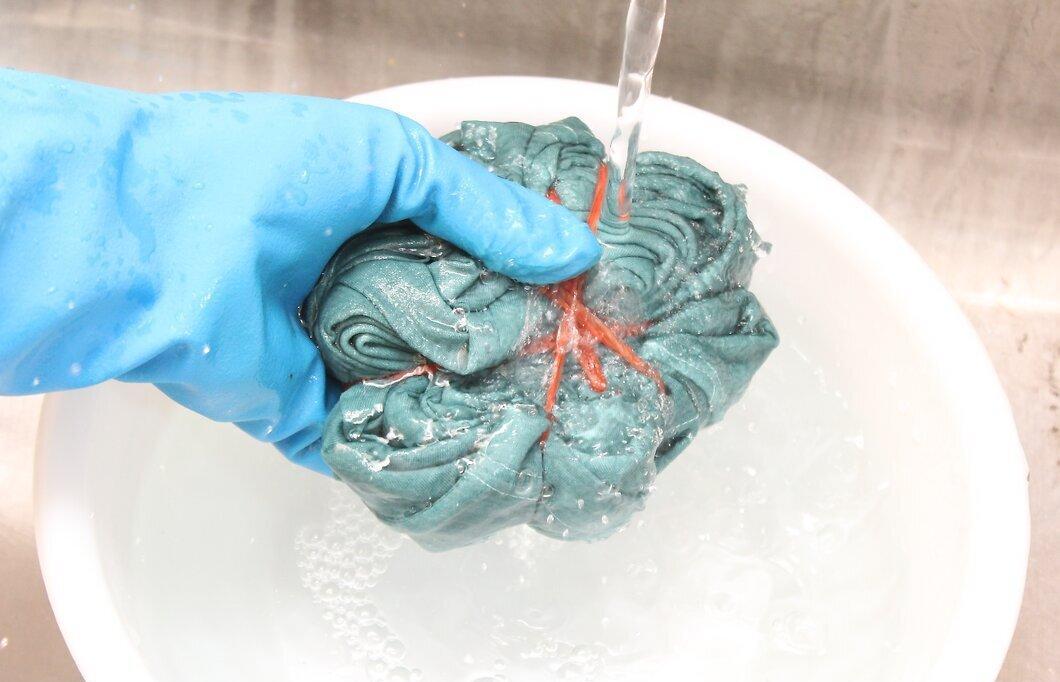
Rinse in cool water. After removing the tied fabric from the dye solution, rinse it thoroughly under cold running water.
- Continue rinsing the fabric until the water runs clear from all sides.
- Note: This may take a few minutes.
Step 2: Untie the Fabric.
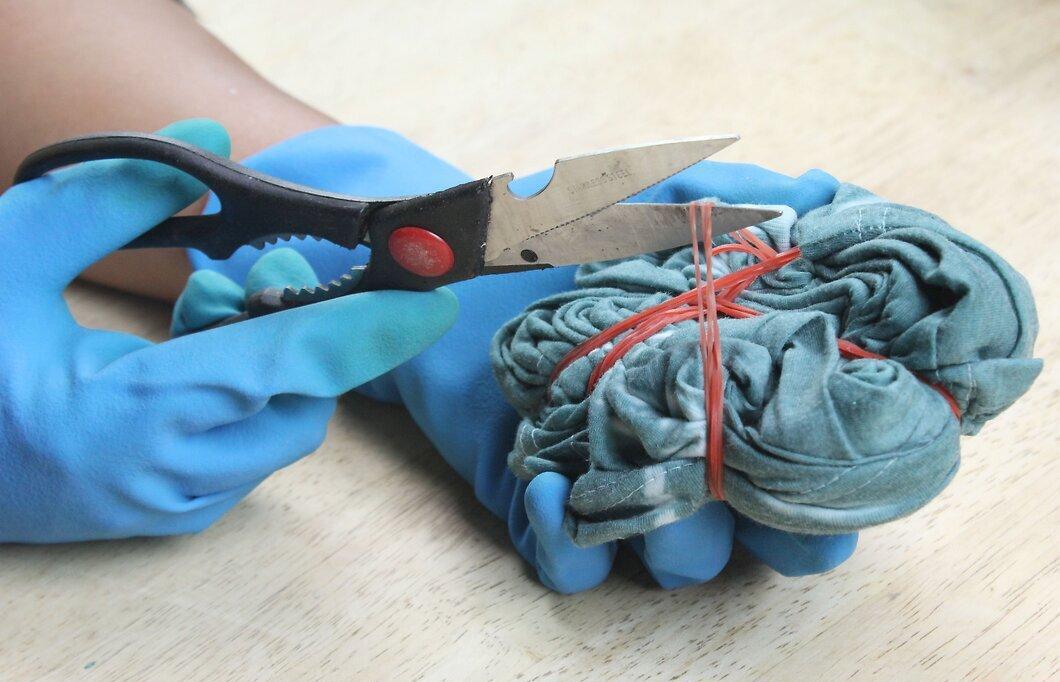
Untie the fabric. Carefully cut the rubber bands or strings holding the fabric together with scissors. Unravel the fabric to reveal the pattern.
- Cut carefully to avoid damaging the fabric.
- Alternatively, you can untie or unloop the rubber bands one at a time instead of cutting them.
Step 3: Wash the Fabric in Warm Water.
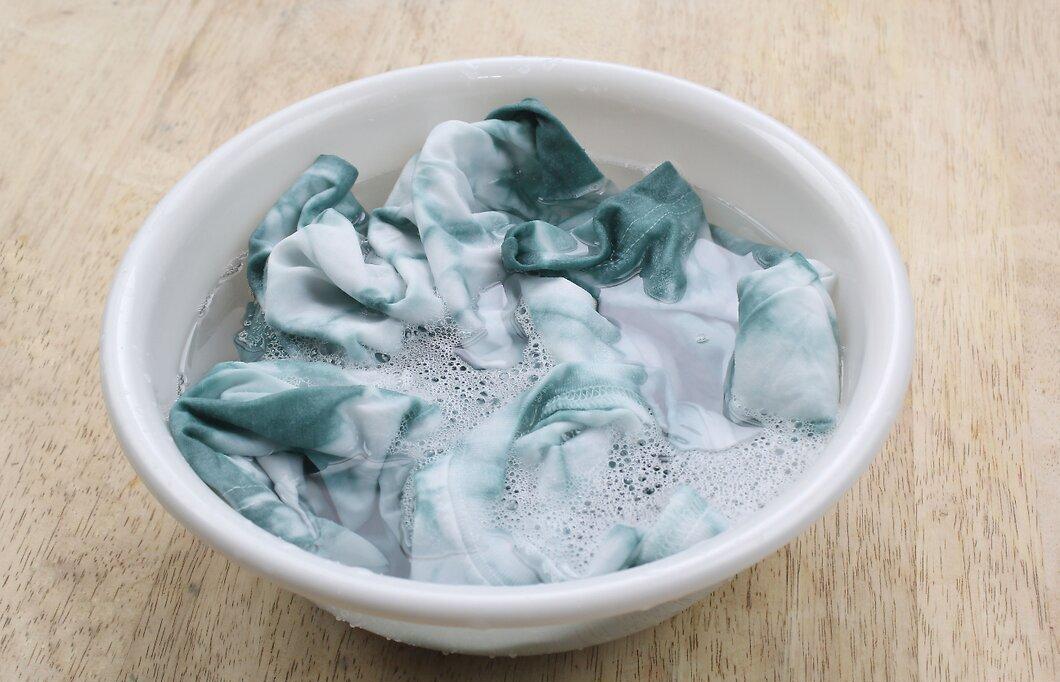
Wash the fabric in warm water. Use warm water and a small amount of dye-free detergent to wash the fabric. Rinse with cold water.
- You can wash the fabric in a washing machine or by hand.
- Choose a wash cycle that is recommended for the type of fabric you are using.
Step 4: Gently Squeeze Out Excess Water.
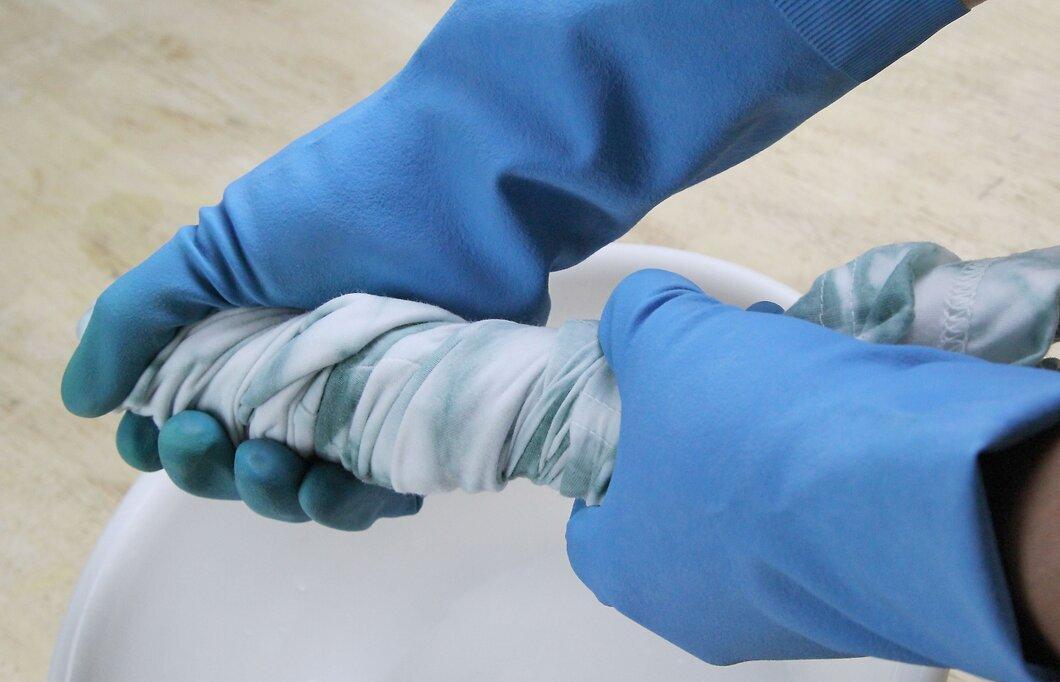
Gently squeeze out excess water. Place the clean fabric in a clean old towel and gently roll it in the towel to absorb any leftover water from washing.
Step 5: Dry as Desired.
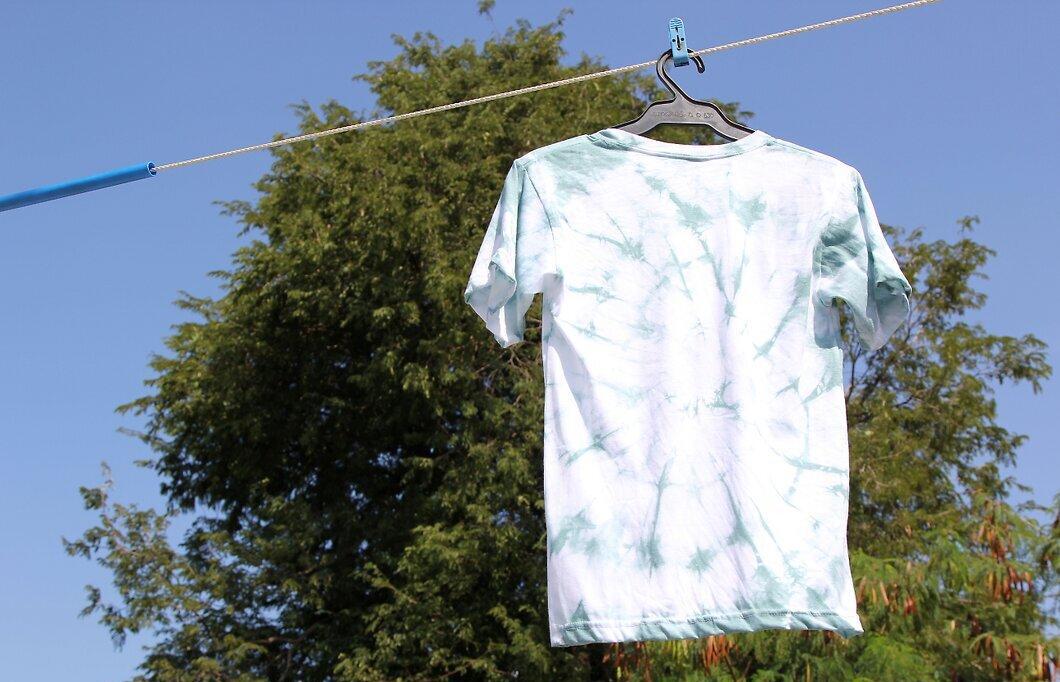
Dry as desired. You can either tumble dry the fabric or hang it to dry.
- Dry the fabric in the manner that is preferable for the particular type of material you are using.
Step 6: Conclusion.
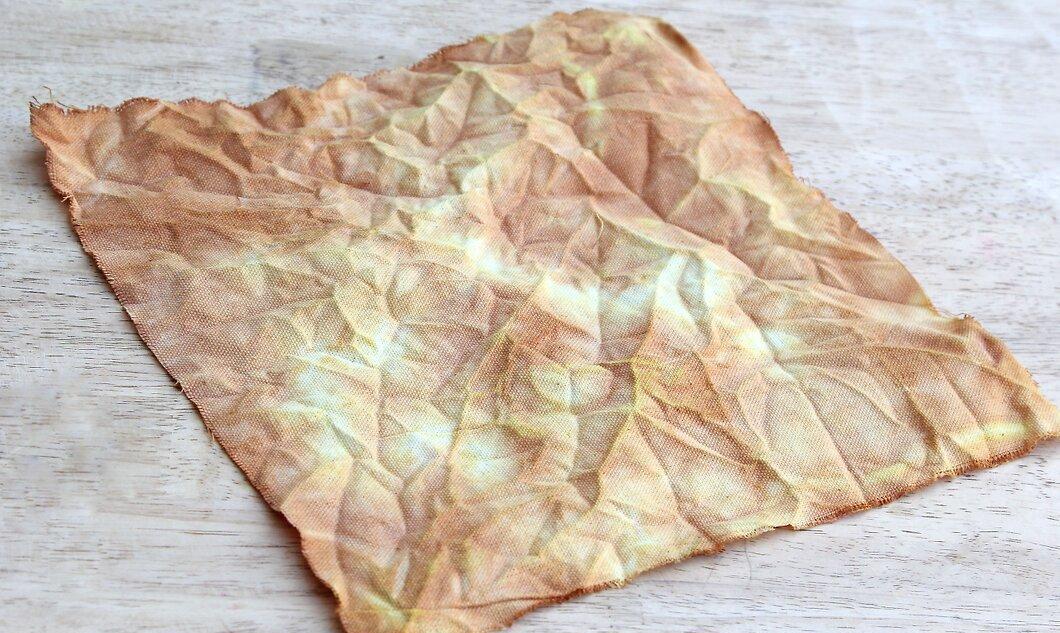
- Tie-dyed using plant-based dyes.
- Tie-dyed using berry dyes.
- Tie-dyed using chemical dyes.


