
Veneering wood used to be seen as a tedious and labor-intensive task, but recent advancements have made it much easier. Nowadays, there are many types of veneer available with added features for convenience. These days, almost anyone can learn how to veneer wood. The method using contact cement is considered one of the simplest and most durable. Start with step 1 to learn how to veneer wood.
Choosing Materials
Step 1. Choose between rotary or sliced veneer.
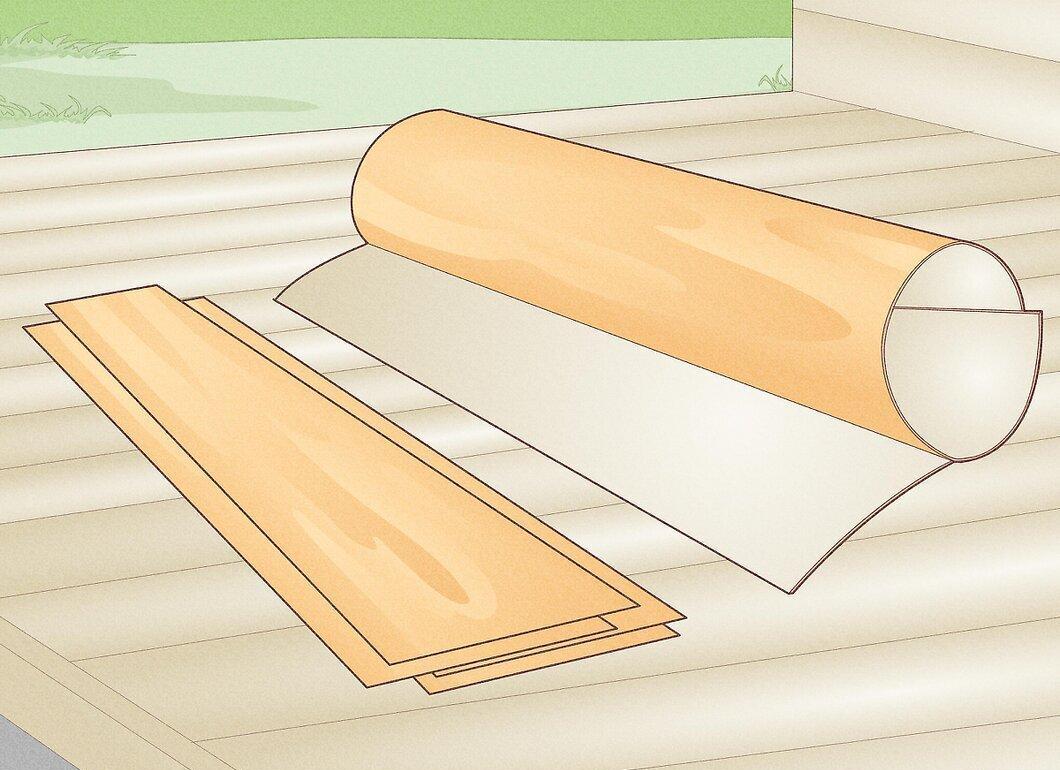
Choose between rotary or sliced veneer. Rotary veneer is what plywood is made from, and many people do not find its appearance appealing. However, this material comes in large sheets and may be the only option for very large projects. Sliced veneer, on the other hand, looks like regular lumber and allows for a truly beautiful wood grain appearance.
Step 2. Select a standard veneer set or a figured set.
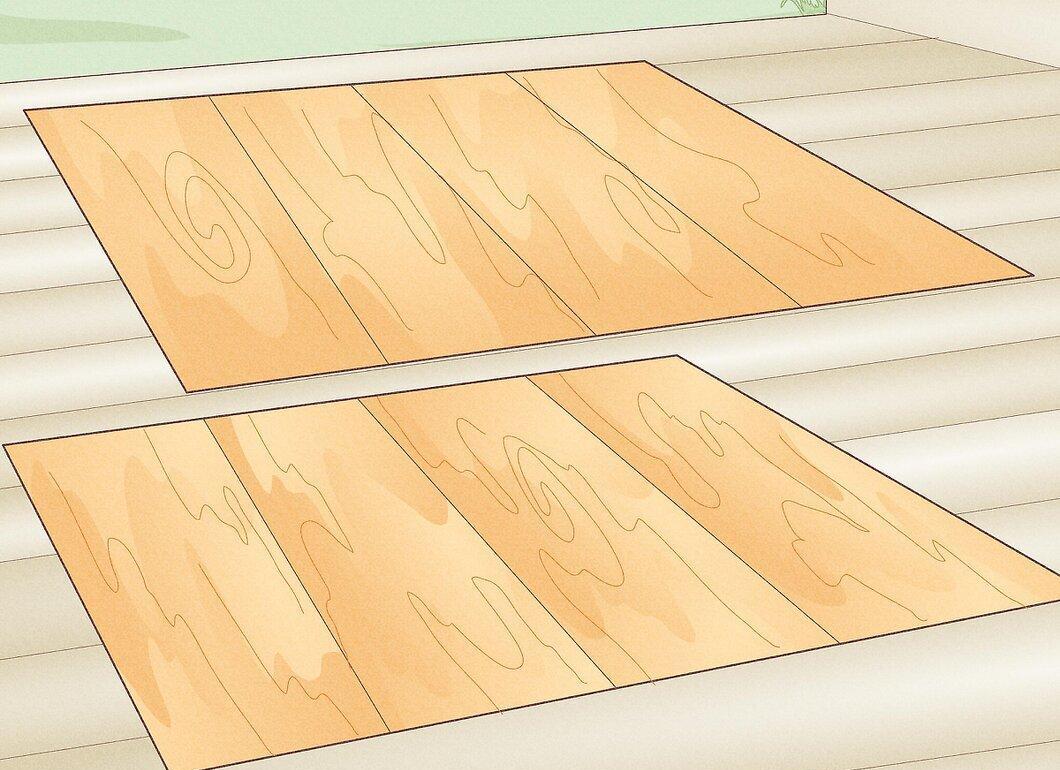
Choose a standard veneer set or a figured set. You can either go for a standard veneer set or use a figured set. Figured sets provide pieces of veneer that have been cut in sequence, ensuring that the grain patterns match up. These can be used to create stunning designs. However, standard sets may look more "natural."
Step 3. Decide on a method for attaching the veneer.
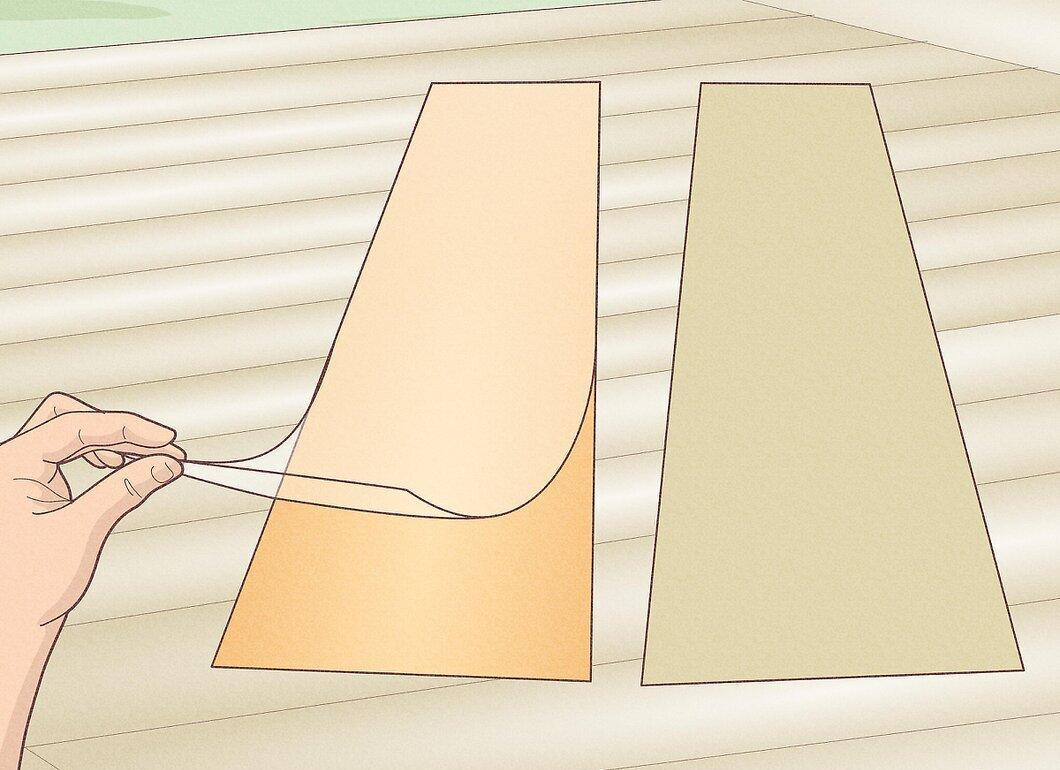
Decide on a method for attaching the veneer. You can use veneer that already has adhesive applied to one side. This is the easiest type to work with. However, if you purchase standard veneer, you will need to use the attachment method described in another section.
- Self-adhesive veneer is usually applied like a sticker, but make sure to read the included instructions to clarify if the specific manufacturer requires any additional steps.
Step 4. Choose a substrate.
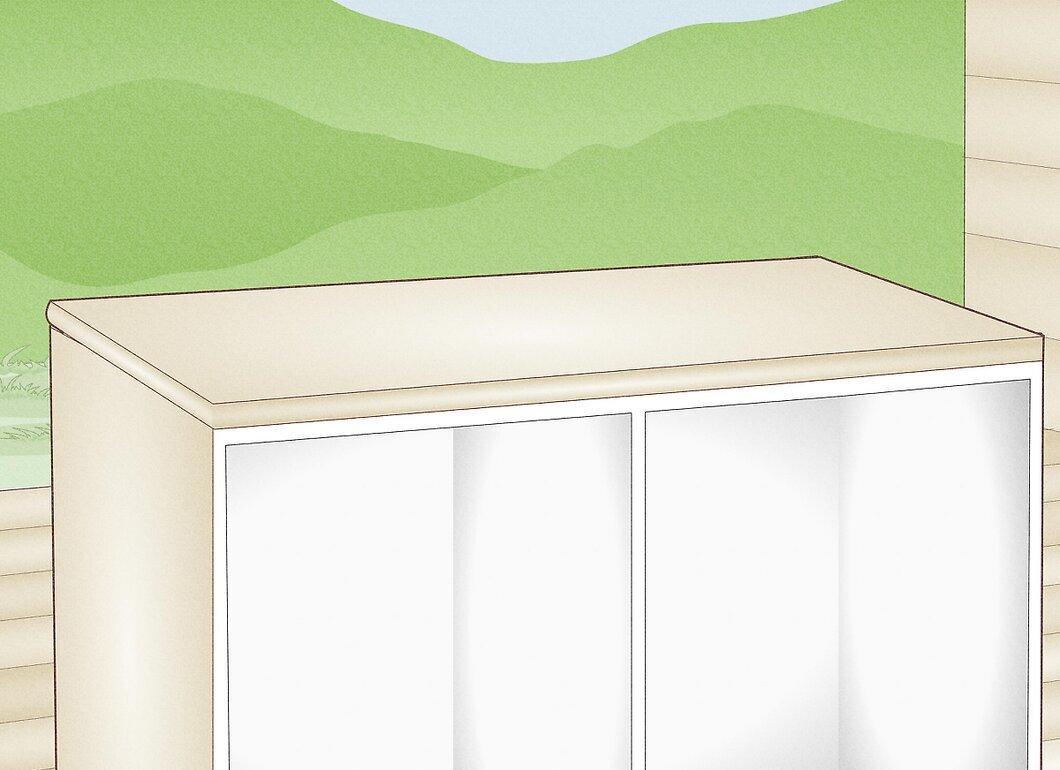
Choose a substrate. The veneer is attached to a substrate (or base material). This is usually either another piece of wood (if you are veneering, for example, door or cabinet panels) or a cheaper material like MDF. Such artificial materials are often the best option, as they tend to save you more money.
Step 5. Select an adhesive.
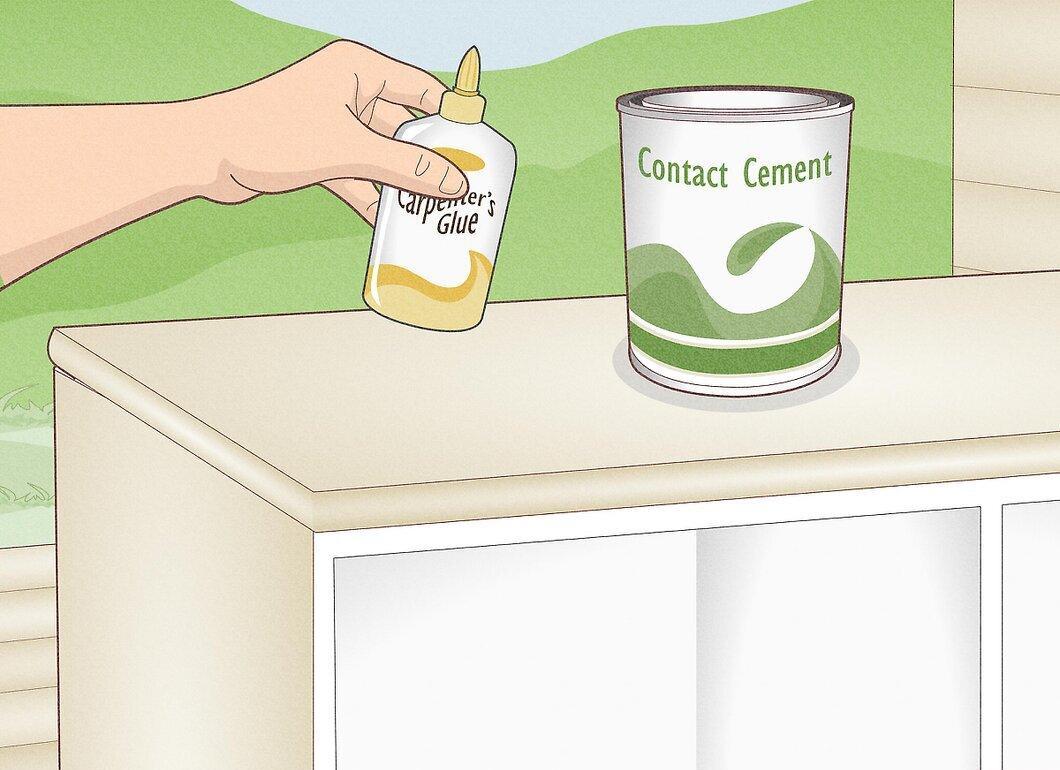
Select an adhesive. You can use yellow or woodworking glue if you like. If you live in a very dry region with low humidity, these types of glues will work well. However, if you live in a high-humidity area, these glues may cause the veneer to warp. In such cases, it's better to use a specialized veneer adhesive.
- These adhesives are used with many other veneering methods. Apply these methods cautiously, especially if you reside in a high-humidity region.
Attaching the Veneer
Step 1. Cut the veneer to size.
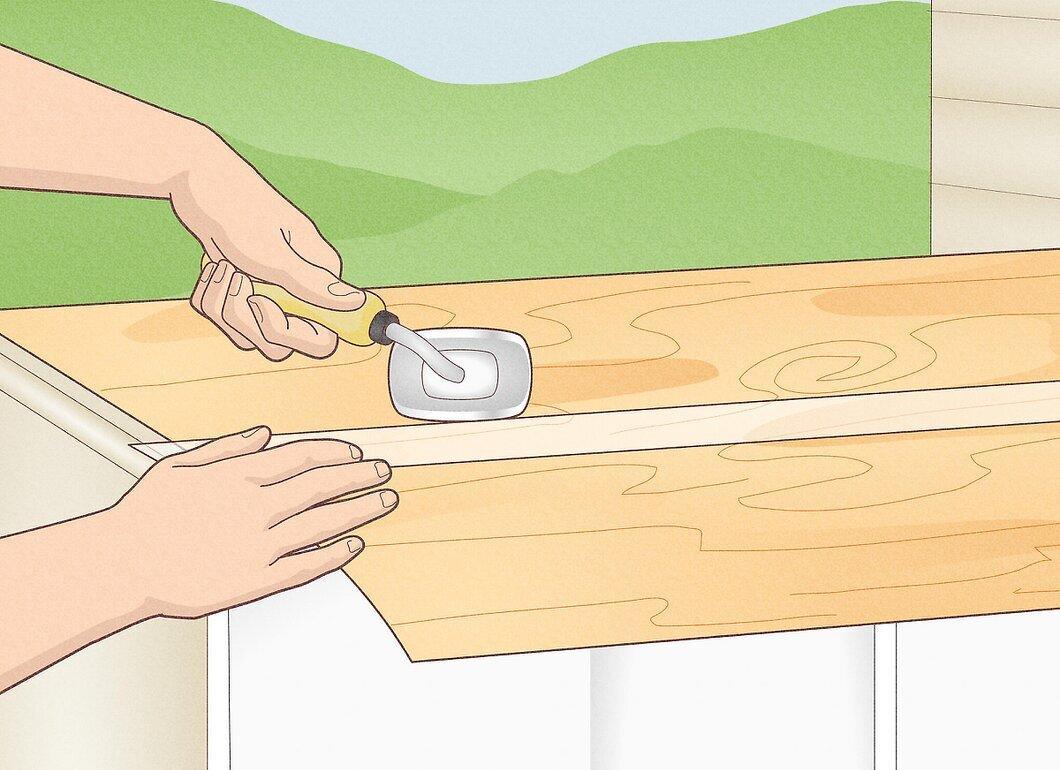
Cut the veneer to size. Trim the veneer to the required dimensions, ensuring that you make as few errors as possible. If the veneer overhangs by 0.5 cm, you will likely break it.
Step 2. Apply contact cement to the substrate.
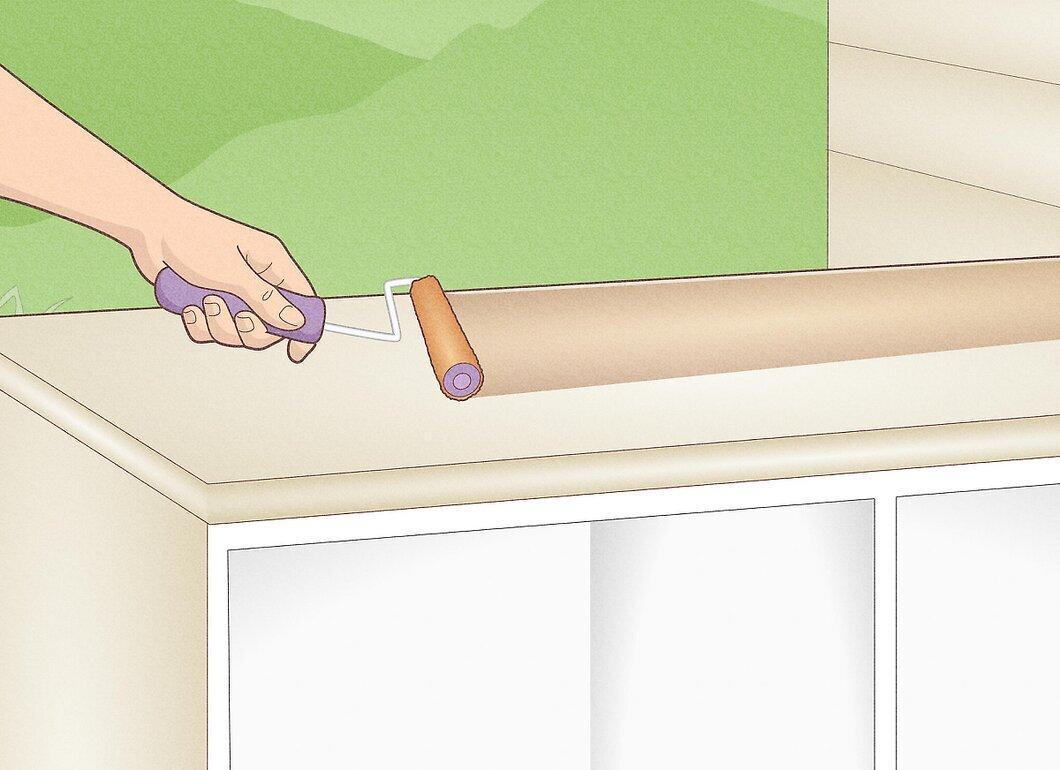
Apply contact cement to the substrate. Using a roller with very short nap, spread contact cement over the surface of the substrate that will be covered by one panel of veneer. Apply the cement in one direction, then the other, like painting a wall, to ensure 100% coverage of the substrate surface.
Step 3. Apply contact cement to the veneer.
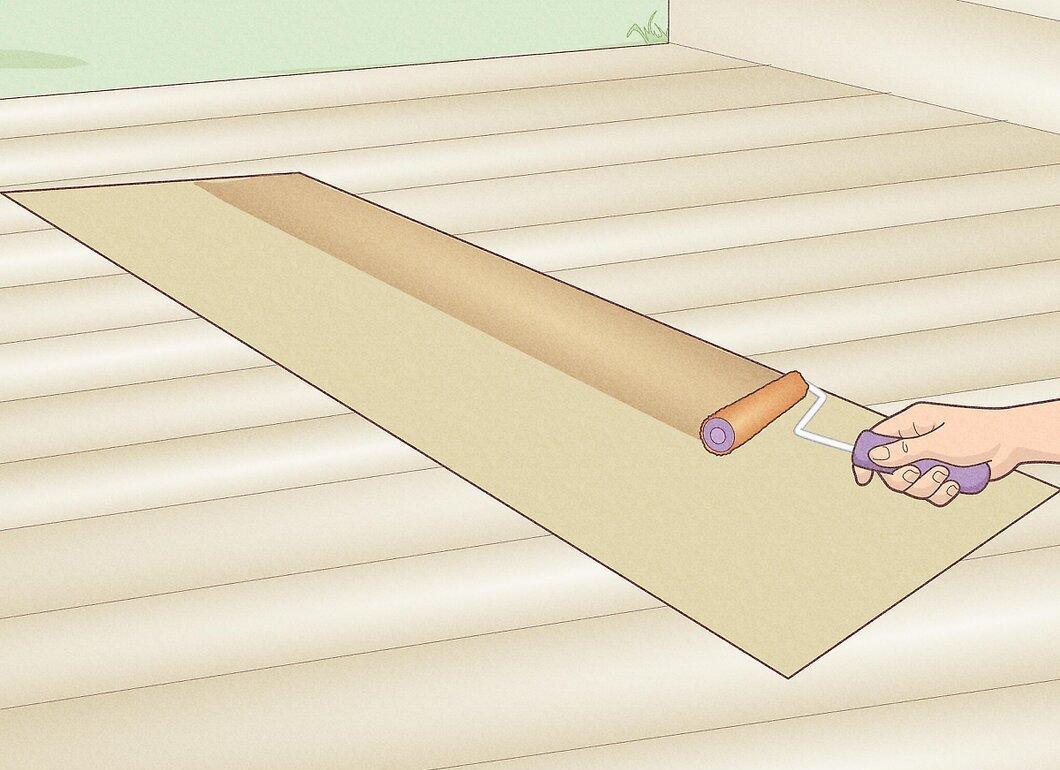
Apply contact cement to the veneer. Repeat the same actions to apply contact cement to the veneer, also ensuring that you achieve 100% coverage of the surface. There should be no dry spots.
Step 4. Let it sit to become tacky.
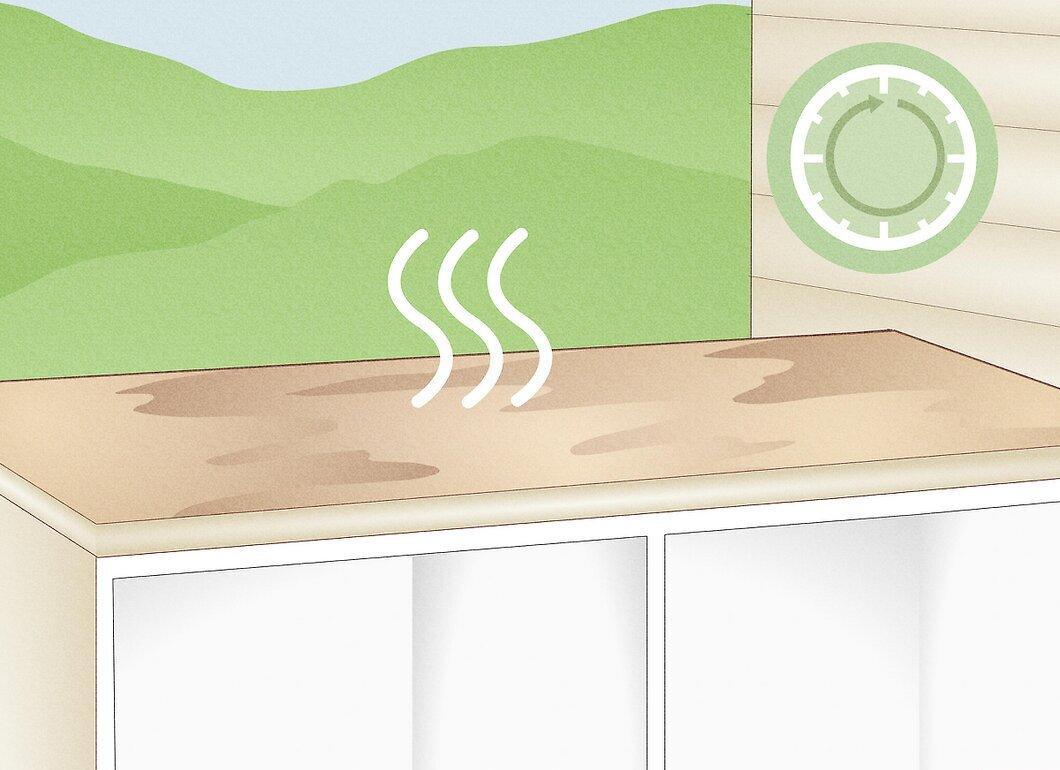
Let it sit to become tacky. Allow enough time for the cement to dry slightly. It should feel somewhat tacky to the touch but should not stick to a piece of paper or hair on your hand. This typically takes about 5-10 minutes.
Step 5. Place wax paper underneath.
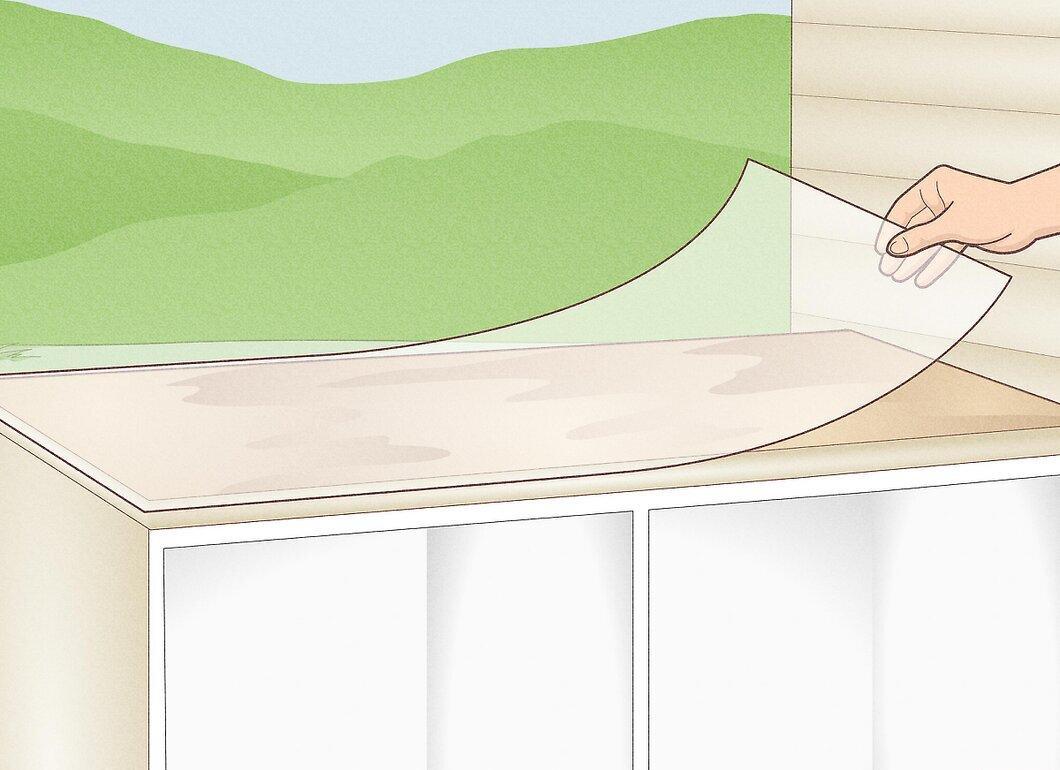
Place wax paper underneath. Lay a sheet of wax or parchment paper on the substrate. The paper will be between the substrate and the veneer while you align it, helping you to position the veneer as straight as possible without sticking the pieces together when they are not ready.
Step 6. Align the veneer.
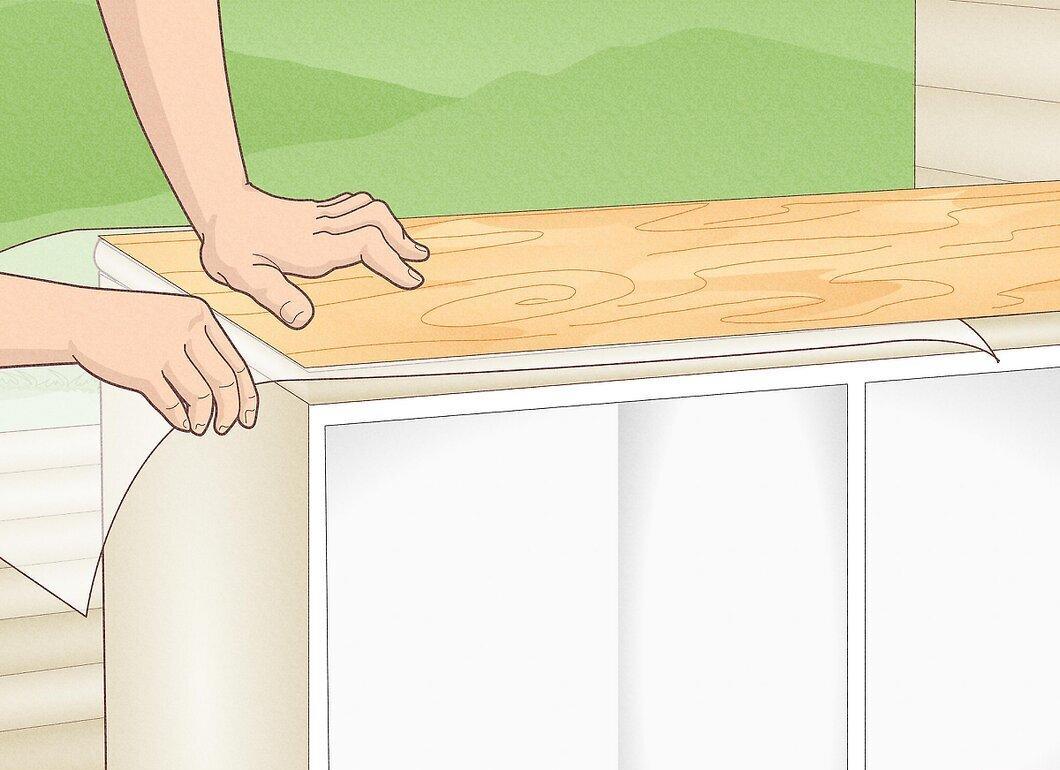
Align the veneer. Align the corners of the veneer and the substrate and place it where it needs to be. Then, start pressing the veneer down so that the two adhesive surfaces make contact, removing the paper as you go.
Step 7. Smooth the veneer.
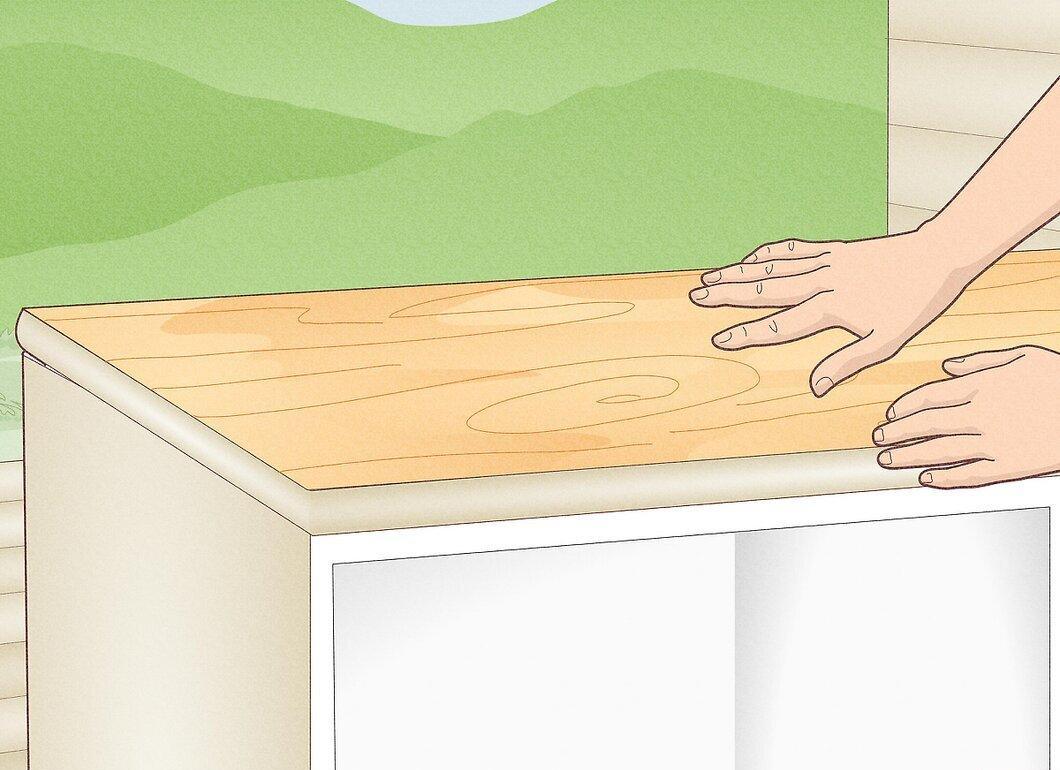
Smooth the veneer. Use your hand to smooth the veneer, starting from the center and moving towards the edges. Apply enough pressure to ensure full contact. Then smooth the veneer again using a flat tool, such as a putty knife or a carpet roller. Smooth the veneer in one direction, then the other, just like when applying the glue.
- Avoid using tools like rollers, as they provide weak and uneven pressure.
Step 8. Trim the edges.
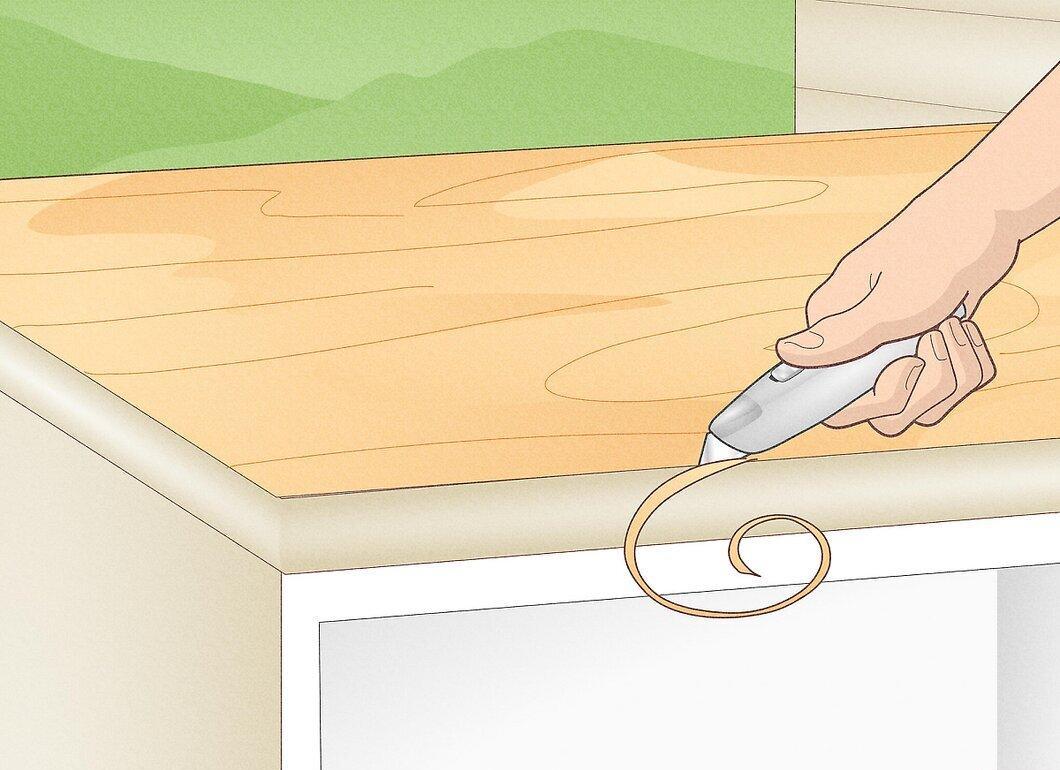
Trim the edges. Use a knife to trim the edges, and then sand them with sandpaper ranging from 180 to 220 grit.


