
A gifted bouquet can brighten anyone's day. If you want your flowers to look more polished before presenting them, wrap them up neatly. To make the bouquet more vibrant, arrange the wrapping so that the stems are visible. For a simple presentation, wrap the bouquet in a way that hides the stems while allowing the flower heads to peek out. Remember, you can also give a single flower as a gift, as long as it's beautifully wrapped. Adding a ribbon or decorative twine can make it simply irresistible.
Wrapping a Bouquet with Exposed Stems
Step 1. Choose Your Wrapping Material.
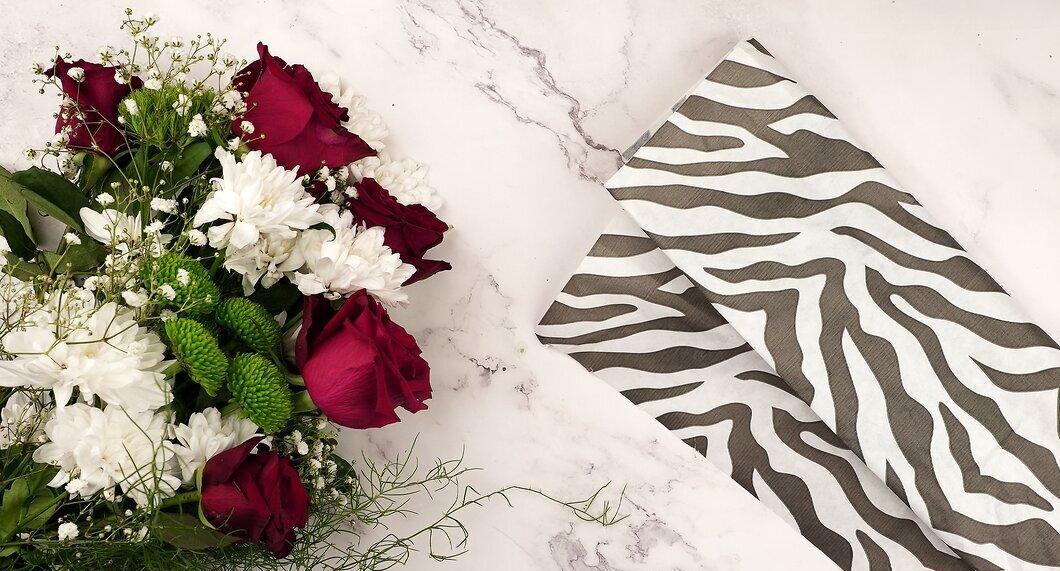
Select your wrapping material. You can use almost any type of paper to wrap your bouquet. For a classic look, go for simple brown wrapping paper. If you want the bouquet to appear more festive, consider colored or patterned wrapping paper. For a unique touch, try one of the following:
- newspapers;
- pages from old books (for smaller bouquets);
- sheet music;
- colorful napkins.
Step 2. Fold the Paper in Half.
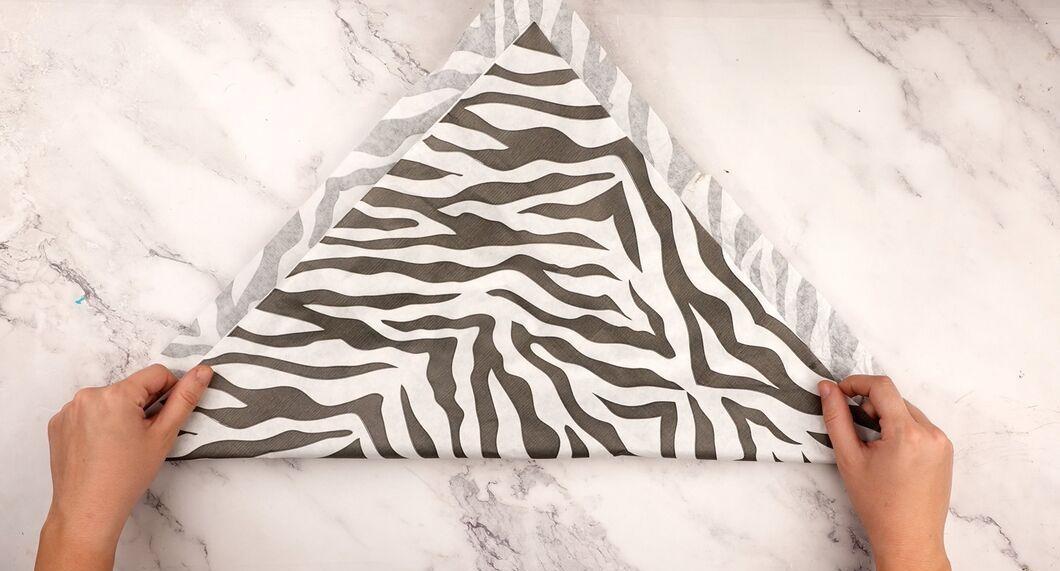
Fold the paper in half. Place the paper on the table with the printed (colored) side facing down. Grasp the edge of the paper closest to you and fold it up towards the far edge. Angle the fold slightly so that the corners of the plain side become visible. Crease the fold firmly.
- Even if you're using plain uncolored paper, folding it at an angle will give your bouquet wrap a decorative edge.
Step 3. Place the Flowers on the Paper.
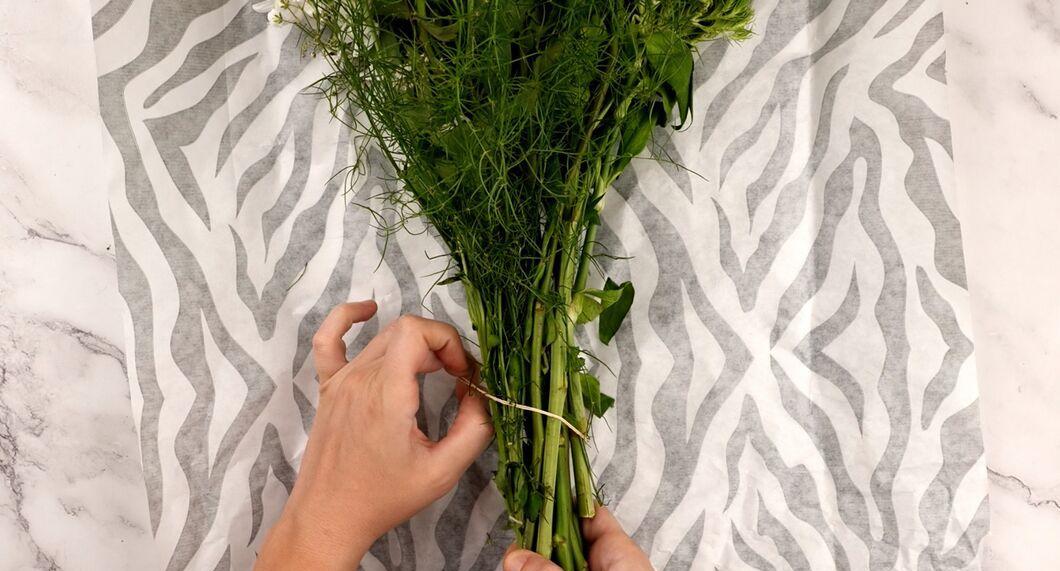
Place the flowers on the paper. First, secure the flower stems with a rubber band. This will make it easier to wrap the bouquet and keep it intact within the paper. Position the flowers on the paper so that the rubber band aligns with the fold line.
- The paper will only cover part of the stem lengths. Ensure that the flowers cover a significant area of the paper while the stems extend beyond the edges of the wrap.
Step 4. Wrap the Flowers in Paper.
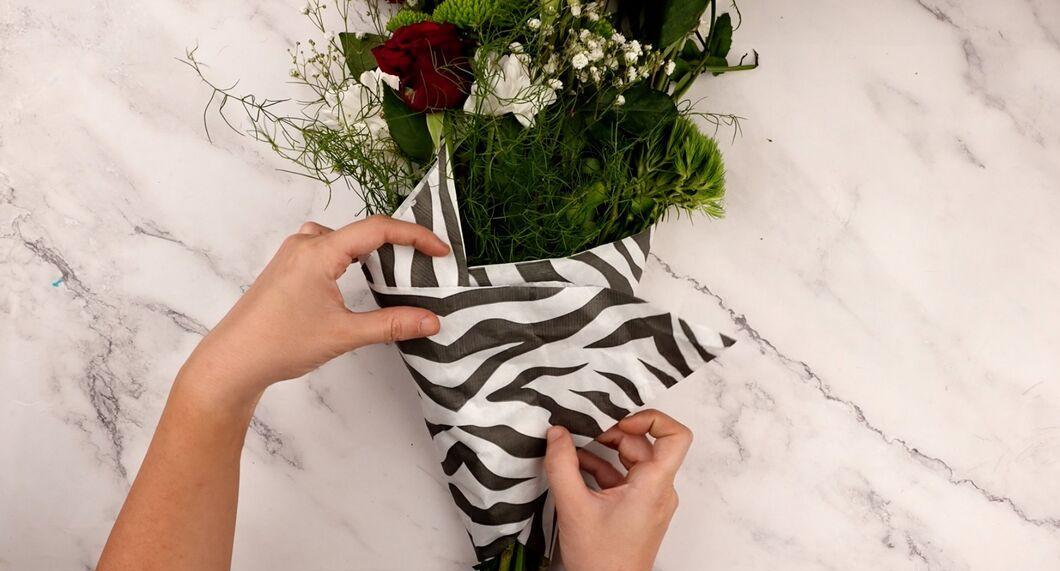
Wrap the flowers in the paper. Fold one edge of the wrap over to the other side. You can also simply roll the bouquet in the wrap or bring both edges of the wrap together at once.
- The result should be a cone shape around the flowers, which works well with bouquets of various sizes.
Step 5. Secure the Wrap.
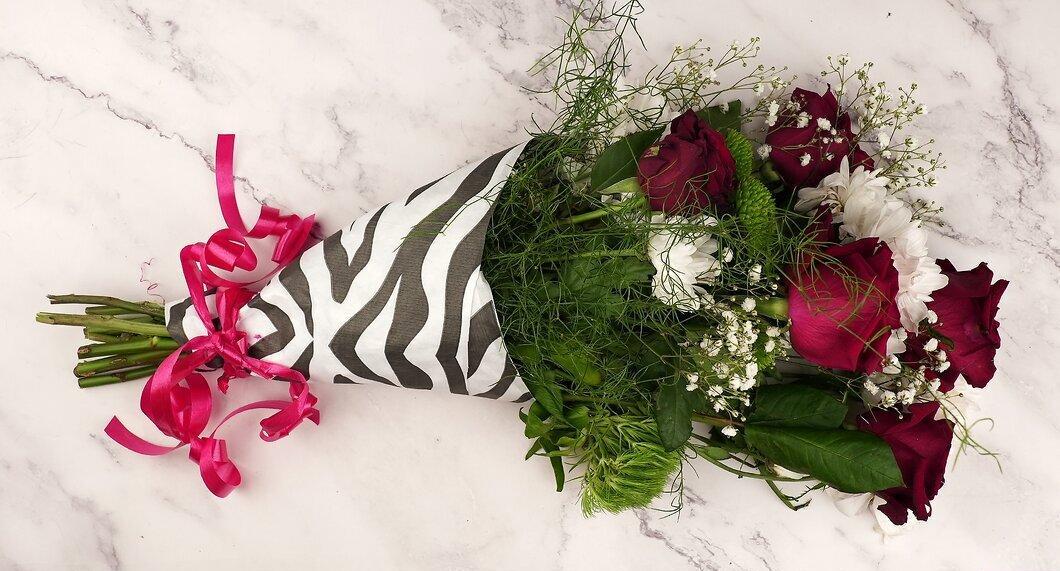
Secure the wrap. Take a few pieces of clear double-sided tape and stick them where the overlapping edges of the wrapping paper meet. Press the taped area down to ensure that the wrap doesn’t come undone when you let go. If you don’t have double-sided tape, you can use floral wire or decorative twine. Just tightly wrap the wire or twine around the lower edge of the wrap to keep it secure.
- To finish off the bouquet, you can tie a bow at the base where the stems stick out.
Wrapping a Bouquet with Hidden Stems
Step 1. Choose Your Wrapping Material.

Select your wrapping material. To support a bouquet of delicate flowers, you can use simple brown or other sturdy wrapping paper. For bouquets with strong stems and robust buds, thinner paper like napkins or newspapers will work well.
- Choose a wrap color that complements your flowers without overshadowing them. For example, red and yellow wrapping paper would enhance the orange flowers’ vibrancy.
Step 2. Wrap the Flower Stems.
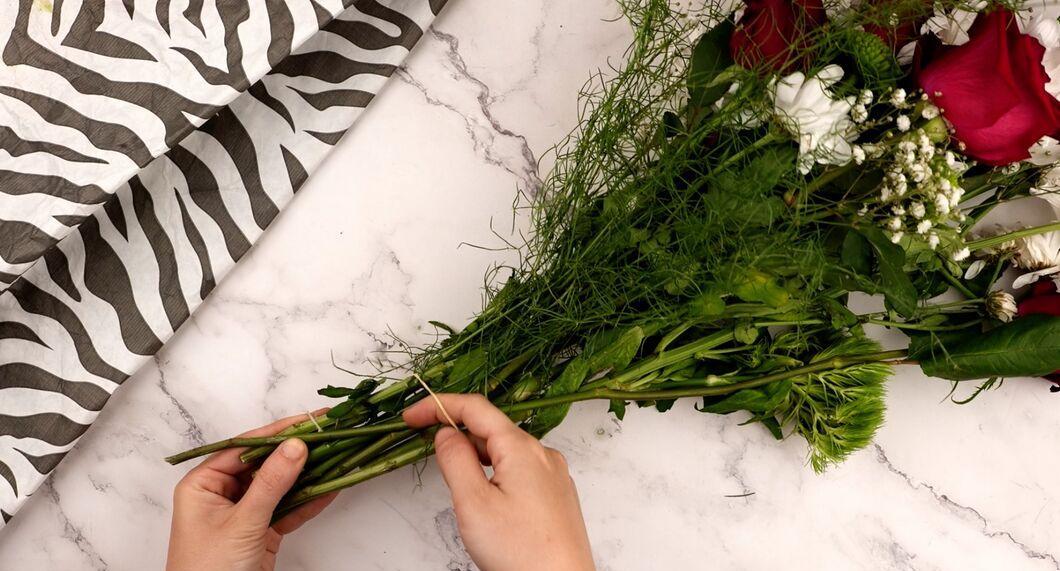
Wrap the flower stems. Trim the flower stems to an even length. Tie them together with a rubber band to keep the bouquet intact. The rubber band will be hidden once you wrap the bouquet. Wrap the ends of the stems in a paper towel to prevent water from soaking through to the wrapping paper.
- To keep the bouquet fresh longer, you can dampen the paper towel with water before wrapping the stems. Then, wrap the damp towel in plastic to prevent moisture from leaking onto the wrapping paper.
Step 3. Place the Flowers on the Wrapping Paper.

Place the flowers on the wrapping paper. Position a square sheet of wrapping paper diagonally in front of you (to resemble a diamond shape). If you want the colored side to show on the outside of the wrap, place the paper with the backside facing up. If you want the colored side to be hidden, place the sheet facing up. Then, place the bouquet on the sheet so that the flower buds slightly rise above the square. The majority of the stems should align with the diagonal of the square.
- A sheet of wrapping paper measuring 60 x 60 cm is usually sufficient for a medium-sized bouquet.
Step 4. Fold the Bottom Right Side of the Wrap.
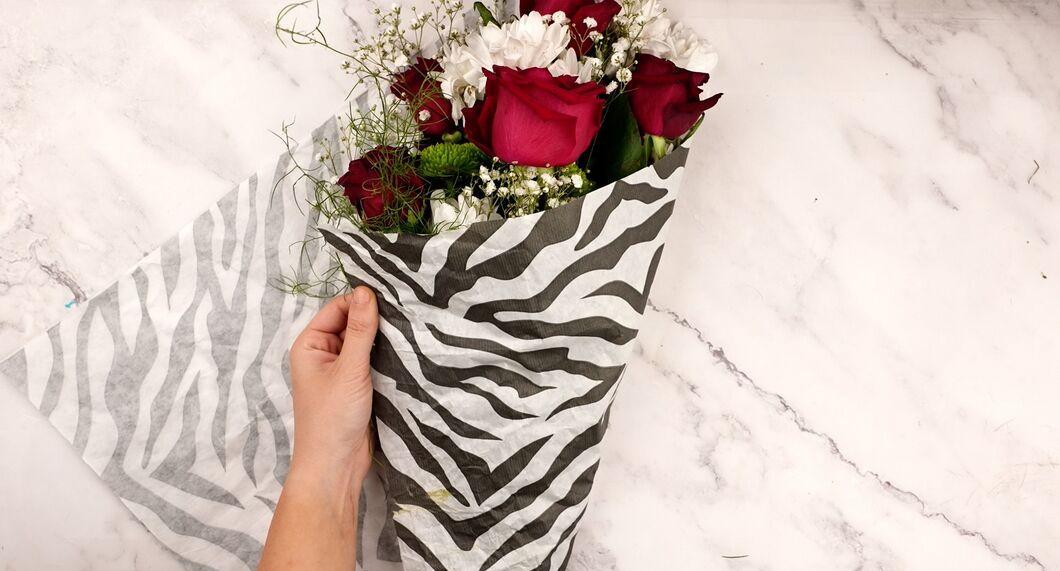
Fold the bottom right side of the wrap. Grasp the right and bottom corners of the sheet, which encloses the bottom right side of the square. Fold this side towards the flower stems, creating a parallel crease. The width of the fold should be 2.5-5 cm. If your bouquet is very short, you may need to create 1-2 additional folds to reach closer to the tips of the flower stems.
- A large bouquet with long stems will usually only require one fold.
Step 5. Wrap the Left Edge of the Paper.
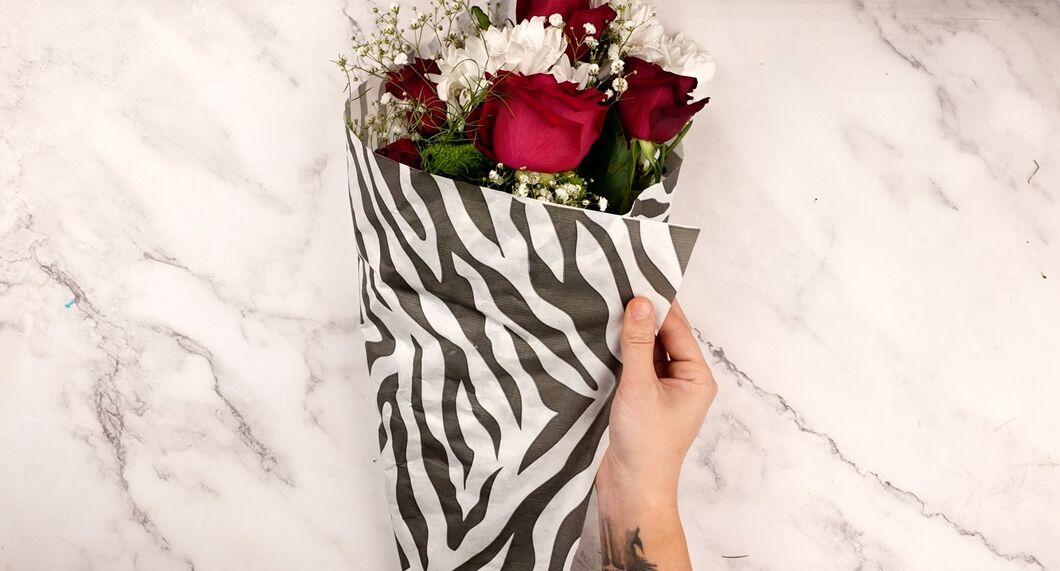
Wrap the left edge of the paper. Grasp the left corner of the paper and fold it over the flowers. The wrapping side should nearly reach the side you folded in the previous step.
- If you want to give your bouquet wrap more strength, you can secure the folds with clear double-sided tape.
Step 6. Fold the Bottom Tip of the Paper.
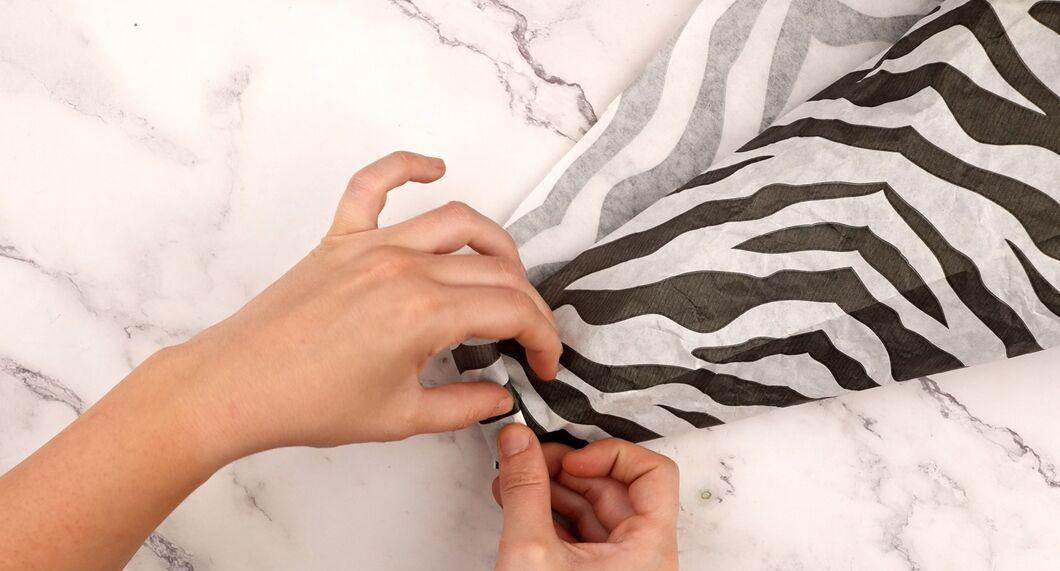
Fold the bottom tip of the paper. With one hand holding the wrapped left edge in place, use the other hand to grab the long, thick bottom end. Twist or fold this end upwards a few times.
- This fold is crucial as it provides support for the flower stems in the bouquet.
Step 7. Tightly Roll the Right Side of the Bouquet Wrap.
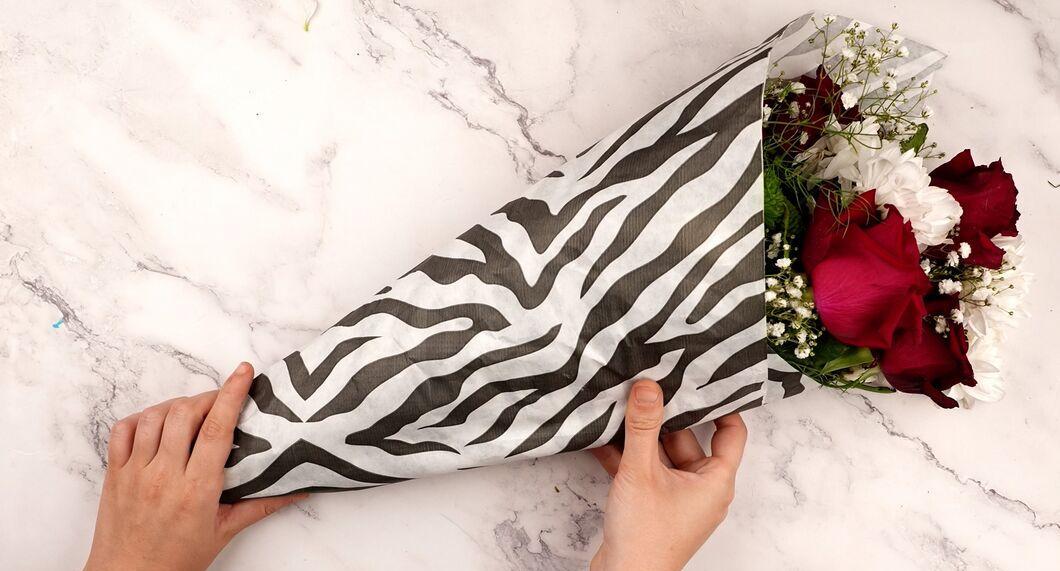
Tightly roll the right side of the bouquet wrap. Once the left and bottom sides of the wrap are in place, finish wrapping the bouquet by rolling the right side. The flowers should now be securely held in the wrap.
- If you want a snug bouquet, tightly roll the paper to slightly compress the flowers. For a looser bouquet, gently fold over the excess paper.
Step 8. Secure the Wrap Around the Bouquet.
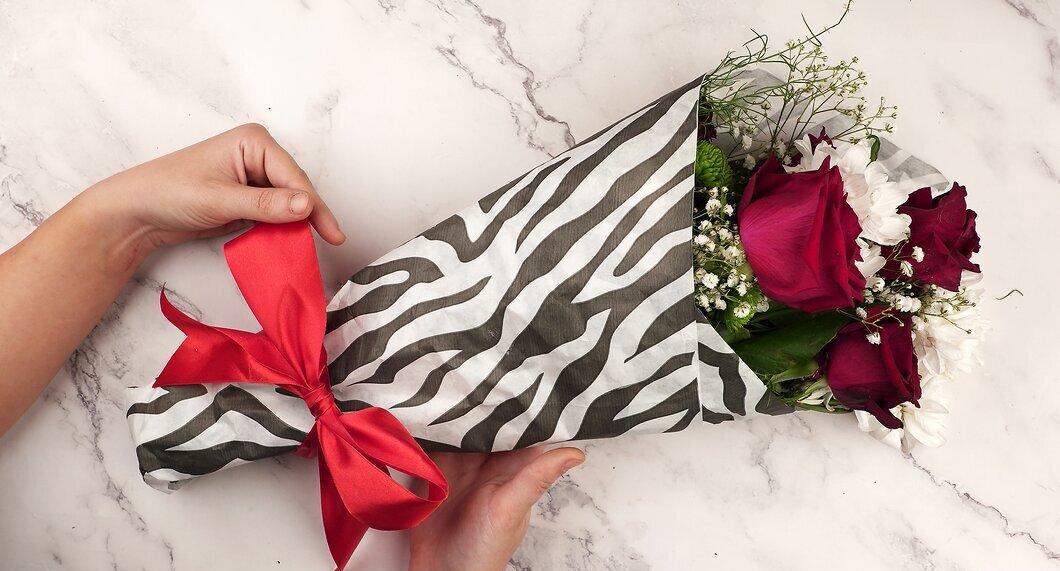
Secure the wrap around the bouquet. Take a ribbon, floral wire, or decorative twine and wrap it around the paper. You need to wrap it several times to keep it from unraveling. If you used very thick paper, you might need to additionally tape the layers together with clear double-sided tape.
- You can also decorate the outer part of the bouquet wrap with a wide decorative ribbon to give your bouquet a professionally wrapped look.
Tying the Bouquet with Ribbon
Step 1. Gather the Flowers into a Bouquet.
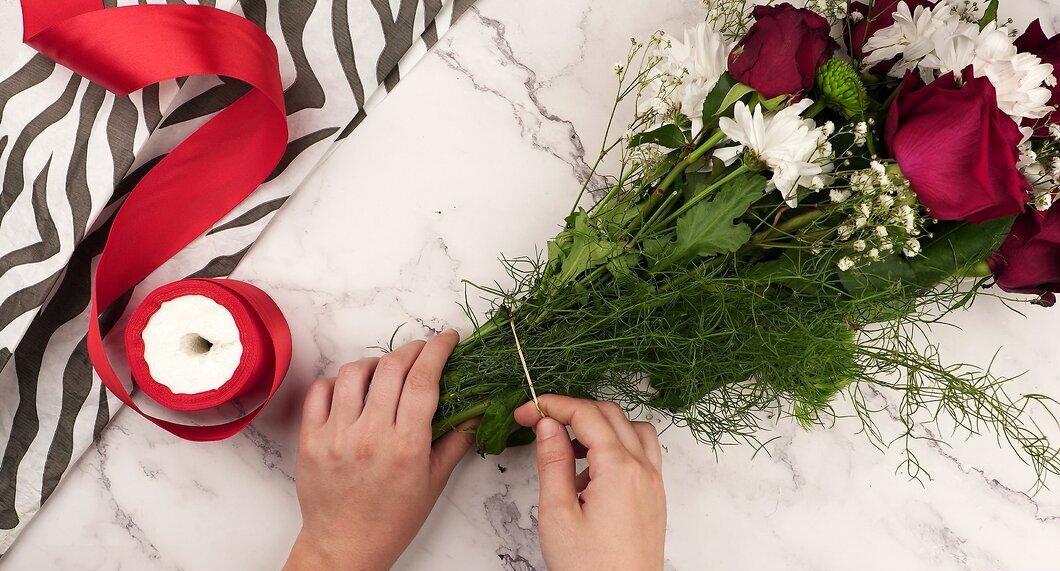
Gather the flowers into a bouquet. Hold all the flowers in one hand, grasping their stems in your palm. Then, take a rubber band and secure the flowers where you're holding them.
- The rubber band will later be hidden. It prevents individual flowers from falling out of the bouquet.
Step 2. Secure the Loop End of the Ribbon to One of the Stems.
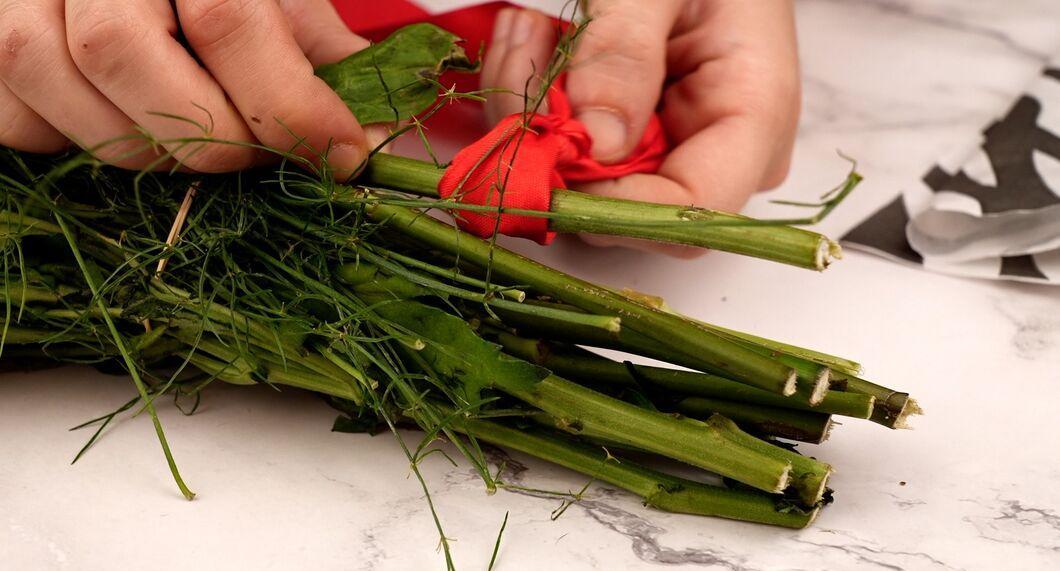
Secure the loop end of the ribbon to one of the stems. Take your ribbon or decorative twine and tie a loop at one end. Place the loop over one of the stems and pull it up to the rubber band.
- The looped ribbon will help secure the starting end of the ribbon for wrapping the bouquet. It prevents the wrapped ribbon from coming undone.
Step 3. Wrap the Ribbon Around the Stems.

Wrap the ribbon around the stems. Evenly wind the ribbon around the stems. Continue wrapping until it covers the bottom part of the stems as much as you desire.
- If you use a wide ribbon, you won’t have to wrap it around the stems many times. However, keep in mind that several layers of wrapping will reinforce the bouquet and provide better support.
Step 4. Secure the Remaining End of the Ribbon.

Secure the remaining end of the ribbon. Once the flowers are securely wrapped to your satisfaction, bring the ribbon to the front of the bouquet. Cut off the excess, and thread the end of the ribbon between the wrapped stems.
- You can also tie a bow with the ribbon or decorative twine at the front of the wrapped stems to hide the end of the ribbon used for wrapping.
Step 5. Try Wrapping Individual Flowers.
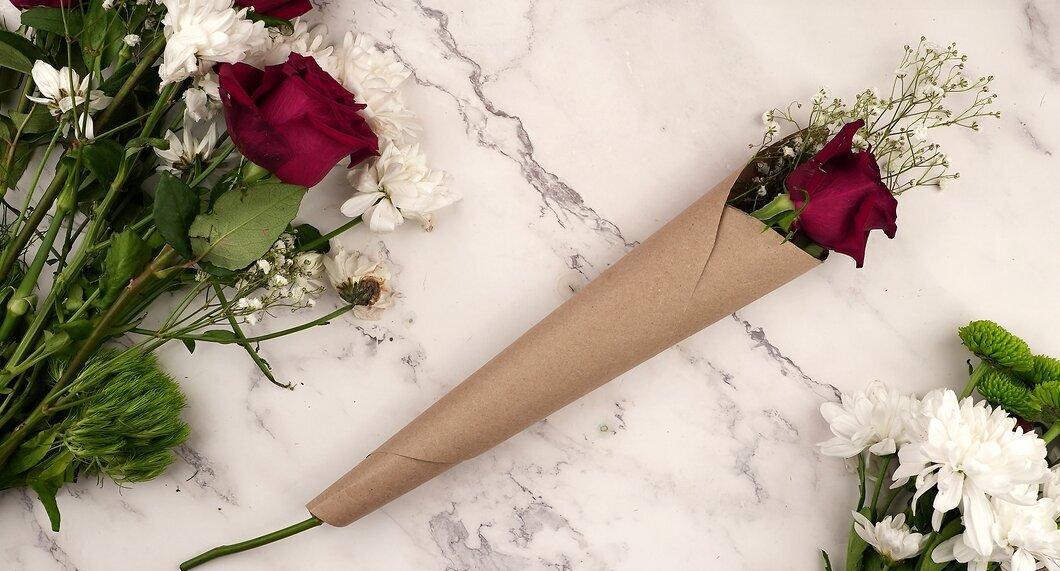
Try wrapping individual flowers. If you want to gift a single flower, wrapping it can make it even more striking. Wrap the flower's stem in a small piece of brown wrapping paper and secure the wrap with floral wire. Instead of paper, you can also use a small piece of fabric to wrap the flower's stem. To secure the wrap, tie it with ribbon.
- For very small flowers, you can cone-fold a small piece of paper. Place your flower in the finished pouch like a vase, so its stem rests against the narrow end of the cone.


