
Leather weaving is a fascinating art that impresses with its elegance and beauty. In fact, mastering this technique is much easier than it may seem. There are many weaving methods, but the most popular ones are the braid, circular weaving, and single braid puzzle. Let's explore them in detail with step-by-step instructions.
Single Braid Puzzle
Step 1. Starting the Weaving
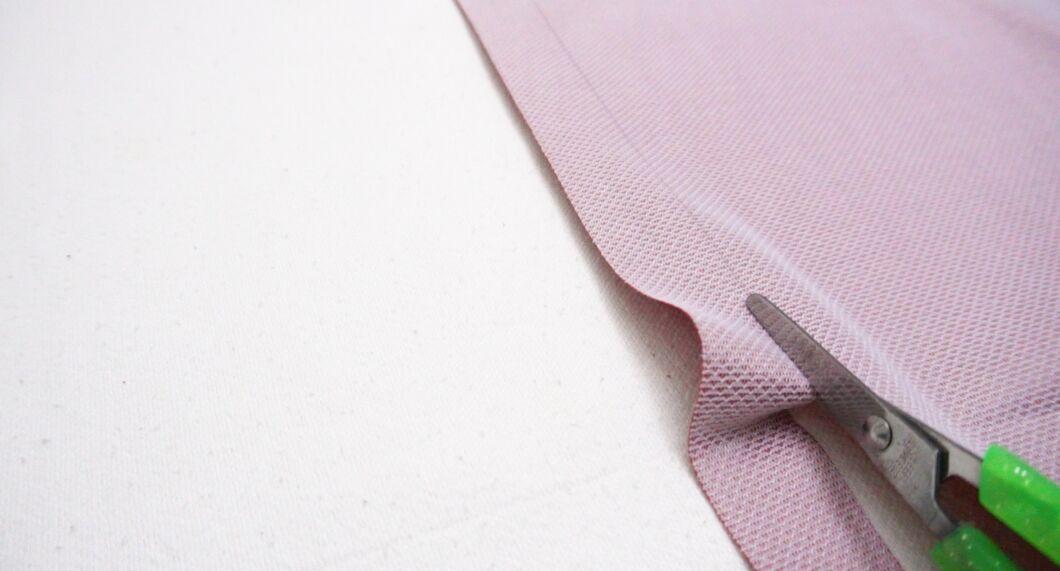
To start creating an item with this interesting name, you will need a strip of leather about 3 cm wide. Before cutting, decide on the length of the item and add 1.5 times that length.
- Leather can shrink, so having extra length is a good idea. The ideal working length is 23-25 cm. Use sharp scissors or a knife designed for leather work.
Step 2. Preparing the Strip
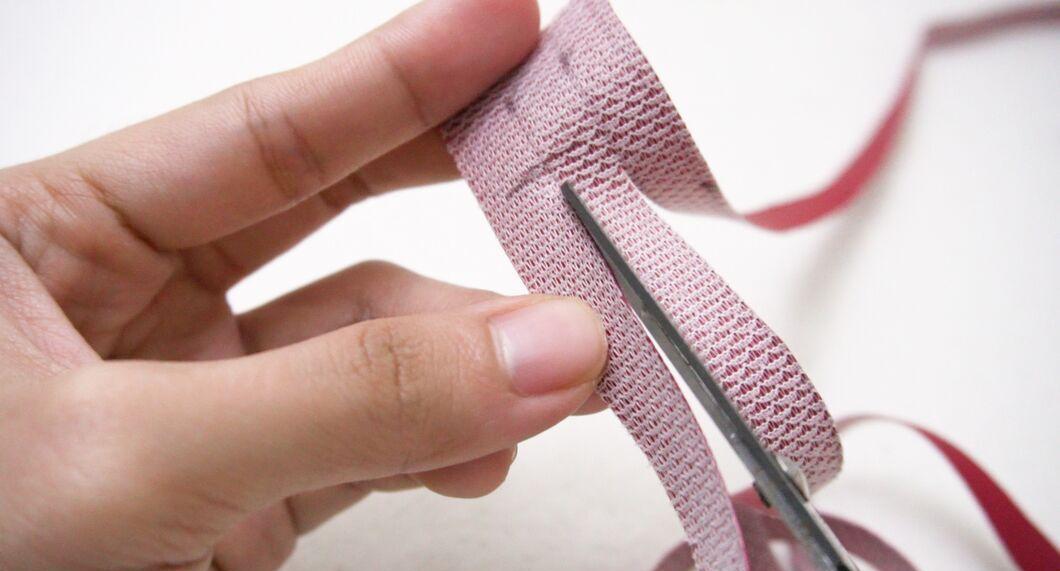
Make two parallel cuts along the strip, but do not cut all the way through — the ends should remain intact. You will end up with three equal parts. Number the strips from left to right: 1, 2, 3.
- Ensure the distance between the cuts is equal.
- The leather strip should remain whole, so stop the cuts 1.5-2 cm from the ends.
- Prepare a stable working surface. Plastic boards or linoleum will work. For cutting, use a construction knife, tailor's scissors, or utility knives with breakable blades.
Step 3. Fixing the Strip
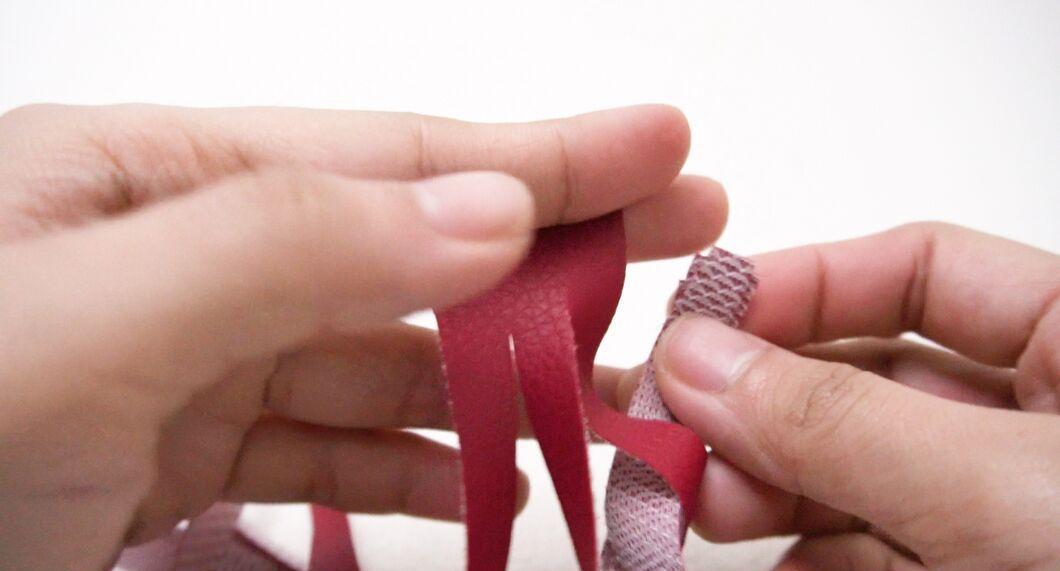
Before starting to weave, secure one end of the strip. You can use a clamp, a heavy object, or pin it down with a tack. Pull the lower end of the strip towards you, then thread it from top to bottom between strips 2 and 3 and return it to its original position.
- Don't worry about twisting the strips — creating a loop will simplify the weaving.
- If done correctly, the knot should end up in the middle, and the strips should not touch tightly.
Step 4. Main Weaving
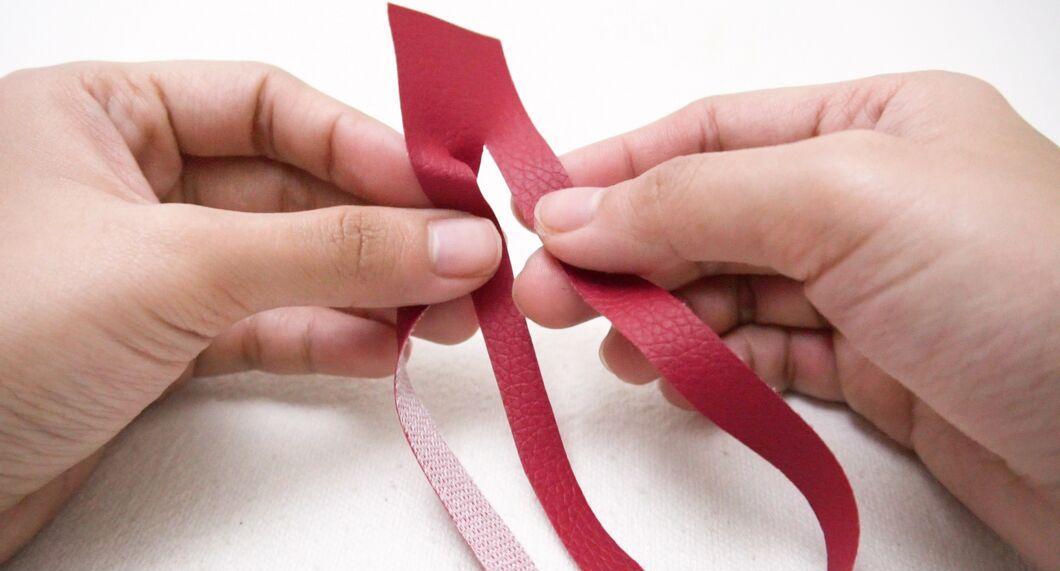
Now follow this simple pattern: bring strip 1 over strip 2, then thread it between strips 2 and 3.
- Strip 1 should be under strip 3.
Step 5. Weaving Strip 3
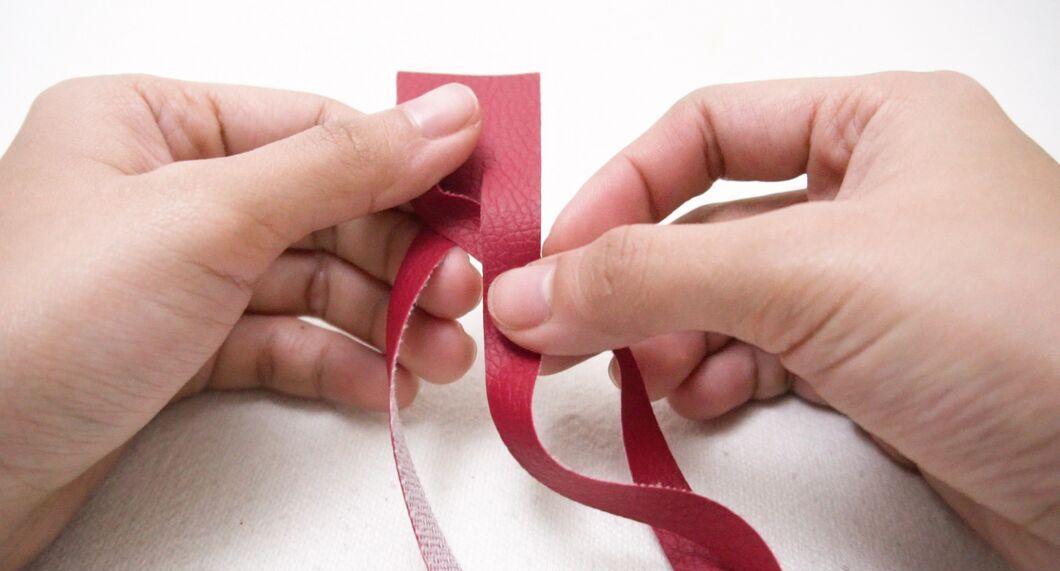
Bring strip 3 over strip 1.
Step 6. Weaving Strip 2
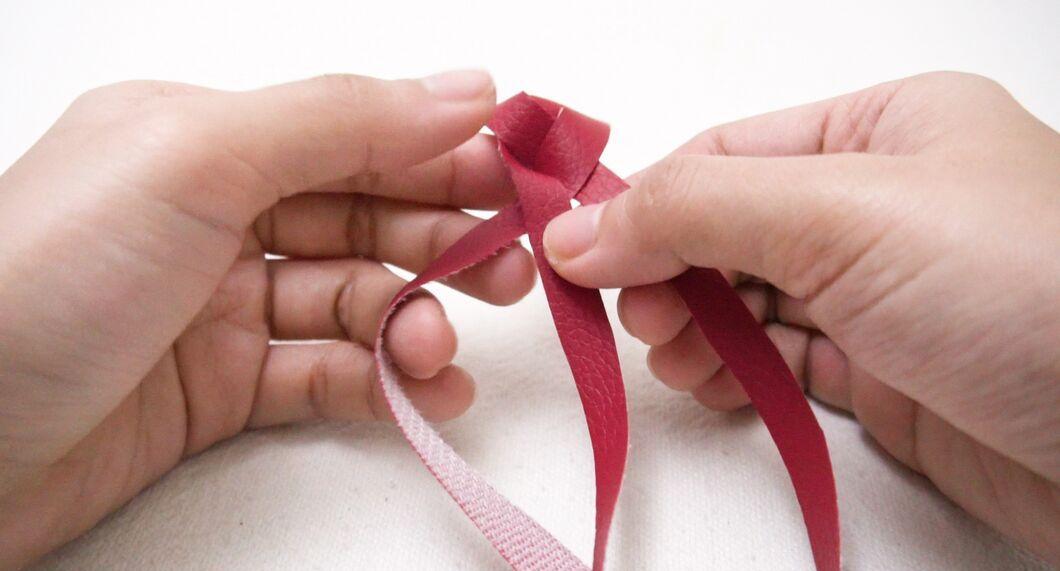
Now bring strip 2 over strip 3. As a result, there should be a gap between the second and third strips.
Step 7. Completing the First Stage
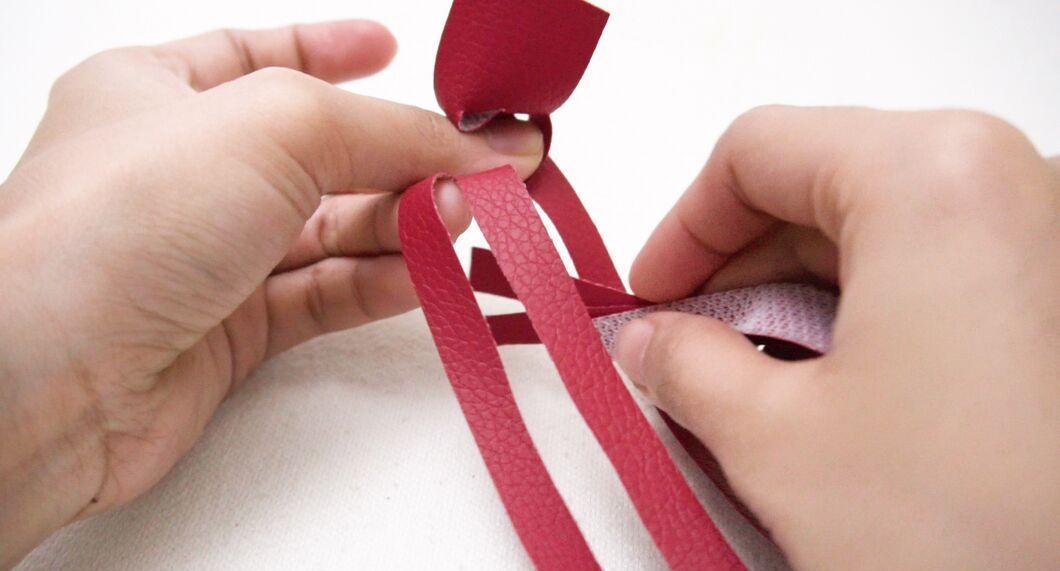
Once again, pull the lower end of the strip towards you and thread it between strips 2 and 3. Pull down to complete the first stage of weaving.
Step 8. Repeating the Process
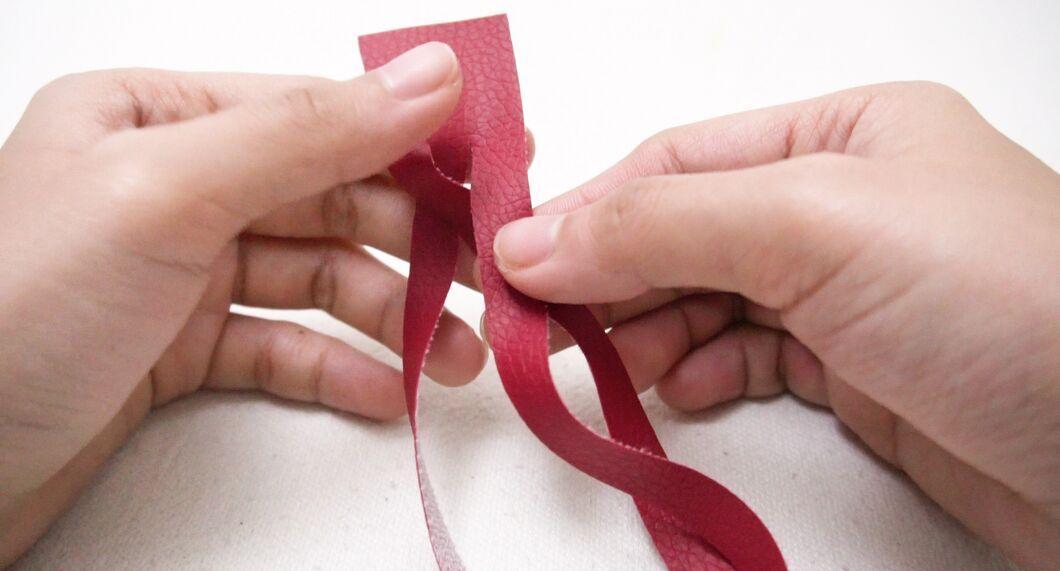
Repeat steps 4-6 to finish the weaving.
Circular Weaving
Step 1. Preparing the Strips
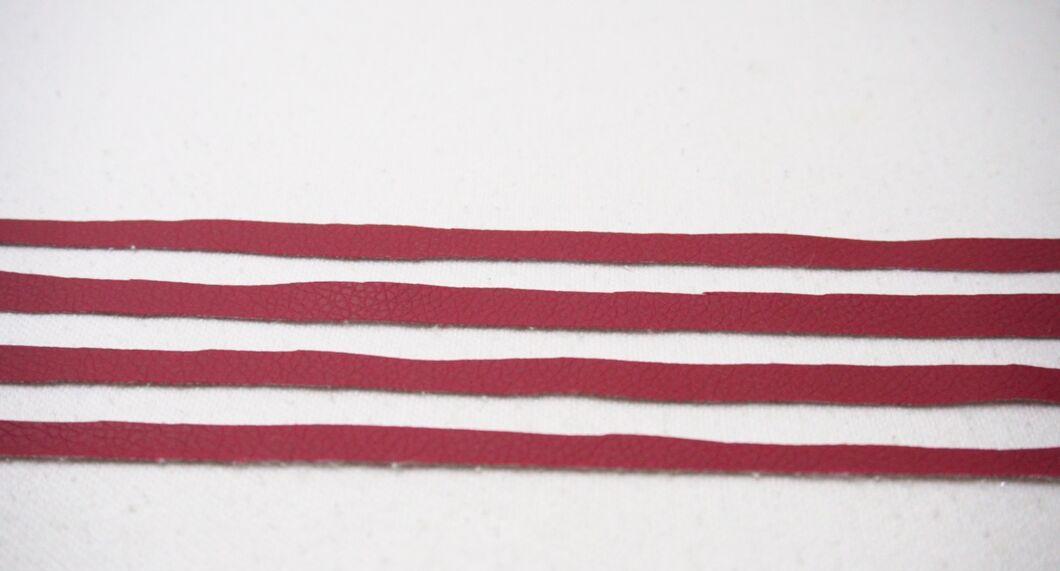
Cut four strips from a leather strip. As with the previous method, the strips should be a little longer due to shrinkage.
- You can reduce the thickness of the strips since this method requires a bulkier item.
Step 2. Fixing the Ends
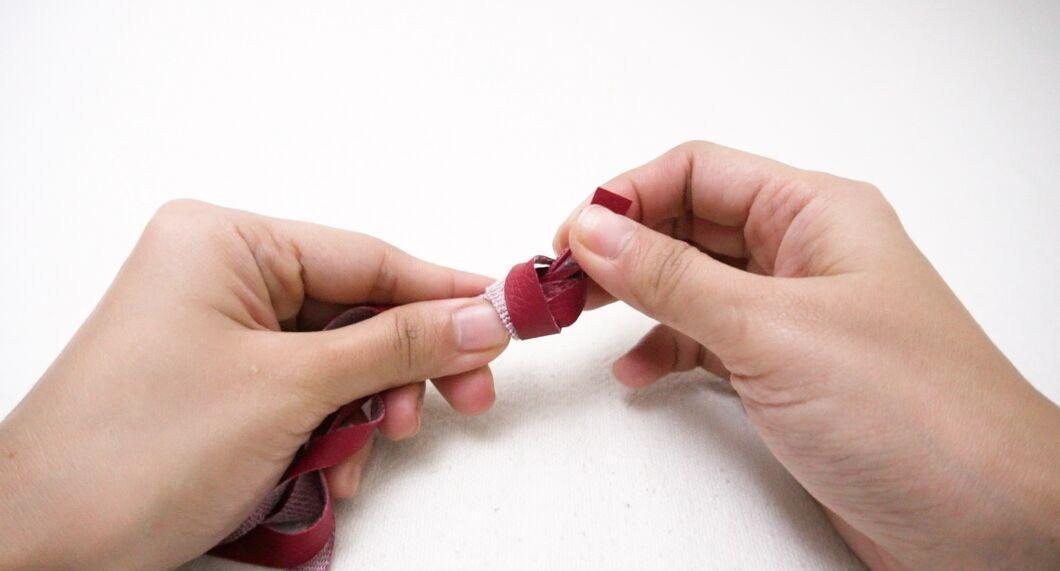
Before starting to weave, tie the ends of the strips with thread. Label them A, B, C, D from left to right.
- Secure the setup using tape or a weight. One of the best methods is to attach a ring to the tied ends for ease of work.
- To avoid confusion, use strips of different colors or tie different colored threads to them.
Step 3. Starting the Weaving
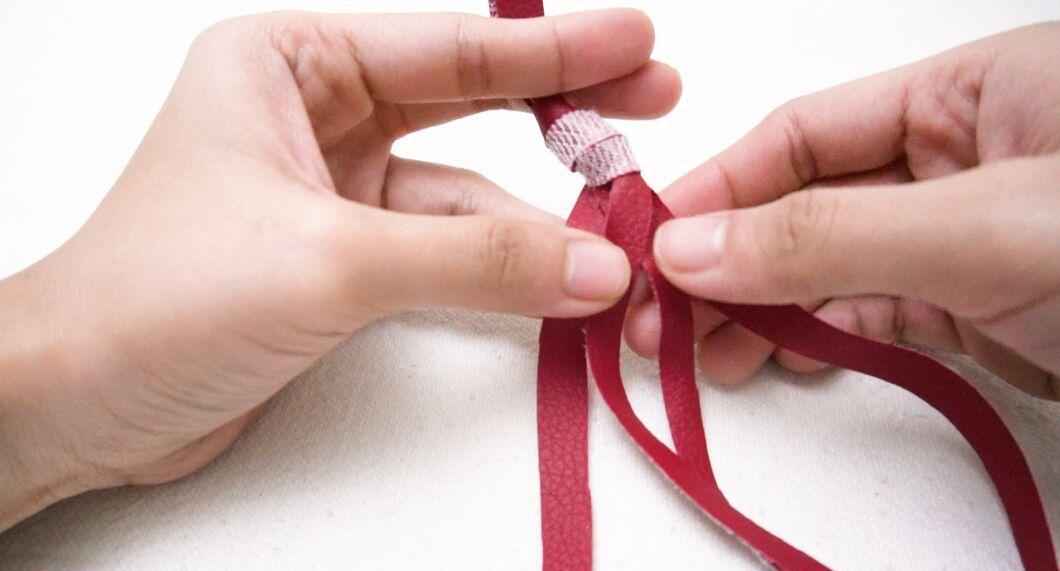
Bring strip D to the left over strips B and C. Now the order of the strips is: A, D, B, C.
Step 4. Continuing the Weaving
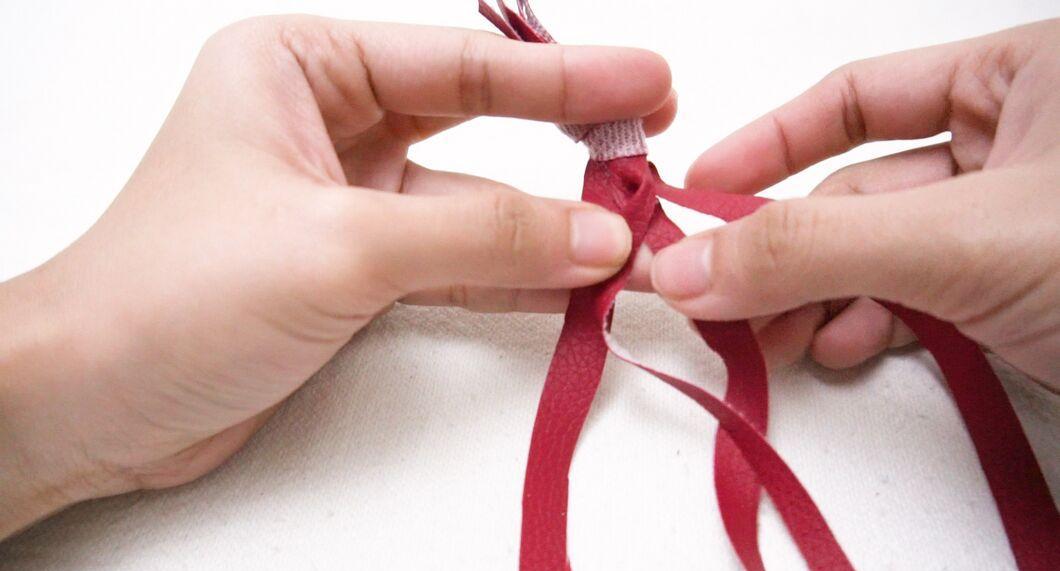
Bring strip B over D, also to the left. Now the order of the strips is: A, B, D, C.
Step 5. Weaving Strip A
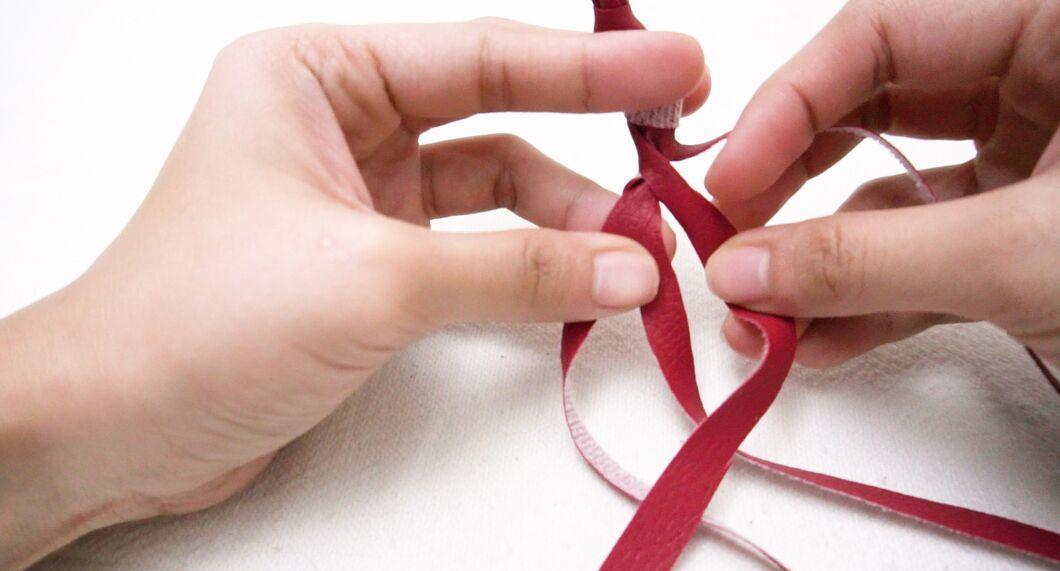
Bring strip A to the right, passing it over B and D. The order of the strips: B, D, A, C.
Step 6. Interweaving the Strips
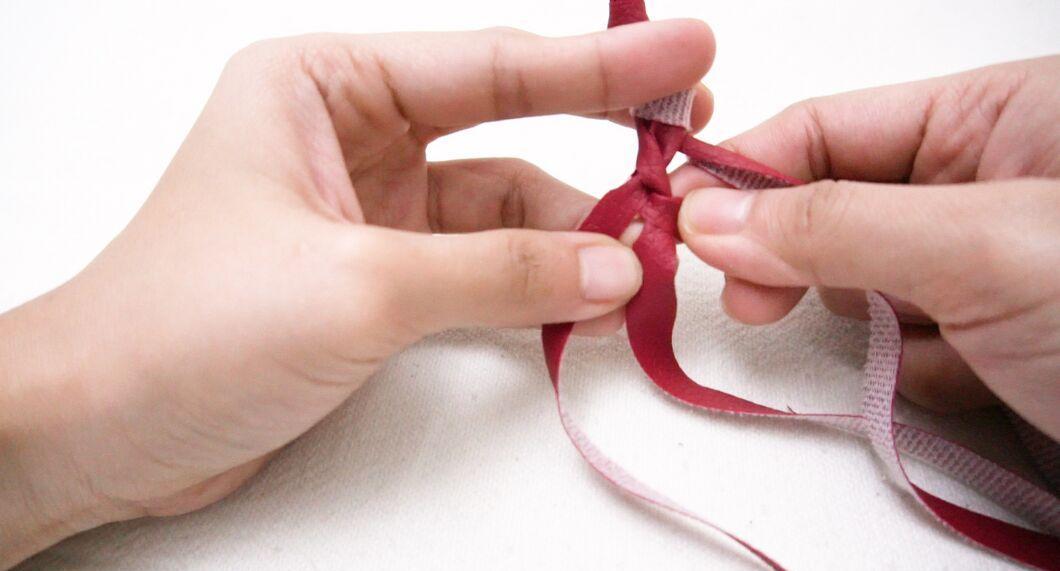
Interweave strip D with strip A to the right. The order of the strips: B, A, D, C.
- If done correctly, strips D and A will be in the middle, and strip B will be on the left.
Step 7. Pulling the Strips
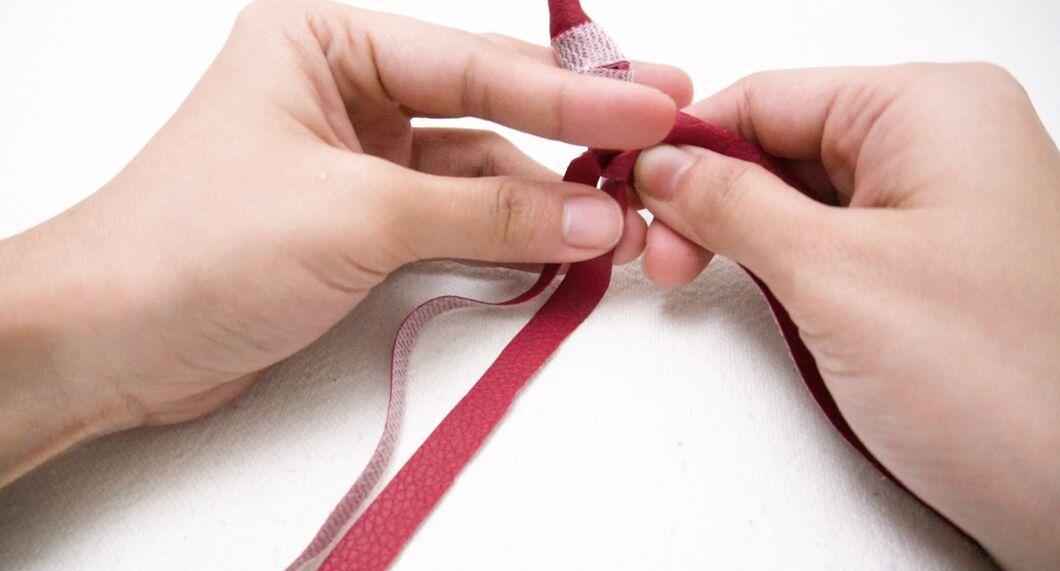
Step 8. Bringing in Strip C
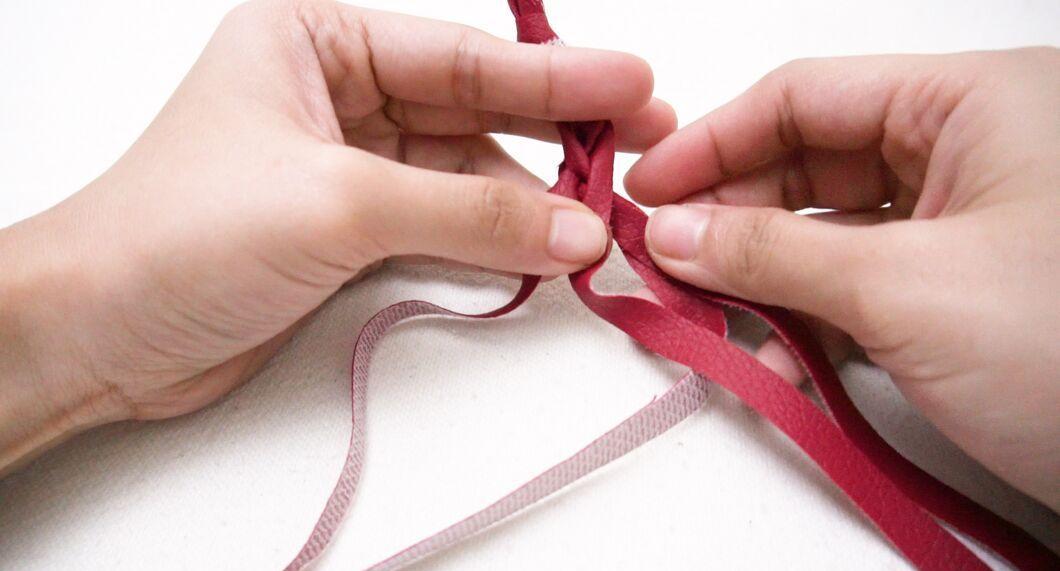
Bring strip C to the left over D and A. The order: B, C, A, D.
Step 9. Bringing in Strip A
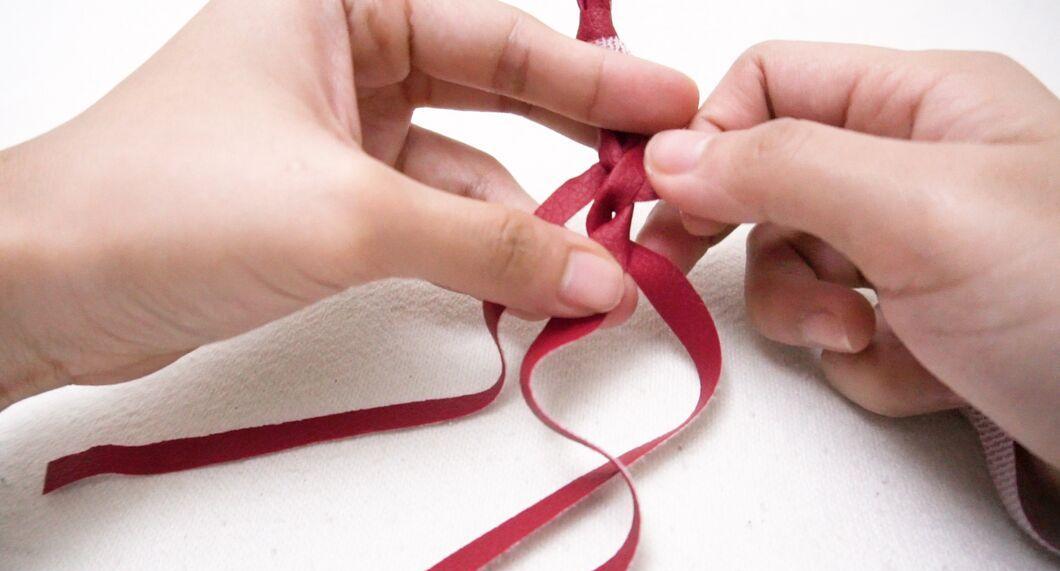
Bring strip A to the left over strip C. The order: B, A, C, D.
Step 10. Bringing in Strip B
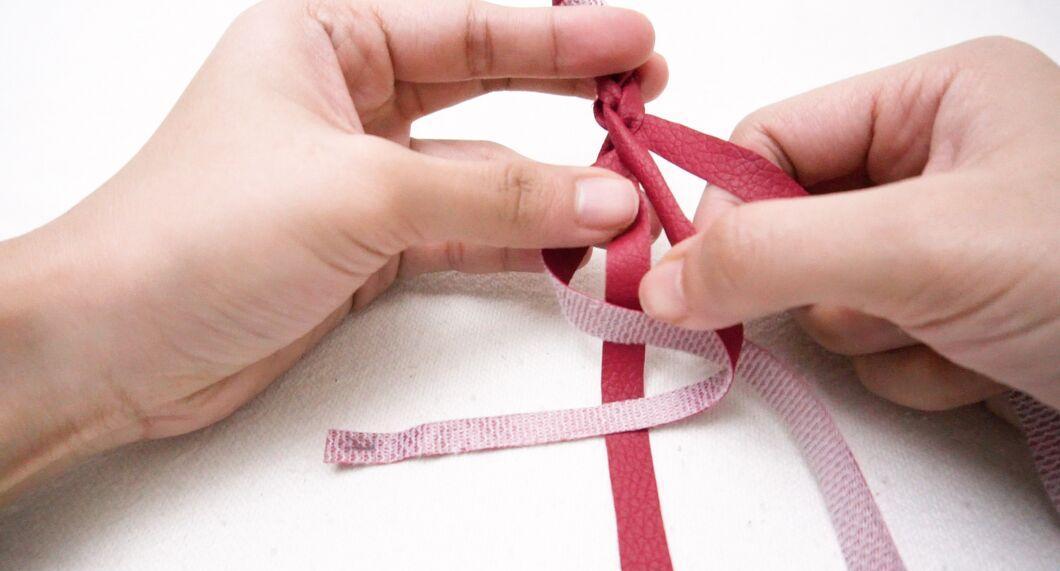
Bring strip B to the right over A and C. The order: A, C, B, D.
Step 11. Bringing in Strip C
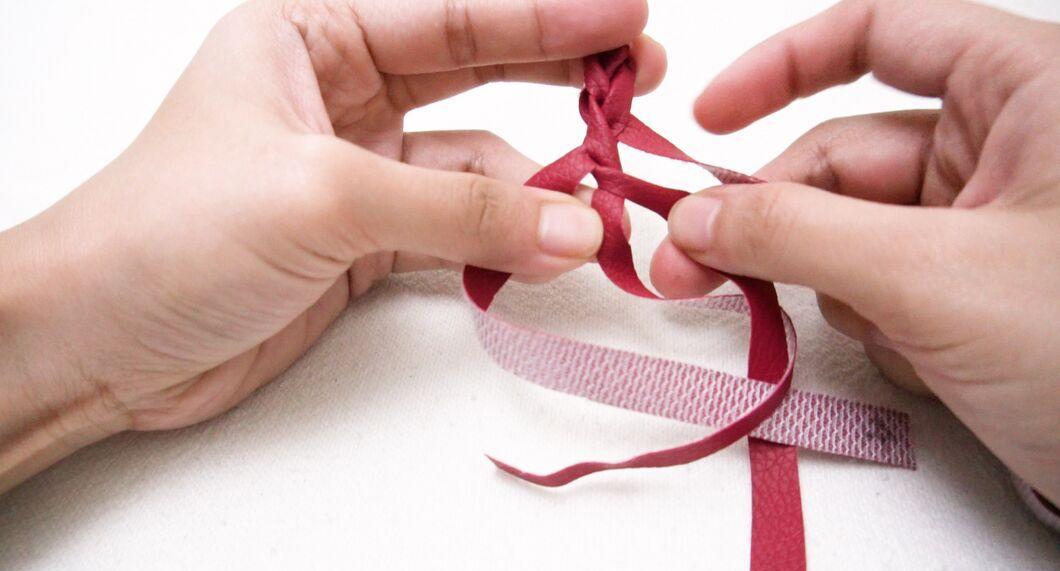
Bring strip C to the right over B. The first cycle of weaving is complete. The order of the strips: A, B, C, D.
- Tighten the weaving after each cycle for structural strength.
Step 12. Repeating the Steps
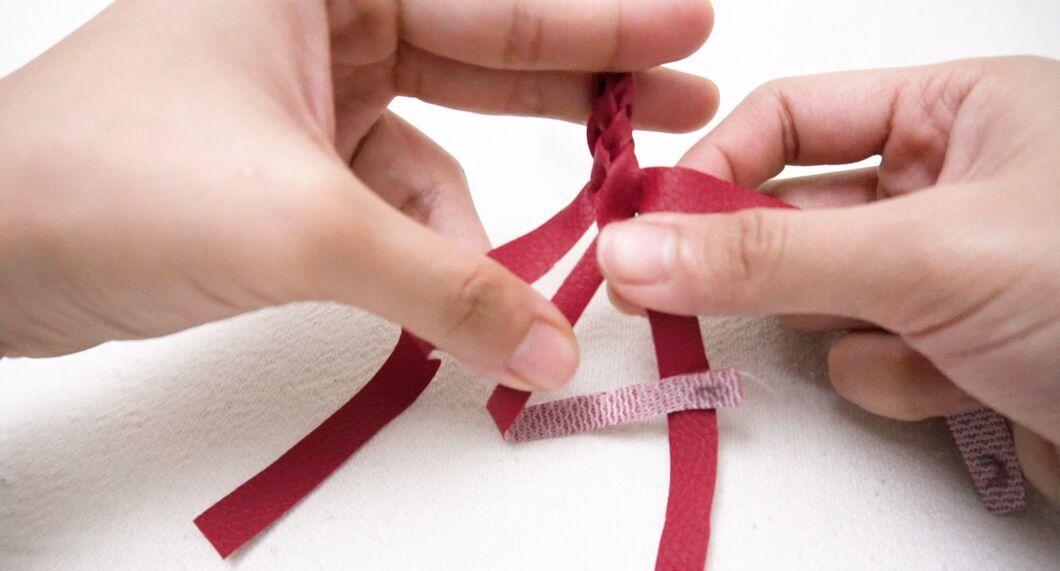
Repeat steps 3-11 until you reach the desired length.
Step 13. Finishing Up
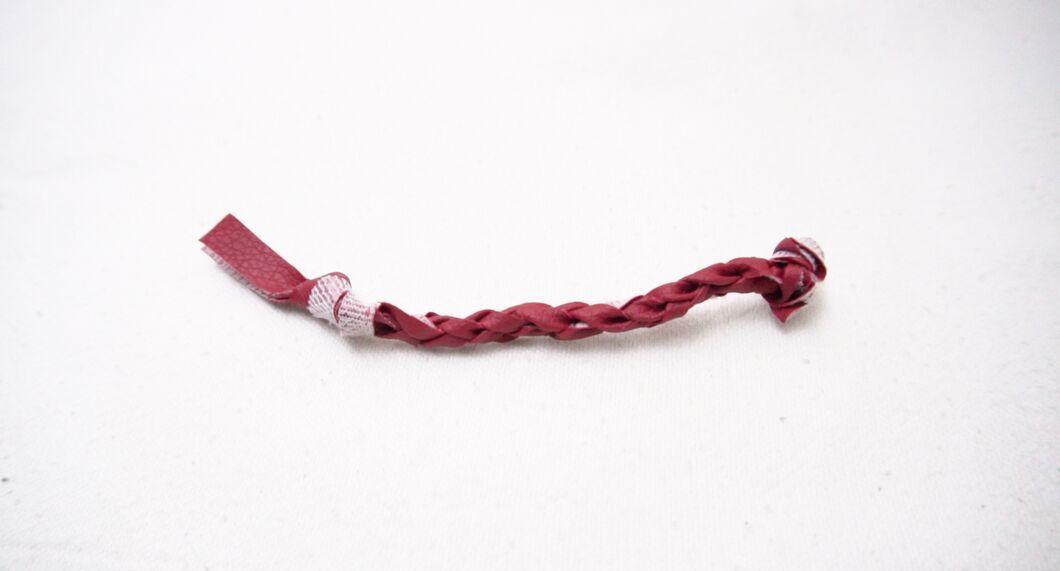
After finishing, tie the ends of the strips. Secure them with a ring; this is great for a bracelet or necklace.
Braid Technique
Step 1. Simplicity and Elegance
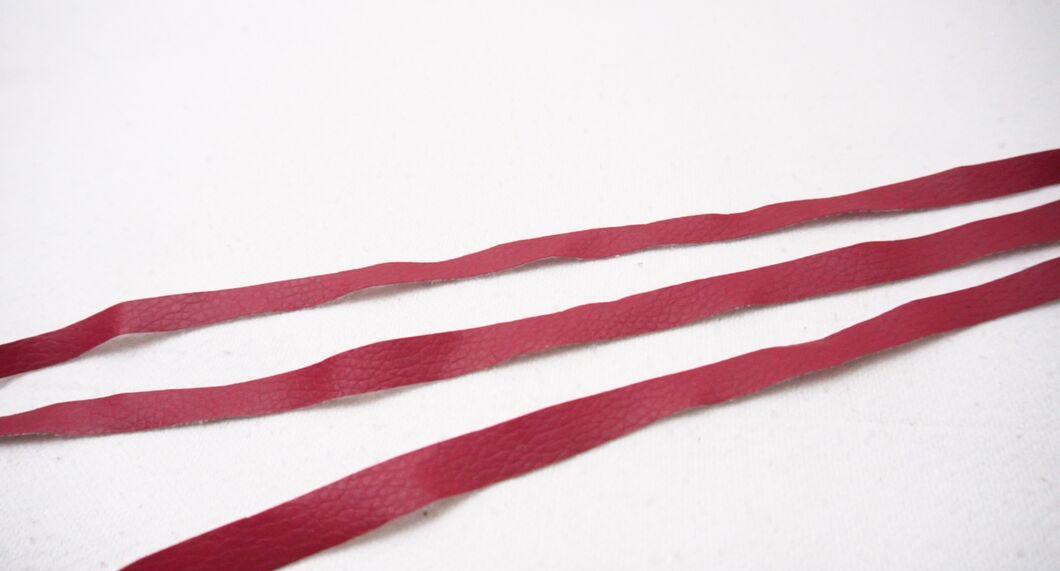
This technique is distinguished by its elegantly simple design. Cut three strips of equal width from a leather strip. You can leave one end intact or cut the entire strip into three parts.
- Consider the shrinkage of the leather before finalizing the strip lengths. For bulkier items, it’s better to make the strips thicker; for a necklace, a bit longer (about 25 cm).
Step 2. Fixing the Ends

Secure the ends. If you are weaving from three separate strips, tie one end and glue it to the surface. We'll refer to the strips as left, center, and right moving forward.
- Make sure the ends are of equal length for even weaving.
Step 3. Starting the Weaving
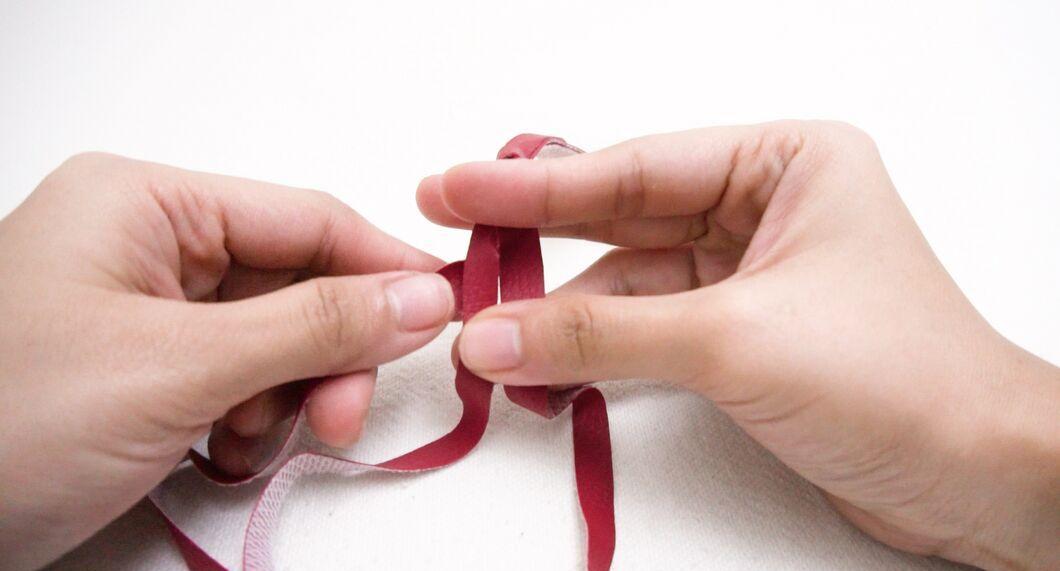
Begin weaving: bring the left strip over the center strip. Now the left strip becomes the center strip.
Step 4. Weaving the Right Strip
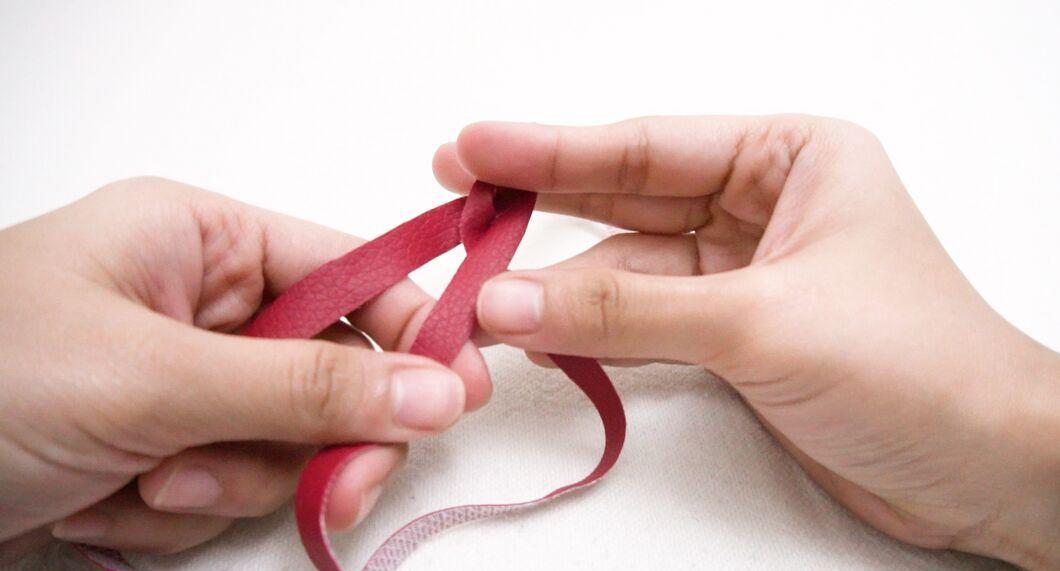
Now bring the right strip over the center strip; it will become the new center strip.
Step 5. Continue Weaving
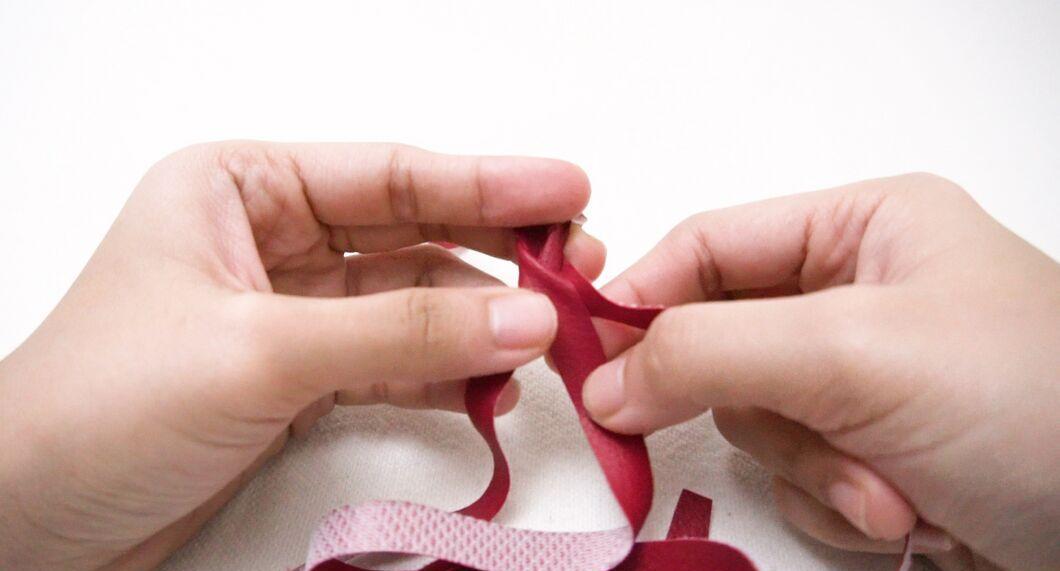
Continue crossing the strips until you reach the desired length.
- If you’re making a bracelet and the length is too long, feel free to trim the excess.
Step 6. Finishing Up
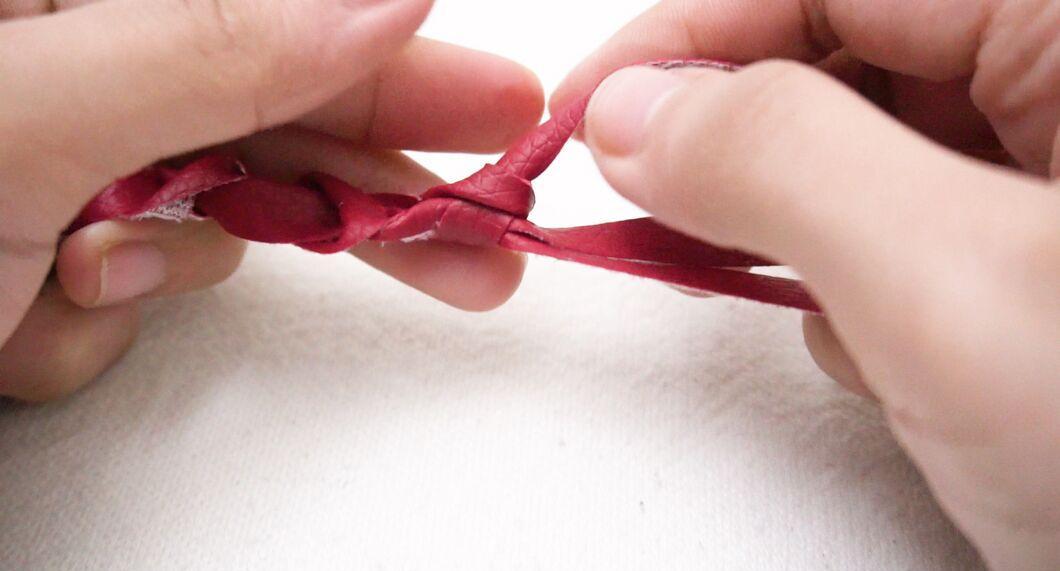
Trim the excess and tie the ends with thread, leaving a tail of about 2.5 cm.
Creating Leather Jewelry
Step 1. Crafting Unique Items
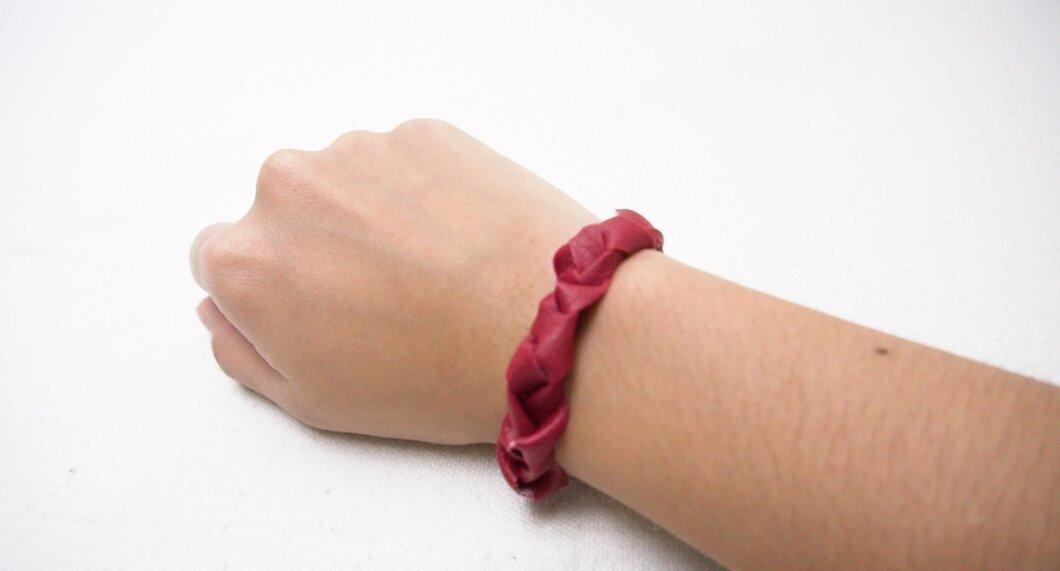
Using the techniques learned, you can create many unique items.
- For example, using the four-strip weaving method, attach connecting rings to the ends for easy bracelet creation.
- Alternatively, using the single braid puzzle, make two holes at the ends of the bracelet for length adjustment.
- To give your item a professional look, use hardware to clamp the ends of the strips.
Step 2. Making a Necklace
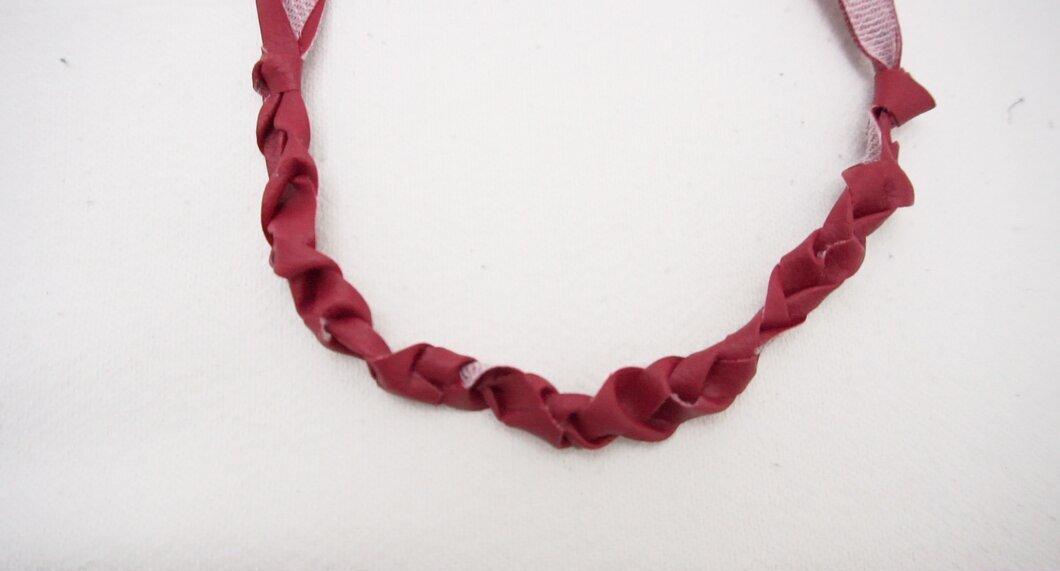
This method of finishing the ends is perfect for a braided leather necklace. The only difference from the bracelet is the length; the rest depends on your imagination and hardware.
- To create a pendant, use an elongated bead and thread the braid through its hole.
Step 3. Keep Improving
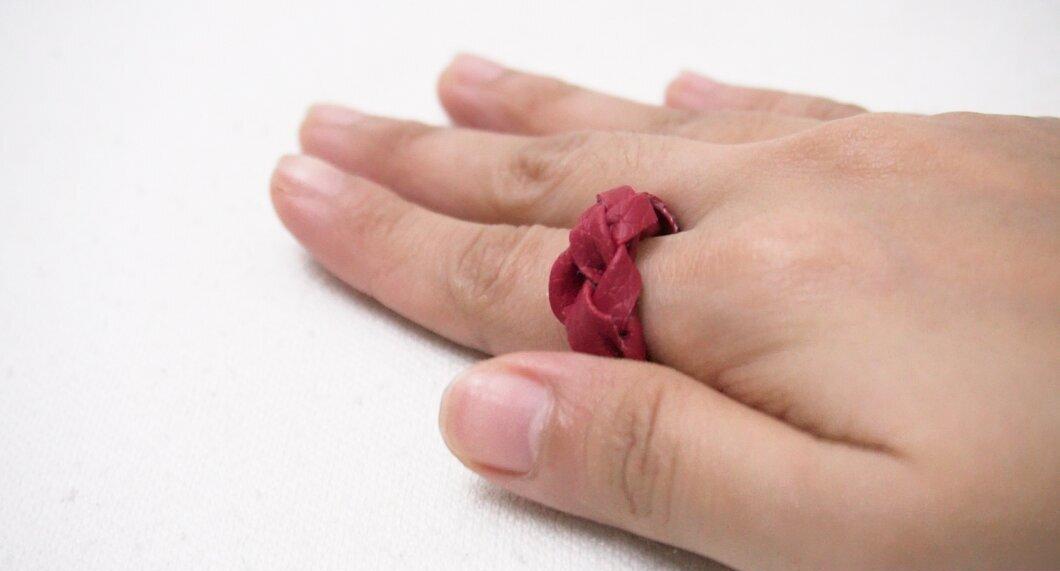
Continue honing your skills. Once you've mastered a few methods, try braiding a leather ring.
- Use strips of different colors, such as black and brown. Braid using the "Braid Technique" and cut the desired length for the ring. Secure the ends with metal clamps. You’ll have a unique accessory for sure!


