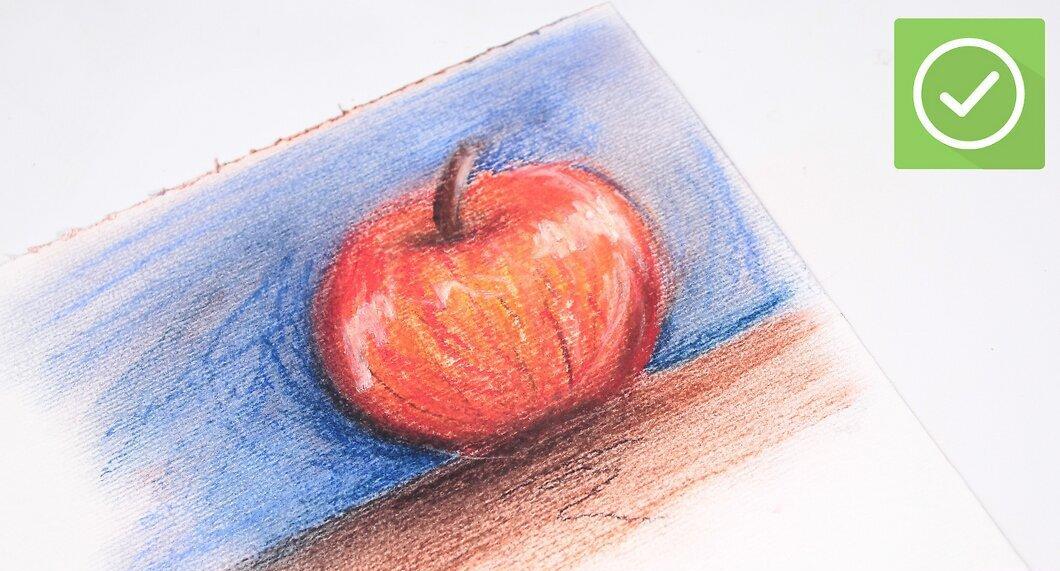
Pastels are a set of colored sticks made from various components. Although the process of working with pastels is called "drawing," it involves special techniques that differ from traditional drawing methods. Each type of pastel has its unique features, making it essential to study their characteristics and select the appropriate paper to master the art of pastel drawing.
Choosing Materials
Step 1. Determine which type of pastel you need.
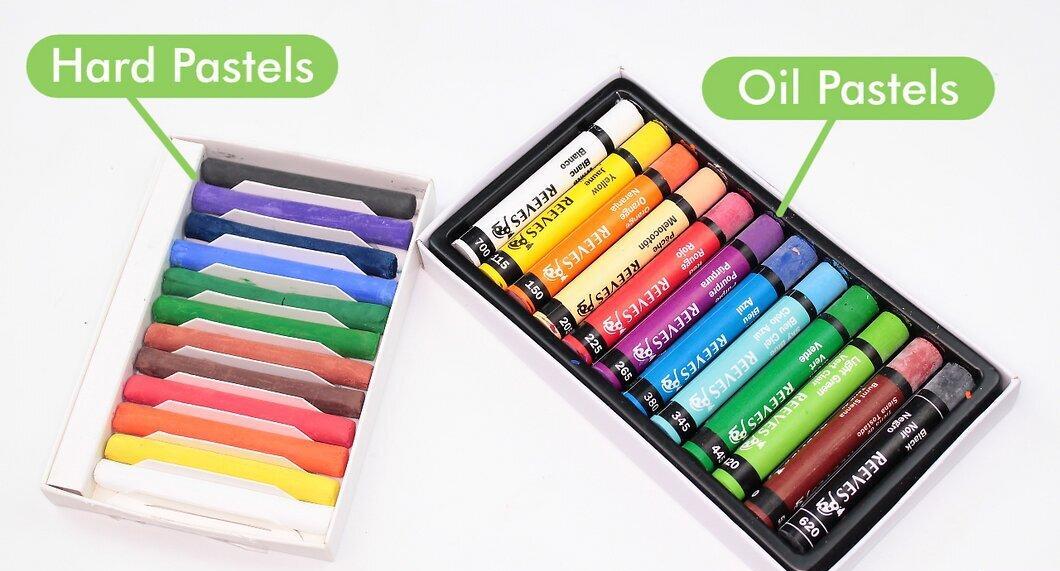
First, decide which type of pastel you want to use. There are several types of pastels: oil, soft, hard, and pastel pencils, each with its own characteristics.
- Oil pastels are made from wax and inert oil, making them unique.
Step 2. Learn about the paper suitable for pastels.
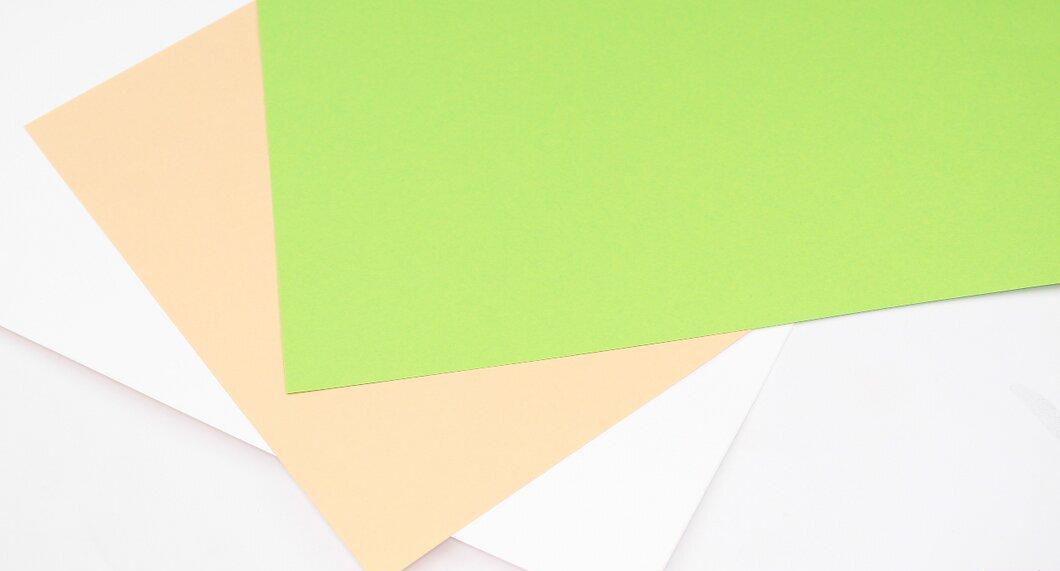
Pastel paper varies in texture and weight but is generally coarser than paper used for acrylic or watercolor painting. This is important because pastels do not adhere well to perfectly smooth surfaces.
- Pastel paper comes in various colors, allowing for brighter and richer shades when drawing.
- Some types of pastel paper may have a ribbed texture with lines, while others may be slightly speckled. You can also experiment with sandpaper or coarse sandpaper for different effects.
Step 3. Purchase pastels and paper from an art store.
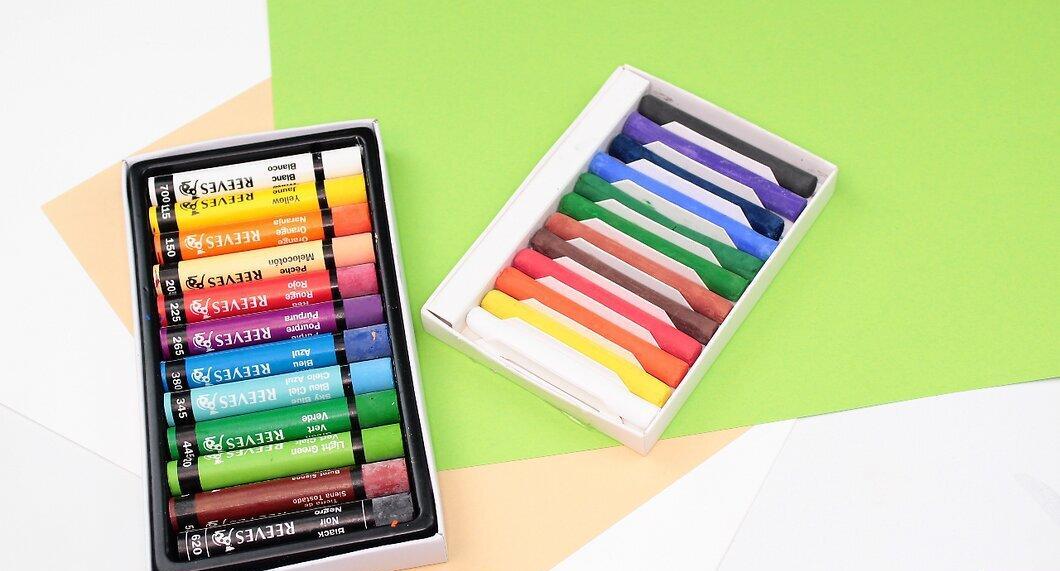
Visit your local art store to buy pastels and paper. If you're unsure of what to choose, try purchasing different types of pastels and papers to see what works best for you.
- Note that soft and hard pastel sticks and pastel pencils should not be used together, although they can be combined in one drawing. It's important to keep this in mind when making your purchases.
Working with Materials
Step 1. Familiarize yourself with the characteristics of each material.
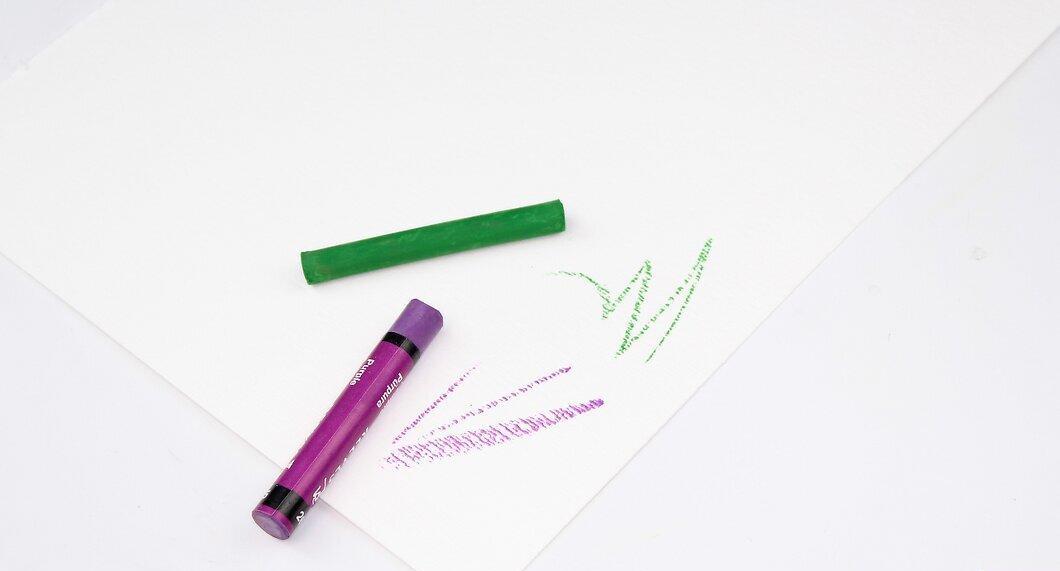
Understand the properties of each type of pastel. Oil pastels, hard and soft sticks, and pastel pencils have different characteristics that you can explore as you work.
- Draw a line on paper with each type of pastel and see how sharp the lines are.
- Notice how a pastel pencil resembles a regular graphite pencil in appearance and line clarity.
- Using a soft pastel pencil, experiment with how the material distributes under different pressure.
- Try drawing a line with a hard pastel, varying your techniques: using the tip of the stick and the side to observe the differences in the lines.
Step 2. Experiment with different types of pastels.
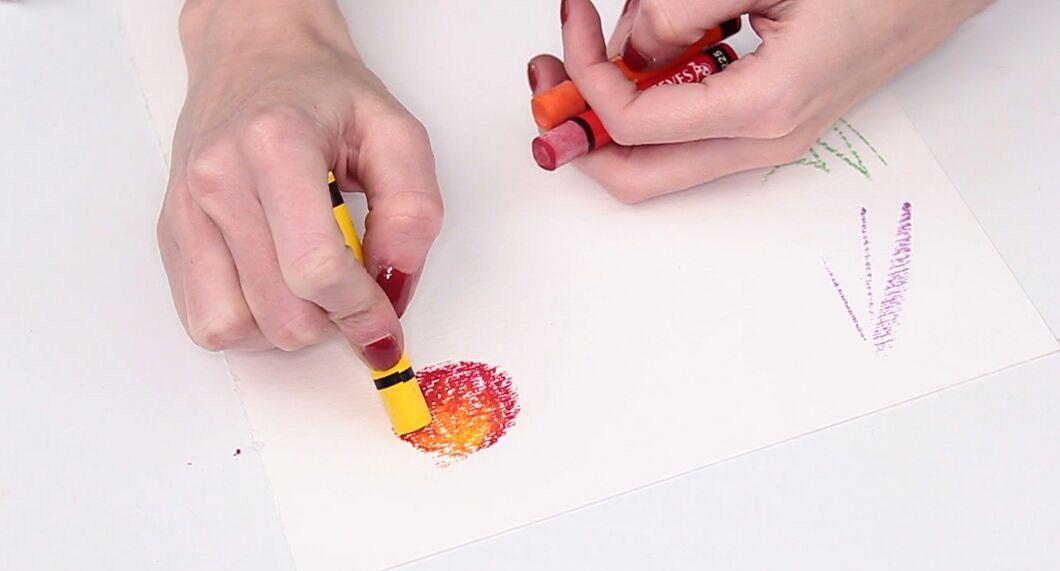
Mix different types of pastels and create sharp lines over existing colors.
- These experiments will help you develop your pastel drawing skills.
Step 3. Play with different types of paper.
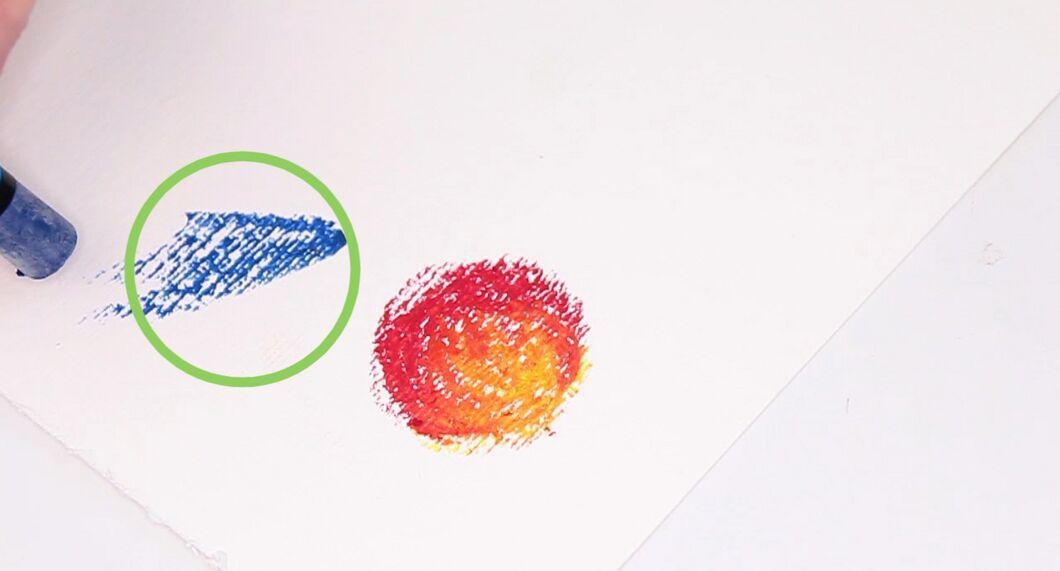
If you have individual sheets of paper, secure them to your work surface with painter's tape to prevent shifting.
- Explore how the texture of the paper affects the amount of pastel it can hold. Coarser paper is suitable for layering several coats of color, while smooth paper may complicate the process.
- Pay attention to how the color of the paper influences the overall mood of your work. For instance, dark red paper adds warmth, while lighter tones create a soft effect.
Drawing with Pastels
Step 1. Start with a light sketch using a graphite pencil.
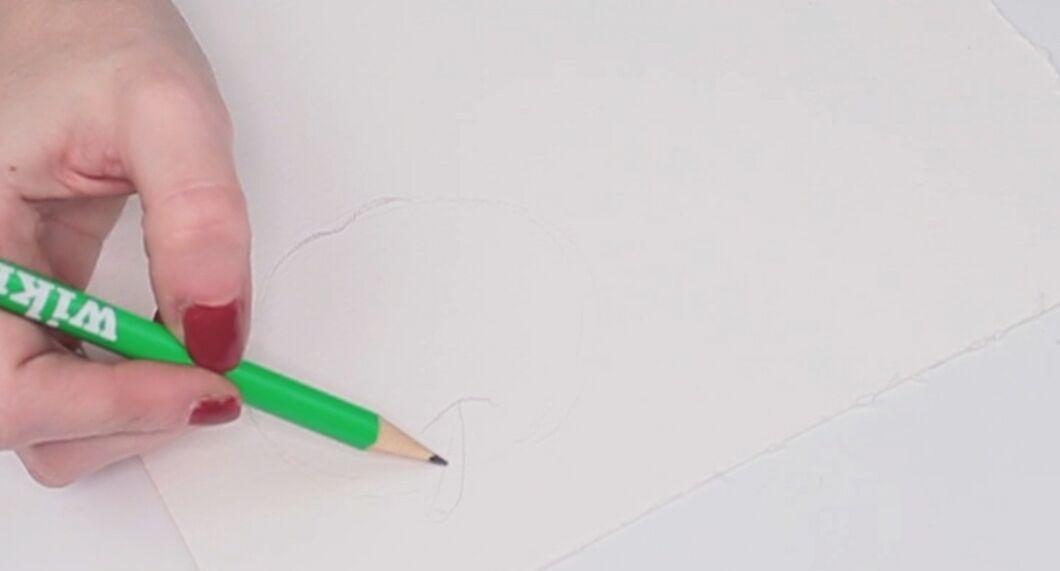
Before you begin, think about your composition and make a light sketch to outline the main shapes and elements. This will help you better position your key details.
Step 2. Fill in the main areas.
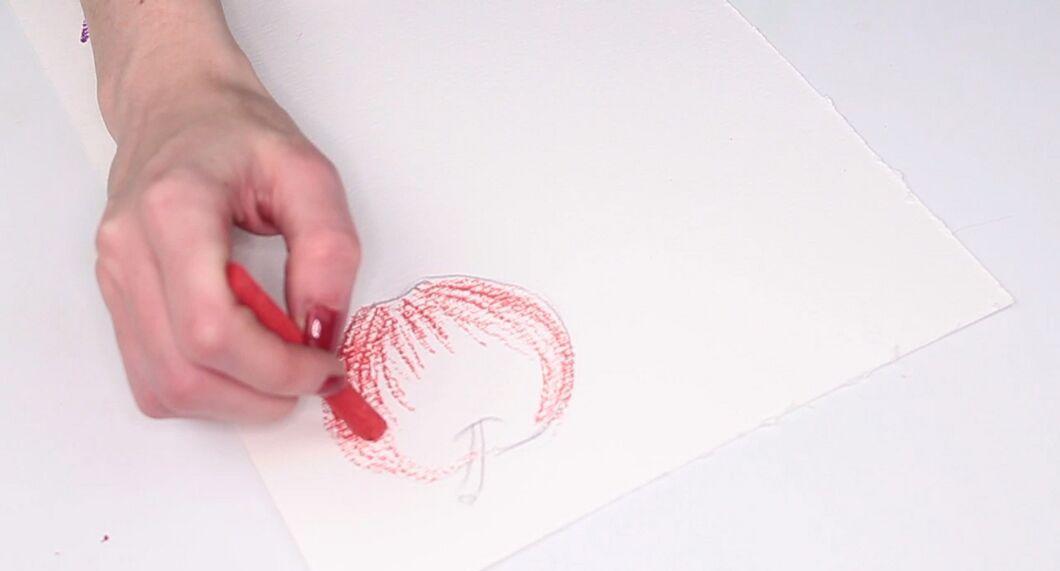
Choose a base color for the largest areas and fill them in carefully.
- Outline the main elements with a gentle touch of pastel. Once you're confident in their placement, move on to bolder and more saturated lines.
- If you want to lighten an area, add white pastel and then color over it. If the result still appears too dark, use an eraser to remove and reapply color.
Step 3. Apply additional layers.
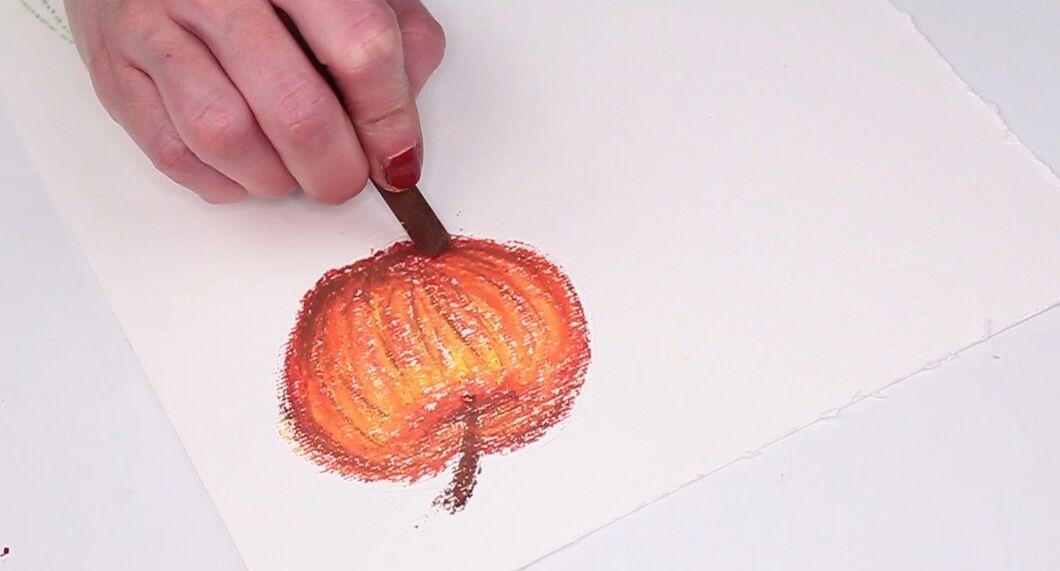
After filling in the base color, add darker strokes to emphasize elements of the artwork.
Step 4. Blend colors and layer pastels.
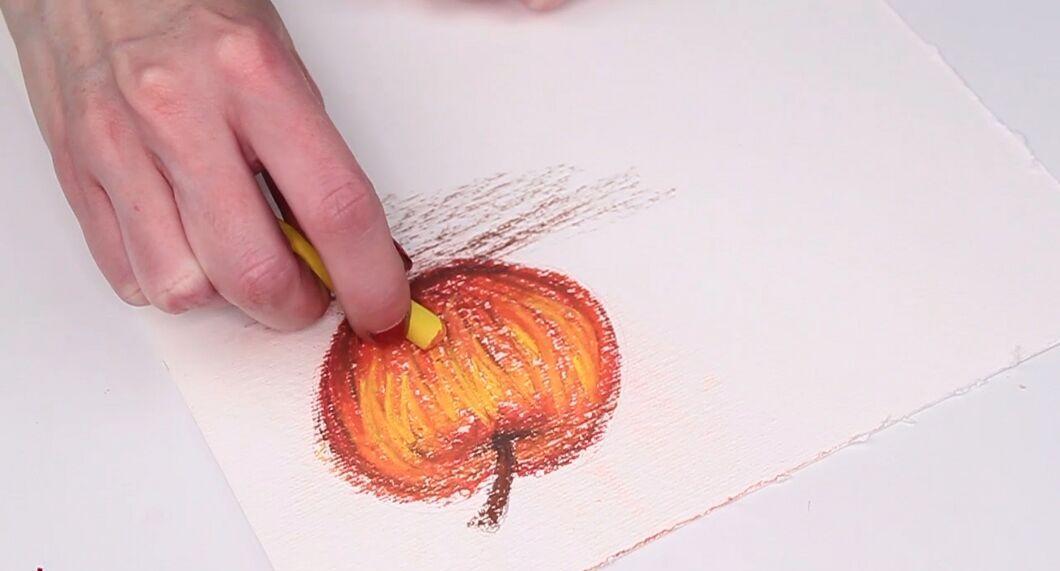
Work with pastels by layering colors to achieve the desired effect. Add gentle swirls, remembering that the lines should flow in one direction and be more textured.
- Use a pastel pencil to create sharp outlines.
Step 5. Smudge the colors.
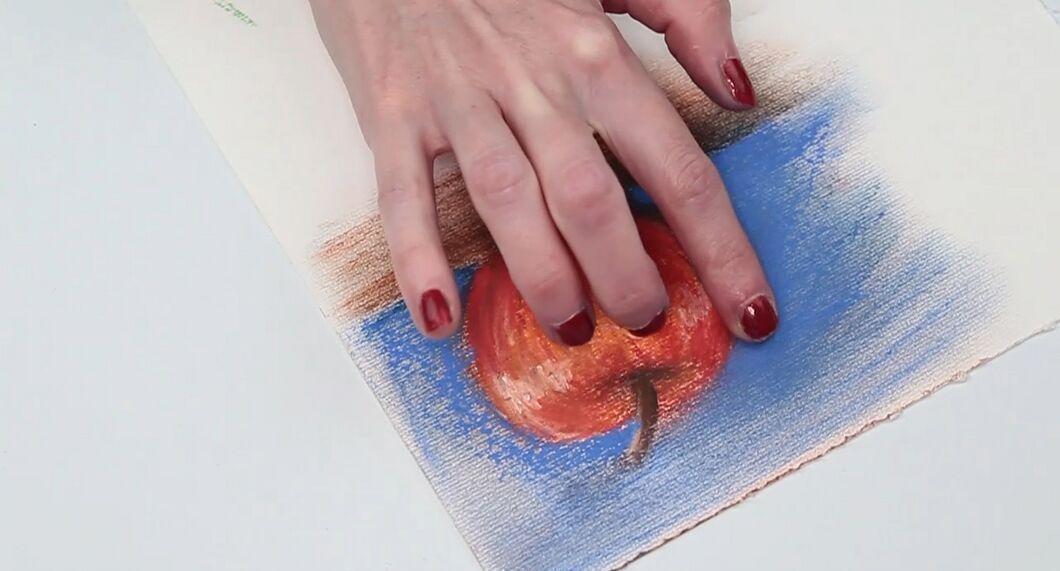
Blend the pastels with your fingers, a blending stick, or a pointed brush to give your work a finished look.
- Add details using a small amount of pastel on the tip of the brush. Fine tools can help create highlights, such as light reflections.
- Create soft edges using a rounded white eraser, gently blending the colors.
- Polystyrene granules can also assist you in working with colors while protecting your fingers from damage.
Step 6. Preserve your artwork.
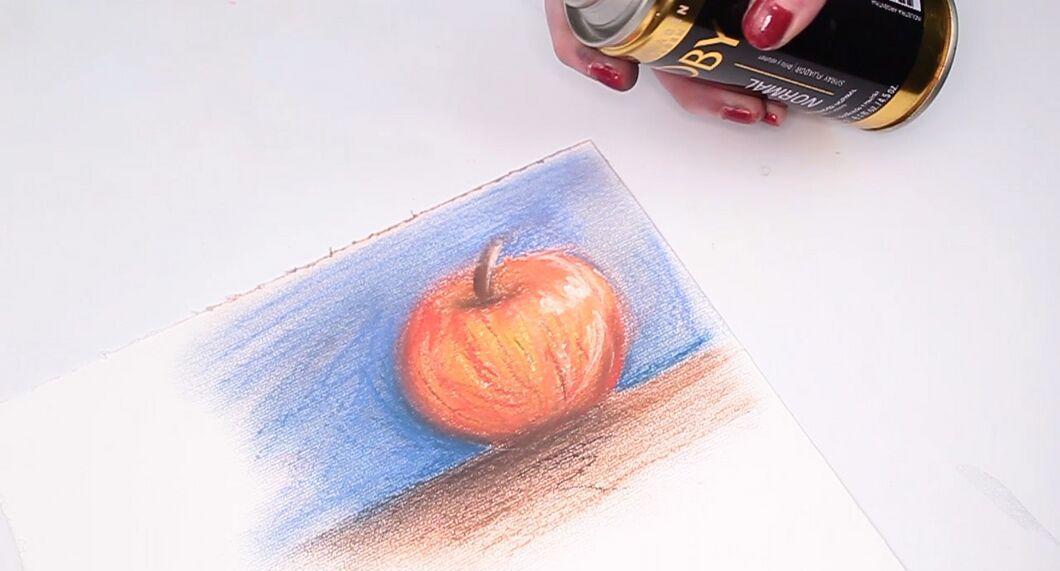
Pastel drawings are easily damaged, so use a fixative to protect them. You can also frame the artwork under glass for added protection.
Step 7. Enjoy your creation!