
Mastering Face Painting: Tips and Ideas for Vibrant Designs
Learning to paint faces is a wonderful skill that will come in handy at costume parties or children's birthday celebrations. If you’ve never tried face painting before, start by gathering the necessary tools like face paints, brushes, and a mirror. Once you're all set, you'll be ready to create amazing face designs, and with practice, it will become a fun and easy activity for you.
Preparing Your Materials
Step 1. Buy colorful face paints.
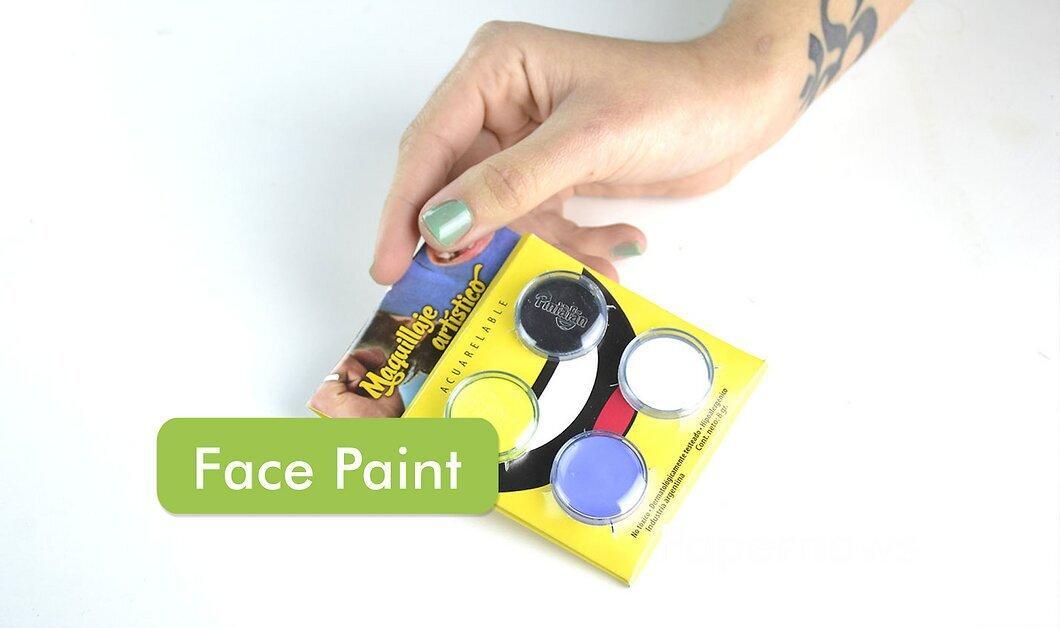
Choose a variety of paints specifically designed for face painting. Make sure they are skin-safe and properly labeled. If you’re just starting out, get one set of bright colors and one set of neutral shades.
- You can order face paints online or buy them at art supply stores.
Step 2. Gather brushes and sponges.
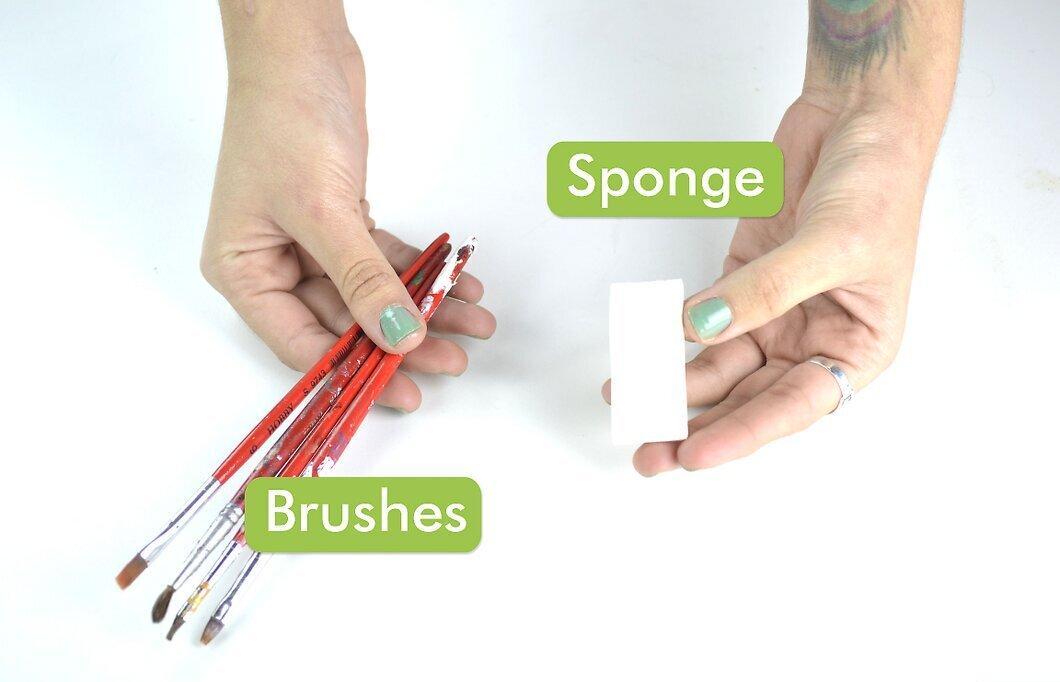
Stock up on brushes and sponges for your work. Use fine brushes for small details and wide brushes for larger areas. Prepare three brushes of each size: one for black, one for white, and one for colored paint to avoid mixing shades.
Step 3. Get a plastic cup with water.
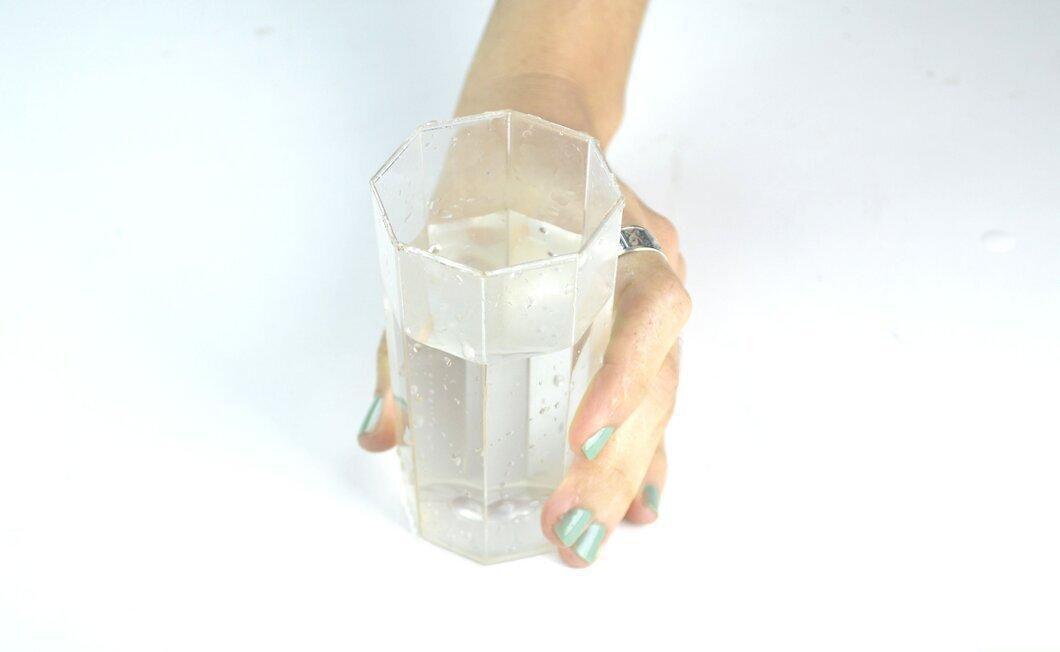
Prepare a plastic cup with water for diluting paints and rinsing brushes. Any plastic container will do.
Step 4. Find some cloth napkins.
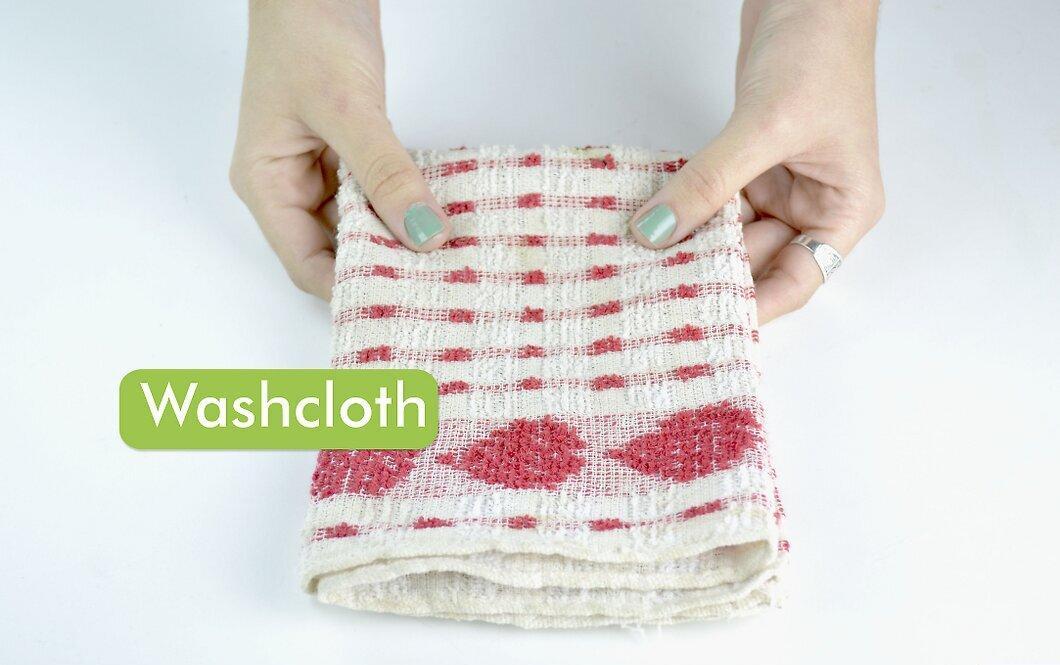
Have some cloth napkins ready for cleaning brushes. Choose inexpensive ones, as they will get dirty frequently. Cloth napkins can be washed and reused.
Step 5. Don't forget a mirror.
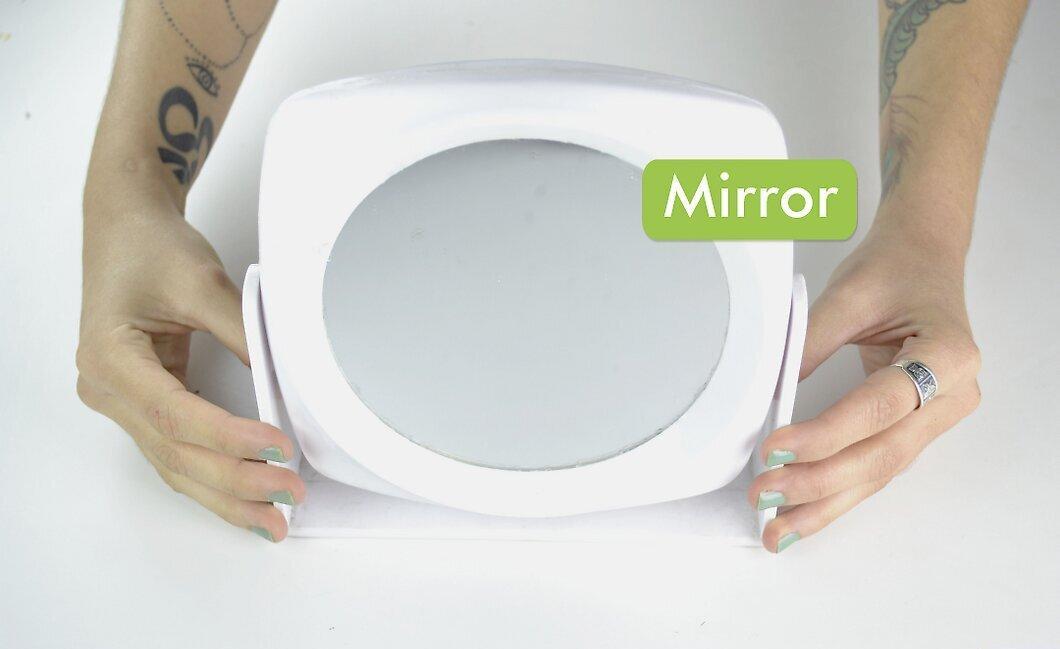
Make sure to have a mirror handy to show the person how fantastic their design turned out. If you are working at an event, bring a couple of mirrors in case one breaks.
Step 6. Stock up on glitter.

Be sure to include glitter in your cosmetic collection. Purchase non-toxic glitter at a craft store to embellish your designs. It can be mixed with paint for a dazzling effect.
- Only use cosmetic-grade glitter to avoid injury if it gets into the eyes.
Applying Face Paint
Step 1. Find out what design the person wants.

First, ask what design the person wants to see on their face. If they’re unsure, show them examples of face paintings to help them decide on a pattern. Make sure you can replicate the chosen design to avoid disappointing your client!
Step 2. Use photographs as references.

Refer to photographs of face paintings to stay on track. If you don’t have printouts, use your smartphone to search for examples online. Try queries like “lion face paint” or “butterfly face paint.”
Step 3. Create the base of the design with a sponge.
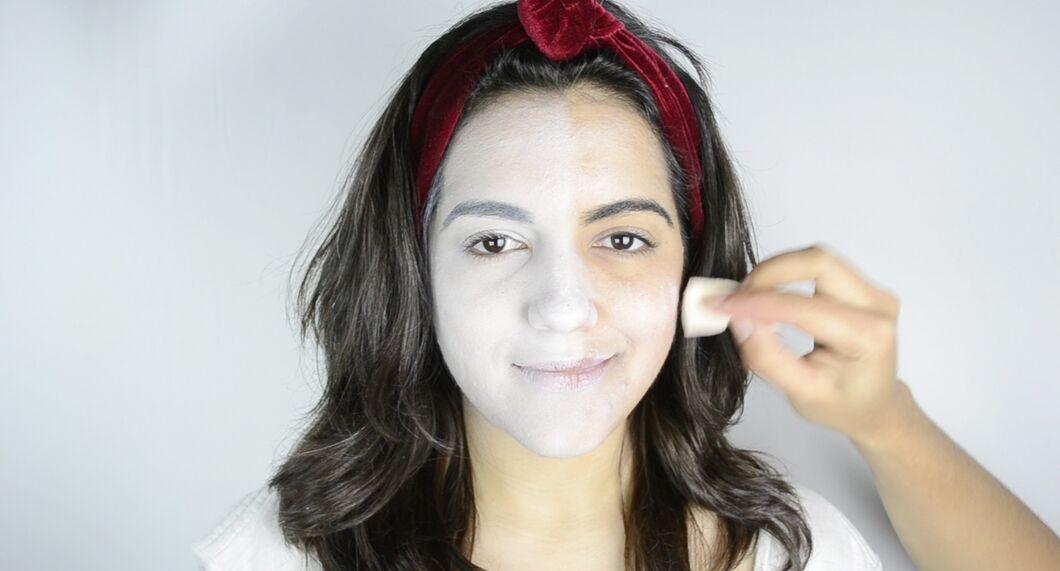
Start by preparing the base of the design using a sponge. Lightly dampen one corner of the sponge in water without soaking it. Apply the paint to the face in circular motions to create the outlines.
- If the color isn’t vibrant enough, add a bit more water and paint.
Step 4. Add a second color for an interesting effect.

Add a second color to make the design more appealing. Use a different sponge or rinse the previous one. Choose a color that complements the first one, keeping contrast in mind.
- For example, if you’re painting a butterfly with a purple base, blue paint would work well, but not yellow.
- Apply the second color with the wet side of the sponge and use the dry side for blending.
Step 5. Wait for the first layer to dry.

Wait until the first layer of paint is completely dry. Lightly touch the design to ensure it doesn’t smudge. If the paint is still wet, give it a bit more time.
Step 6. Detail the design with a brush.

Using brushes, add details to your design. Dip the brush in paint, making sure it doesn’t drip. Draw small details with short strokes, and use wide brushes for thicker lines.
- After finishing with one color, rinse the brush or use another for the next color.
- Use a fine brush to create shadows and highlights with black and white paint.
Step 7. Fix any mistakes with wet wipes.

If there are any mistakes, correct them using wet wipes. Gently wipe the problem areas to fix errors and refine outlines.
Step 8. Show the finished result in the mirror.
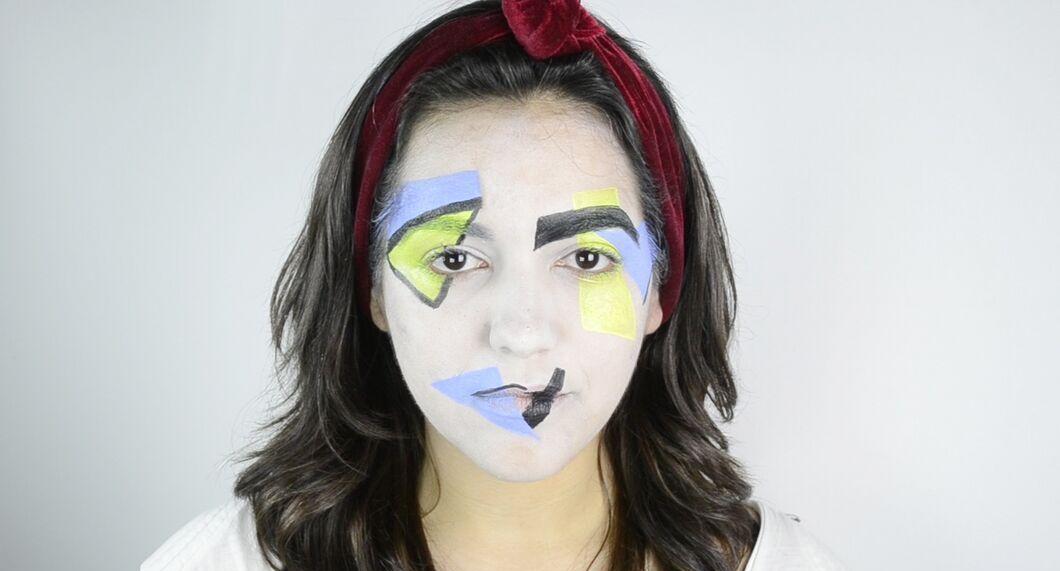
Let the person see the result of your work in the mirror. Make sure they like it. If they’re not satisfied, suggest making adjustments or adding details.
Ensuring Client Comfort
Step 1. Place a cushion on the chair for comfort.
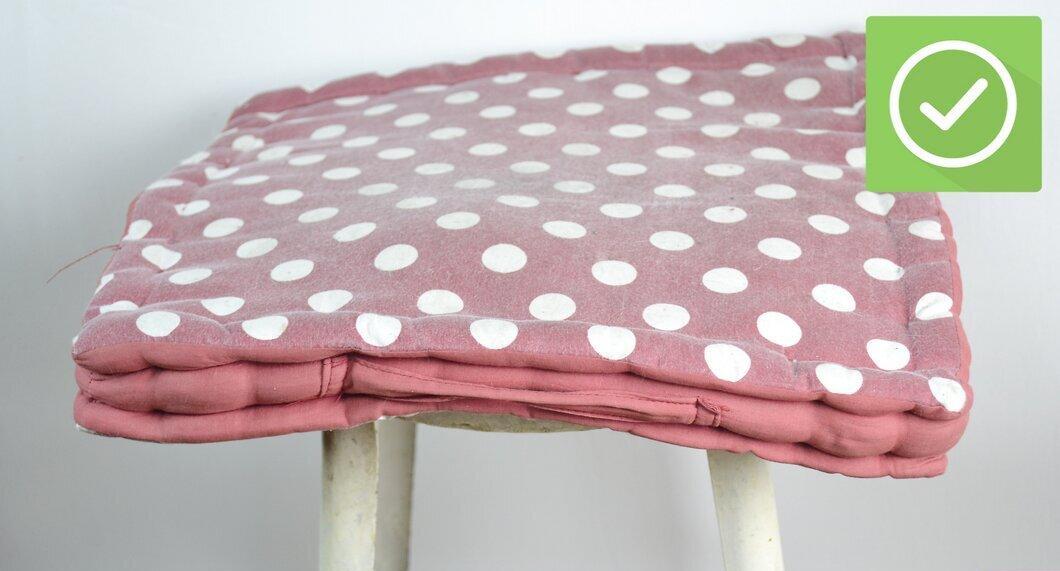
Put a cushion on the chair where the person will sit. If you don’t have a special cushion, a regular one will do. A comfortable seat will help them stay calm during the process.
Step 2. Keep the conversation going while you work.

Distract the person by sharing interesting stories or asking questions. This will help them relax and not focus too much on the time. For example, if you’re working with kids, ask them who they’re playing with at the party.
Step 3. Use simple patterns for children.

For children, choose simple designs to minimize the time spent in the chair. This will help avoid restlessness and allow you to finish your work more quickly, especially if the child is very active.


