Mastering the Art of Chiseling, Carving, and Chiseling
Chisels and carving tools are indispensable tools for woodworking, while chisels are used for working with stone and metal. All these tools have a handle and a blade that can be beveled at various angles and come in different sizes. Some chisels may have metal or wooden handles and can be quite expensive. With a sharp chisel, you can carve out grooves, create patterns, smooth rough edges, and make joints for dovetail connections. By mastering the techniques of working with chisels, carving tools, and chisels, you can simplify, speed up, and make the material processing safer.
How to Use a Narrow Hand Chisel
Step 1. Use the narrow hand chisel for fine woodworking tasks, such as planing or sculpting.
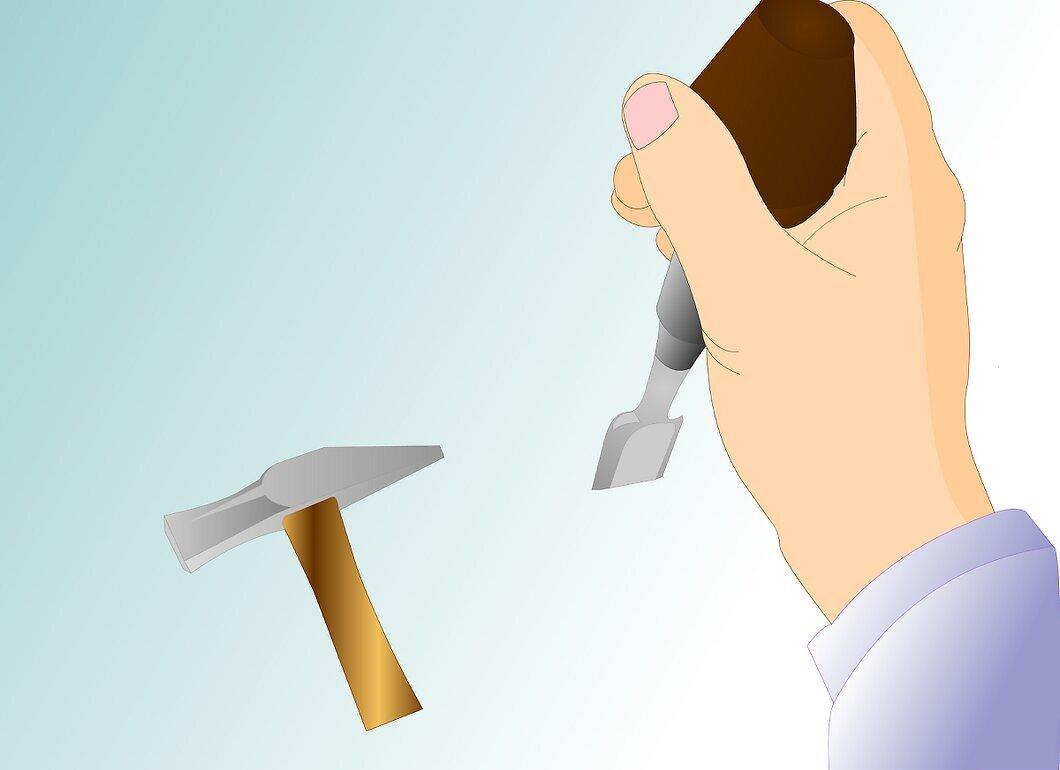
- The narrow hand chisel has a thin blade, beveled at a 15-degree angle.
- When planing wood, use the sharp edge of the chisel to cut small pieces.
- Make sure to press the narrow chisel against the piece that lies flat on the surface.
Step 2. Secure the wooden piece firmly on your workbench or in a vise.
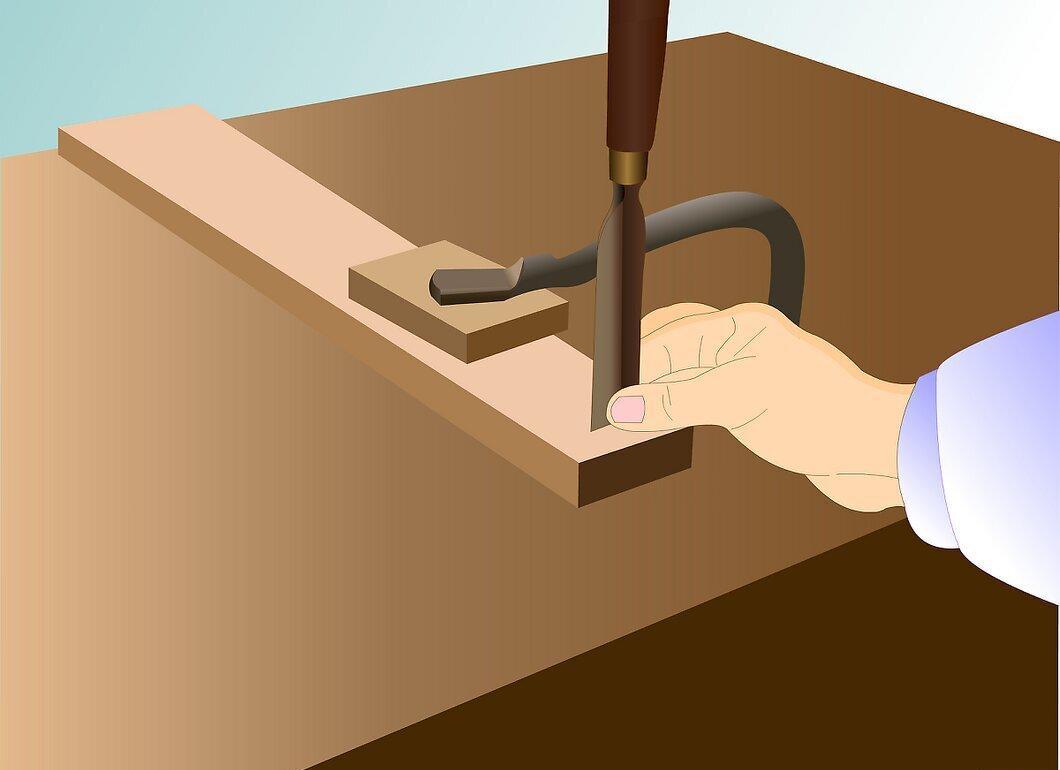
- The better you secure the piece, the more control you will have when applying pressure.
Step 3. Position the blade at a slight angle to the surface of the wood.
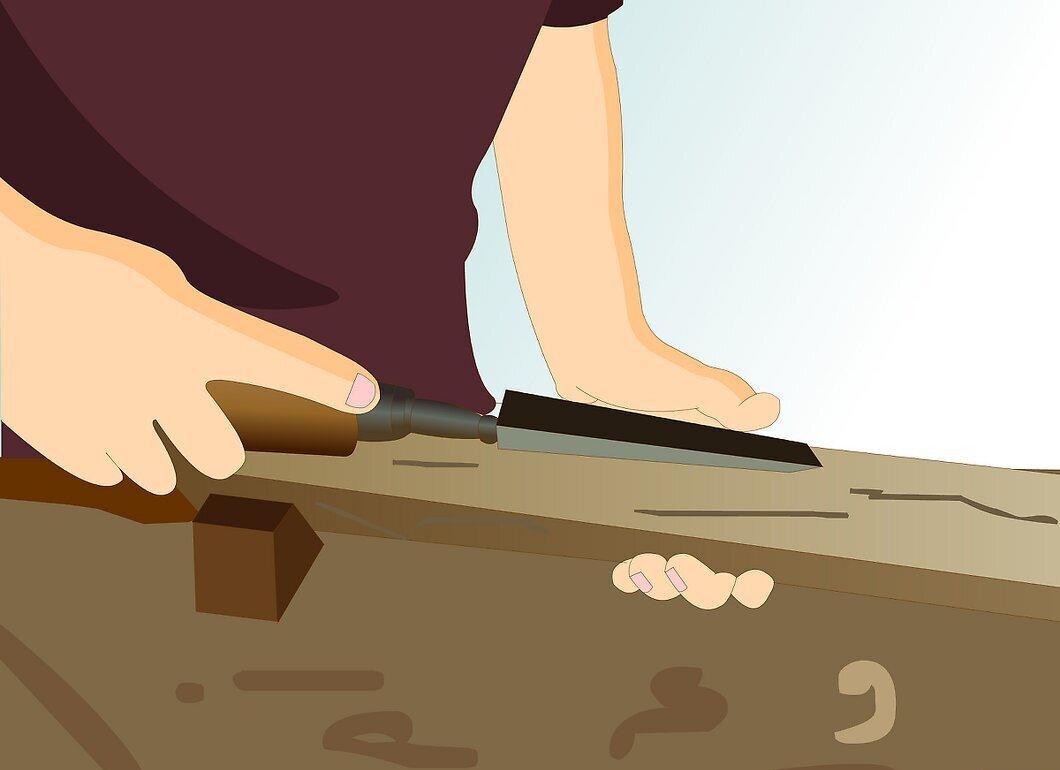
- When planing, you don't remove much wood, so you can do this both with and against the grain.
Step 4. Place one hand on the blade of the chisel and press it against the wood.
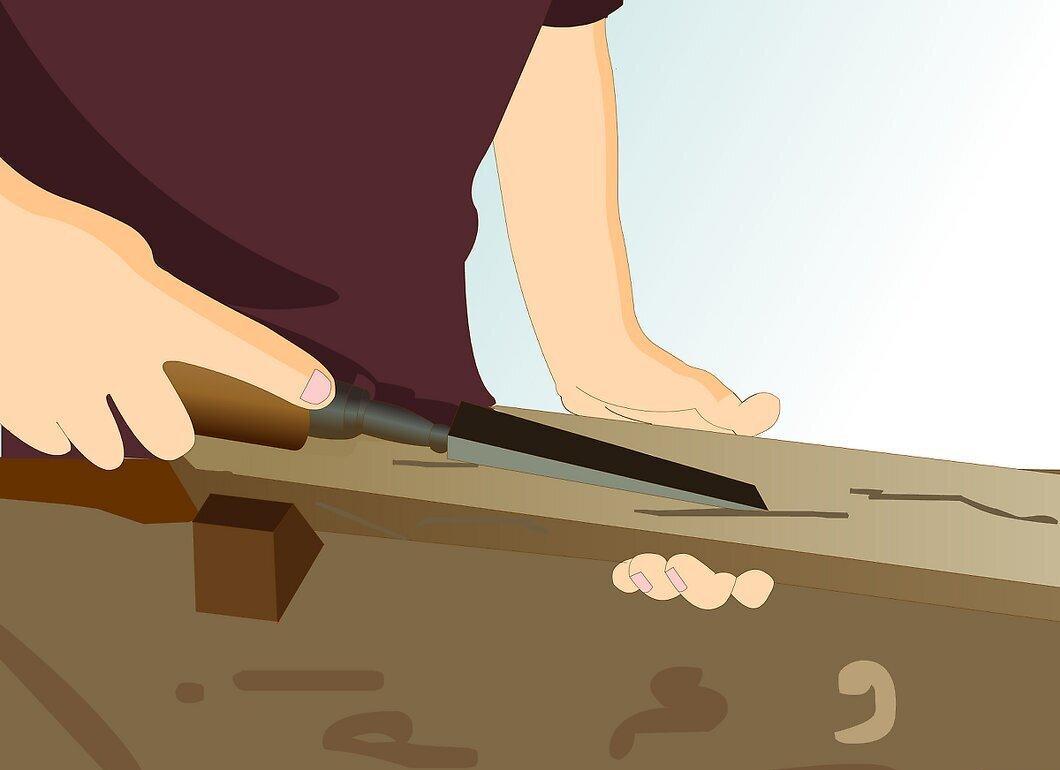
- This hand will control the forward motion of the blade.
Step 5. Move the chisel with your other hand, keeping it on the handle.
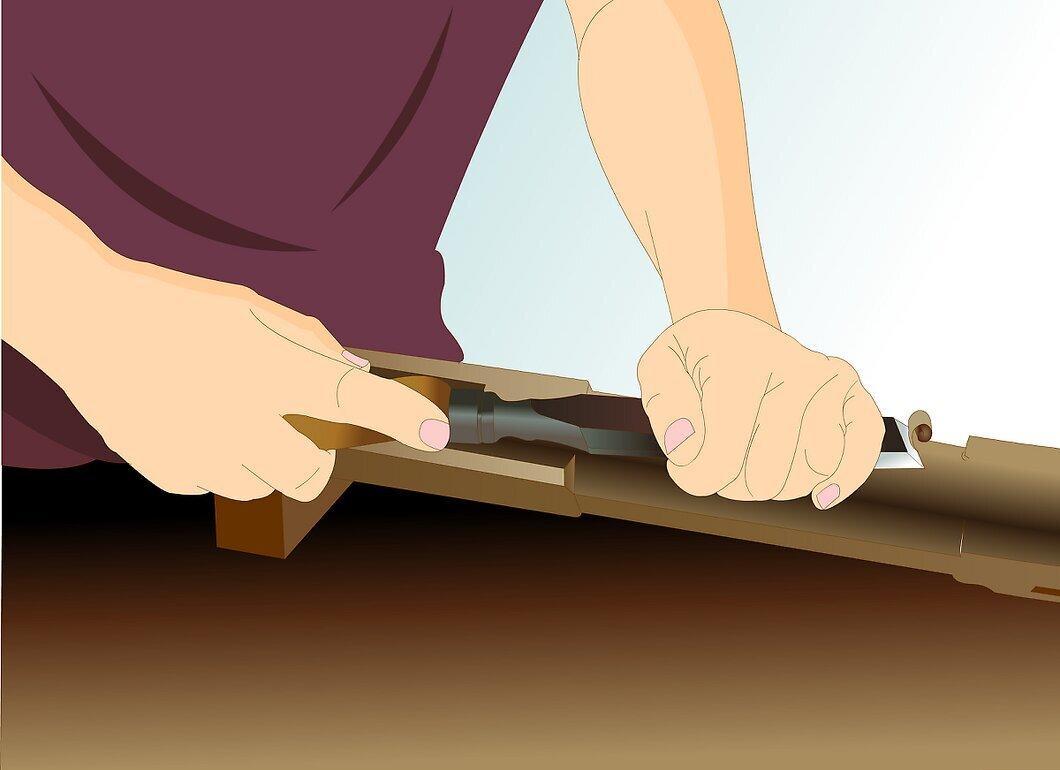
Step 6. Raise or lower the handle of the chisel to control the depth of the cut.
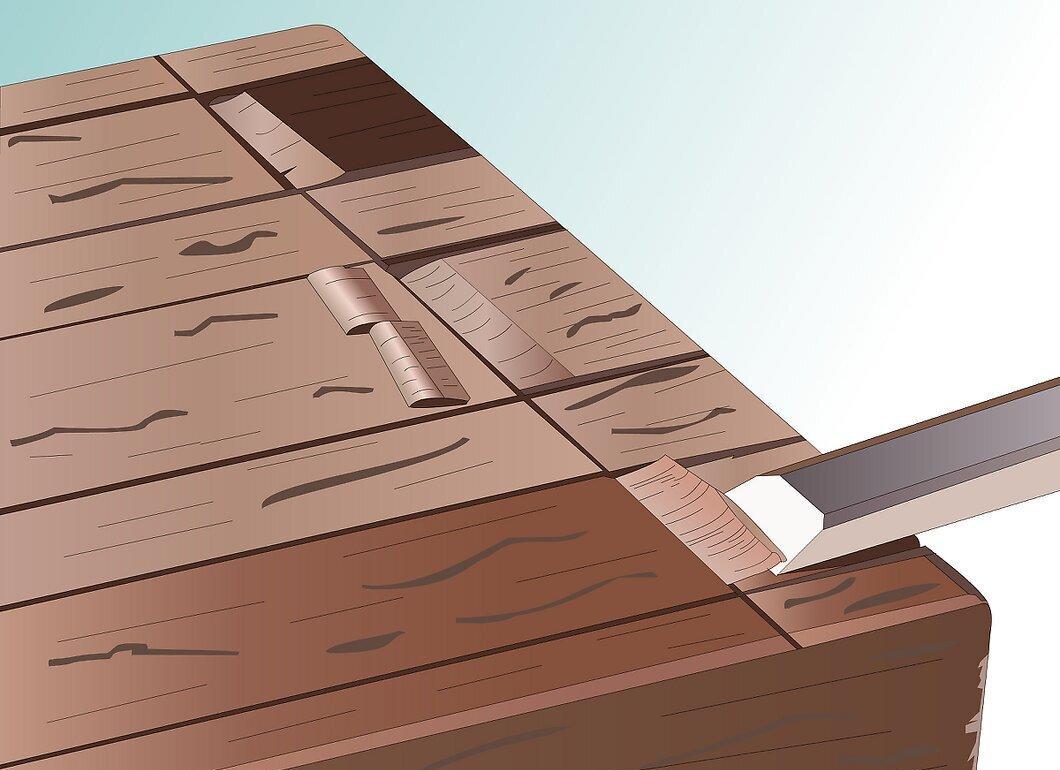
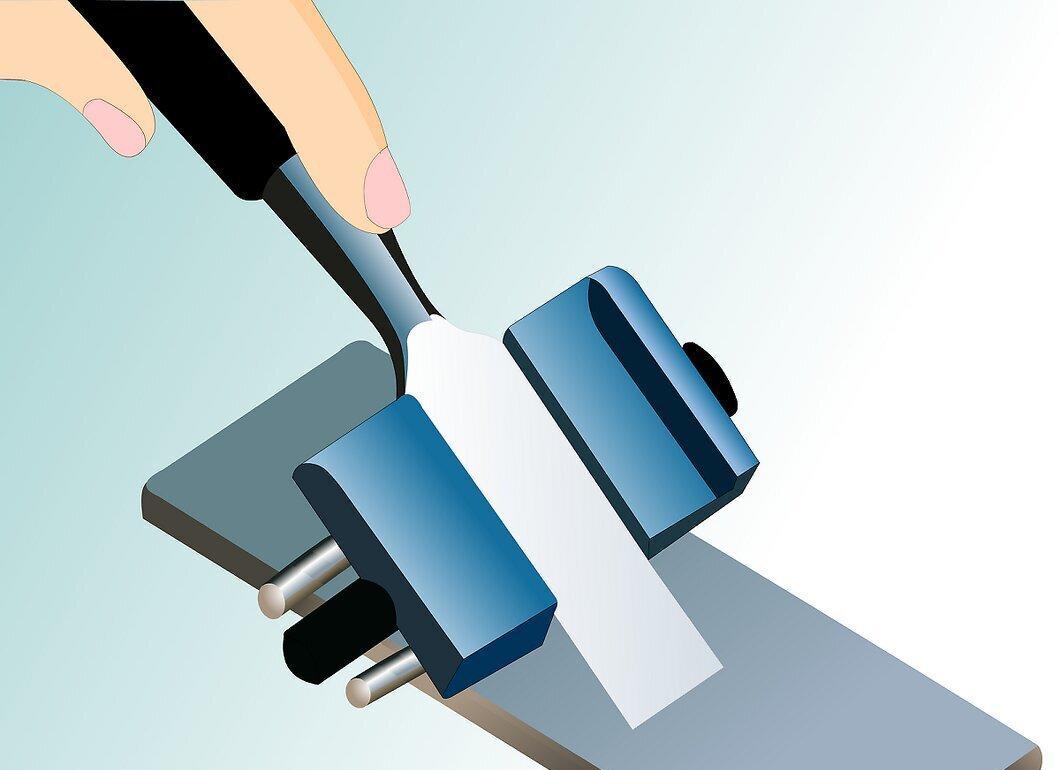
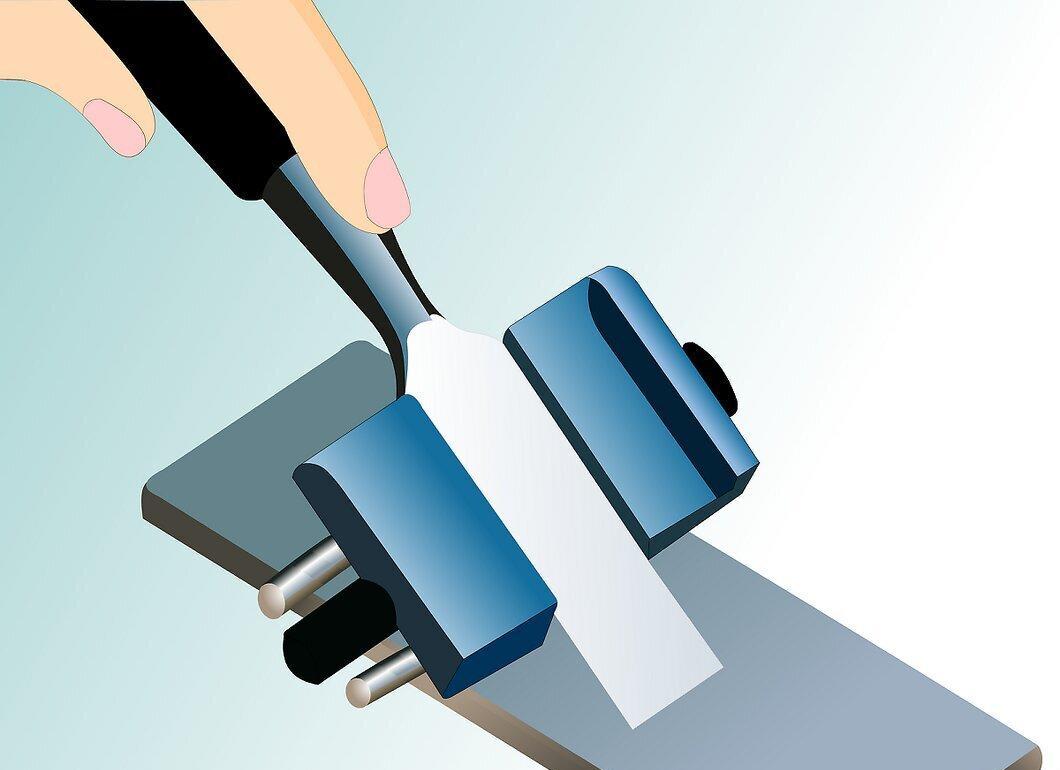
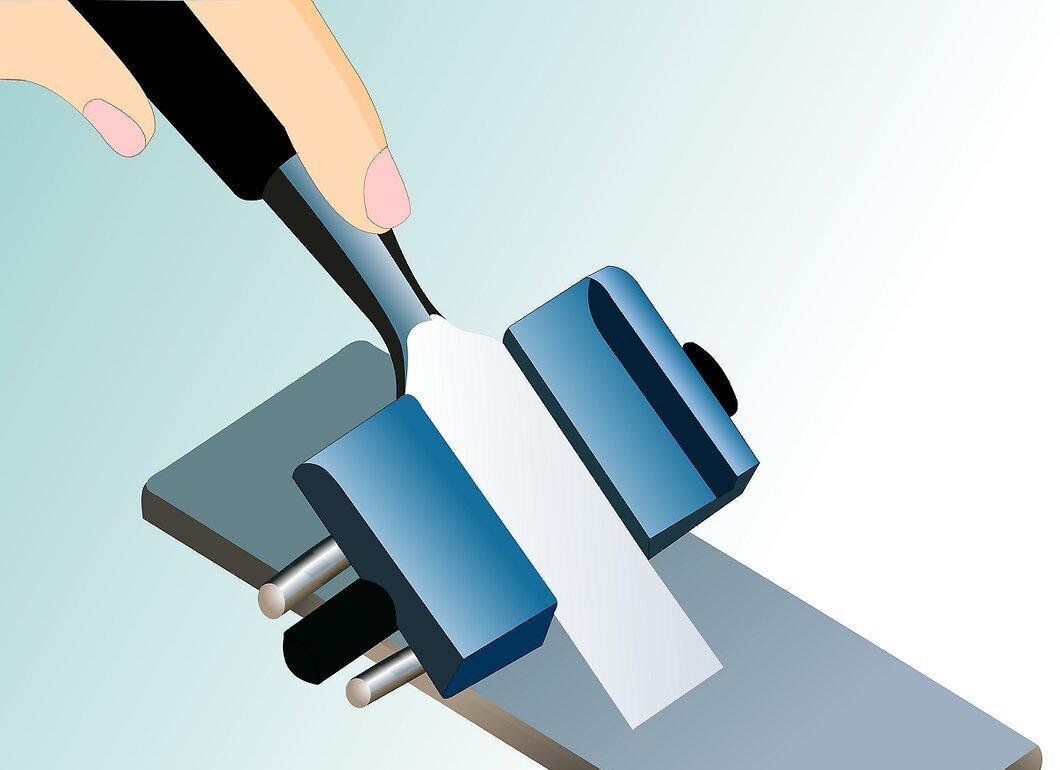
Step 7. Repeat these actions and sharpen the blade as needed.
How to Use a Flat Chisel
Step 1. Use a flat chisel for working with both soft and hard woods to carve deeper shapes or create grooves.
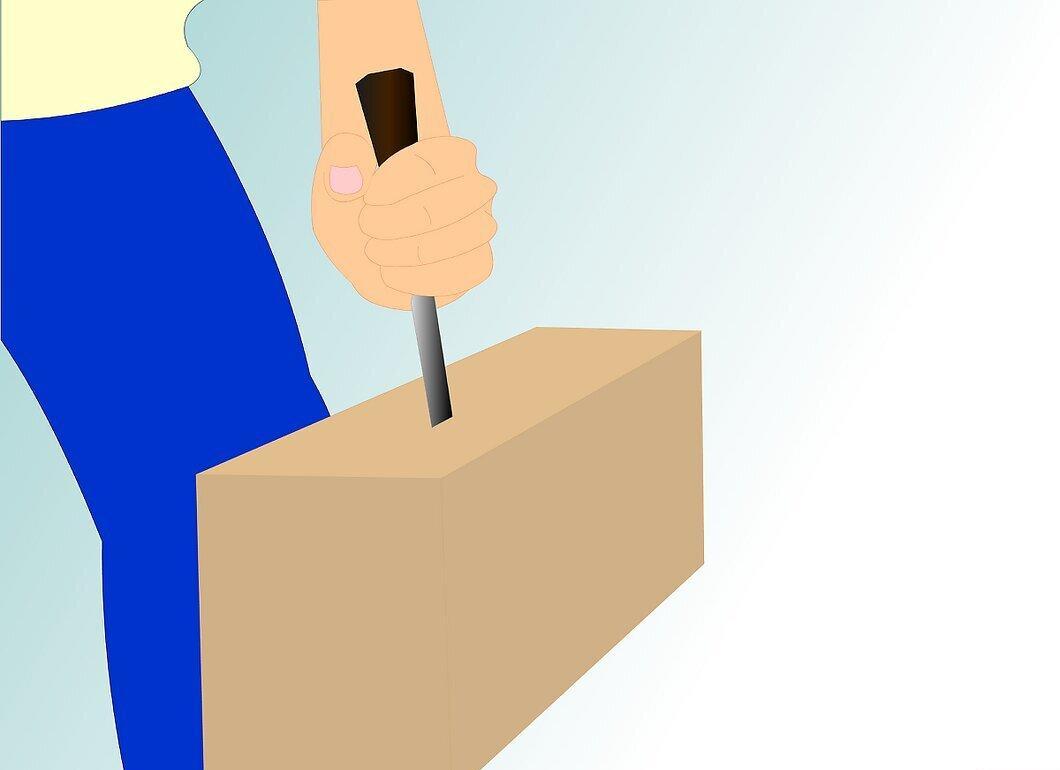
- The front edge of the flat chisel is straight and square, and its blade is sharpened and polished.
- The flat chisel has a heavier blade than the narrow chisel and is set at a 20-degree angle.
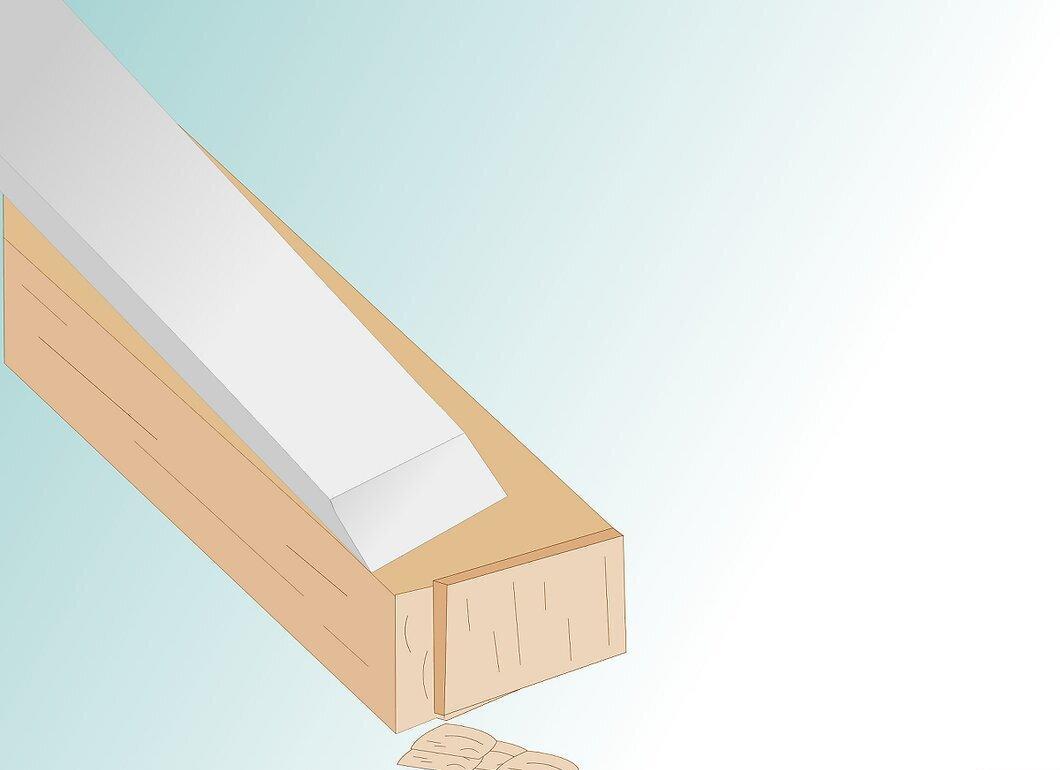
Step 2. Press the flat side of the chisel against the wood.
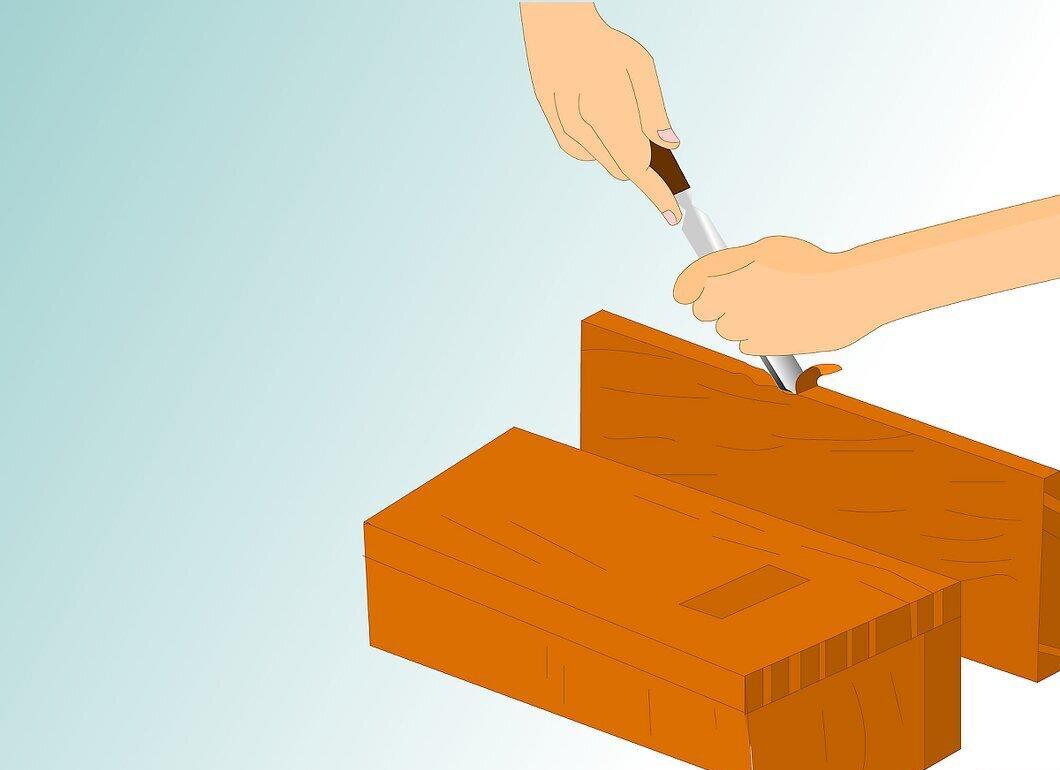
Step 3. Use a wooden mallet to guide the flat chisel, as it absorbs the impact.
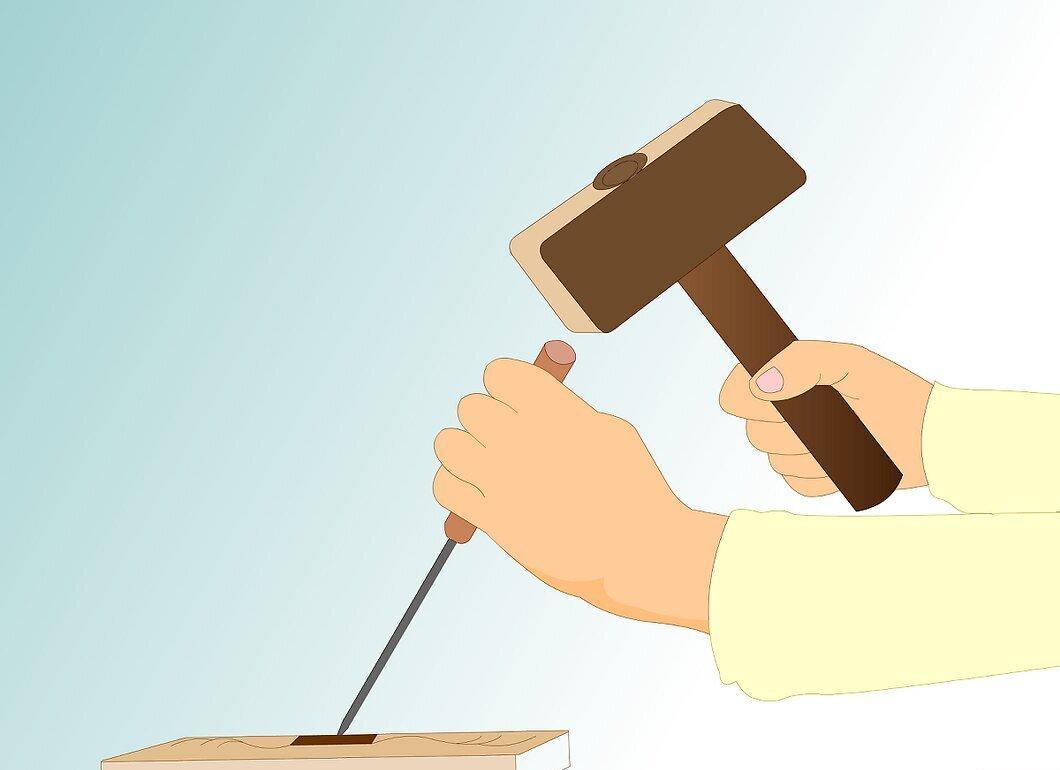
Step 4. Work by removing thin layers of wood to avoid damage.
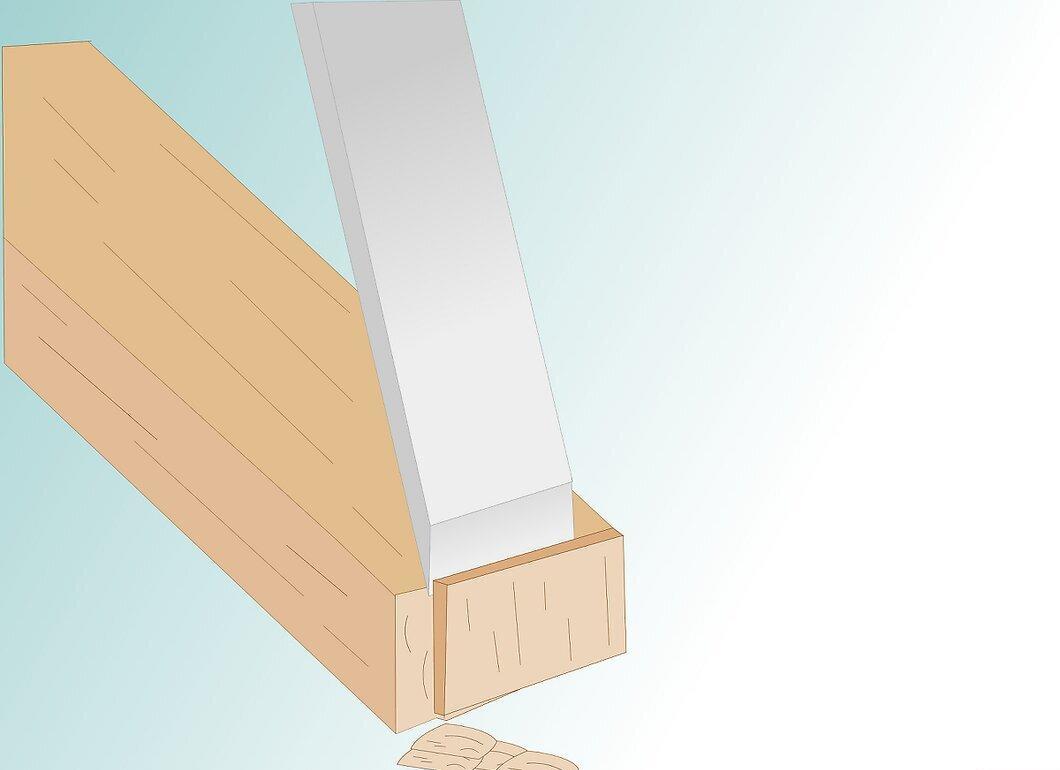
- Use sliding or sharp movements, cutting across the wood grain.
Step 5. Raise or lower the handle of the chisel to control the depth of the cut.
Step 6. Repeat this action and sharpen the blade as necessary.
How to Use a Gouge
Step 1. Use a gouge for detailed woodworking tasks, such as carving or sculpting.
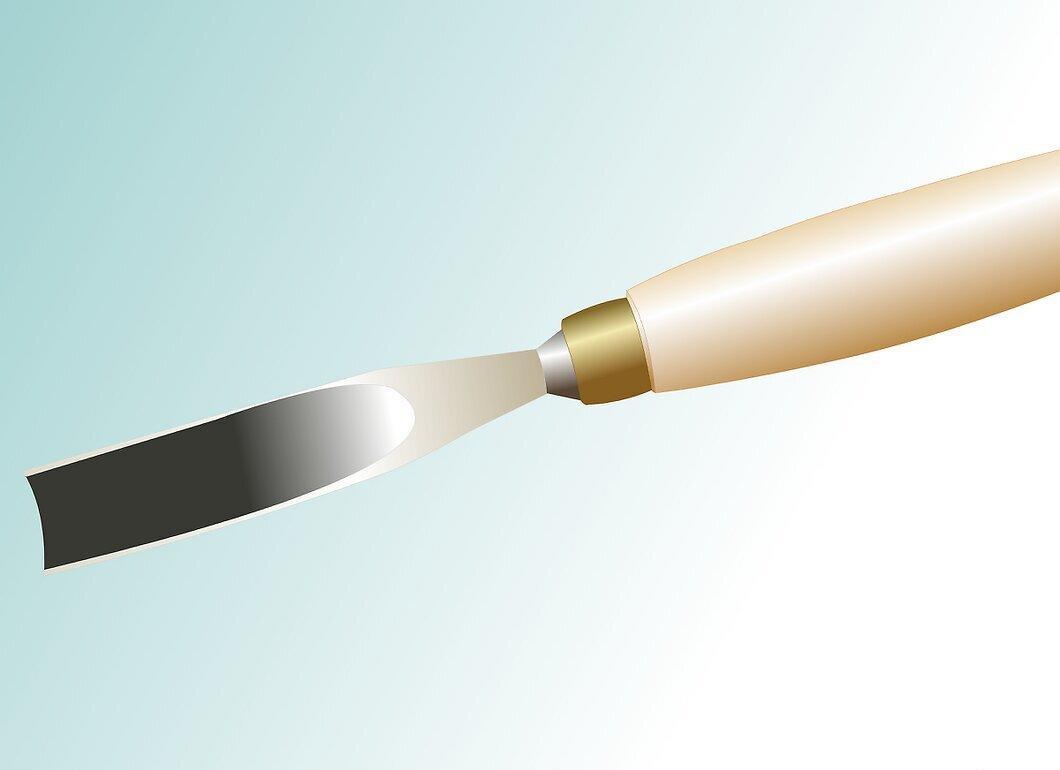
- The gouge has a curved end and a long handle.
- The gouge can have 8 standard blade angles and varying widths.
- The gouge is also suitable for carving wood or removing parts around a pattern.
Step 2. Secure the wooden piece on the surface.
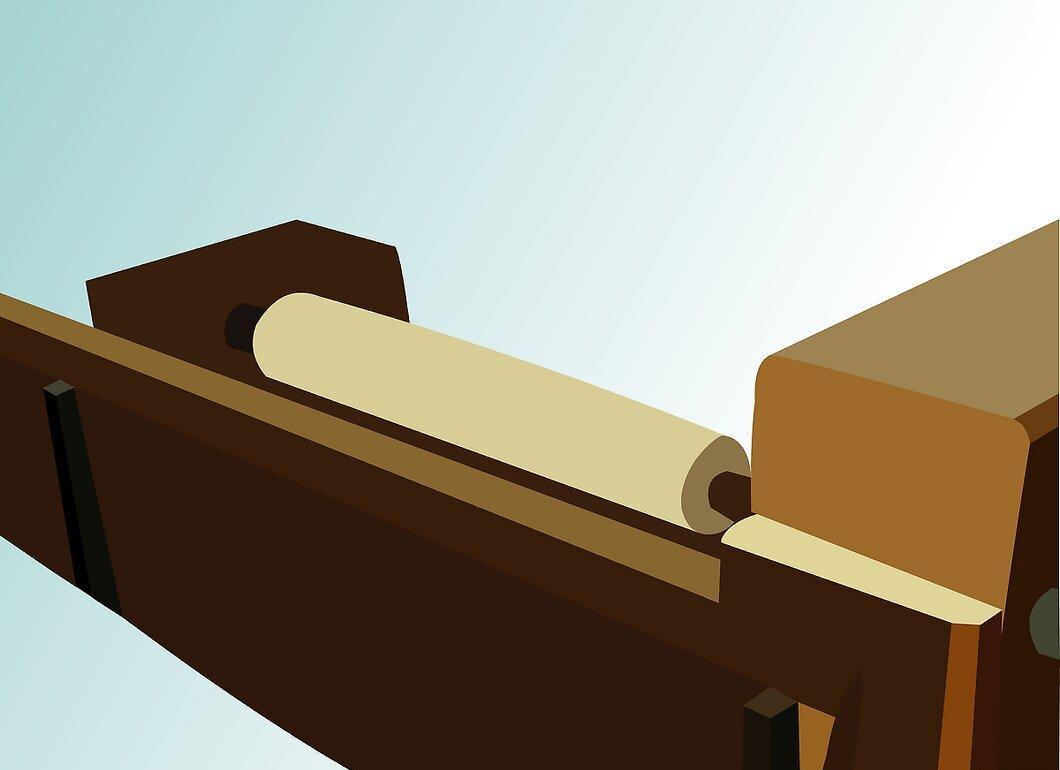
This will protect you from injury if the gouge slips.
Step 3. Place your index finger at the junction of the metal blade and the handle of the gouge.
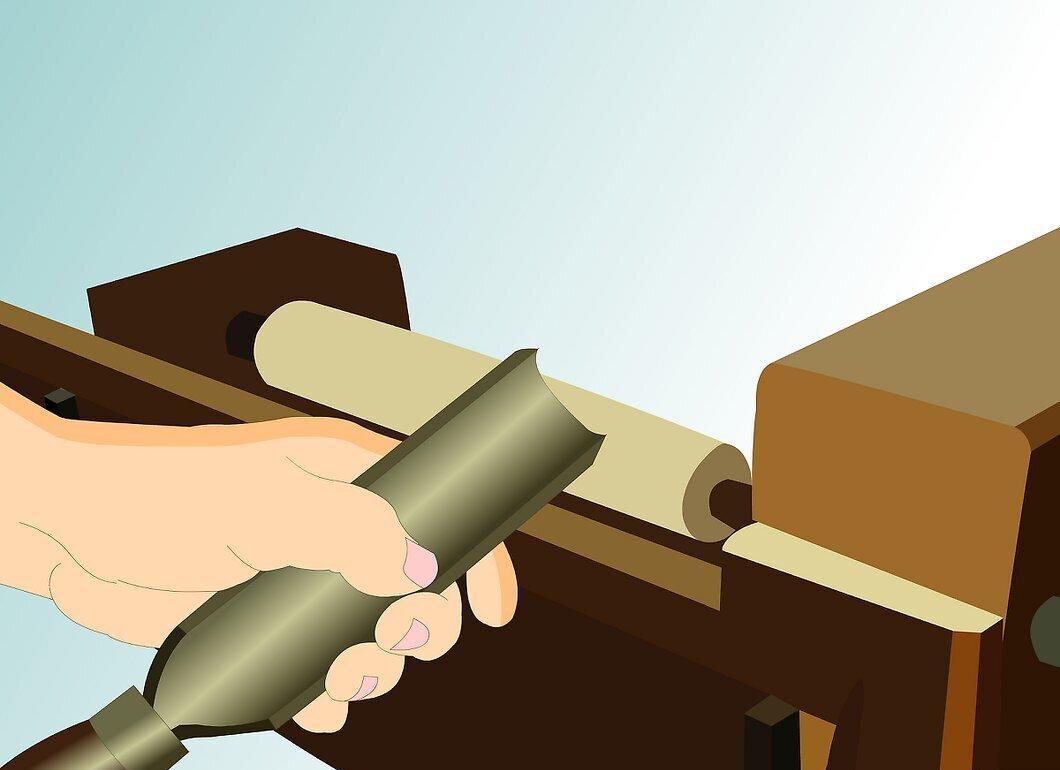
Step 4. With one hand, press the gouge against the wood, directing it forward.

Step 5. Rotate, raise, or lower the handle to achieve the desired effect.
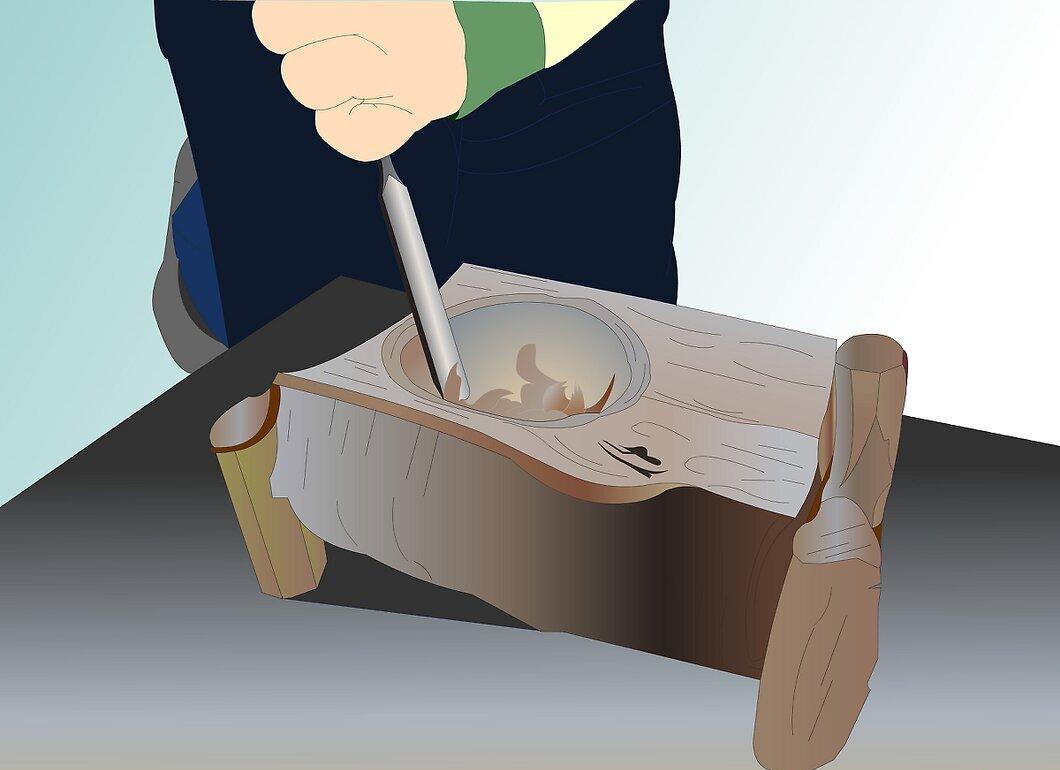
- To carve deeper, hold the gouge perpendicular to the wood and strike the handle sharply with a wooden mallet.
Step 6. Work along the grain to avoid damage.
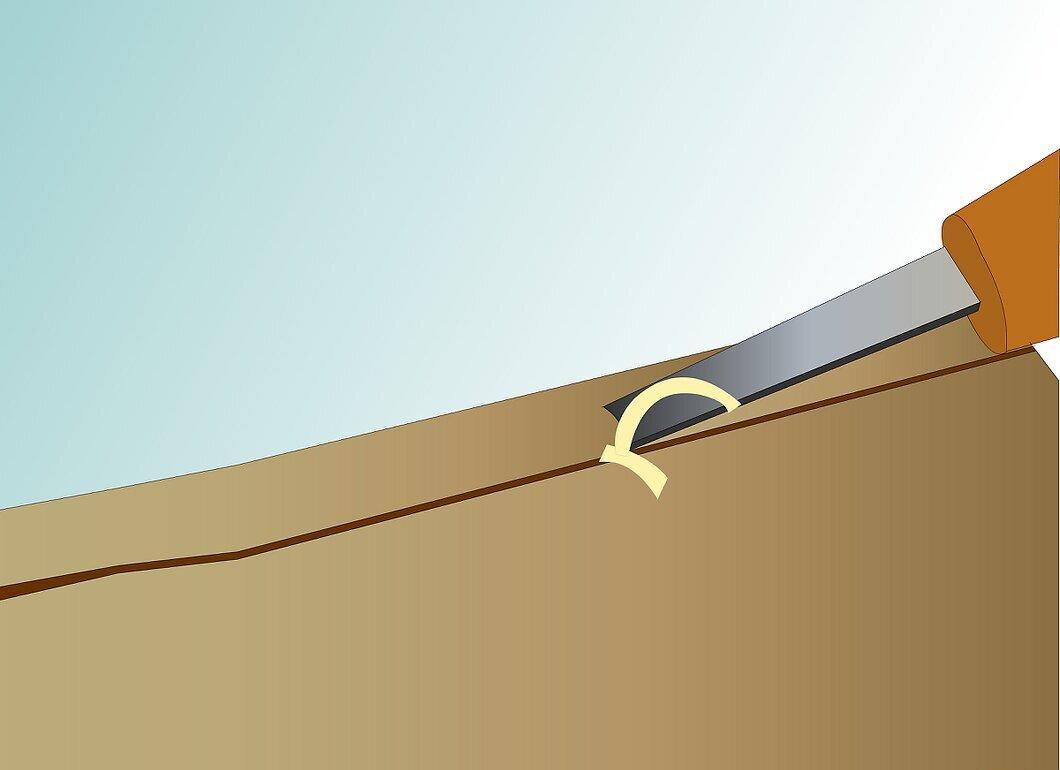
Step 7. Repeat the actions, choosing different gouge sizes for the desired pattern and sharpening the blades as needed.
How to Work with Stone
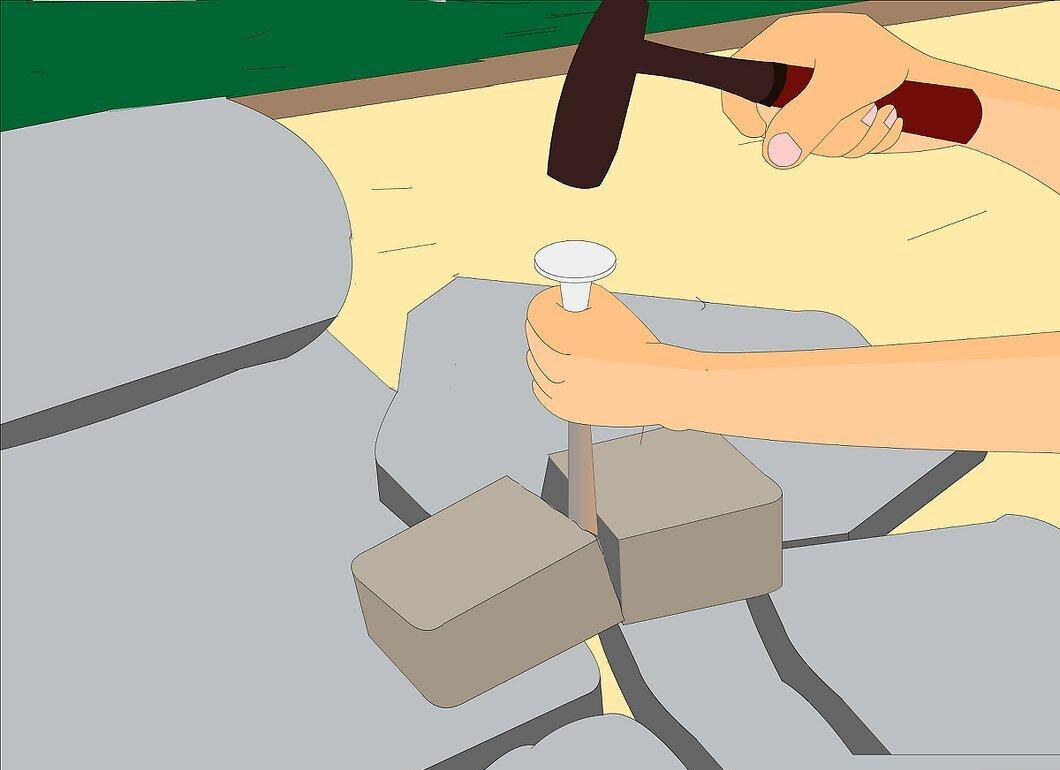
Step 1. Use a chisel to score, trim, or shape brick or stone.

- A stone chisel is wider and shorter than a wood chisel and is typically made from a single hardened piece of metal.
- Stone chisels are more blunt than wood chisels, as their function relies on force rather than sharpness.
Step 2. Make a clear mark on the stone using a special chalk or dark pencil.
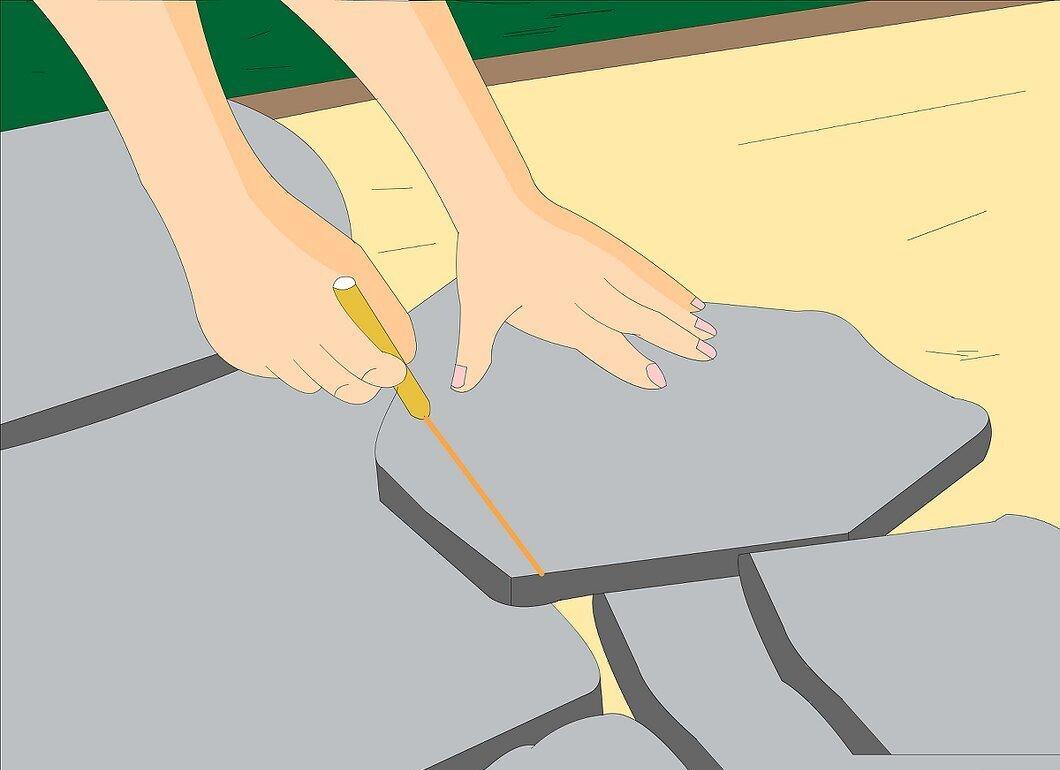
Step 3. Position the chisel perpendicular to the stone at the marked point.
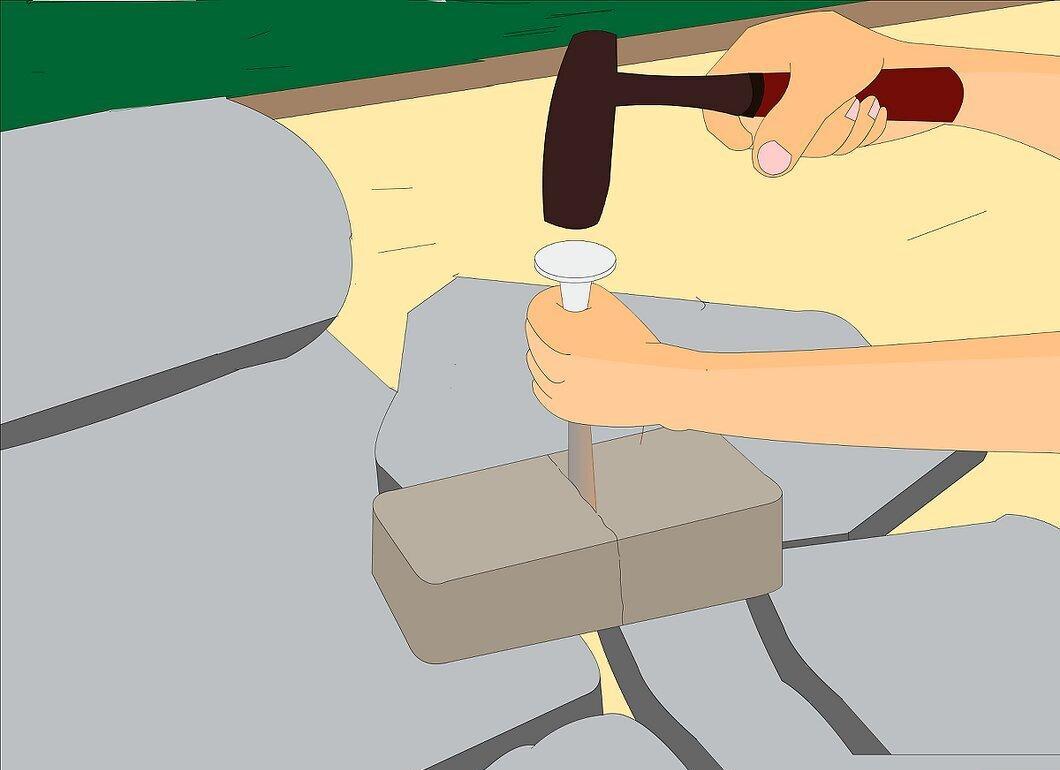
- To separate large pieces of stone or its parts, use a chisel with a beveled blade on one side, and for cutting straight lines, use one on both sides.
- For creating sculptures from stone or engraving, you will need special tools and cutters.
Step 4. Strike the chisel handle with a hammer, wooden mallet, or sledgehammer.
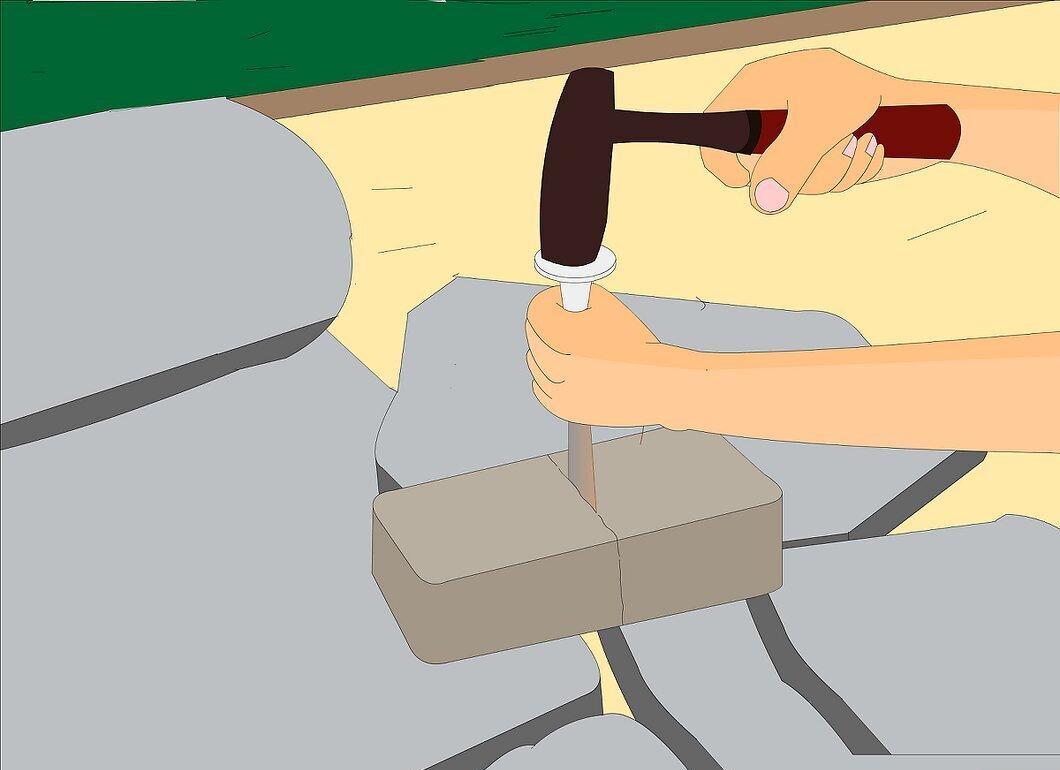
Step 5. Continue to strike along the line until a crack forms.