
To successfully drill holes in beads, you'll need patience and confidence in your technique. The method of drilling will depend on the bead's material, but most often, standard tools are used.
Method 1: Beads Made of Glass, Stone, and Wood
Step 1. Choose the Right Tool.
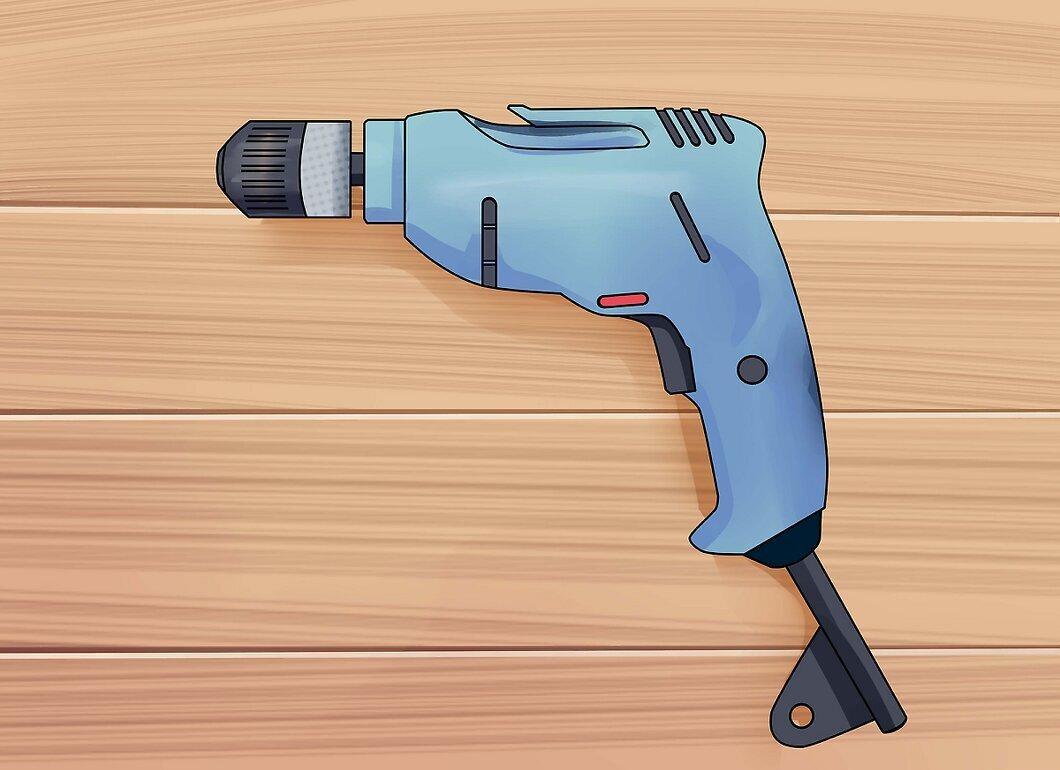
First, you'll need a drill. This can be either a manual tool or a cordless drill, but the drill bit should not exceed 3 mm in diameter.
- Keep in mind that for smaller beads, it's better to use a drill bit with an even smaller diameter.
- For working with stone or glass beads, diamond drill bits are recommended due to the high durability of these materials.
- For wooden beads, a standard drill bit or a carbide bit will suffice, as wood is softer.
Step 2. Secure the Bead in Putty.
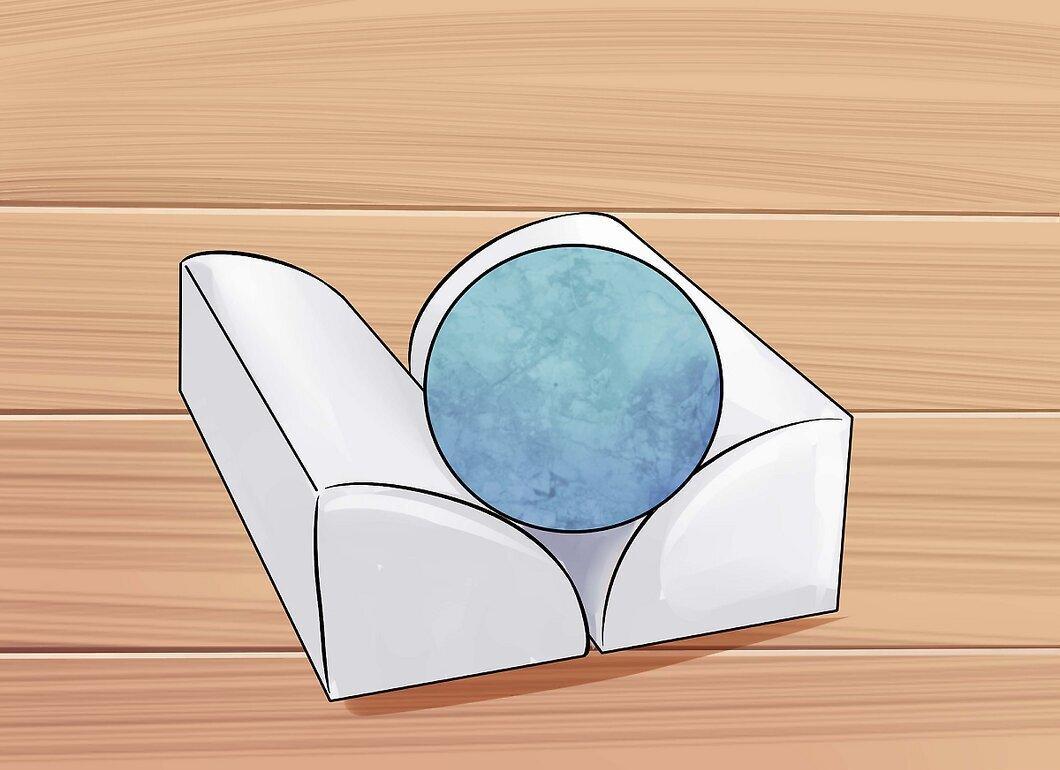
Place the bead in putty or a sticky mass, ensuring the side where the hole will be drilled is facing up.
- Putty will help hold the bead in place while you work, but a small clamp can also be used.
- Don’t forget to place a thick layer of putty under the bead to protect your work surface.
- Holding the bead in your hand is not recommended. Due to its small size and the power of the tool, the drill can easily slip, leading to injuries.
Step 3. Mark the Hole Location.
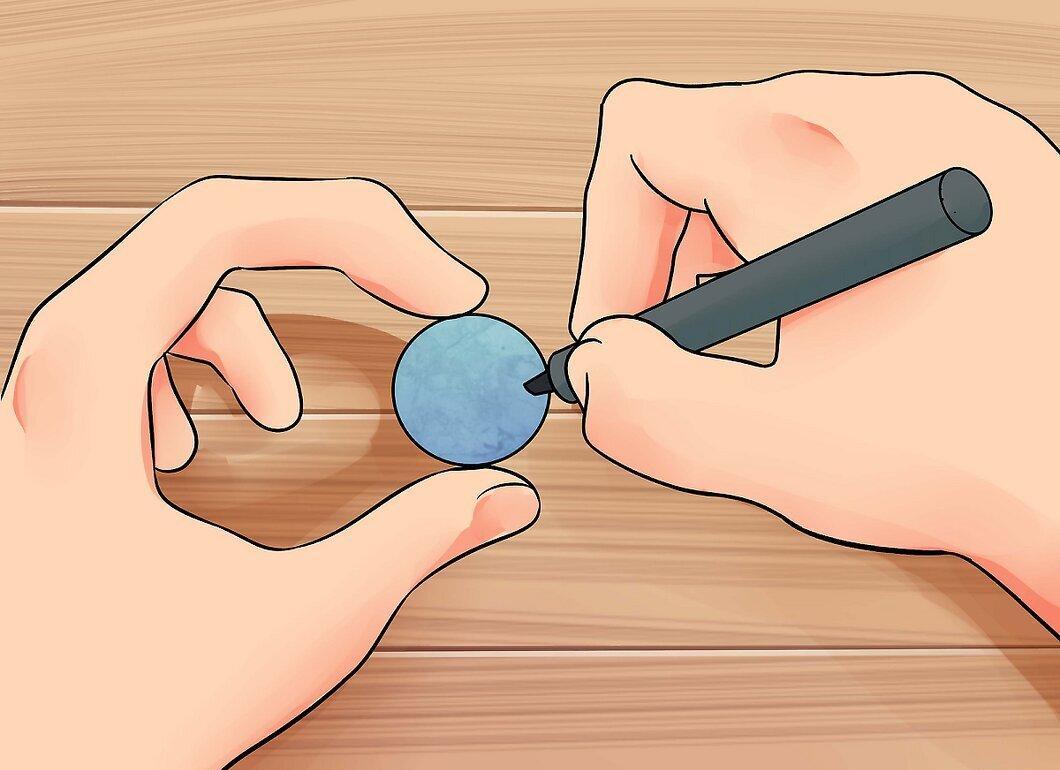
Use a fine marker to place a small dot on the bead. This will help accurately indicate where the hole will be drilled.
- This mark will serve as a guide for the drill bit, which isn’t essential but can simplify the task.
Step 4. Place the Bead in Water.
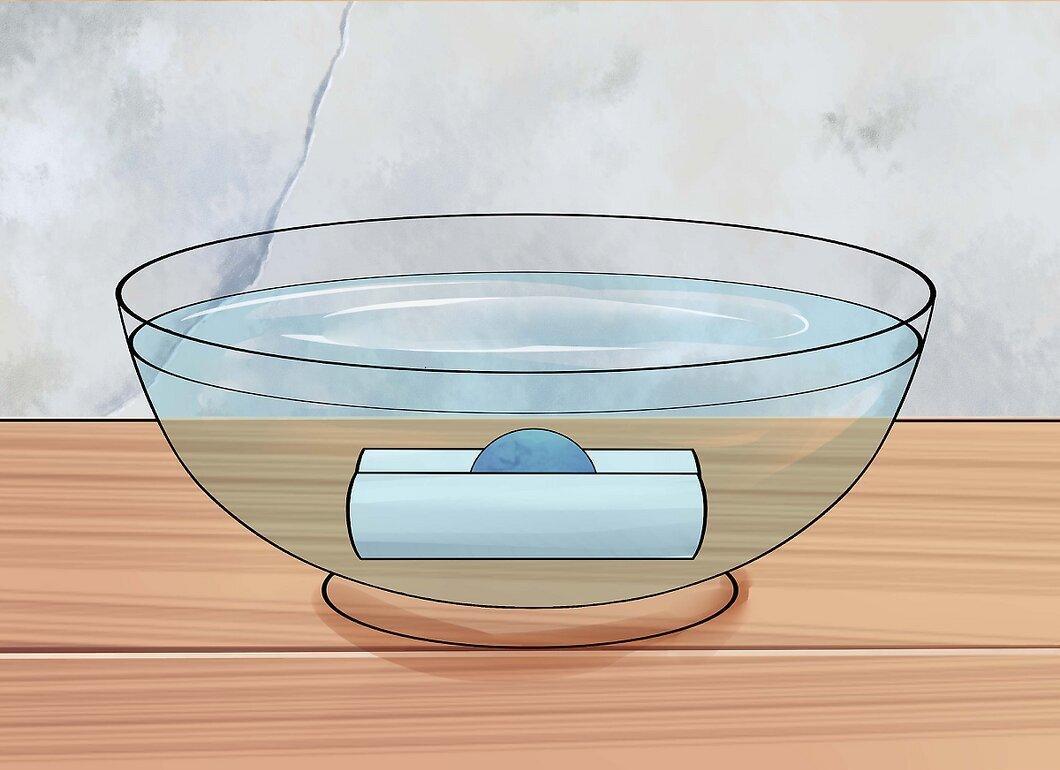
Put the putty with the bead in a flat container and pour in some water so that the bead is slightly submerged.
- Water will help cool the drill bit while working, preventing it from overheating.
- To minimize the risk of damaging the surface, you can place the container on an acrylic cutting board. If the container is large, use a thick leather pad.
- Note: Using a corded drill can be dangerous, so it's better to use a cordless one. Work carefully to avoid getting water on the tool, and never use electric tools with wet hands.
Step 5. Position the Drill Bit Over the Bead.
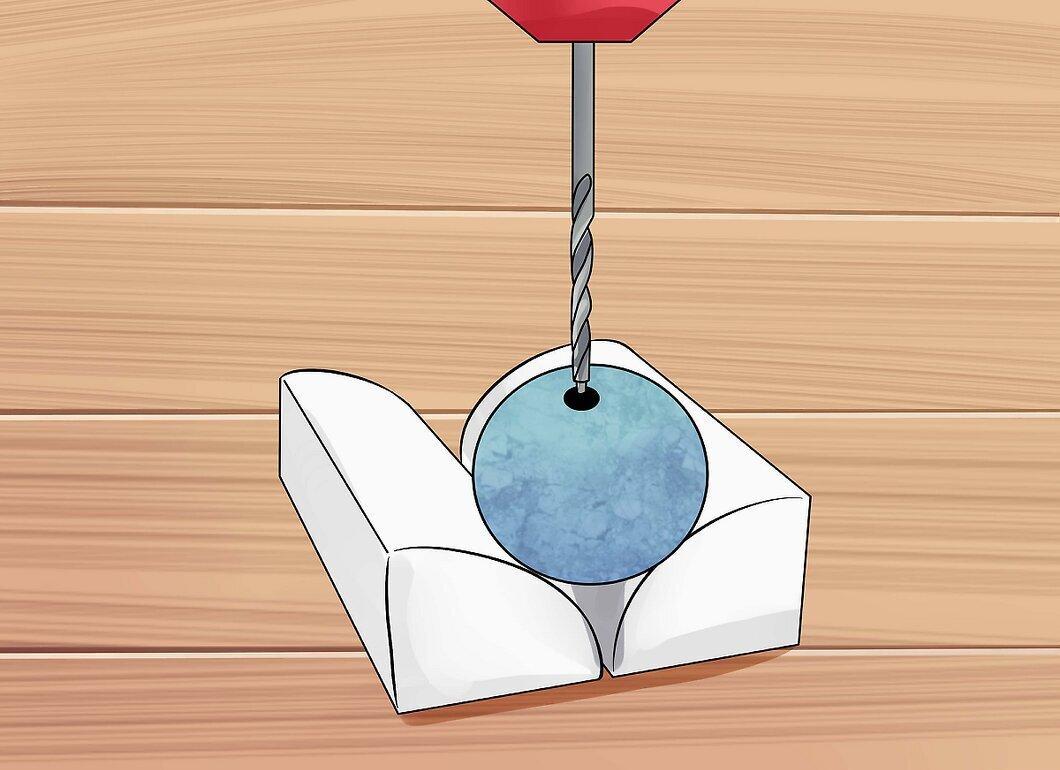
Hold the drill bit vertically above the bead, lightly touching the mark. Turn on the tool for 1-2 seconds, then turn it off.
- If done correctly, you should see a small amount of material mixing with the water.
- After stopping the drill, check the bead: you should see a small indentation where the hole will be.
Step 6. Carefully Drill the Hole.
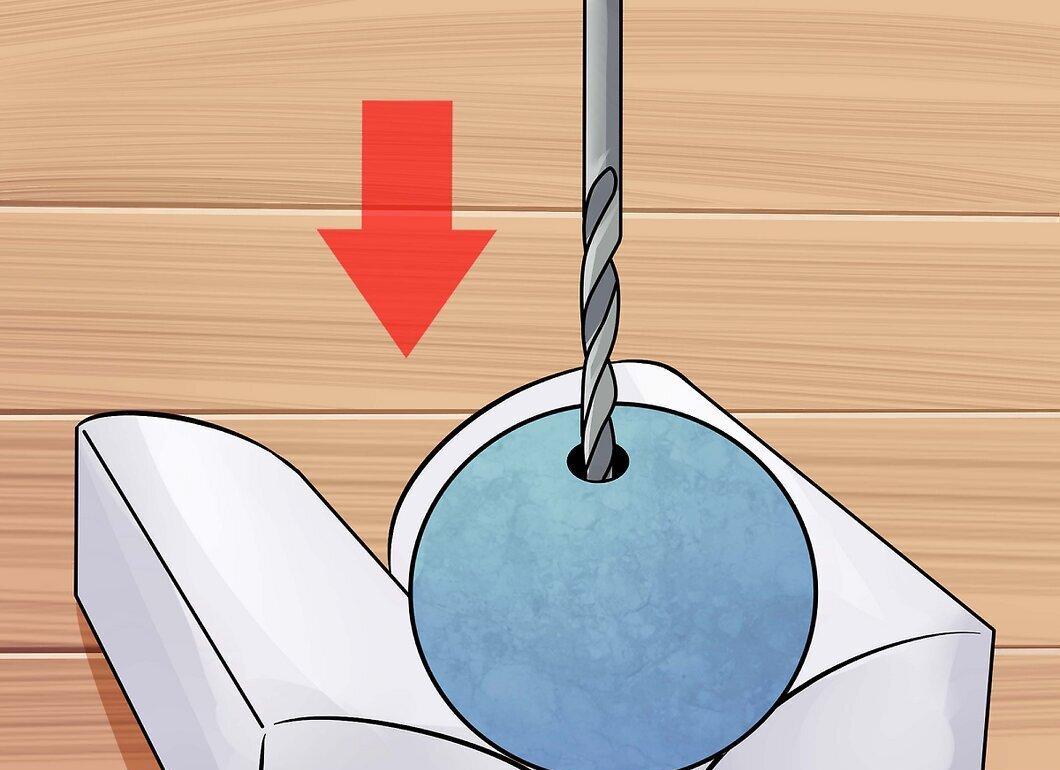
Turn the drill back on and start drilling, gradually pushing the bit into the bead until it comes out the other side.
- For the best results, it's better to enter the bead for a second, then slightly pull the drill bit back and drill again. Repeat this process until you achieve a through hole.
- This approach will reduce pressure on the bead, minimizing the risk of cracking.
- Ensure the drill bit is moving at a right angle. Stop as soon as the drill bit goes all the way through — if you stop too early, you can always continue, but if you stop too late, you might damage your work surface.
- Depending on the material and diameter of the bead, drilling can take anywhere from 30 seconds to 3 minutes.
Step 7. Check the Result.
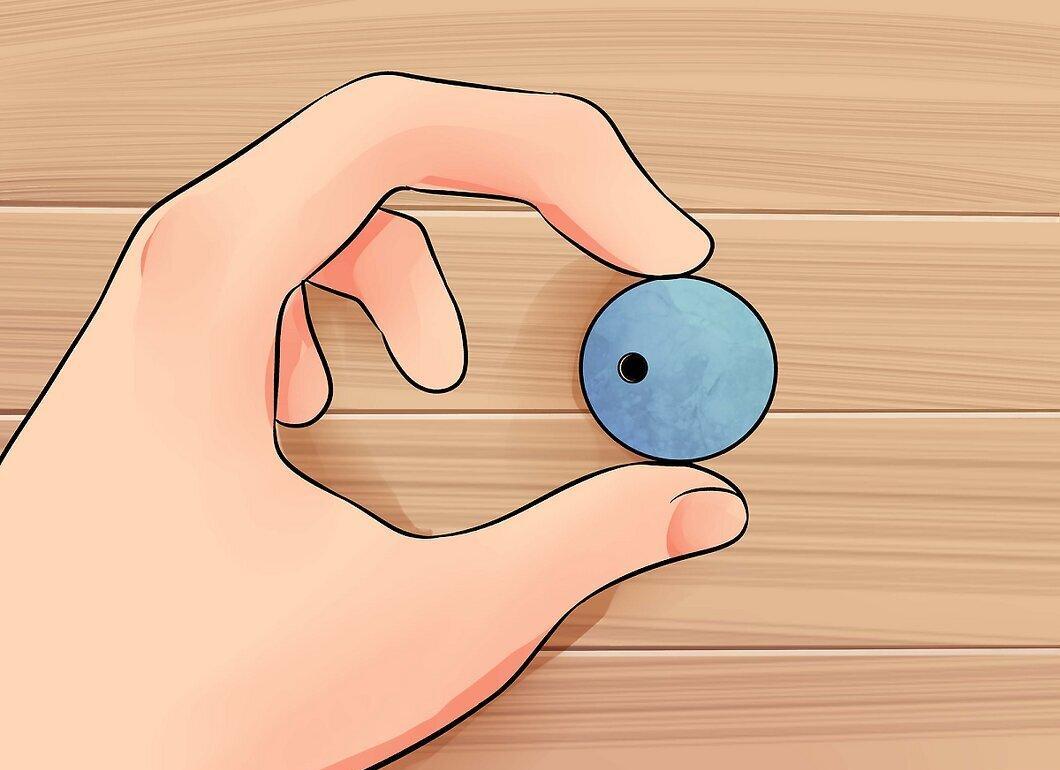
Once the hole is ready, carefully remove the drill bit and turn off the drill. Evaluate the finished hole.
- If you are satisfied with the result, then the job is done.
Method 2: Beads Made of Cured Polymer Clay
Step 1. Make an Indentation Before Baking.
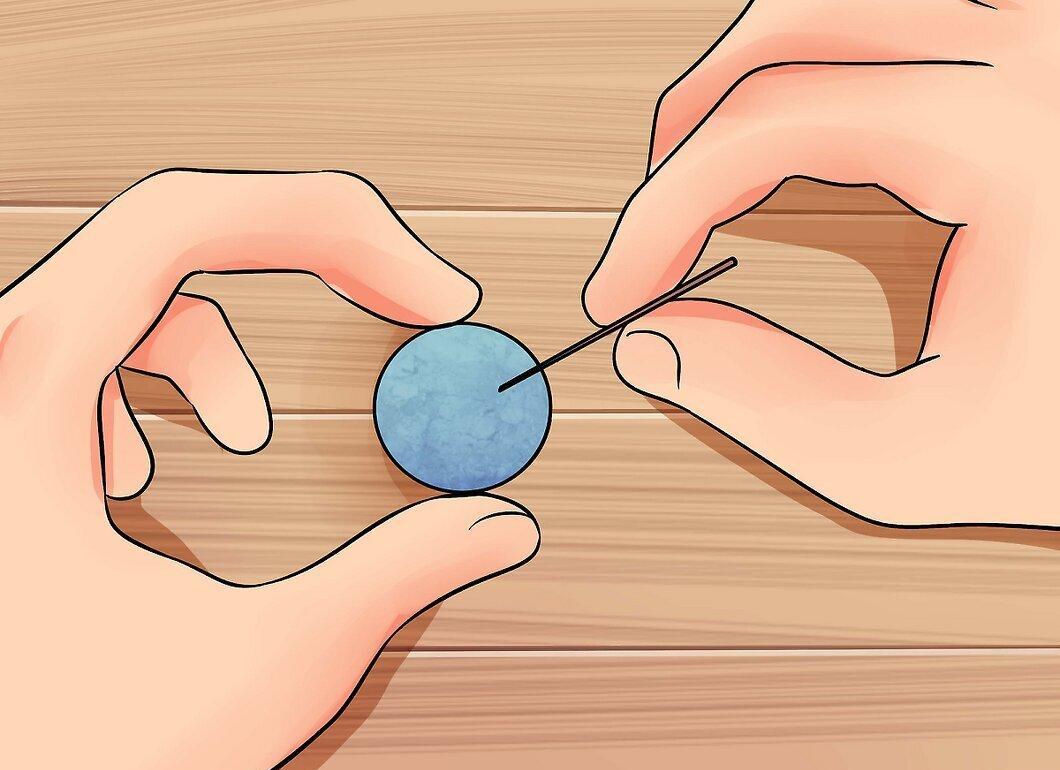
If possible, make a small indentation in the bead using a toothpick before baking.
- Ensure the indentation is centered where you plan to drill the hole.
- This indentation will serve as a guide when drilling the hardened bead.
- If you forget to make the indentation before baking, you can do it right after when the clay is still warm and slightly soft, using a sturdy metal pin or needle.
- If the beads have been baked for a while and do not allow for an indentation, mark the hole location with a marker or pencil.
Step 2. Select the Right Tools.
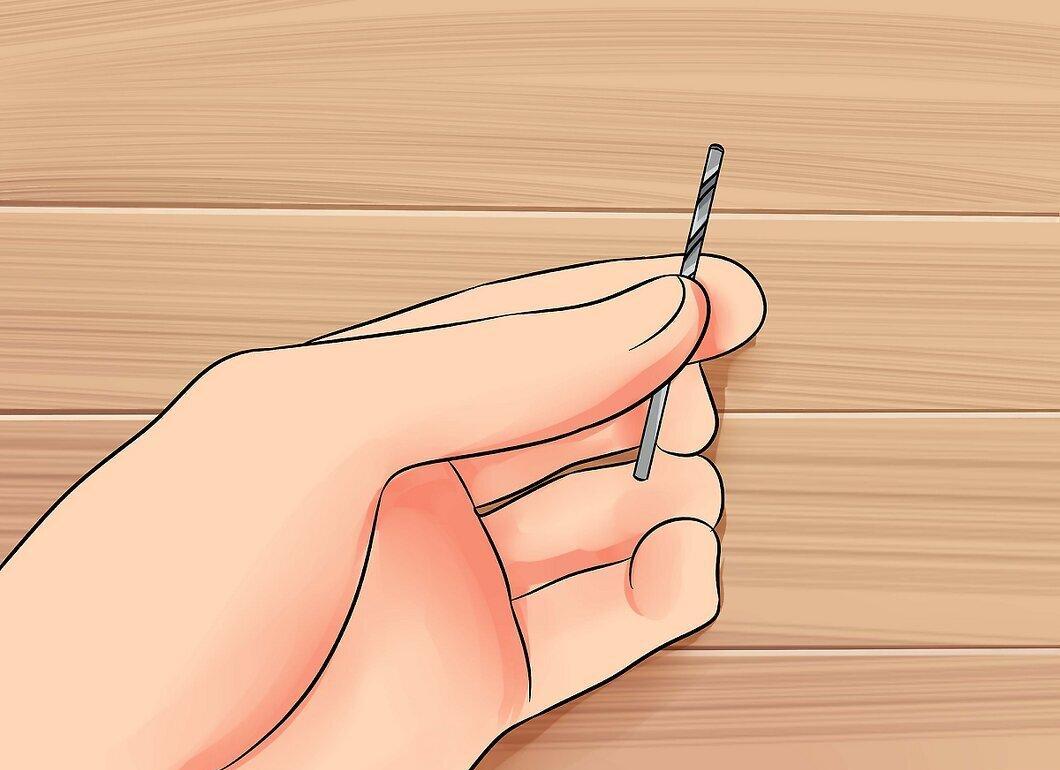
Use appropriate tools. Since polymer clay is soft, don’t use an electric drill or rotary tool — a regular drill bit will suffice.
- Choose a drill bit that matches the desired hole width, typically 3 mm or less in diameter.
- A standard drill bit will work perfectly; there’s no need for bits made from tough materials.
Step 3. Secure the Bead.
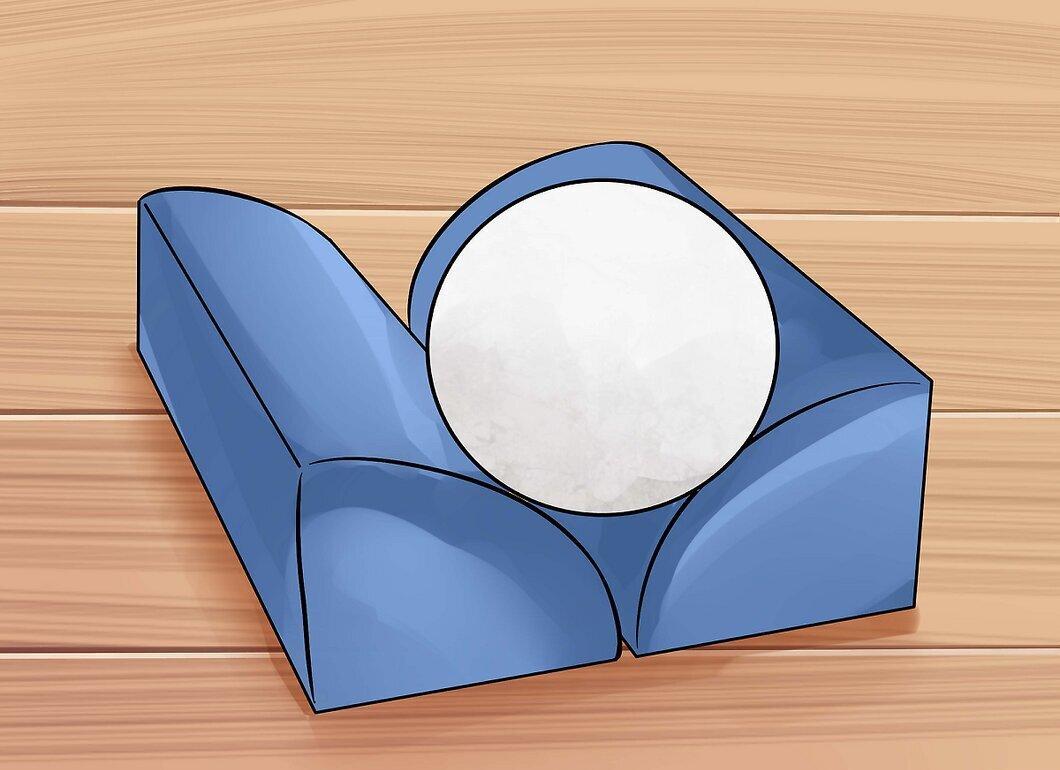
Secure the bead by pressing it into putty or a sticky mass to keep it stationary during drilling.
- You can also hold the bead in pliers or your fingers since power tools are not required.
- Using a clamp is optional but possible.
Step 4. Carefully Drill the Bead.
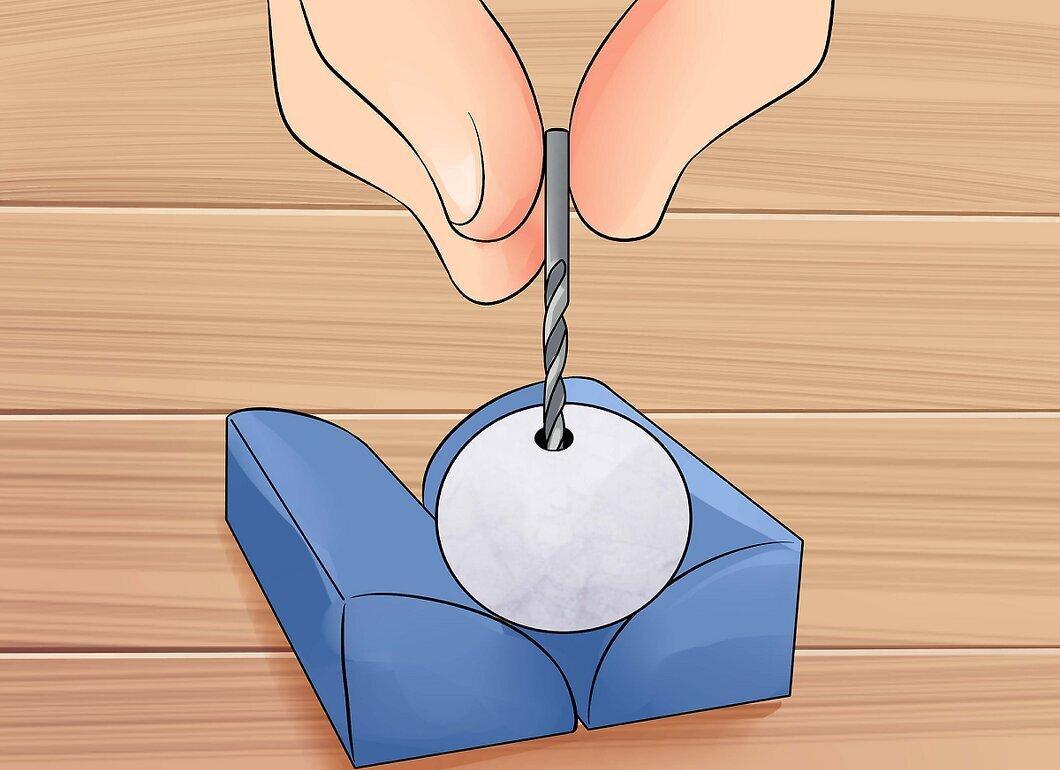
Position the drill bit directly above the indentation and slowly screw it into the bead, maintaining a steady motion until you achieve a through hole.
- Ensure the drill bit is positioned straight and perpendicular to the indentation.
- Screw the bit in without applying too much force — it should enter the material on its own.
- Alternatively, you can hold the drill bit and rotate the bead around it.
- If you have trouble screwing in, use a hand drill. Power tools are not necessary.
Step 5. Evaluate the Result.
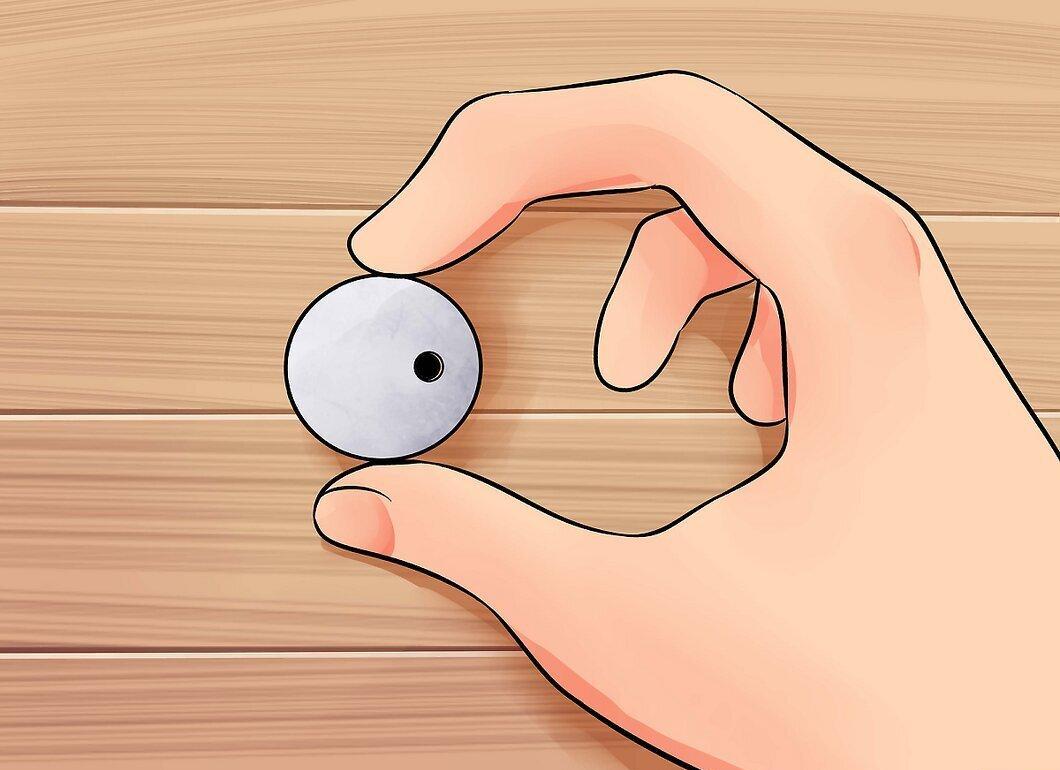
After drilling the hole, carefully remove the drill bit and check it.
- At this stage, your work is complete.
Method 3: Beads Made of Uncured Polymer Clay
Step 1. Select Pins or Needles.
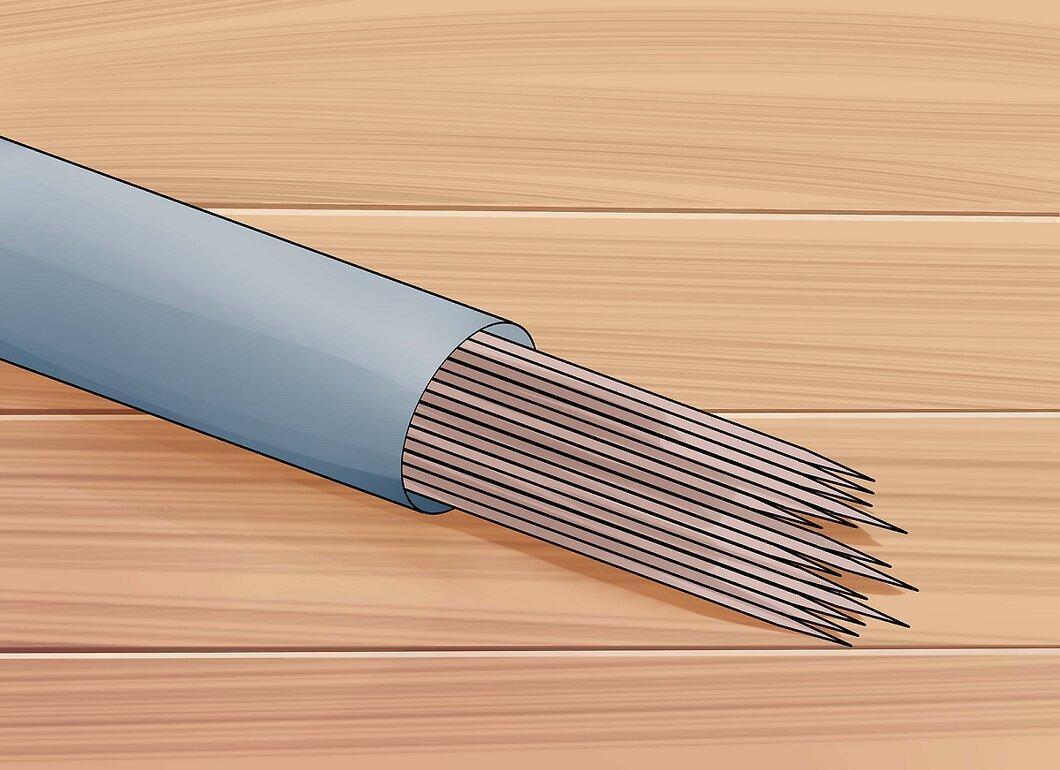
Acquire pins or needles for piercing clay beads from any clay tool manufacturer.
- If specialized pins are unavailable, sharp skewers or large sewing needles can be used. The main thing is that the tool is sharp and sturdy, about the thickness of 20-gauge wire, and long enough to pass through the bead.
Step 2. Insert the Pin into the Bead.
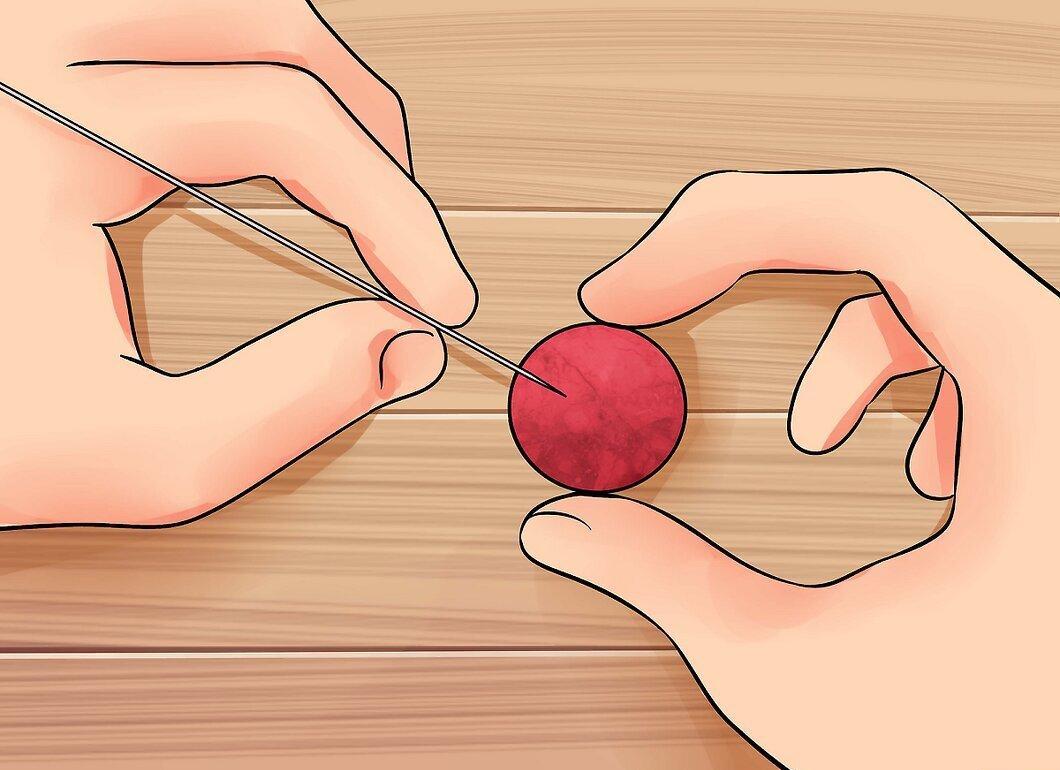
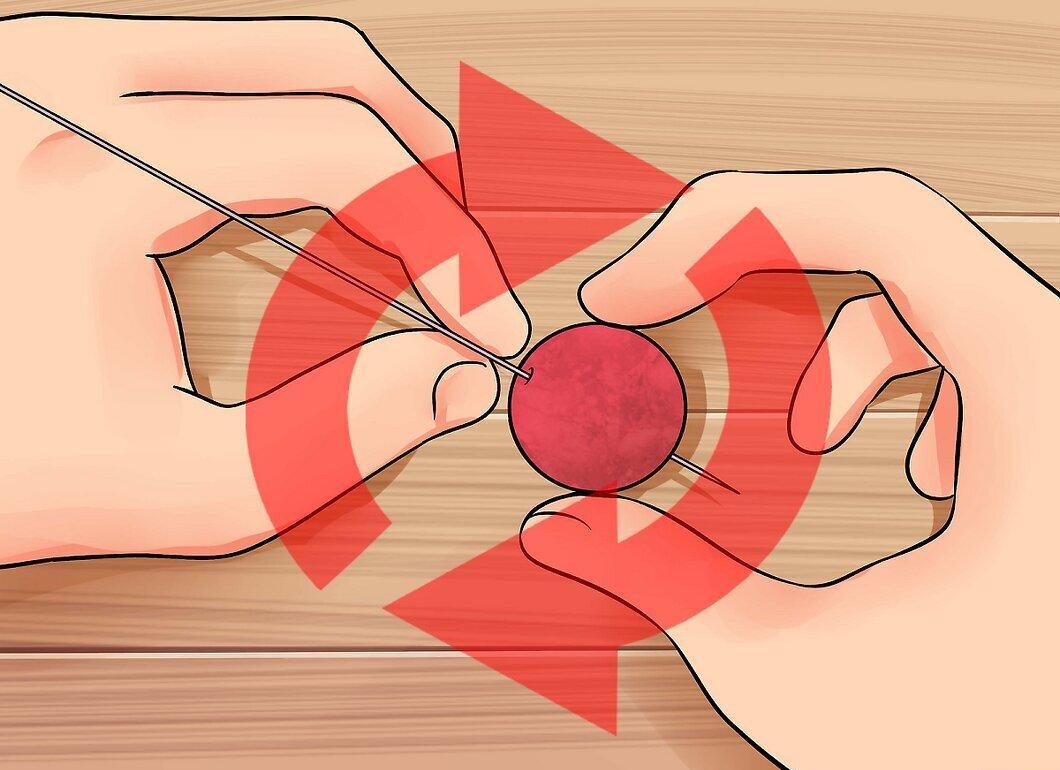
Gently hold the bead between the fingers of one hand. With your working hand, carefully insert the sharp end of the pin at the point where the hole should be.
- Make sure your fingers do not block the entry and exit points of the pin in the bead.
- Hold the bead gently to keep it from moving, but don’t squeeze it.
Step 3. Twist and Continue Pushing.
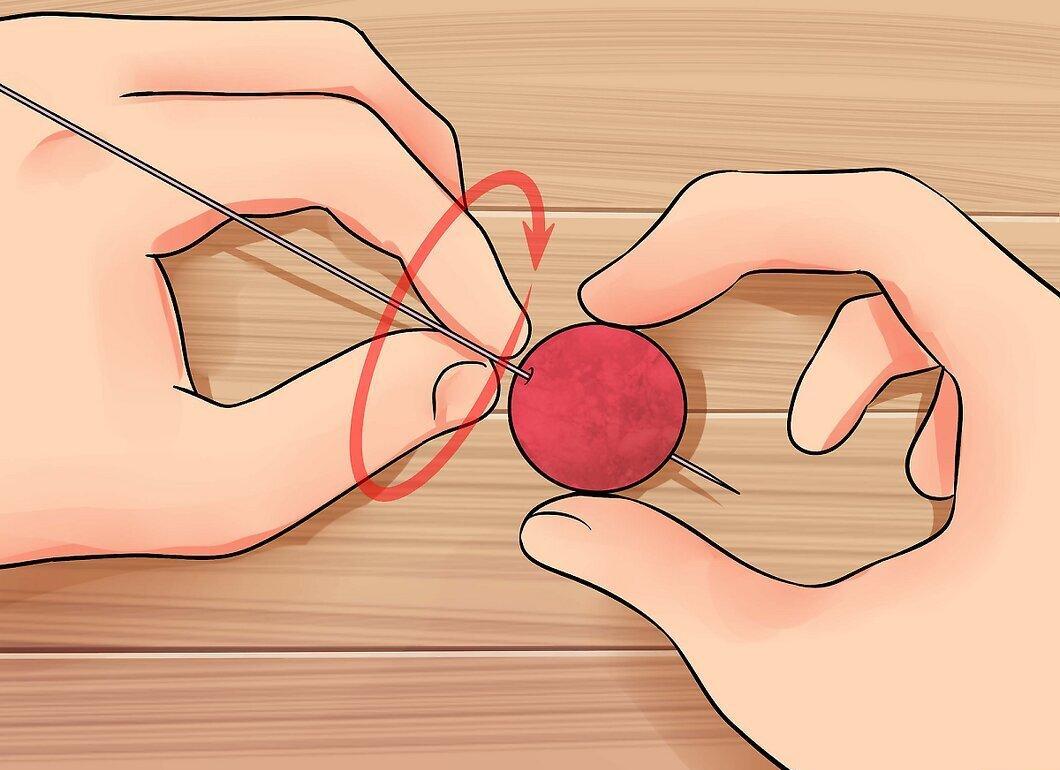
Twist the pin between your fingers as you push it into the bead. Continue doing this until the end of the pin comes out the other side.
- You can also slightly turn the bead as you insert the pin.
- Ensure the pin is held vertically. Work slowly and carefully to avoid damaging the shape of the bead.
Step 4. Pull the Pin Back.
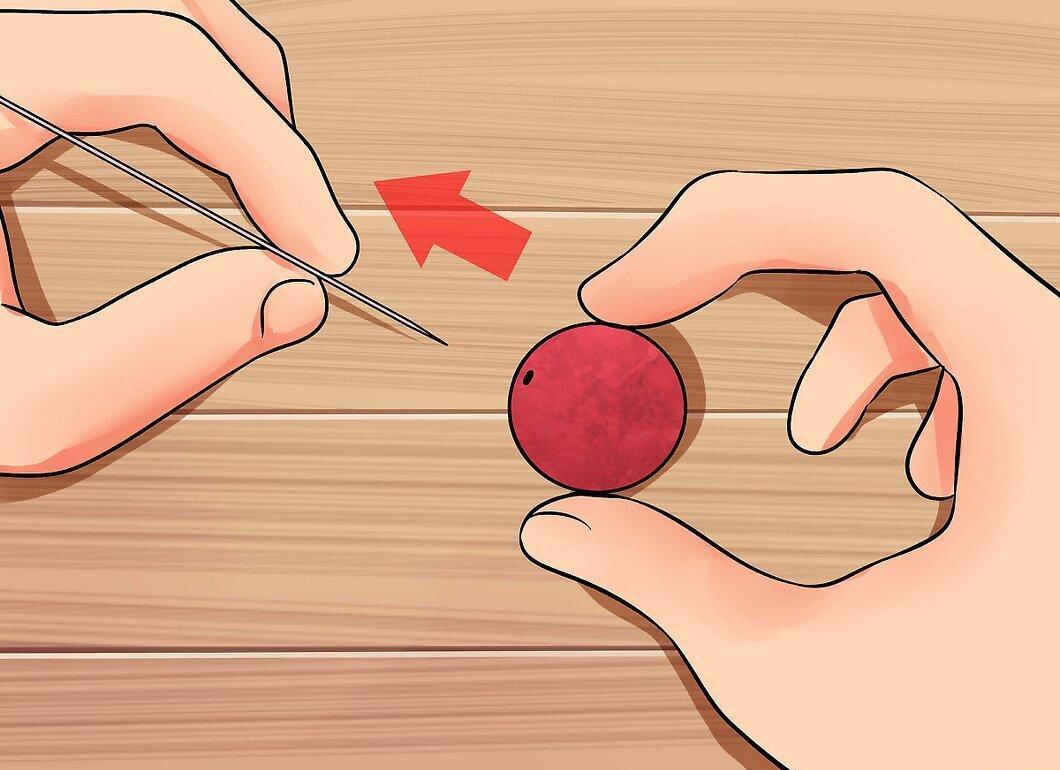
Once the hole is ready, gently pull the pin back by 1-2 mm.
- During the piercing process, the pin may push out small bits of clay from the opposite side. Pulling the pin back will allow you to clean it of such particles.
Step 5. Restore the Bead Shape if Necessary.
If the bead shape has slightly changed, carefully restore it using your fingers.
- With proper tool usage and technique, deformation may not occur at all. Practice will help you learn how to pierce beads without altering their shape.
Step 6. Bake the Clay.
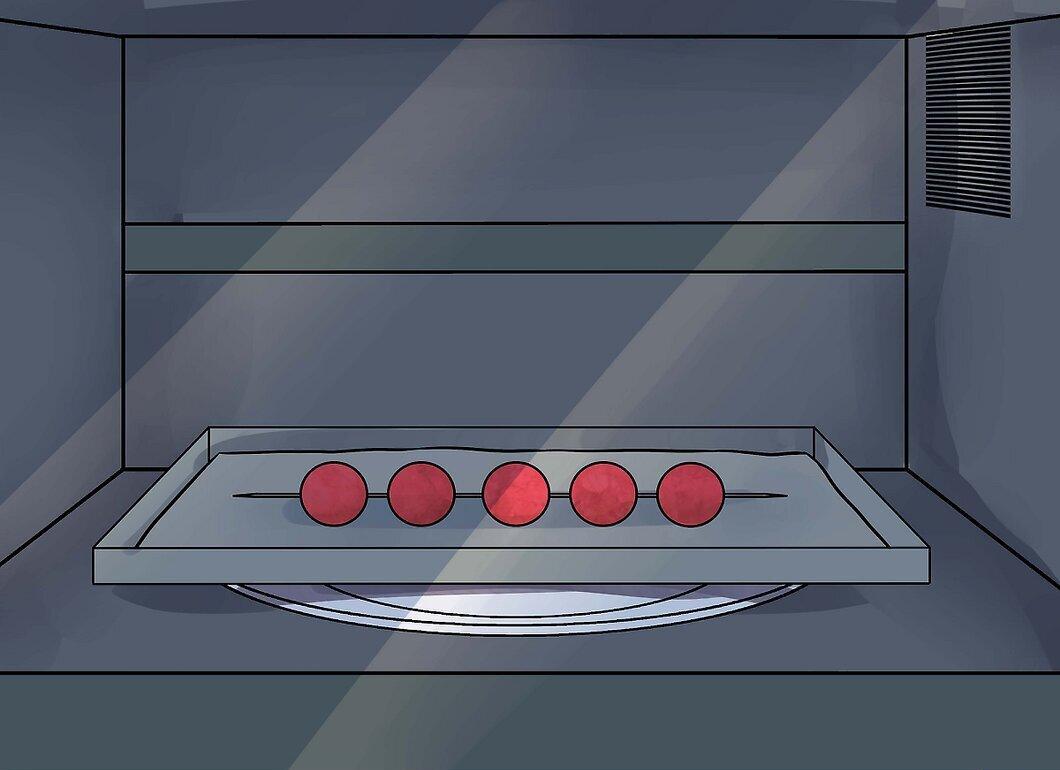
Place the beads on a baking sheet lined with parchment or wax paper and bake them as you would for any polymer clay items.
- Refer to the instructions on the polymer clay packaging to determine the required temperature and baking time. Typically, this is 15-20 minutes in an oven preheated to 135 degrees Celsius.
- If you do not want to remove the pins before baking, ensure the tool is made of safe material. Check the oven periodically to make sure the pin does not melt.
Step 7. Remove the Pin and Check the Hole.
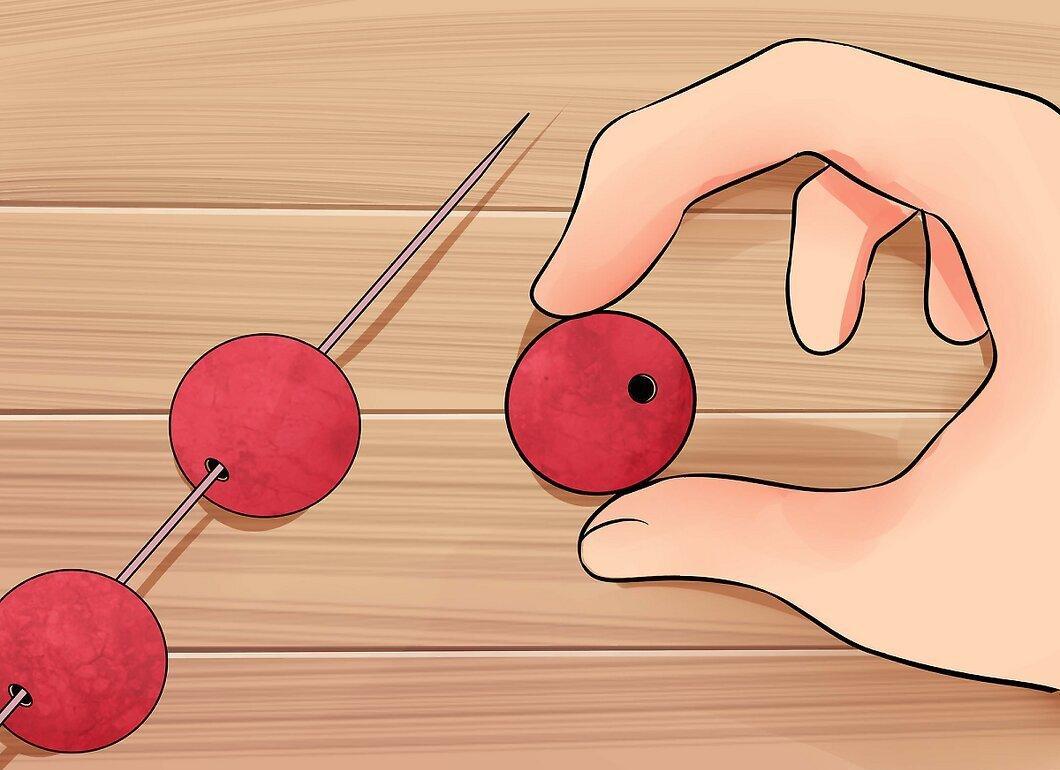
Once the beads have cooled, carefully remove the pins. Check the hole: it should be smooth and of consistent width.
- It is best to remove the pin while the clay is still warm and soft. If you are satisfied with the hole, then you have completed the task.


