
Varnishing wood is not just a way to extend its lifespan but also a means to protect the surface from scratches and dirt. Varnish adds aesthetic appeal by highlighting the texture and color of the wood. If you want to change the tint, you can use colored varnish. Let's explore how to properly apply varnish to wooden furniture.
Choosing the Right Workspace and Varnish
Step 1. Find a well-lit and ventilated area.

Select a room with good lighting and ventilation. Bright light will help you spot any imperfections such as bubbles, brush marks, and other defects. It's important that the area is well-ventilated, as many solvents and varnishes have strong odors that can cause dizziness.
- If the smell is too strong, open a window or turn on a fan.
Step 2. Work in a clean, dust-free environment.
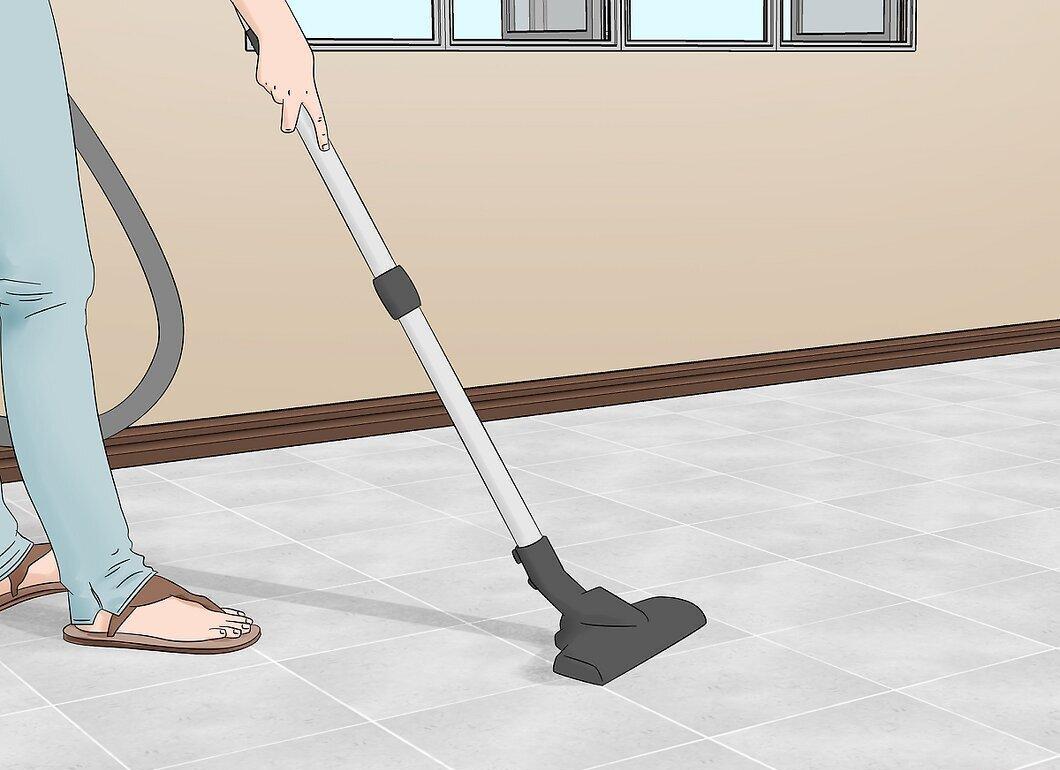
Ensure that your workspace is free from dust and dirt. Clean the area thoroughly before starting to avoid contaminating your project.
- If working outdoors, choose a windless day to prevent dust particles from settling on the fresh varnish.
Step 3. Monitor temperature and humidity.

The room temperature should be between 21°C and 26°C. If the temperature is too high, the varnish may dry too quickly, while too low a temperature can cause slow drying, leading to dust settling on the surface.
Step 4. Use protective gear.
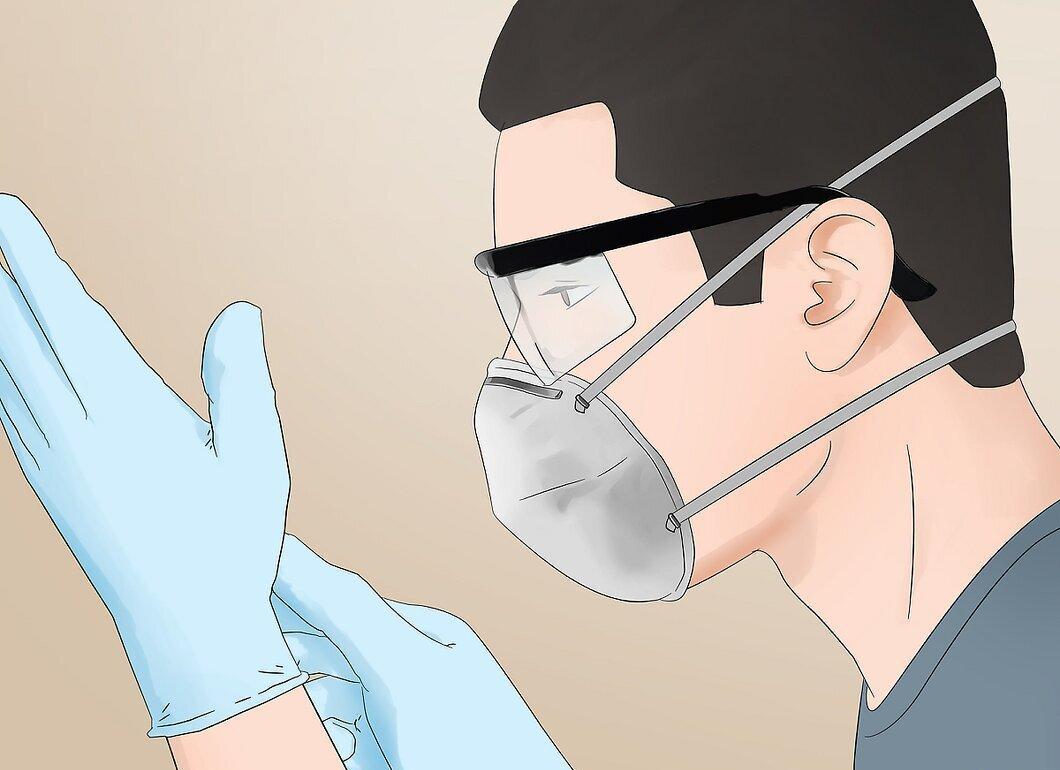
Before you begin, take precautions. Varnishes and solvents can be harmful to your skin and may ruin your clothes. Wear old clothes, gloves, and safety glasses. It is also advisable to use a mask or respirator.
Step 5. Choose the right varnish.
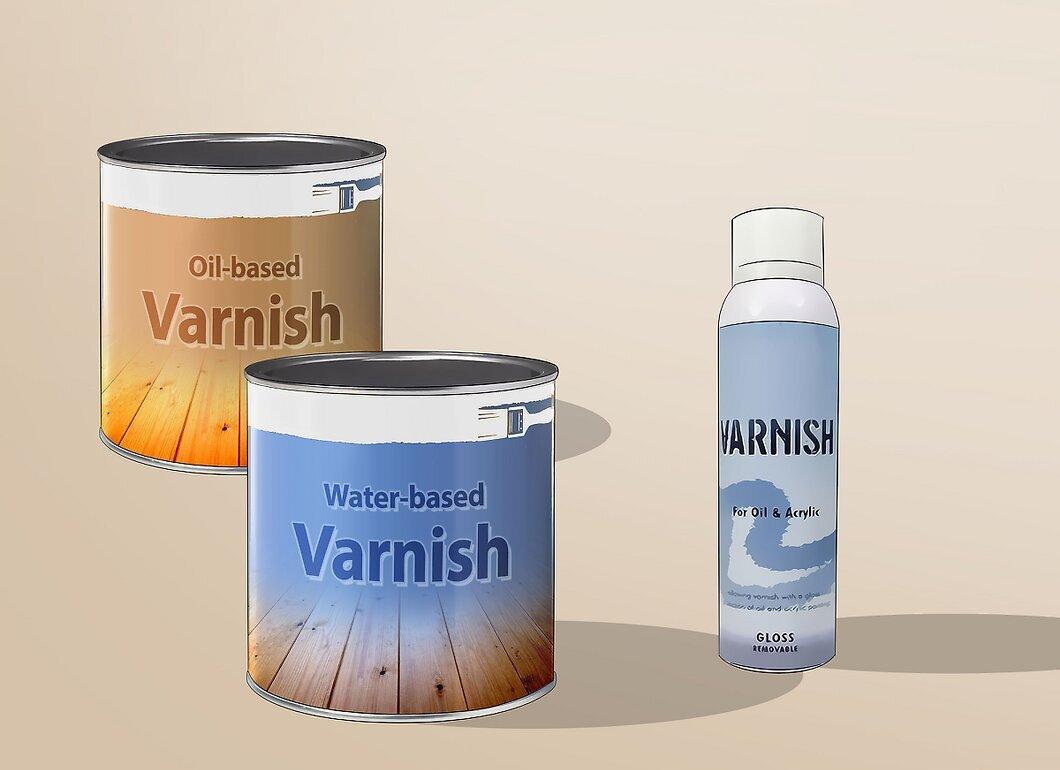
There are many types of varnishes, each with its own pros and cons. Choose one that best suits your needs.
- Oil-based varnishes, such as polyurethane, are very durable but have a strong odor and require solvents for thinning. Brushes must be thoroughly cleaned after use.
- Acrylic varnishes and water-based varnishes are less toxic, dry faster, and can be cleaned with soap and water.
- Spray varnishes are convenient but also require good ventilation. They come in both clear and colored options, allowing you to enhance or change the wood's color.
Preparing Wood for Varnishing
Step 1. Remove old varnish if necessary.
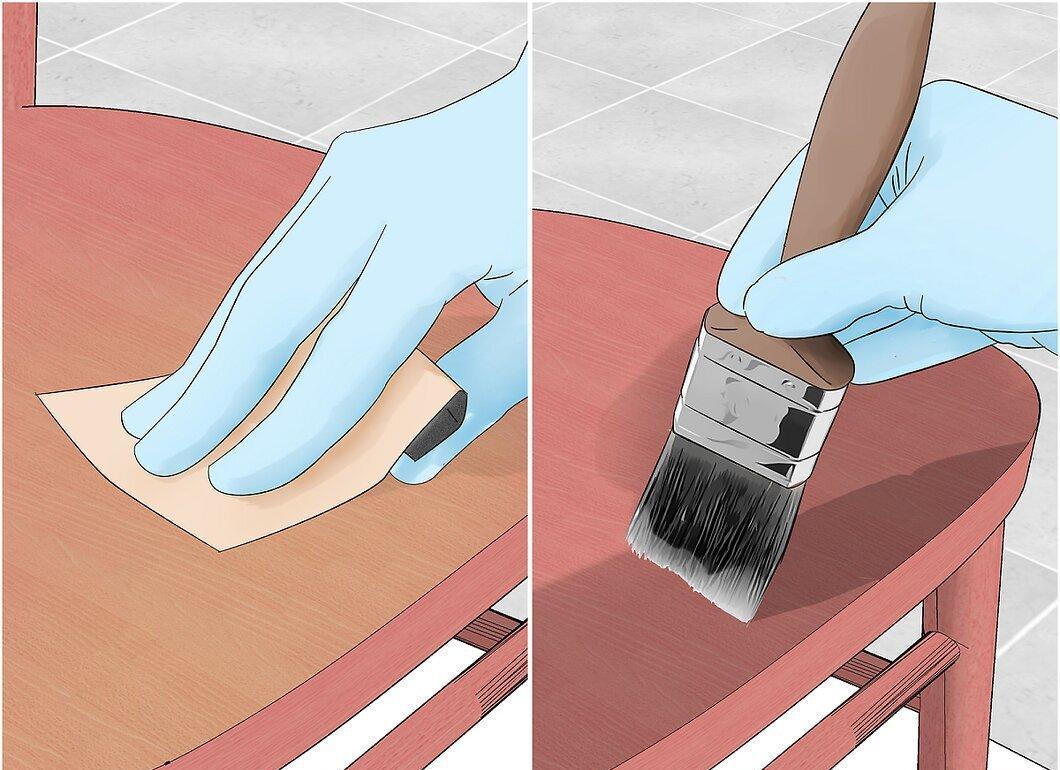
If you want to keep the old finish, skip to the next step. Otherwise, remove the old varnish using a solvent or sandpaper.
Step 2. Use a solvent to strip varnish.
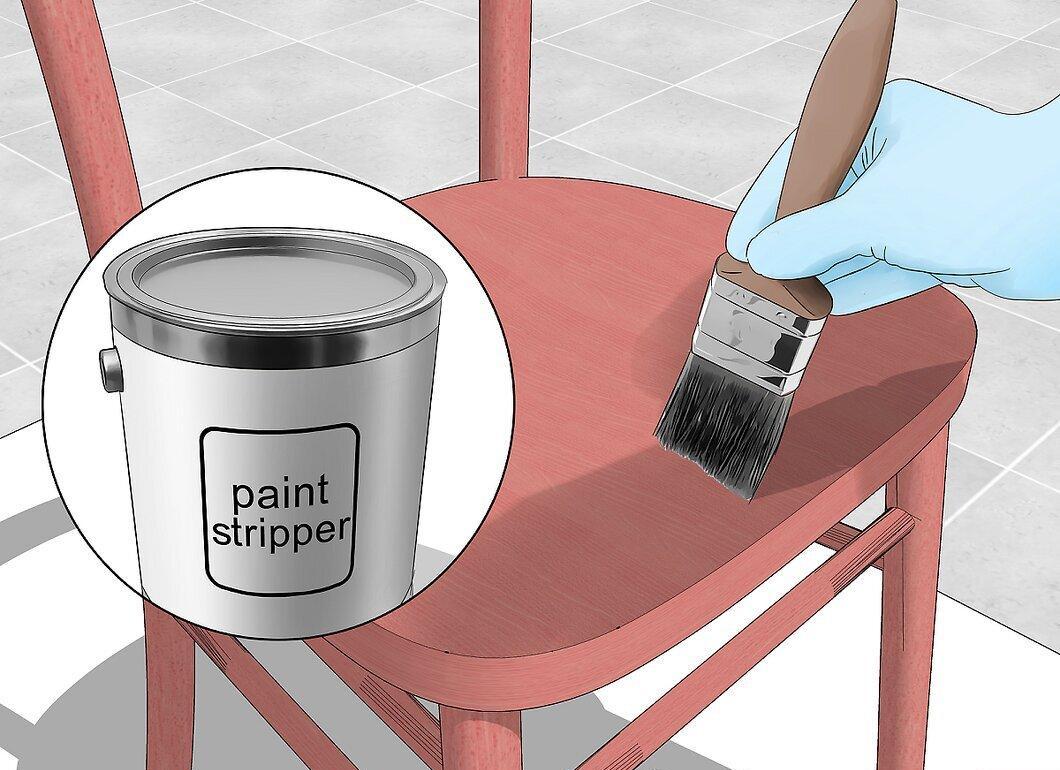
Apply the solvent to the old varnish with a brush and follow the instructions on the packaging. Remove the varnish with a scraper, ensuring the solvent does not dry.
- Make sure to thoroughly remove all solvent residues using turpentine or water, depending on the type of solvent used.
Step 3. Use sandpaper or a sander.
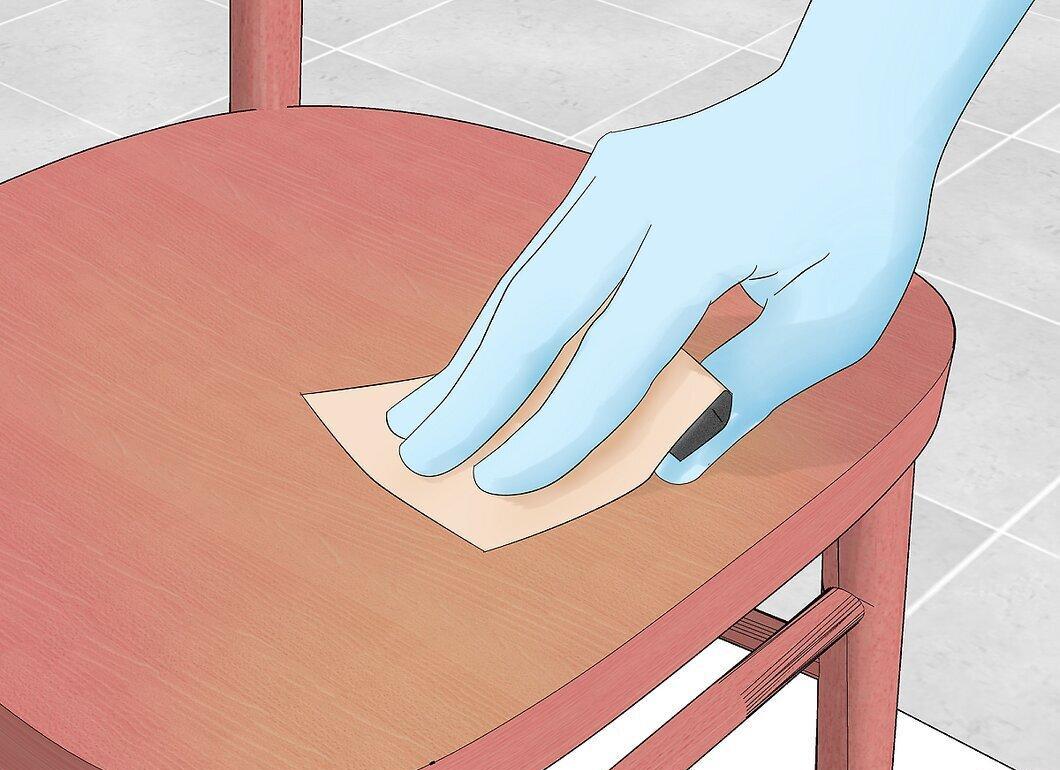
You can use sandpaper, blocks, or a sander to remove varnish. Sandpaper is better for uneven surfaces, while sanders are suitable for flat ones.
Step 4. Use a paint thinner.
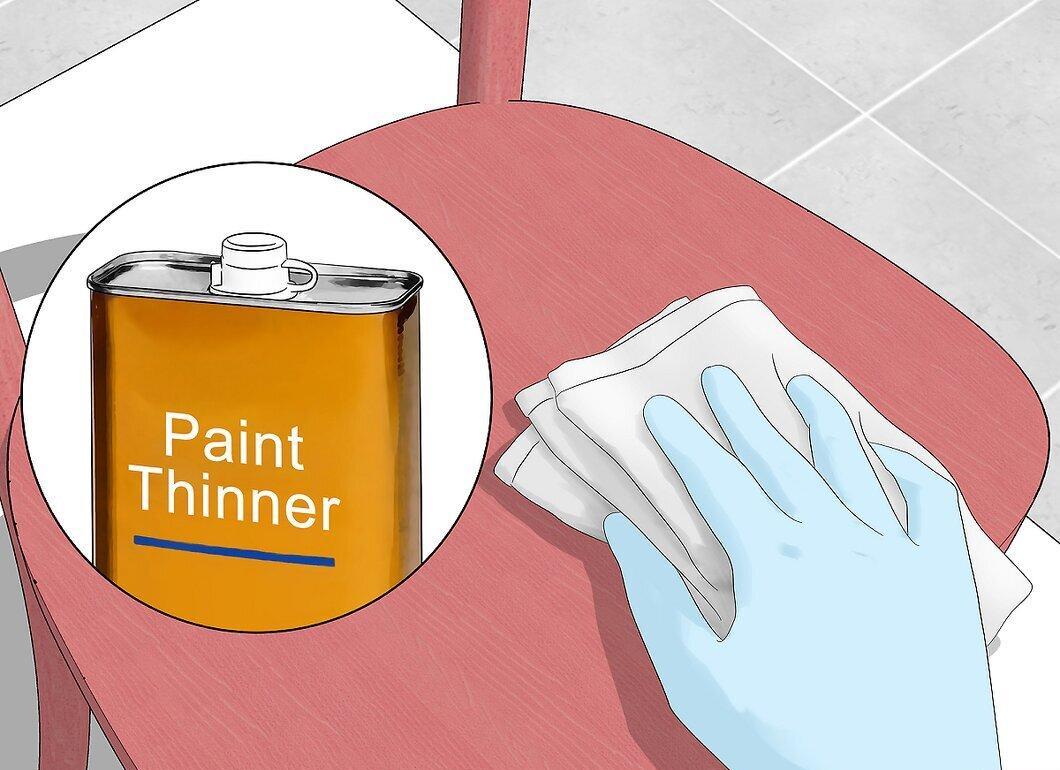
Dampen a cloth with the thinner and wipe the surface. When the old varnish starts to lift, carefully scrape it off with a scraper.
Step 5. Polish the wood with fine sandpaper.
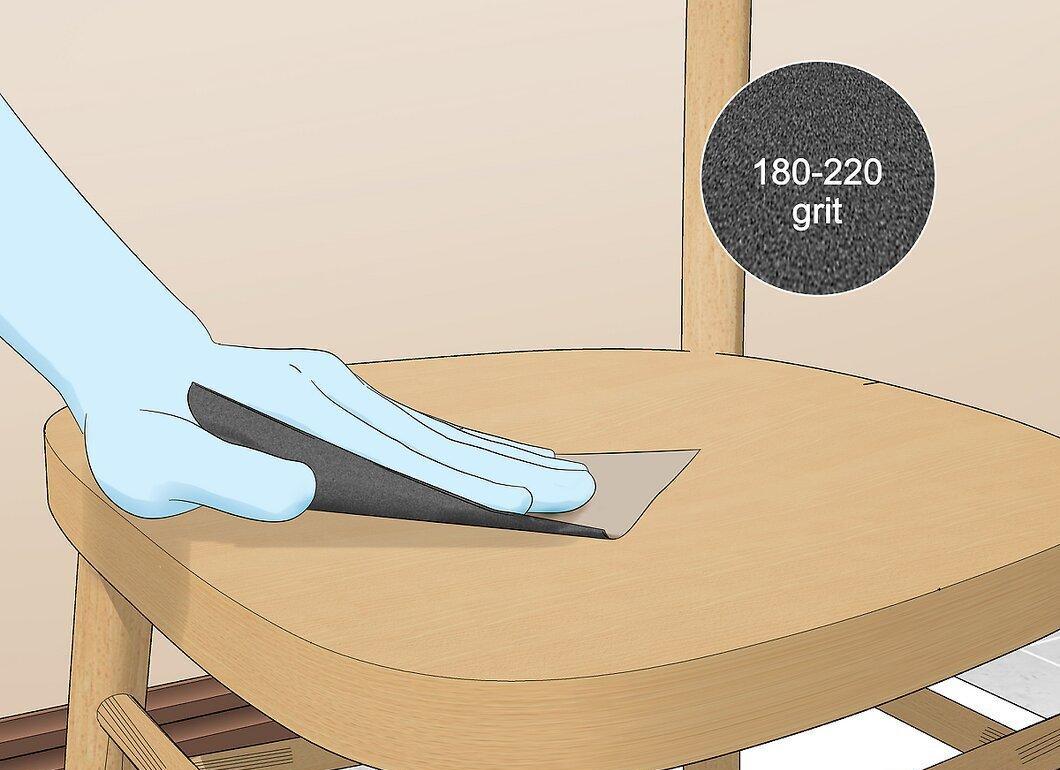
Use fine-grit sandpaper for polishing to smooth the surface and remove any remaining varnish, sanding along the grain.
Step 6. Clean the surface with a damp cloth and let it dry.
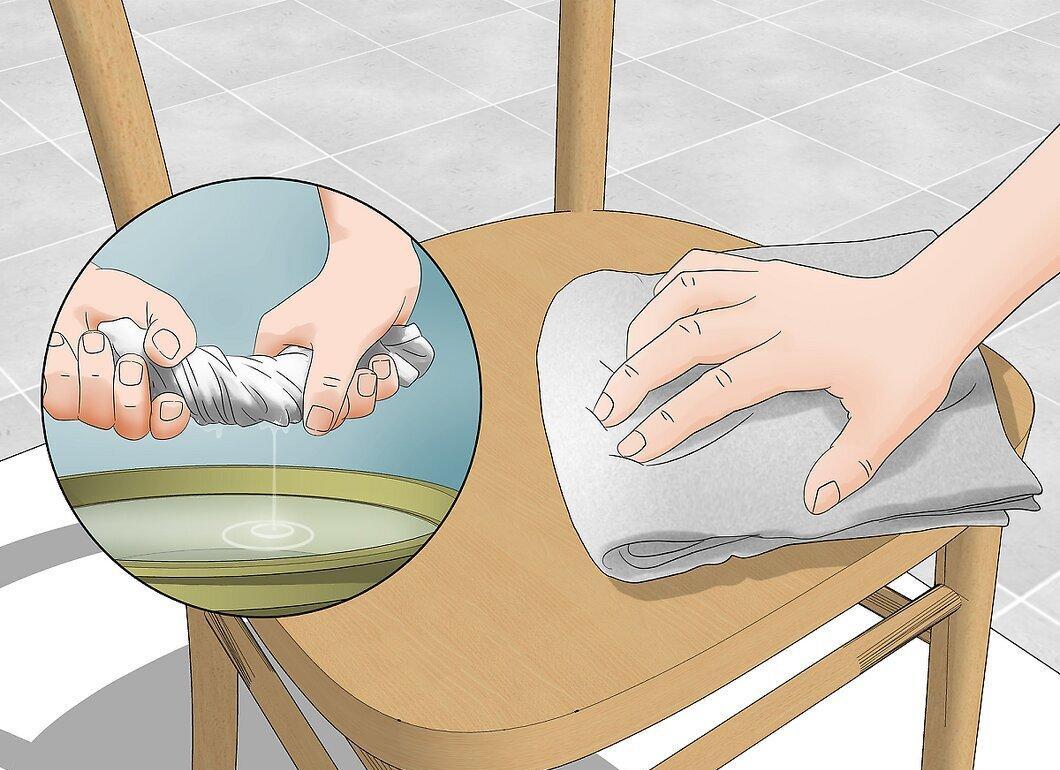
Wipe the surface with a damp cloth to remove dust and let it dry before applying varnish.
Step 7. Prime the wood.
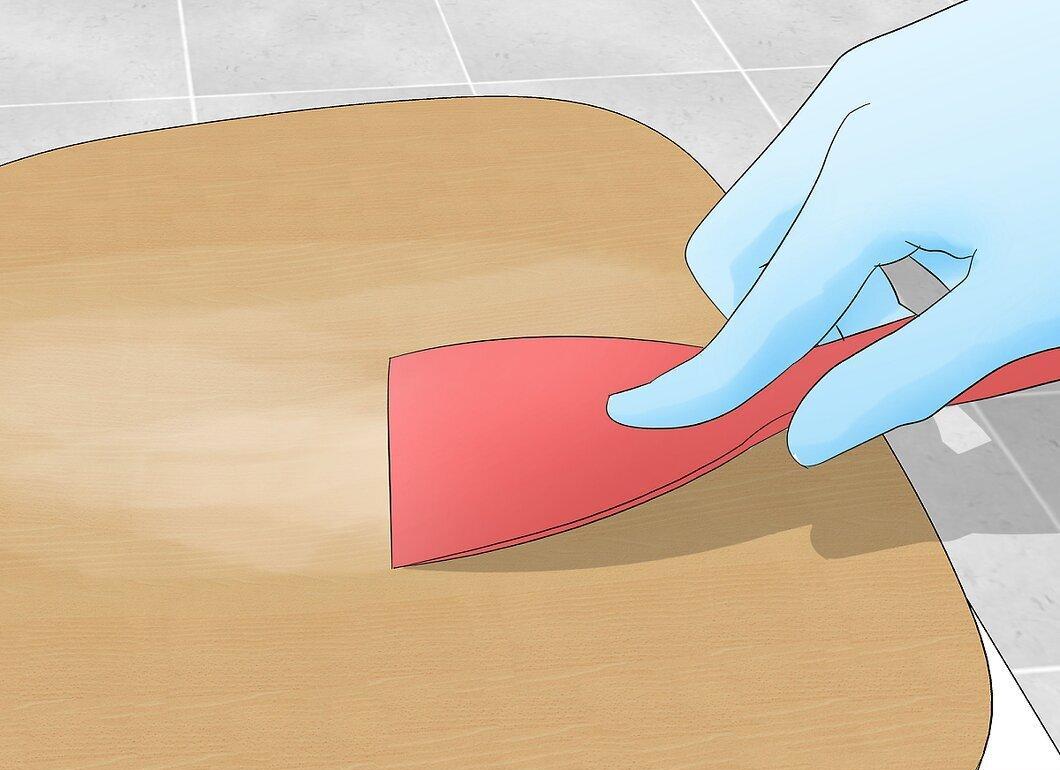
Certain types of wood, such as oak, require priming. Choose a primer that matches the color of the wood or varnish.
Applying Varnish
Step 1. Prepare the varnish for the first coat.
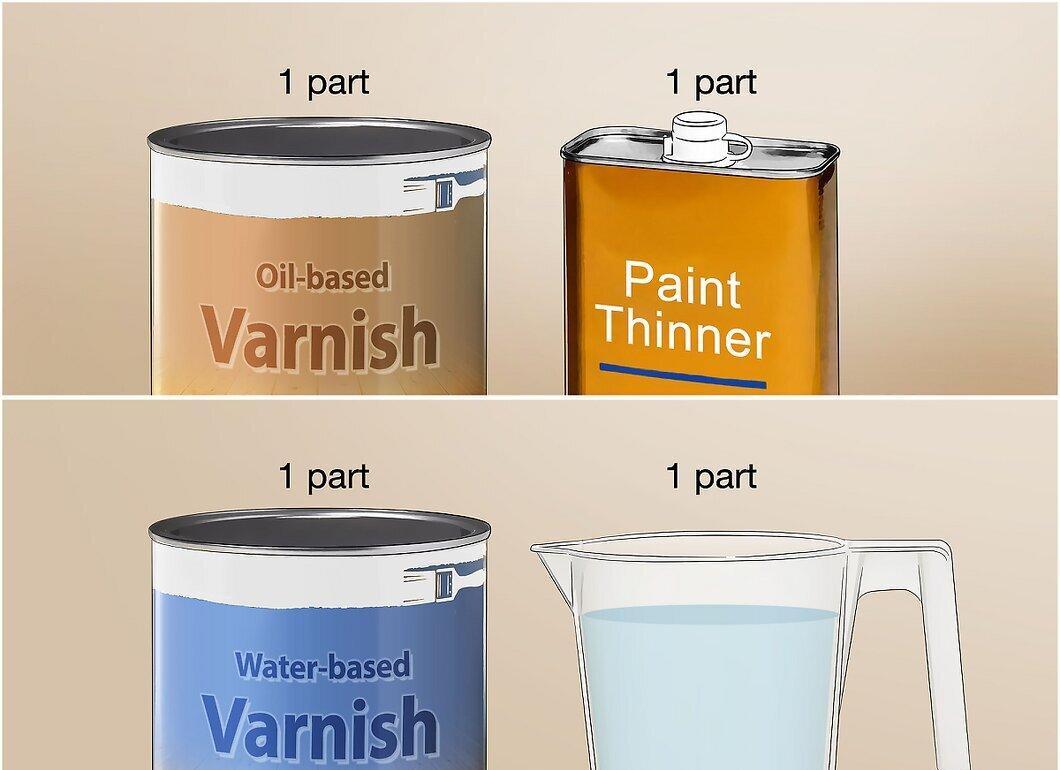
If necessary, thin the varnish before the first coat. Some varnishes, such as sprays, do not require preparation, while oil-based varnishes should be thinned.
Step 2. Apply the first coat of thinned varnish and let it dry.
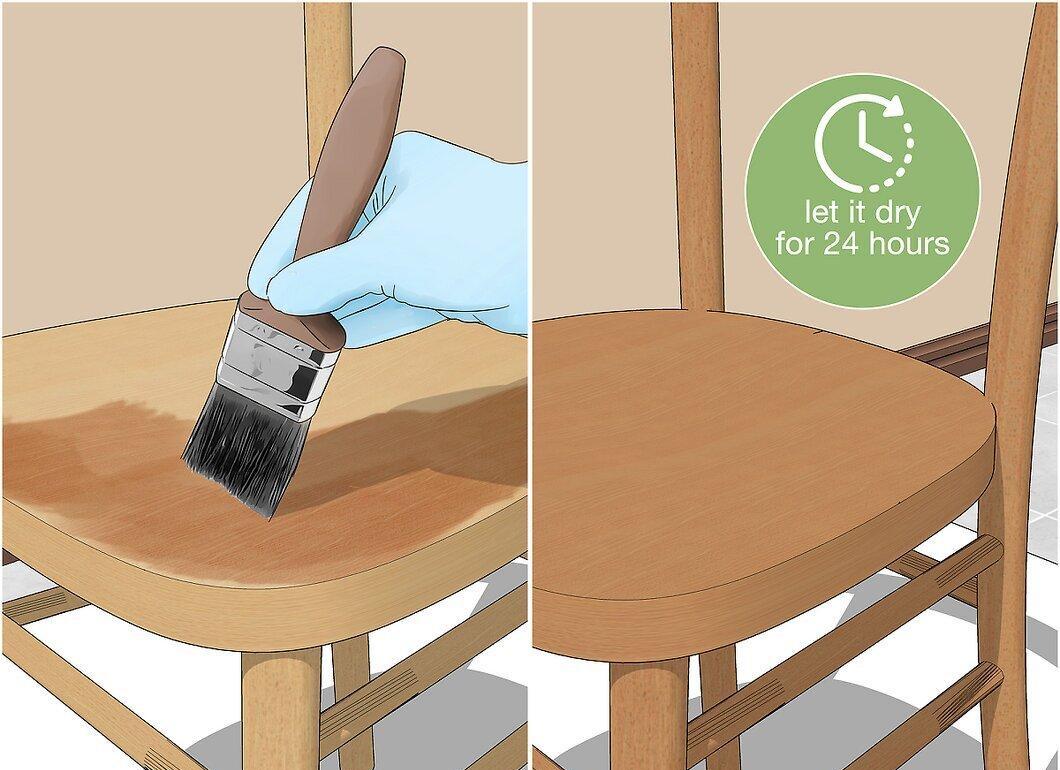
Use a brush or roller to apply the varnish, following the grain direction. Allow the first coat to dry for 24 hours.
Step 3. Sand the first coat and wipe with a damp cloth.
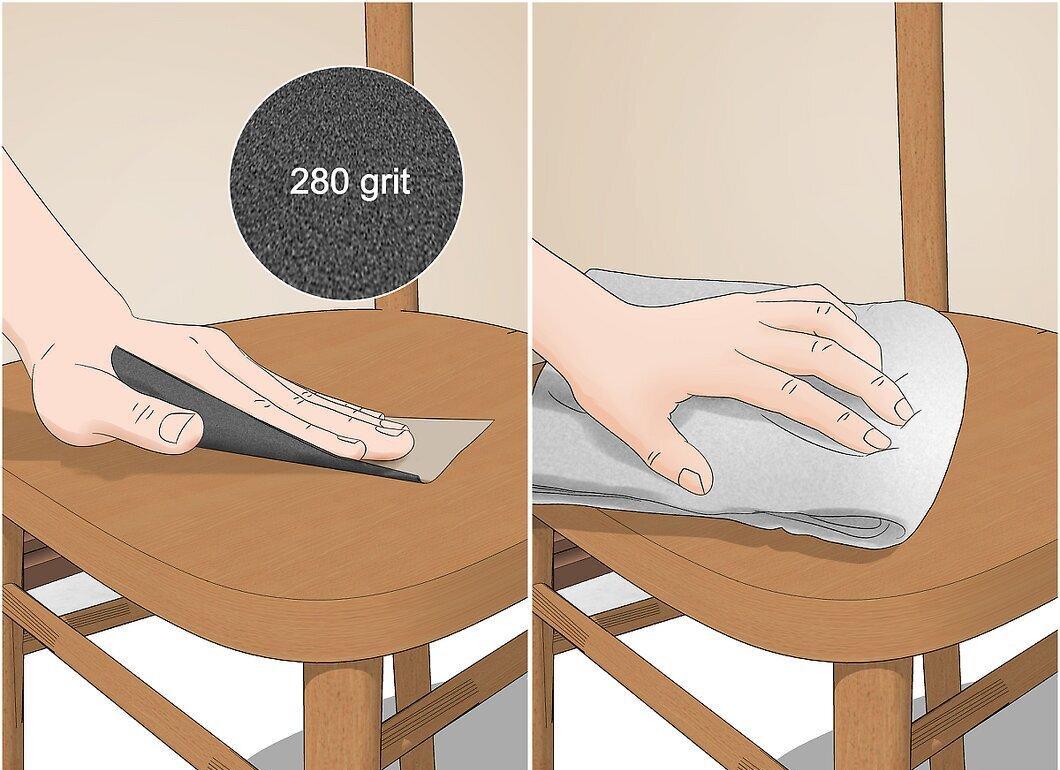
Once the first coat is dry, sand it with fine sandpaper and remove dust with a damp cloth.
Step 4. Apply the next coat of varnish and let it dry.
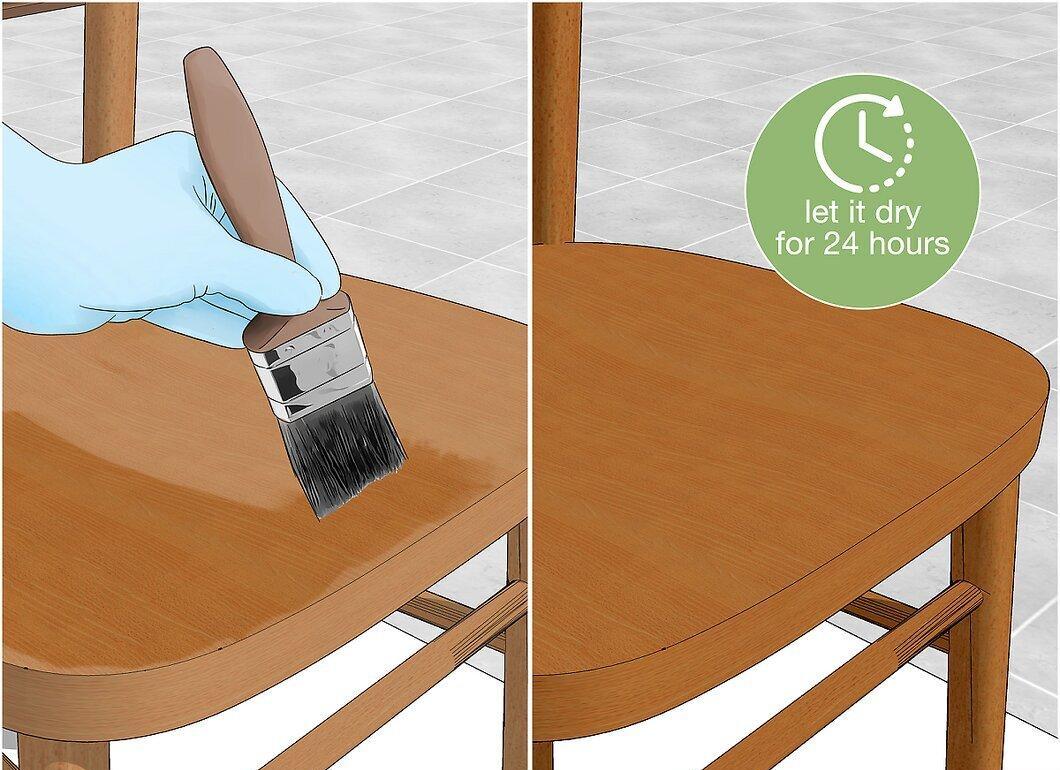
Use a clean brush to apply a new coat of varnish without thinning it. Wait 24 hours for it to dry.
Step 5. Sand the second coat and clean the item.
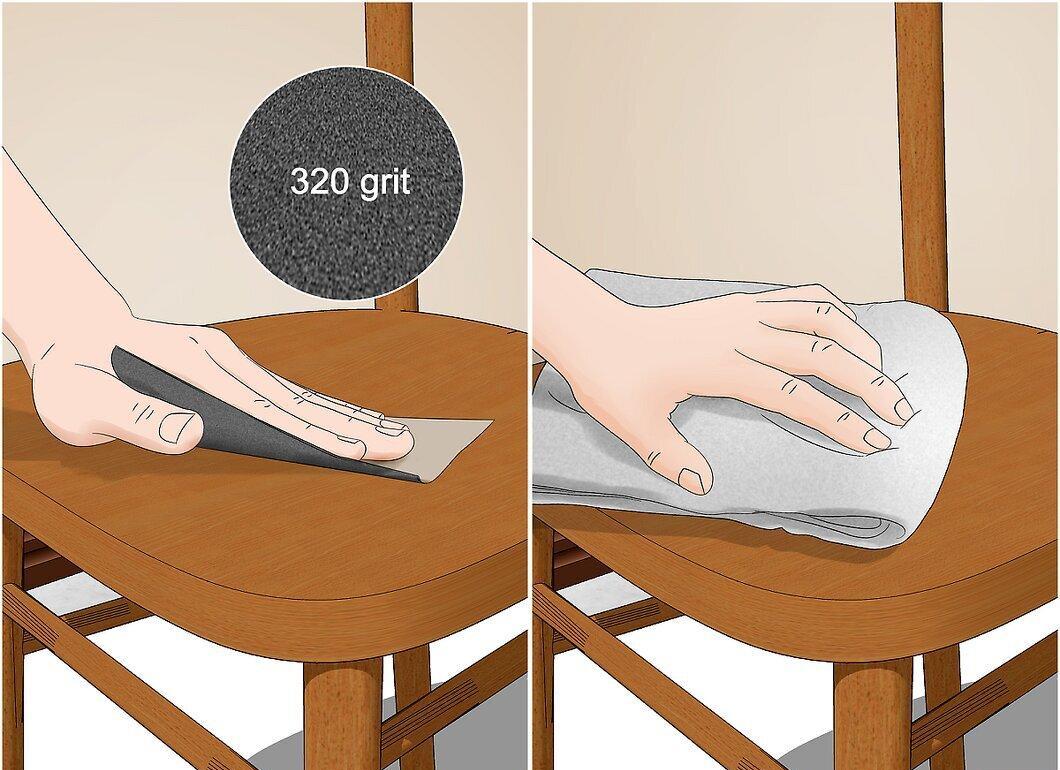
When the second coat is dry, sand it and wipe with a damp cloth. Ensure the working surface is clean.
Step 6. Continue applying coats and sanding.
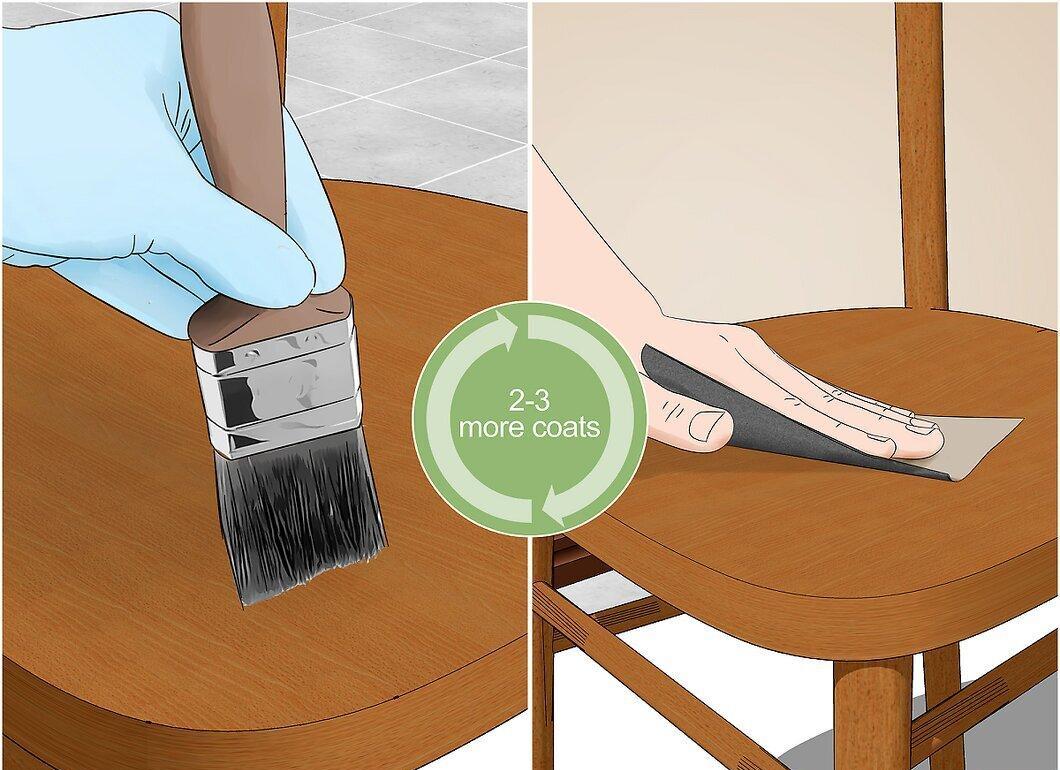
Apply 2-3 coats of varnish, allowing complete drying between each and thoroughly cleaning the surface of dust.
Step 7. Allow the varnish to fully cure.
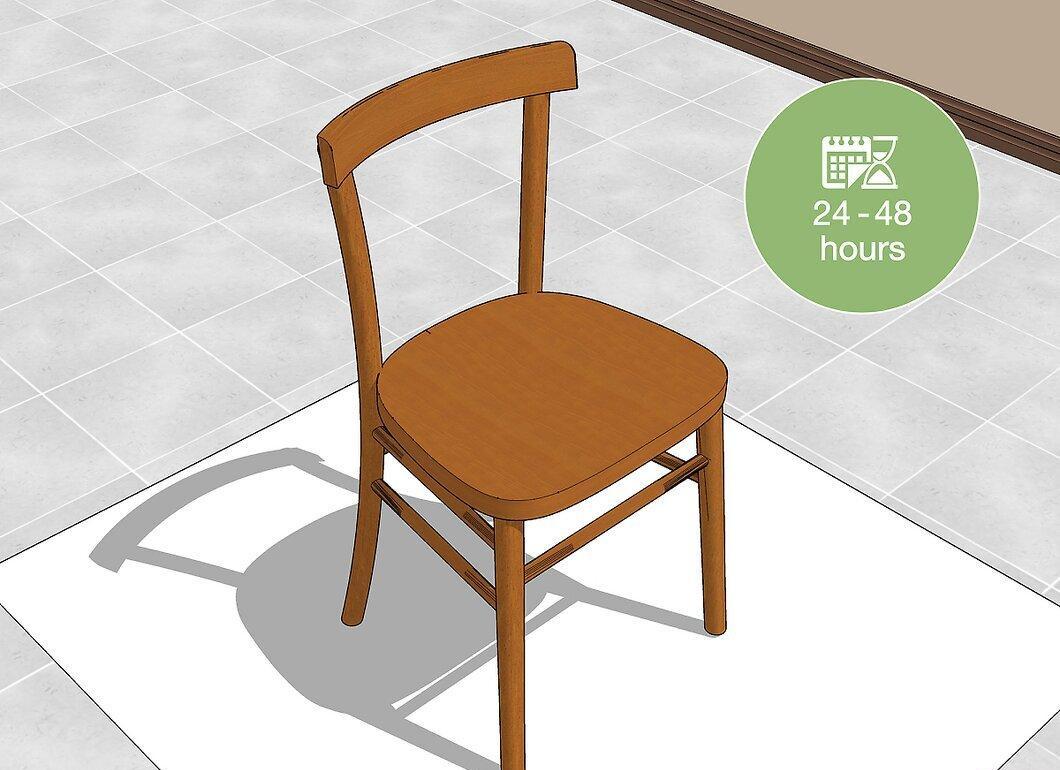
After completing the varnishing, leave the item in place for the varnish to fully cure. This typically takes 24 to 48 hours, and sometimes longer, depending on the type of varnish.


