Peeling boiled eggs can be a bit tricky, but knowing a few simple tricks can make this process much easier. You’ll be able to get rid of the shell in just 5 seconds—read on to find out how.
Main Method
Step 1. Prepare the Eggs.
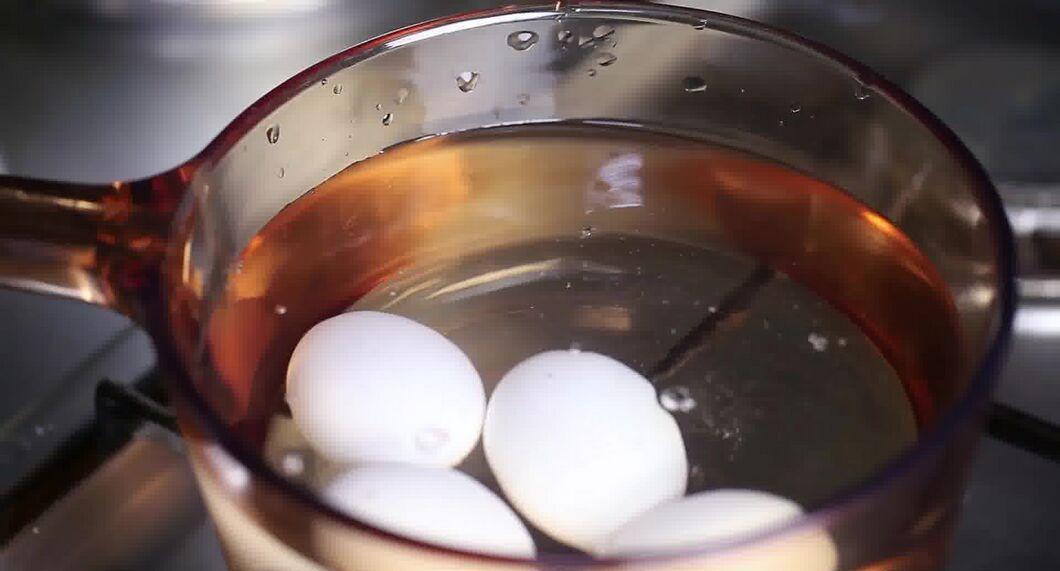
Start by boiling the eggs. The method you use to boil the eggs directly affects how easily you can peel them. Place the eggs in a pot and cover them with cold water, ensuring the water level is about 2 inches above the eggs. Add a teaspoon of baking soda to the water. Bring it to a boil and cook the eggs for about 12 minutes.
- Baking soda increases the pH level of the protein, reducing the likelihood of the egg sticking to the shell and the inner membrane. [2] X Source
- It’s best to use eggs that are 3-5 days old, as fresher eggs are harder to peel due to a smaller air pocket at the wider end. [3] X Source
Step 2. Cool the Eggs.
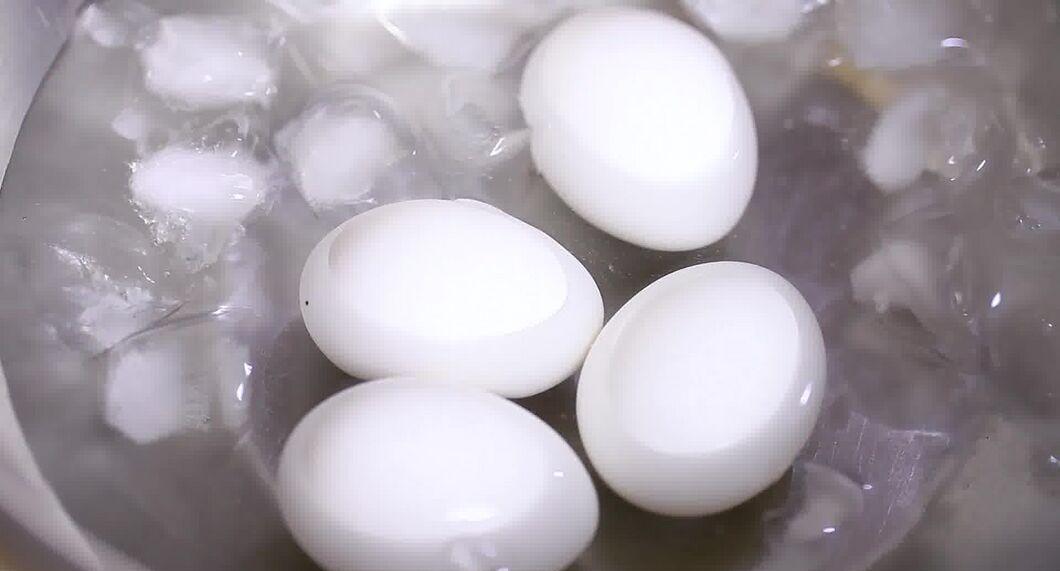
After boiling, the eggs need to be cooled. First, drain the hot water and then fill the pot with cold water. If you like, add some ice. The cold water causes the egg to shrink slightly inside the shell, making the peeling process easier.
Step 3. Crack the Shell on Both Ends of the Egg.
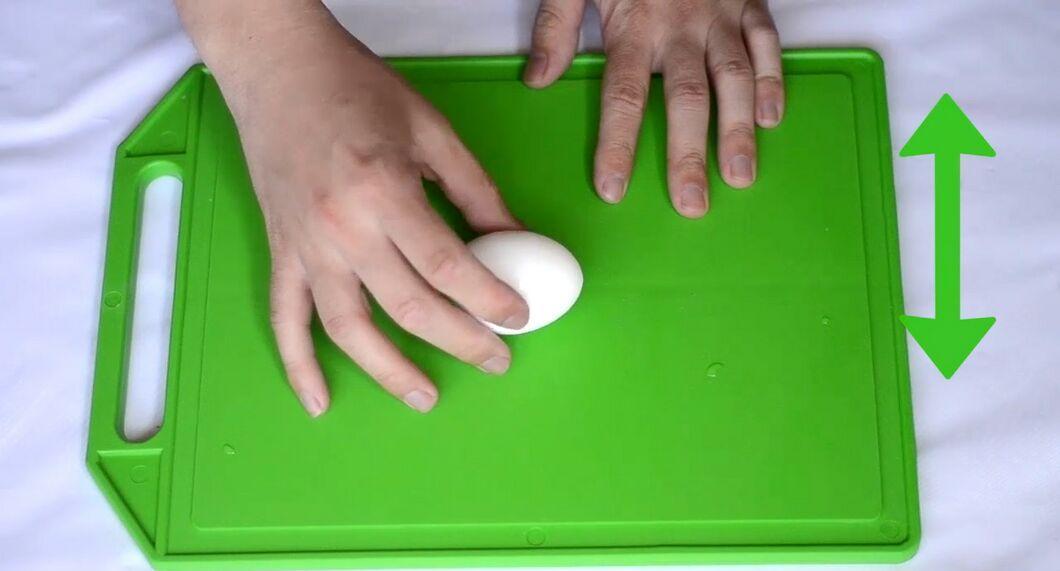
Once the eggs have cooled, take them out of the water and dry them. Firmly tap each end of the egg against a hard surface, like a countertop.
- The wider end of the egg contains an air pocket, and once that is broken, peeling will be easy.
- You can also use the back of a spoon to crack the shell on both ends. A few taps with the spoon on each side should be enough to crack the shell.
Step 4. Peel the Egg.
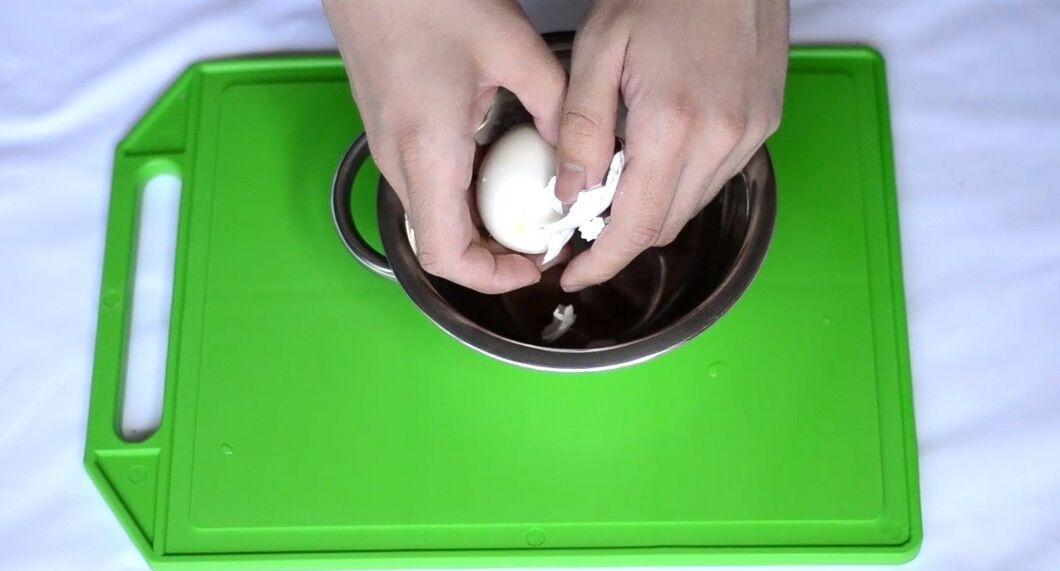
Start peeling from the wider end of the egg, where the air pocket is located. Using the side of your thumb, gently peel the egg. It’s essential to remove not only the shell but also the thin membrane underneath to achieve a perfectly peeled egg. With proper boiling and cooling, the membrane should come off easily.
Rolling Method
Step 1. Boil and Cool the Eggs.
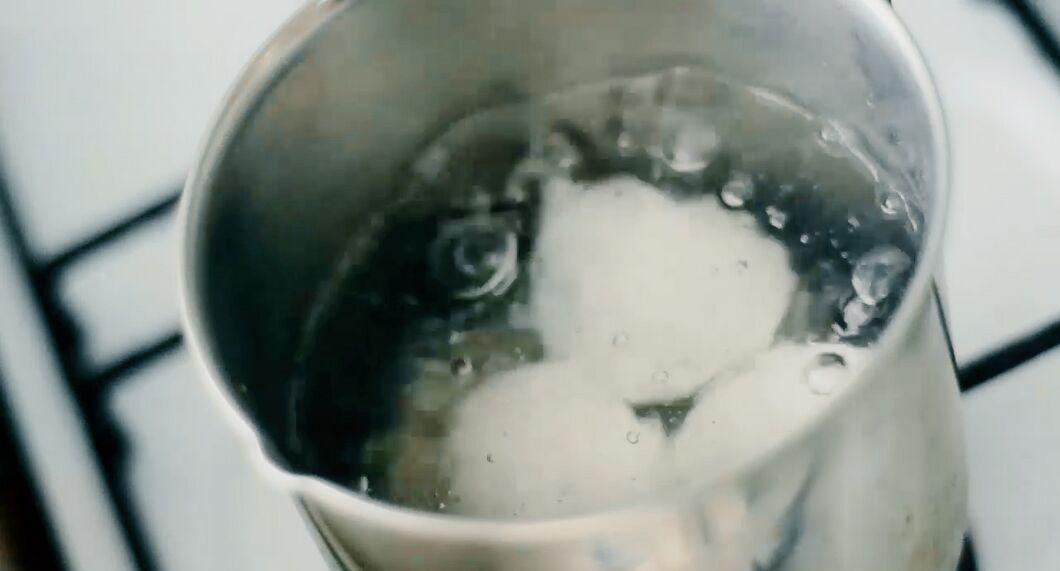
Follow the same boiling and cooling instructions as outlined in the main method.
Step 2. Crack the Shell on Both Ends of the Egg.
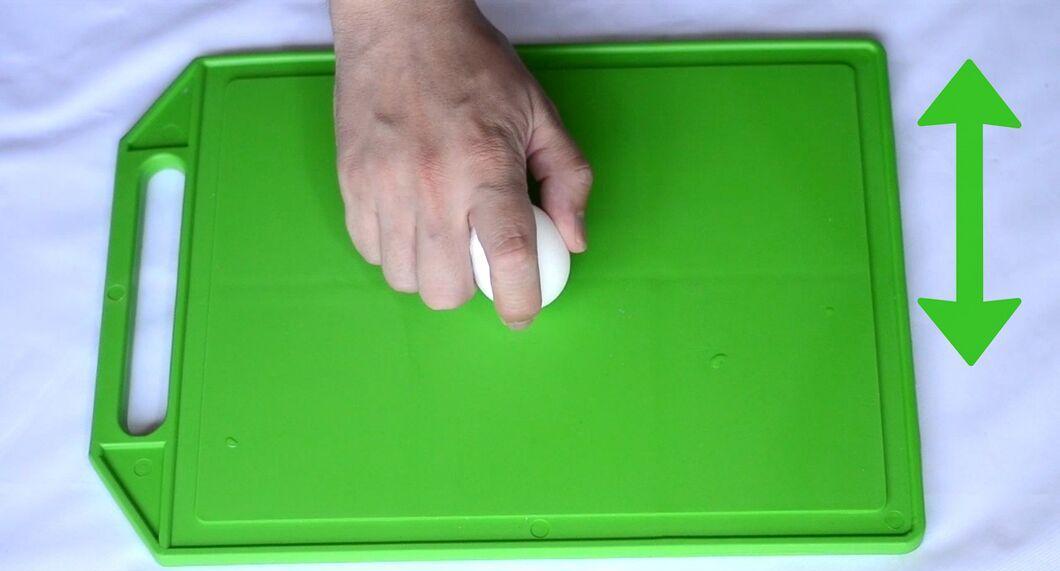
After cooling, confidently tap each end of the egg against a hard surface.
Step 3. Roll the Egg.
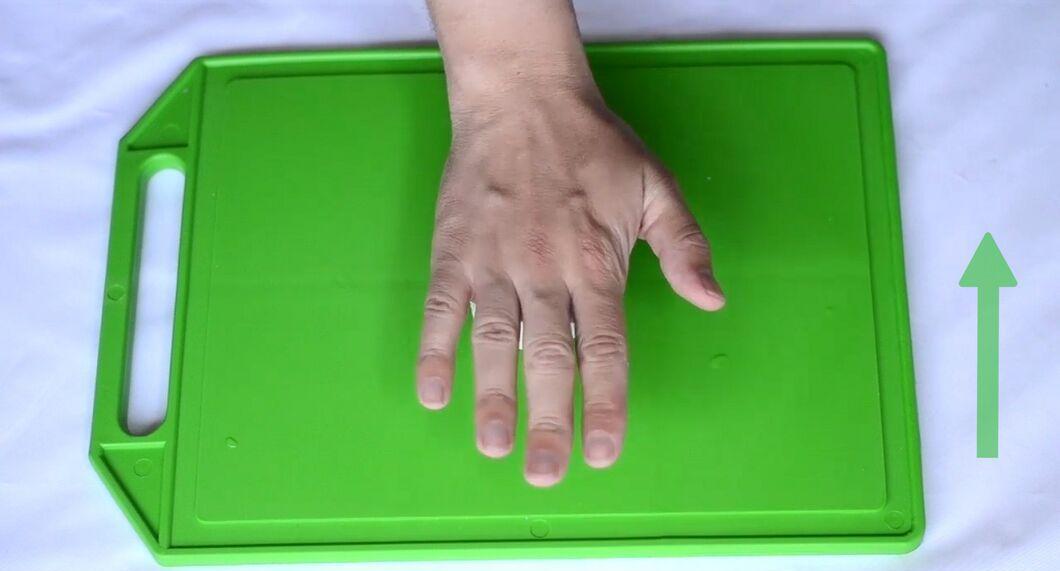
Place the egg on its side and start rolling it across the table, applying gentle pressure with your fingers. You need to press hard enough to create cracks in the shell.
Step 4. Immerse the Egg in Warm Water.
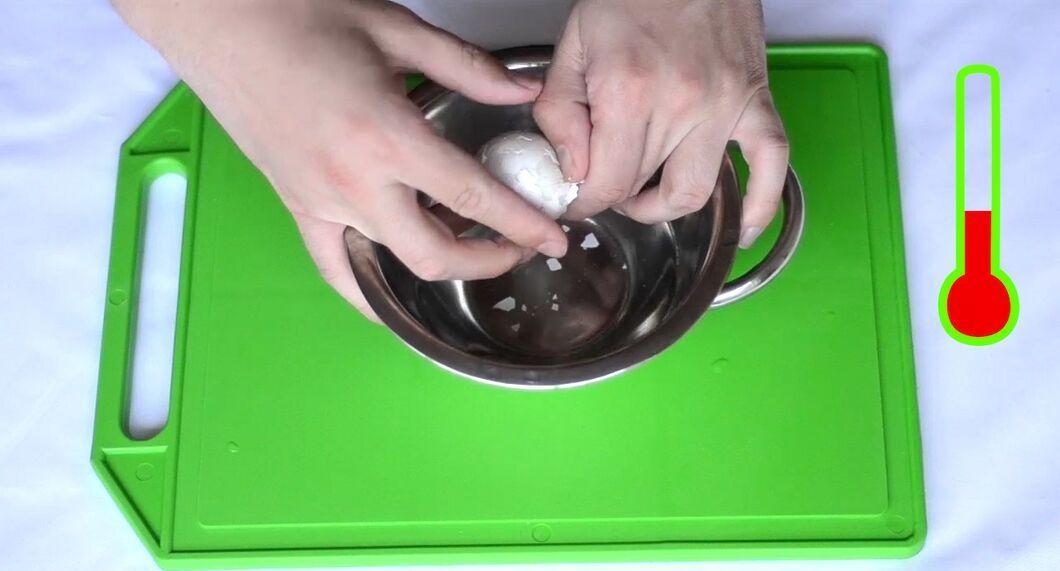
Place the egg in a bowl of warm water. Using your fingers, peel away the cracked shell starting from the wider end of the egg, and the entire shell should slide off in less than a second.
Shaking Method
Step 1. Boil the Eggs.
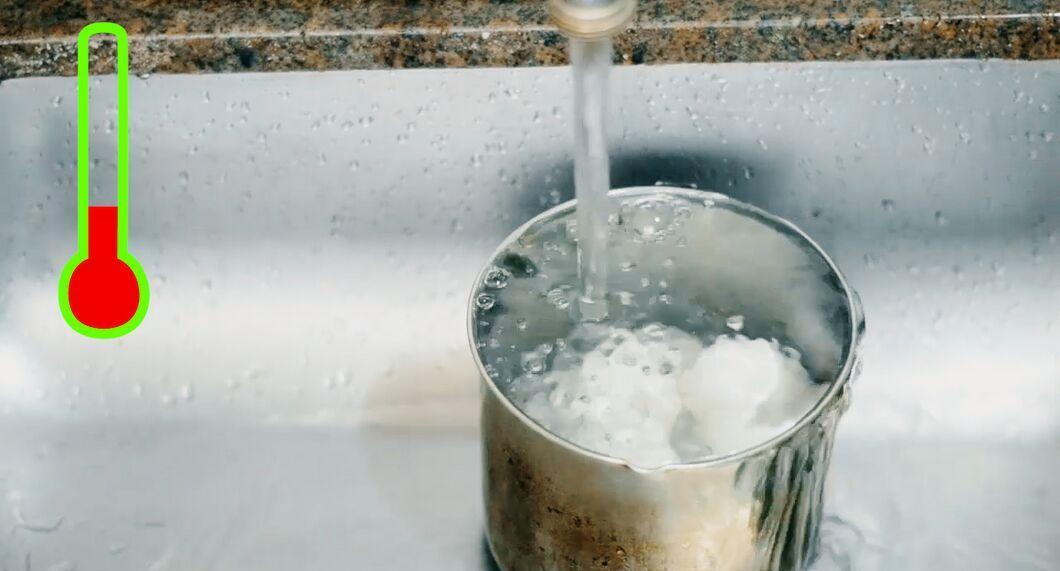
When the eggs are ready, drain the hot water and fill the pot with cold water, leaving them for a while.
Step 2. Cover the Pot with a Lid.
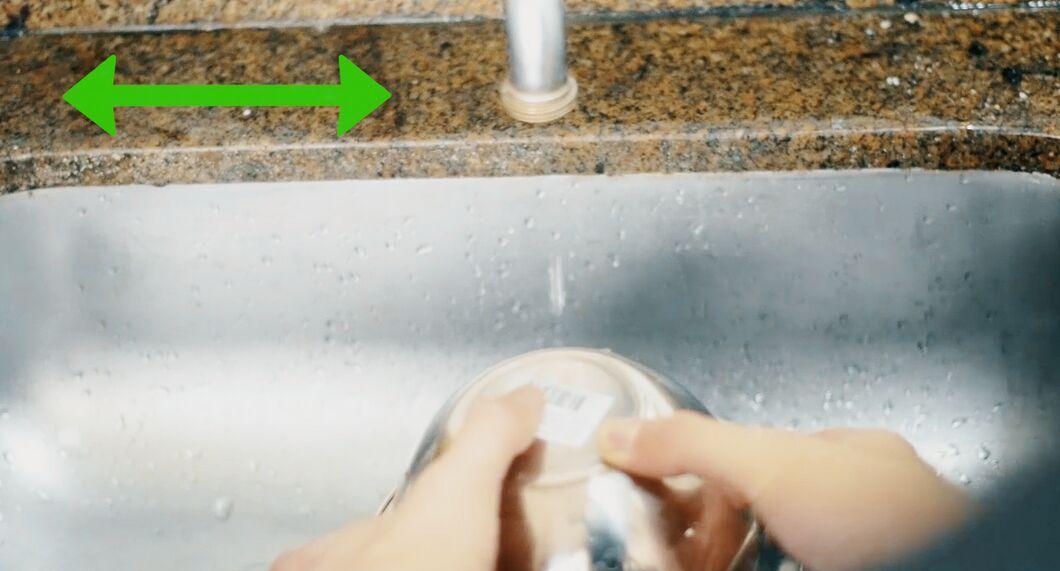
Drain the cold water and cover the pot with a tight-fitting lid. Holding the lid, shake the pot vigorously.
Step 3. Rinse Off the Shell.
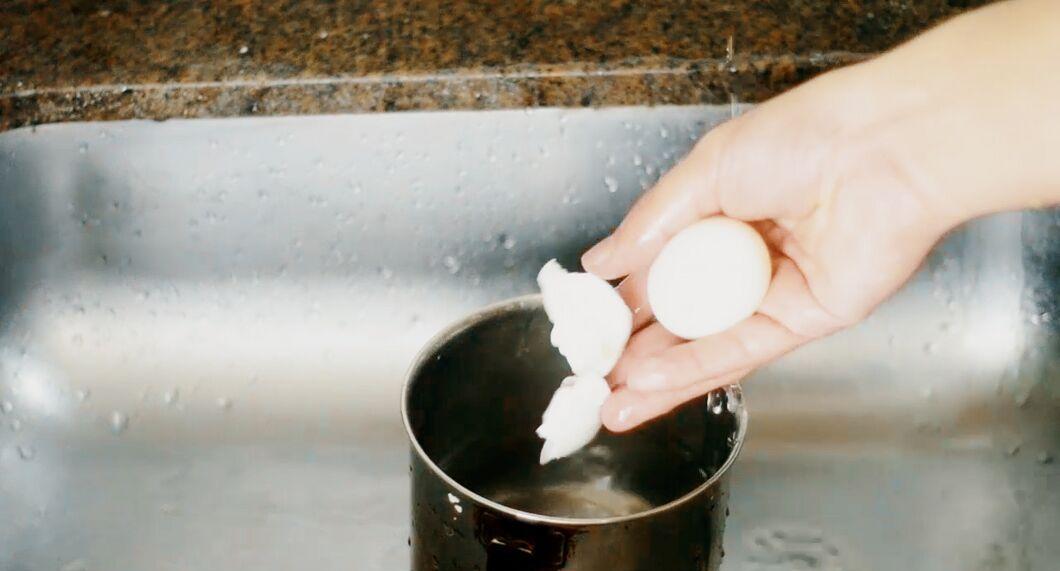
When you open the lid, you’ll see that the eggshells have cracked significantly. Just rinse them under water, although this might damage the eggs.
Spoon Method
Step 1. Boil and Cool the Eggs.
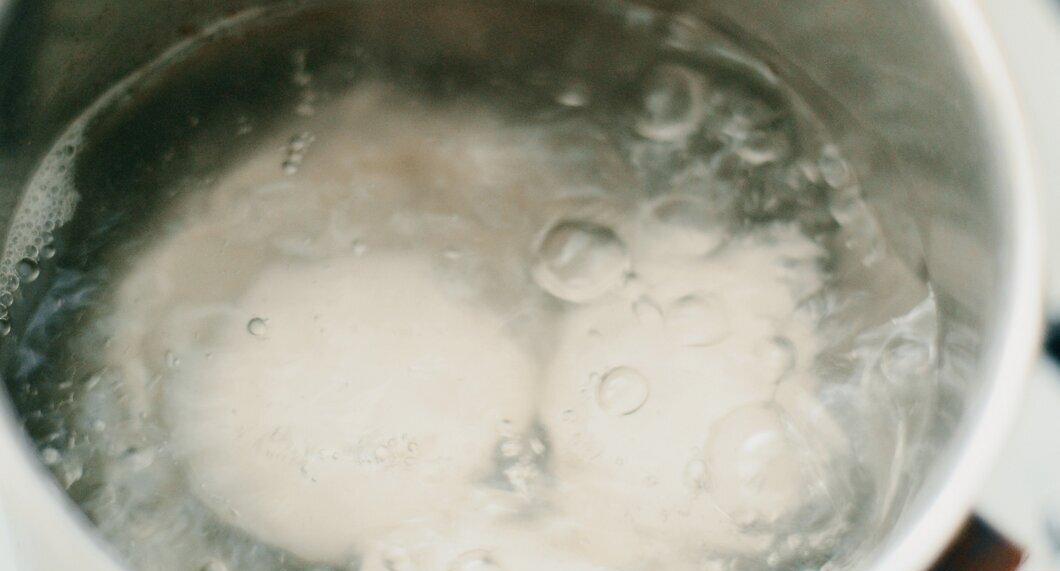
Follow the boiling and cooling instructions from the main method.
Step 2. Crack the Shell.
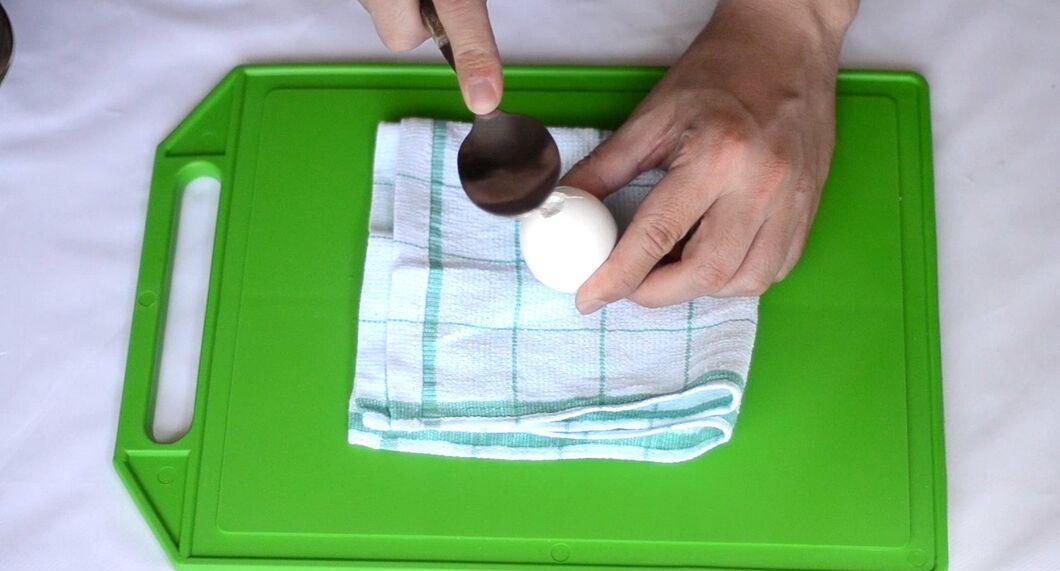
Use a spoon to tap on the eggshell at the wider end, breaking the air pocket.
Step 3. Insert the Spoon Between the Shell and the Egg.
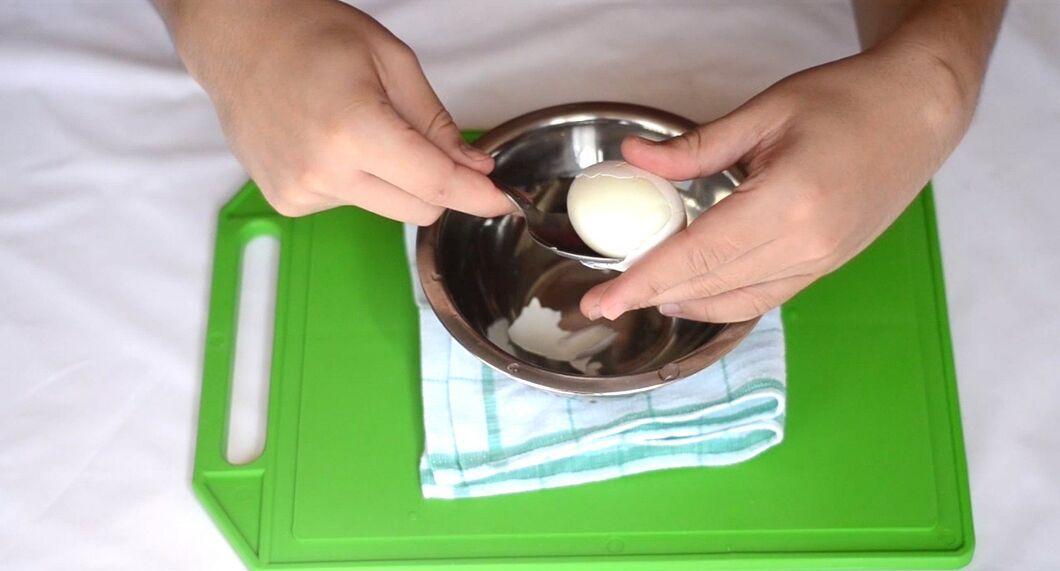
By doing this, you can easily push the egg out of the shell.
- This method is simple but requires some practice.
- Be careful not to damage the egg when pushing it out, and make sure it doesn’t slip out of your grip.
Blowing Method
Step 1. Boil and Cool the Eggs.
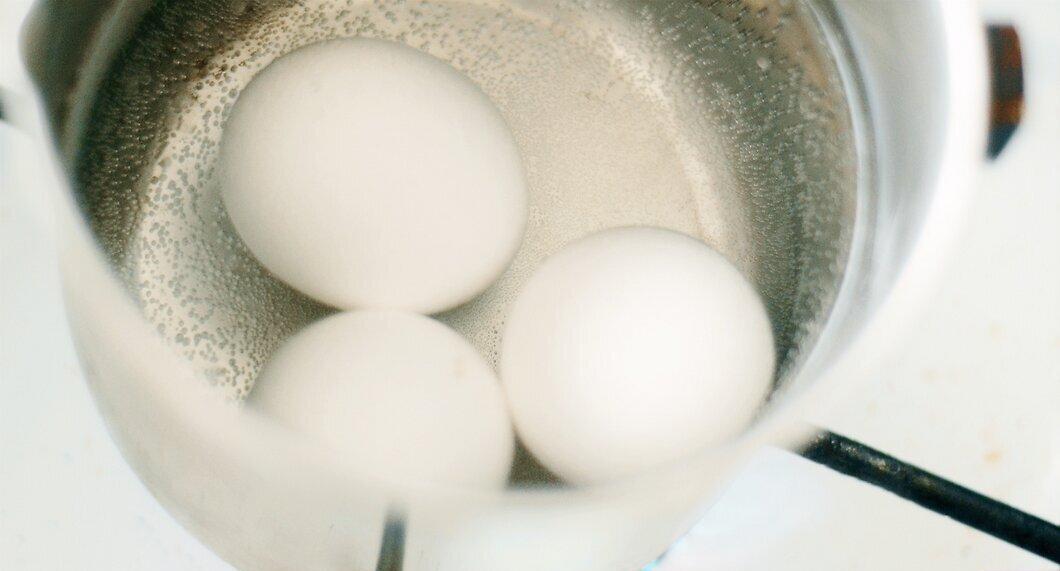
Follow the boiling and cooling instructions as in the main method.
Step 2. Crack the Shell on Both Ends of the Egg.
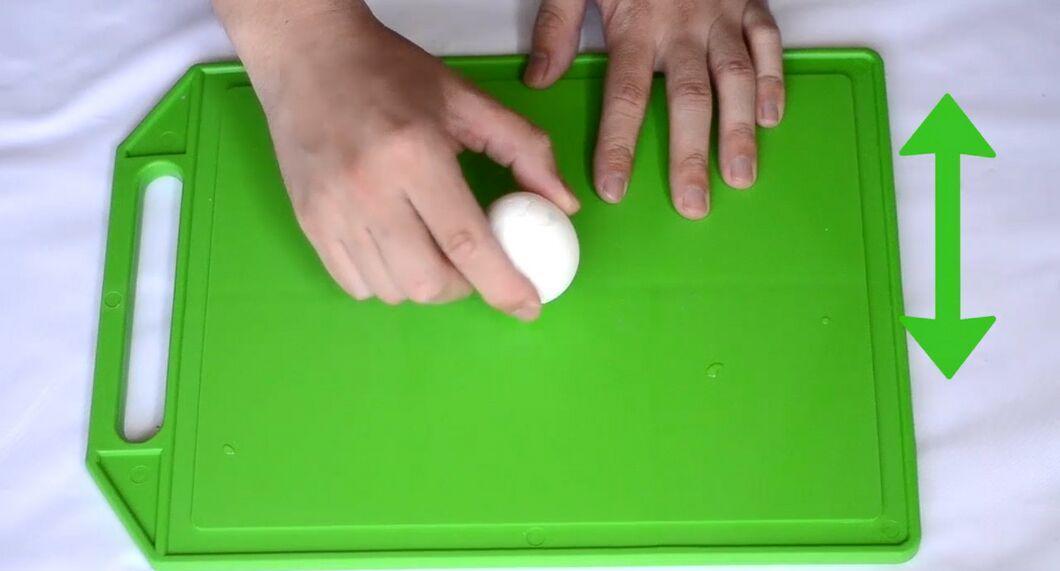
After cooling, take the eggs out of the water and dry them. Tap each end of the egg against a hard surface.
Step 3. Remove the Shell from Each End of the Egg.
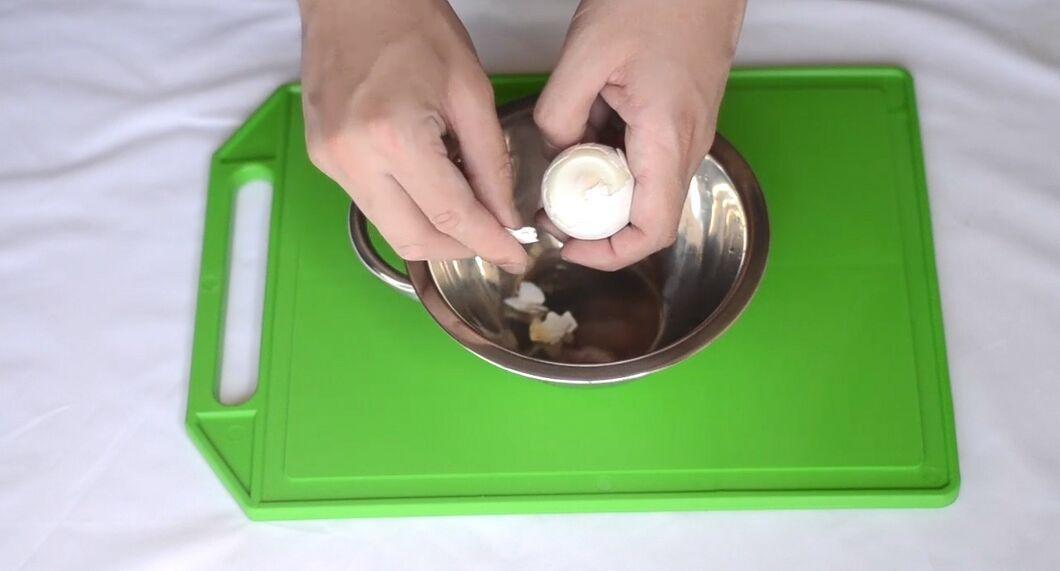
Using your fingers, peel the shell from both ends of the egg.
Step 4. Blow the Egg Out of the Shell.
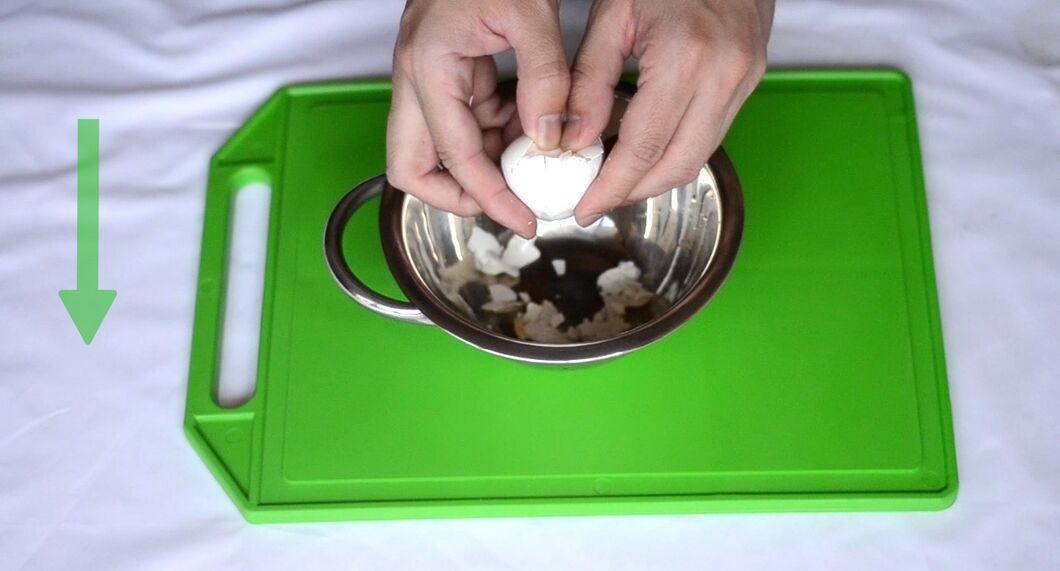
Hold the egg in one hand and blow firmly into the narrow end. If done correctly, the egg will easily slip out of the shell. Have your other hand ready to catch it.
- This method requires some practice, but once mastered, you’ll feel like a true pro!