
A walking spring brings joy, but it can quickly become an unsolvable knot. With patience and the right approach, you can untangle it, although restoring its original form may be difficult. Ultimately, if the spring becomes completely unusable, you might need to resort to more complex repair methods, but you can always buy a new one.
How to Untangle a Severely Knotted Spring
Step 1: Hold One End of the Spring
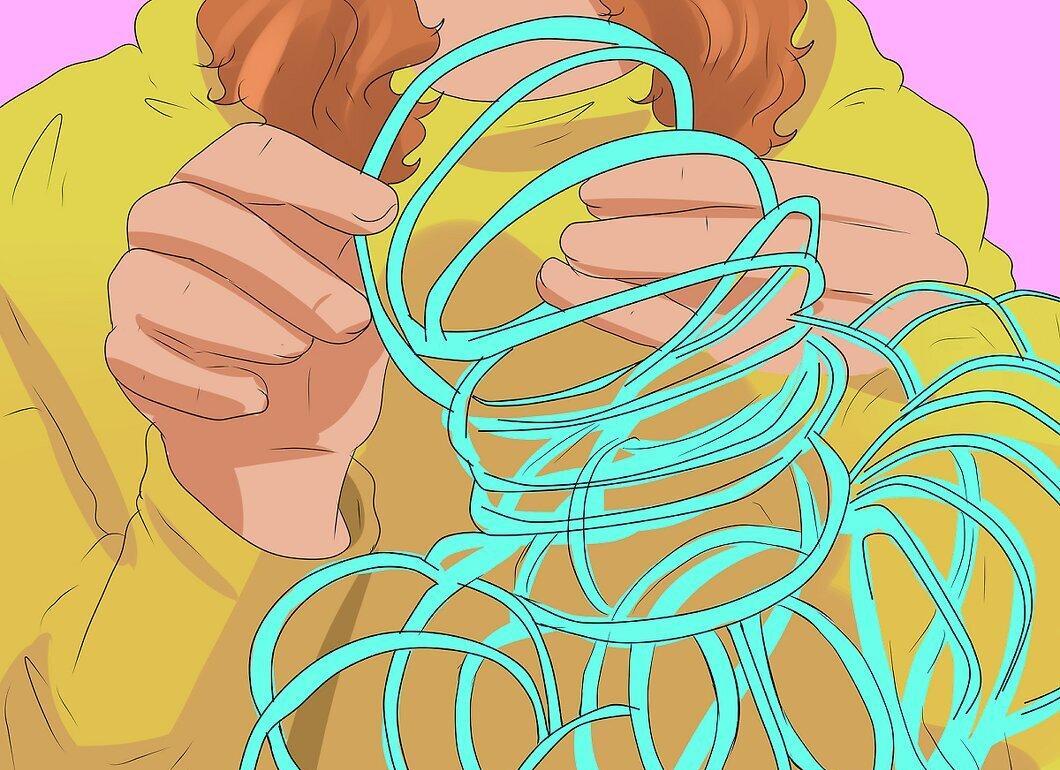
Grab one end of the spring. Find the section that is the least tangled and hold it between your fingers. Your thumb should be on the outside to improve your grip.
- To simplify the process, you can slide most of the spring onto your arm or use a toilet paper tube.
Step 2: Run Your Fingers Along the Edge of the Spring
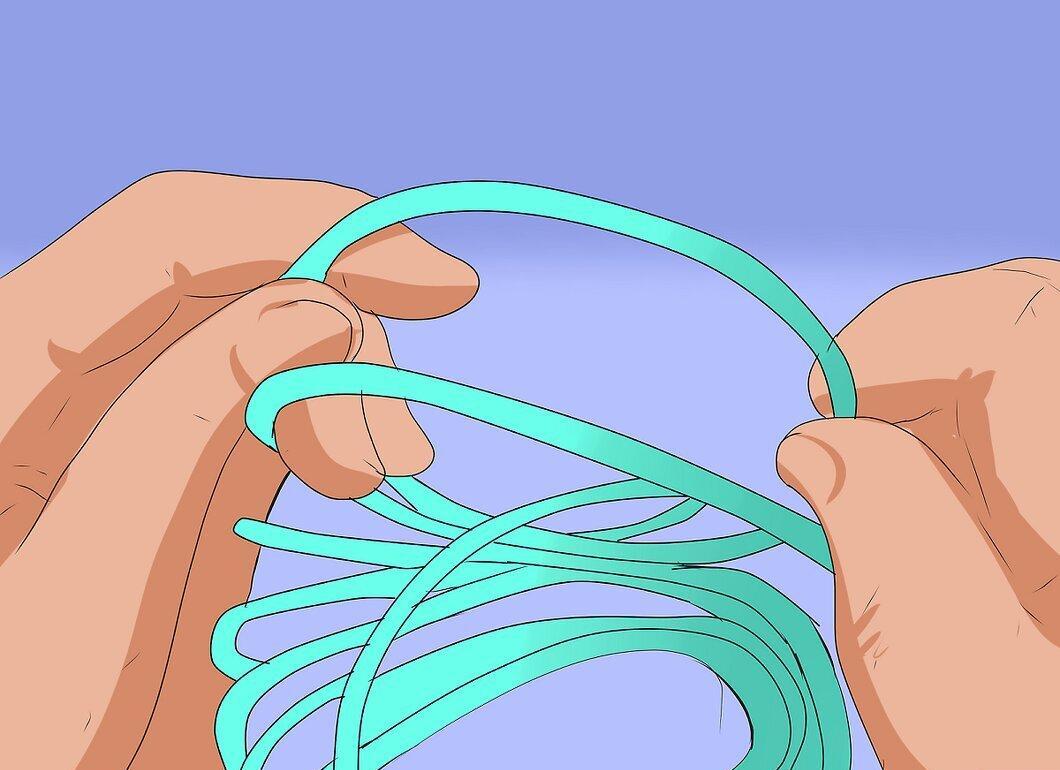
Use your index and thumb to slide along the spring. Move towards the first knotted section near the held end. If the section is not tangled, the spring will easily wrap around your fingers.
Step 3: Determine the Direction of the Spring After the Knotted Section
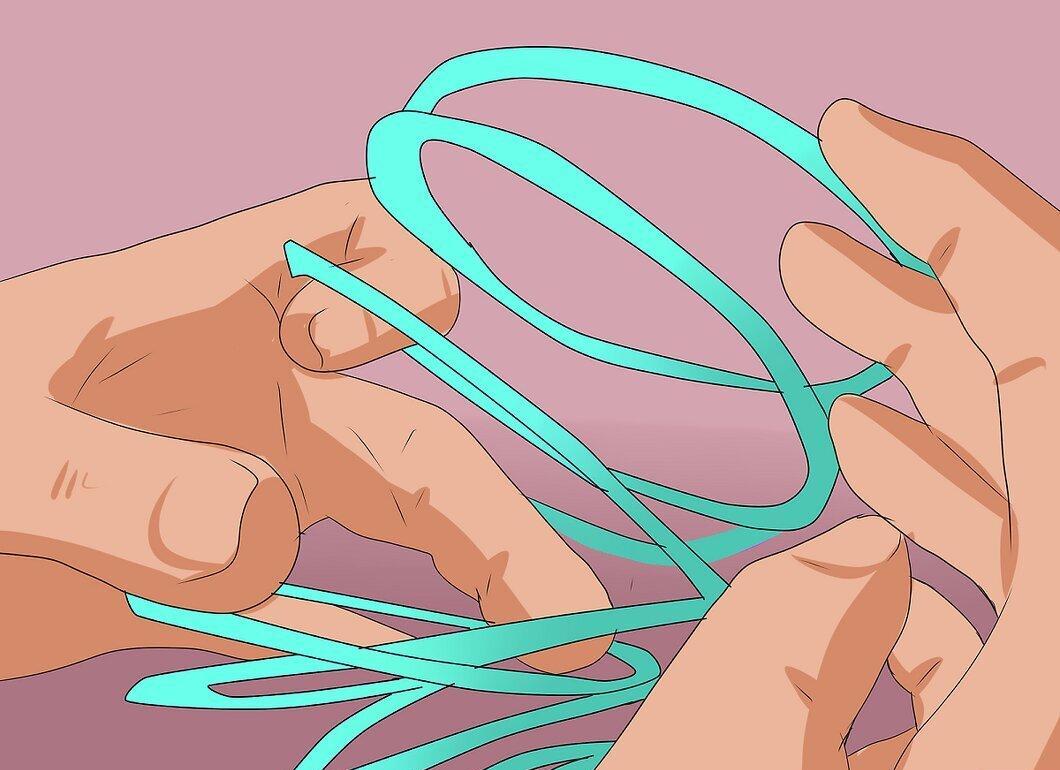
Understand where the spring should go after the knotted section. Gently feel the tangled area and examine it to determine the correct direction. If needed, stretch the area to get a better view.
Step 4: Carefully Thread the End of the Spring Through the Knotted Section
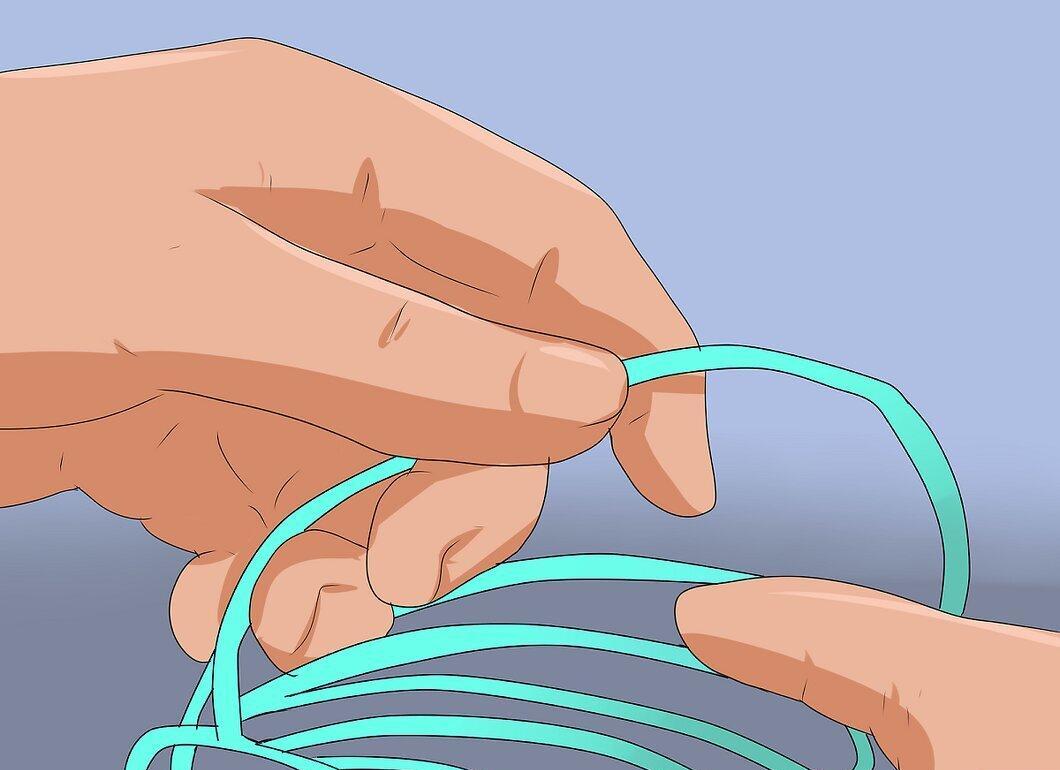
Gently thread the end of the spring through the knotted section. Remove the "normal" part from your hand and keep it folded. Turn the folded part and thread it through the next knotted section so that it touches the spring between your thumb and index finger. Then slide the spring back onto your fingers.
- It might be easier to do the opposite by wrapping the knotted loop around the folded spring and its end.
Step 5: Straighten the Spring If It Is Too Curved
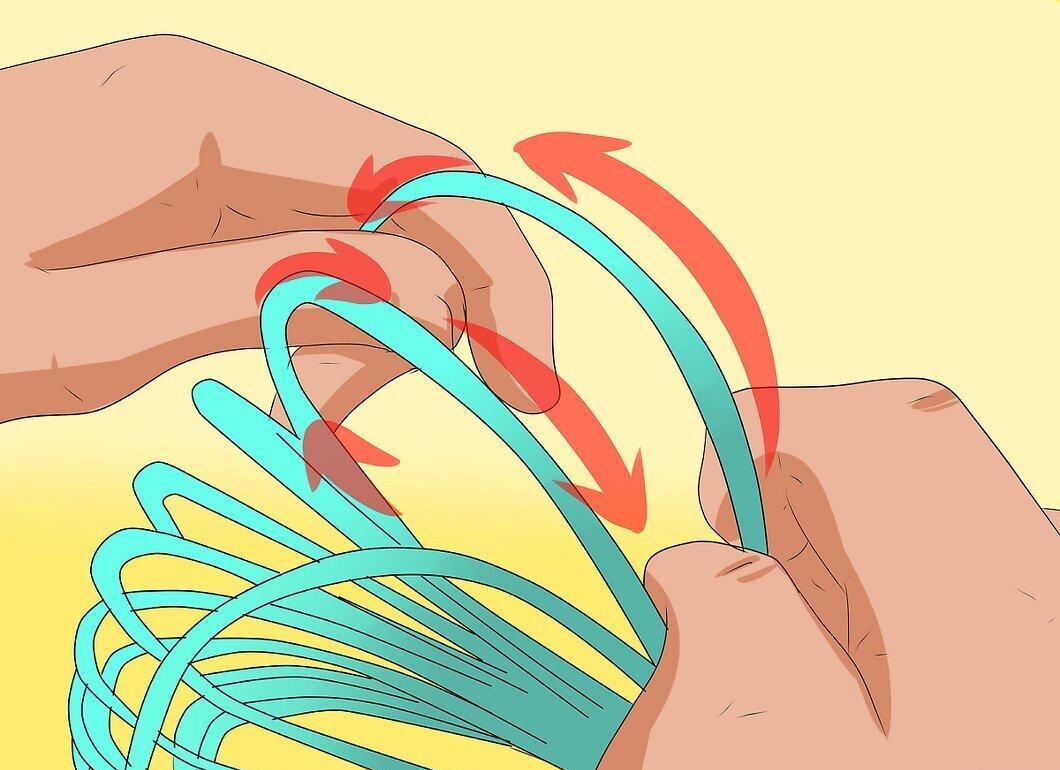
If the spring looks too bent or misaligned, try twisting the two intersecting sections. Once the section is untangled, you can re-thread the end of the spring through it following the previous instructions.
Step 6: Repeat Until the Spring Is Untangled
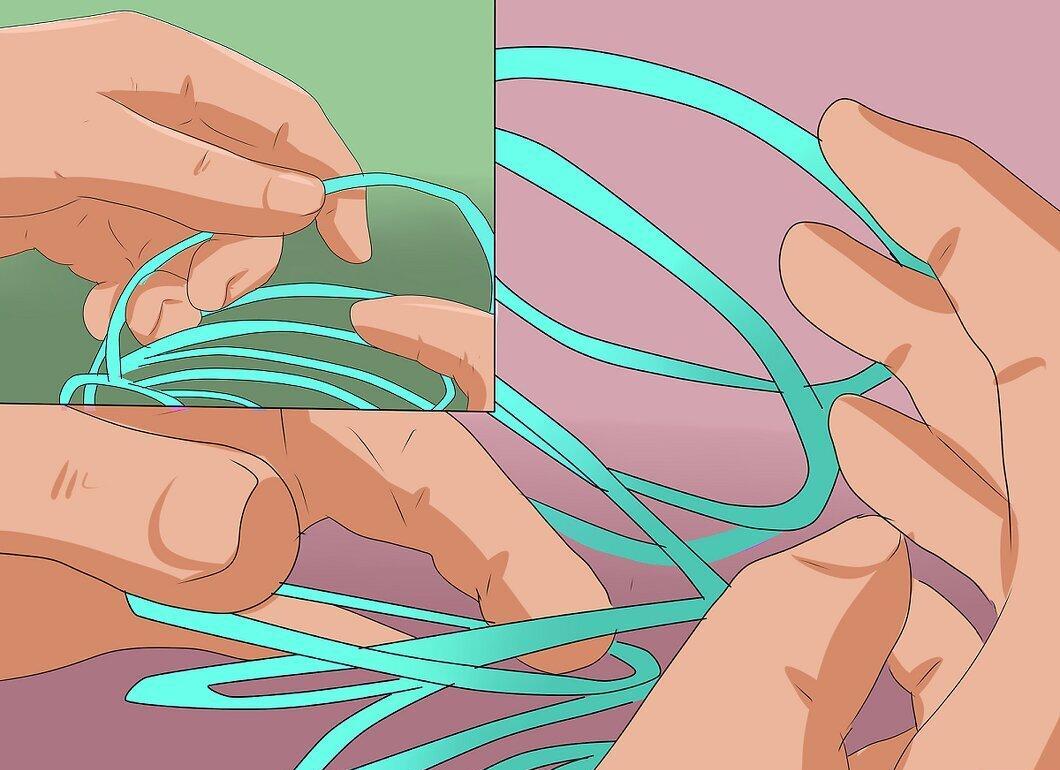
Continue untangling the spring by sliding the corrected sections onto your arm. Whenever you find a knotted part, apply the earlier instructions to untangle it.
Step 7: If Necessary, Switch to the Other End
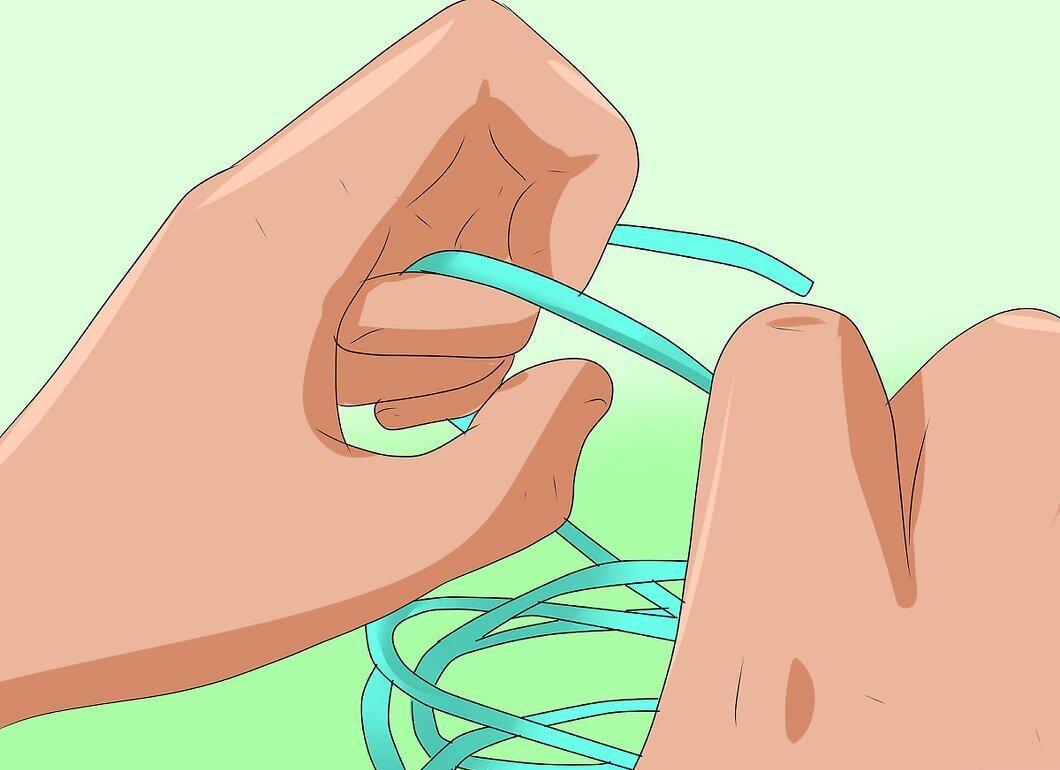
If you are working with a long or severely tangled spring, you can leave the corrected section and switch to the other end. Keep repeating the steps until you have completely untangled it.
How to Deal with Small Knots
Step 1: Stretch Both Ends of the Spring
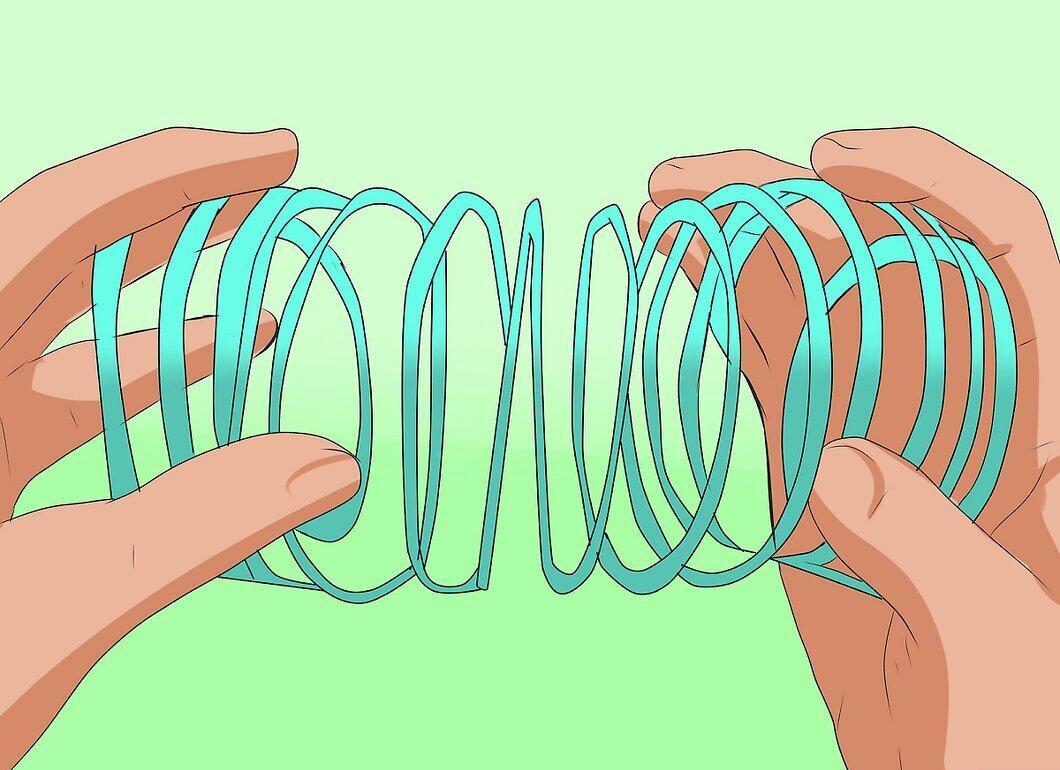
Hold both ends of the spring, stretching them apart. This will help you see where the tangling occurs. Keep the spring in this position.
- This method is suitable only if the spring is not too tangled. For serious tangling, use this method on just one section or follow the previous instructions.
Step 2: Twist One End of the Spring
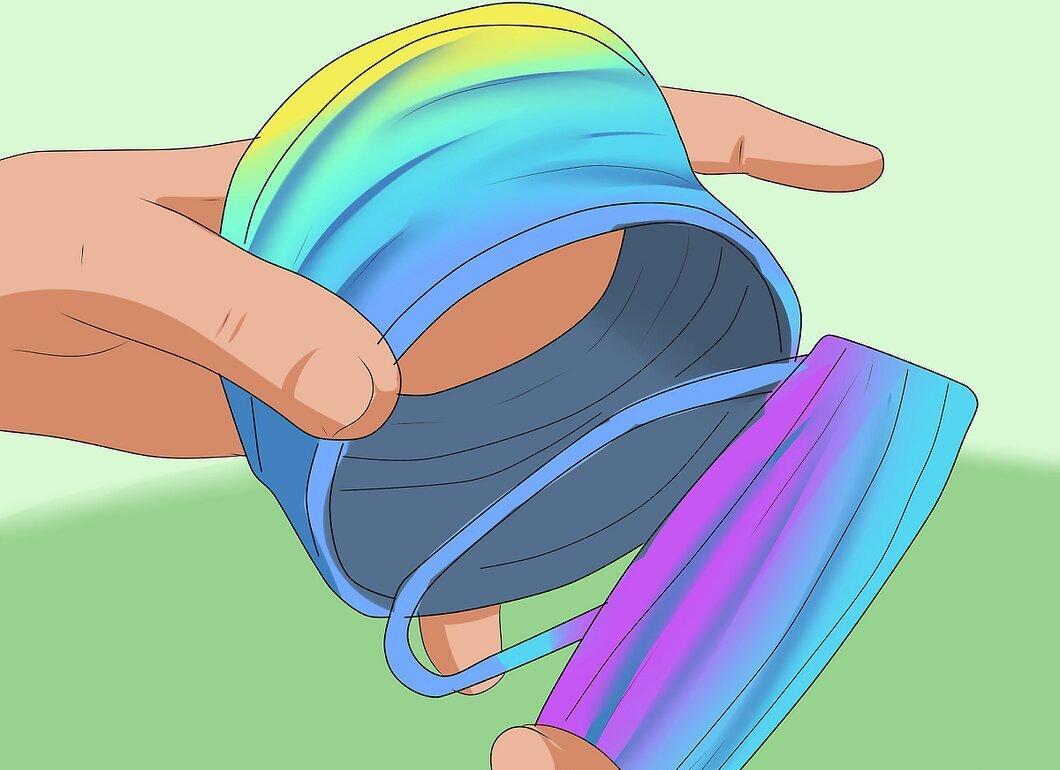
Twist one end of the spring while holding the other end aside. Move in one direction to stretch the knotted sections. If the knotted areas are too tightly compressed, stop and twist in the opposite direction.
Step 3: Separate the Knotted Areas to Fix the Issues
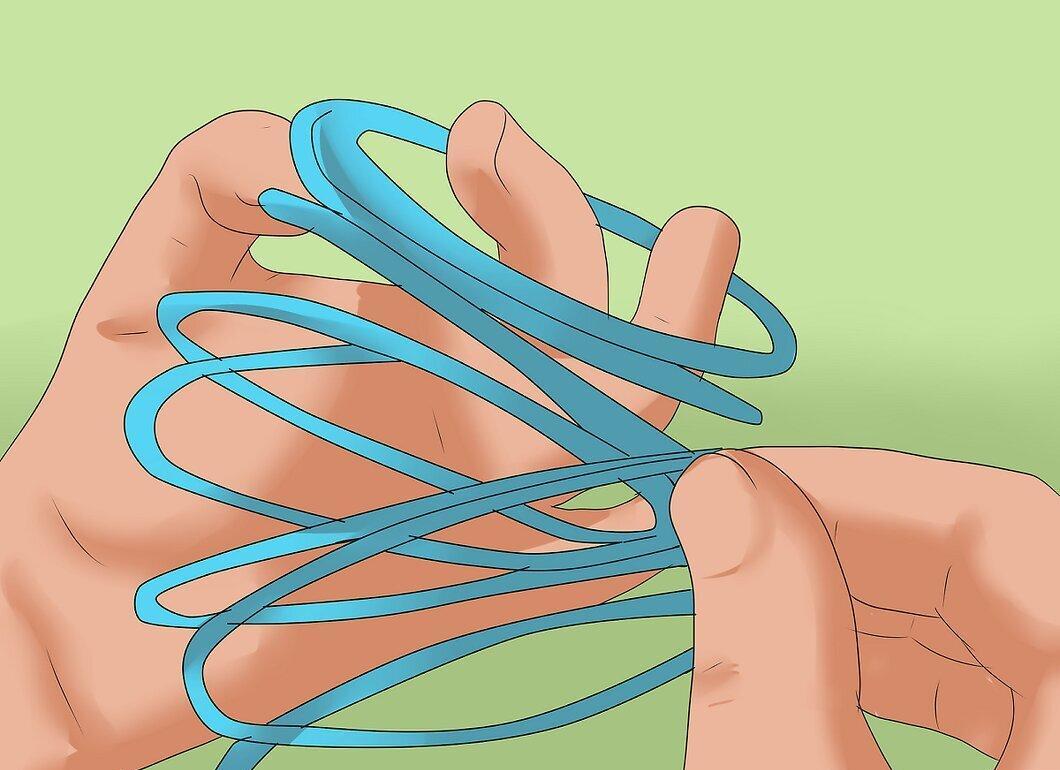
Once a gap forms between the knotted loops, carefully examine them to determine what needs fixing. Separate the knotted section from the rest of the spring. If the spring is stretched, the knotted section will likely fall into place when you release it. If not, separate the section again and gently fix the issues, possibly by twisting the spring.
- It will be easier if someone helps you hold one end.
How to Untangle Knots on the Spring
Step 1: Assess Your Chances of Success with a Plastic or Metal Spring
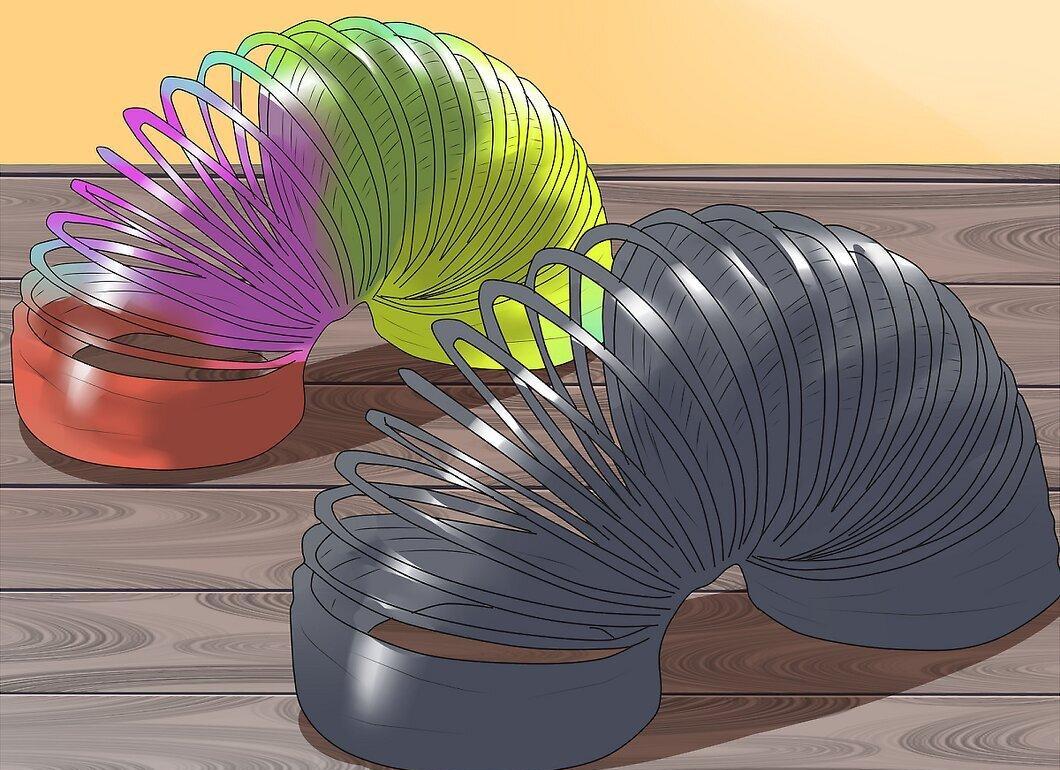
Determine how effective your method will be for a plastic or metal spring. This method works for untangled springs with knots that interfere with their normal operation. Some knots on plastic springs can be removed by heating, but this doesn't always work and may damage the toy if done carelessly. Metal springs are more challenging to fix, so use this method only if you have plenty of time; otherwise, it's better to buy a new toy.
Step 2: Heat a Pot of Water
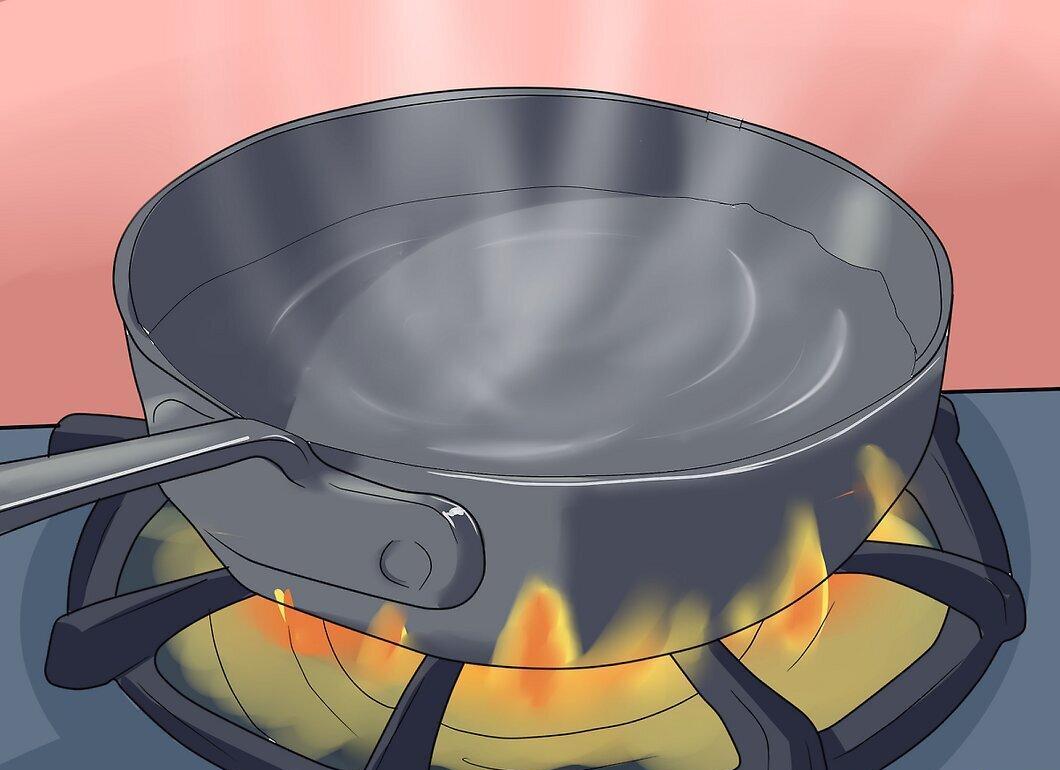
Fill a pot with enough water to fully cover the spring. Heat the water on the stove without placing the spring in it. There's no need to boil the water; just bring it to a high temperature until steam starts to appear.
- You can heat the water in the microwave or kettle and then pour it into the pot.
Step 3: Turn Off the Heat
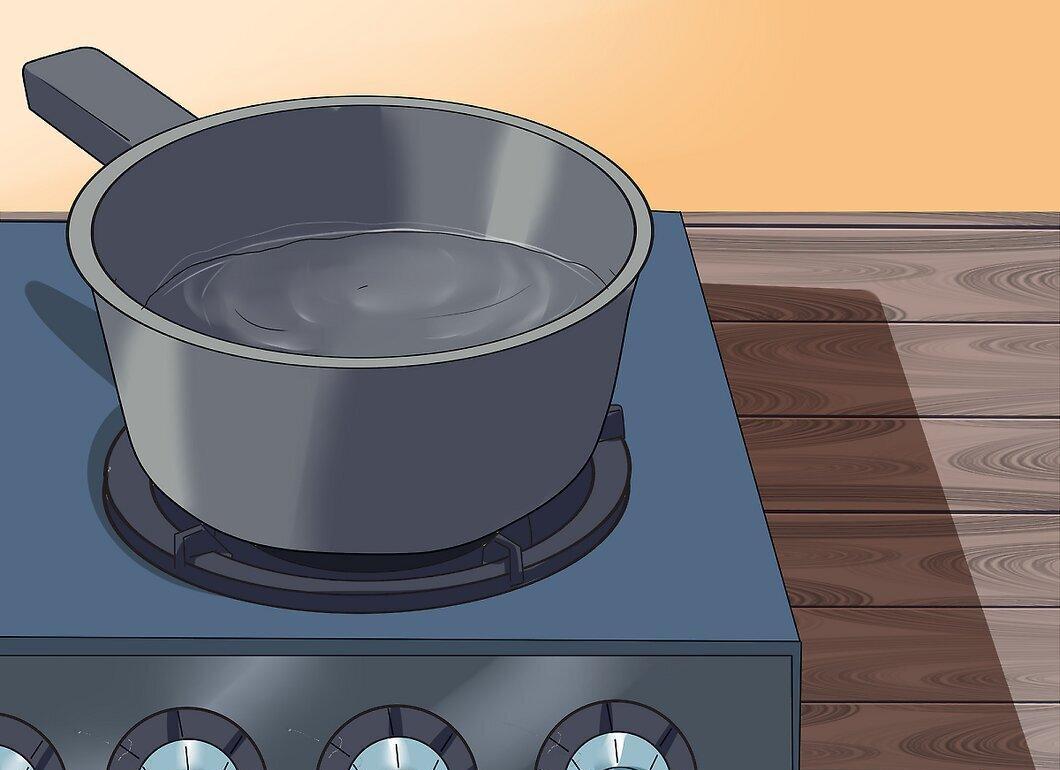
Once the water is heated, turn off the heat. Never place the spring in the water while heating, as it will melt and damage both the spring and the pot.
Step 4: Wear Gloves and Submerge the Spring in Hot Water
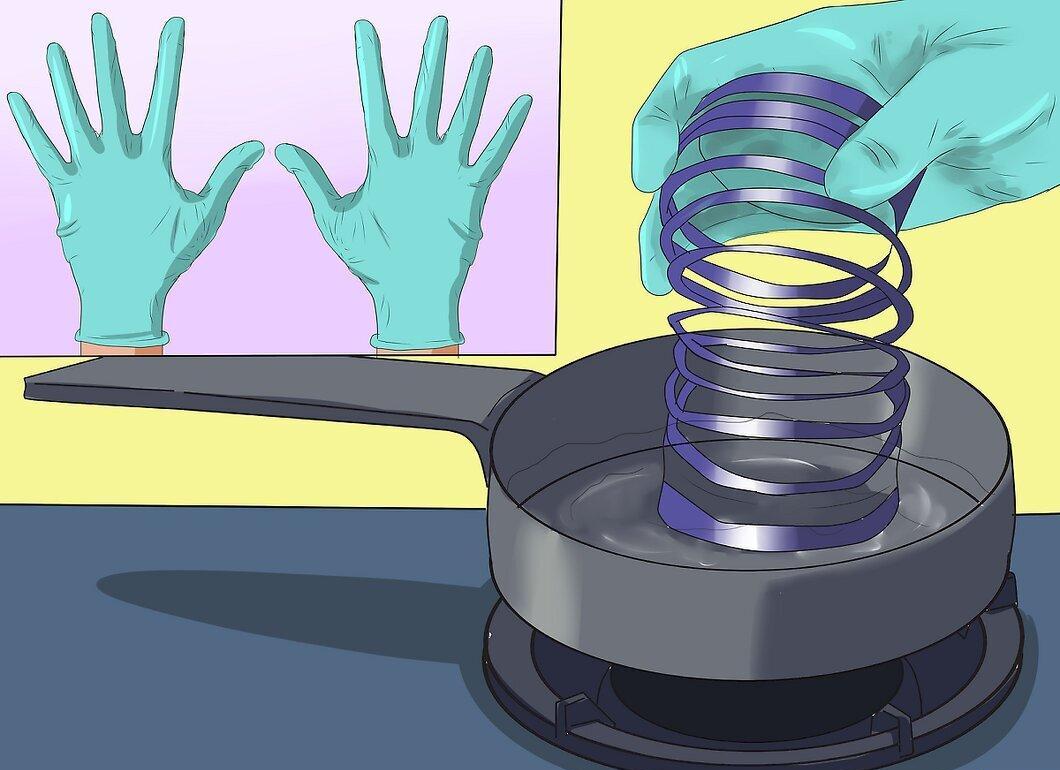
Put on rubber gloves for hand protection and carefully submerge the spring in the hot water. Leave it in the water for a few minutes.
Step 5: Remove the Spring and Squeeze It
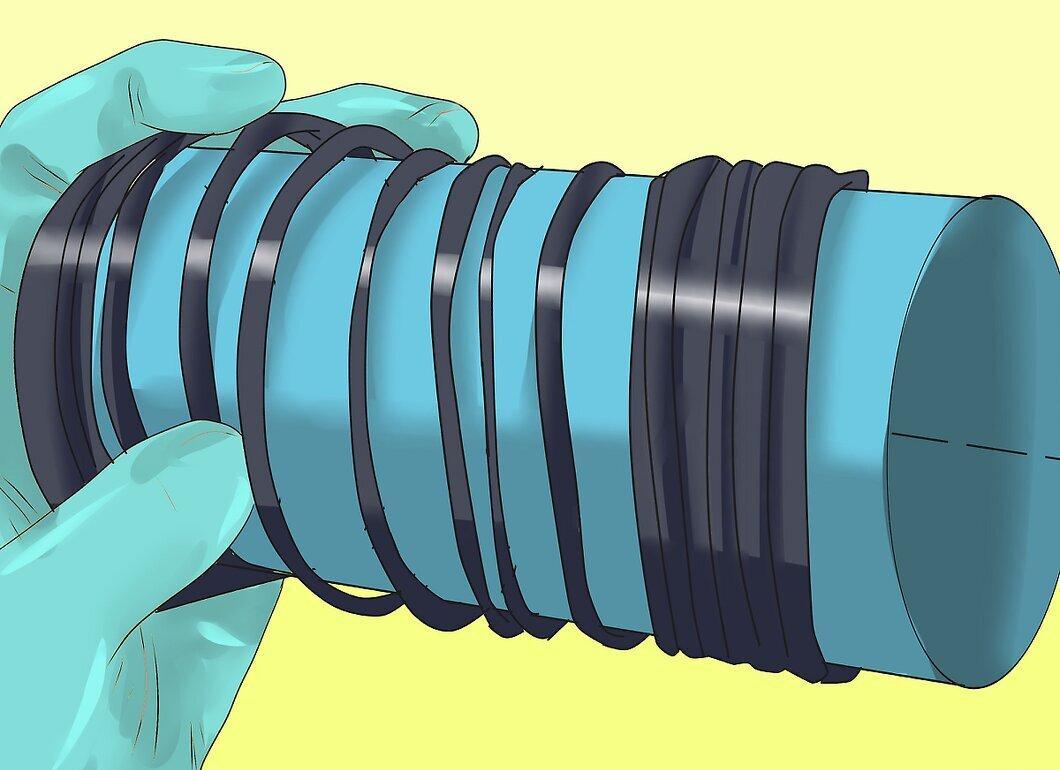
After a few minutes, take the spring out of the water. If it has heated enough, you should be able to easily bend it and untangle the knots.
- If you have a cardboard tube or another cylinder that is slightly smaller in size, you can wrap the spring around it for best results.
Step 6: If It Didn’t Work, Try Hotter Water
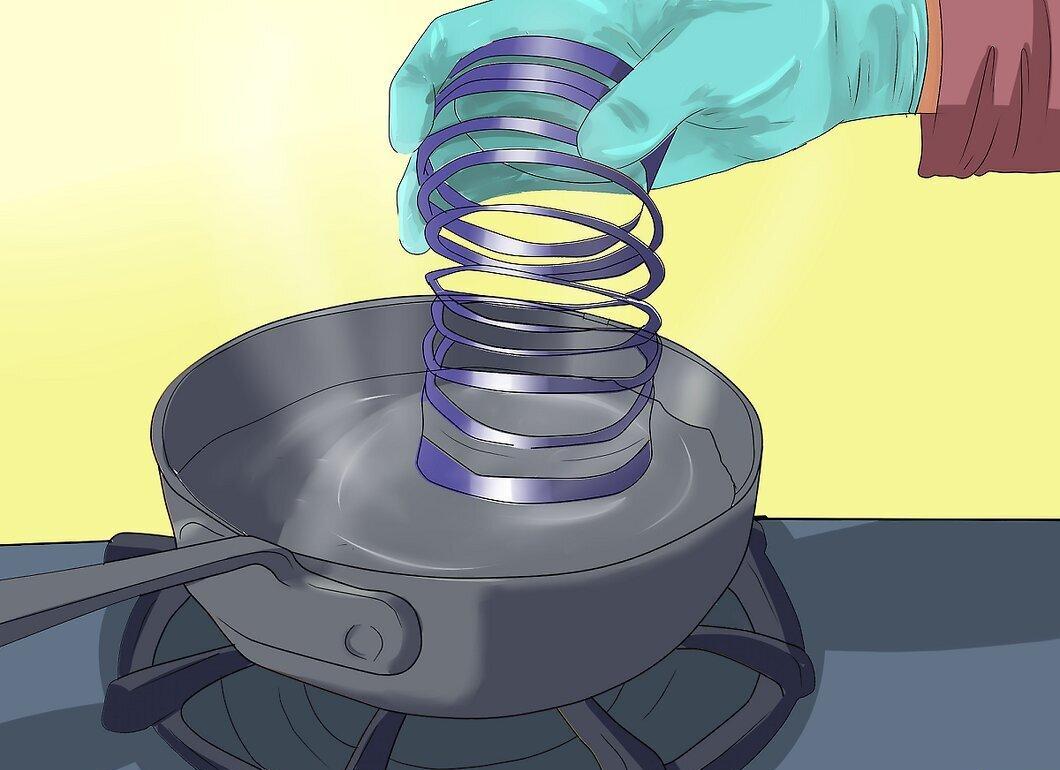
If the spring is still stiff and unyielding, heat the water more and try again. Be careful not to overheat the water, as this can permanently ruin the spring. Gradually heat the water and don’t leave it unattended. Never place the spring in the water without pre-heating.
Step 7: Press the Folded Spring with a Book
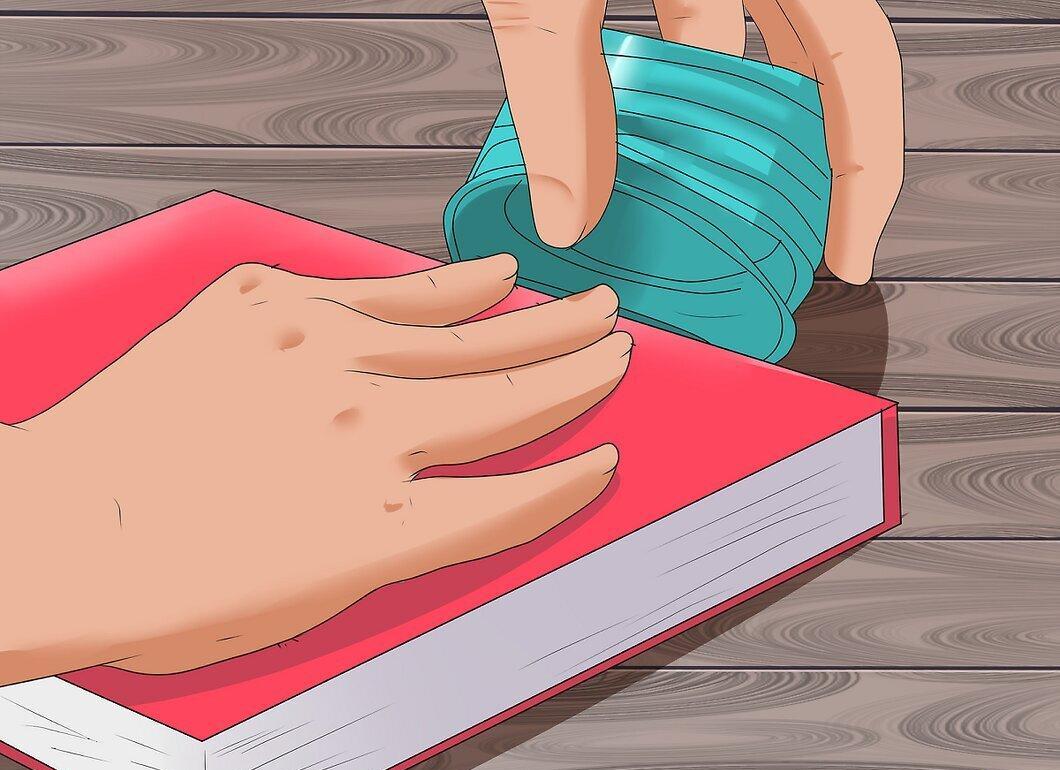
Fold the spring and press it with a book. Leave it in this position for several hours or even overnight to fix any damaged areas.
- If the book falls, try using a larger, thinner children's book. Place a small heavy object in the middle of the book.
- Do not choose a book that is too heavy or wide, as it may crush the spring.
Step 8: Heat the Spring in the Oven
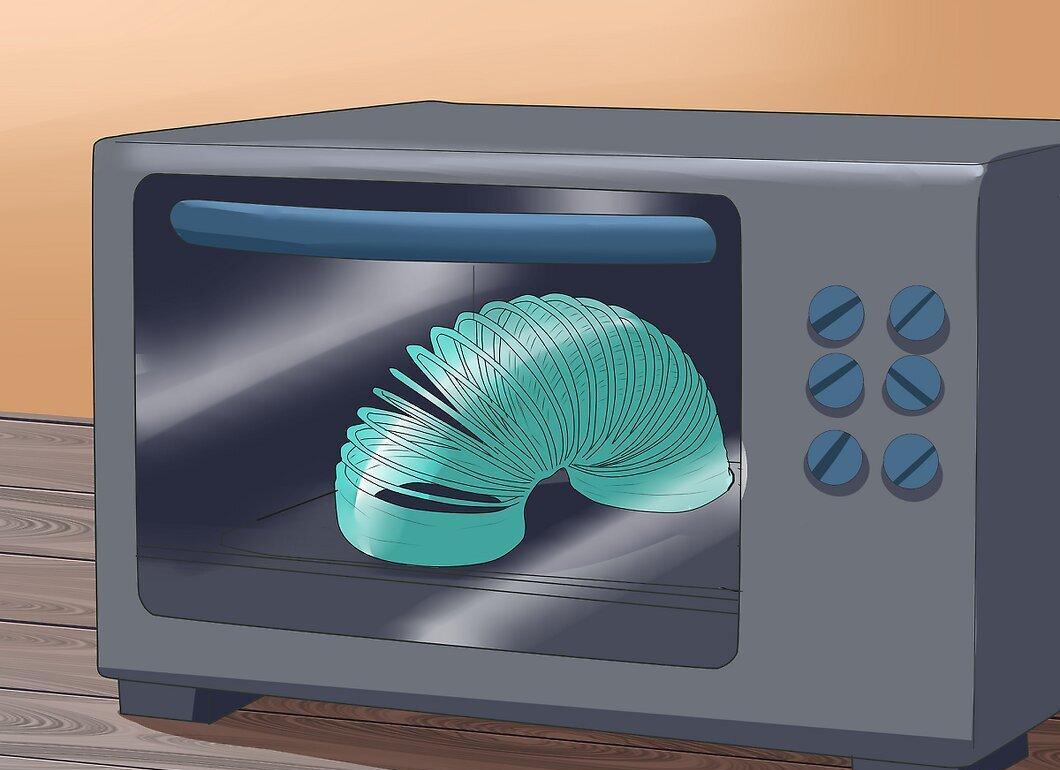
If the hot water method failed, you can use a baking tray lined with foil and place the spring on it. Preheat the oven to 121°C (250°F), which will take about 10 minutes. Use oven mitts to remove the spring and shape it. This method is risky, as some plastic springs may melt in the oven.
Step 9: Cut the Spring
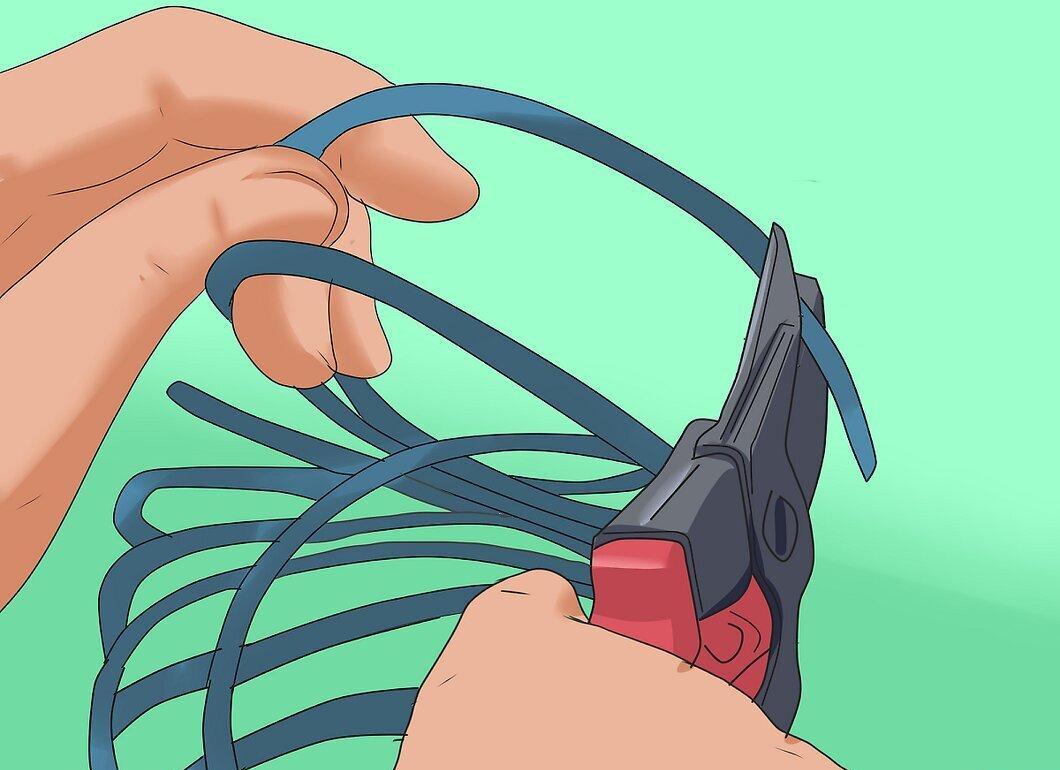
If other methods fail, use pliers to cut the knots off the spring. After that, you can try to reattach the repaired sections with rubber or super glue, but finding the right angle may be challenging. Most likely, you'll end up with two separate springs.
- Be careful with the cut ends, as they may be sharp. Wrap them in tape to avoid cuts.


