
Creating a freshwater aquarium at home is a fantastic way to bring a piece of nature indoors. In fact, setting up such an aquarium from scratch is much easier than it may seem at first. The range of gadgets and accessories available in pet stores can be intimidating, but you'll only need the basics to get started. Soon enough, you’ll be admiring the fish gracefully swimming in your brand new aquarium.
Setting Up the Stand and Tank
Step 1. Choose the Right Tank.
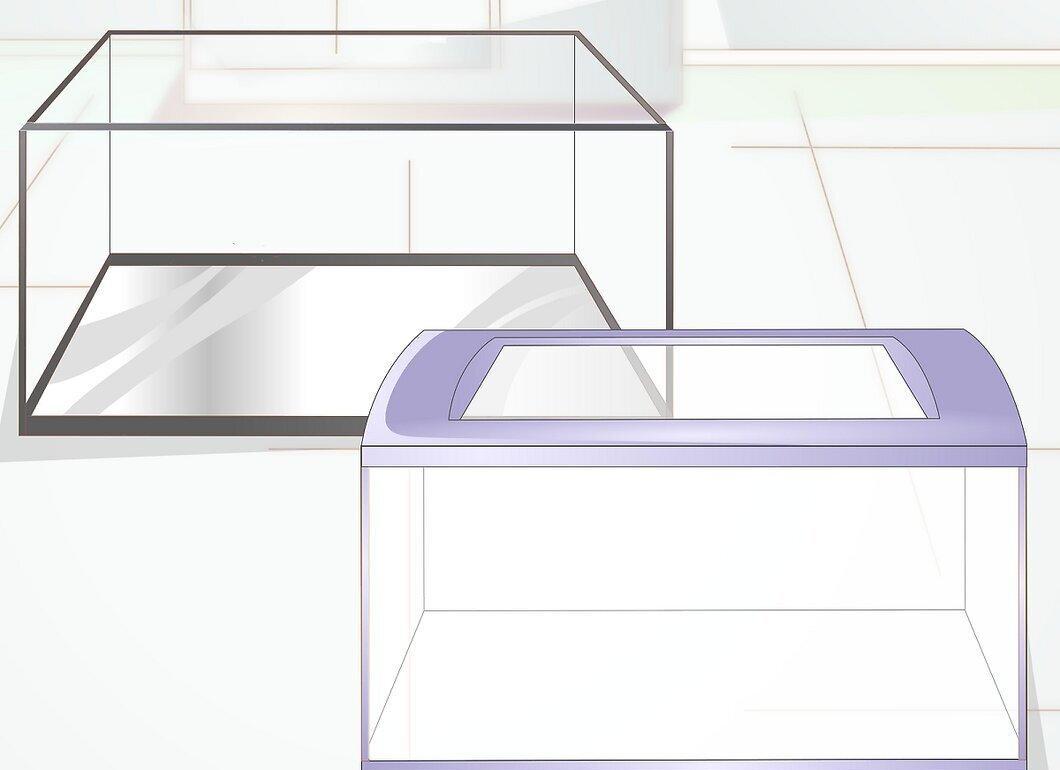
Choose the right tank. It should be large enough to hold the required amount of water for the type and number of fish you plan to keep. The rule of 2.5cm per 3.5 liters (1 inch per 1 gallon) doesn’t work well for very small or very large tanks. You would never keep two 12cm fish in a nearly 40-liter tank! Different fish require different amounts of space and produce varying amounts of waste. Generally, the larger the fish, the more waste it produces, which means it needs more space. Remember that aquatic plants and decorations will also take up space.
- There are various calculators available to help you determine which fish are best to buy based on tank size, species compatibility, and their needs. [1] X Information Source
- A standard size is a 210-liter (55-gallon) tank, which will allow you to keep various types of fish. As a beginner, this should be sufficient for you.[2] X Information Source
- You can also start with a 75 or 95-liter tank (20 or 25 gallons) to keep a few hardy fish (like mollies, guppies, platies, tetras, but no cichlids) to see if you enjoy the hobby.
- Whatever you decide, do not start with a tank smaller than 40 liters, meaning no “desktop” tanks or single betta fish bowls. They will be too small for your fish. While the idea of a small tank may seem appealing, maintaining water quality in them is actually much harder.
Step 2. Buy an Aquarium Stand.
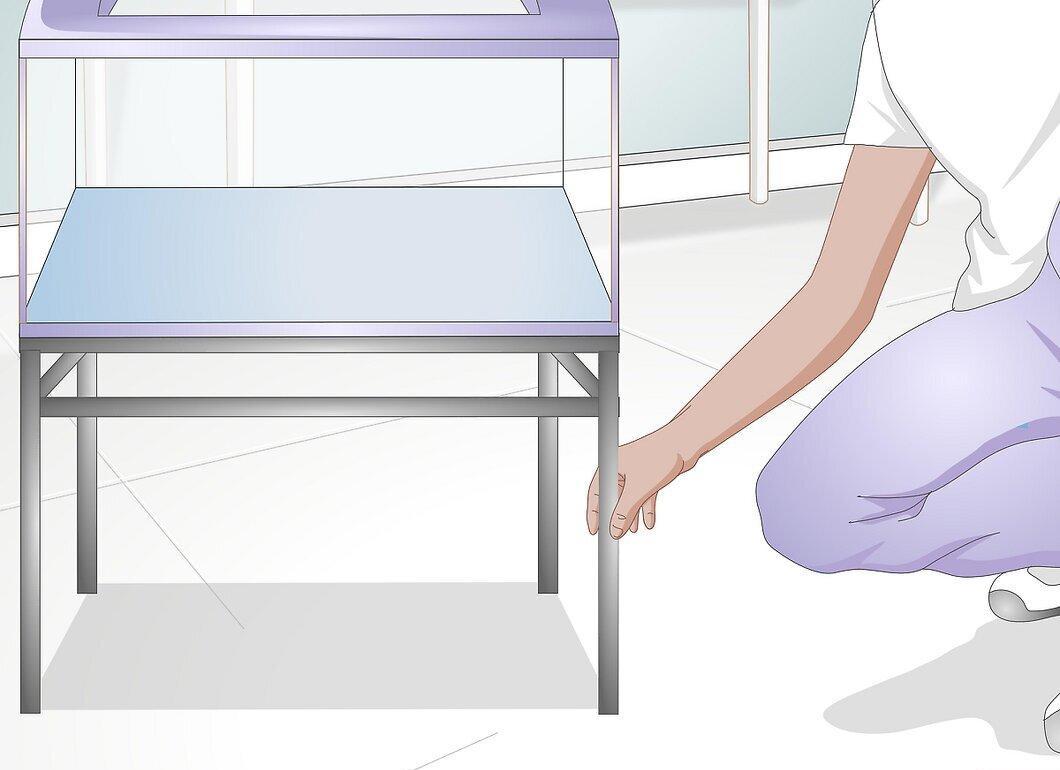
Buy an aquarium stand. Tanks of 75 liters and above will require a stand. Purchase one that fits the shape and size of your aquarium. Don’t underestimate the weight of a tank filled with water! Make sure the stand is appropriate for the size of the tank and is very sturdy. It is crucial that it is stable and can support the weight of the tank. In this regard, the edges of the tank should not extend beyond the edges of the stand.
- Furniture items like dressers, TV stands, table edges, or flimsy wooden tables are not sturdy enough.
- Look for complete aquarium kits in large online pet stores. Kits on sites like Craigslist are often sold at a good price, but make sure to check for leaks and thoroughly clean them before use.
- If you are buying equipment separately, ensure that it is proportional to your tank.
Step 3. Decide Where to Place the Tank with the Stand.
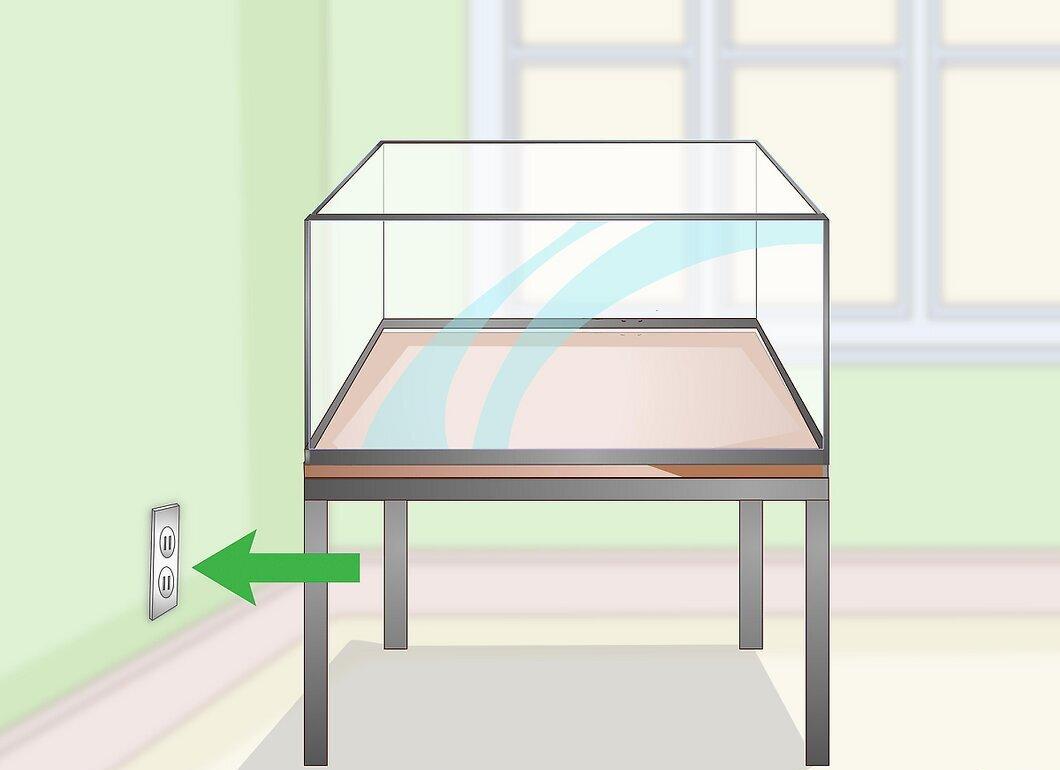
Decide where to place the tank with the stand. Choosing the right location is vital for the health of your fish. It should be set up in a place where the temperature remains relatively constant, and the light is not too bright. There should be at least 12cm of space between the tank and the wall for the filter. Here are some additional things to keep in mind when choosing a location for your tank:
- Too much direct sunlight will cause excessive algae growth, turning tank maintenance into a nightmare. Ideally, the tank should be placed away from bright light.
- It's best not to place the tank under a vent – dust will fall into the water, and it will be difficult to maintain a consistent temperature, which is important for nearly all fish species and vital for some.
- Also, consider whether the floor can support the weight of a fully loaded tank. Make sure the floor structure allows for this, or check the blueprints of your home for joists.
- Place the tank near an outlet, and consider how far you'll need to carry water to clean the tank weekly! Make sure the cord isn’t stretched when you plug it in. Ideally, it would be best to have a surge protector for the filter (which is handy when power comes back on after an outage).
- Ideally, the aquarium stand should be placed on wooden flooring, not on a mat or carpet.
Setting Up the Filter and Adding Substrate
Step 1. Decide on the Filtration System You Want for Your Tank.
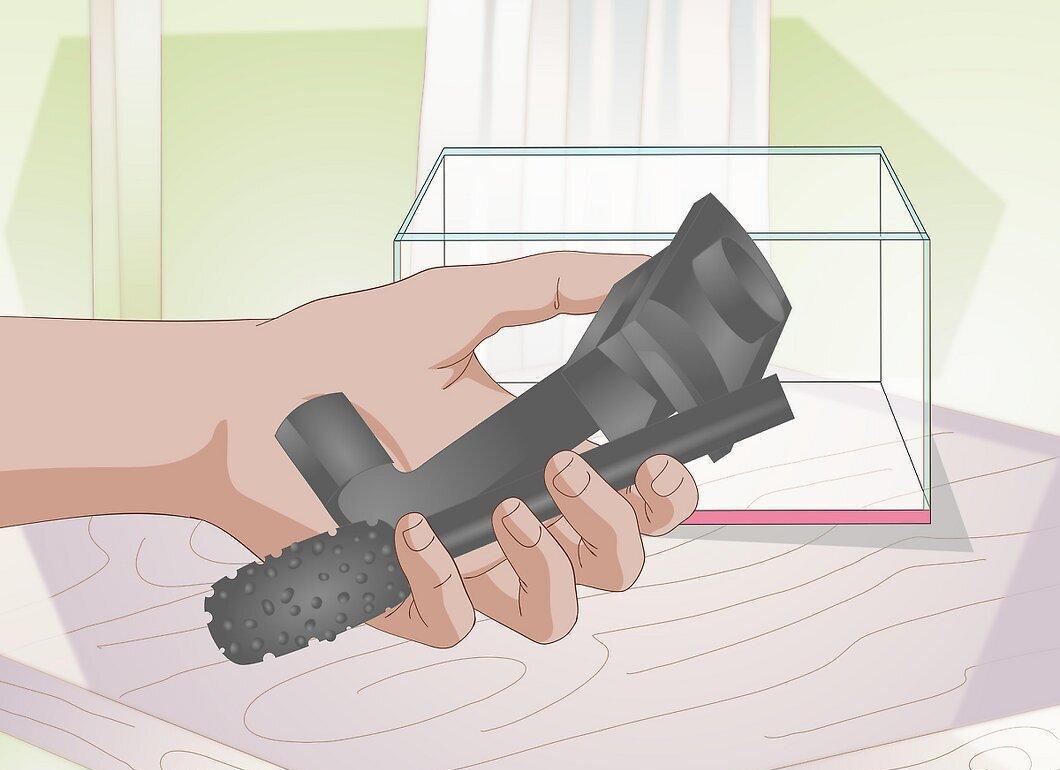
Decide on the filtration system you want for your tank. The most common and simplest options are either a bottom filter or an electric filter (the latter is recommended for first-time aquarium owners), which attaches to the back of the tank. Don’t get too caught up in the tech. Electric filters like Penguin or Whisper provide both mechanical and biological filtration and are easy to use and clean. Only use TopFin if you are experienced with filters (buy Whisper if your kit includes a great TopFin for beginners).
- If you chose a bottom filter, ensure the air pump or powerhead you purchase has enough power for the size of your tank. In this case, the bigger, the better. Keep in mind that if you do not vacuum the gravel regularly, it will eventually clog the filter and turn it into a dead zone. Remember, you cannot use a bottom filter if you plan to cover the bottom with sand or another fine substrate.
- If you went with an electric filter, choose one that can circulate enough water according to your tank size. Ideally, it should move 20 liters of water per hour for every 4 liters of tank capacity. For example, a 40-liter tank will need a filter that moves at least just under 200 l/hour.
Step 2. Install the Filter.
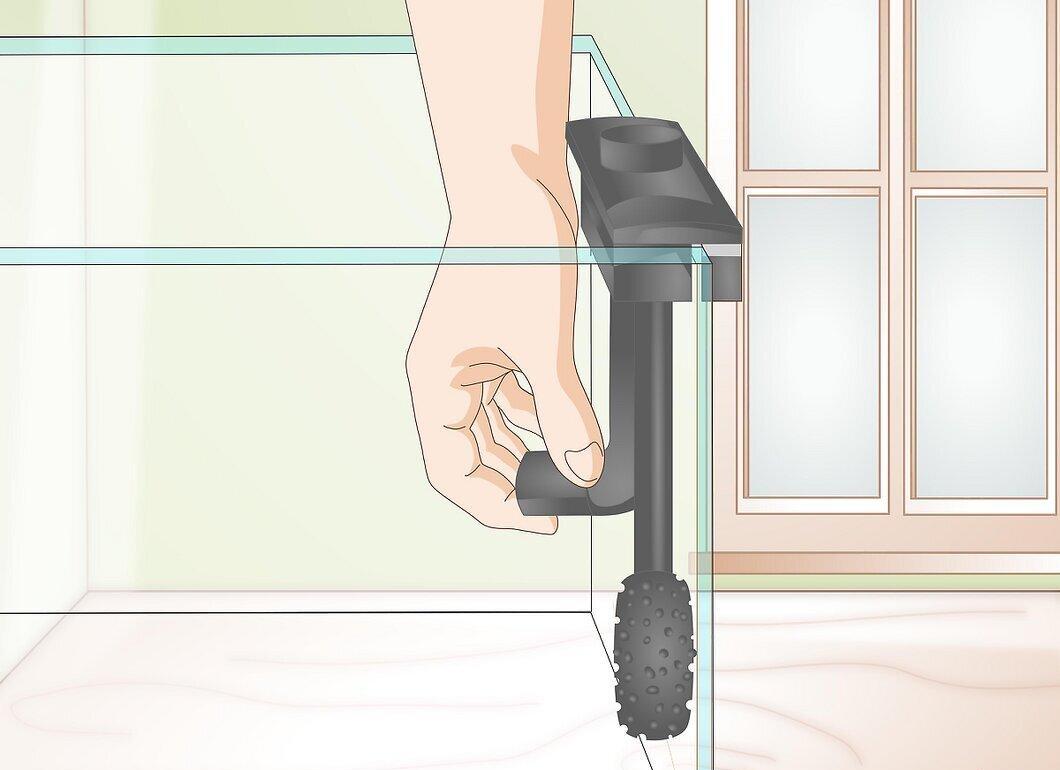
Install the filter. Installation methods vary depending on the filter. Check what you need for your equipment:
- For bottom filters: place the filter plate inside and ensure the siphons are fitted (if you have a submersible powerhead, you only need one with a traditional air pump; two are best for tanks around 150 liters). Do not turn it on until the tank is completely filled with water. Attach the air lines from the pump or powerhead to the corresponding siphon(s) if you have a bottom filter. Do not turn it on.
- If you chose an external power filter, position it on the back wall of the tank so that the outflow distributes water evenly. Some tank lids come with pre-made holes to make it easier to install equipment. Do not turn on the filter until the tank is filled with water.
Step 3. Add Gravel or Sand to the Bottom.
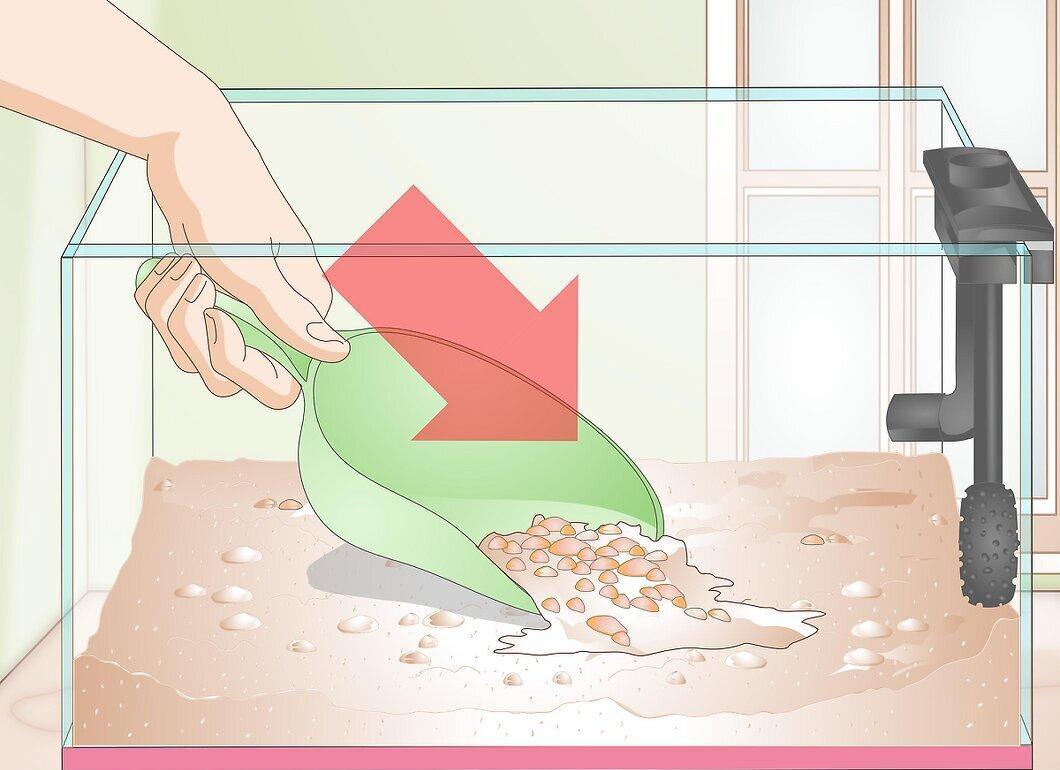
Add gravel or sand to the bottom. 5-8 cm of gravel or sand is necessary for a healthy aquarium atmosphere, and it will help the fish navigate. Fine gravel (in various colors) and clean sand (better to stick with black or natural white and brown colors) can be purchased at pet stores specializing in aquarium products. Sand is best for fish and invertebrates that like to burrow, but you will need to stir it regularly to prevent dead spots that can become disastrous for the aquarium.
- Rinse the substrate in clean water before adding it to the aquarium.[3] X Information Source The less dust in the water, the faster it will clear when the filter starts working. This is especially important if you are using sand rather than gravel, but this procedure is necessary for all types of substrate.
- Rinse the gravel thoroughly. Do not use soap – just soak and scrub it in warm tap water.
- Place slightly more substrate against the back wall of the aquarium to create a slope.
- If you have a under-gravel filter, spread the rinsed gravel evenly across the filter surface. (Add it slowly so it can settle properly, and if you pour too quickly, the gravel can scratch the tank walls).
- Place a plate on top to prevent the substrate from being disturbed when you add water.
Step 4. Arrange Plants and Decorations.
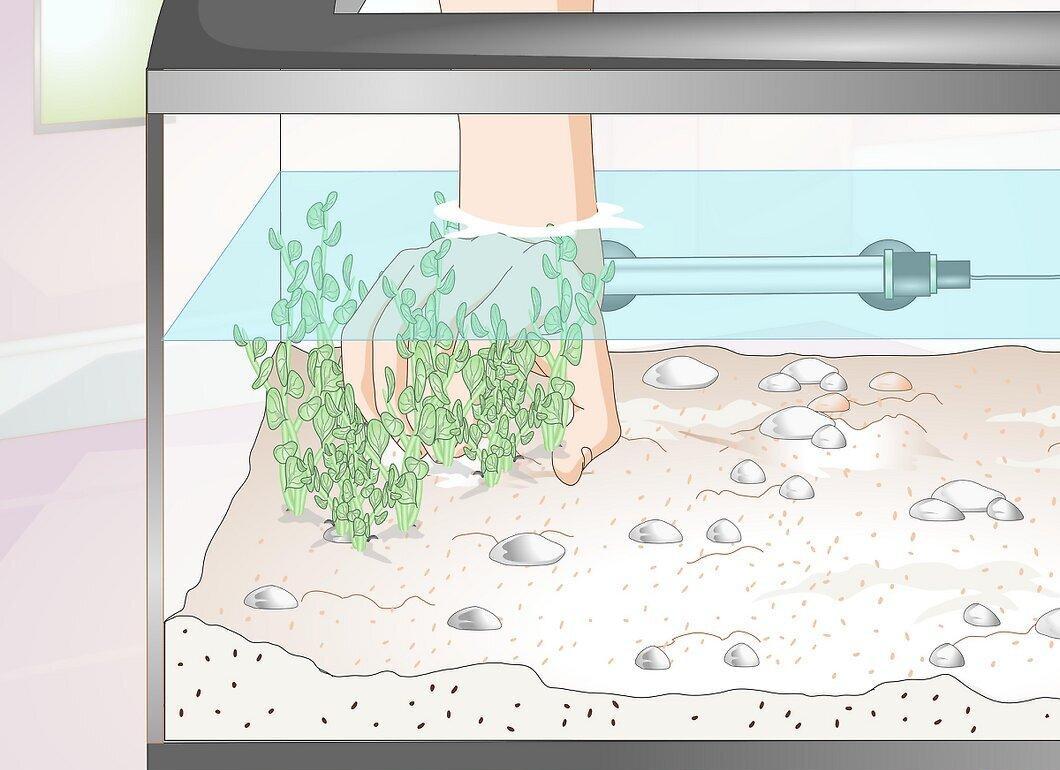
Arrange plants and decorations. Make sure everything is set up the way you like it before filling the tank with water and introducing the fish. They don’t need the added stress, so no hands in the tank once you start filling it.
Adding Water and Heater
Step 1. Check the Tank for Leaks.
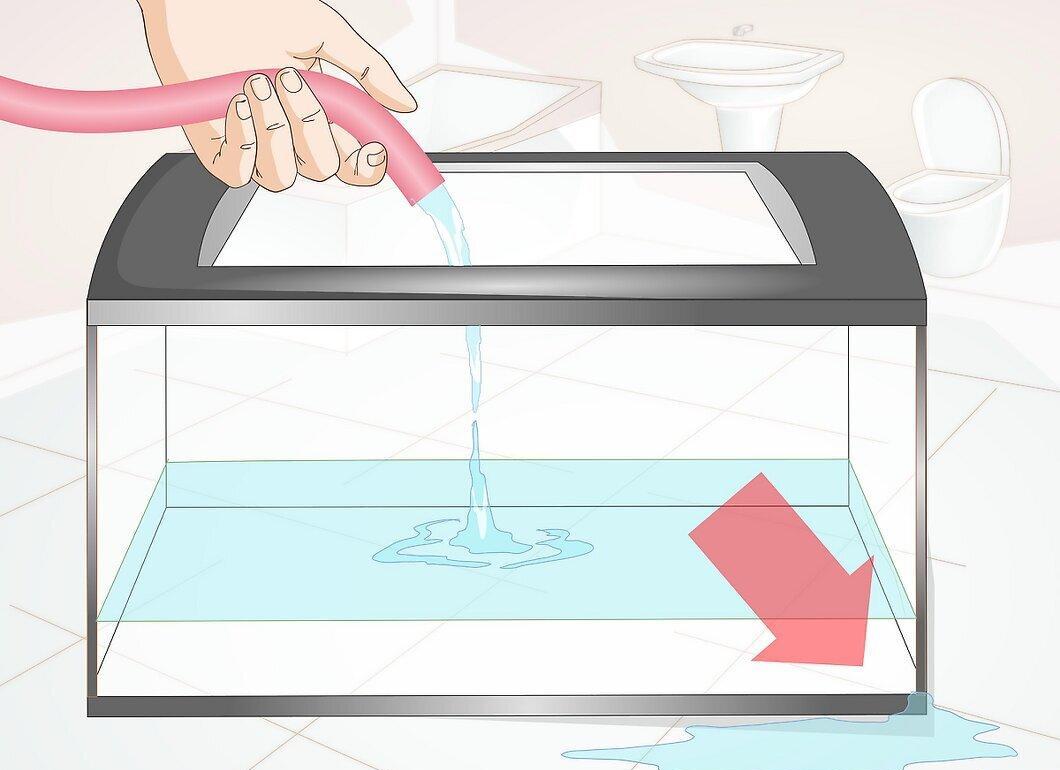
Check the tank for leaks. Fill the tank with water about 5cm deep and wait for half an hour. If there are any leaks, it’s better to find out now rather than when the whole tank is full. If no leaks are visible, fill the tank about one-third full.
- Conduct your experiments in a place where you can easily clean up if the tank leaks. Purchase sealant in advance so that you can immediately start repairs after draining the tank.
Step 2. Fill the Remaining Two-Thirds of the Tank.
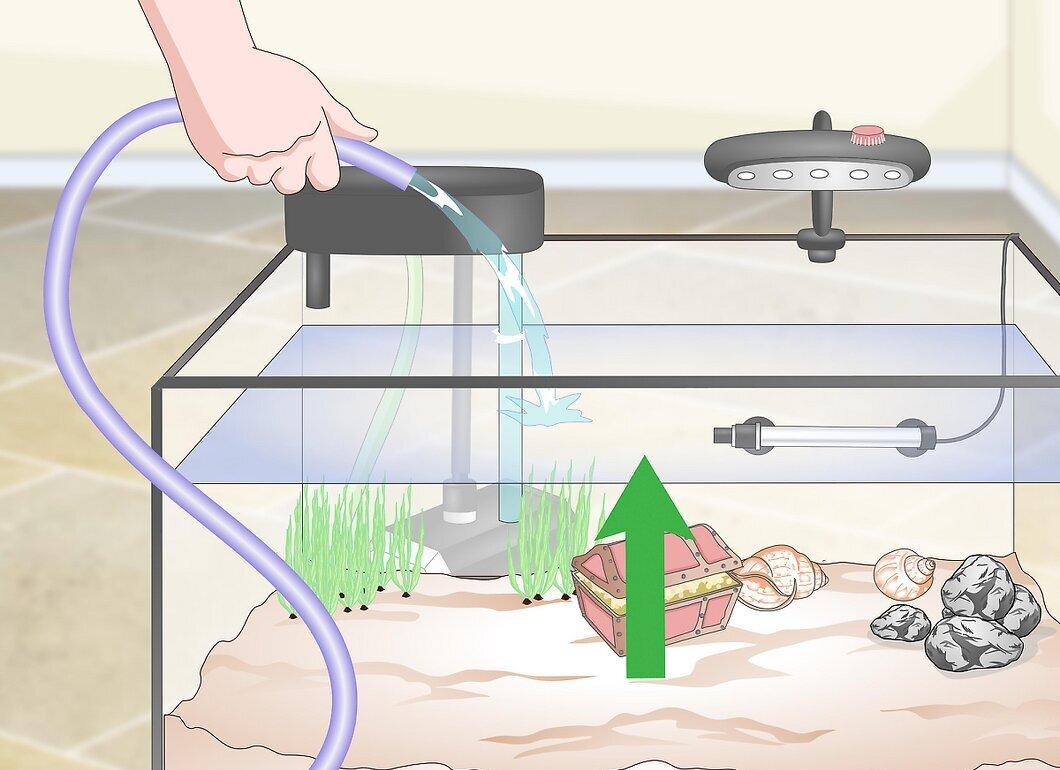
Fill the remaining two-thirds of the tank. Once you’ve ensured all the decorations are placed correctly, fill the tank to the brim, leaving about 2-3cm from the top.
Step 3. Turn on the Filter.
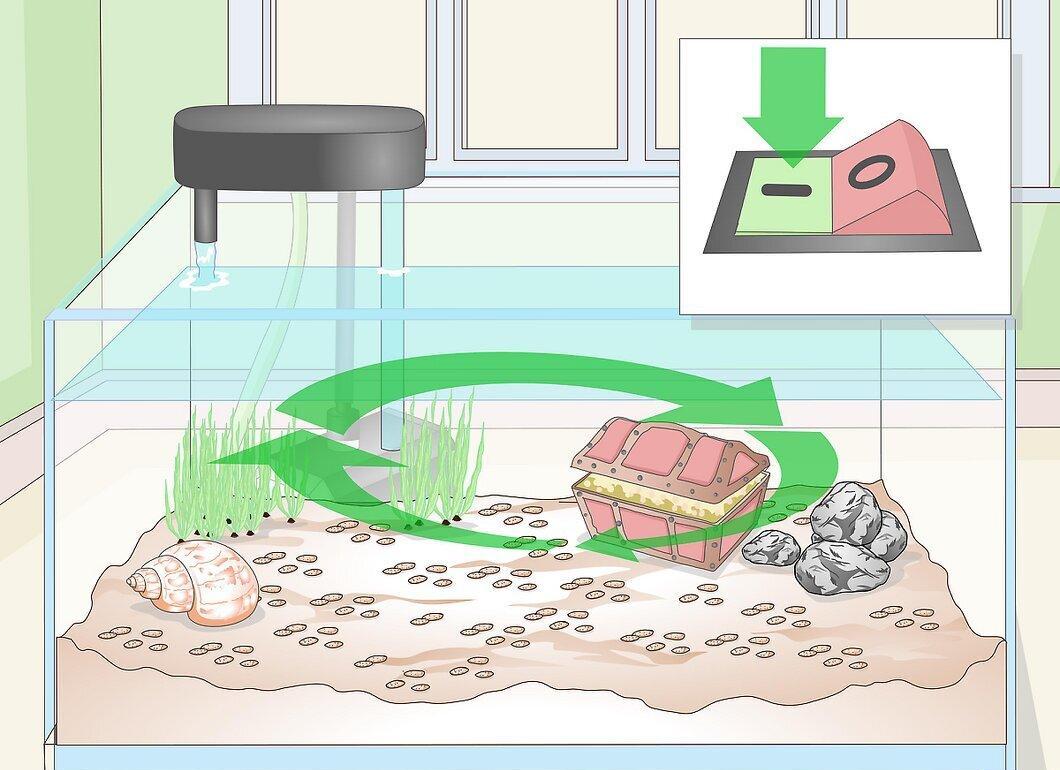
Turn on the filter. Fill the filter reservoir with water and plug it in! The water should start to circulate evenly (and quietly) within a few minutes. Turn on the powerhead/pump if you have a bottom filter. The water should begin to move vertically through the tubes.
- Wait an hour or two, check the temperature for acceptable limits, and check the tank for leaks, making sure the water is circulating properly.
Step 4. Install the Heater Inside the Tank with Suction Cups.
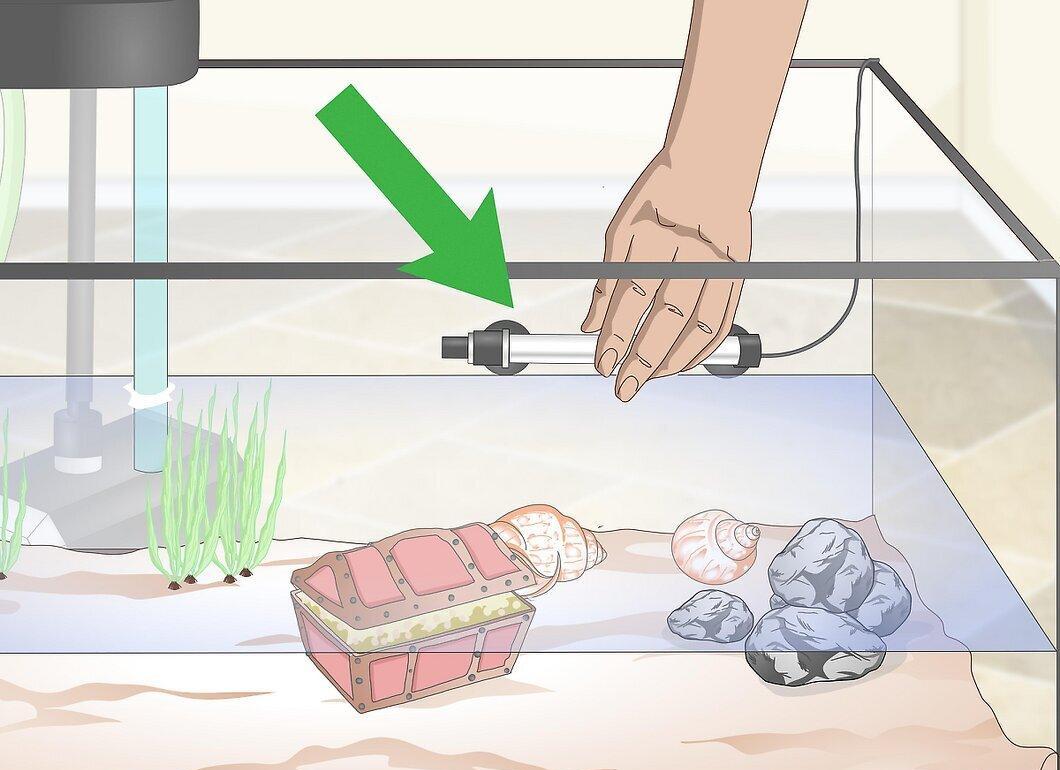
Install the heater inside the tank with suction cups. Try to place it near the outflow of water so that the water heats evenly. Most thermostats on new heaters come preset to a range of 21-25 degrees Celsius. Turn on the heater and set the thermometer. Do not turn it on until the tank is completely filled with water.
- Fully submersible heaters are the easiest to use. Look for one with an adjustable thermostat, as different fish prefer different temperatures. A good rule of thumb is 3-5 watts per 4 liters of water. Most fish enjoy something between 21 and 26 degrees. In a tank with various fish species, it’s best to keep the temperature within 28-32 degrees.
- Some lights (sometimes included in beginner kits) emit so much heat that the water temperature fluctuates drastically. When such lights are turned off, the temperature will change dramatically again. This is harmful to the fish. If this happens, go to the store to buy lights that do not emit so much heat.
Step 5. Add Dechlorinator.
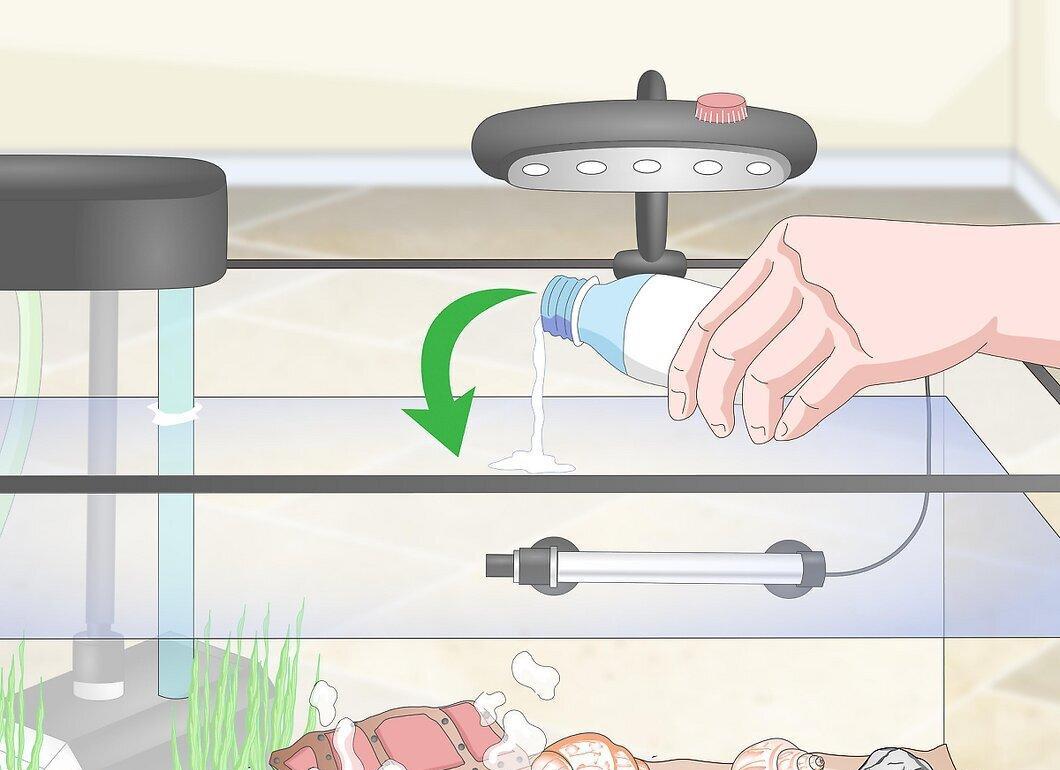
Add dechlorinator. Tap water contains chlorine and other chemicals that can kill fish, so it’s essential to add neutralizers to the aquarium water unless you’re using distilled water. Add dechlorinator according to the instructions on the bottle. You should also add an initial dose of SafeStart – a bacterial catalyst that accelerates the growth of beneficial bacteria.
Step 6. Run the Tank Through a Full Cycle.
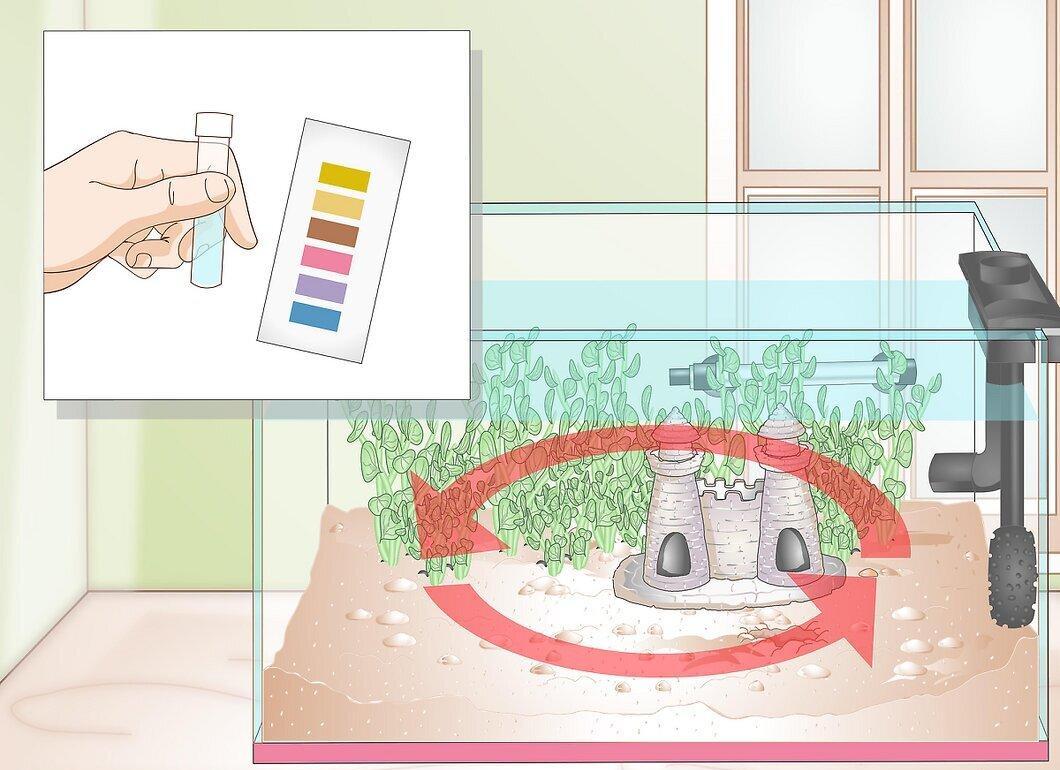
Run the tank through a full cycle. To conduct such a cycle without fish (the most humane way to grow the beneficial bacteria needed for the tank), read additional literature. This cycle needs to be completed before you introduce fish into the tank, or they will die. During this time, you need to monitor water parameters (pH, high alkalinity, ammonia, nitrite, and nitrate). When the figures for ammonia, nitrite, and then nitrate drop to zero, it means you have completed the initial nitrogen cycle and can introduce fish into the tank. (To speed up the reduction of ammonia and nitrite levels, you can add ammonia-removing products. The only way to reduce nitrate levels is to perform water changes, meaning physically removing excess water.)
- Don’t forget to test the water, especially in a new tank. You will need to replace 15% of the water daily to keep the tank clean.
Introducing Fish
Step 1. Choose Your Fish.
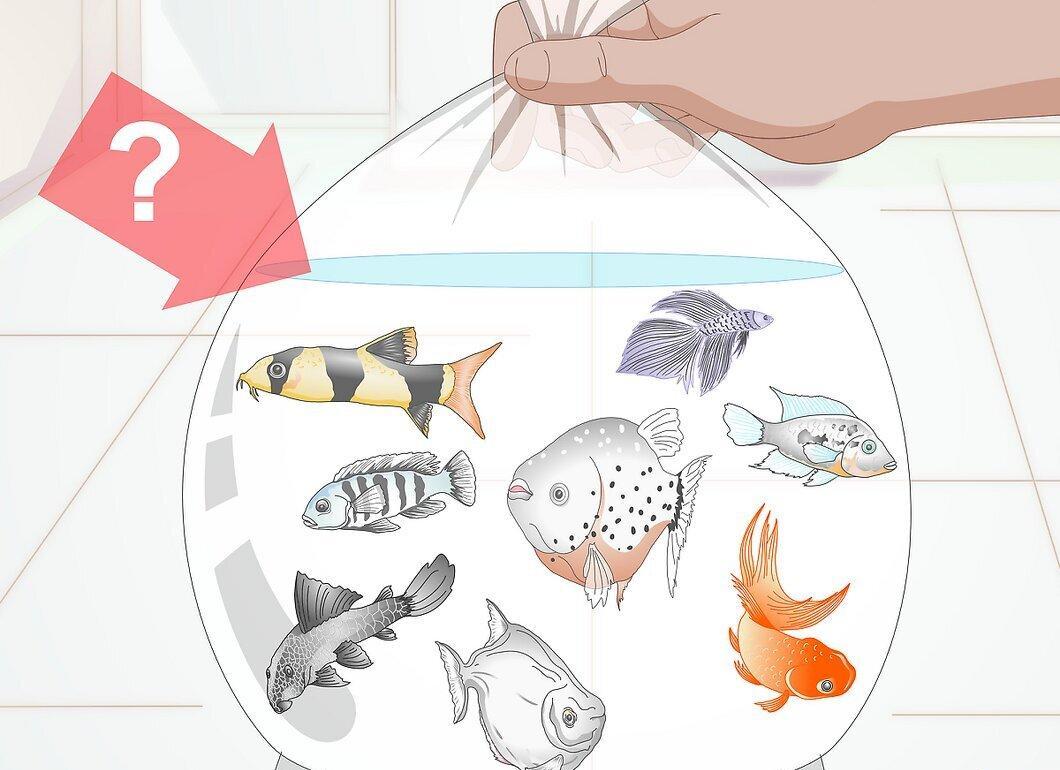
Choose your fish. Discuss with the salesperson what type of freshwater tropical fish you would like to buy. They should advise you on which species can coexist and so on. Find a local pet store, as they often have healthy fish and the most accurate information. Quality pet stores usually provide compatibility charts for freshwater and marine fish.
- Even if you are eager to have two specific species, it’s entirely possible that they won’t get along. The result of putting them in the same tank will be pale and frightened fish (they lose color when stressed), and eventually, the dominant species will eliminate the others. Why waste your money?
- If this is your first aquarium, do not buy fish that only experienced or intermediate aquarium owners can handle. There are reasons some species are not for beginners.
- Keep in mind the adult sizes of the fish (not the fry you are buying), and do not take ones you cannot handle. The same goes for freshwater sharks, crabs (which, by the way, never stop trying to escape), cichlids, and species that burrow into the substrate. This is unfair to them.
- Guppies or mollies are quite good for beginners, but it all depends on the size of your tank. If it's 20-40 liters, you can buy 3-4 African dwarf frogs or a betta fish, or a betta fish and a few shrimp. First, research the topic further before adding fish to the tank. Remember to stick to the rule of 2.5cm per 4 liters.
Step 2. Don't Buy All at Once.
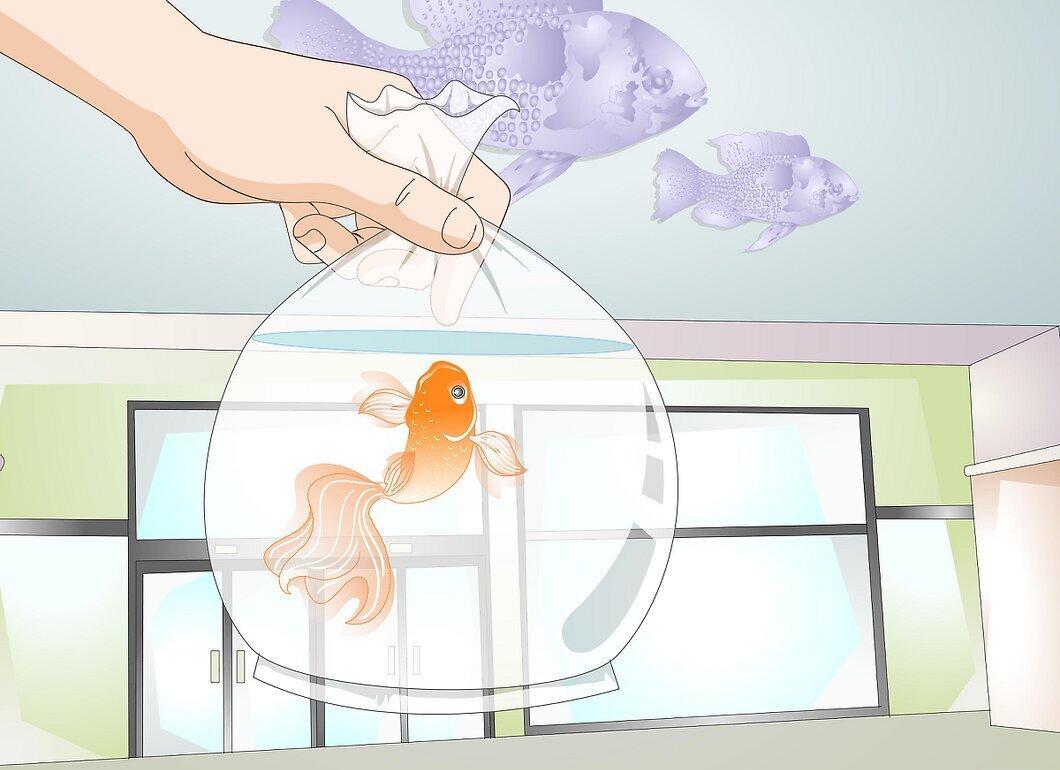
Don’t buy all at once. Decide which species and how many you hope to introduce into the tank, and buy the two smallest (this applies to all species except schooling fish, which should be bought in groups of 4, ideally 6+). Each new group can be added every 2 weeks. The largest fish should be added last.
Step 3. The Journey from Store to Home.
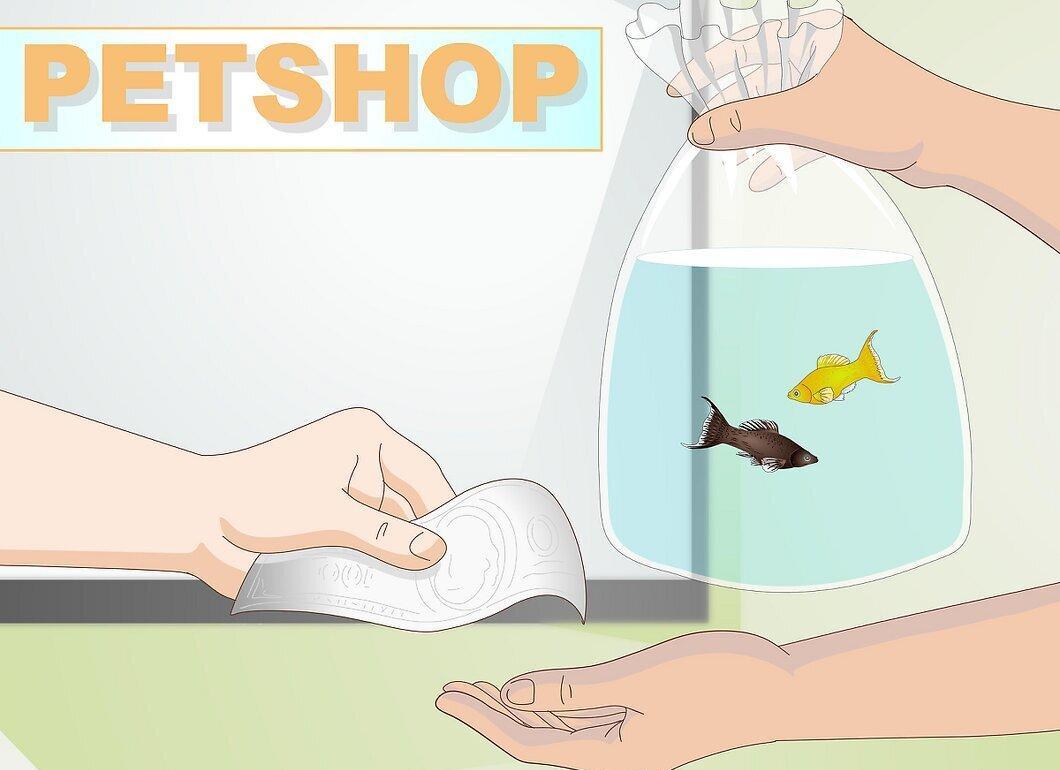
The journey from store to home. The salesperson will fill a clean plastic bag with water, add the fish, and inflate the bag with oxygen. When you get in the car, place the bag in such a way that it won’t be jostled around during the trip or have anything fall on it. Head home immediately, as the fish can survive on the water and oxygen in the bag for about 2.5 hours. For longer trips, you will need different packaging.
Step 4. After the Store Employee Catches the Fish for You, Bring It Home and Float the Bag in the Tank.
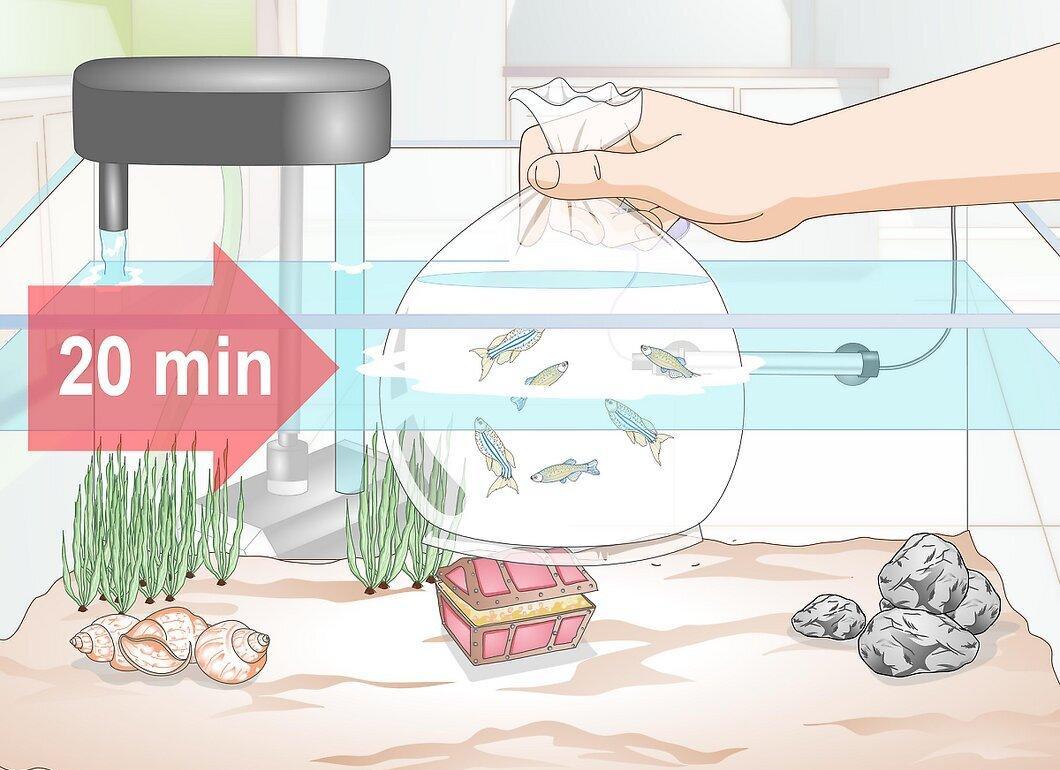
After the store employee catches the fish for you, bring it home and float the bag in the tank. Let it sit there for 20-30 minutes. Then, remove it, pour out most of the water from the store, and gently place the fish into the tank.
Step 5. Introduce the Fish into the Tank.
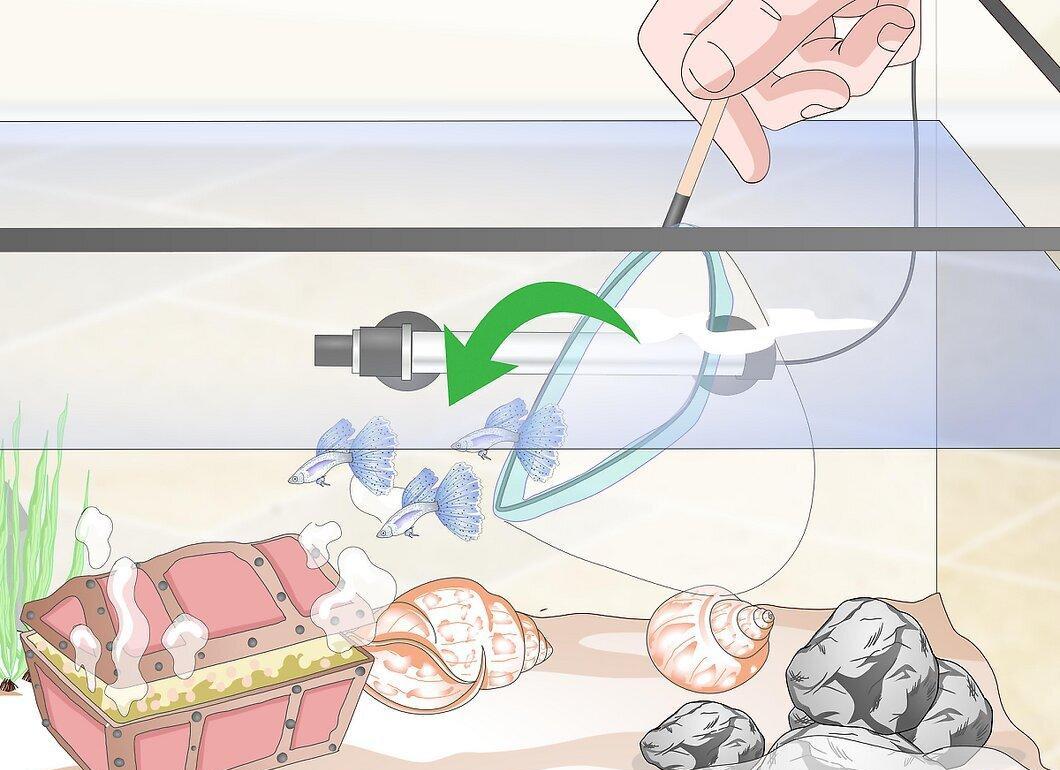
Introduce the fish into the tank. Start with two or three fish in the first 10 days, then add two or three more, wait another 10 days, and so on. If you release too many fish into the new tank at once, the water can't cycle properly and will quickly become toxic. Patience is crucial for the first six to eight weeks. Another significant mistake is buying schooling fish while taking only one or two. This is cruel to the fish and causes them a lot of stress. A school means a group of five fish, at minimum. There’s a great book by David Boruchowitz titled "The Simple Guide to Freshwater Aquariums."


