
Creating fashion sketches is an exciting process that allows you to visualize your ideas before they become real garments. Start with a simple outline: draw the silhouette of the model, which will serve as the foundation for your drawing. It doesn't have to be a realistic image; it's just a framework onto which you will add various elements such as dresses, skirts, blouses, and accessories. Including details like ruffles, seams, and buttons will help you express your concepts more accurately.
The First Step in Creating a Sketch
Step 1. Prepare Your Materials.
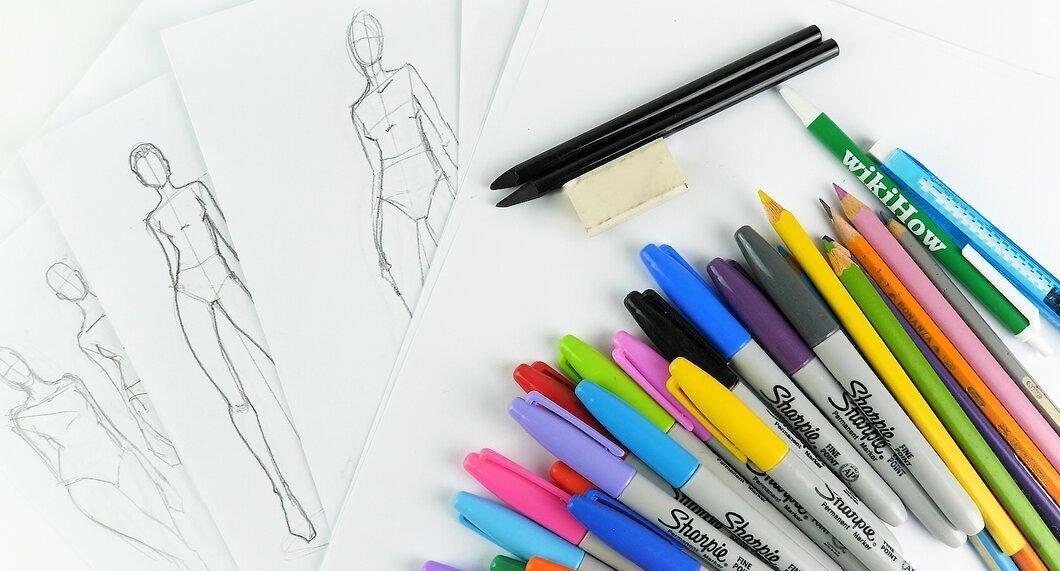
Gather all the necessary materials. It's best to use a hard pencil (model T) for light outlines that are easy to erase. Such lines won't indent the paper too deeply, making the coloring process easier. Also, choose quality paper and a reliable eraser for a professional-looking drawing.
- If you don't have a T pencil, you can use a TM (medium hard), but keep in mind that the lines should be very light.
- Avoid using pens, as it will be impossible to erase any extra lines.
- You will need colored markers, inks, or paints for coloring the clothing models.
Step 2. Choose a Pose for Your Sketch.
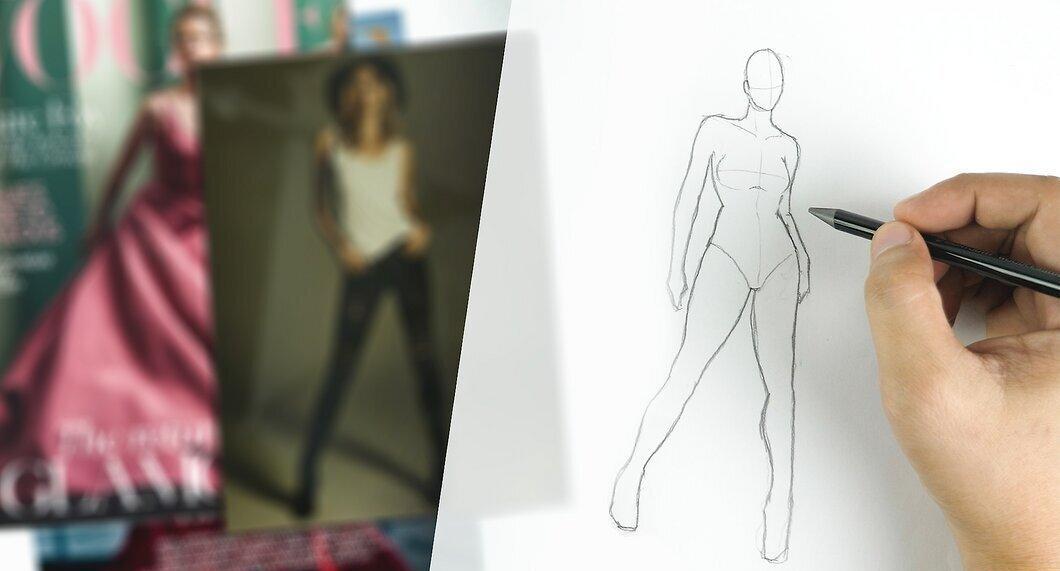
Select a pose for your model. The sketch should showcase the clothing from its best angle. You can depict the model in various poses: standing, sitting, or in motion. As a beginner, start with the most common pose—draw a model walking down the runway. This is the easiest and allows you to fully display the clothing design.
- For your sketches to look professional and appealing, it's important that they are proportional and clearly defined.
- Many designers practice and create hundreds of sketches to improve their skills.
Step 3. Explore Alternative Sketching Methods.
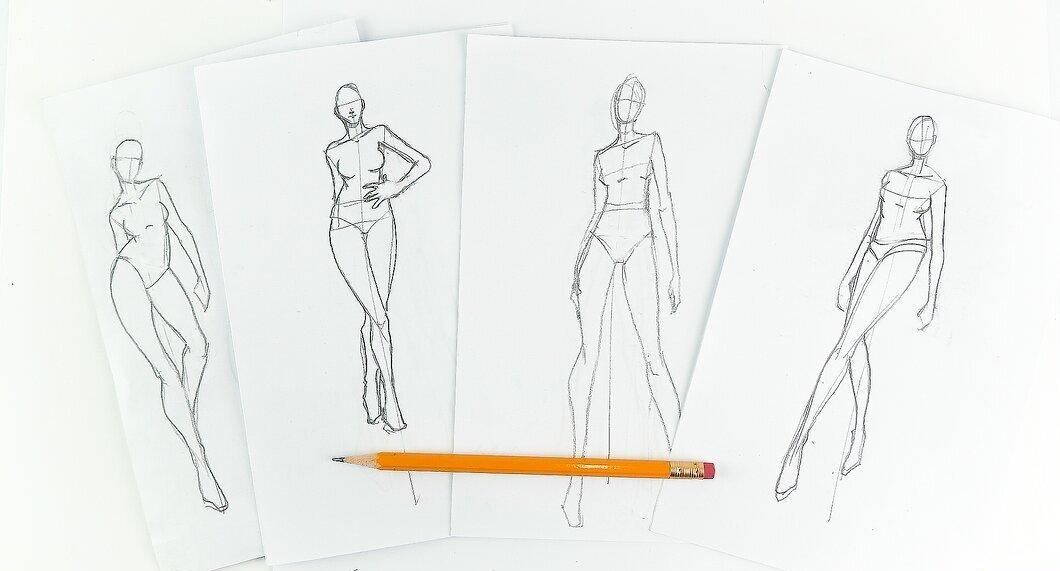
Consider various ways to create a sketch. While creating your own outline is great, there are also quick methods for those who want to learn to draw clothing designs:
- Find pre-made model sketches online; there are many different forms and poses available.
- You can create a sketch by tracing the outline of a model from a magazine or another image. Simply place tracing paper over the image and outline its shape.
Creating a Working Sketch
Step 1. Start with a Balance Line.
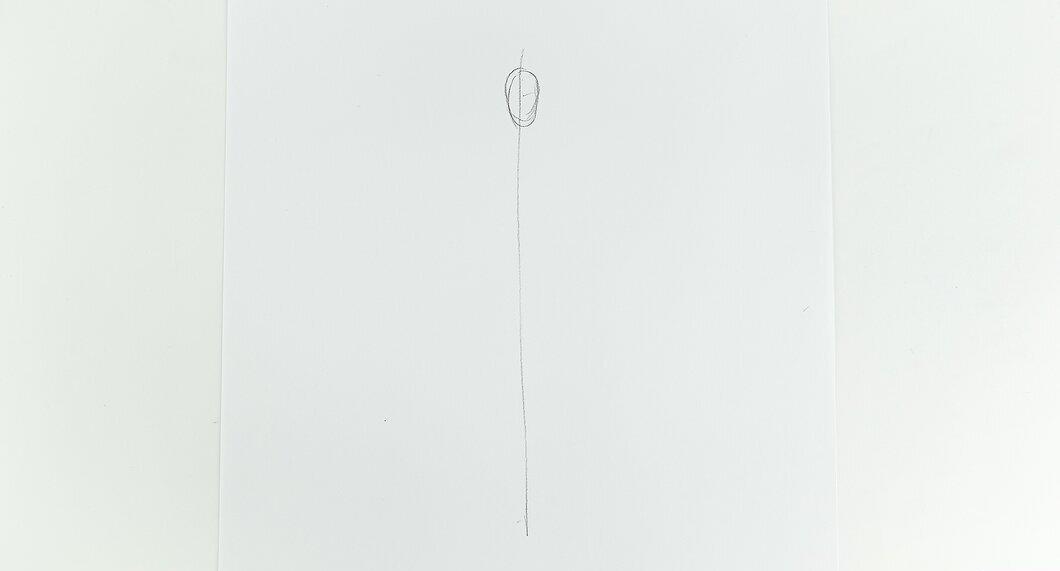
Draw a balance line. This is the first line of your drawing, and it will serve as the model's center of gravity. Draw it from the top of the head to the tips of the toes along the spine. Then draw an oval for the head. This is the basic foundation of your working sketch, and now you can create a proportional drawing, envisioning it as the model's "skeleton."
- The balance line should be strictly vertical, even if the model is leaning. For example, if you want to draw a model leaning to the left, the balance line should remain vertical.
- Remember, you don't need perfect proportions for the model, as you're showcasing the clothing, not your skills in drawing the human figure.
Step 2. Begin with the Pelvic Area.
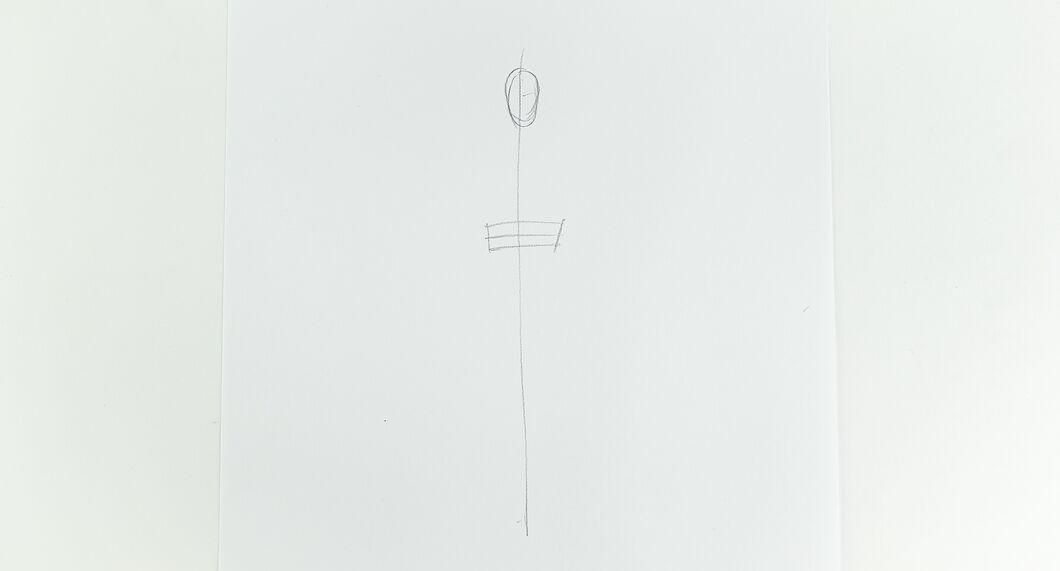
Start by drawing the pelvic area. Draw an equilateral square on the balance line slightly below the midpoint, where the pelvis lies. The size of the square should correspond to the type of model—small for slim models, larger for fuller ones.
- Depending on the pose, tilt the square to the left or right. If you want the model’s hips to shift to the left, tilt the square accordingly.
Step 3. Outline the Torso and Shoulders.
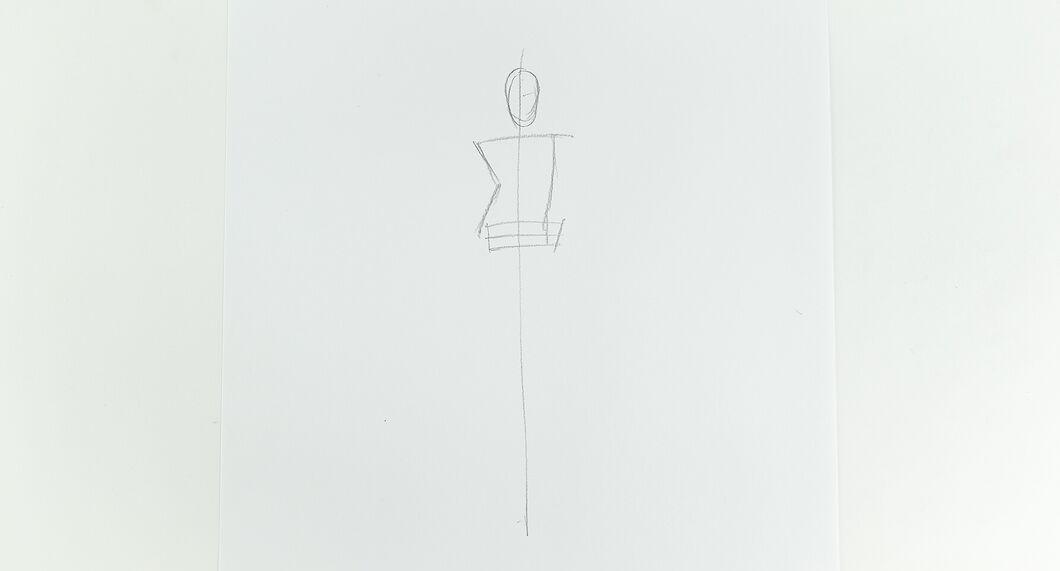
Now draw the torso and shoulders. Draw lines from the corners of the pelvic square upwards, curving them at the waist and widening towards the shoulders. Remember, the shoulders should be as wide as the hips—the widest part.
- Ensure the torso looks natural. Compare it with images of models to check proportions. The waist should be narrower than the lower body.
- Typically, the shoulders and hips tilt in opposite directions, creating a sense of movement. Draw the waist as a short horizontal line.
Step 4. Add the Neck and Head.
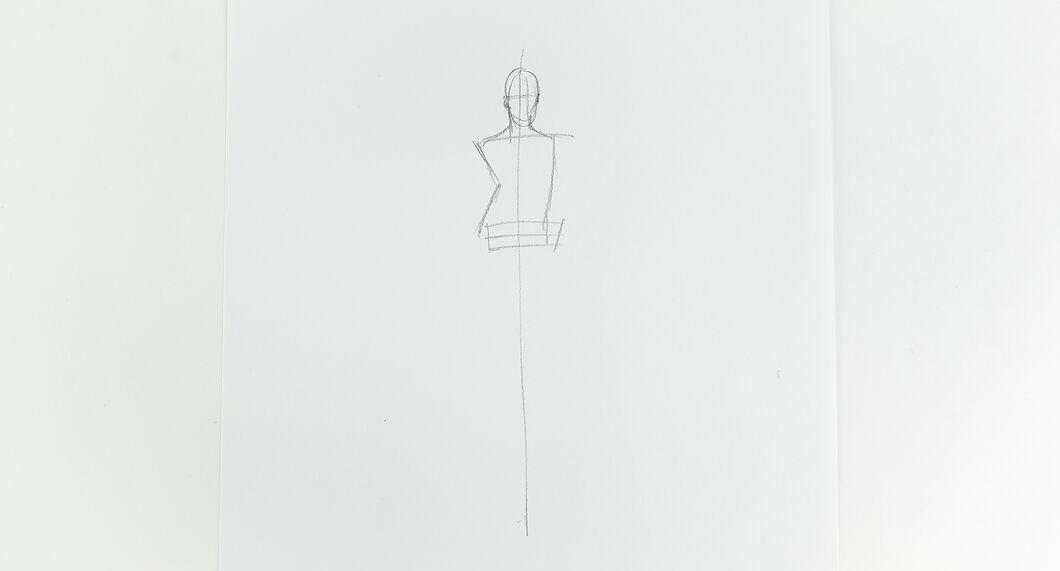
Now draw the neck and head. The neck should be one-third the width of the shoulders and half the length of the head. Once you finish drawing the neck, add the head, which should be proportional to the body.
- You can erase the oval you initially used for the head.
- Ensure the head looks natural in the chosen pose.
Step 5. Sketch the Legs.
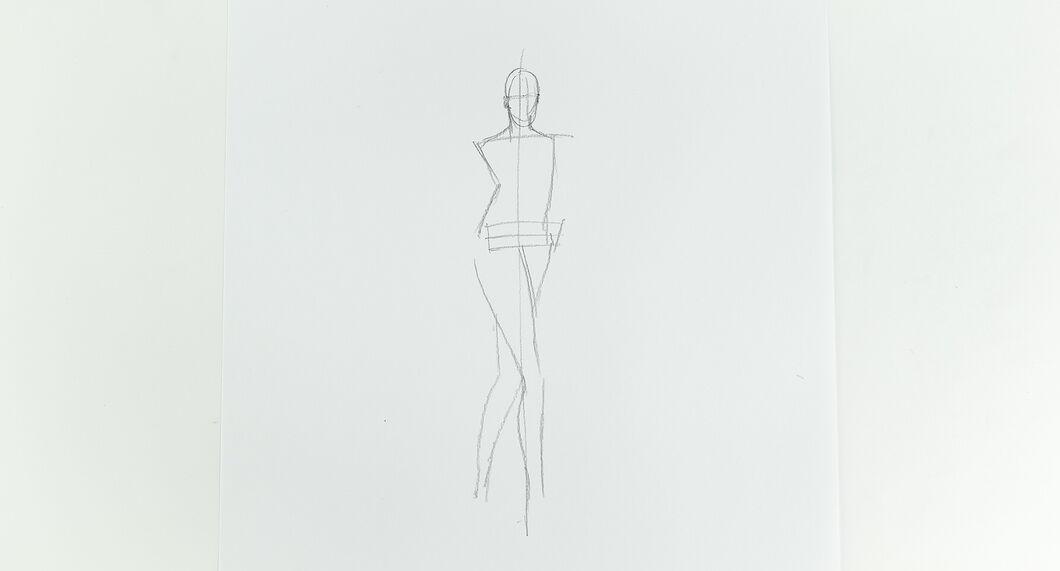
The legs are the longest part of the body, and their length should be about four heads high. The legs are divided into two parts: thighs and calves. Remember, designers often elongate the legs to create an illusion of height.
- The upper thigh should be roughly the same width as the head. Decrease the width of the legs from the thigh to the knee.
Step 6. Draw the Feet and Arms.
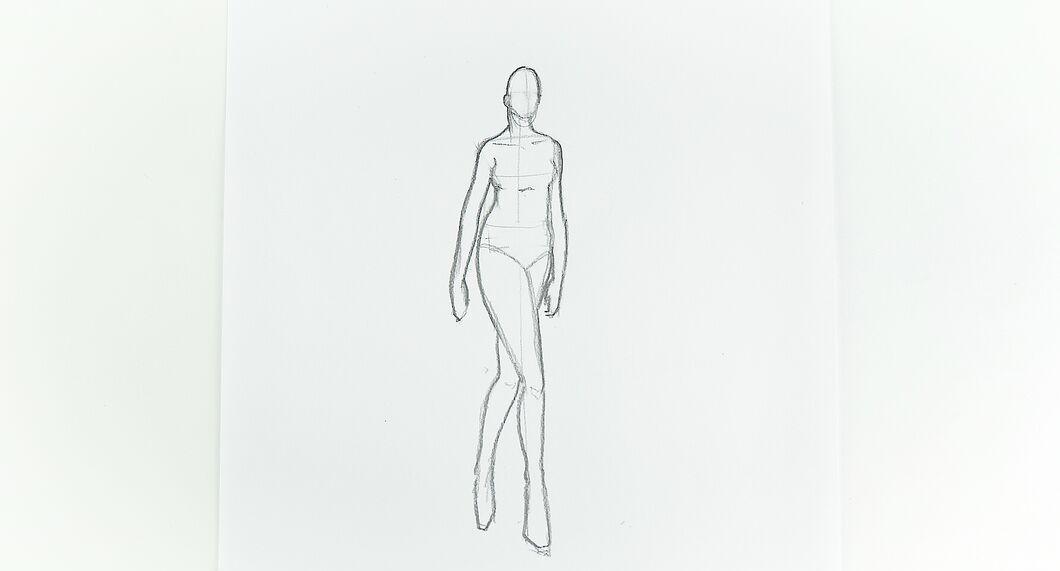
Now draw the feet and arms. The feet should be narrow, depicted as elongated triangles. Make the arms slightly longer than usual, tapering them towards the wrists to create a stylized look.
Outlining Clothing and Accessories
Step 1. Visualize Your Design.
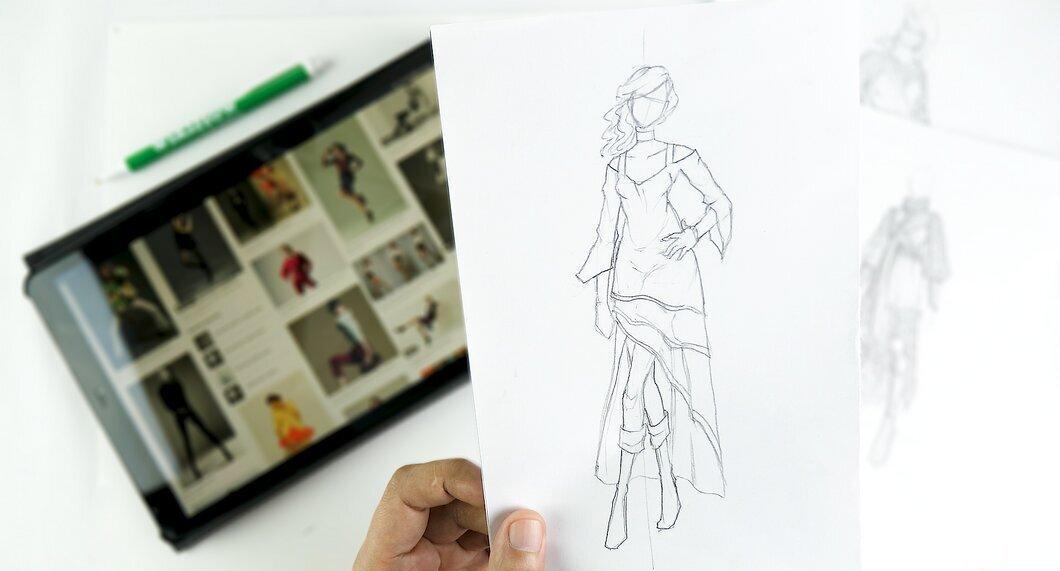
Now start drawing your design. Think about what exactly you want to create and work out the details. If it's a dress, add patterns, ruffles, or bows for beauty. Focus on unique elements and add accessories to complete the look. If you're lacking inspiration, browse fashion trends online or in magazines.
Step 2. Draw Clothing with Confidence.
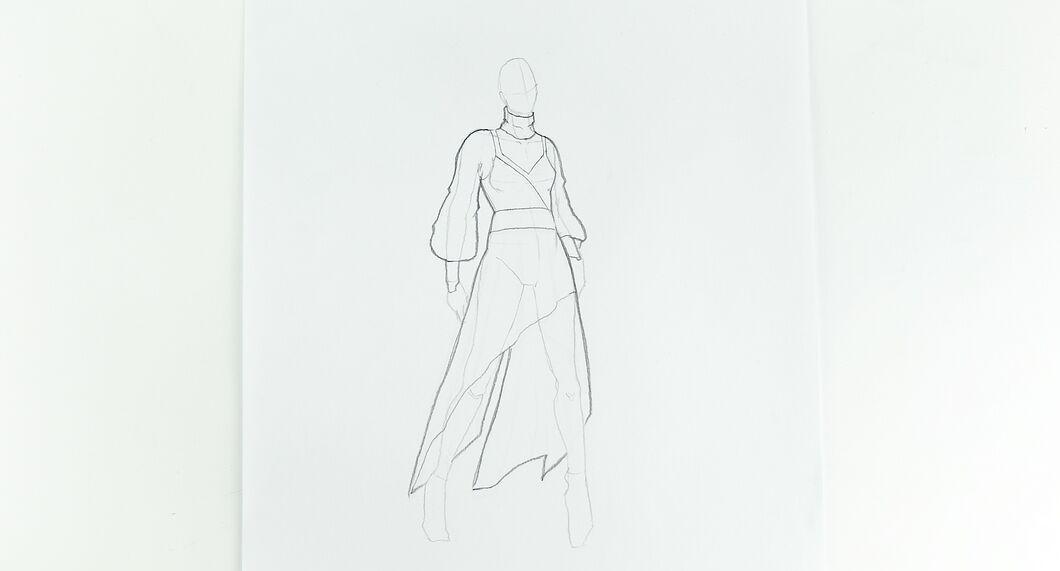
Draw clothing with confident lines. Your drawings should look full and bold to convey your ideas. Outline folds and drapes to make the clothing appear natural. Imagine how the fabric clings to the body and translate that onto your drawing.
- Different fabrics behave differently, so consider this in your sketches. Lighter fabrics flow, while heavier ones, like denim, hold their shape.
Step 3. Master the Technique of Drawing Folds and Wrinkles.
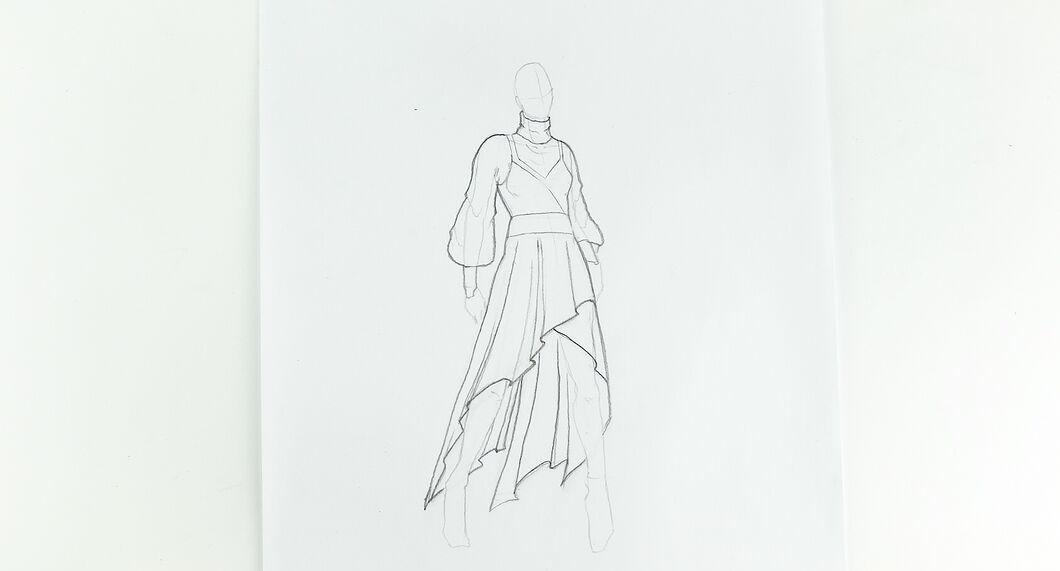
Learn to depict folds and wrinkles. Use different types of lines to create fabric texture. The ability to draw details will help you convey the structure of the clothing.
Step 4. Outline Patterns.
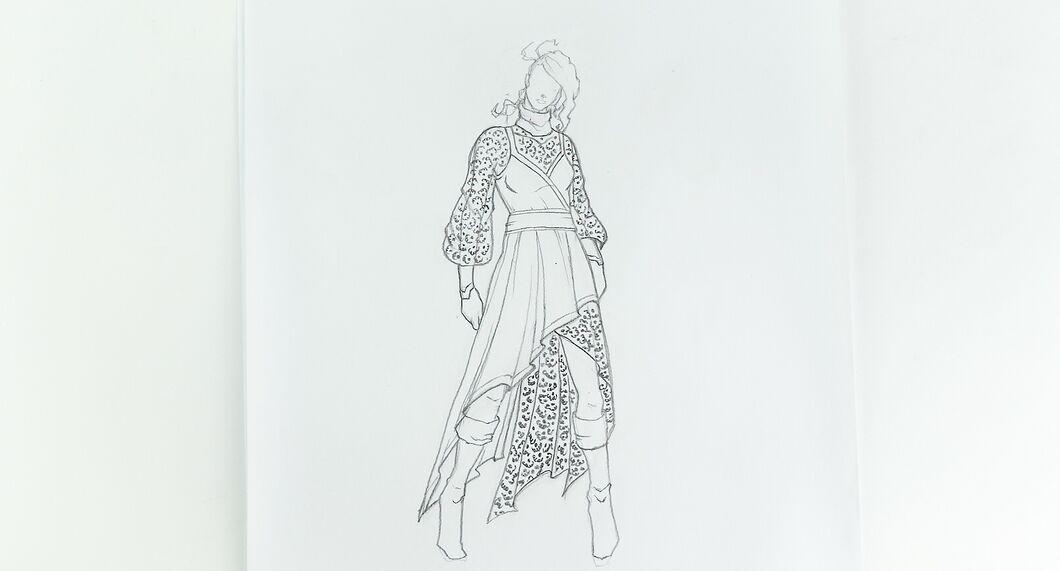
If your design includes patterns, it's important to show how they will look accurately. Start with the contours of the patterned fabric and divide them into sections. Fill each section with the pattern.
Step 5. Finish the Drawing by Adding Shadows and Color.
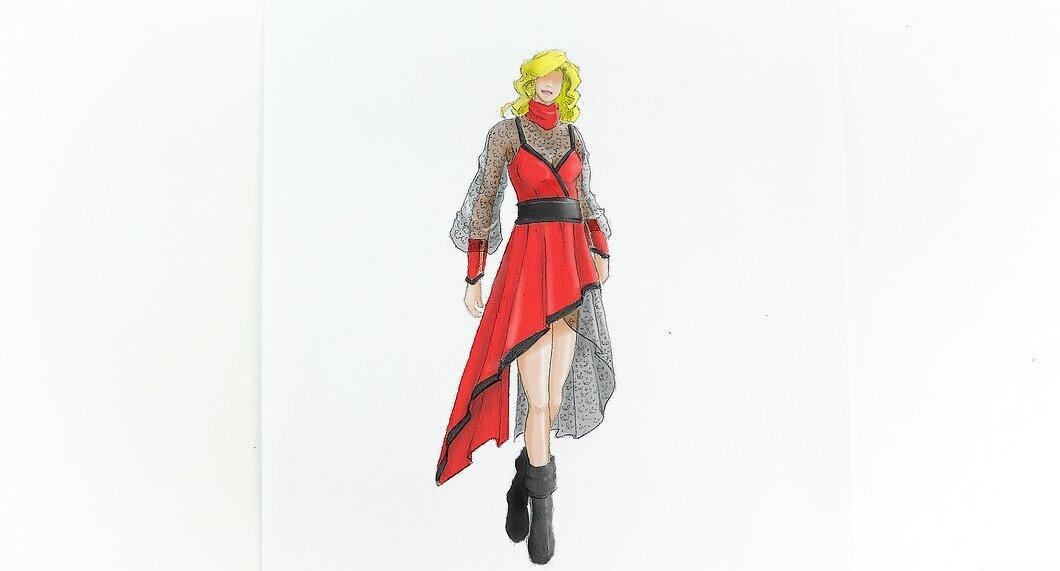
Complete your drawing by adding shadows and colors. Use black ink to highlight the lines you want to keep. Erase any unnecessary pencil lines and color the clothing in your chosen shades.
- Use markers, inks, or paints, mixing colors for the best result.
- Think about how your model will move on the runway under bright lights to accurately convey shadows and textures.
Step 6. Consider Creating a "Flat" Drawing.
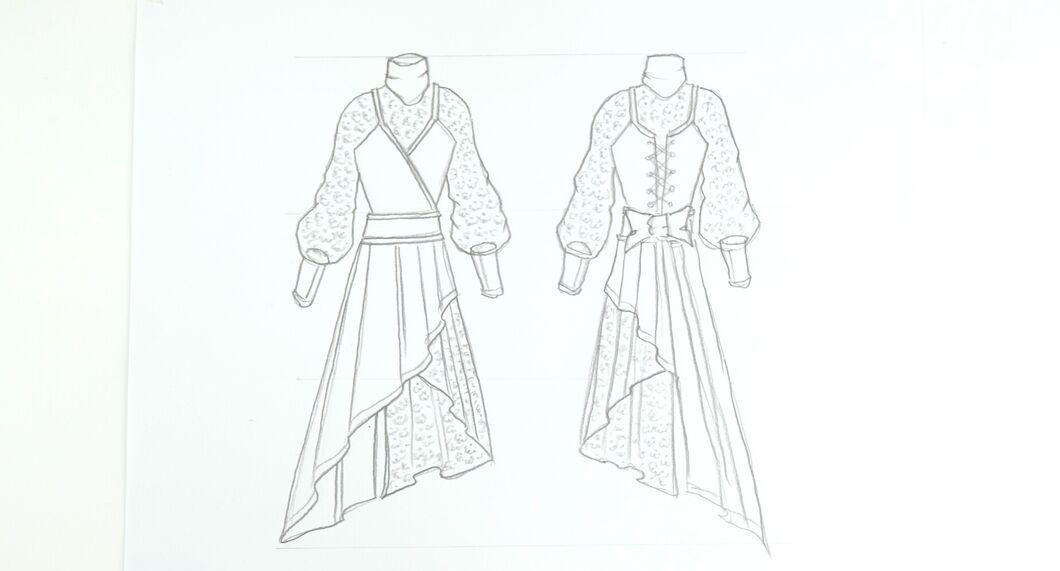
Think about creating a "flat" drawing. This is a schematic sketch of your design showing how the clothing will look when laid out. Such a drawing will help you better understand how the clothing will look off the model's body.
- Create these drawings to scale and don't forget to show the back view, especially if there are interesting details.


