
The Art of Painting Warhammer Miniatures
Painting Warhammer miniatures can become a true passion for you. To master your skills and make your creations truly outstanding, follow our recommendations.
Part 1
Step 1: Prepare Your Miniatures.
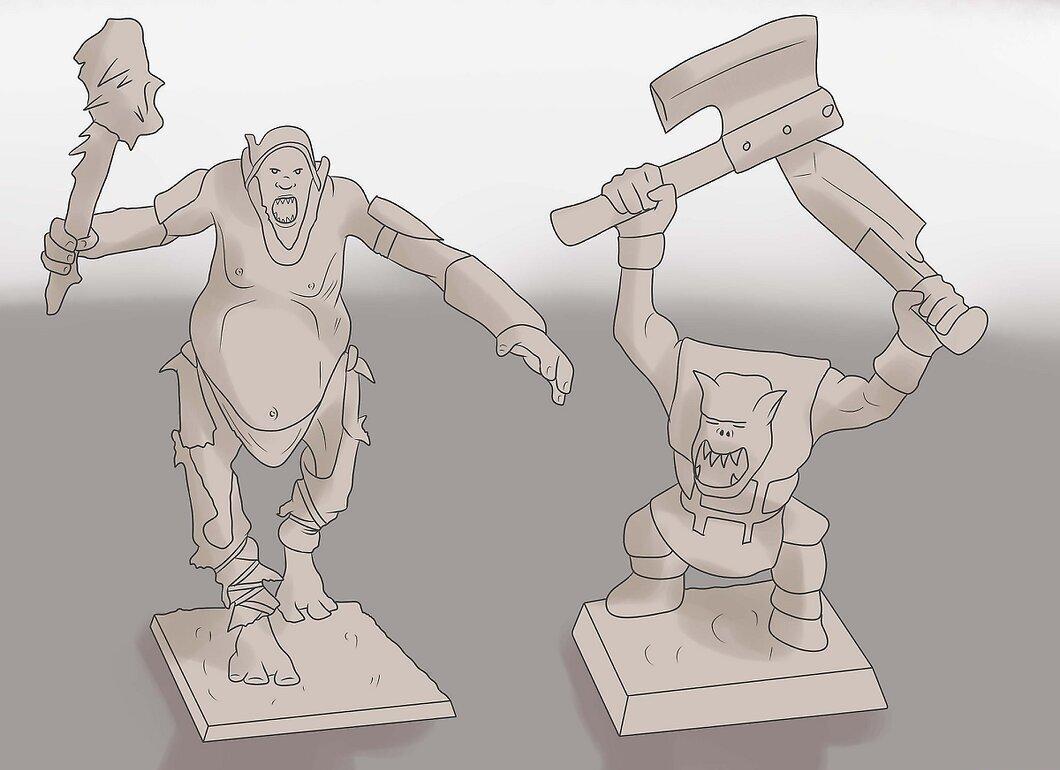
Start by preparing your miniatures. Make sure you have your Warhammer figures, brushes, and Citadel acrylic paints. If you don’t have these materials, you can always purchase them from Warhammer vendors or specialized craft stores. It’s recommended to keep parts like shields separate until you finish painting.
Step 2: Choose Your Color Palette.

Select a suitable color scheme. Pick two to three bright colors and one dark color for contrast (for example, red, lime green, and black or rich yellow, reddish-brown, and dark brown). Make sure the colors match the character of your miniature. Red and black work well for Chaos champions, while dark greens and blues suit almost any figure. The colors should accurately reflect your army — for instance, if you’re painting orc figures, avoid overly pale tones and add bright accents!
Step 3: Apply a Primer Coat.
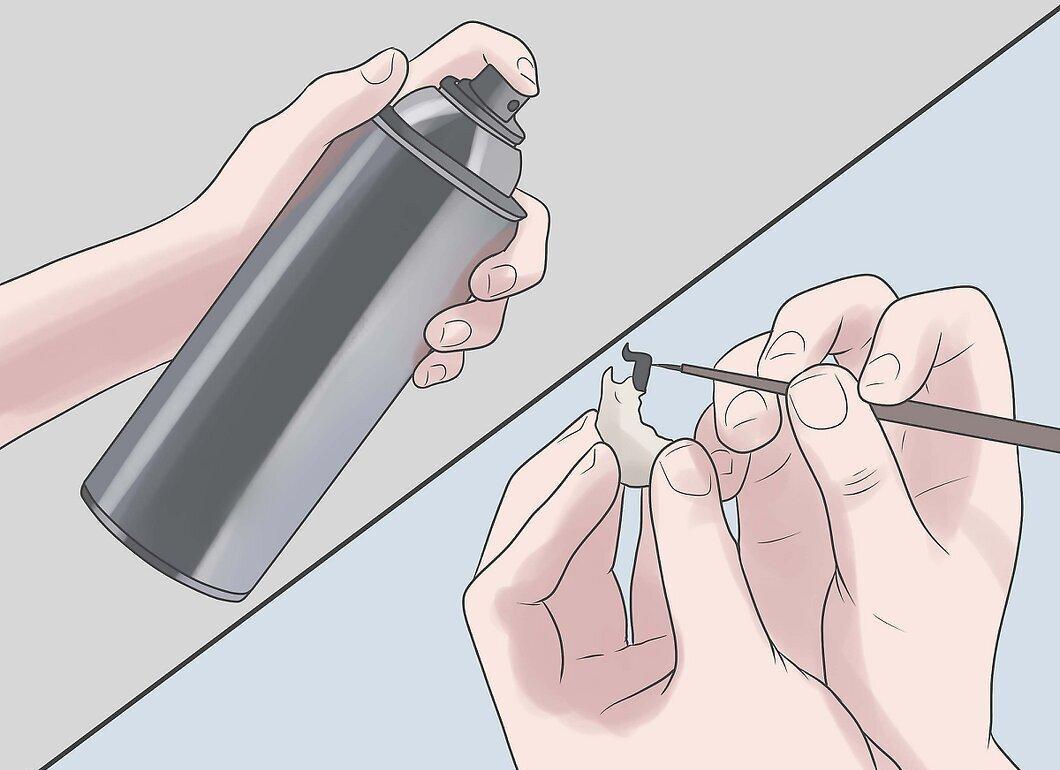
Paint your miniatures with a primer coat. This layer creates a smooth base for subsequent paints. Choose Chaos Black (if you plan to use metallic shades) or Skull White for a brighter figure. You can apply the primer coat in several ways:
- Spray: This is the fastest method with excellent results, saving time compared to airbrushing. Spray onto cardboard or paper.
- Airbrush: This technique provides high precision but requires more time for setup.
- Hand Painting: This method is the most labor-intensive. You can add details by hand to enhance the base layer applied by spray or airbrush. Don’t forget to dilute the paint with a small amount of water before hand painting. The layer should be light to avoid obscuring details.
Step 4: Prepare Your Paints.
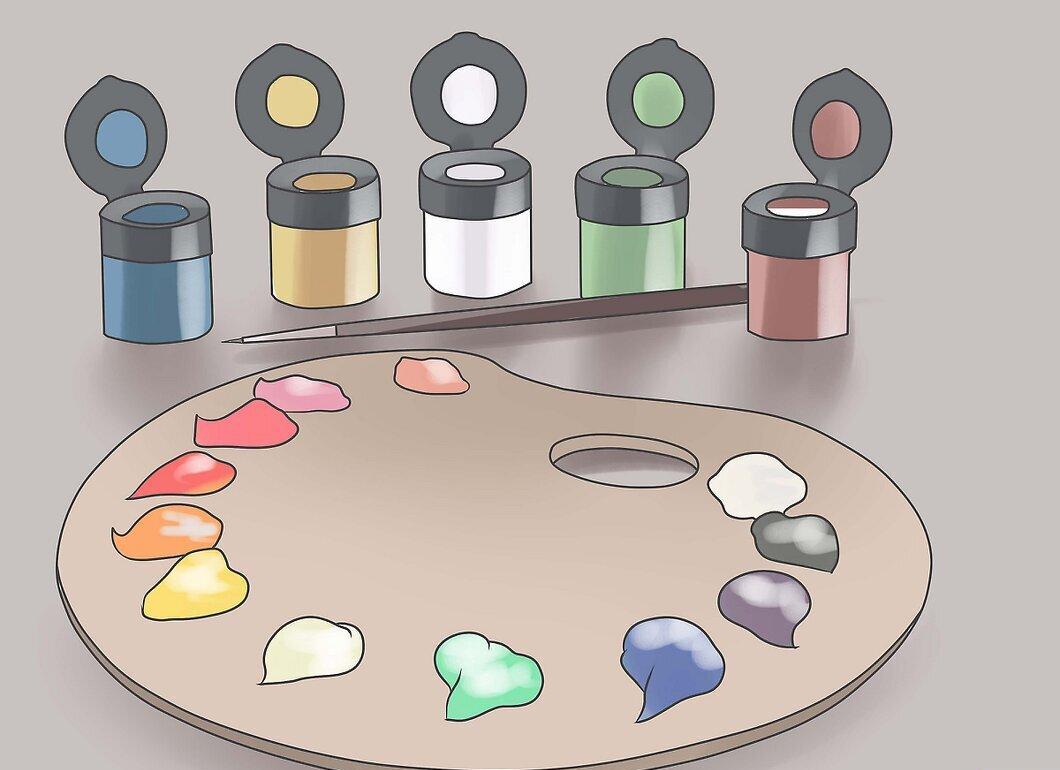
Get your paints ready. Use a palette to mix colors. Dilute the paint by dipping your brush in clean water and mixing it with the paint. Do this gradually: remember, you can always add more water, but you can’t take it away. If the paint drips from the brush, you’ve diluted it too much. Diluting paints makes them easier to work with and increases their usage.
Step 5: Apply the Base Coat.
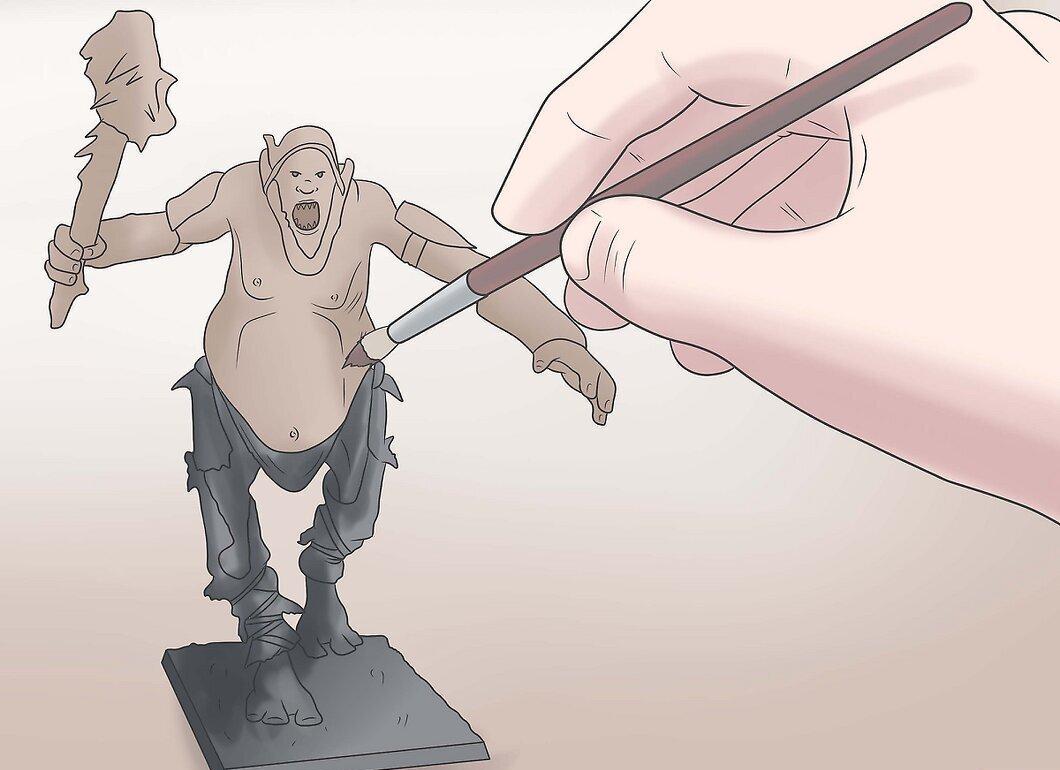
Start applying the base coat. This step involves painting the main colors on the miniature. Try to do this smoothly, using light strokes and not applying too much paint. If the result isn’t perfect, don’t worry — you can fix it later. Don’t get bogged down in details and apply as many layers as necessary.
Step 6: Shade the Details.
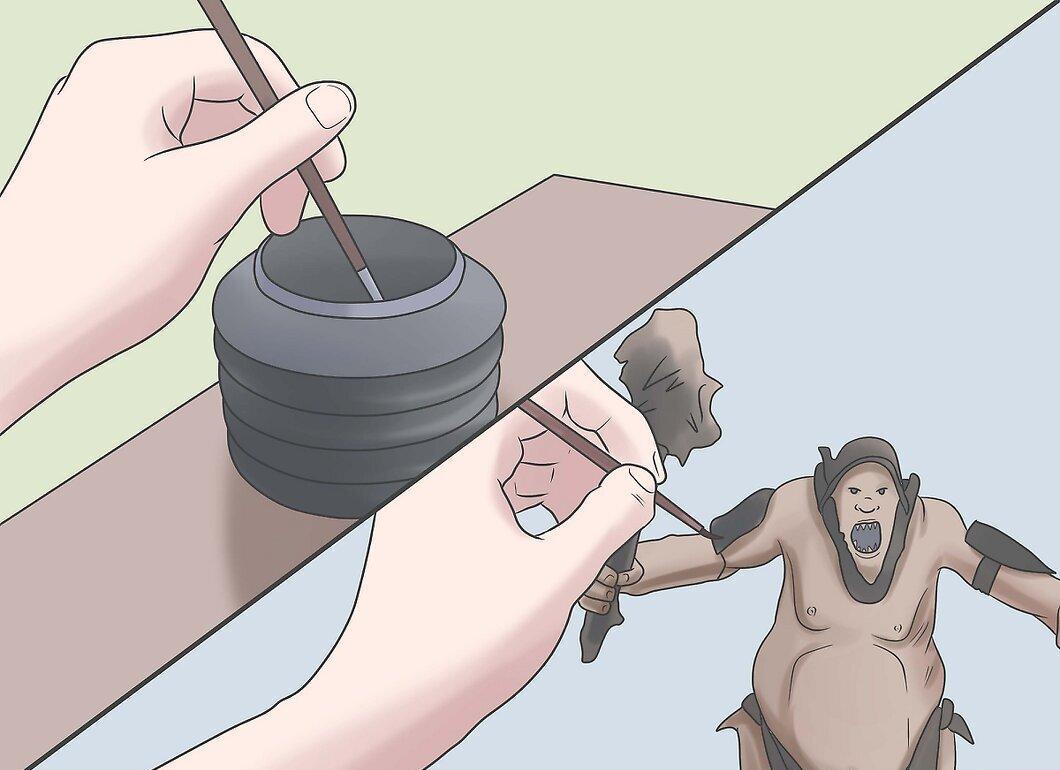
Add shading. Some areas of the miniature, such as cracks, rough surfaces, or chainmail, should be darker. For realistic shading, use ink or heavily diluted black paint.
Step 7: Use the Dry Brush Technique.
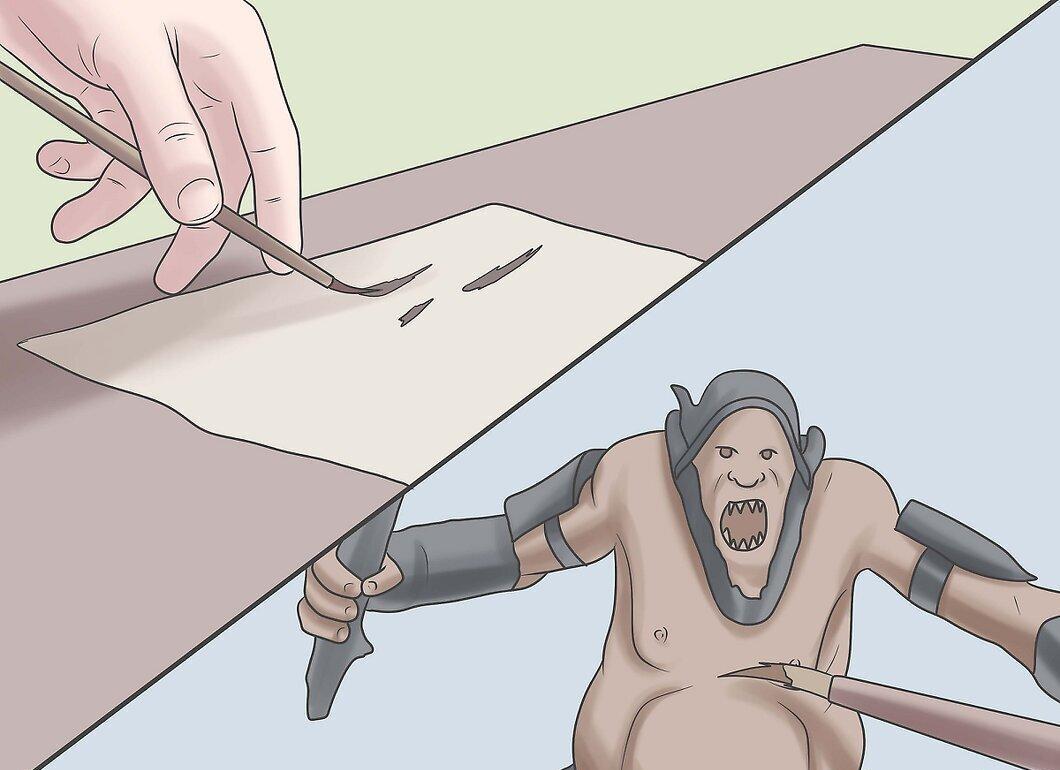
Employ the dry brush technique. Dip the brush into undiluted paint, then remove excess on a napkin or paper. Lightly brush over the areas you want to highlight. The paint will stick to the raised parts of the miniature. For example, when painting a face, start with flesh color, then add darker shades under the brow and jawline, and finally mix a bit of white with flesh for highlights on the forehead, nose, and cheekbones. For metallic details, mix metallic paint with black or brown, then use ink to highlight recesses and dry brush for the raised areas.
Step 8: Add Fine Details.
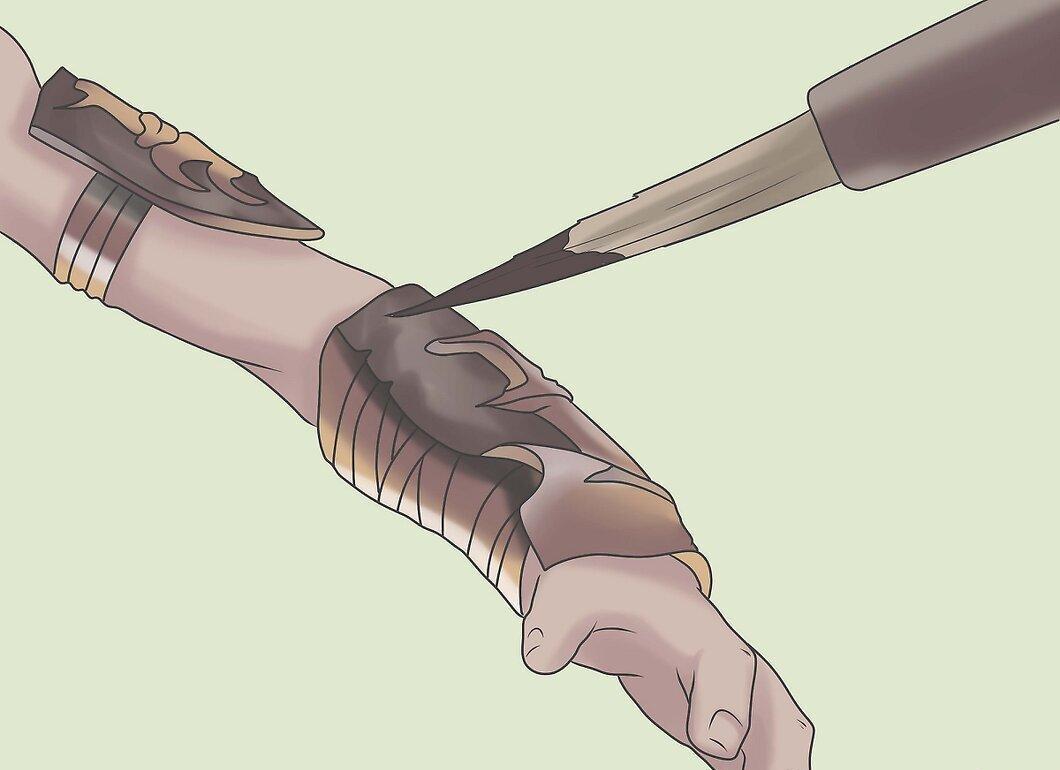
Don’t forget the details. Before painting small parts, make sure to thin the paint to avoid clumps.
Step 9: Optionally Use Citadel Shades.
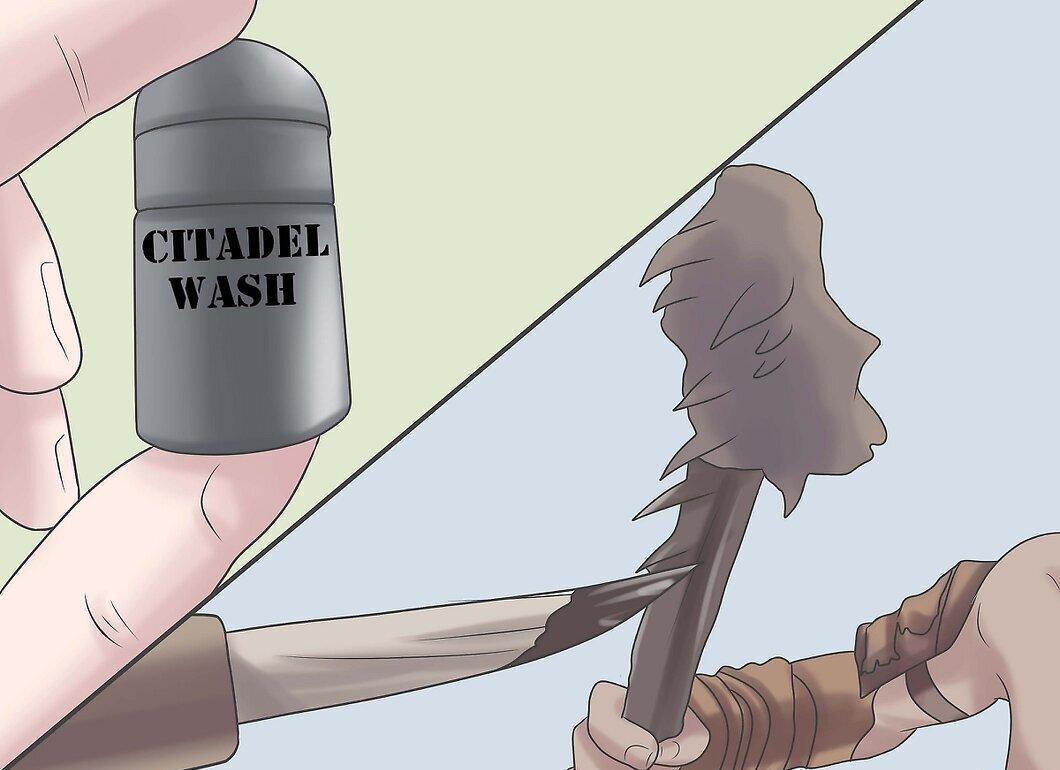
If you wish, add Citadel Shades. They will settle beautifully in the recesses of the miniature and highlight all details. Shades can be applied straight from the pot or diluted with water on the palette.
Step 10: Paint the Base of the Miniature.
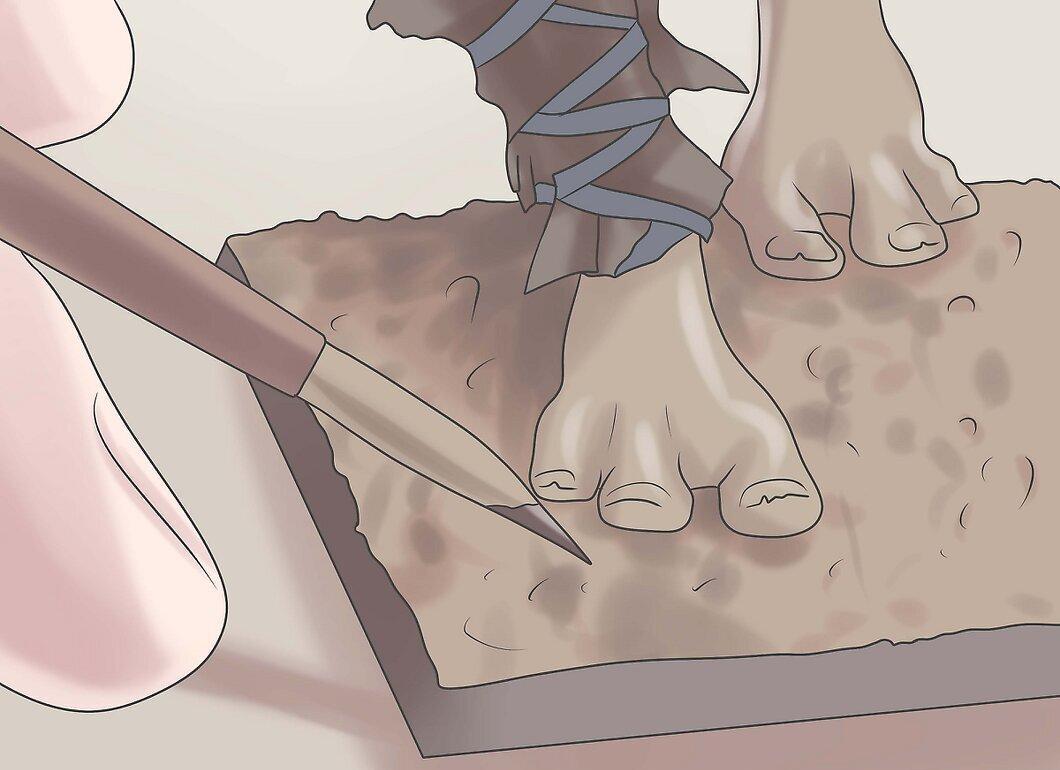
Carefully paint the base of the miniature in your chosen color. Allow the figure to dry completely, then apply glue to the top of the base and dip it in sand. Shake off excess sand and let the glue dry. After that, dilute PVA glue in water and apply it to the sand, wait for it to dry, then paint it in Bestial Brown and any other tones you like. Once the paint dries, add a lighter shade, like Bleach Bone. You can also glue some artificial grass.
- You can attach sand to the base before painting the figure. After spraying, the sand can be quickly painted using the dry brush technique in any color. The paint will also help hold the sand on the figure.
Step 11: Protect the Miniature with Matte Varnish.
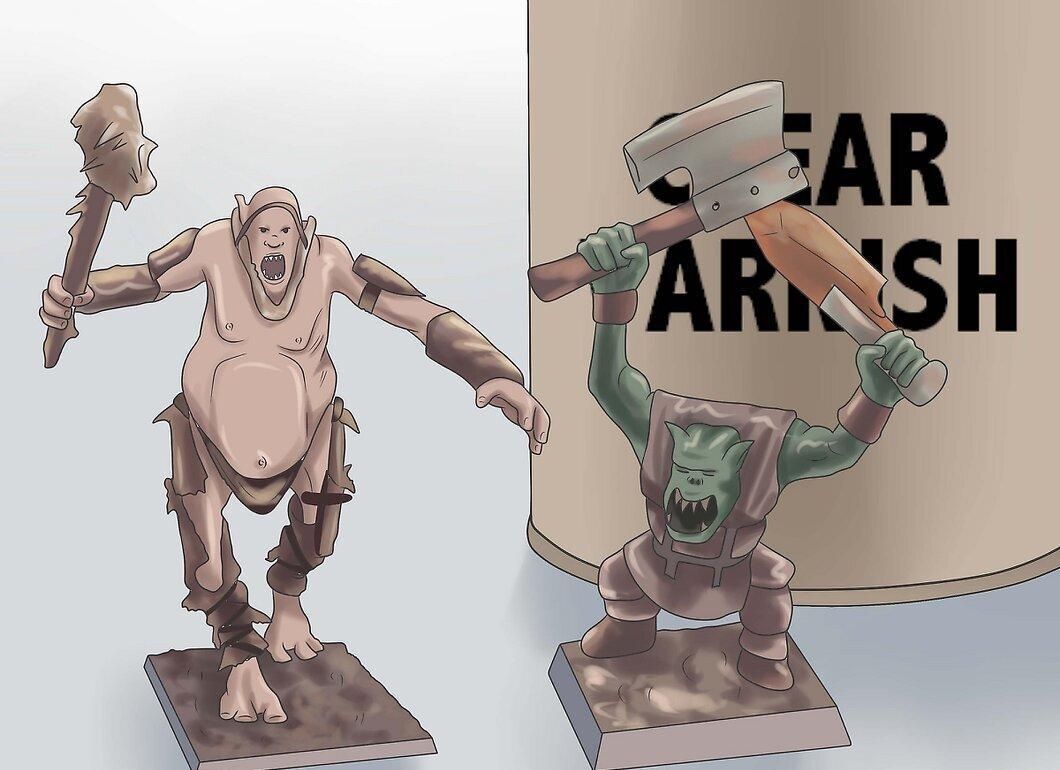
Step 12: If You’re Not Happy, Remove the Paint and Start Over.
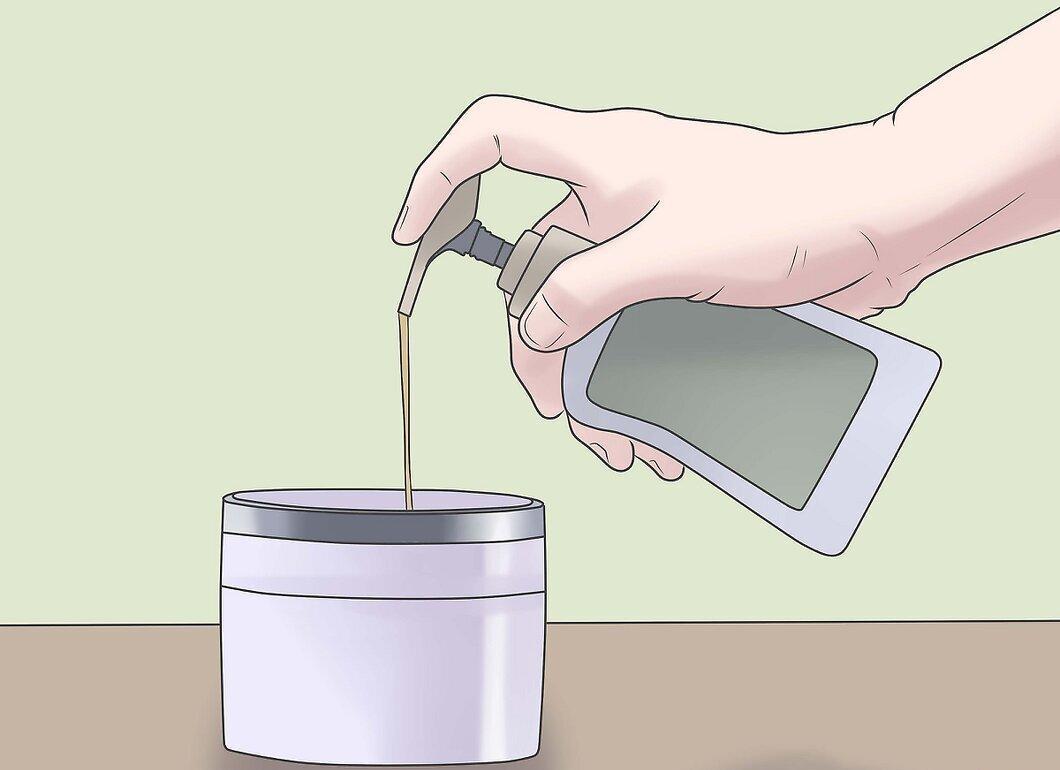
If you’re not satisfied with the result or simply want to enjoy the process again, you can remove the paint using mild solvents such as Simple Green cleaner, Dettol solution, Dawn Power Dissolve, non-acetone nail polish remover, or similar products. Let the miniatures soak overnight and then gently scrub the remaining paint off with a toothbrush.


