Before the era of photography and digital technologies, images were created by transferring impressions onto paper from various surfaces such as stone, wood, and metal. A quality education in art history involves studying and distinguishing between numerous printing methods. This fascinating topic covers a vast range of knowledge, and in this article, we will explore the fundamentals of high-quality printing from woodblocks, intaglio printing from stone or metal, and flat printing (lithography). By familiarizing yourself with these basic principles, you can delve deeper into the subject.
How to Recognize Relief Prints
Step 1. Study the Relief Printing Process.

Start by learning the principles of relief printing. This is one of the oldest and most traditional methods of transferring images onto paper. In this process, a raised pattern is carved into a wooden or metal block, leaving depressions where no ink will be printed. The surface of the block is then coated with ink, and the block is pressed onto paper, leaving an impression. Examples of relief printing include:
- Woodblock prints
- Linoleum cuts
- Typefaces in letterpress
Step 2. Check the Edges of the Print.
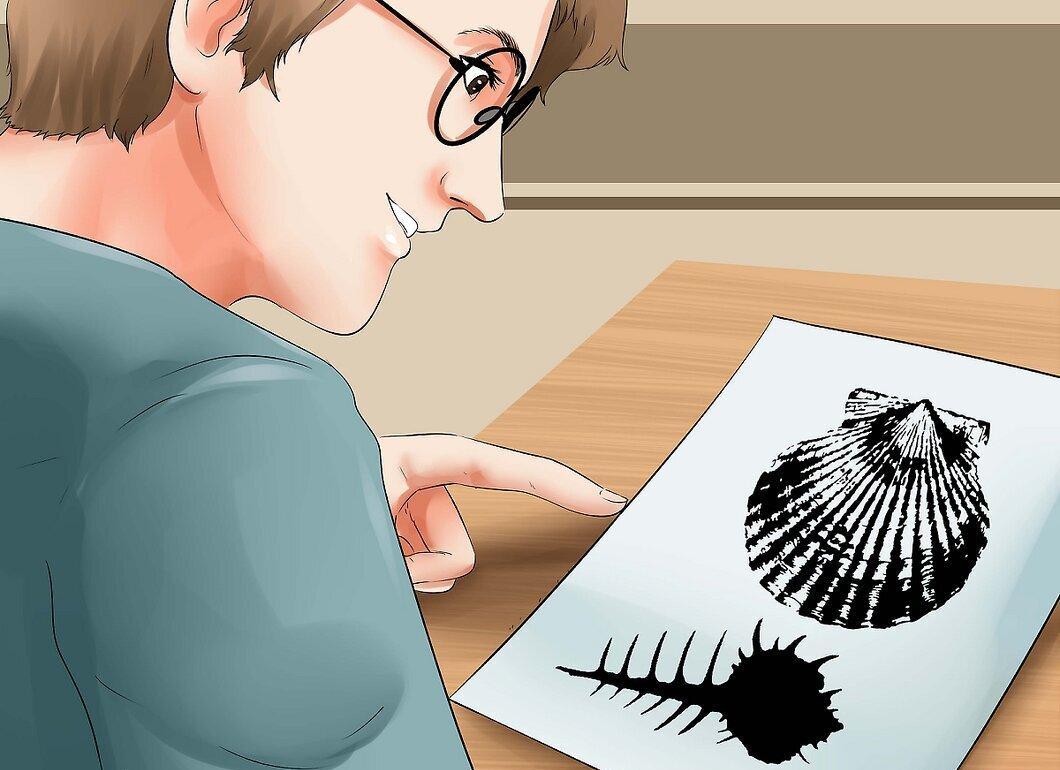
Pay attention to the edges of the print. One of the simplest ways to determine if relief printing was used is to examine its edges. When the block is pressed onto paper, a characteristic outline forms around the external contour of the design. This phenomenon is unique to relief printing, so the presence of such an outline can help you accurately identify the method.
- For instance, compare it to the serial number on a banknote. You will notice that the outer edges of the numbers are slightly darker than their inner parts, which is a sign of relief printing. It is also helpful to study other impressions created using this method.
Step 3. Check for Embossing.
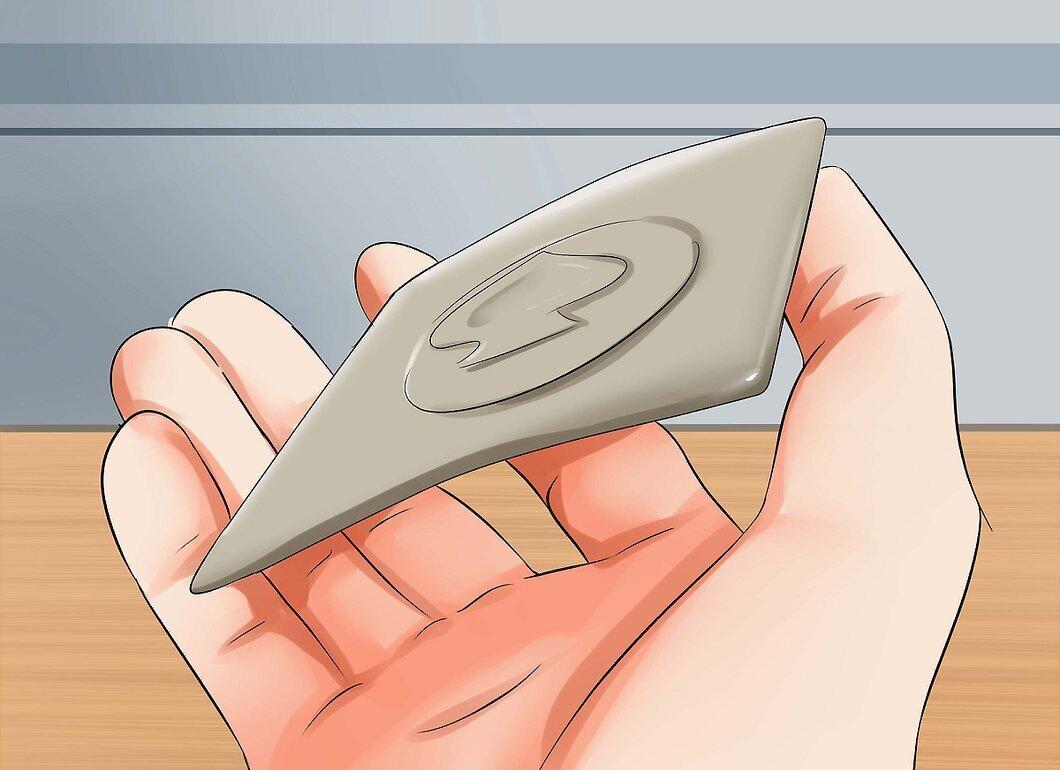
Look for signs of embossing. The second way to determine if the image was printed using relief printing is to inspect the back of the paper for signs of embossing that occur during the process. Run your fingers over the back of the sheet to feel for unevenness and other pressure marks left during the impression.
- Unlike intaglio printing, relief printing uses less pressure, so the embossing may be less pronounced and harder to detect.
- To reveal the relief left by relief printing, the reflective capability visualization method is often used.
Step 4. Examine the Paper for Ripples and Unevenness.

Examine the paper, paying attention to ripples and unevenness, as well as the placement of shadows in the colored areas. One of the most effective ways to distinguish relief printing from intaglio is through a careful analysis of the black ink traces and determining whether they are raised above the lighter areas or sunk into them. This requires intuition and practice but helps reliably differentiate the methods based on the placement of shadows.
- In relief printing, small wedge-shaped shadows can be seen between short lines that cross long lines at an angle, gradually smoothing out towards the edges of the impression.
How to Recognize Intaglio Prints
Step 1. Study the Intaglio Printing Process.
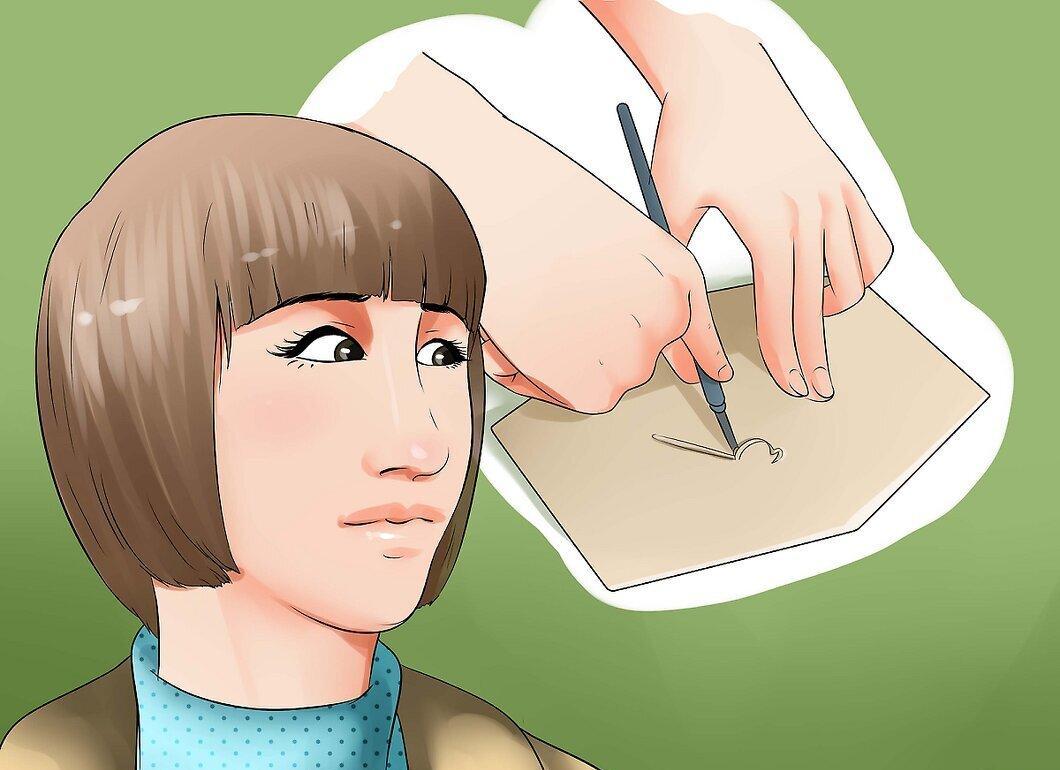
Immerse yourself in the intaglio printing process, also known as engraving, which translates from Italian as "to engrave." This method involves filling etched depressions with ink, followed by pressing the engraving into the paper under high pressure, allowing the ink from the depressions to transfer onto the paper. The lines become clearer, and the image more detailed. This method was developed in the 1500s. The design on the plate is created through mechanical engraving or etching, affecting the final appearance of the print.
- Engraving is typically carried out on copper plates using a specialized burin that has a tip shaped like a Latin letter "V." During processing, small flakes chip off from the metal. The cut lines usually have a smooth, clean surface and a texture that tapers toward the edges, where the lines may expand or disappear.
- Etching is done using acid; the copper plate is first coated with wax, and then drawn on with a needle dipped in acid. As a result, the etched lines have less defined edges, and wax remnants may remain on them.
Step 2. Check for Plate Marks.
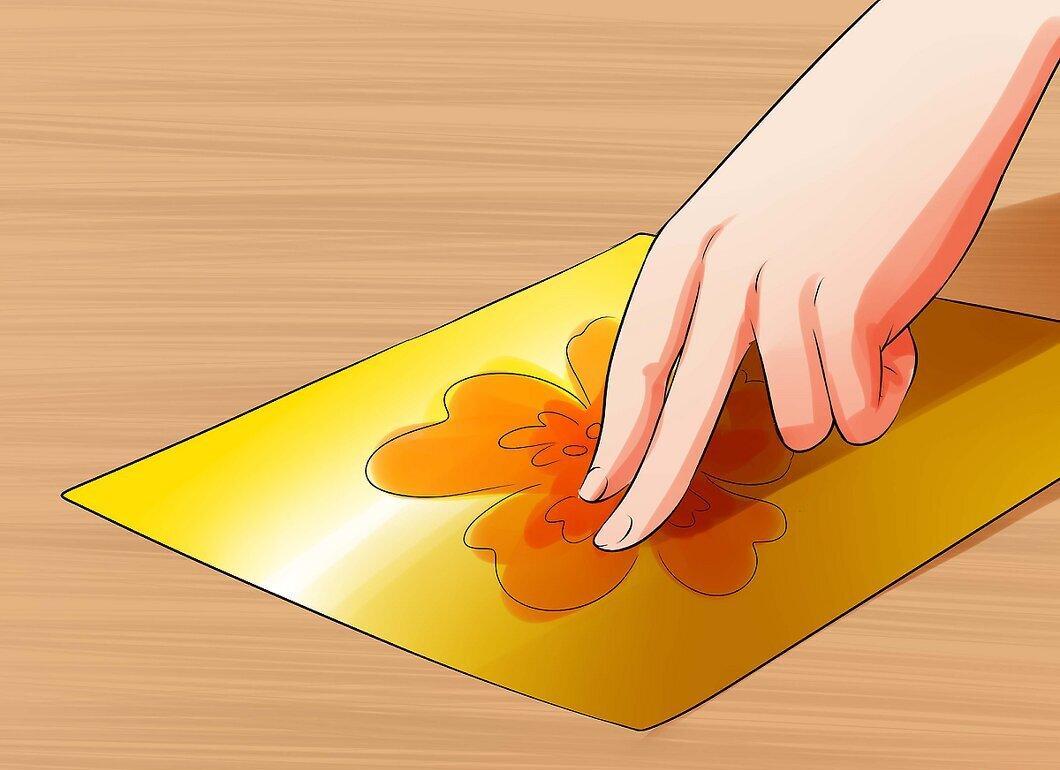
Look for marks left by the plate. When creating an impression through deep pressure on paper, marks from the metal plate remain. The corners of these marks should be rounded; otherwise, they could tear the paper, and they often retain ink traces that did not fully exit the plate during printing. These characteristic details confirm that the intaglio method was used, regardless of whether the plate was obtained through mechanical engraving or etching.
- If the plate marks are not visible, it does not necessarily mean that the intaglio method was not used. The marks may be absent if the plate was thoroughly wiped.
Step 3. Check for Ink Accumulations.

Look for areas with increased ink density. Due to the nature of this method, the brightest and darkest lines protrude slightly above the rest of the paper surface, as more pressure and ink are used to create them. This is the most apparent sign that the impression was made using intaglio printing.
Step 4. Compare Color Intensity Differences Along Lines.
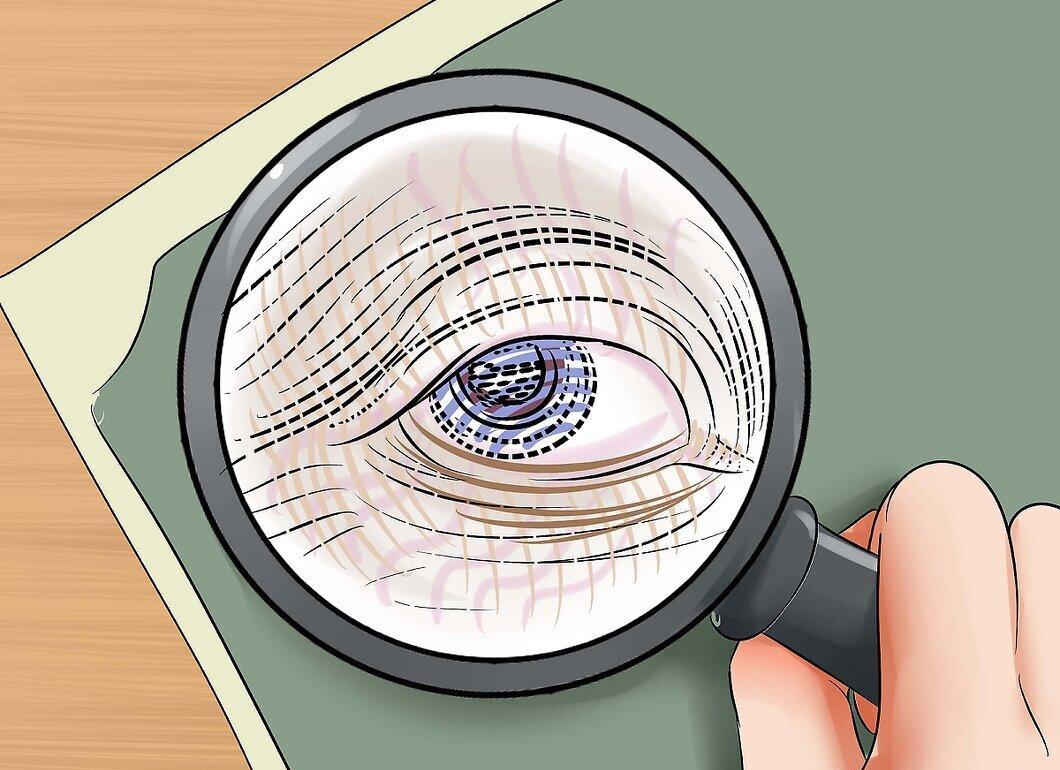
Examine the differences in color saturation along the lines. In intaglio printing, the ink is moved under high pressure, causing the lines to appear less uniform compared to relief printing. This is due to varying depths of grooves in the metal plate, leading to changes in color saturation along a single line.
- Pay attention to long lines, checking if they appear darker in the middle. If so, this may indicate intaglio printing.
Step 5. Observe the Shape of the Lines.
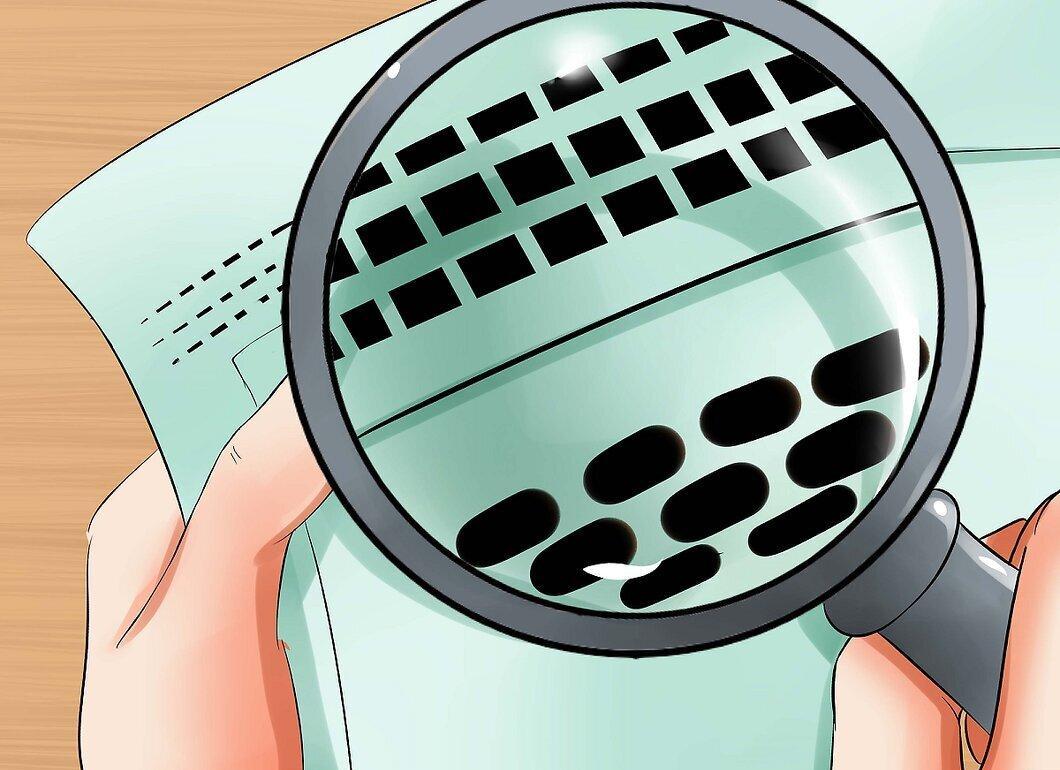
Examine the shape of the lines. Engraved lines will be smoother, with slight widening at intersections, while etched lines will be more wavy and rounded. Often, impressions created using intaglio printing are composite, meaning that both types of metal plates are used to create them.
Step 6. Familiarize Yourself with Other Intaglio Methods.

Explore the variety of intaglio methods. There are numerous variations of this method, each with its unique features. Some of them include:
- Aquatint
- Mezzo-tinto
- Steel engraving
- Dot engraving
How to Recognize Flat Prints
Step 1. Study the Various Flat Printing Methods (Lithography).

Dive into the different methods of flat printing, known as lithography. This term encompasses a wide range of printing methods, both traditional and modern. However, before the advent of photography, it was used to refer to printing from a flat surface. In this method, the plates are prepared with a fatty, oily substance known as ink that contains the color. Then, the ink is washed off from the uncovered areas of the plate with water. There are several flat printing methods, including:
- Prints using chalk inks, where the image is applied to a limestone plate with a wax crayon.
- Chromolithography, where color images are applied to the plate in spots.
- Background lithography, using two plates: one for the image and another for creating a colored or gray background.
- Transfer lithography, where the design is first placed onto a stone with transfer paper and then transferred onto paper.
Step 2. Magnify the Image.
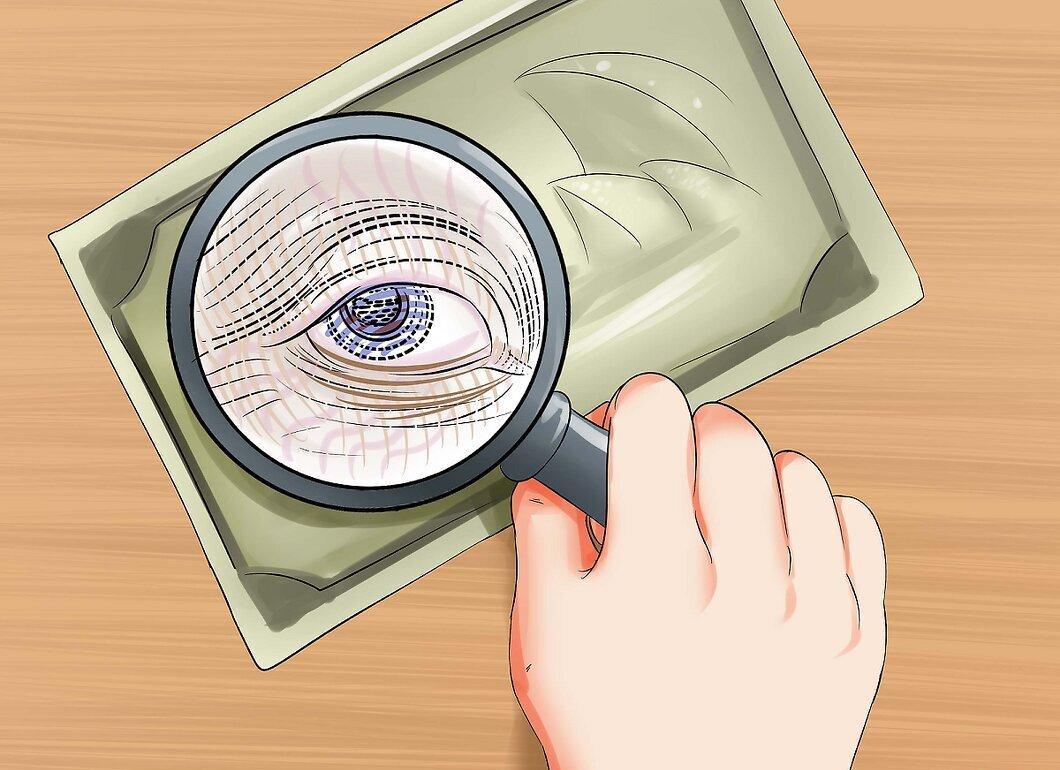
Magnify the image. Unlike other types of printing, it is recommended to magnify the image at least ten times to detect characteristic signs for flat printing. Since the absence of features typical of relief or intaglio printing does not necessarily mean that the impression was made using lithography, it is crucial to closely examine the image and look for specific evidence.
Step 3. Check for Relief.

Ensure there is no relief on the paper. If you notice relief, it may indicate that the impression was made using relief or intaglio printing. In lithography, the image is transferred from a smooth surface, so there should be no relief from the plate.
Step 4. Check the Evenness of Ink Lines.
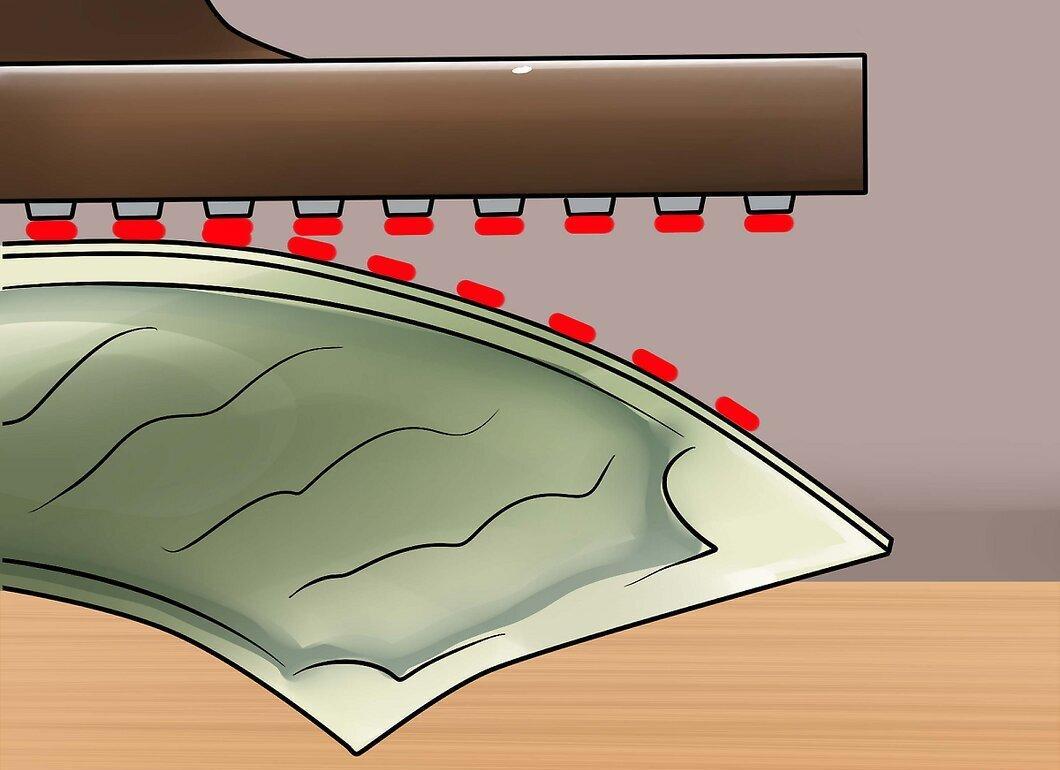
Examine the evenness of the ink lines. By carefully inspecting the paper, ensure that the colored areas are level with adjacent clean areas. All areas of the impression should be at the same height, whether colored or not. This will require high magnification; however, this method is reliable and allows for precise identification of a lithographic image.
Step 5. Observe the Shadow Illusion Created by Layers of Ink.
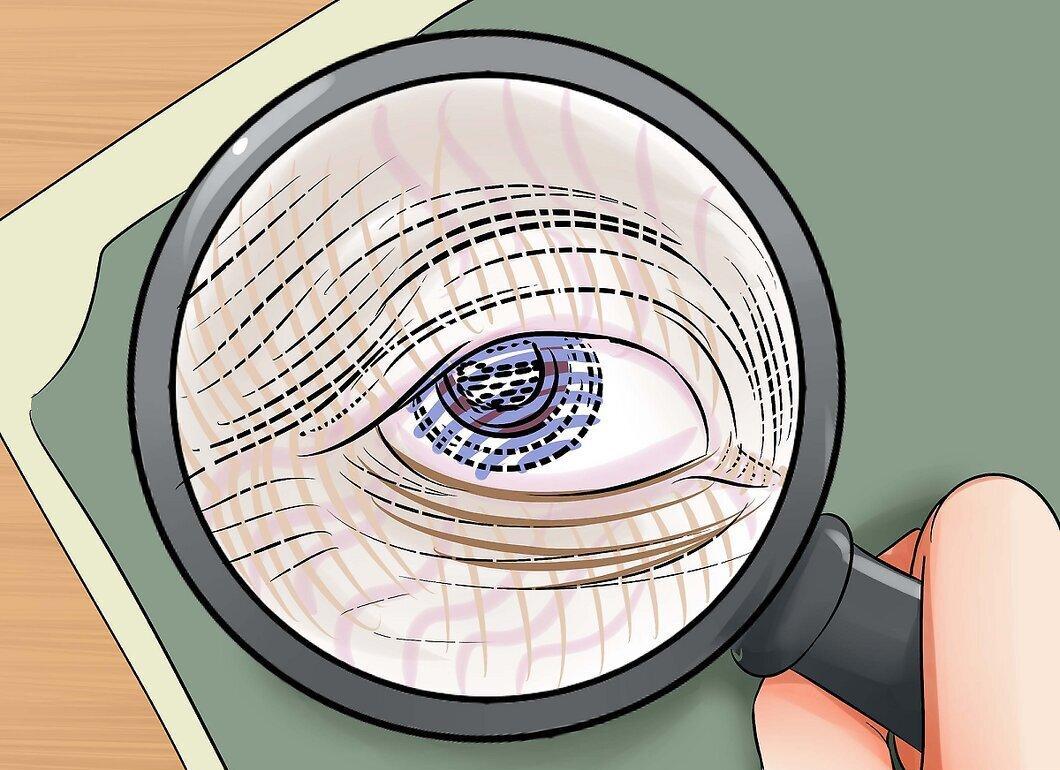
Pay attention to the shadow illusion created by layered paint. In flat printing, all inks are at the same level, and color changes are achieved by varying the amount of ink and the area it covers. Inks can be applied in multiple layers, or thicker paint is used in darker areas.
- In shaded areas, paint is applied in separate dots of the same hue. Each dot will have the same color as the surrounding dots, but the distance between them may vary, creating an "illusion of shadow."
- In color lithographs, individual color spots often intertwine and overlap. Typically, you will not see a pure green color, as it will be created by layering blue and yellow, simplifying the printing process. Shadows in color prints are achieved by adjusting shades.
Step 6. Assess the Blurriness of the Image.
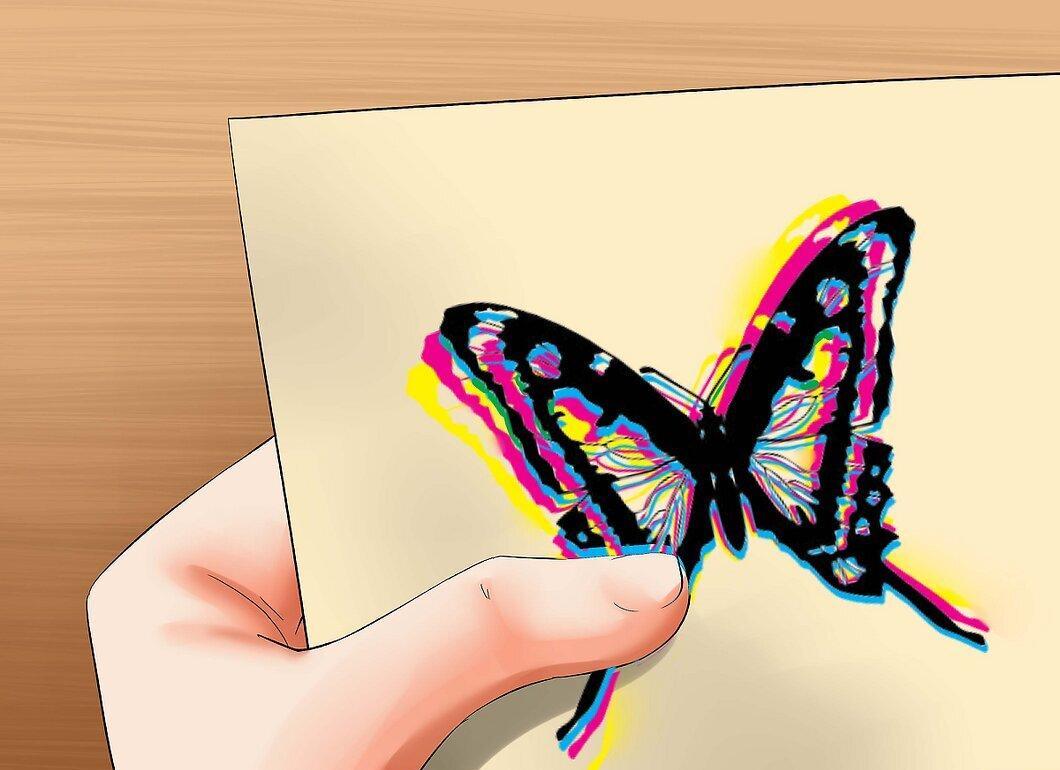
Notice the blurriness of the image. Fine details on transfer lithographs usually appear more blurred. This can occur due to deficiencies in the paper's ink absorption or slight shifts under pressure, leading to smudging of fine details, which is also a distinguishing feature of flat printing.