Are you inviting friends over for an evening gathering or planning a formal banquet? Table setting might seem like a daunting task. To ensure everything looks impeccable, you need to know where to place plates, cutlery, and glasses. Check out our simple tips for proper table setting.
Formal Table Setting
Step 1. Place the charger in the center.
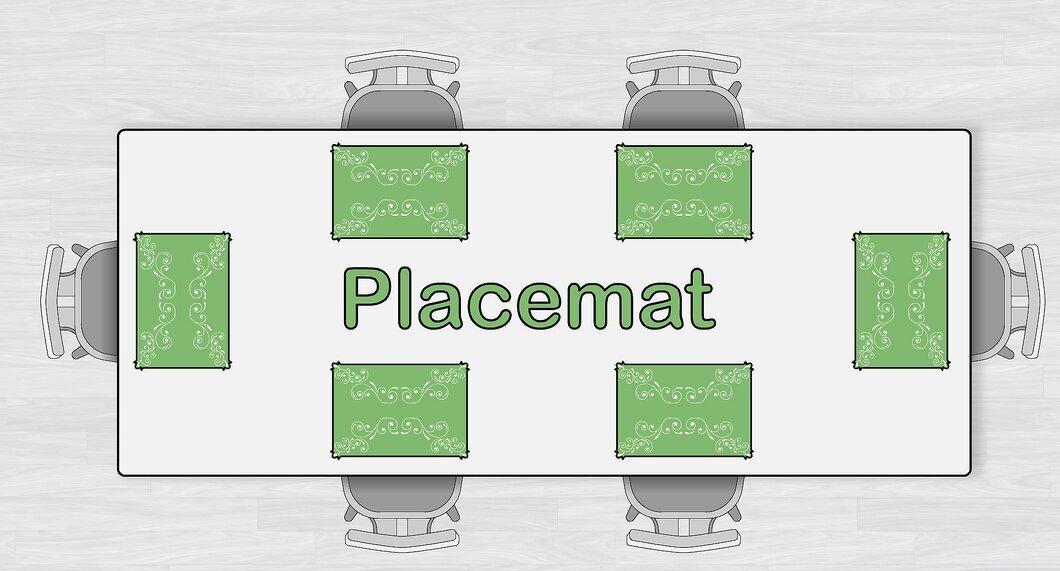
Position the charger in the center of the table. Don’t forget to prepare napkins for each guest according to the number of seats.
- For a formal lunch, ensure you have enough napkins that match the tablecloth color.
Step 2. Position the napkin to the left of the plate.
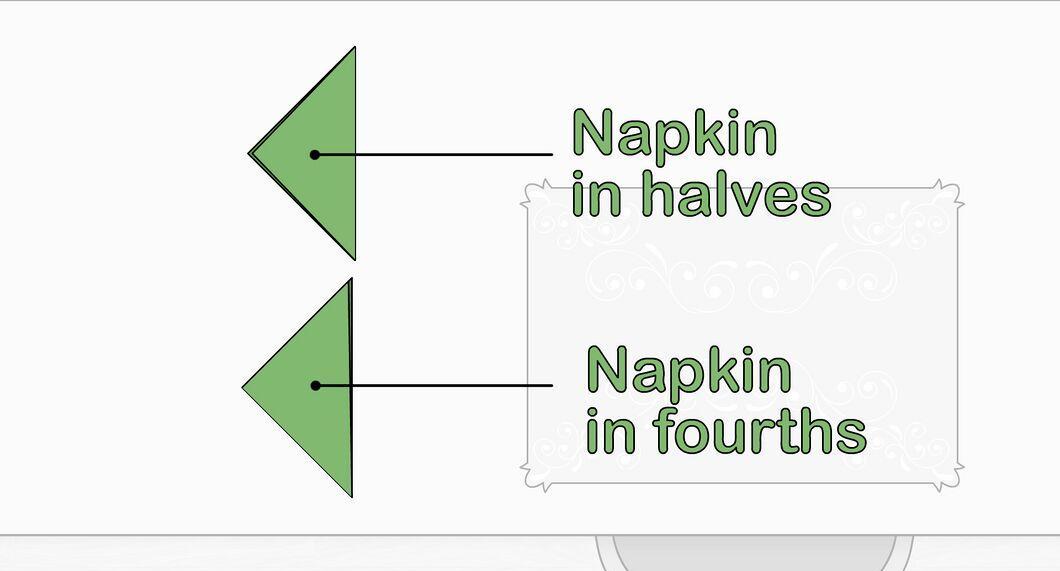
Place the napkin to the left of the charger, folded in half or quarters, depending on the occasion. Fabric napkins work best.
- If you like, forks can be wrapped in the napkin.
Step 3. Set the plate in the center.
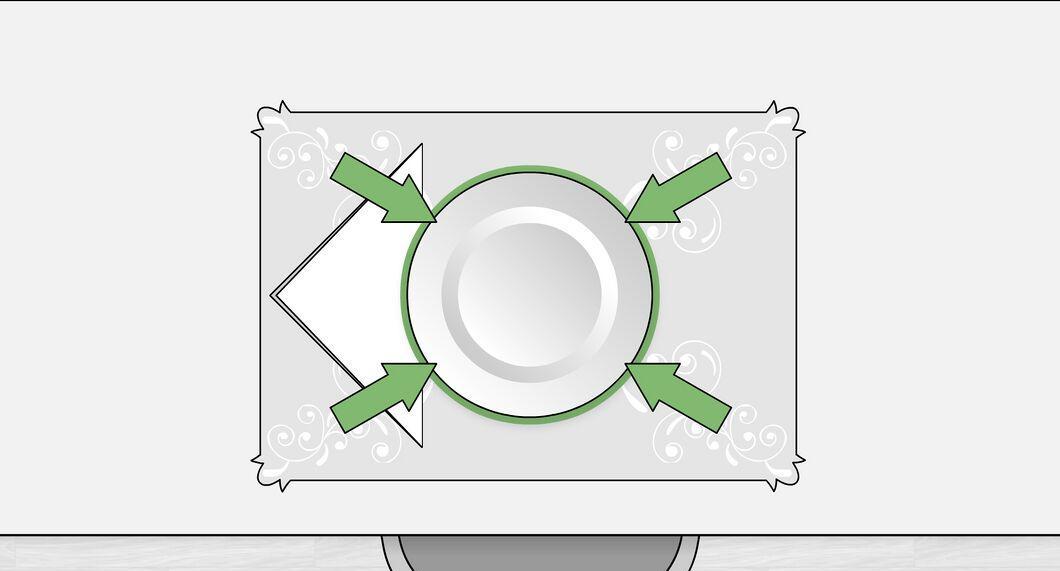
Position the plate in the center of the charger, slightly overlapping the right edge of the tablecloth. For aesthetics, choose ceramic plates.
Step 4. Place the forks on the napkin.
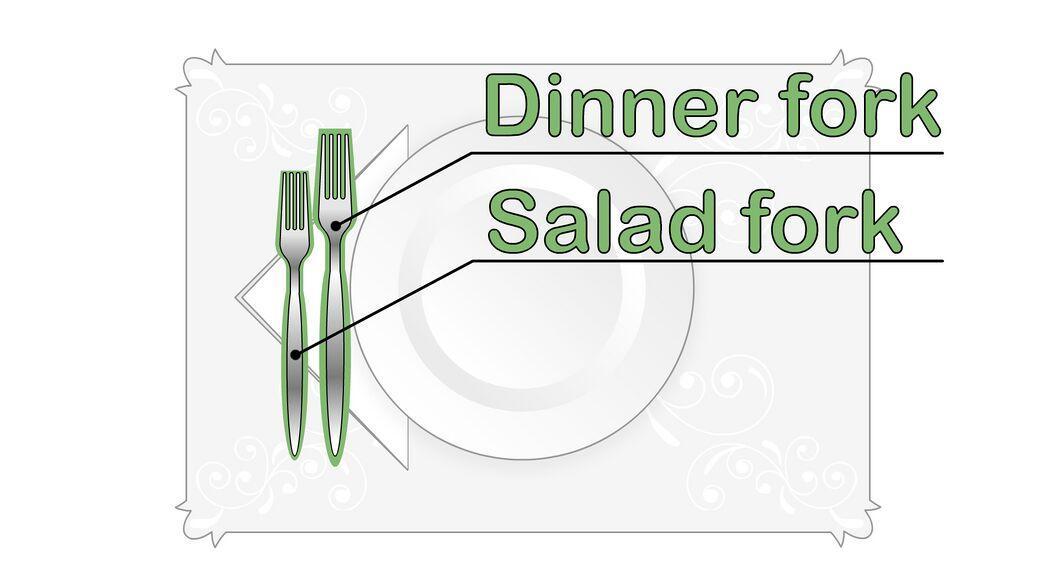
Lay the dinner and salad forks on the napkin. The dinner fork should be closest to the plate without touching it, while the salad fork should be to the left, about an inch away, with the tines facing away from the diner.
- If unsure where to place the forks, think about the order of courses. For instance, if salad is served first, you will need cutlery arranged to use from left to right.
- Start with dishes that can be eaten by hand, and use cutlery for the rest.
Step 5. Place the knife to the right of the plate.
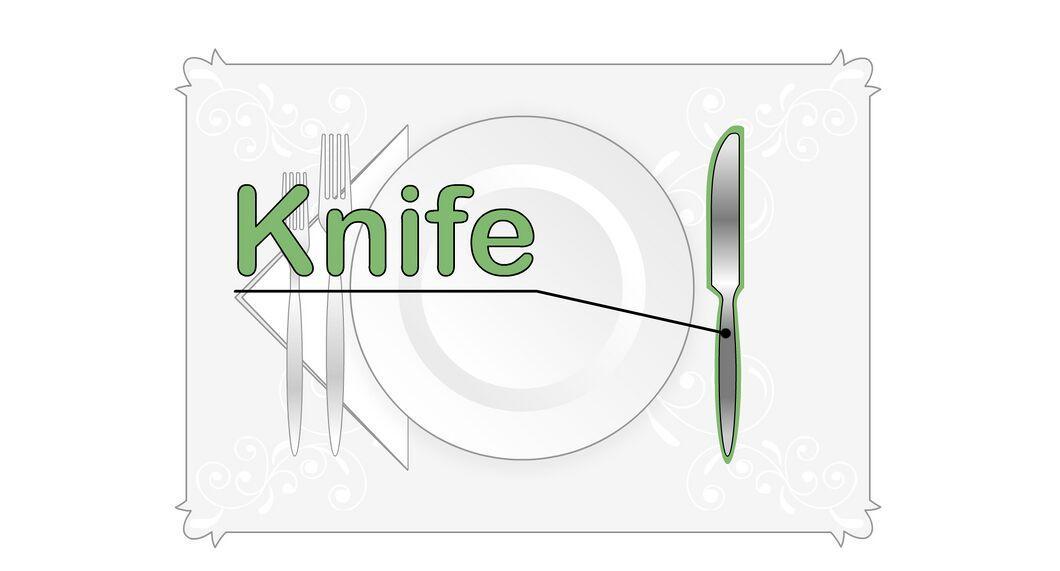
Position the knife to the right of the plate, with the blade facing the plate.
- If you get confused about the cutlery placement, imagine how a right-handed person uses a spoon and fork to eat. If you sit down and mimic the movements, you will see that the fork is held in the left hand and the knife in the right. That’s how the cutlery should be arranged.
Step 6. Place the teaspoon to the left of the knife.
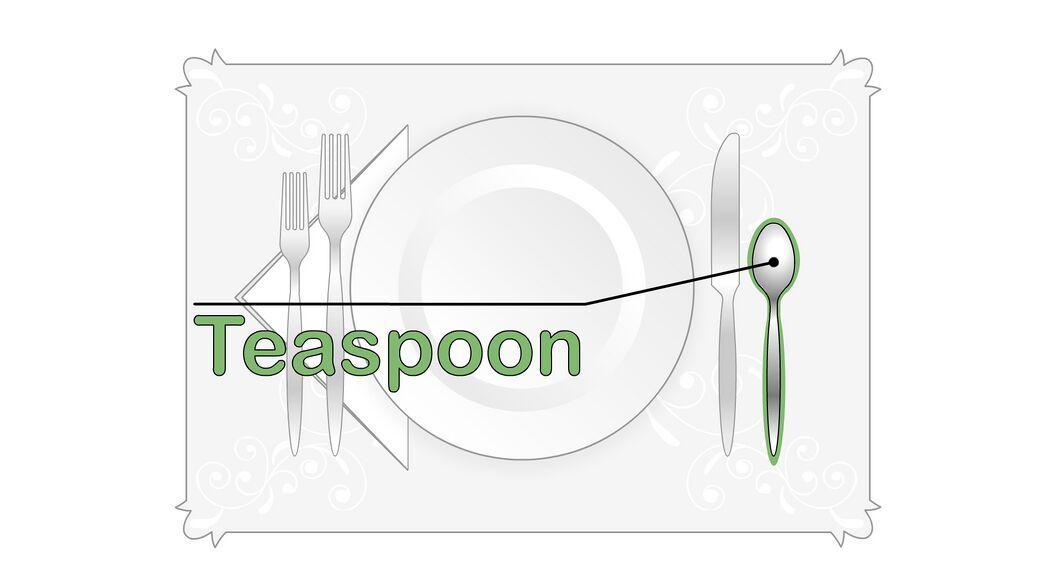
The teaspoon is placed to the left of the knife, intended for stirring drinks at the end of the meal.
Step 7. Set the soup spoon to the right of the teaspoon.
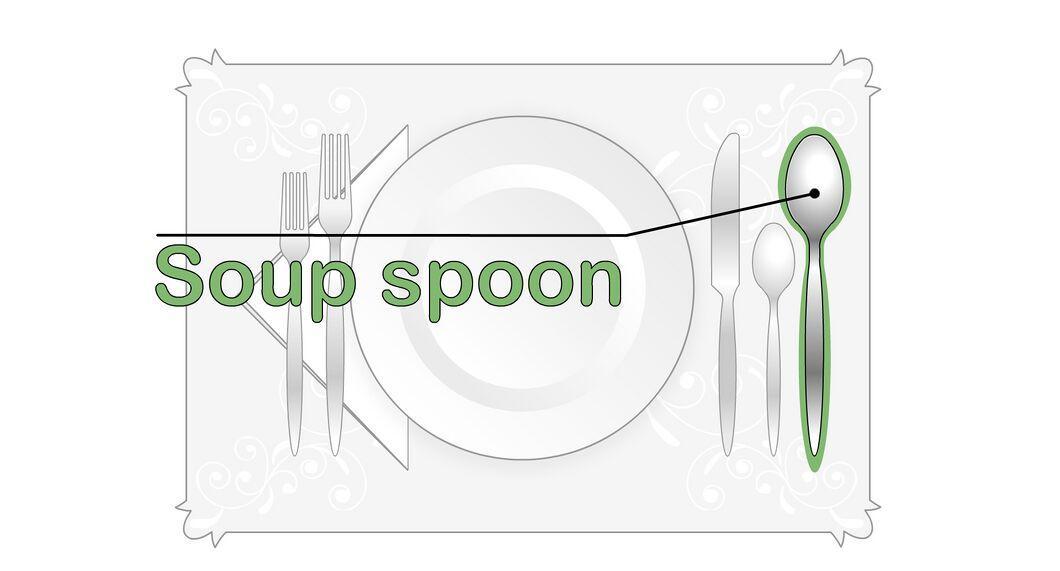
If soup is being served as a first course, the soup spoon should be placed to the right of the teaspoon. Note that soup spoons are generally larger than teaspoons.
Step 8. Position the wine glass in the upper right corner.
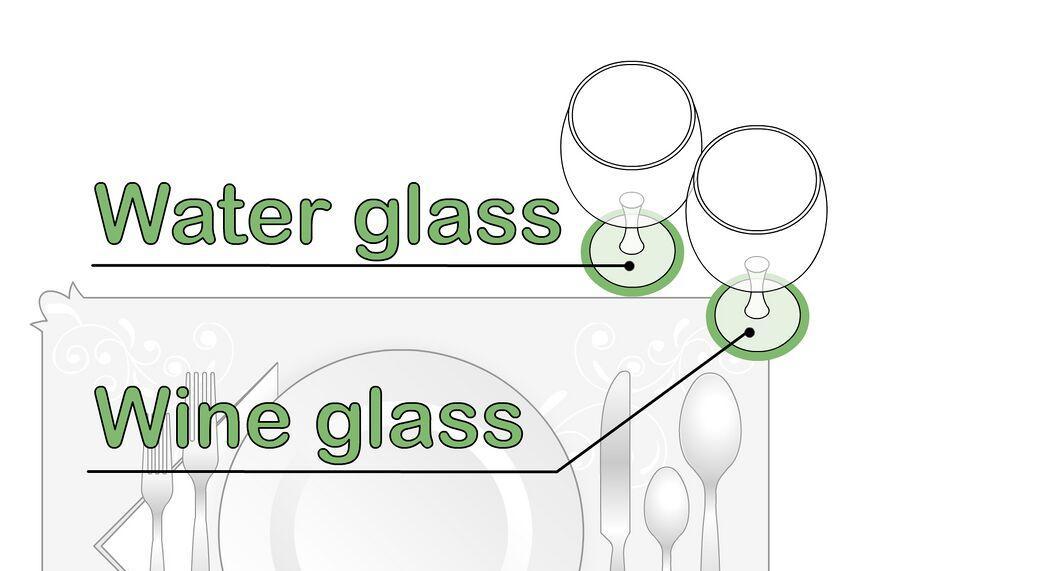
Set the wine glass in the upper right corner of the charger. If you plan to serve a water glass as well, place it above and to the left of the wine glass, with the tip of the knife pointing towards the water glass.
Step 9. Prepare additional plates and utensils.
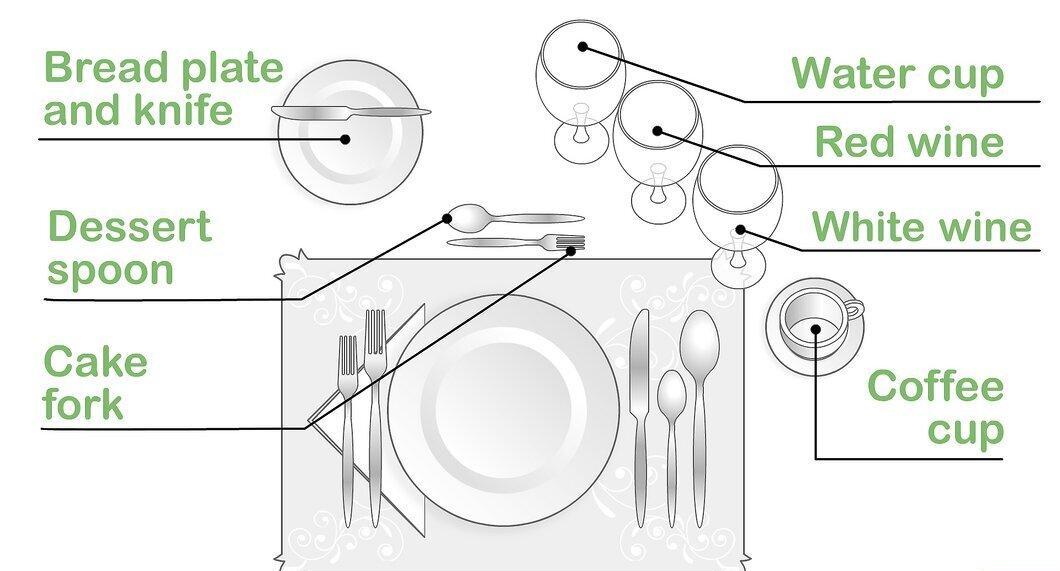
If your gathering consists of multiple courses, you will need additional plates and utensils:
- Bread/Butter plate and knife: Place a small round plate above the forks about five inches away, with the knife horizontally above it, blade facing left.
- Dessert fork and spoon: Lay them horizontally above the main plate, with the spoon positioned above the fork, the fork on the left and the spoon on the right.
- Coffee cup: Set the cup on a small saucer a few inches from the furthest utensil. The cup should be to the left of it.
- Red and white wine glasses: If you have different glasses, the white wine glass should be closer to the guest, while the red wine glass should be slightly further back in the upper left corner, as guests start with white wine and finish with red.
Informal Table Setting
Step 1. Place the charger in the center of the table.
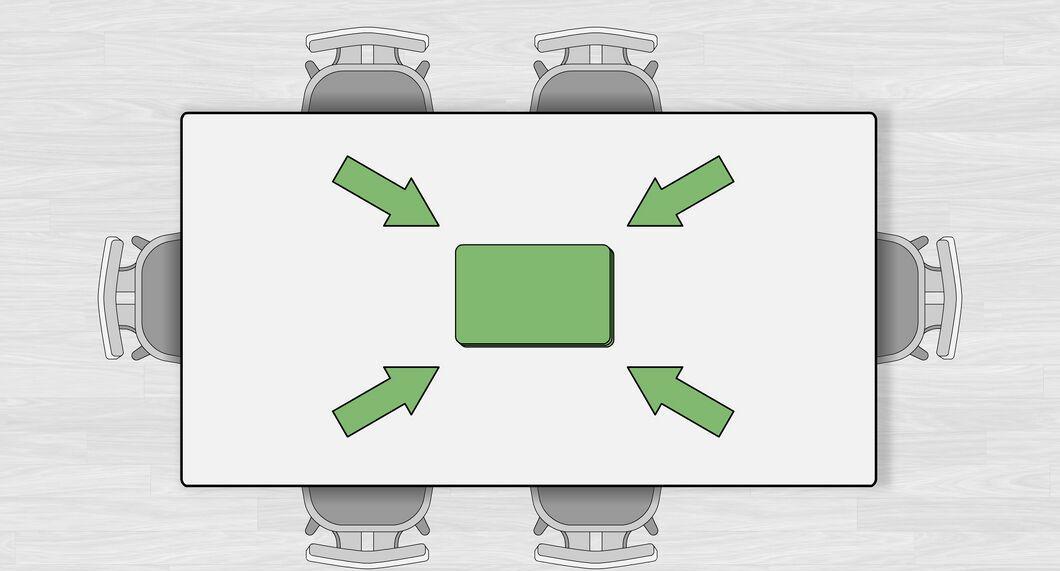
Position the charger in the center of the table. It can be less fancy than for a formal setting, a sturdy solid-color fabric charger will suffice.
Step 2. Set a fabric napkin to the left of the charger.
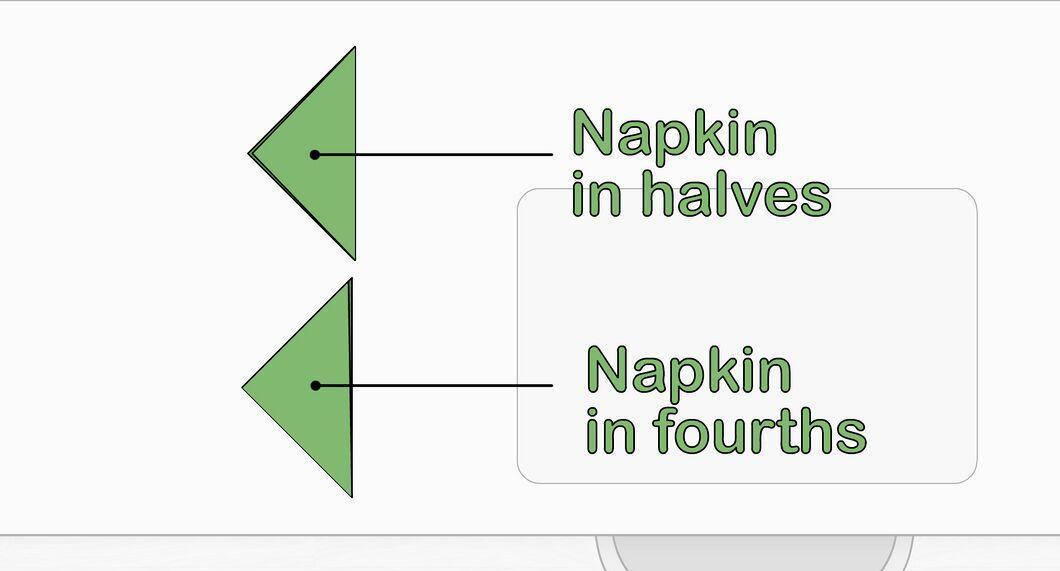
Place a fabric napkin to the left of the charger. You can also use a paper napkin folded in half.
Step 3. Set the plate in the center of the charger.
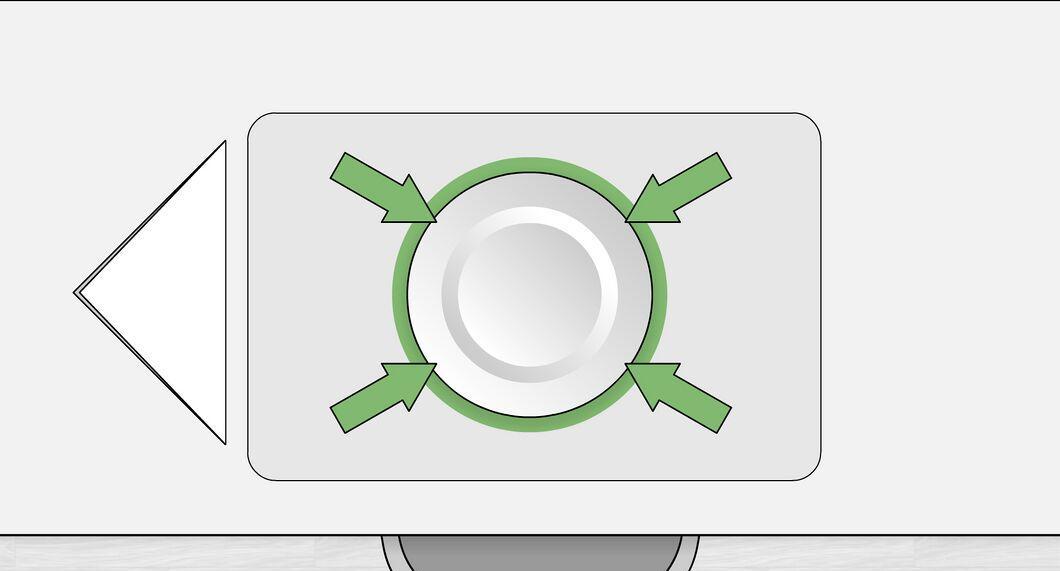
Position the plate in the center of the charger. It doesn’t need to be heavily decorated; it should simply match the other utensils.
Step 4. Place the dinner fork to the left of the plate.
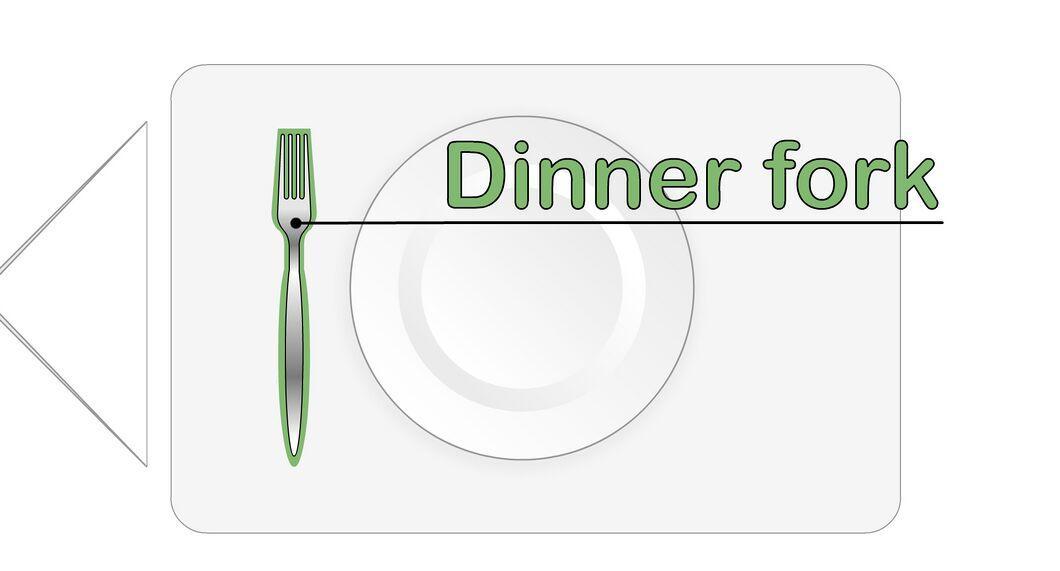
Position the dinner fork to the left of the plate. For an informal gathering, you will only need one fork.
Step 5. Position the knife to the right of the plate.
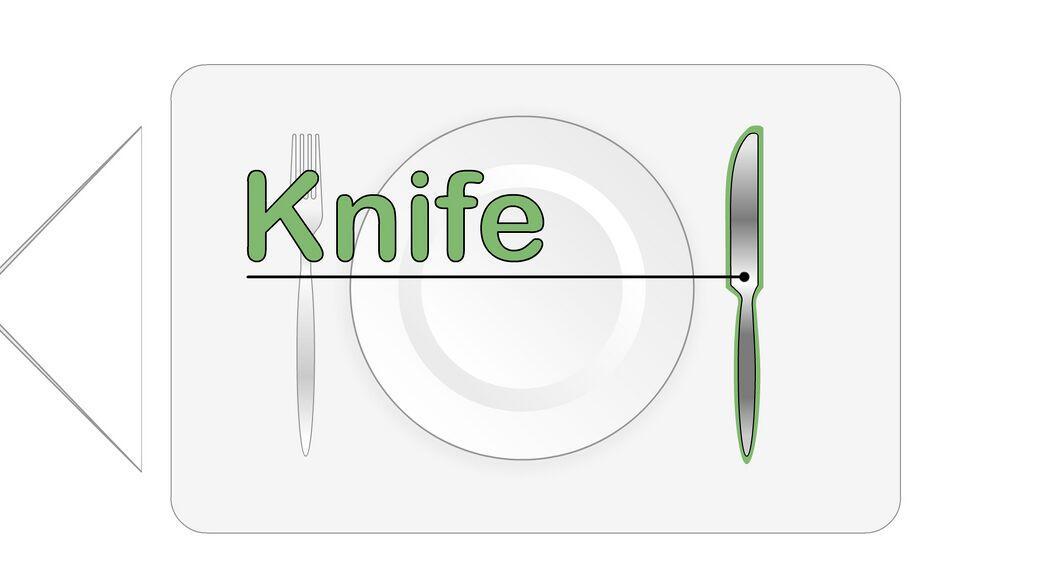
Place the knife to the right of the plate, with the blade facing the plate, just as in the formal setting.
Step 6. Place the soup spoon to the right of the knife.
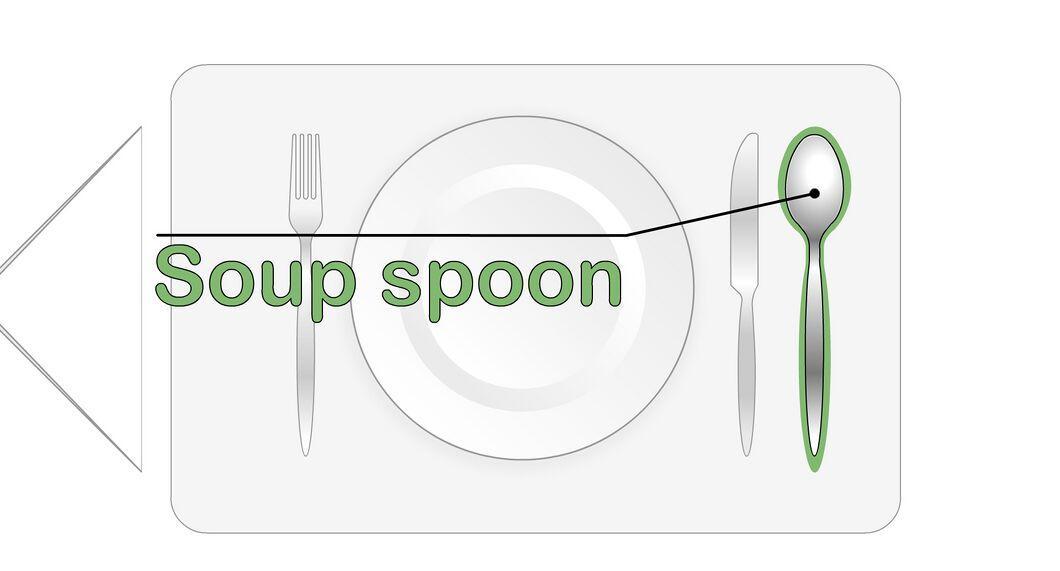
If soup isn’t being served, you can skip this utensil, placing only the knife and fork instead.
Step 7. Set the dessert spoon horizontally above the plate, facing left.
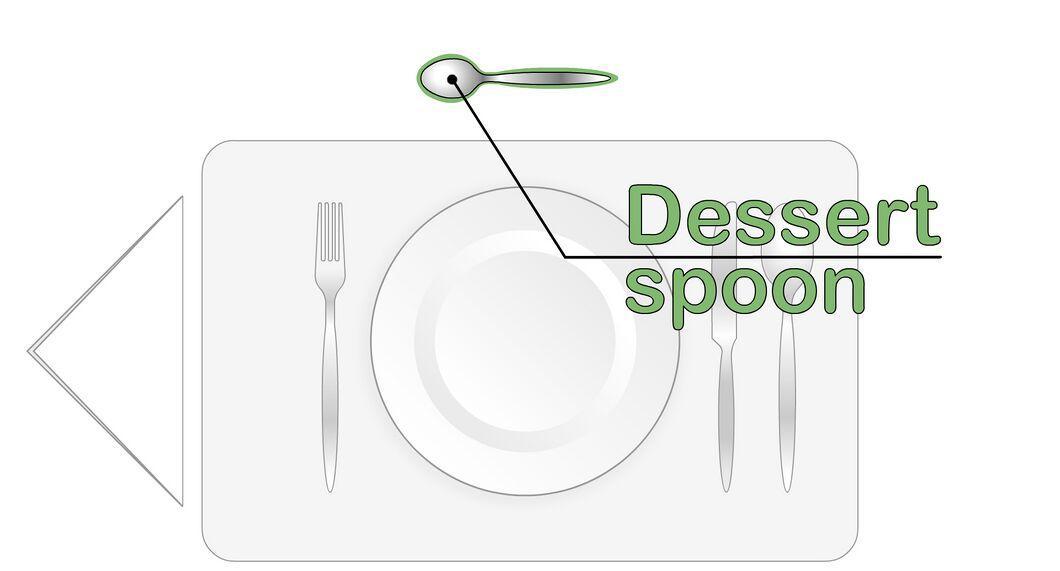
Place the dessert spoon horizontally above the plate, angled to the left. The dessert fork should be smaller and not as deep as the soup spoon.
Step 8. Position the dessert fork parallel to the dessert spoon, in the lower right corner.
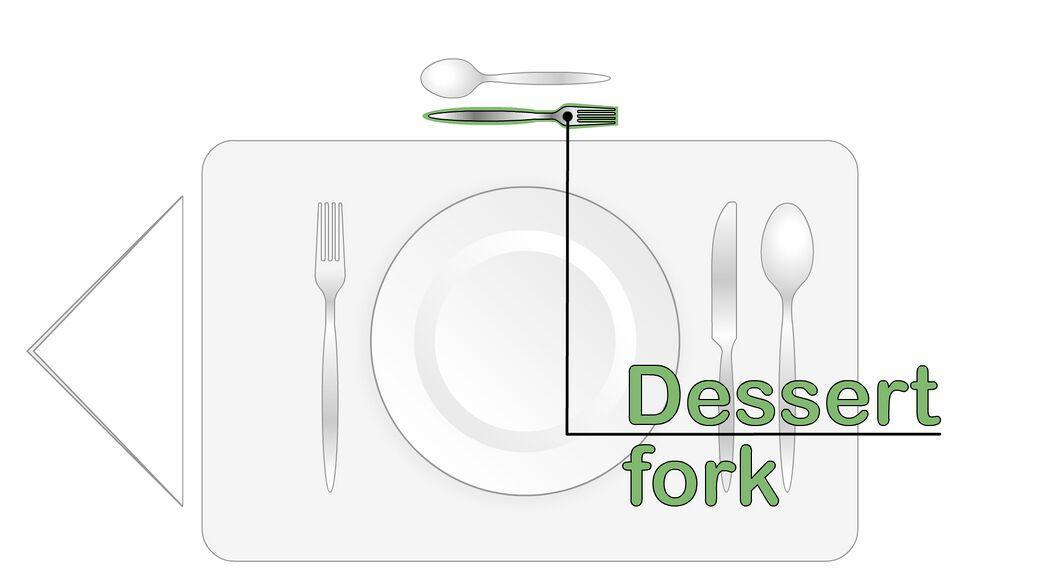
The dessert fork should be placed next to the dessert spoon in the lower right corner. It is noticeably smaller than the dinner fork.
Step 9. Set the wine glass to the left of the plate, slightly away from the soup spoon.
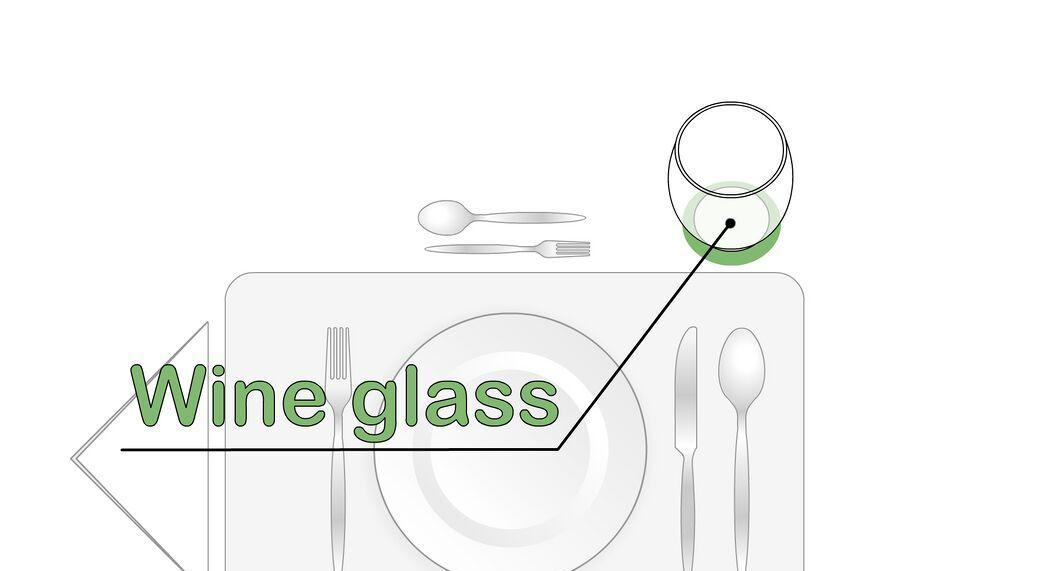
Position the wine glass to the left of the plate, slightly away from the soup spoon. For an informal gathering, the glass can be stemless.
Step 10. Place the water glass next to the soup spoon.
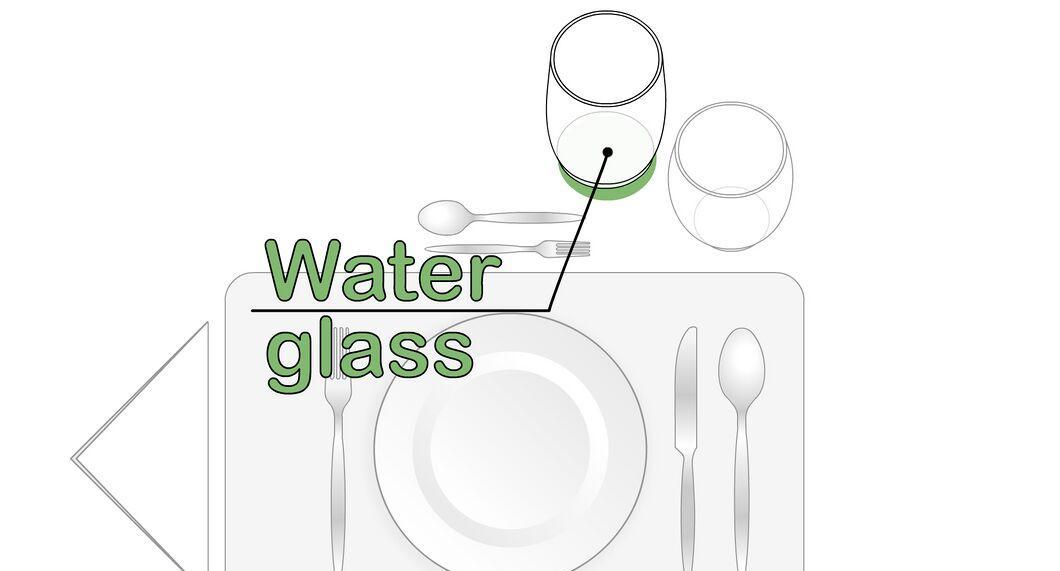
Position the water glass slightly further left from the wine glass. It should be larger than a standard glass.