To ensure your letter successfully reaches its recipient, it's crucial to correctly write the address on the envelope. Many people are unaware that there's a "correct" way to format an address; however, just because your letter arrived doesn't mean you did everything right. It's especially important to write the address carefully when sending a business letter to maintain its official appearance. This skill will come in handy since sending correspondence is often required in the workplace.
Personal Letter (USA)
Step 1. Write the recipient's name on the first line.
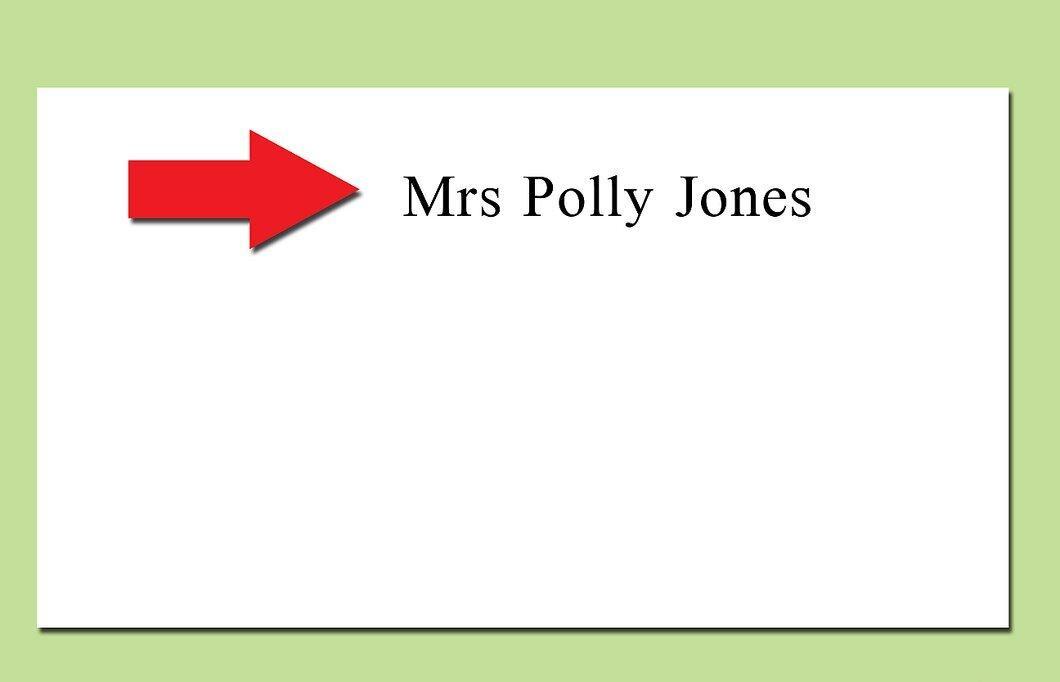
Start with the name of the person to whom your letter is addressed. How you do this depends on the recipient's preferences. For example, if your aunt prefers to remain anonymous, you might write "P. Jones" instead of the full name "Polly Jones".
- Be sure to include titles if you are sending a letter to an official, military personnel, doctor, or professor. For instance, if you’re sending a letter to elderly Aunt Polly, it’s best to write "Mrs. Polly Jones".
Step 2. Add a note if the recipient is temporarily at the given address.
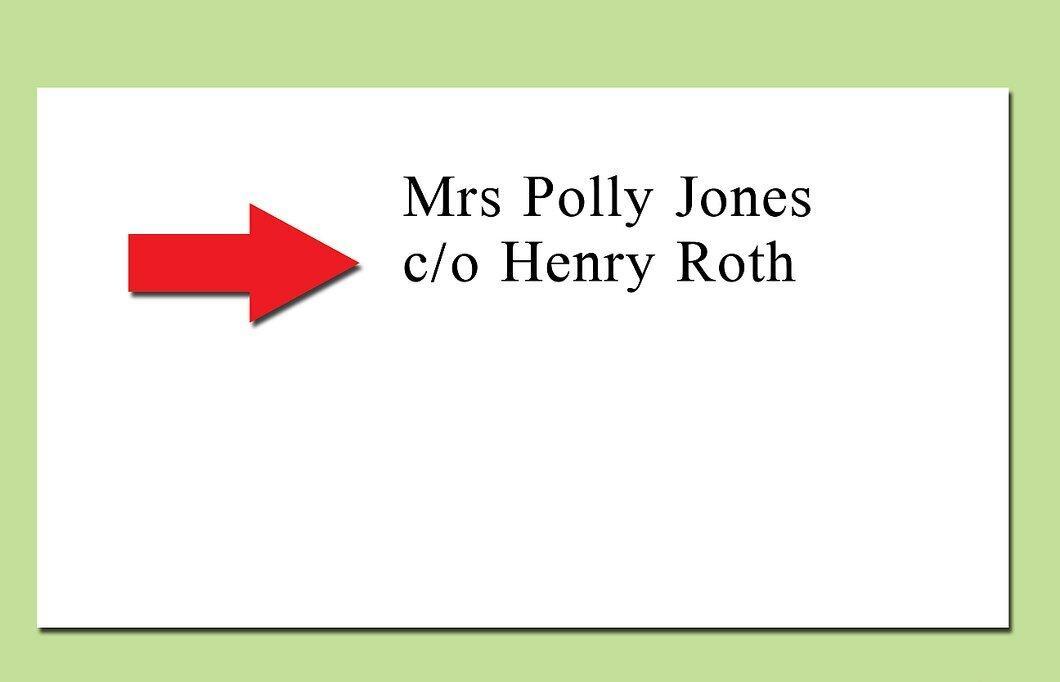
If you are sending a letter to an address where the recipient is temporarily located, add a note under their name saying "in care of".
- Use "c/o" before the name of the person who is actually receiving the letter. For example, if your Aunt Polly is staying with a cousin, write "c/o Henry Roth" under her name.
Step 3. Write the street address or P.O. Box on the second line.
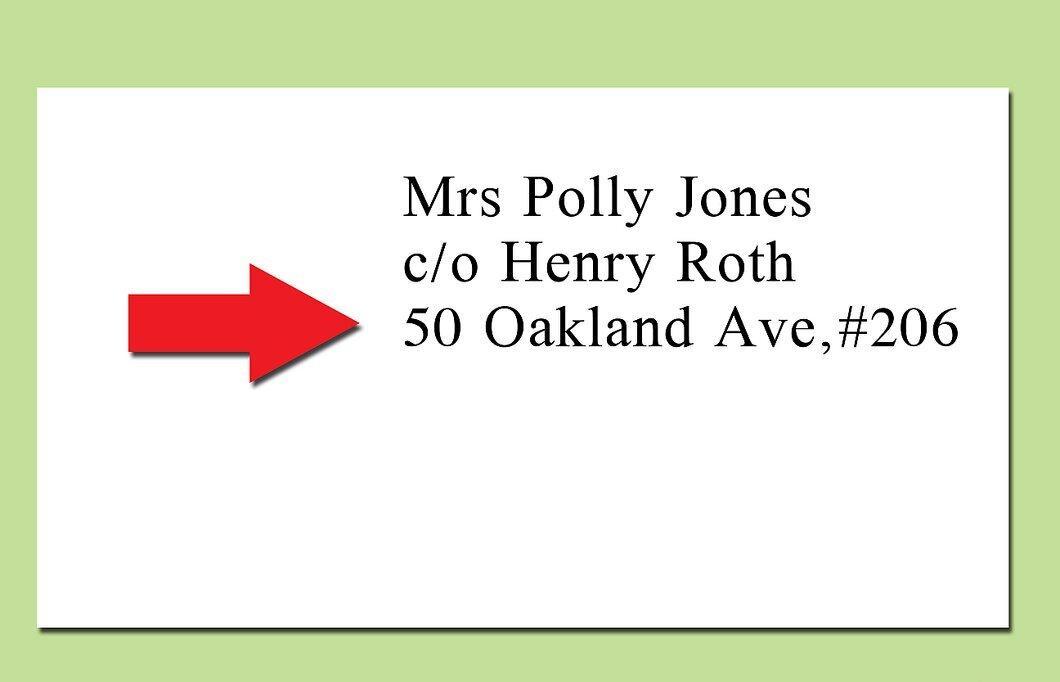
On the second line, include the address, including the street and number. Be specific (e.g., "400 West" instead of just "400"), and don’t forget the apartment number. If both parts don’t fit in one line, move the apartment number to the next line.
- For example, if your friend lives at 50 Oakland Ave, apartment #206, write "50 Oakland Ave, Apt #206".
- You can use abbreviations for street names, such as "Blvd" for "Boulevard", "Pl" for "Place", and so on.
- If you are sending to a P.O. Box, there’s no need to specify the post office address — the service will determine the location using the ZIP code.
Step 4. Write the city, state, and ZIP code on the third line.
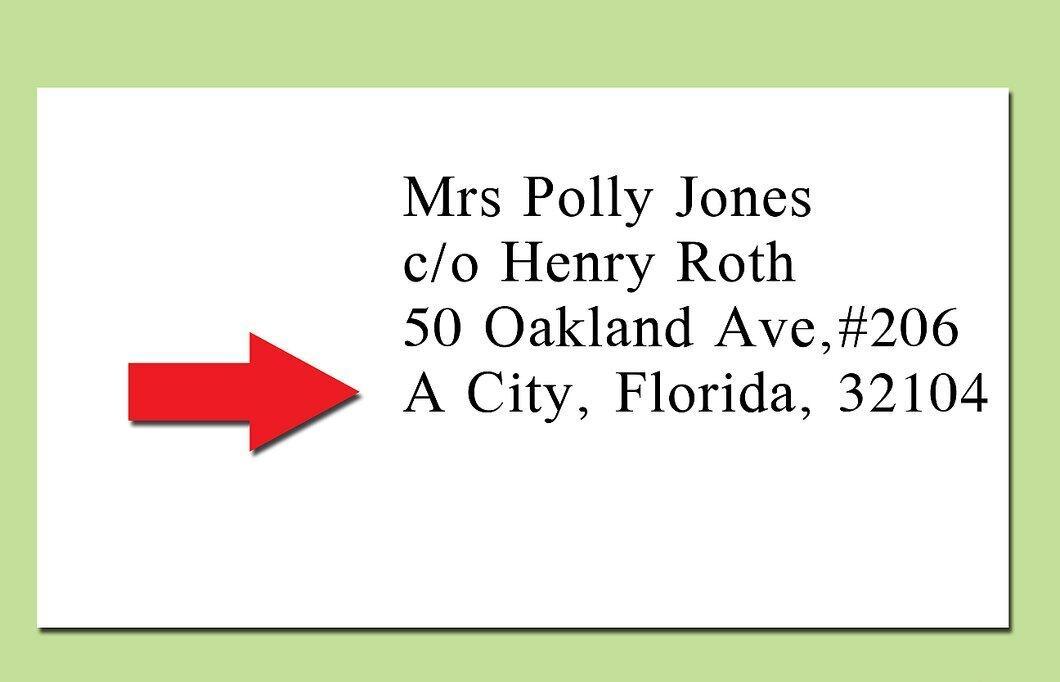
On the third line, write the name of the city, the state abbreviation, and the ZIP code. The state can be abbreviated to two letters.
- You may include a nine-digit ZIP code, but this is not necessary — a five-digit code is usually sufficient.
Step 5. Include "USA" if sending from another country.
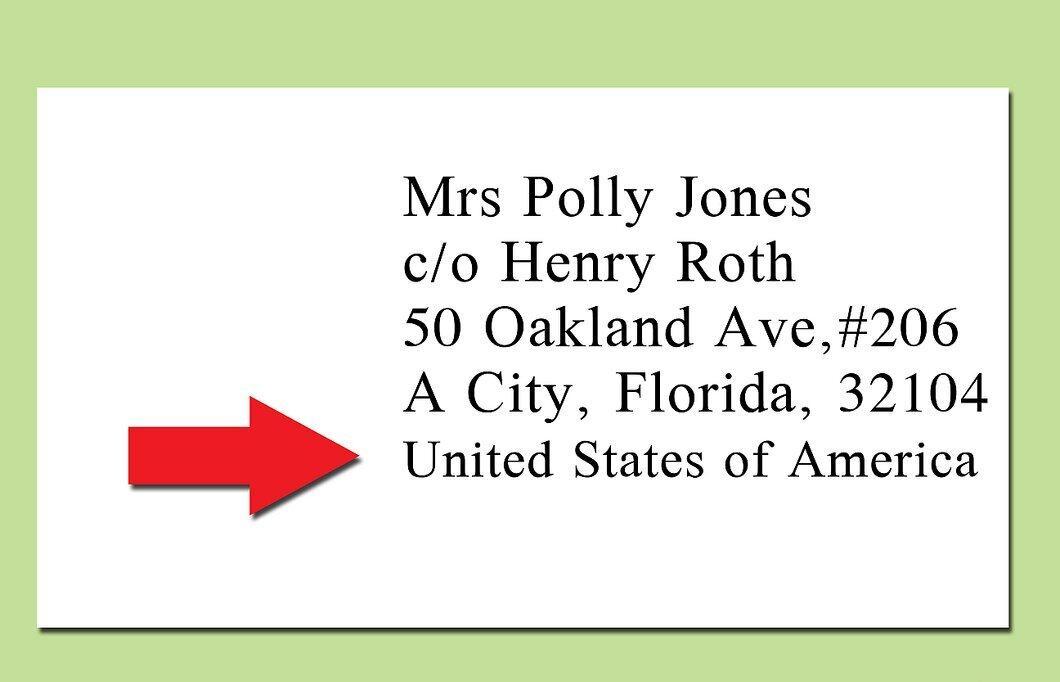
If your letter is being sent from abroad, don't forget to include "USA" in the address. The format will change: write the city and state on one line, then "United States of America" on the next, followed by the ZIP code at the end.
Step 6. Your letter is ready.
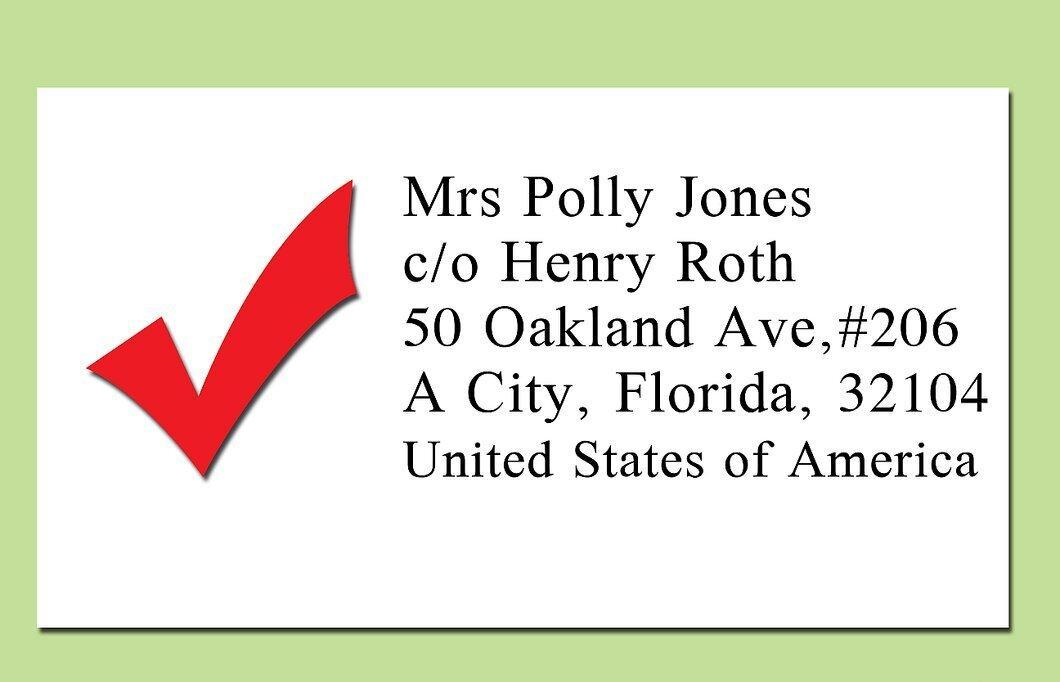
Professional Letter (USA)
Step 1. Write the recipient's name.

Write the name of the recipient. This could be an individual or an organization. Whenever possible, it's better to use a specific name to ensure your letter reaches the right person. Use formal titles such as "Ms.", "Mr.", etc.
- You can include the title after the name, for example, "To Paul Smith, Marketing Director".
- If the recipient is in an office, add "in care of:" before the name, for example, "in care of: Shirley Shelton".
Step 2. Write the organization’s name on the second line.

On the second line, include the organization’s name. For example, if you are writing to Paul Smith at "Widgets", the first line would be "To Paul Smith", and the second would be "Widgets Company".
Step 3. Write the address or P.O. Box on the third line.

On the third line, write the address or P.O. Box number. Be specific and detailed (e.g., "400 West" instead of just "400").
- If you are sending to a P.O. Box, you don’t need to specify the post office address; the postal service will find the location using the ZIP code.
Step 4. Write the city, state, and ZIP code on the fourth line.

On the fourth line, include the city name, state abbreviation, and ZIP code. Remember that the state abbreviation should consist of two letters.
- You may include a nine-digit ZIP code, but this is optional; usually, five digits are sufficient.
Step 5. Your letter is ready.

United Kingdom
Step 1. Write the recipient's name on the first line.

Fill in the first line with the recipient's name. Include titles if necessary. If you are sending a letter to friends or relatives, titles can be omitted, but for officials, military personnel, doctors, and professors, they are required.
Step 2. On the second line, include the house number and street name.
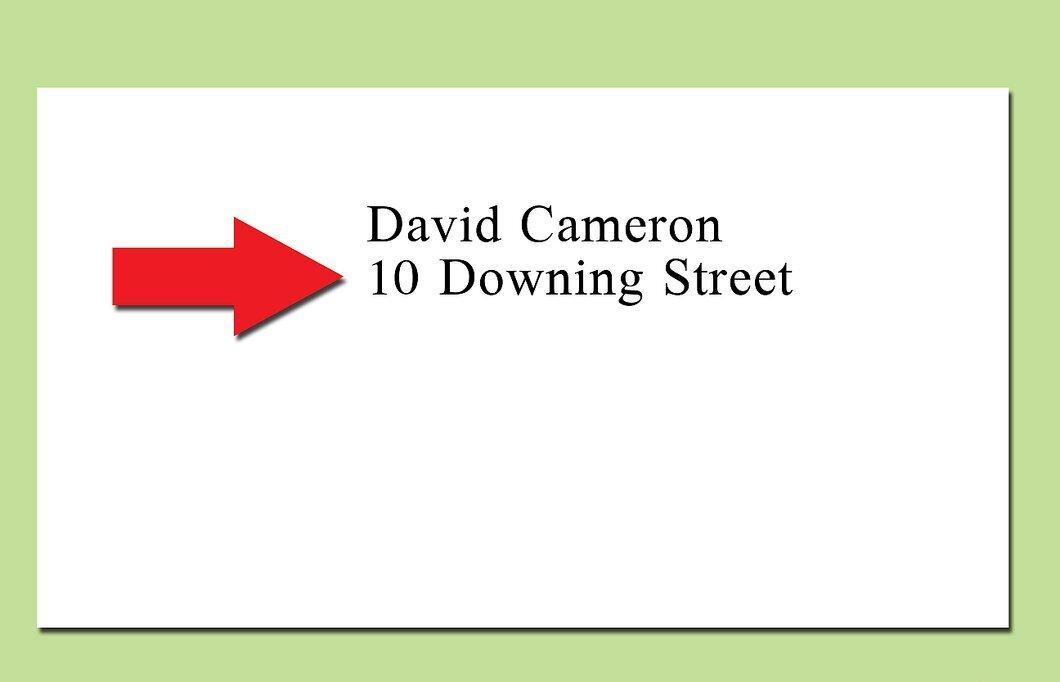
On the second line, include the house number followed by the street name. For example: 10 Downing St.
Step 3. Write the name of the city or town on the third line.
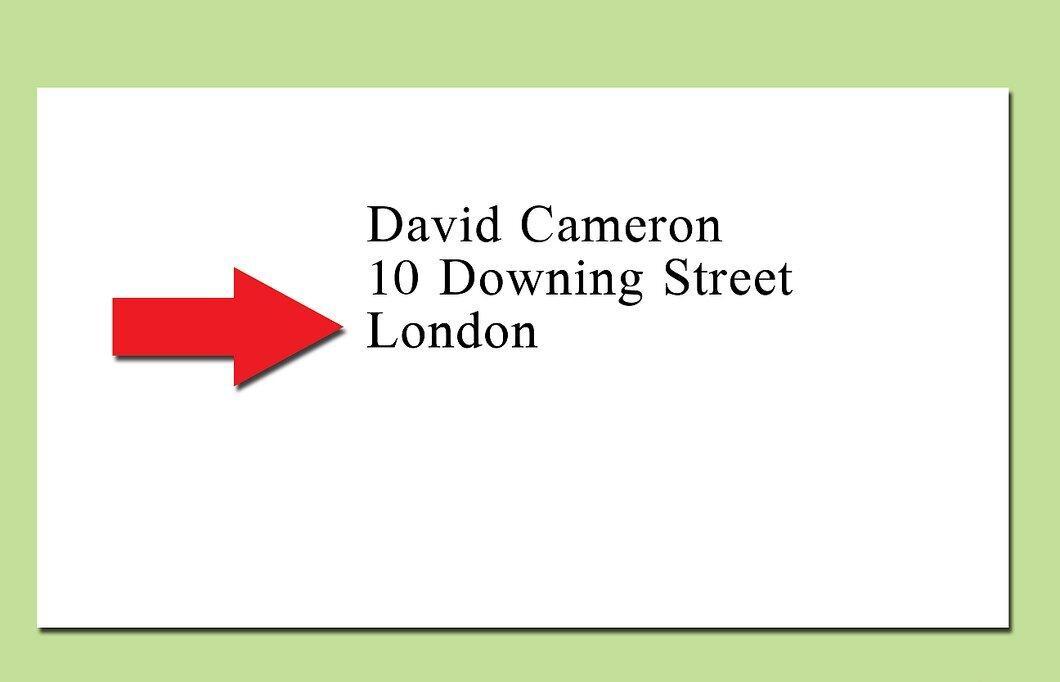
On the third line, include the name of the city, for example, "London".
Step 4. Write the country on the fourth line.
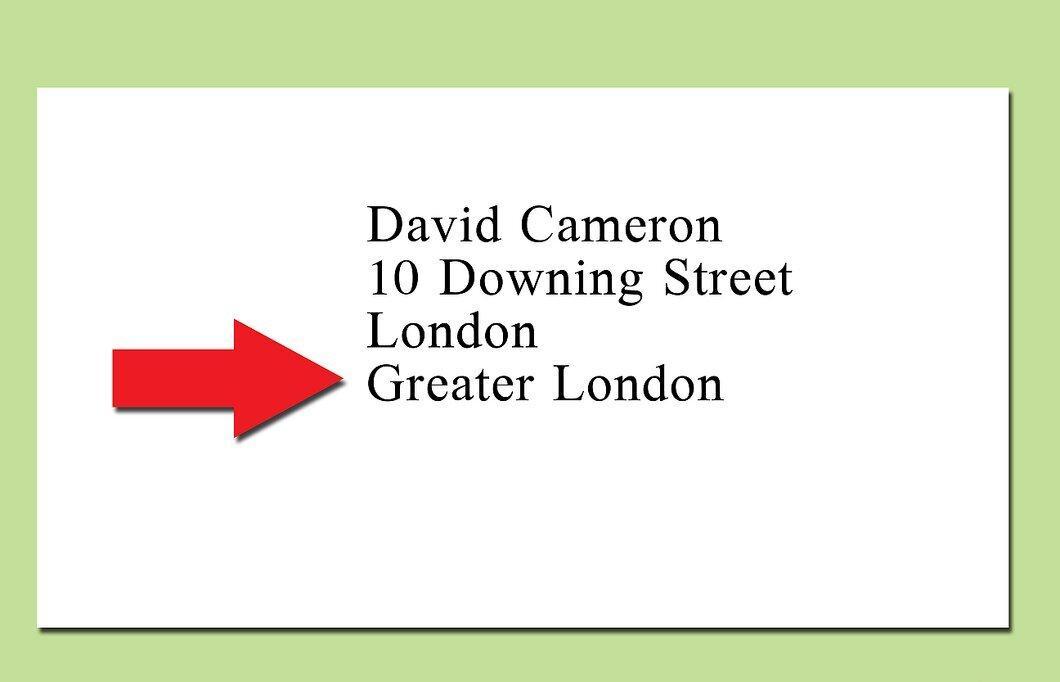
If you’re sending a letter to London, you don’t need to include the country name. However, if it’s a rural area, it’s better to include it.
Step 5. Write the postal code on the last line.
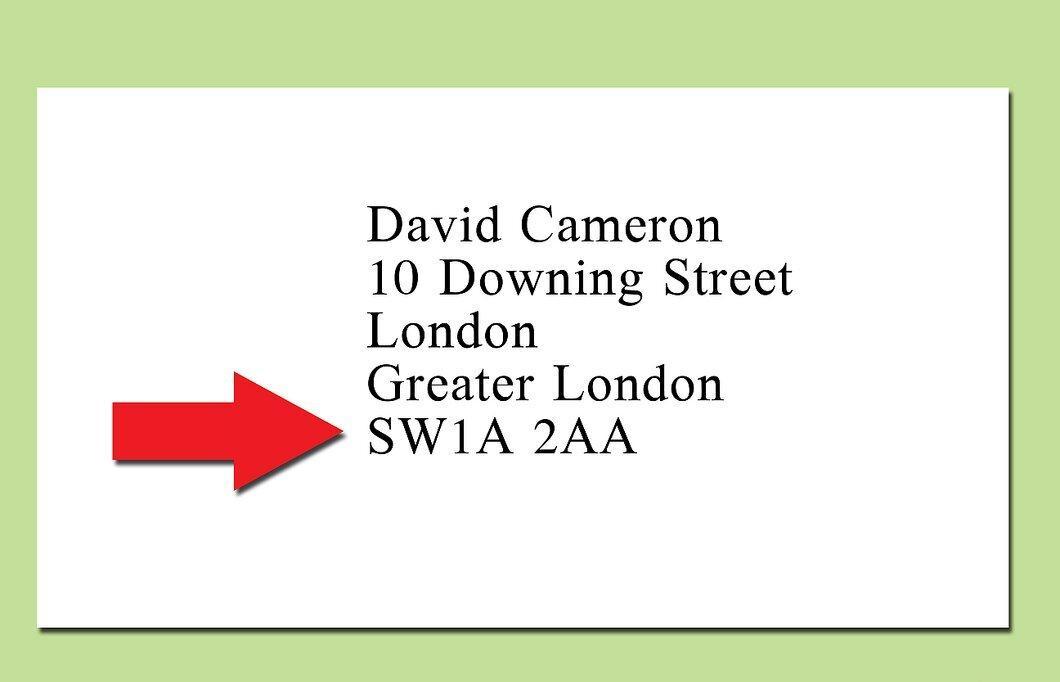
On the last line, write the postal code, for example, "SW1A 2AA".
Step 6. Include the country if necessary.
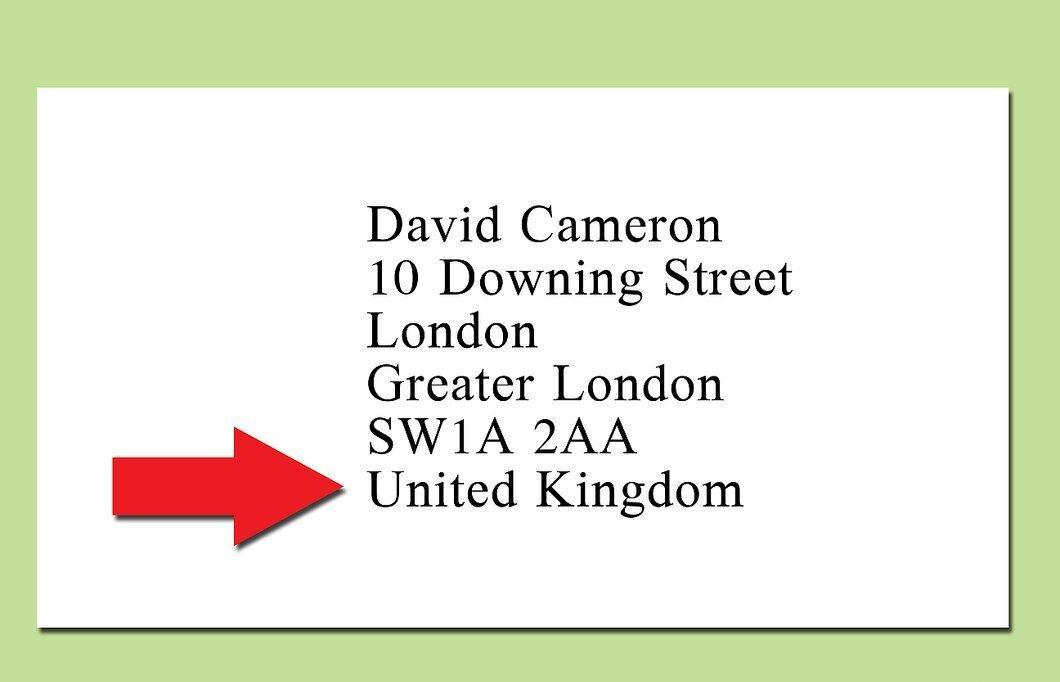
If you’re sending a letter from abroad, write "United Kingdom" or "UK" on the last line.
Step 7. Your letter is ready.
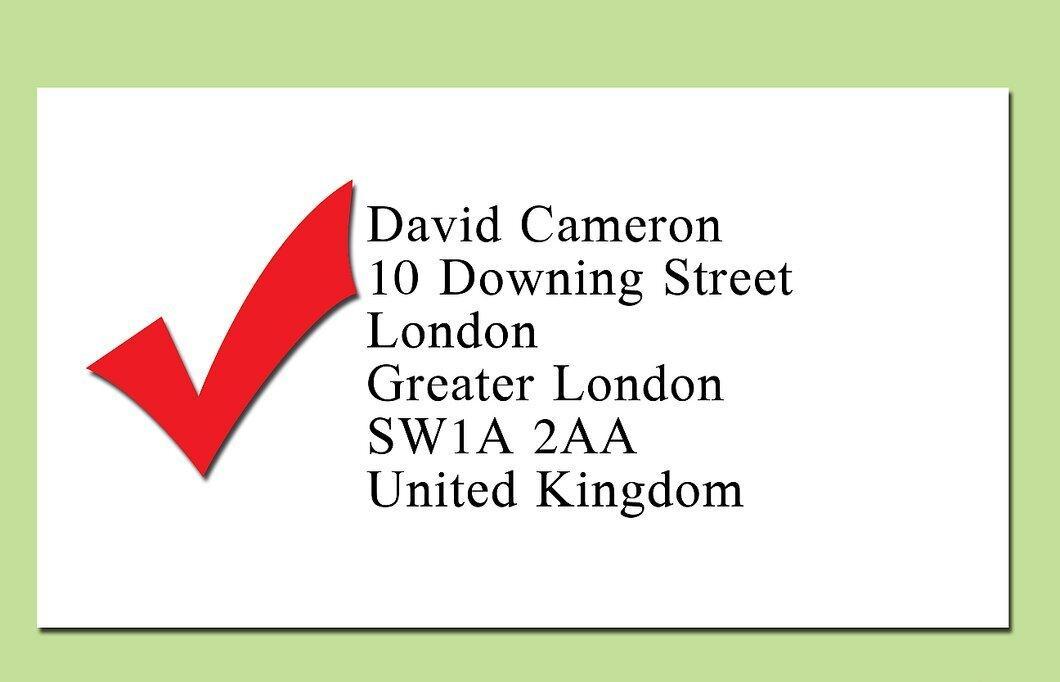
Ireland
Step 1. Write the recipient's name on the first line.

Include the name of the recipient, which can be either a person or an organization. Also, include titles if necessary.
Step 2. Include the estate name (if applicable).

If there is an estate name in the rural area, include it, for example, "Trinity College Dublin".
Step 3. Write the street name on the third line.

If there is a street number, be sure to include it. For example, "Green College".
Step 4. Write the name of the city or town on the fourth line.

On the fourth line, write the name of the city, for example, "Dublin 2".
Step 5. Include the county name (if required).

If sending to a large city like Dublin, including the county is not necessary. However, for rural areas, it is preferable to include it.
Step 6. Include the country (if necessary).
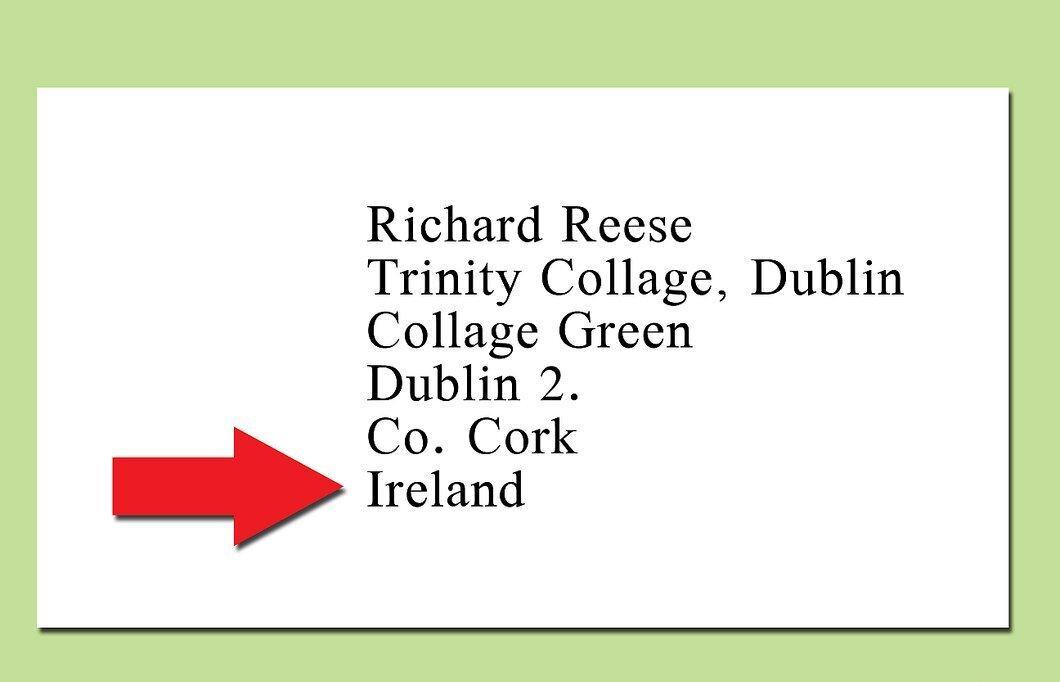
If the letter is going from abroad, write "Ireland" on the last line.
Step 7. Your letter is ready.

France
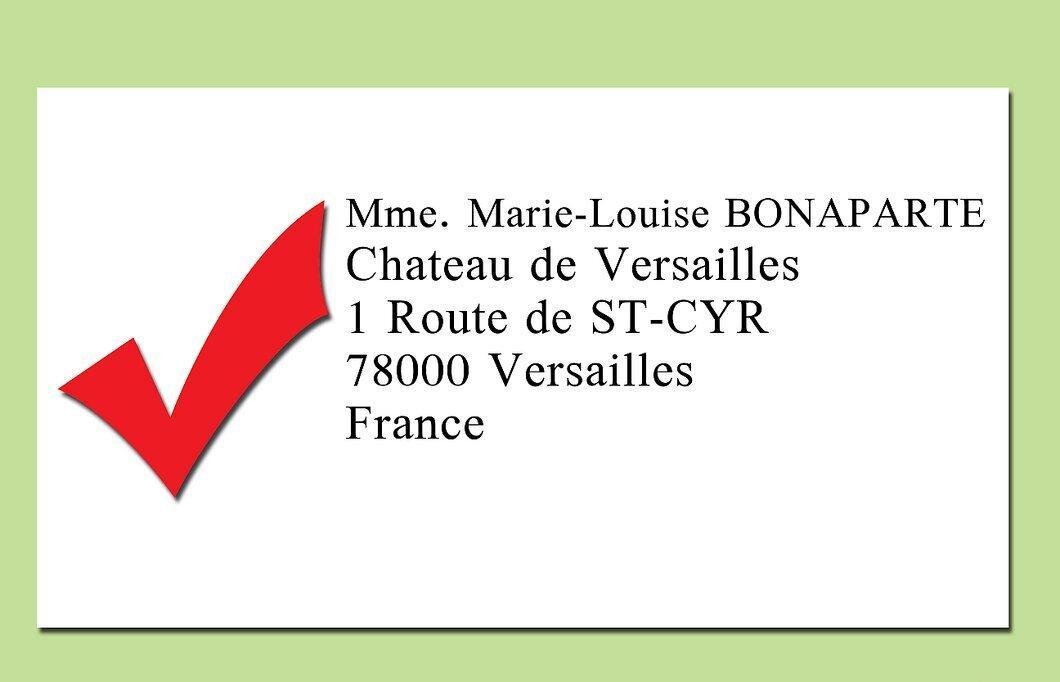
Step 1. Write the recipient's name on the first line.
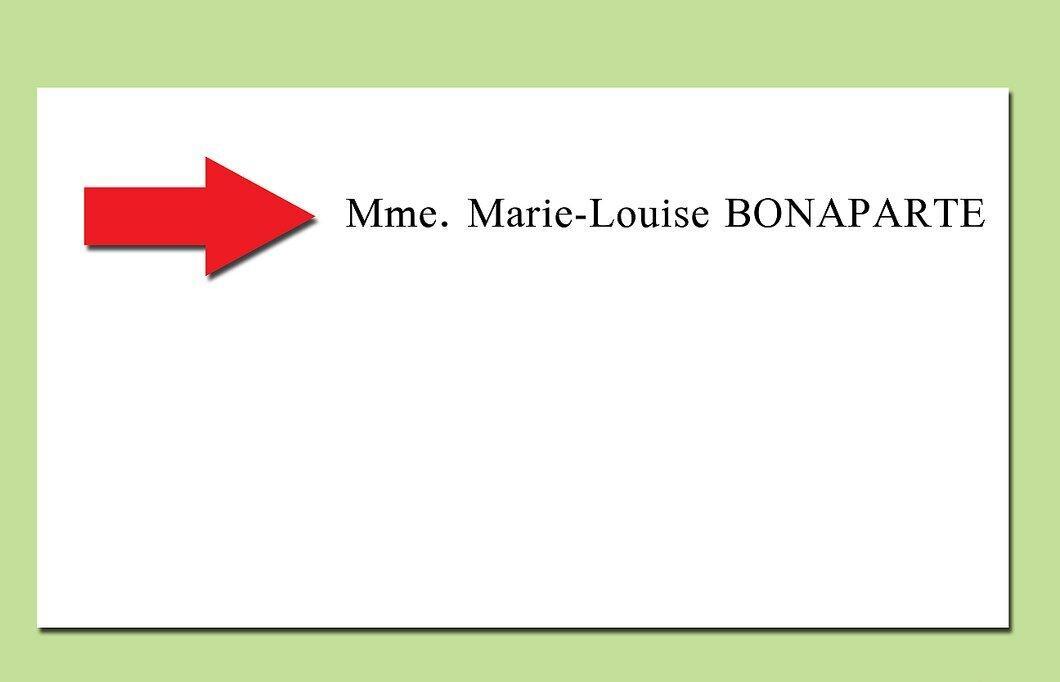
Include the name of the recipient on the first line. Note that in France, surnames are written in uppercase letters, for example, "Marie-Louise BONAPARTE".
Step 2. Include the estate name (if applicable).
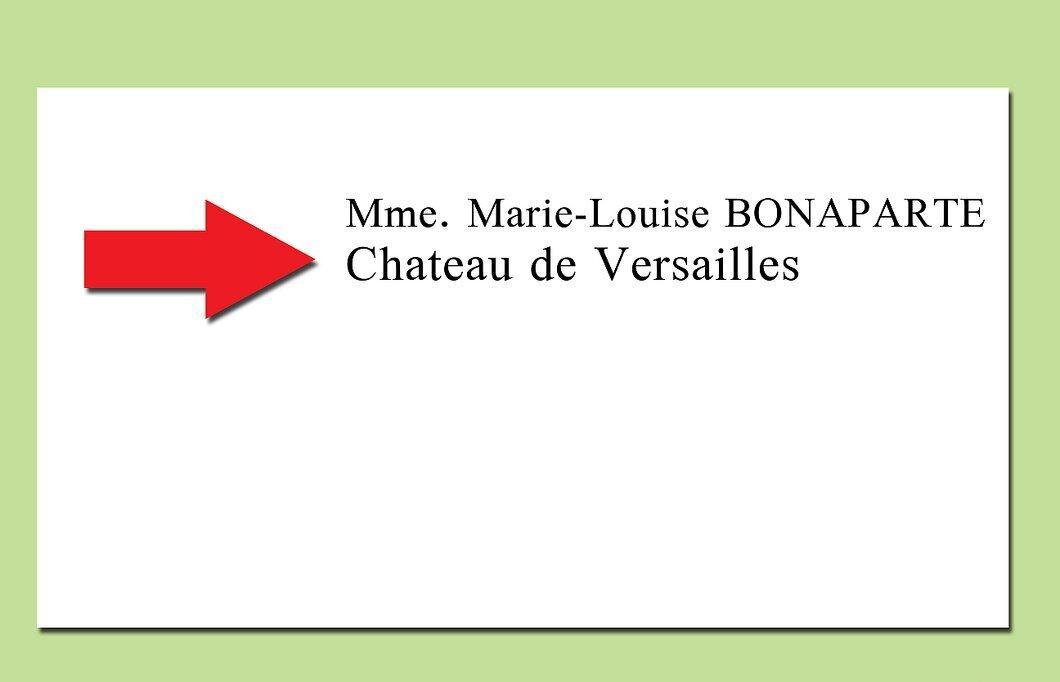
If there is an estate name, include it, for example, "Château de Versailles".
Step 3. Write the street name and number on the third line.
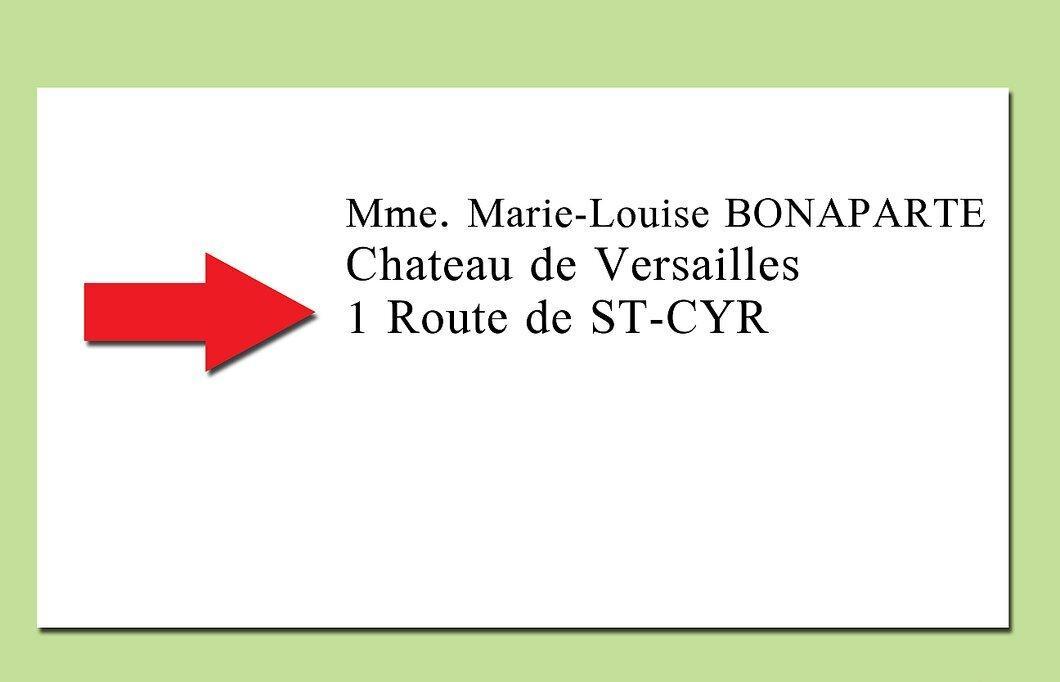
On the third line, include the number and name of the street, for example, "1 ROUTE de ST-CYR".
Step 4. Write the postal code and the name of the city on the fourth line.
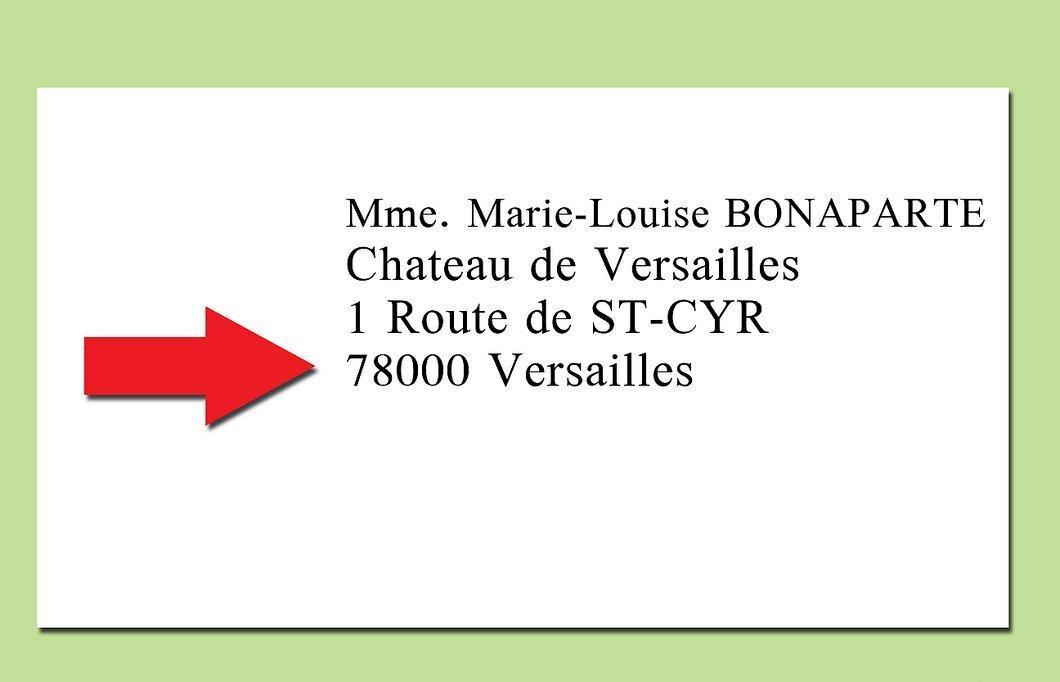
On the fourth line, include the postal code and the city, for example, "78000 Versailles".
Step 5. Write the country on the fifth line.
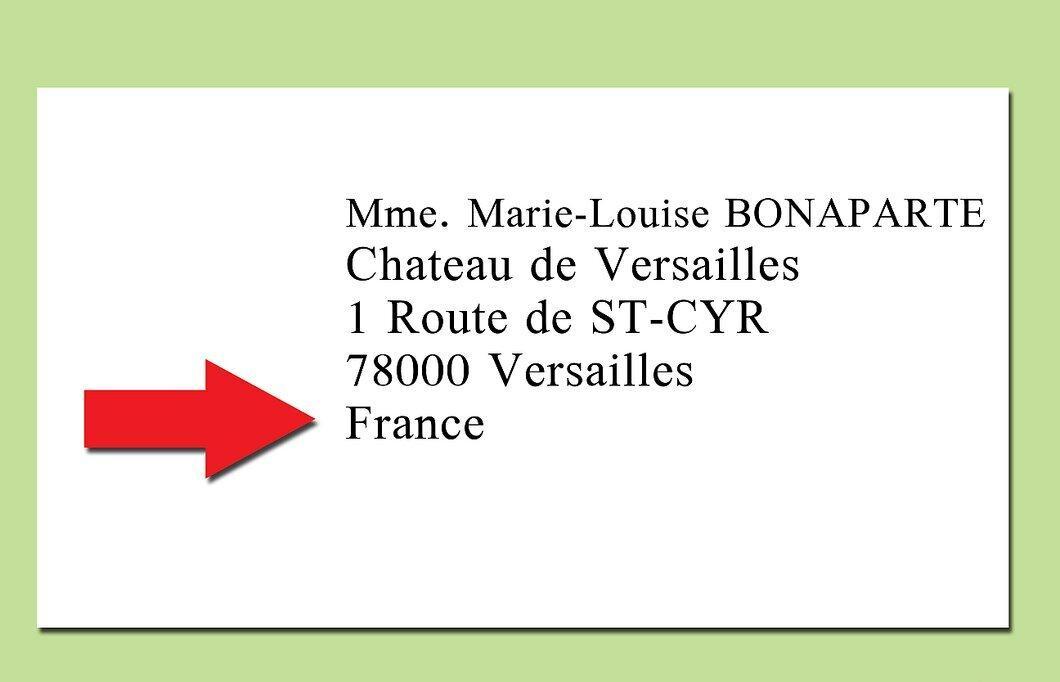
If you are writing to another country, include "France" on the last line.
Step 6. Your letter is ready.
Most European Countries
Step 1. Write the recipient's name on the first line.

Write the name of the recipient; this can be either personal or the name of an organization.
- Don’t forget to include titles if required.
Step 2. Include the estate name (if applicable).

If there is an estate name, include it.
Step 3. Write the street name and number on the third line.
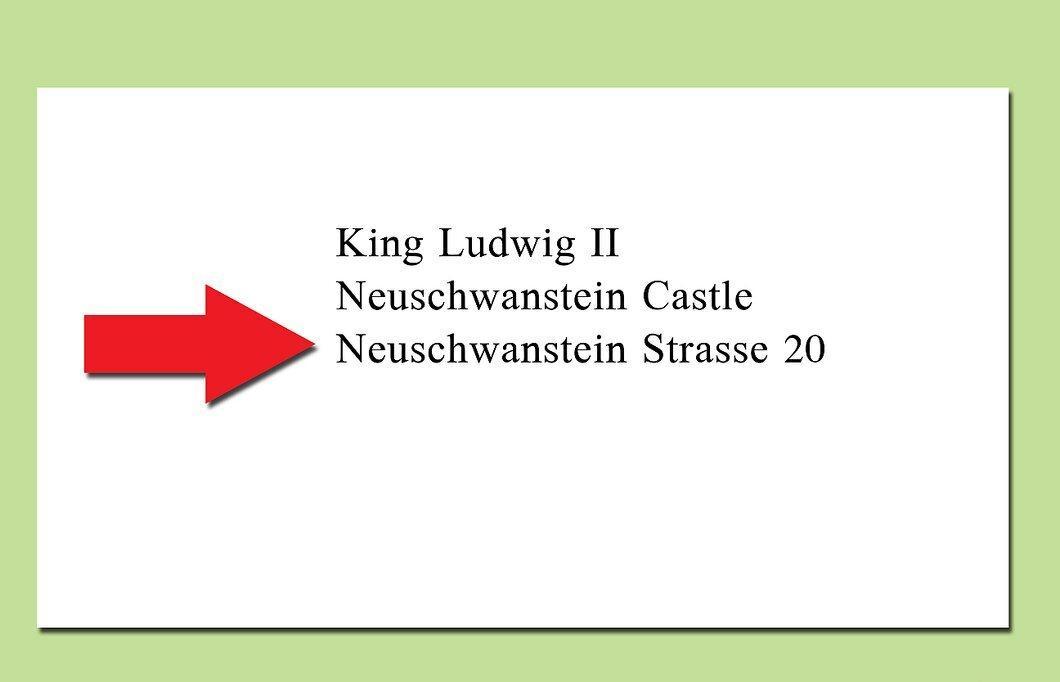
On the third line, include the number and name of the street, for example, "Neuschwanstein 20".
Step 4. Write the postal code, city name, and province (if needed) on the fourth line.
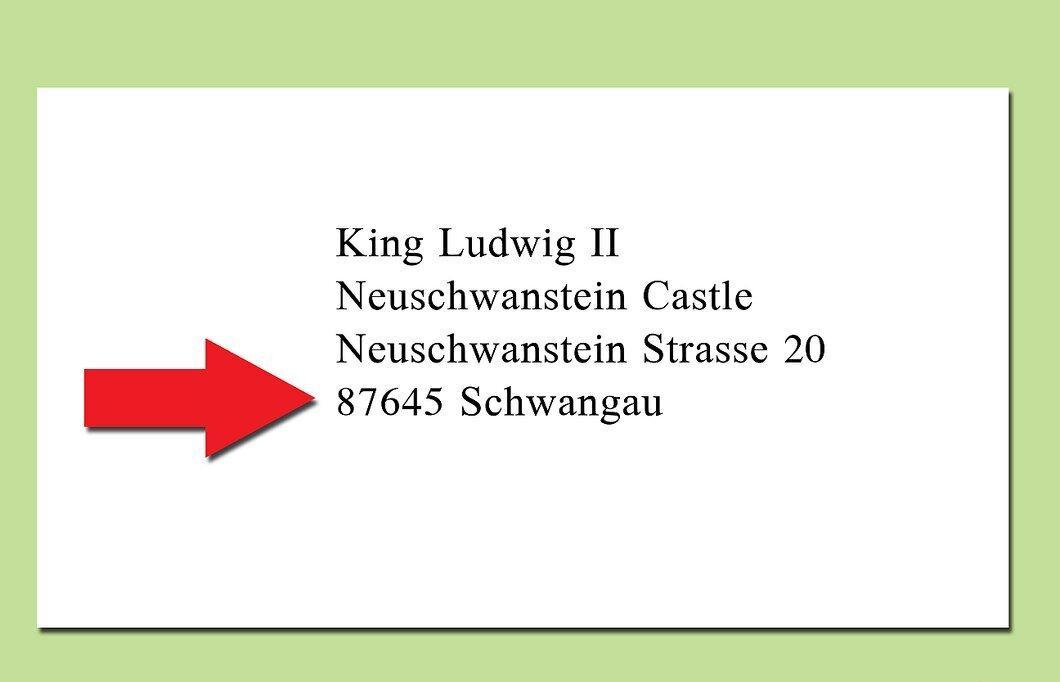
On the fourth line, include the postal code, city, and province if necessary, for example, "87645 Schwangau".
Step 5. Write the country name on the fifth line.
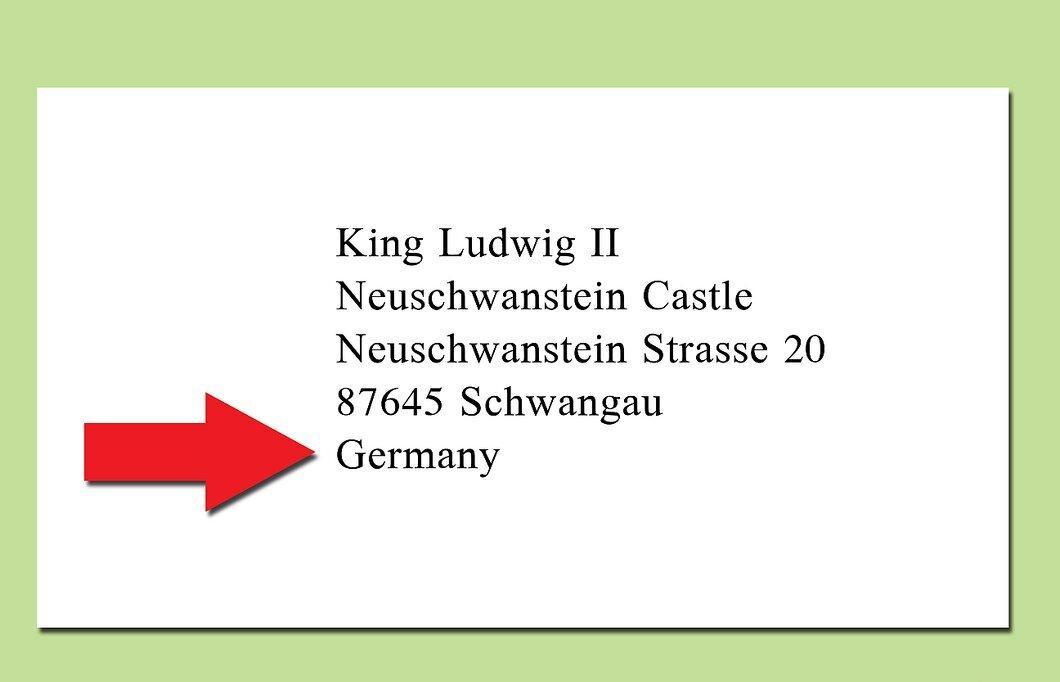
On the fifth line, write the country name if the letter is going to another country.
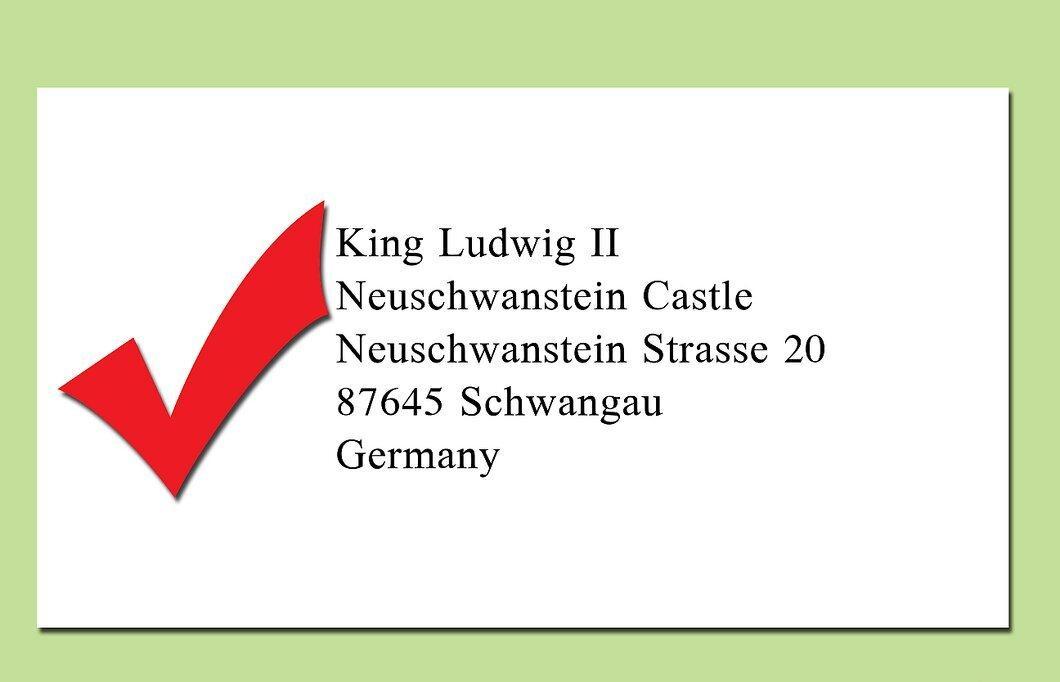
Step 6. Your letter is ready.
Other Countries
Step 1. If you need to send a letter to a country not mentioned in this article, you can check the formatting in an international database.
If the country you are interested in is not listed in this article, you can look up the formatting in this international database.