Smoked ribs are a true classic beloved across America. Nothing brings friends and family together quite like delicious barbecue with mouthwatering ribs. Thankfully, you can learn to smoke them effortlessly, even without a smoker. Your guests will be thrilled and will ask for the recipe!
Preparing the Ribs and Spices
Step 1: Choosing the Meat
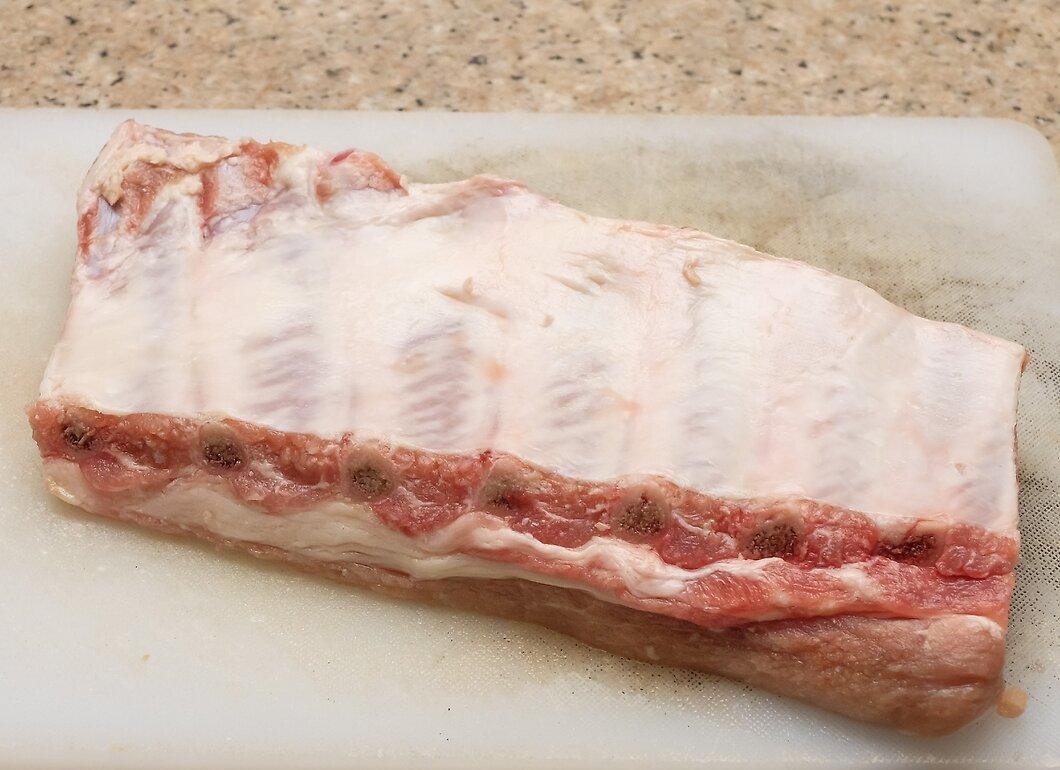
Start by selecting quality meat. When buying raw ribs, always pay attention to freshness: opt for ribs with a pink hue at your local grocery store. Many prefer St. Louis-style ribs, which are located closer to the pig's belly. They are not only very tasty but also easy to cook. You can also use baby back ribs found on the back.
- Baby back ribs are less meaty, making them harder to smoke while keeping their juiciness and tenderness. If you choose to use them, keep in mind that the cooking time will be significantly less.
Step 2: Removing the Membrane
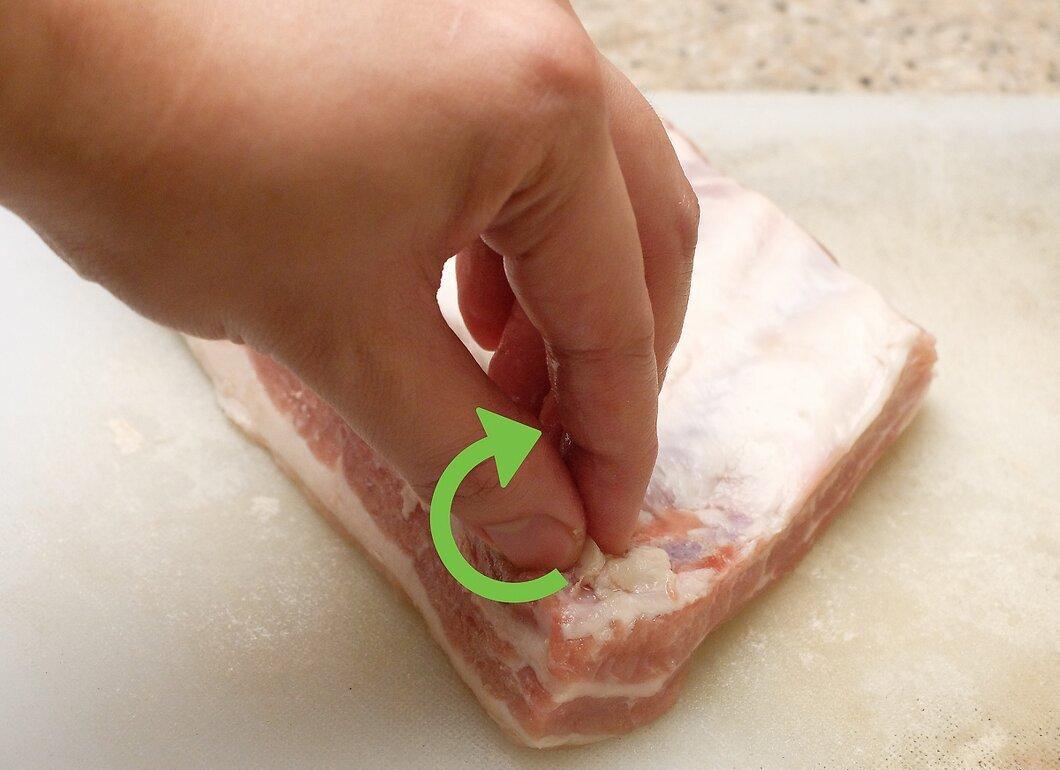
First, remove the thick membrane from the ribs. Use your fingernail or a knife to lift it. Then grab the membrane with a paper towel and carefully pull it off. Most of the membrane should come off easily. Be sure to dispose of it properly.
Step 3: Trimming the Fat
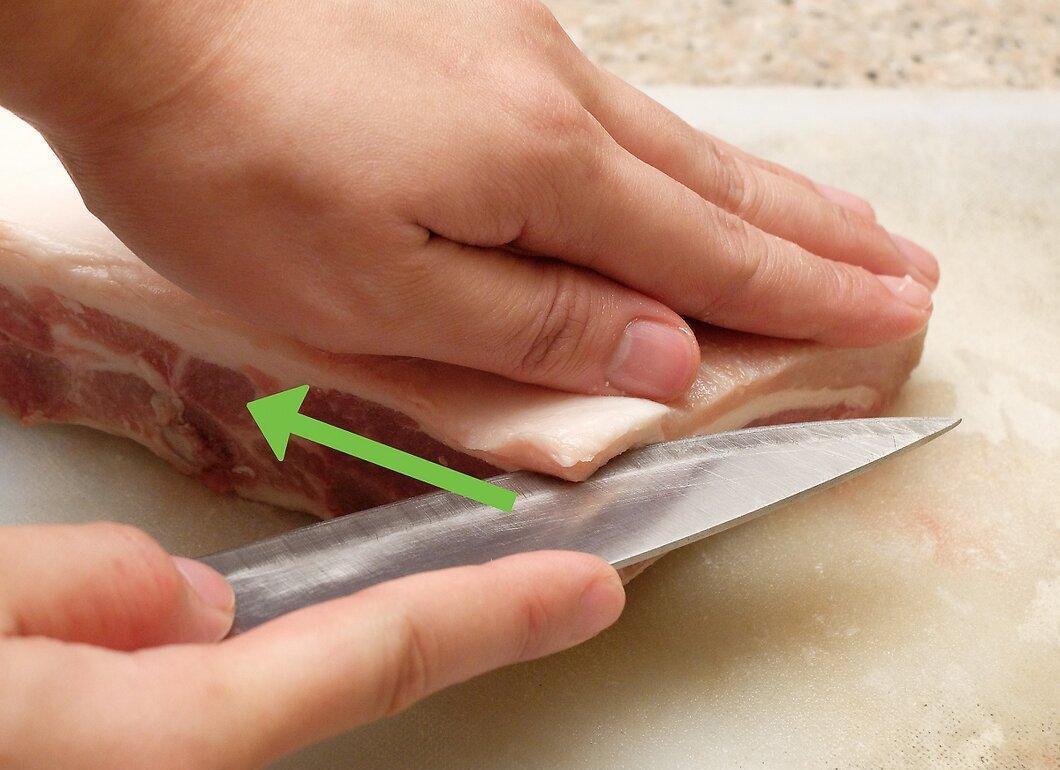
Check the ribs for large chunks of fat and trim them carefully. Remove excess fat with a sharp knife. A little fat won't hurt, but large pieces can ruin the experience of tender smoked meat. Invest time in preparing the ribs to enjoy a fantastic result later.
Step 4: Preparing the Spice Mix
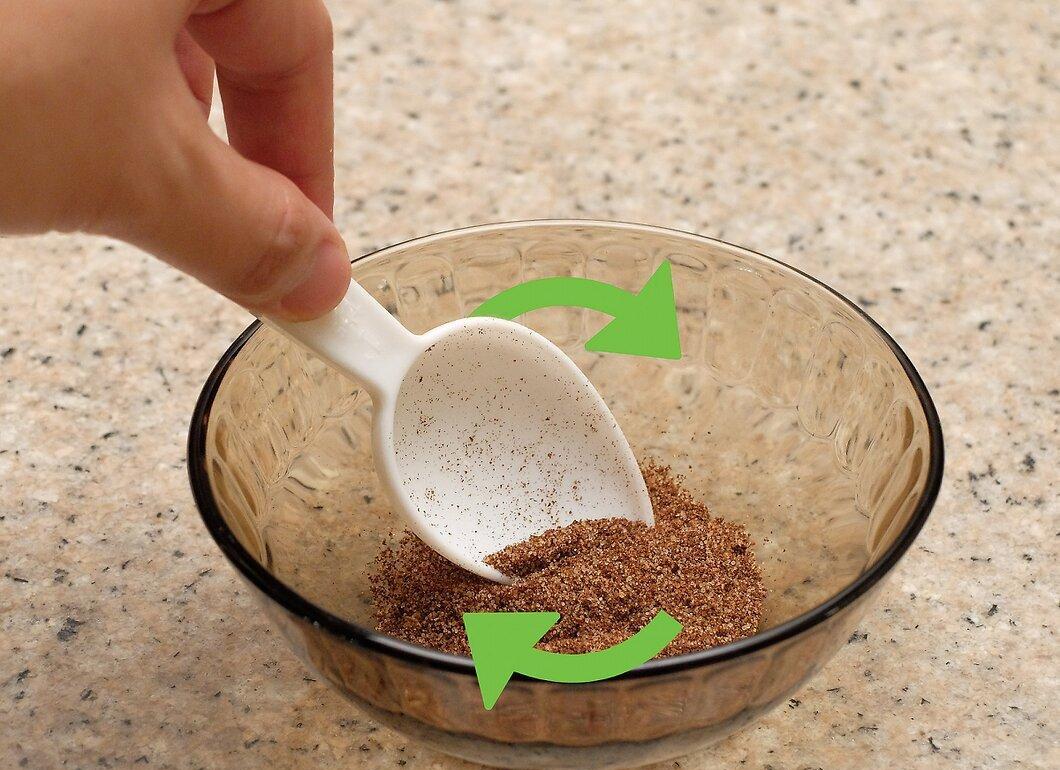
Create a fragrant spice mix to rub on the ribs. This will give them a distinct flavor. There are many recipes, but here’s one of the simplest:
- 1/4 cup brown sugar
- 1/4 cup paprika
- 3 tablespoons black pepper
- 3 tablespoons coarse salt
- 2 teaspoons garlic powder
- 2 teaspoons onion powder
- 2 teaspoons celery seeds
- 1 teaspoon cayenne pepper
Step 5: Applying the Mixture
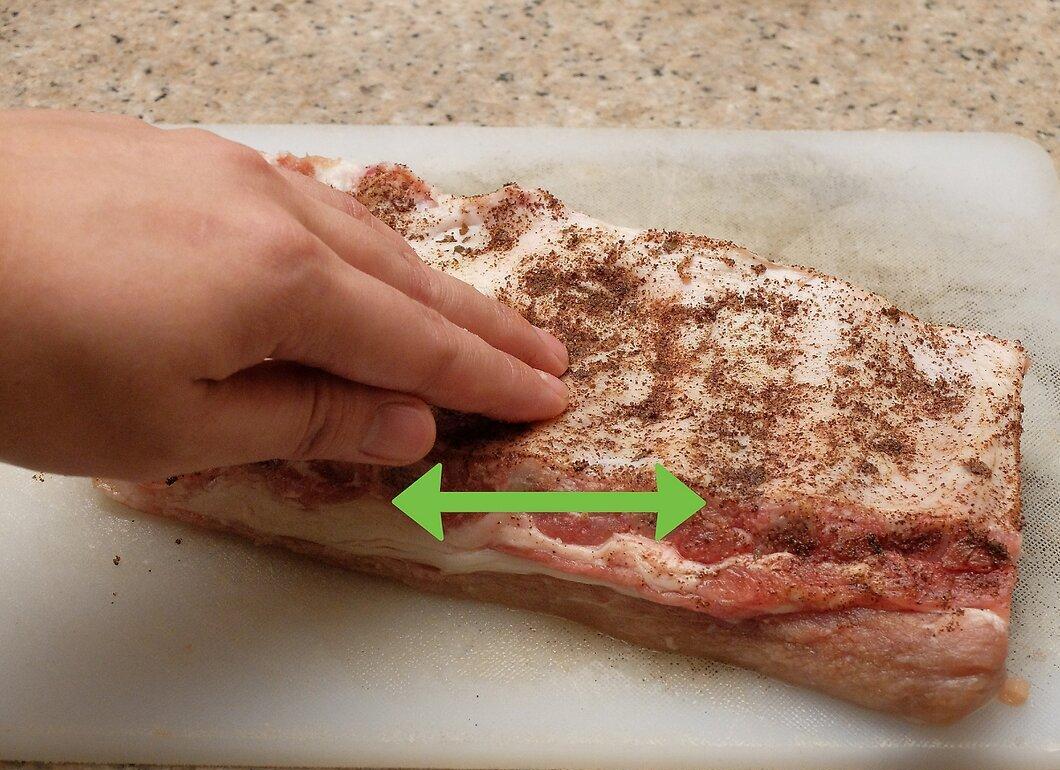
Generously sprinkle the spice mix over the ribs, ensuring an even coating across the surface. Don’t hold back on the spices! Even if you plan to add sauce later, this initial rub will significantly enhance the flavor. Use about 1-2 tablespoons of the mix for every 500 grams of meat.
Step 6: Let the Ribs Sit
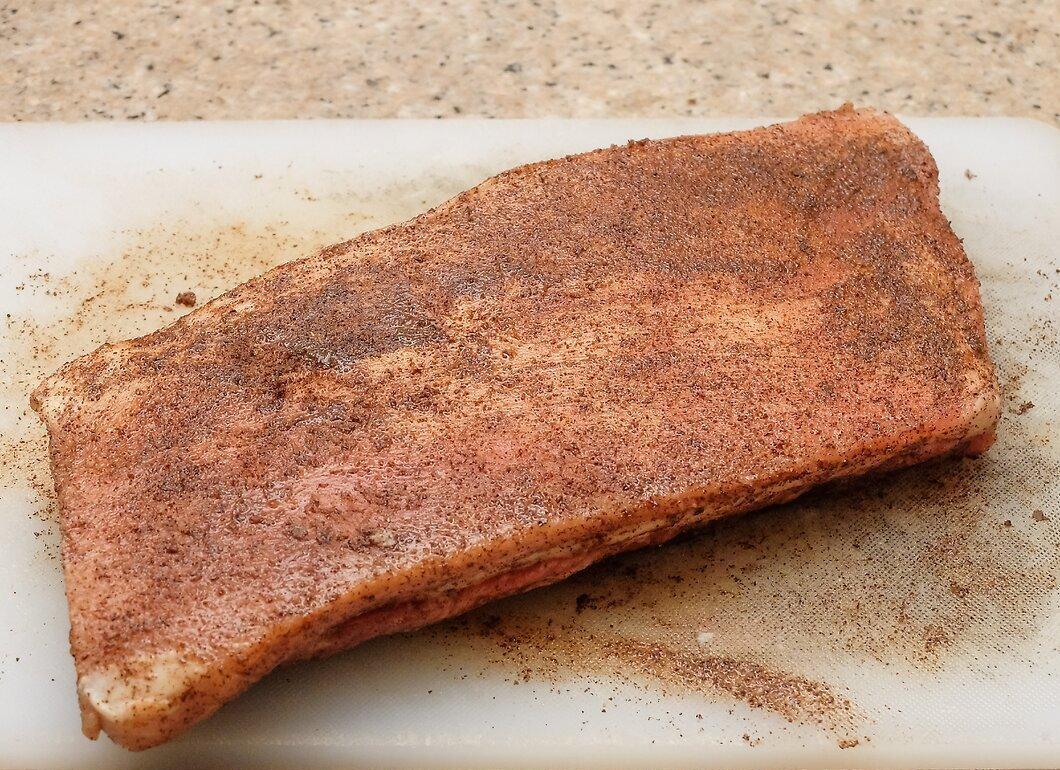
Allow the ribs to sit at room temperature. This helps the spices to better penetrate and infuse the meat with flavors. This approach:
- Allows the spices to penetrate and enrich the taste.
- Increases juiciness: salt draws moisture to the surface, and if you start cooking right away, the meat might lose its juiciness. By letting it sit, the moisture will return to the meat through osmosis.
Smoking the Ribs
Step 1: Preparing the Smoker
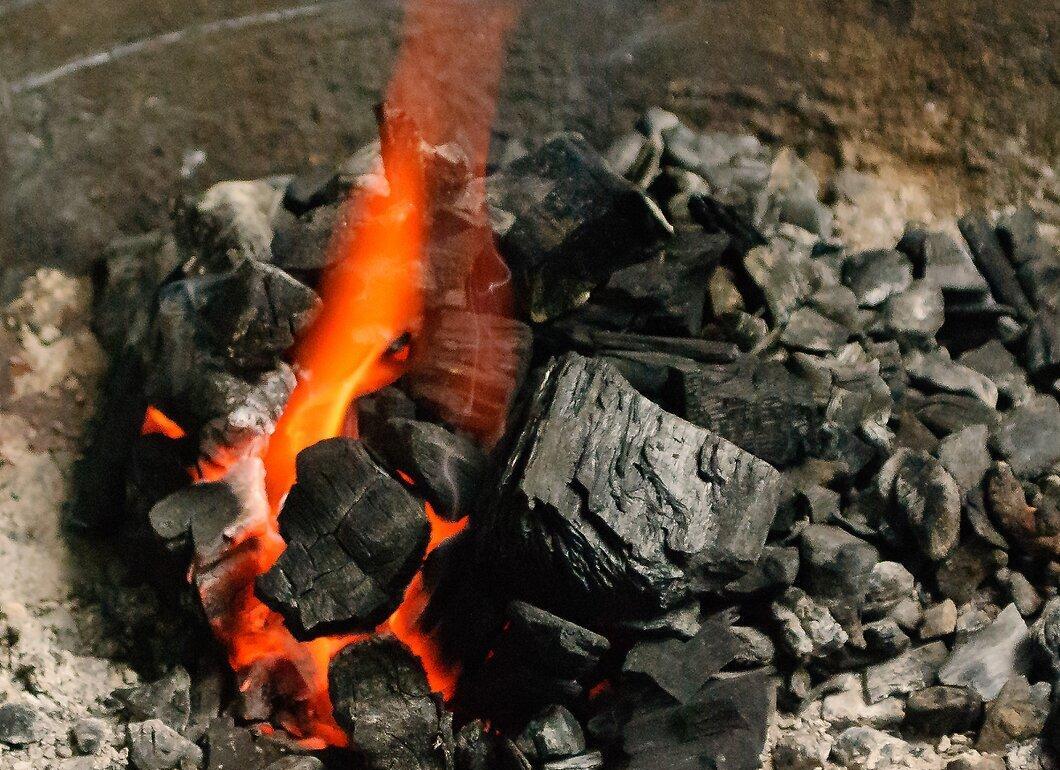
If you have a smoker, preheat it to 110 °C and check the temperature with a thermometer. Ensure that the temperature is close to 110 °C across the entire surface, even if it might be a bit warmer near the fire.
- Use any type of wood you like for smoking.
Step 2: Improvise Without a Smoker
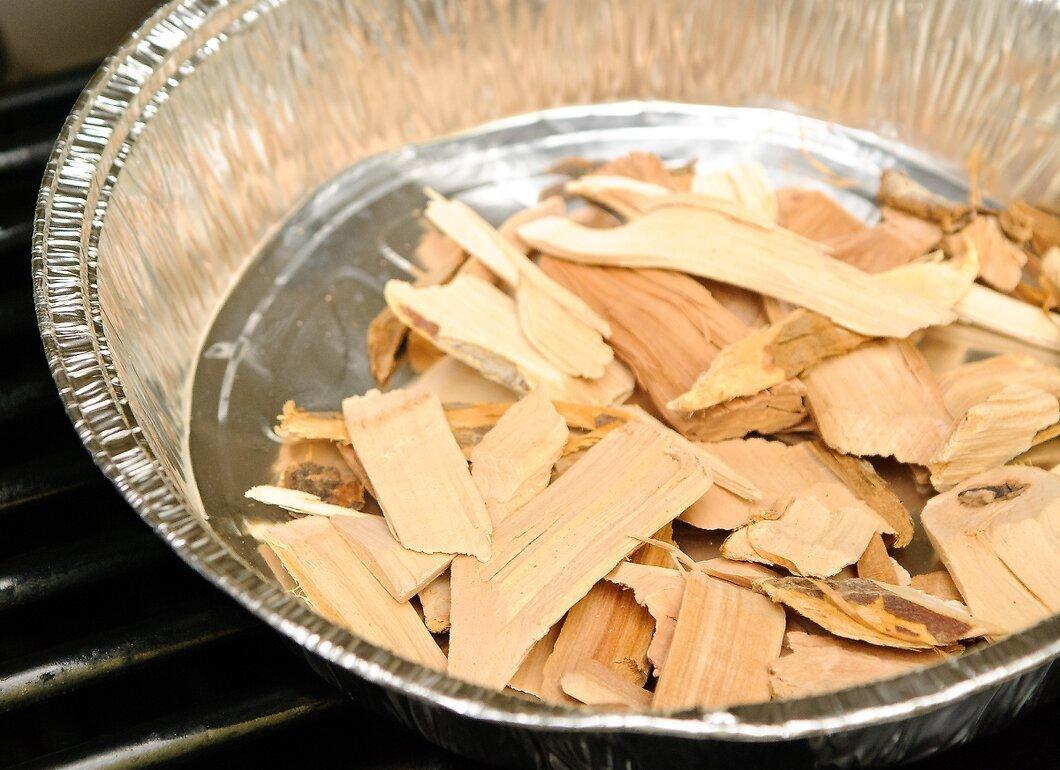
If you don’t have a smoker, don’t despair! Use a gas grill preheated to 110 °C. Place a pot of water under the grate where the ribs will be, to help maintain a low temperature. Prepare a smoking pouch by wrapping wood chips in foil and poking holes in it for the smoke to escape. Place it in the bottom of the grill, but not directly under the ribs.
- Don’t forget to soak the wood chips for at least 30 minutes before use. Wet wood chips produce smoke better and longer than dry ones.
- You can use any type of wood for smoking, such as apple, cedar, hickory, maple, mesquite, or oak.
Step 3: The Smoking Process
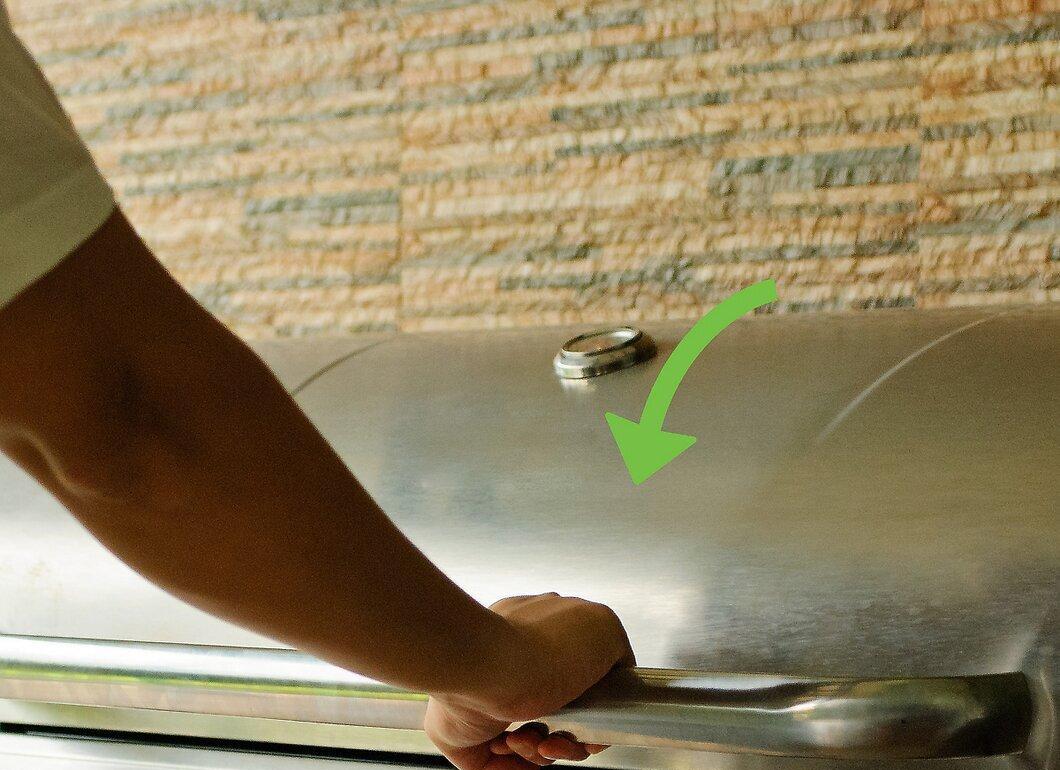
Smoke the ribs at 110 °C for 3 hours. This is just the first stage that will infuse the meat with smoky flavor. For complete smoking, it will take about 6 hours. If you want the ribs to be fully smoked, spray them with liquid (apple juice, beer, or just water) every hour.
Final Steps
Step 1: Apply the Sauce
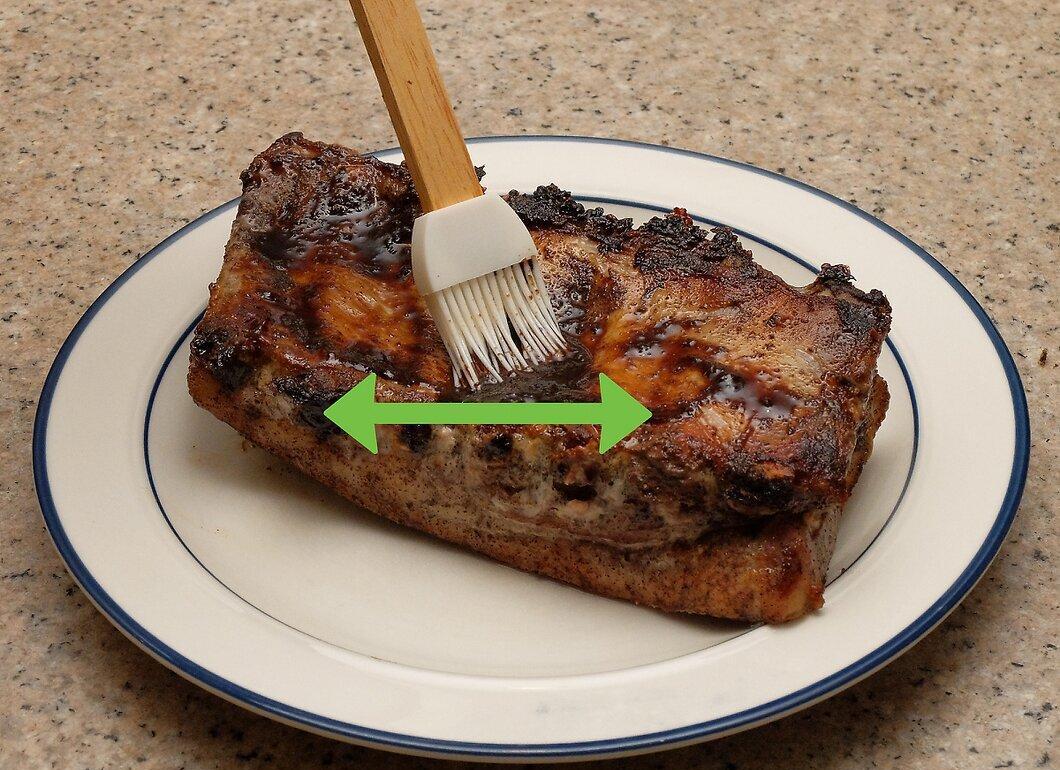
Remove the ribs from the smoker or grill and generously drizzle with barbecue sauce. You can use store-bought sauce or make your own. An important rule is to generously coat the meaty side of the ribs.
Step 2: Wrap in Foil
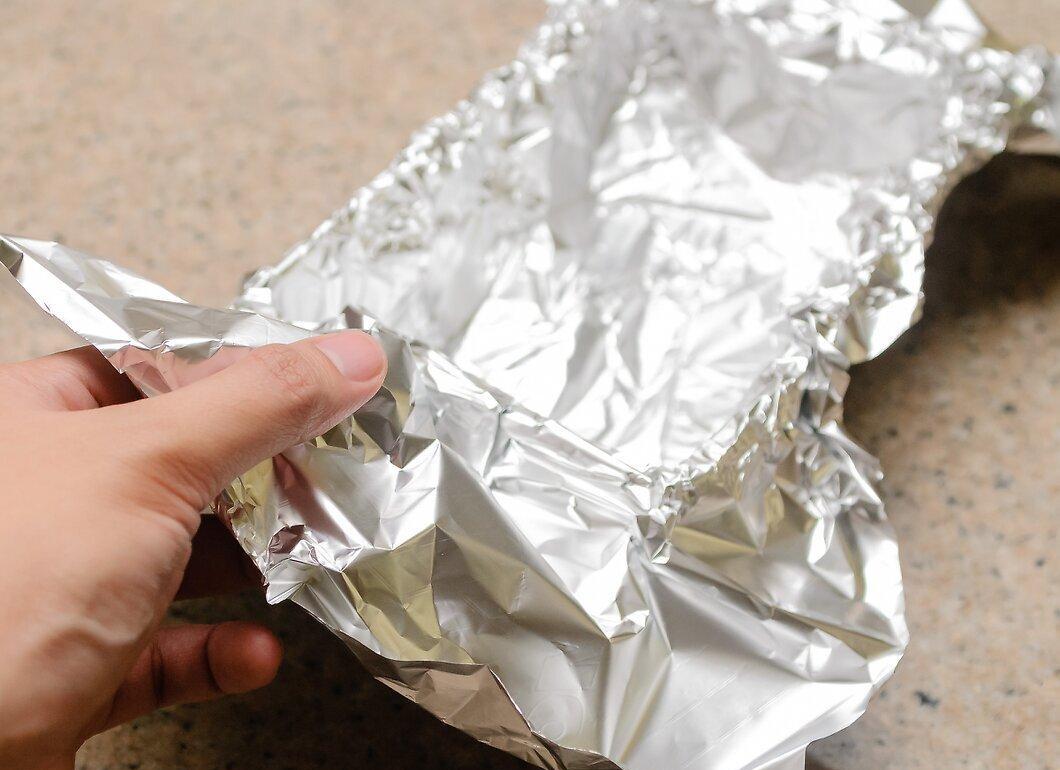
Wrap the ribs in aluminum foil and add a little liquid. Many prefer to use beer (preferably flavorful, not light), but apple juice works great too.
- Make sure to wrap the ribs tightly with the liquid, leaving some space for the meat to breathe. Check that the foil is airtight so that the liquid doesn’t leak out.
Step 3: Slow Cooking
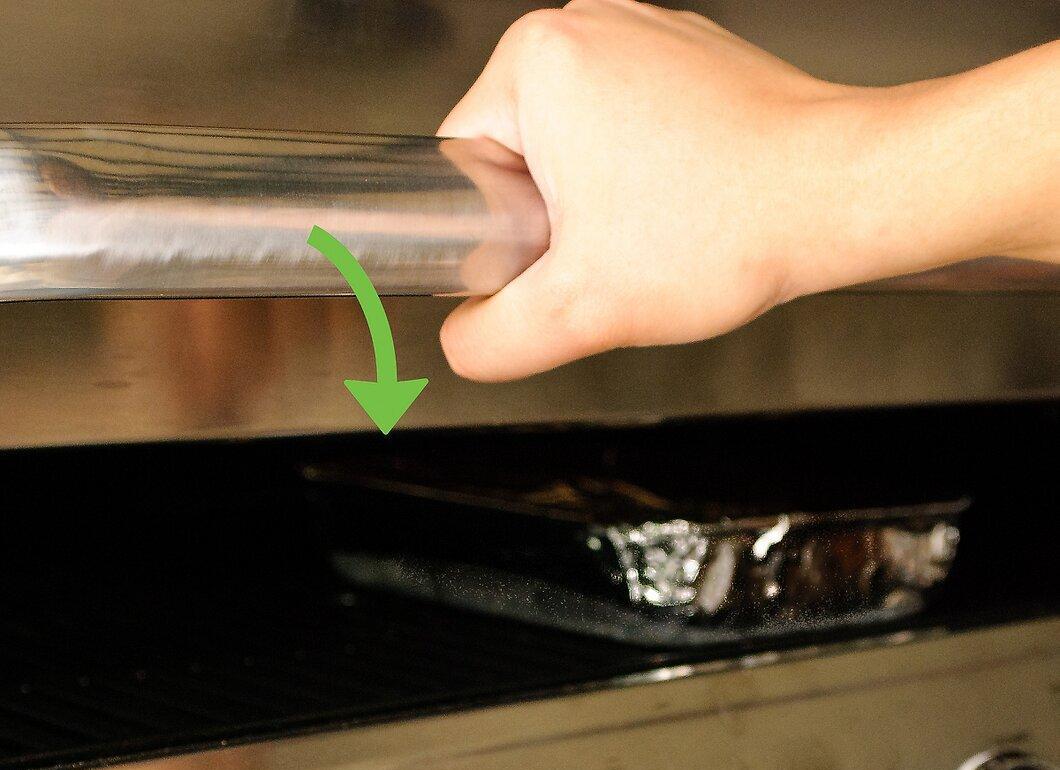
Cook the ribs at 110 °C for 2 hours. At this stage, collagen begins to break down, making the meat very tender and melt-in-your-mouth.
Step 4: The Finishing Stage
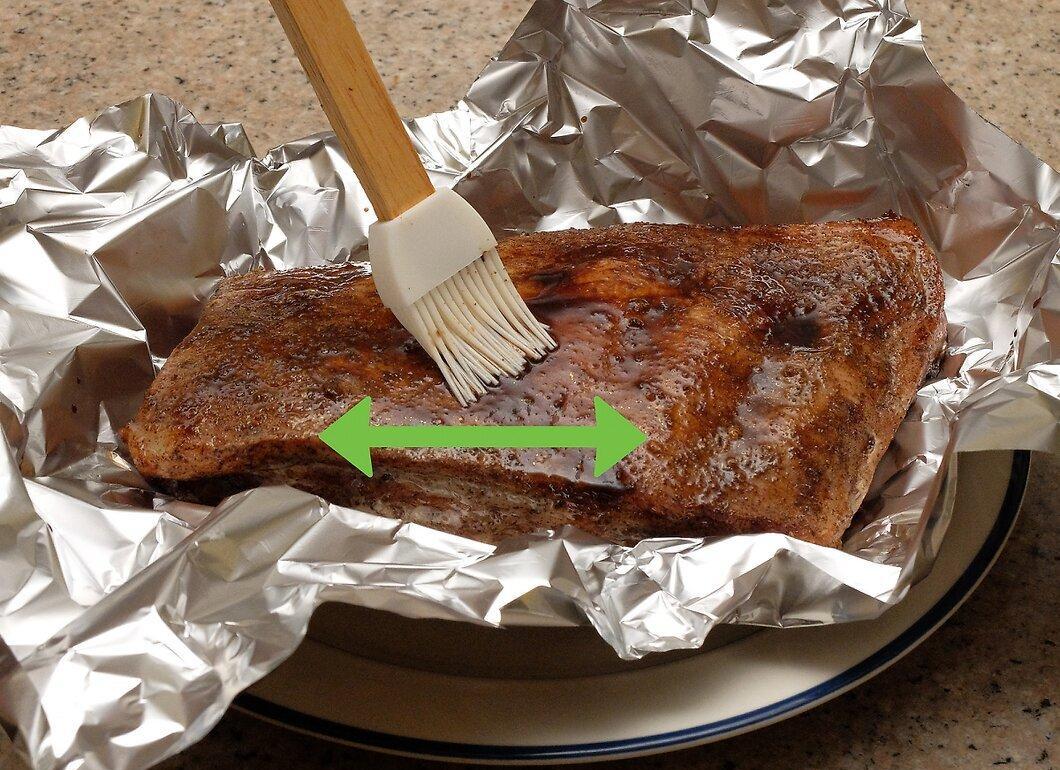
Remove the foil, add more barbecue sauce if necessary, and cook uncovered for 30 to 60 minutes. Check the ribs after 30 minutes, but they may need more time. Keep an eye on them to ensure they don’t dry out. This final stage will give the meat firmness and readiness for serving.
Step 5: Enjoy Your Meal!
Savor the result! Serve the ribs with corn on the cob and a fresh coleslaw salad — it will make a perfect summer dish.