Stargazing can be an incredibly enjoyable experience. The key is to know when and how to organize the process effectively. Choose a clear night with no clouds and set aside at least an hour to appreciate the magnificence of the starry sky. Dress comfortably and bring warm blankets, snuggle up, and enjoy the magical spectacle!
Gather Your Essentials
Step 1. Dress Appropriately.
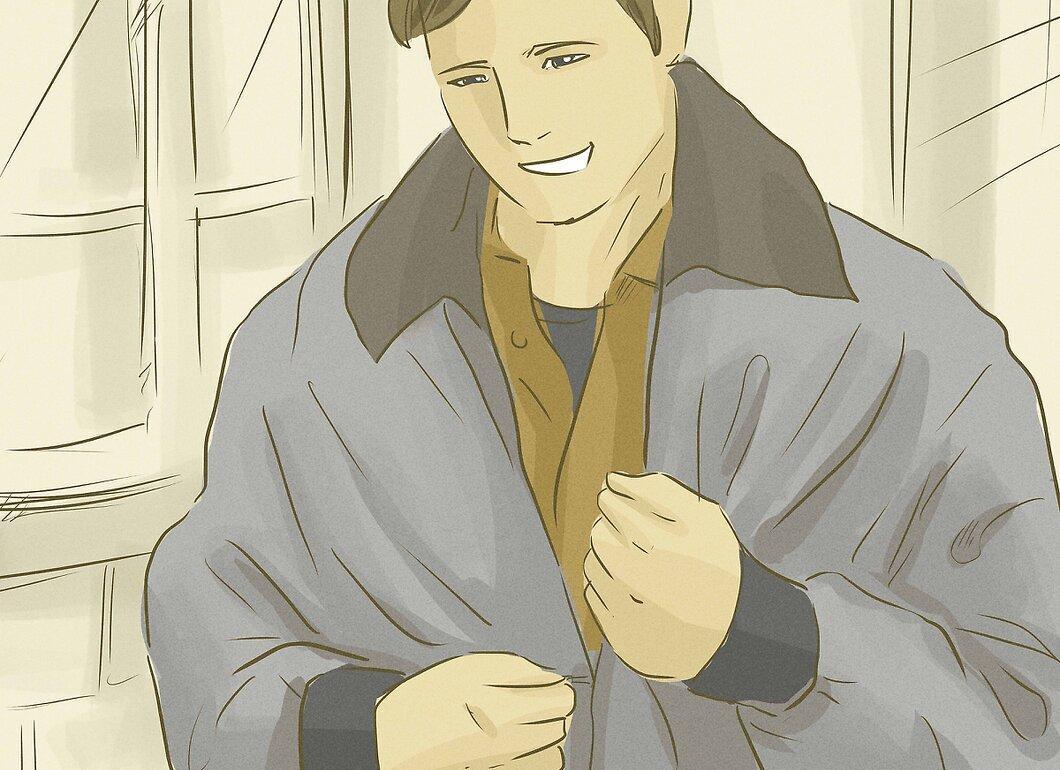
Select your clothing based on the weather. Temperatures can drop significantly if you sit in one place for a long time. It’s best to wear layers to stay warm.
- If you plan to stargaze in autumn or winter, wear thermal underwear, a sweater, a hat, gloves, and a scarf.
- For spring or summer, light layers work well: a hoodie, a light jacket, a hat, and jeans. Don’t forget to bring something warm in case it gets chilly.
Step 2. Get Comfortable.
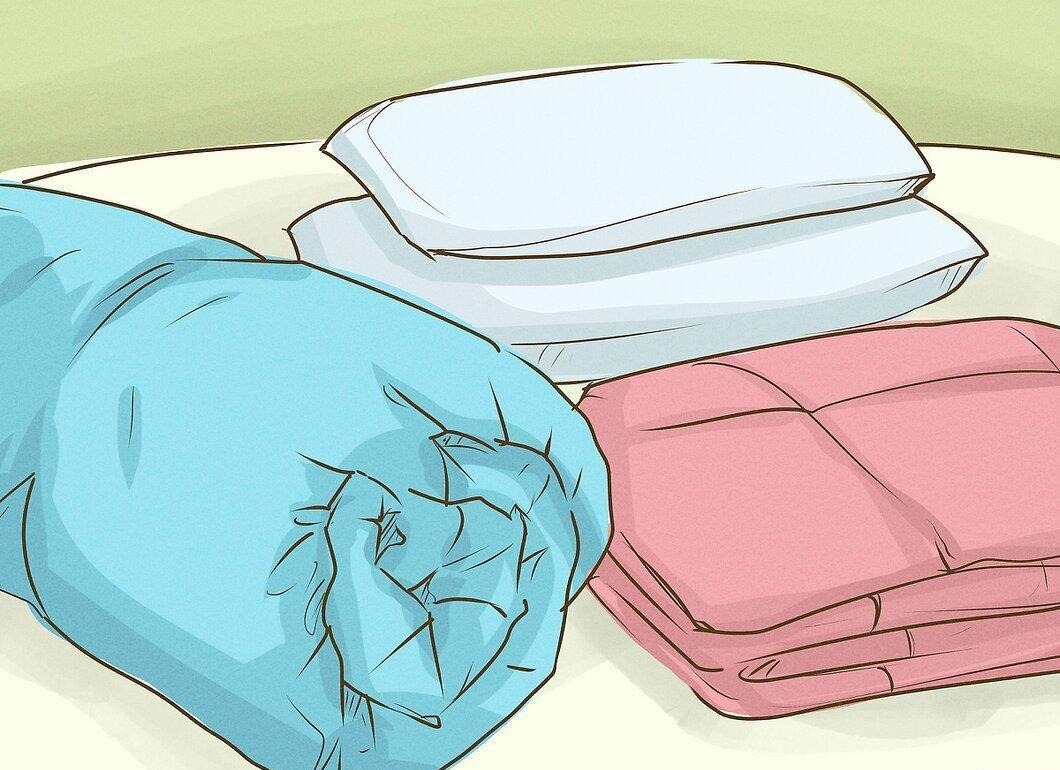
For comfort, bring along a mat, chair, and a pillow. Your eyes need time to adjust to the darkness, so comfort is essential. If you lie on your back or sit in an uncomfortable chair, your neck will tire quickly.
- Items like a yoga mat, cushions, a tarp (in case of dew), a camping mat, a folding chair, or a lounge chair are great options.[1] X Source
- If you prefer sitting on the ground, lay something warm down to avoid getting cold.
Step 3. Use Warm Blankets.
Don’t forget to bring one or two blankets to wrap yourself in and to sit comfortably on a chair, mat, or the ground. A blanket can serve as a cover, mat, or pillow.
- Avoid blankets that aren’t machine washable — anything you take with you might get dirty or wet.
Step 4. Prepare Snacks and Drinks.
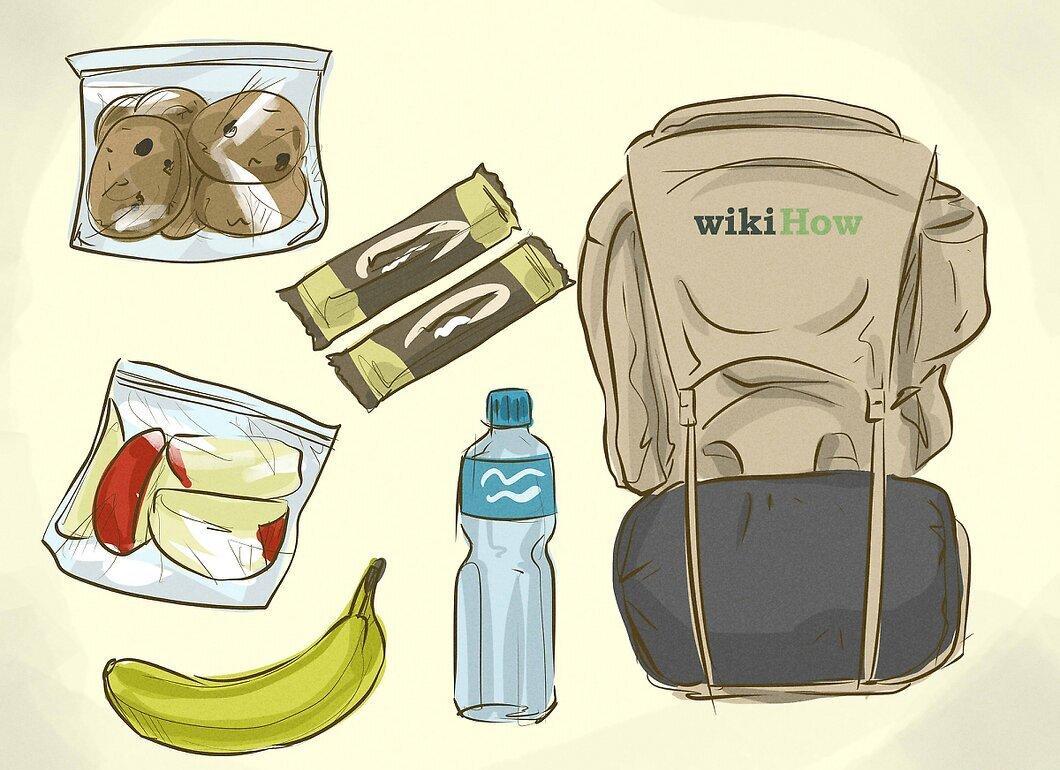
Make sure to bring food and drinks to enjoy your time outdoors comfortably. This will make your experience more enjoyable and diverse.
- Hot chocolate, coffee, tea (especially in cold weather), water, soda, beer, or wine (if you’re over 18 and not driving) are good options.
- Light snacks like nuts with dried fruits, granola, chocolate, jerky, soup in a thermos, or prepared sandwiches are excellent choices.
Step 5. Bring Binoculars.
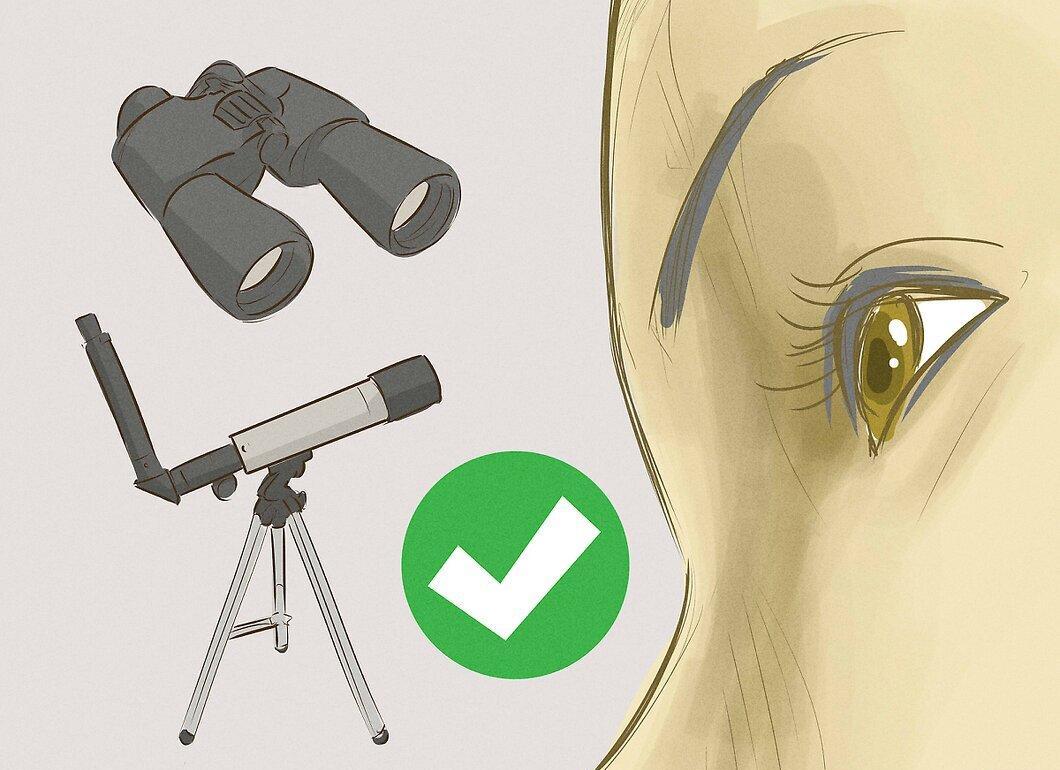
Binoculars will help you see more stars, planets, and constellations than with the naked eye. This significantly simplifies observing dim objects.
Step 6. If Planning for a Long Stay, Bring a Tent or Canopy.
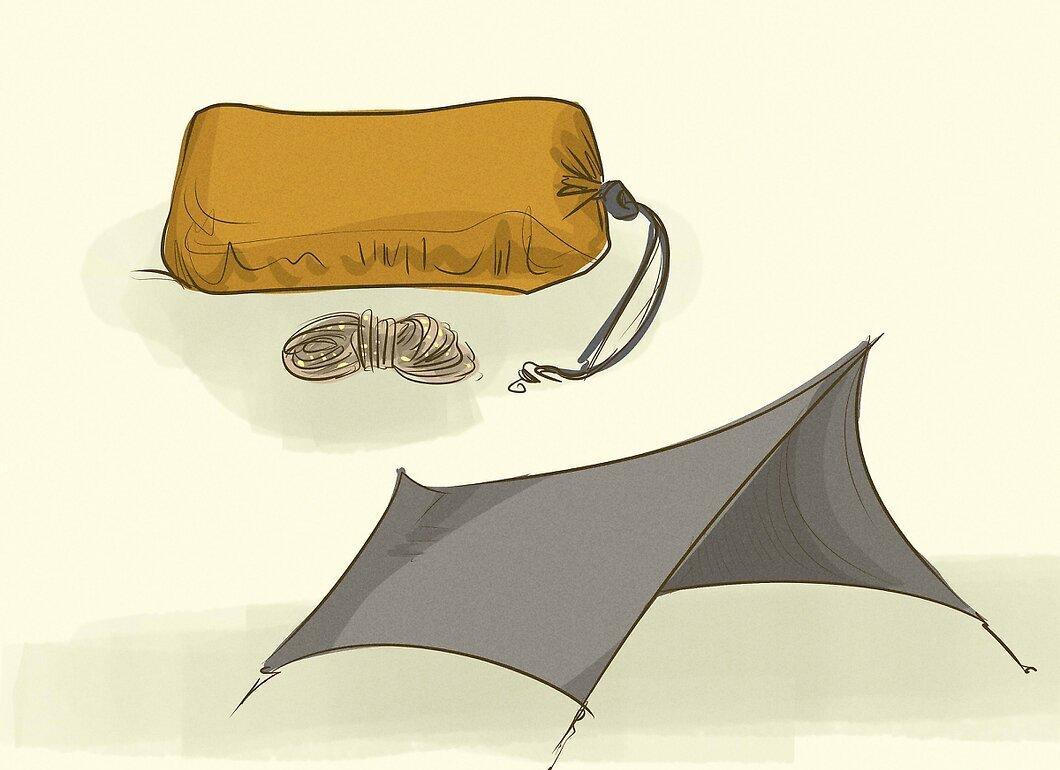
If you plan to spend a lot of time outside, make sure to have a tent or canopy. This will help protect you from rain and provide a place to rest if you get tired. Additionally, a tent is convenient for storing food, drinks, and blankets.
Preparing for Stargazing
Step 1. Choose Clear Weather.
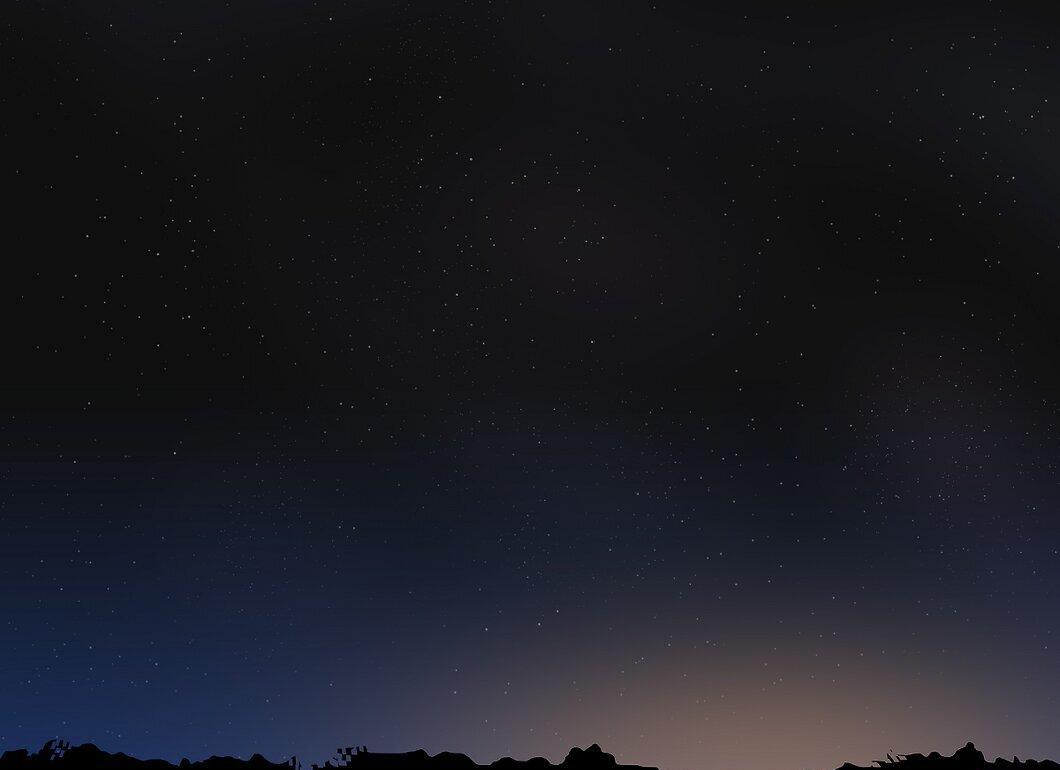
Try to stargaze on a clear, windless night. In such conditions, you will see more stars, won’t get soaked, and won’t suffer from heat. A light breeze can help clear the air a bit, but strong winds can make it colder — in this case, it’s better to bring extra blankets.
Step 2. Stargaze in Summer.
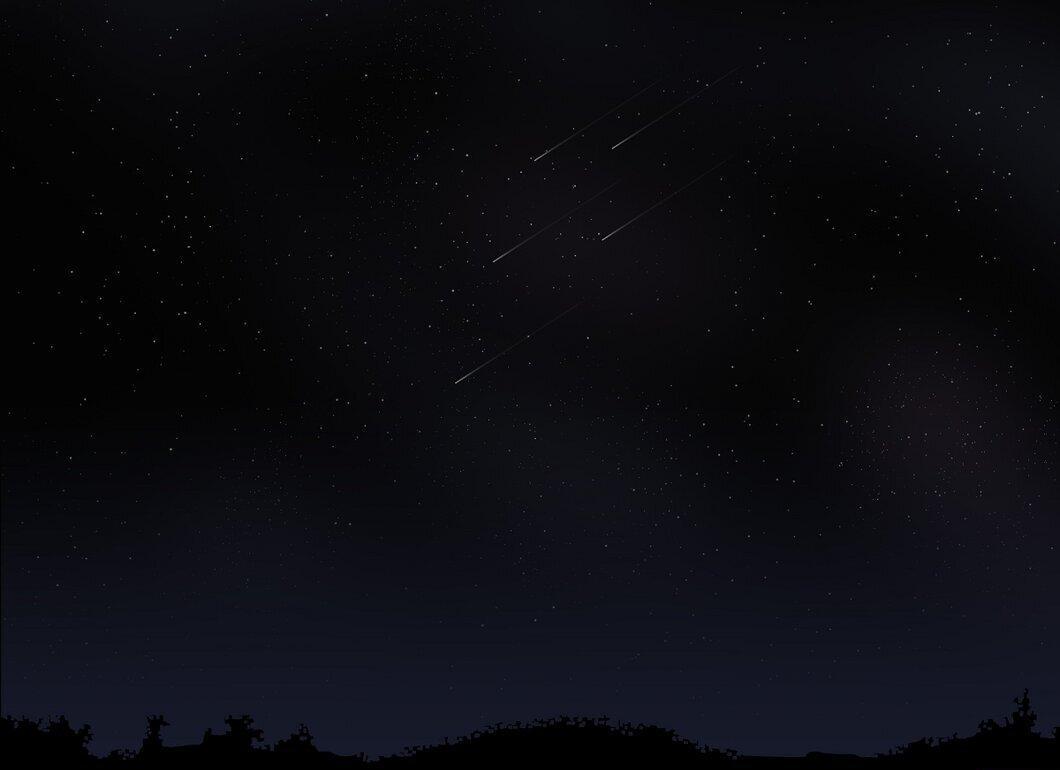
The summer months (June, July, and August) are ideal for stargazing. It’s more comfortable during this time of year, and you won’t have to carry as many items.
- In summer, you have a chance to see meteor showers. The Perseids, for instance, can be observed every August and are truly a magnificent sight.[7] X Source
- Throughout the year, you can observe constellations like Cassiopeia, Ursa Major, and Cepheus.[8] X Source
Step 3. Get Away from Urban Areas.
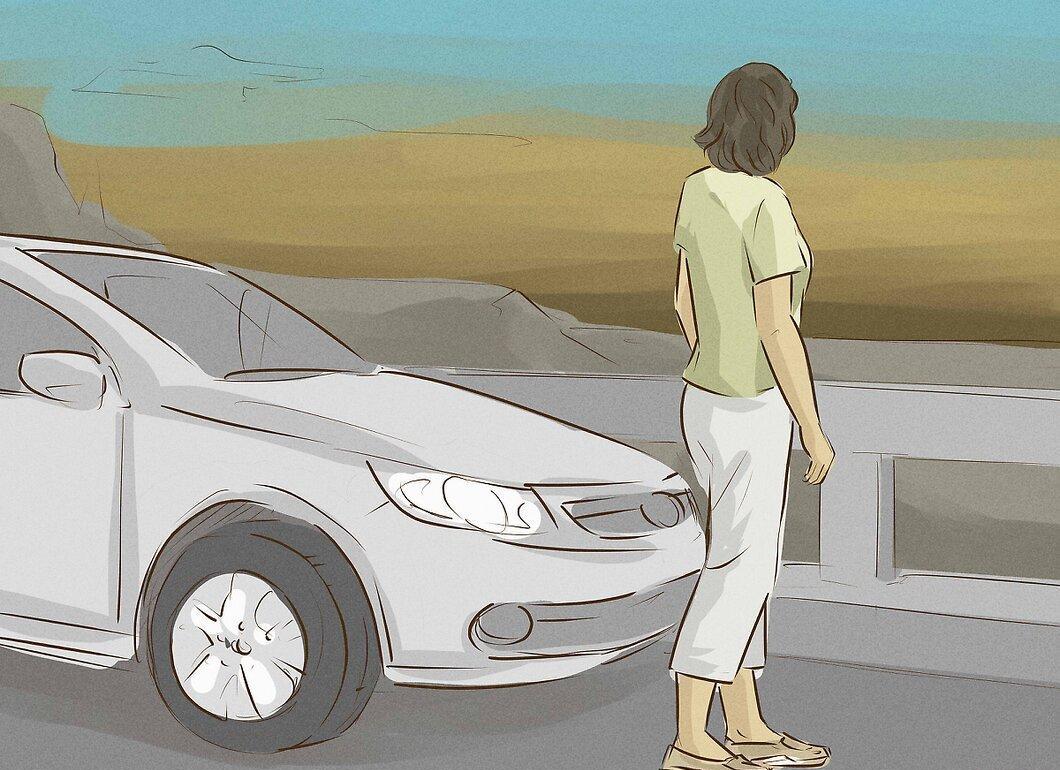
Try to stay away from large cities and crowded places. In these conditions, stars are less visible due to light pollution and bright lights. Find a secluded spot in the countryside for ideal observation.
Step 4. Be Aware of Wildlife.
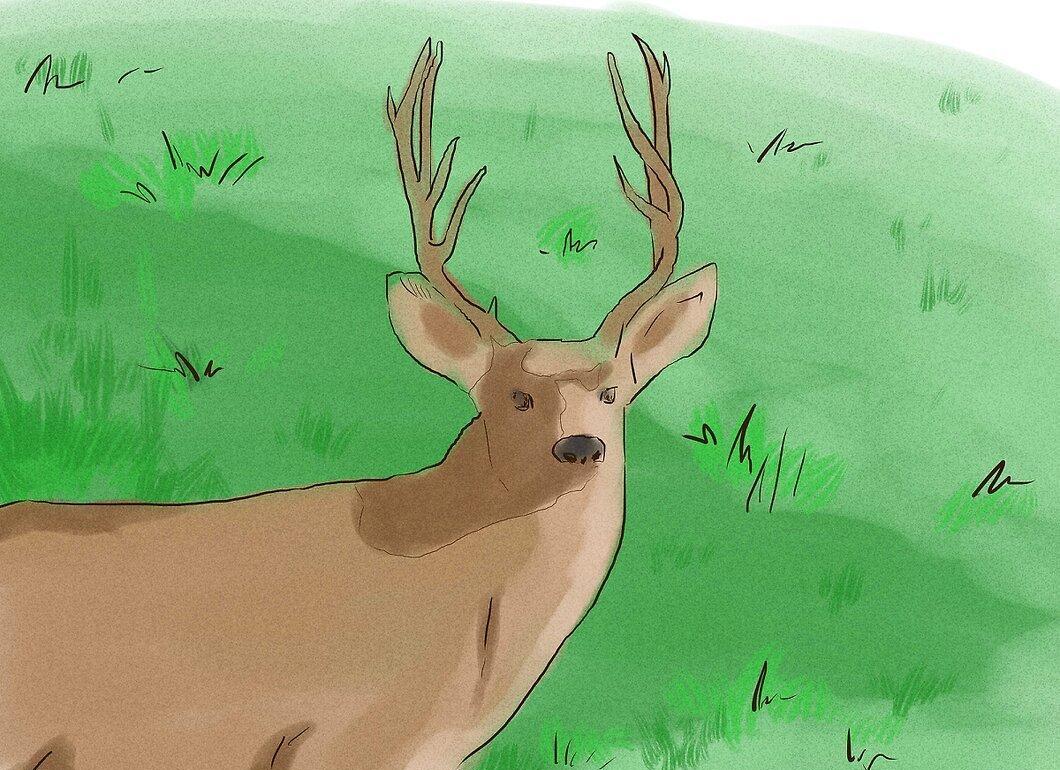
If you manage to find a sparsely populated area, remember that wildlife may inhabit the space. This could include boars, bears, deer, wolves, and many others. Research what animals are in the area and be cautious at night.
- Be sure to bring insect repellent, or you might spend the night swatting mosquitoes.
- To deter any animals that might come close, bring a small flashlight or a noisemaker.
Stargazing
Step 1. Invite a Friend.
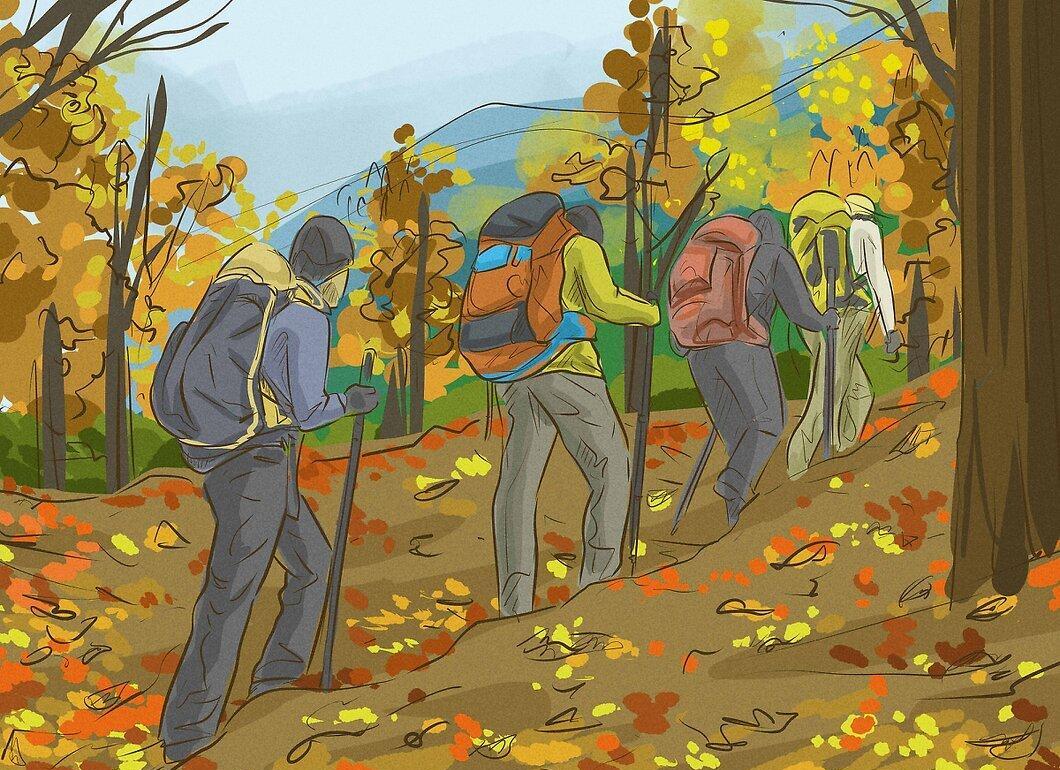
It’s best to bring a friend or family member along. It’s not only safer, but it also allows you to share the experience and see more stars together.
Step 2. Set Up Comfortably.
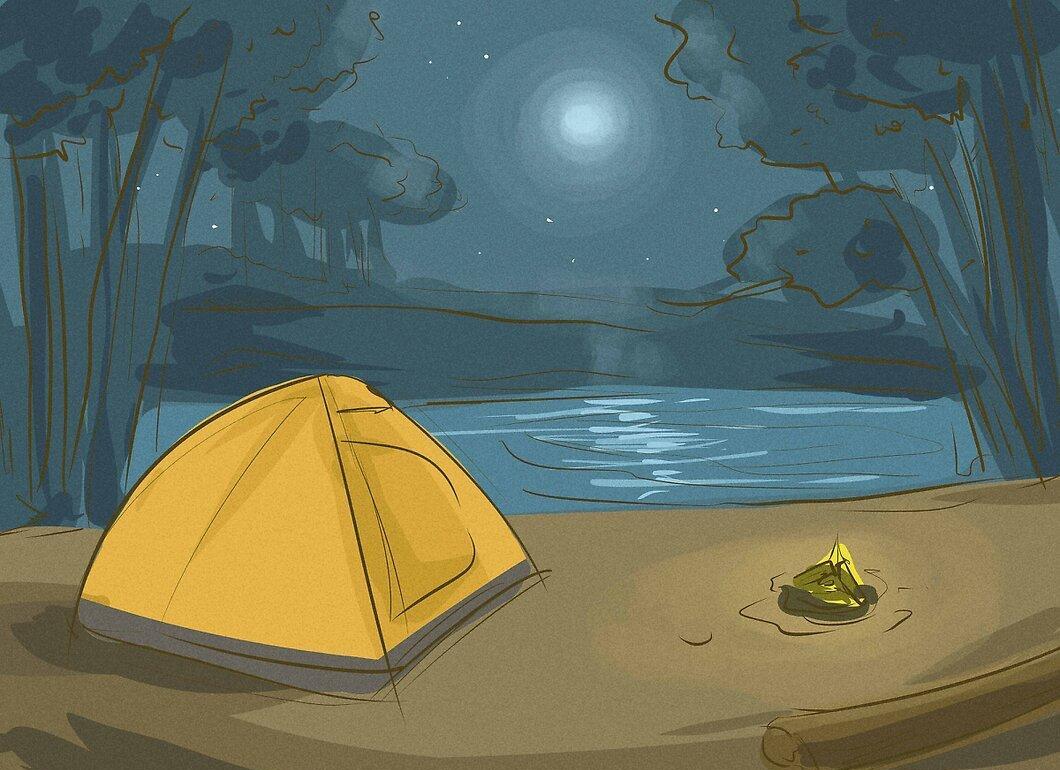
Arrange your tent, chairs, food, and drinks on a flat surface so everything is within reach. This will save you from searching in the dark.
- Don’t forget to clean up after yourself to avoid attracting wildlife and to protect nature.
Step 3. Position Yourself at a 30-Degree Angle.
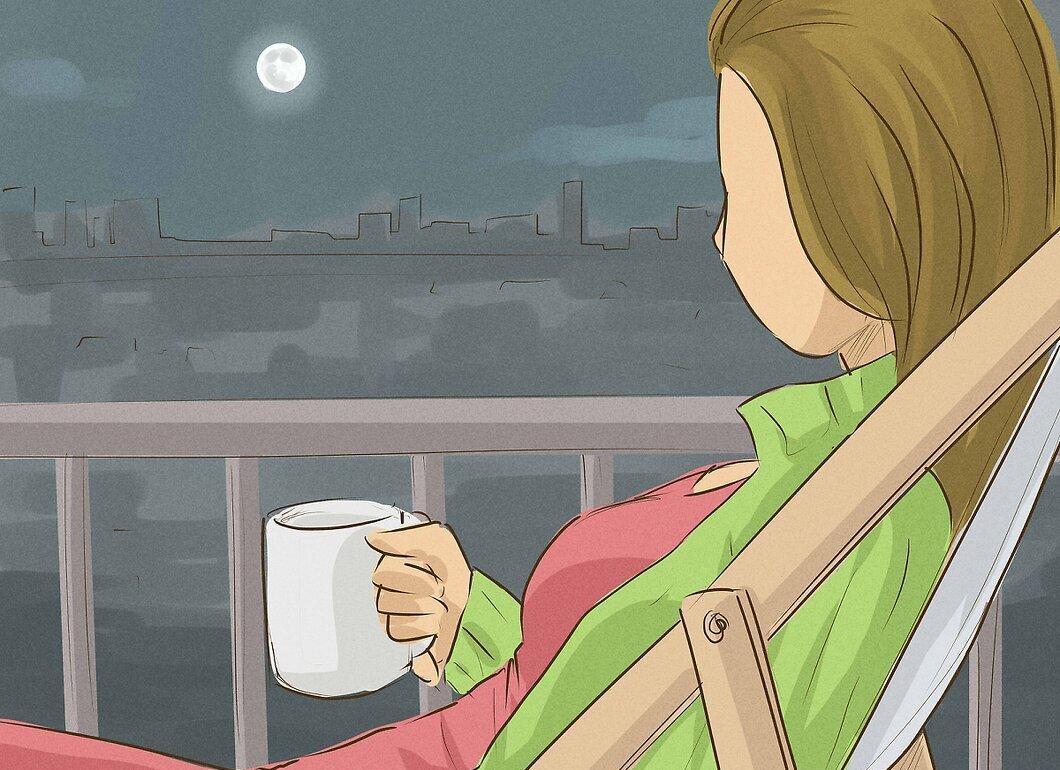
Lay your head at a 30-degree angle to the ground to avoid straining your neck. Use a pillow, lounge chair, or rolled blanket for support.
- You can simply lie on the ground for better visibility of the sky. However, some may find it difficult to get up from that position.
Step 4. Use an Infrared Flashlight.
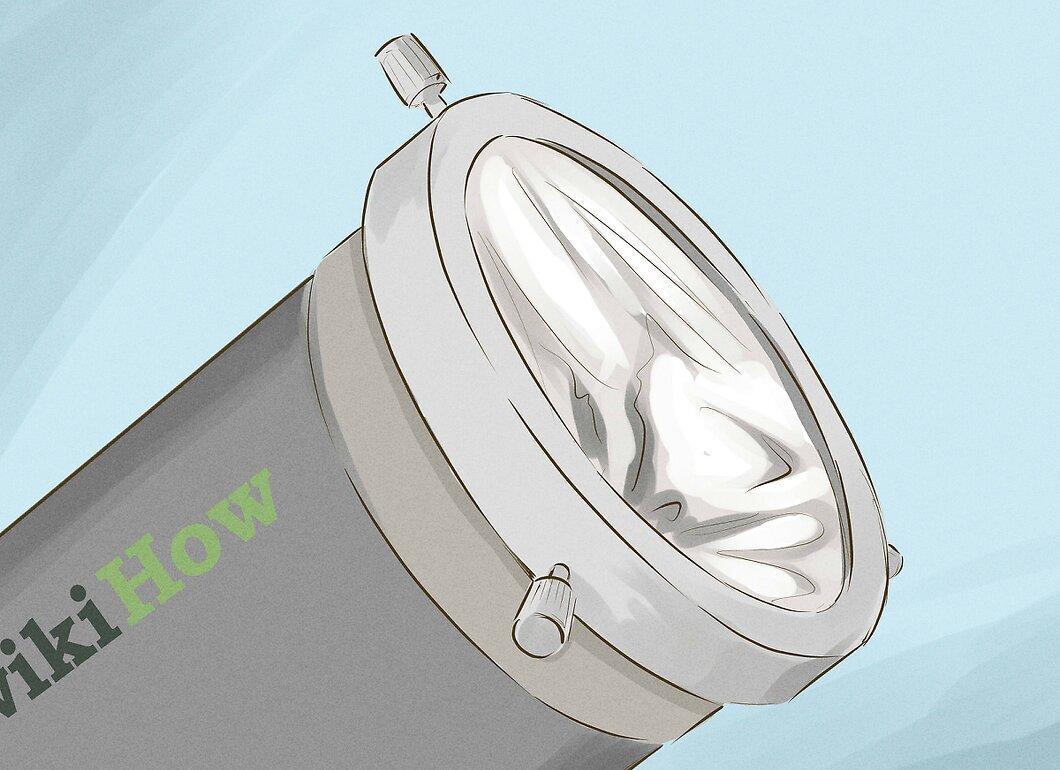
To avoid ruining your night vision, use an infrared flashlight. This will help you maintain your adaptation to the dark when you need to look at something. Red light is less straining on the eyes and won’t distract from your observation.
- Your eyes will need 5 to 30 minutes to adjust to the dark, and interruptions from bright lights can hinder this.[13] X Source
- If you don’t have an infrared flashlight, you can wrap a regular flashlight with red film.[14] X Source
Step 5. Don’t Strain Your Eyes.
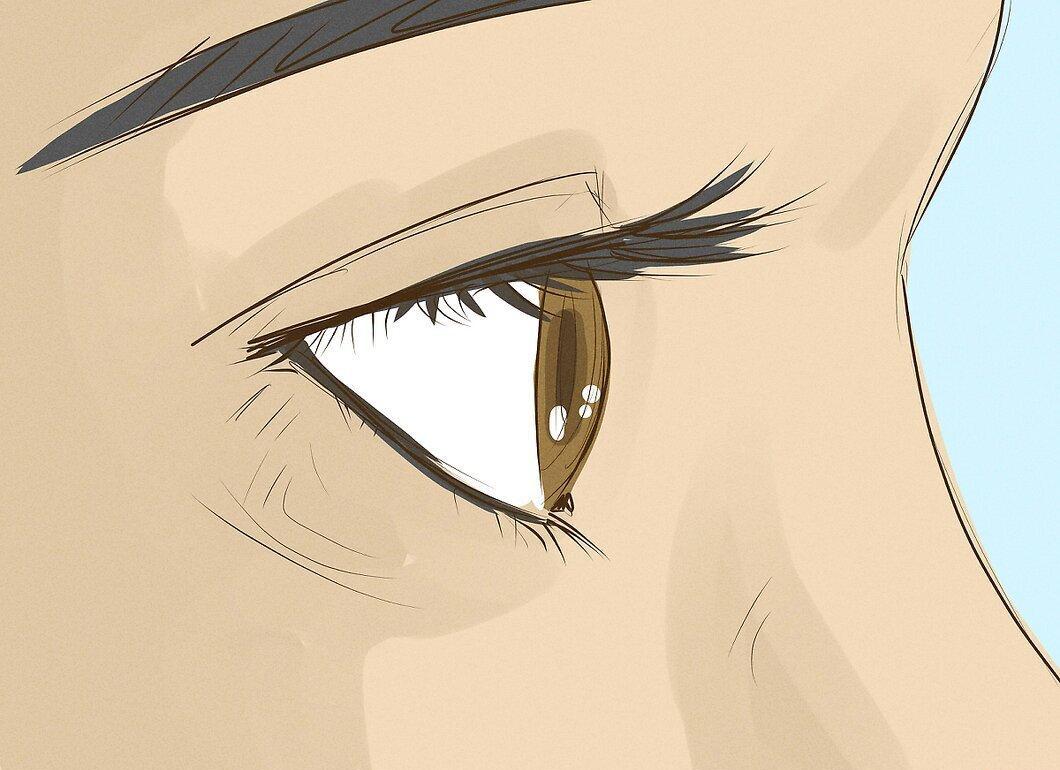
Try using the “peripheral vision method.” This will allow you to see dimmer stars more effectively. Instead of looking directly at the object, glance slightly to the side. Peripheral vision is more sensitive to light, making it easier to spot faint objects against a dark background.
Step 6. Enjoy!
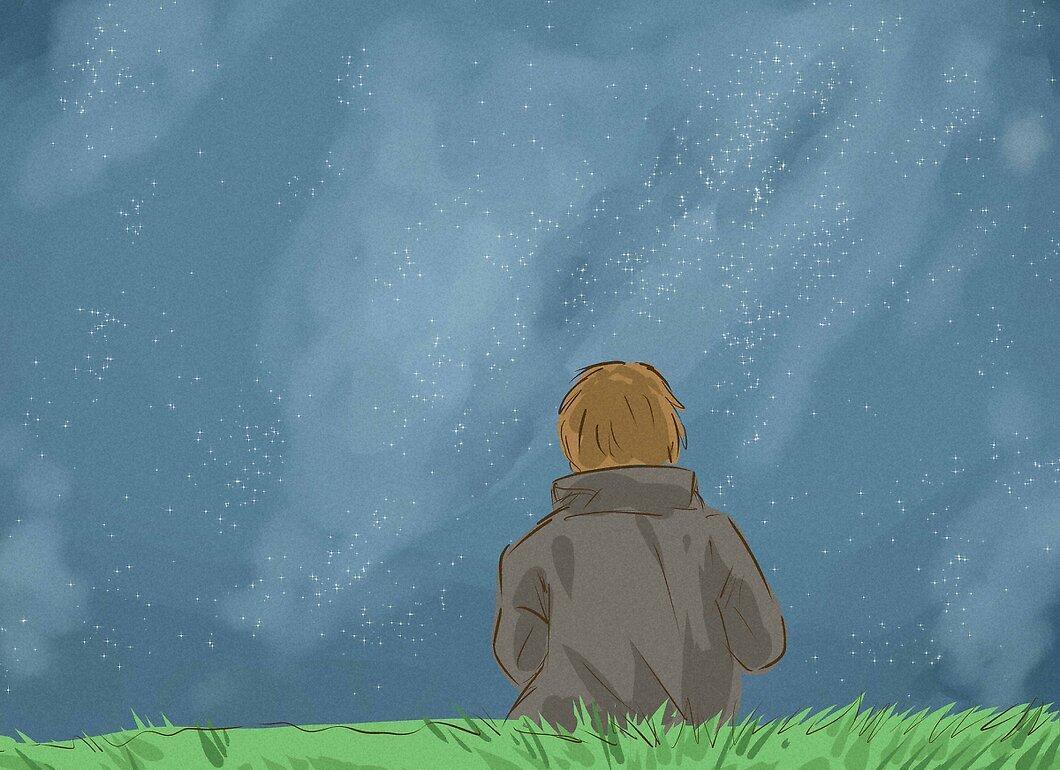
Stargazing is incredibly captivating, regardless of your astronomy experience. Lie back, snack, chat with your friend, and enjoy the magical night sky — moments like this are rare in our everyday lives.